Baby.Jude9
Members
-
Joined
-
Last visited
Everything posted by Baby.Jude9
-
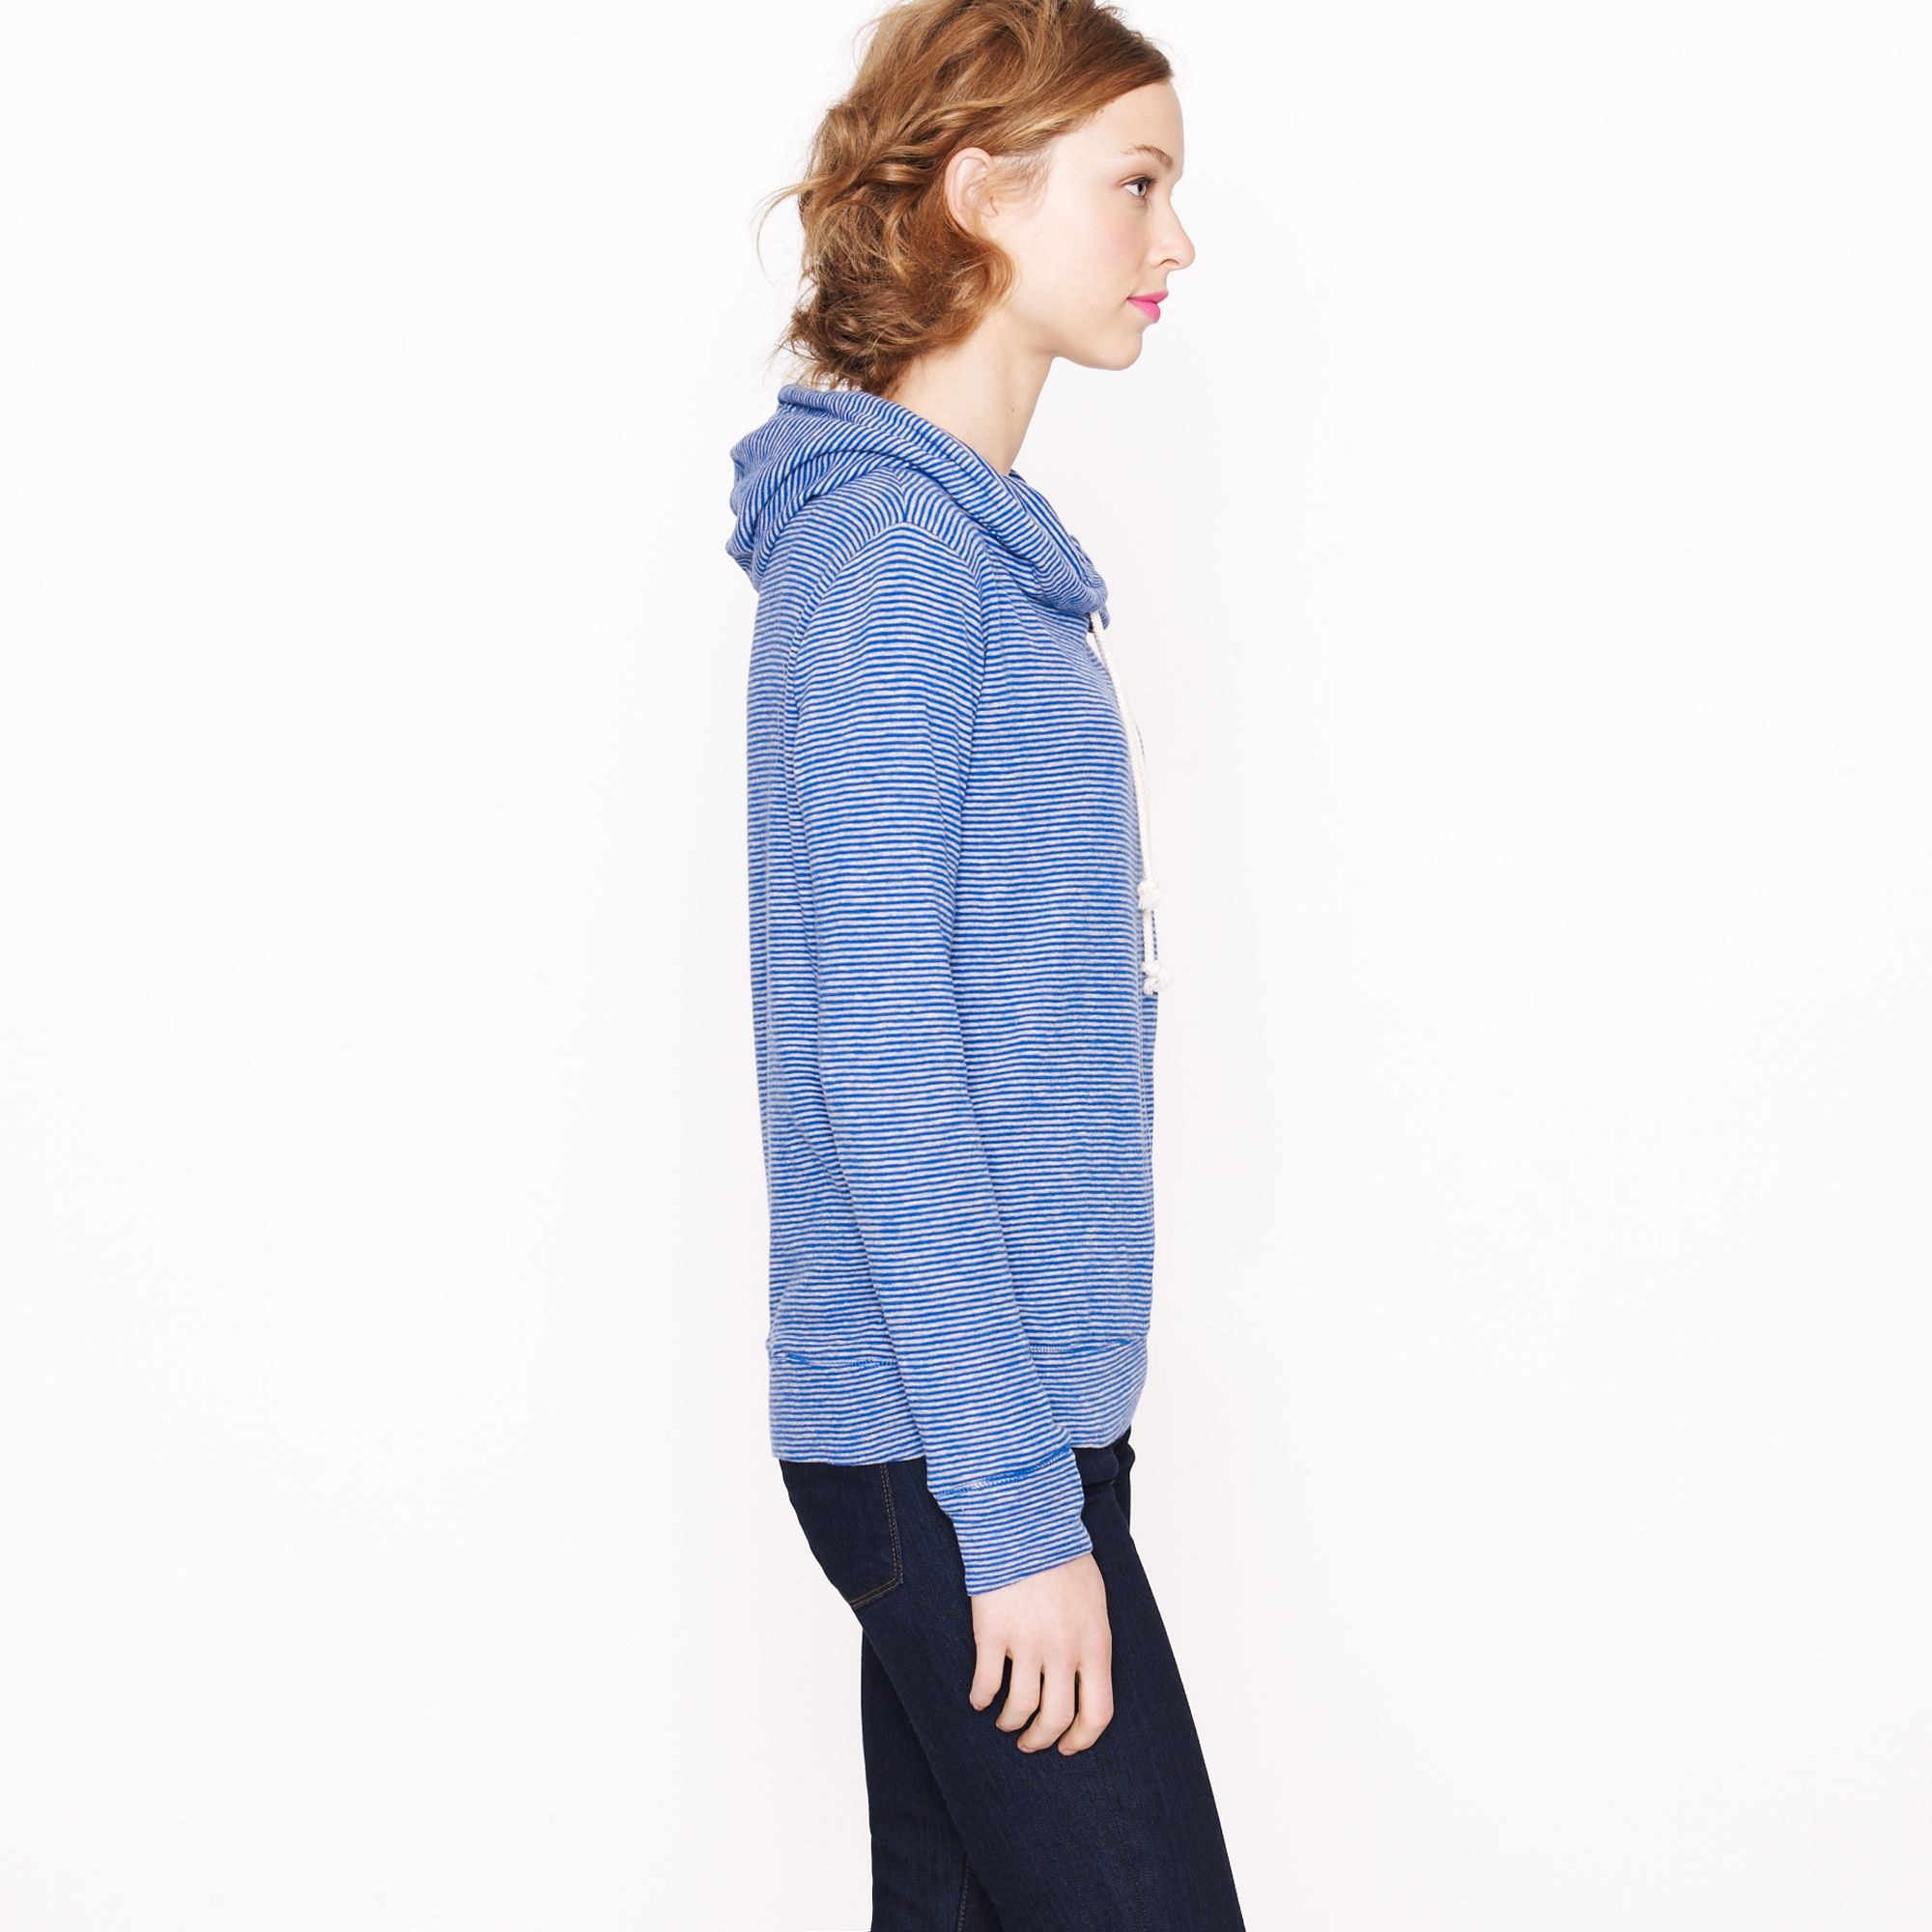
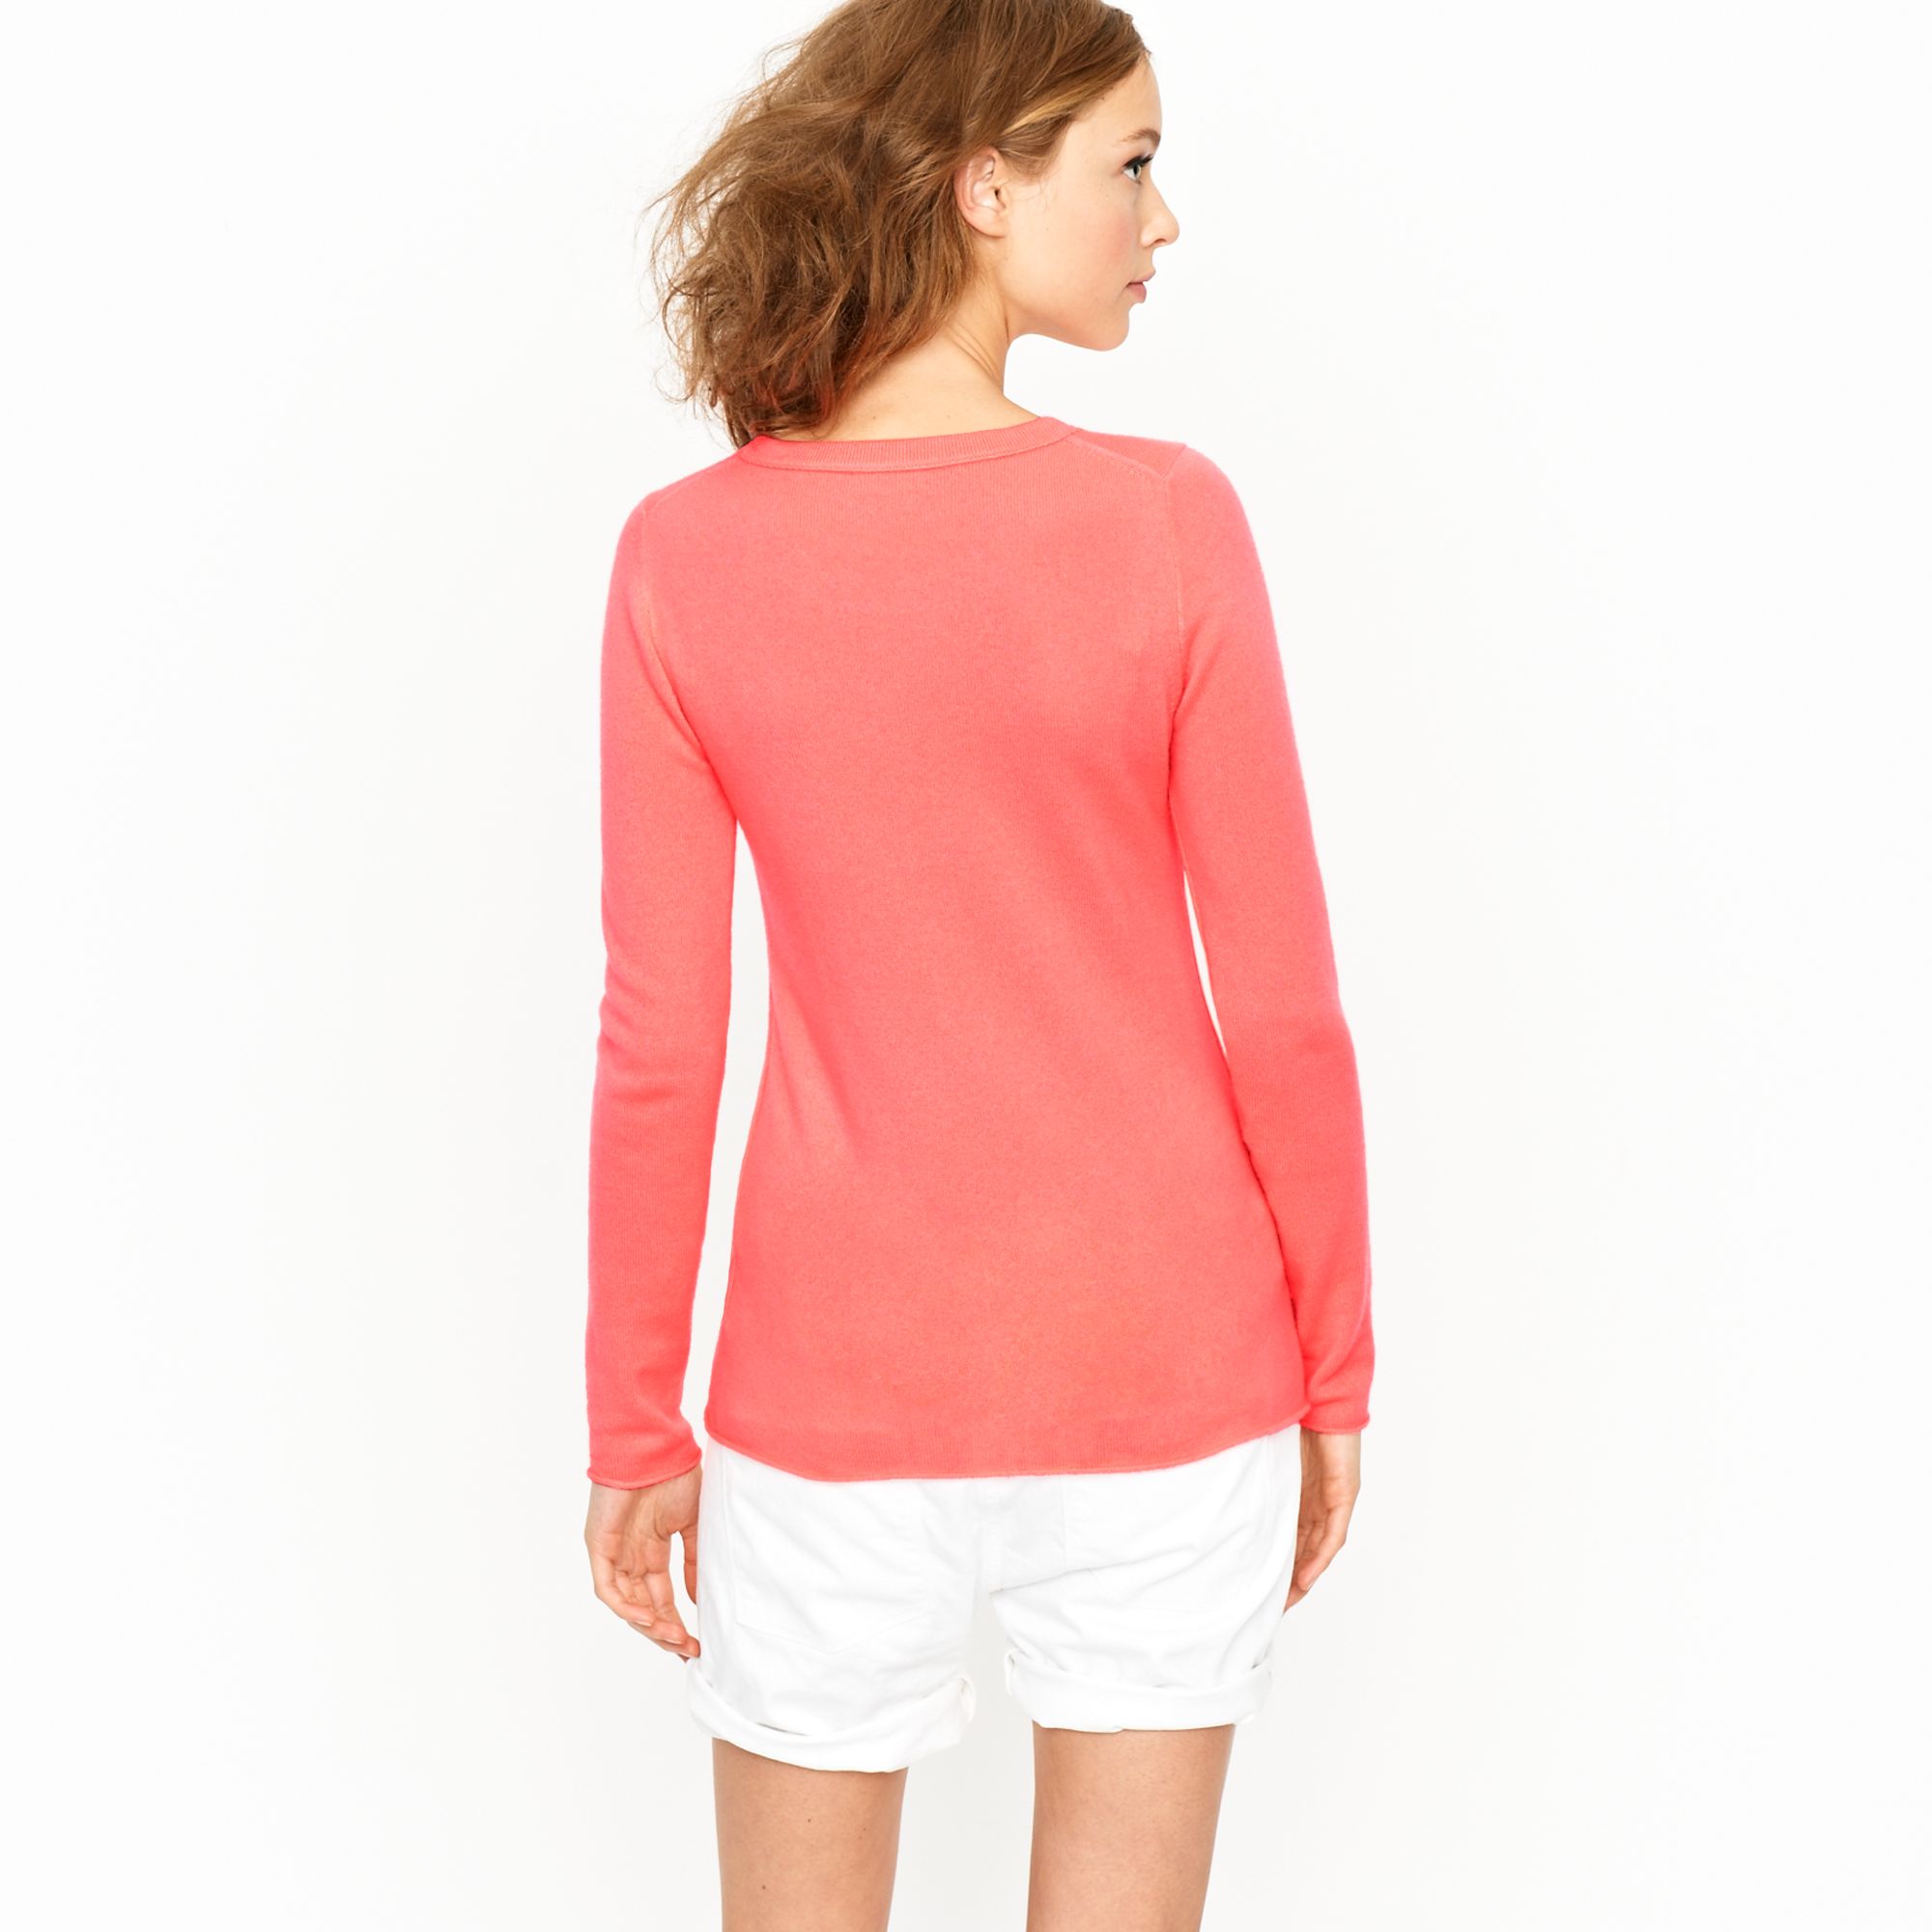
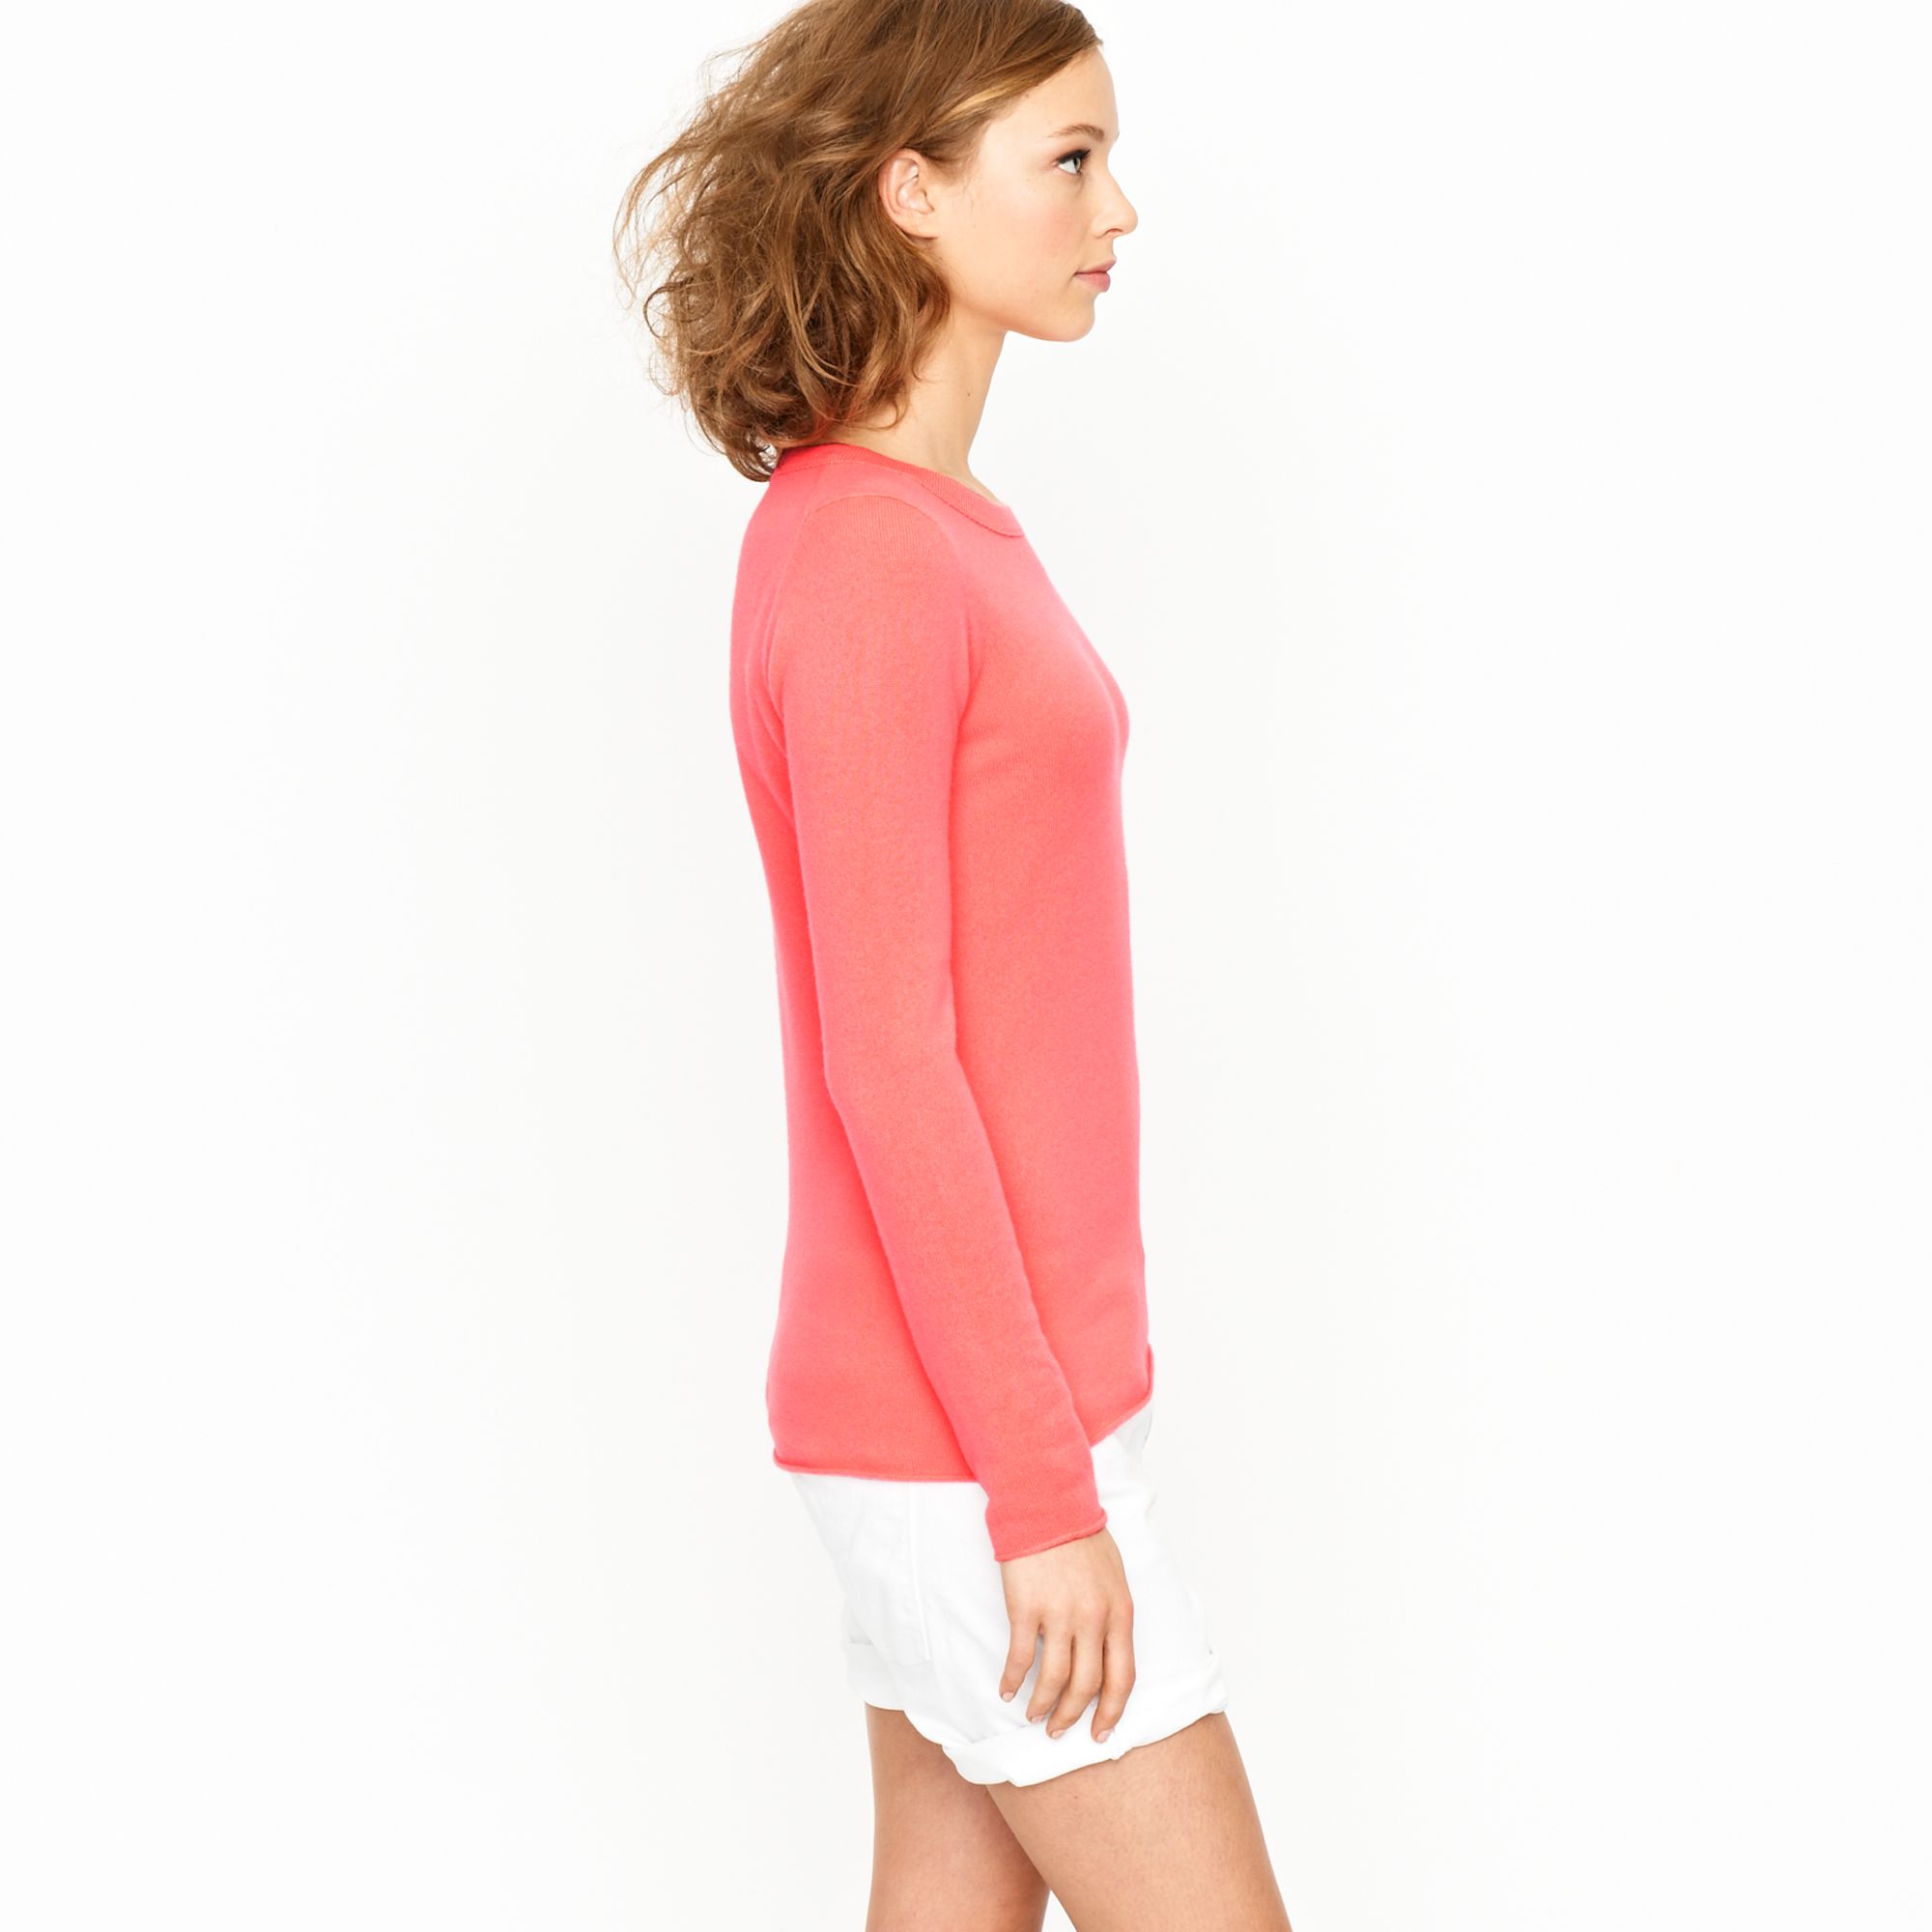
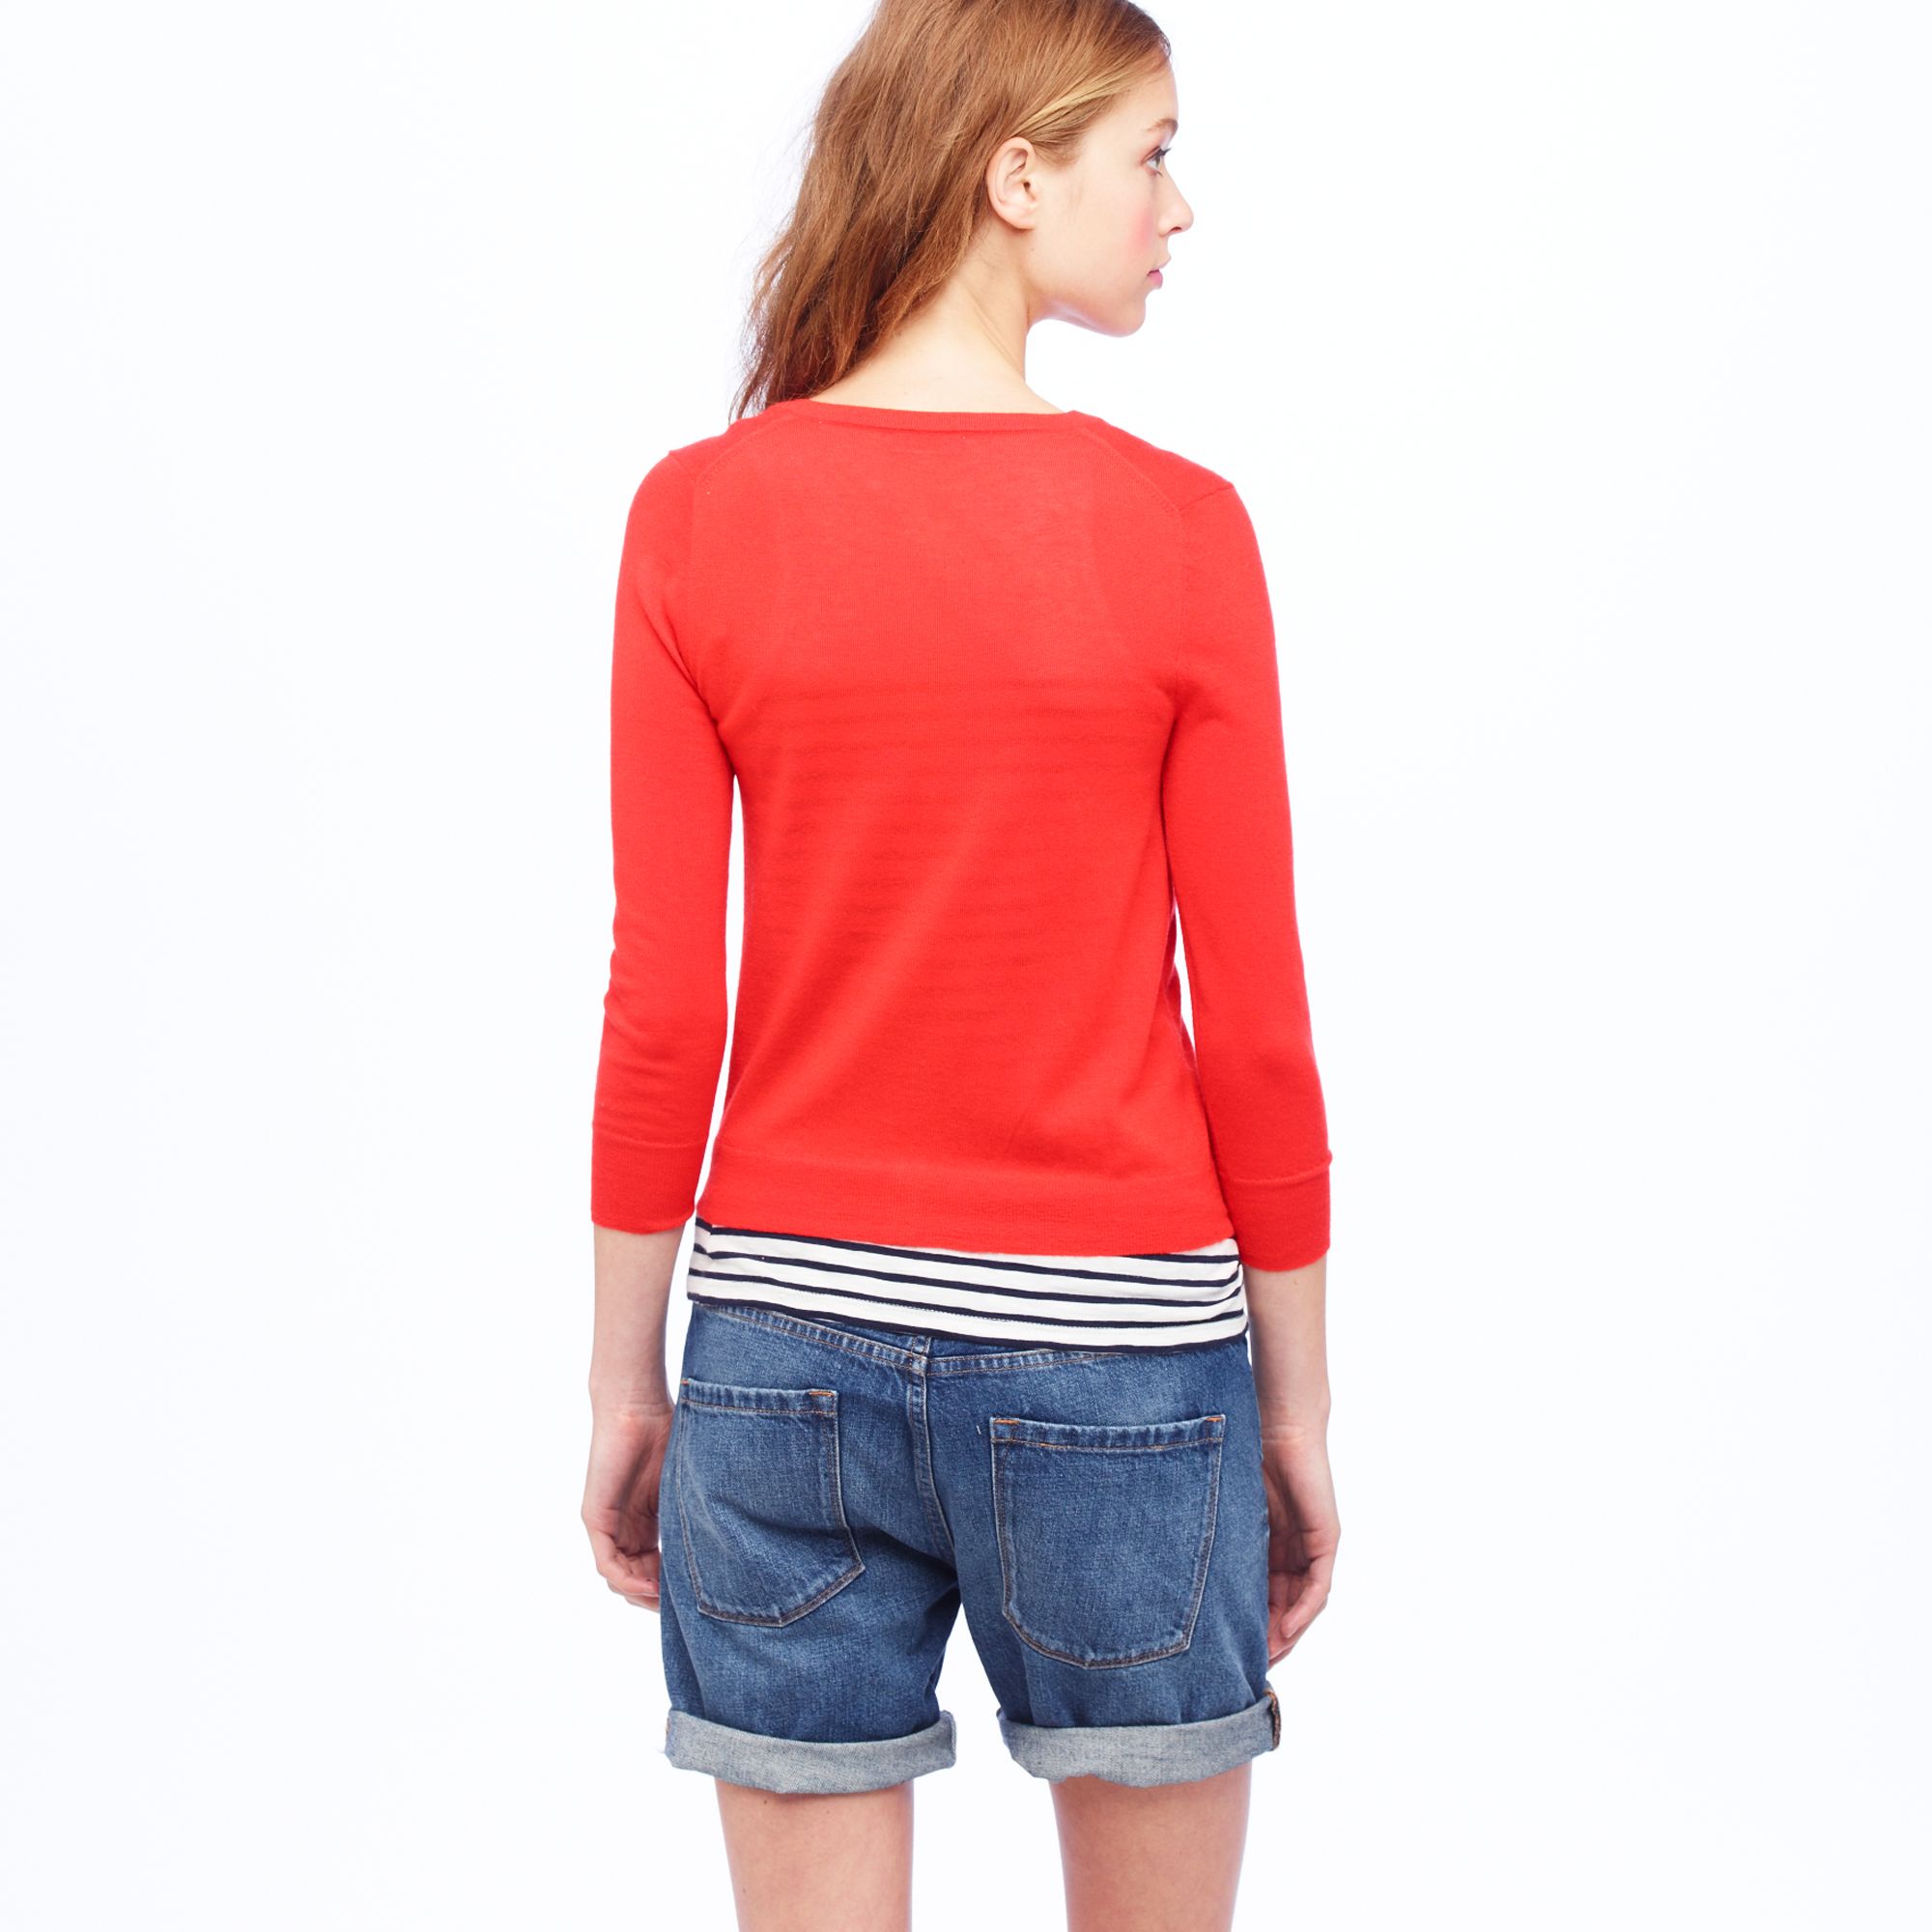
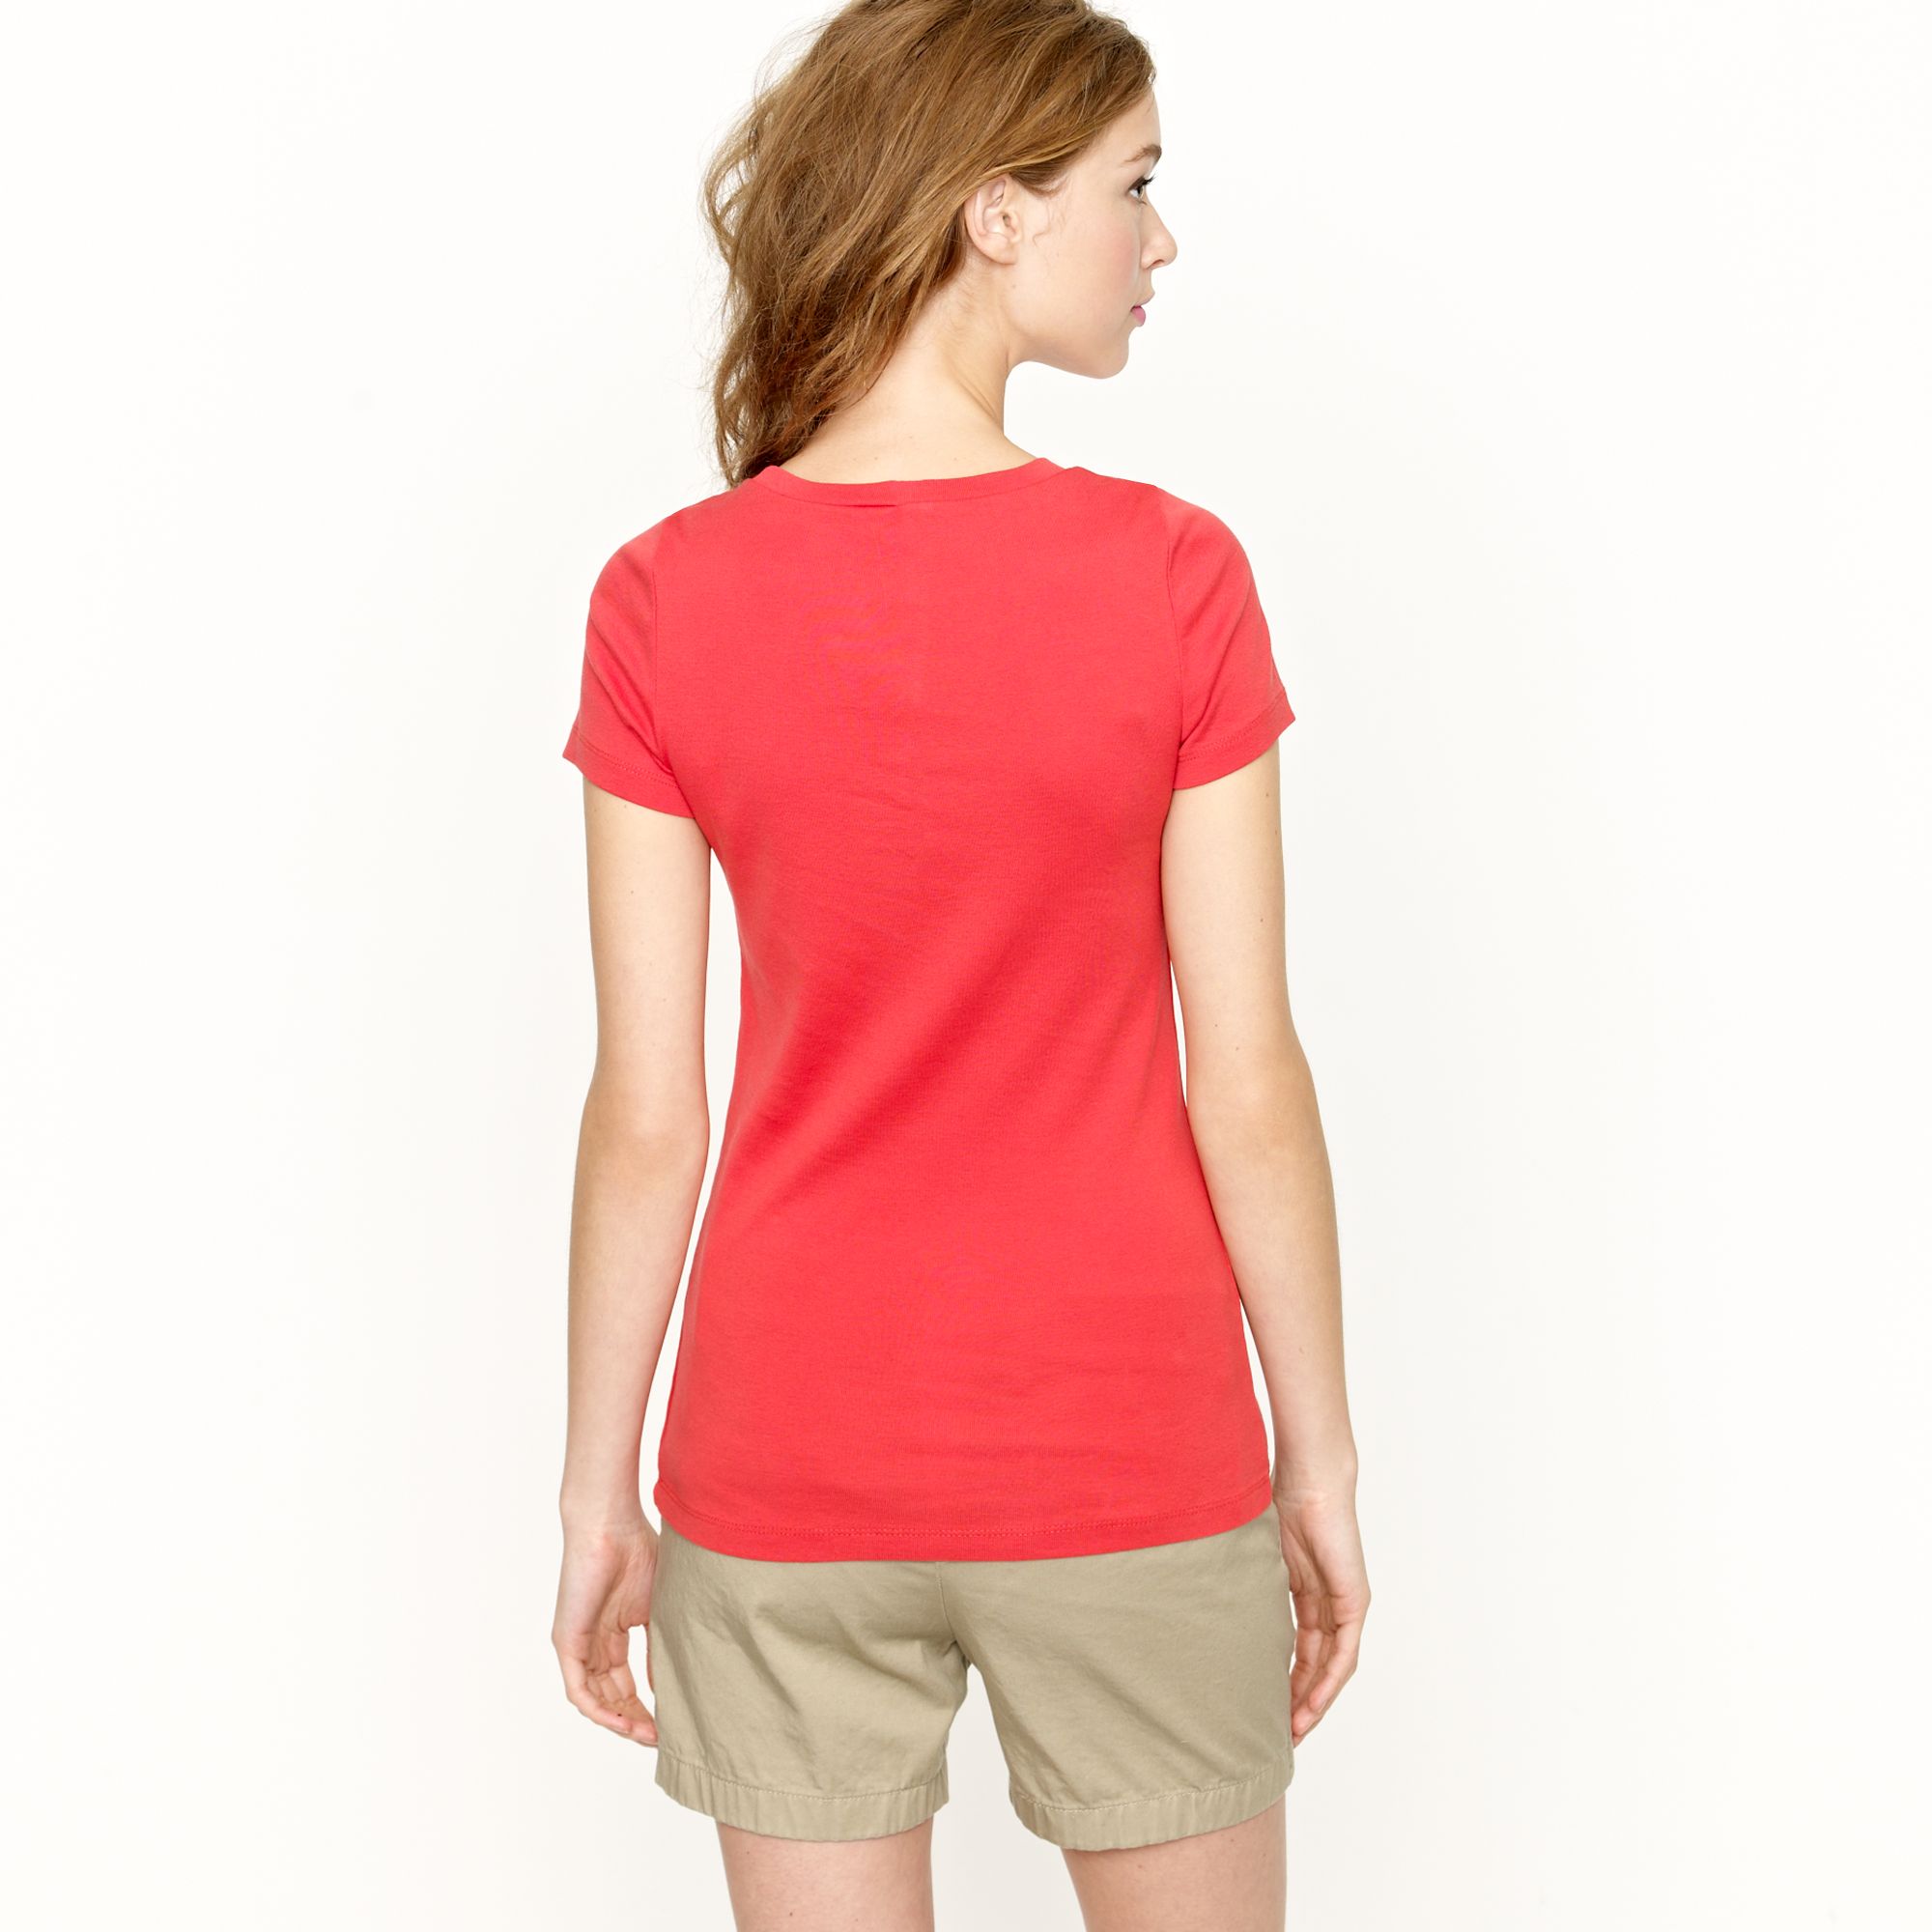
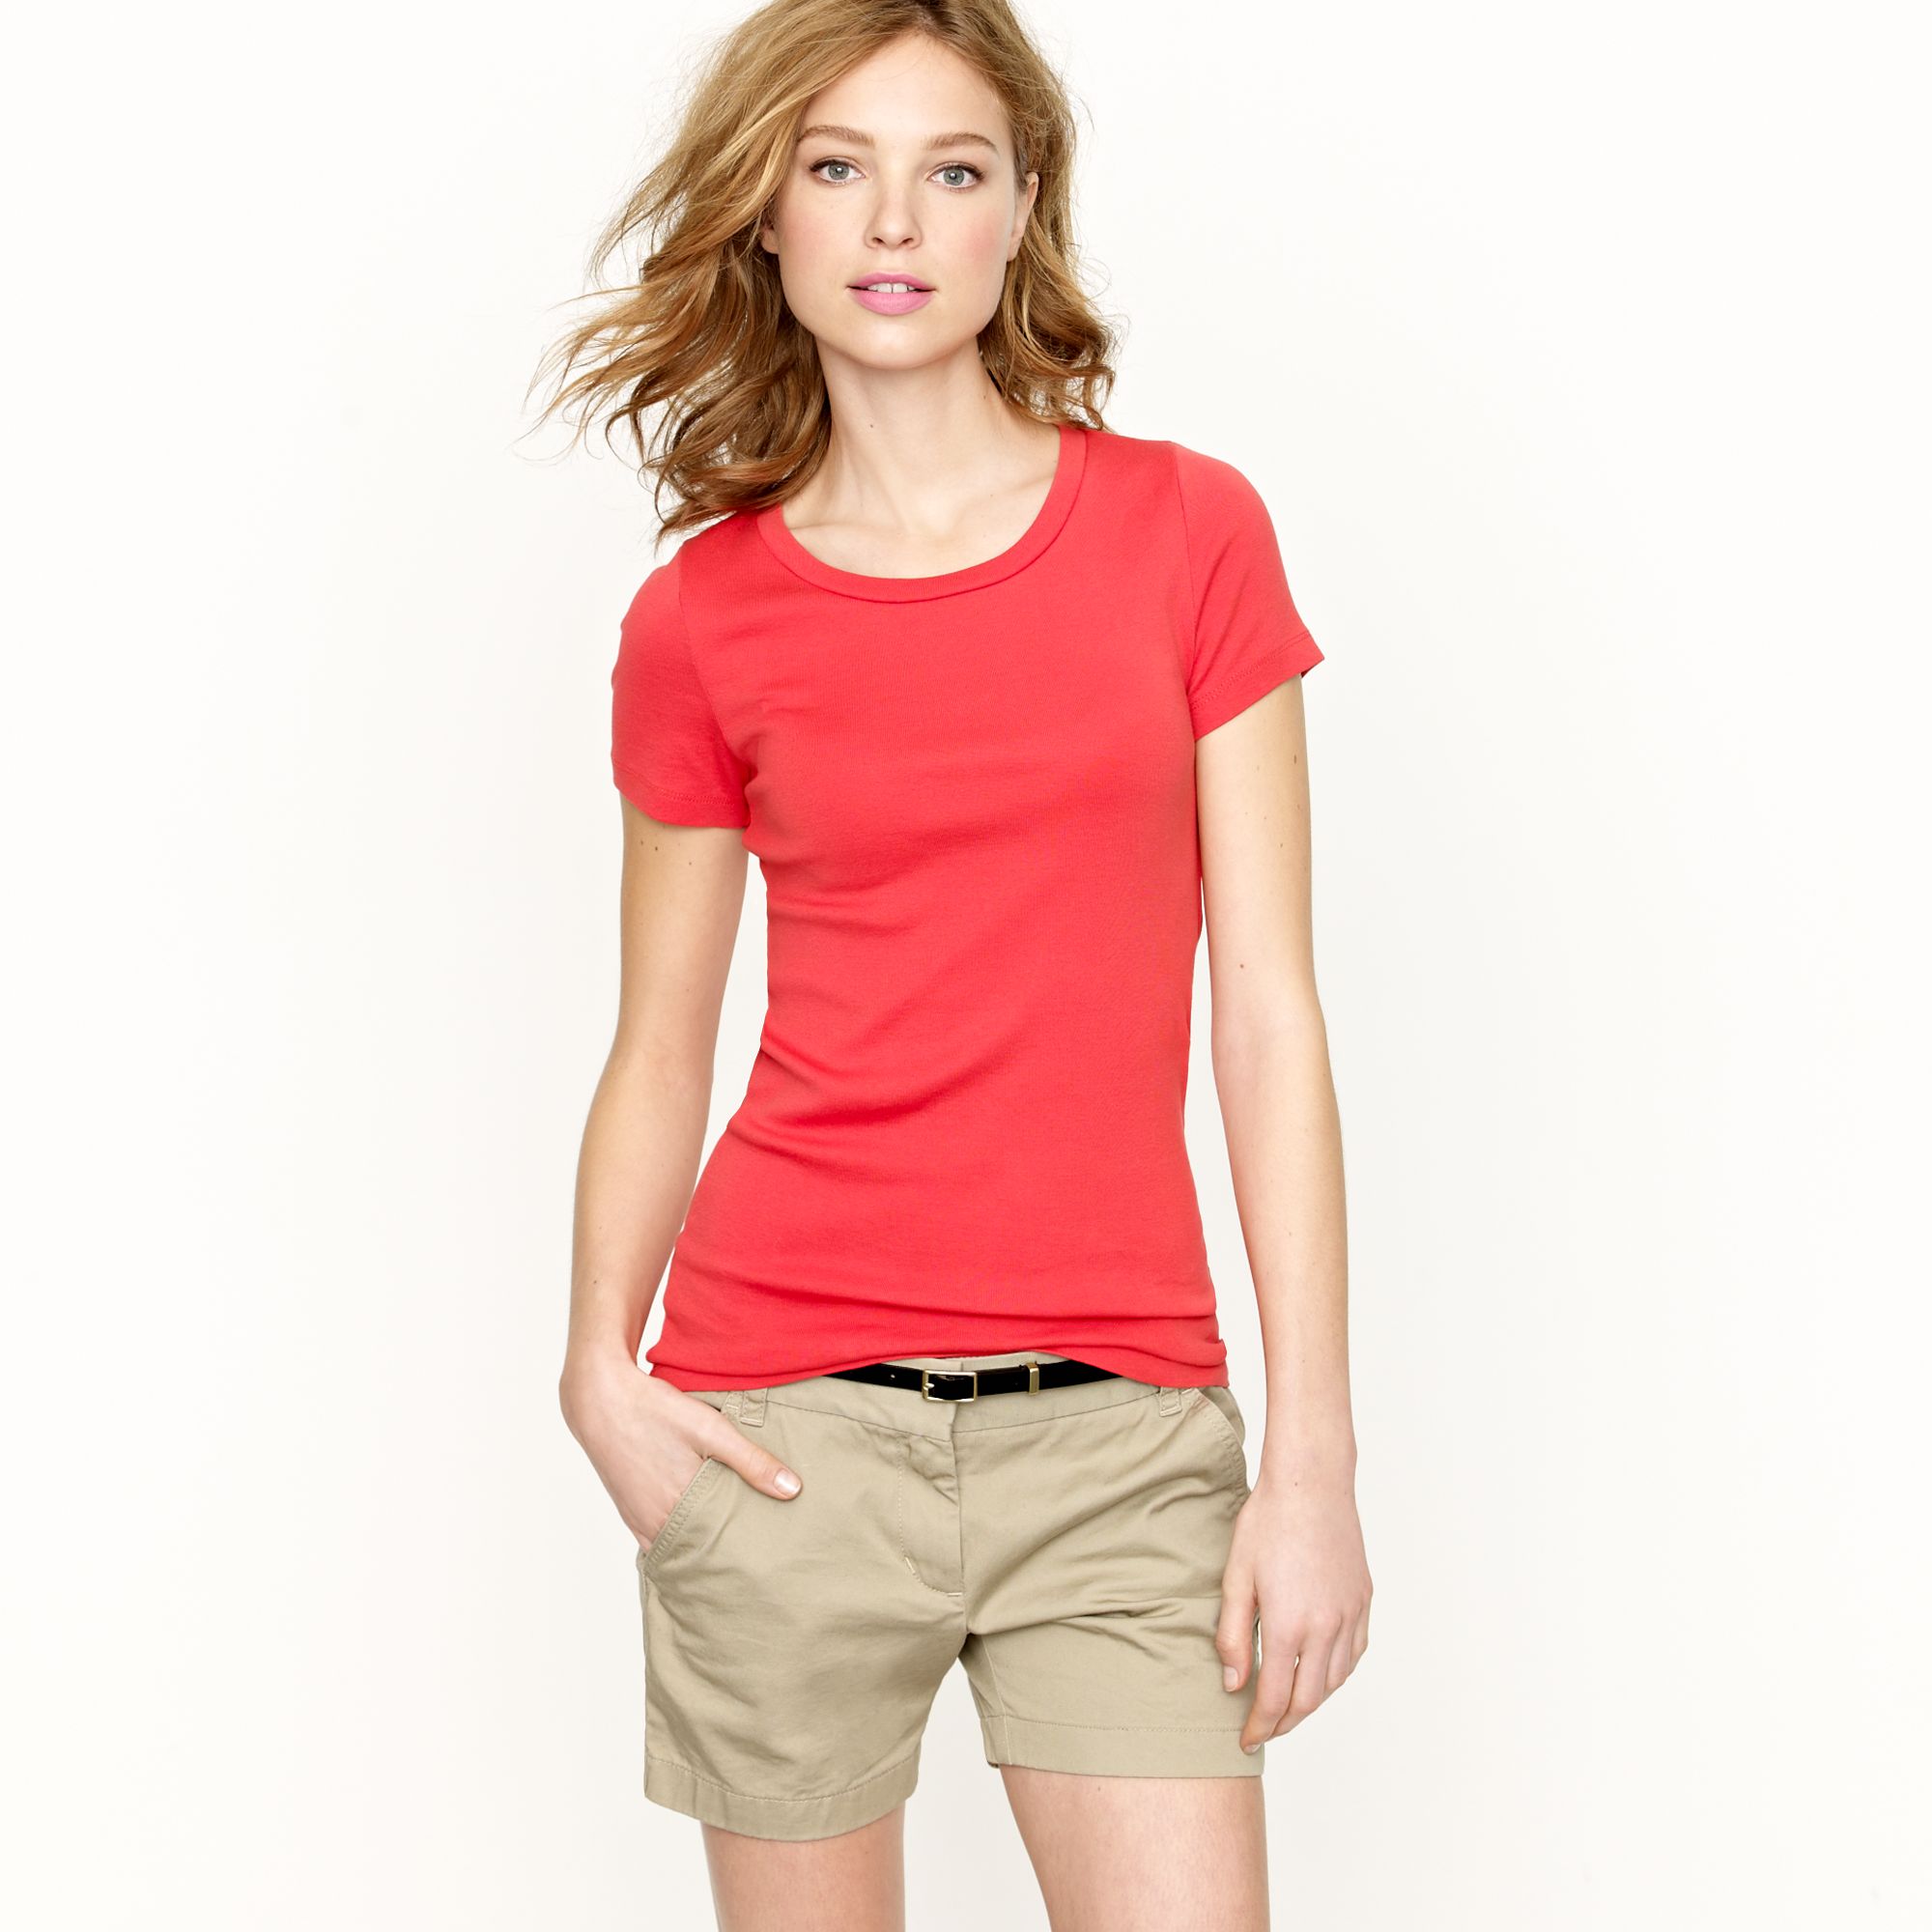
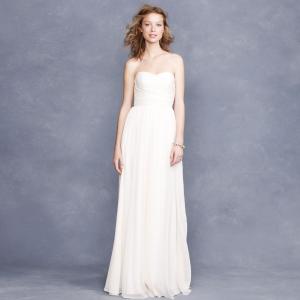
 J Crew (4/6) jcrew
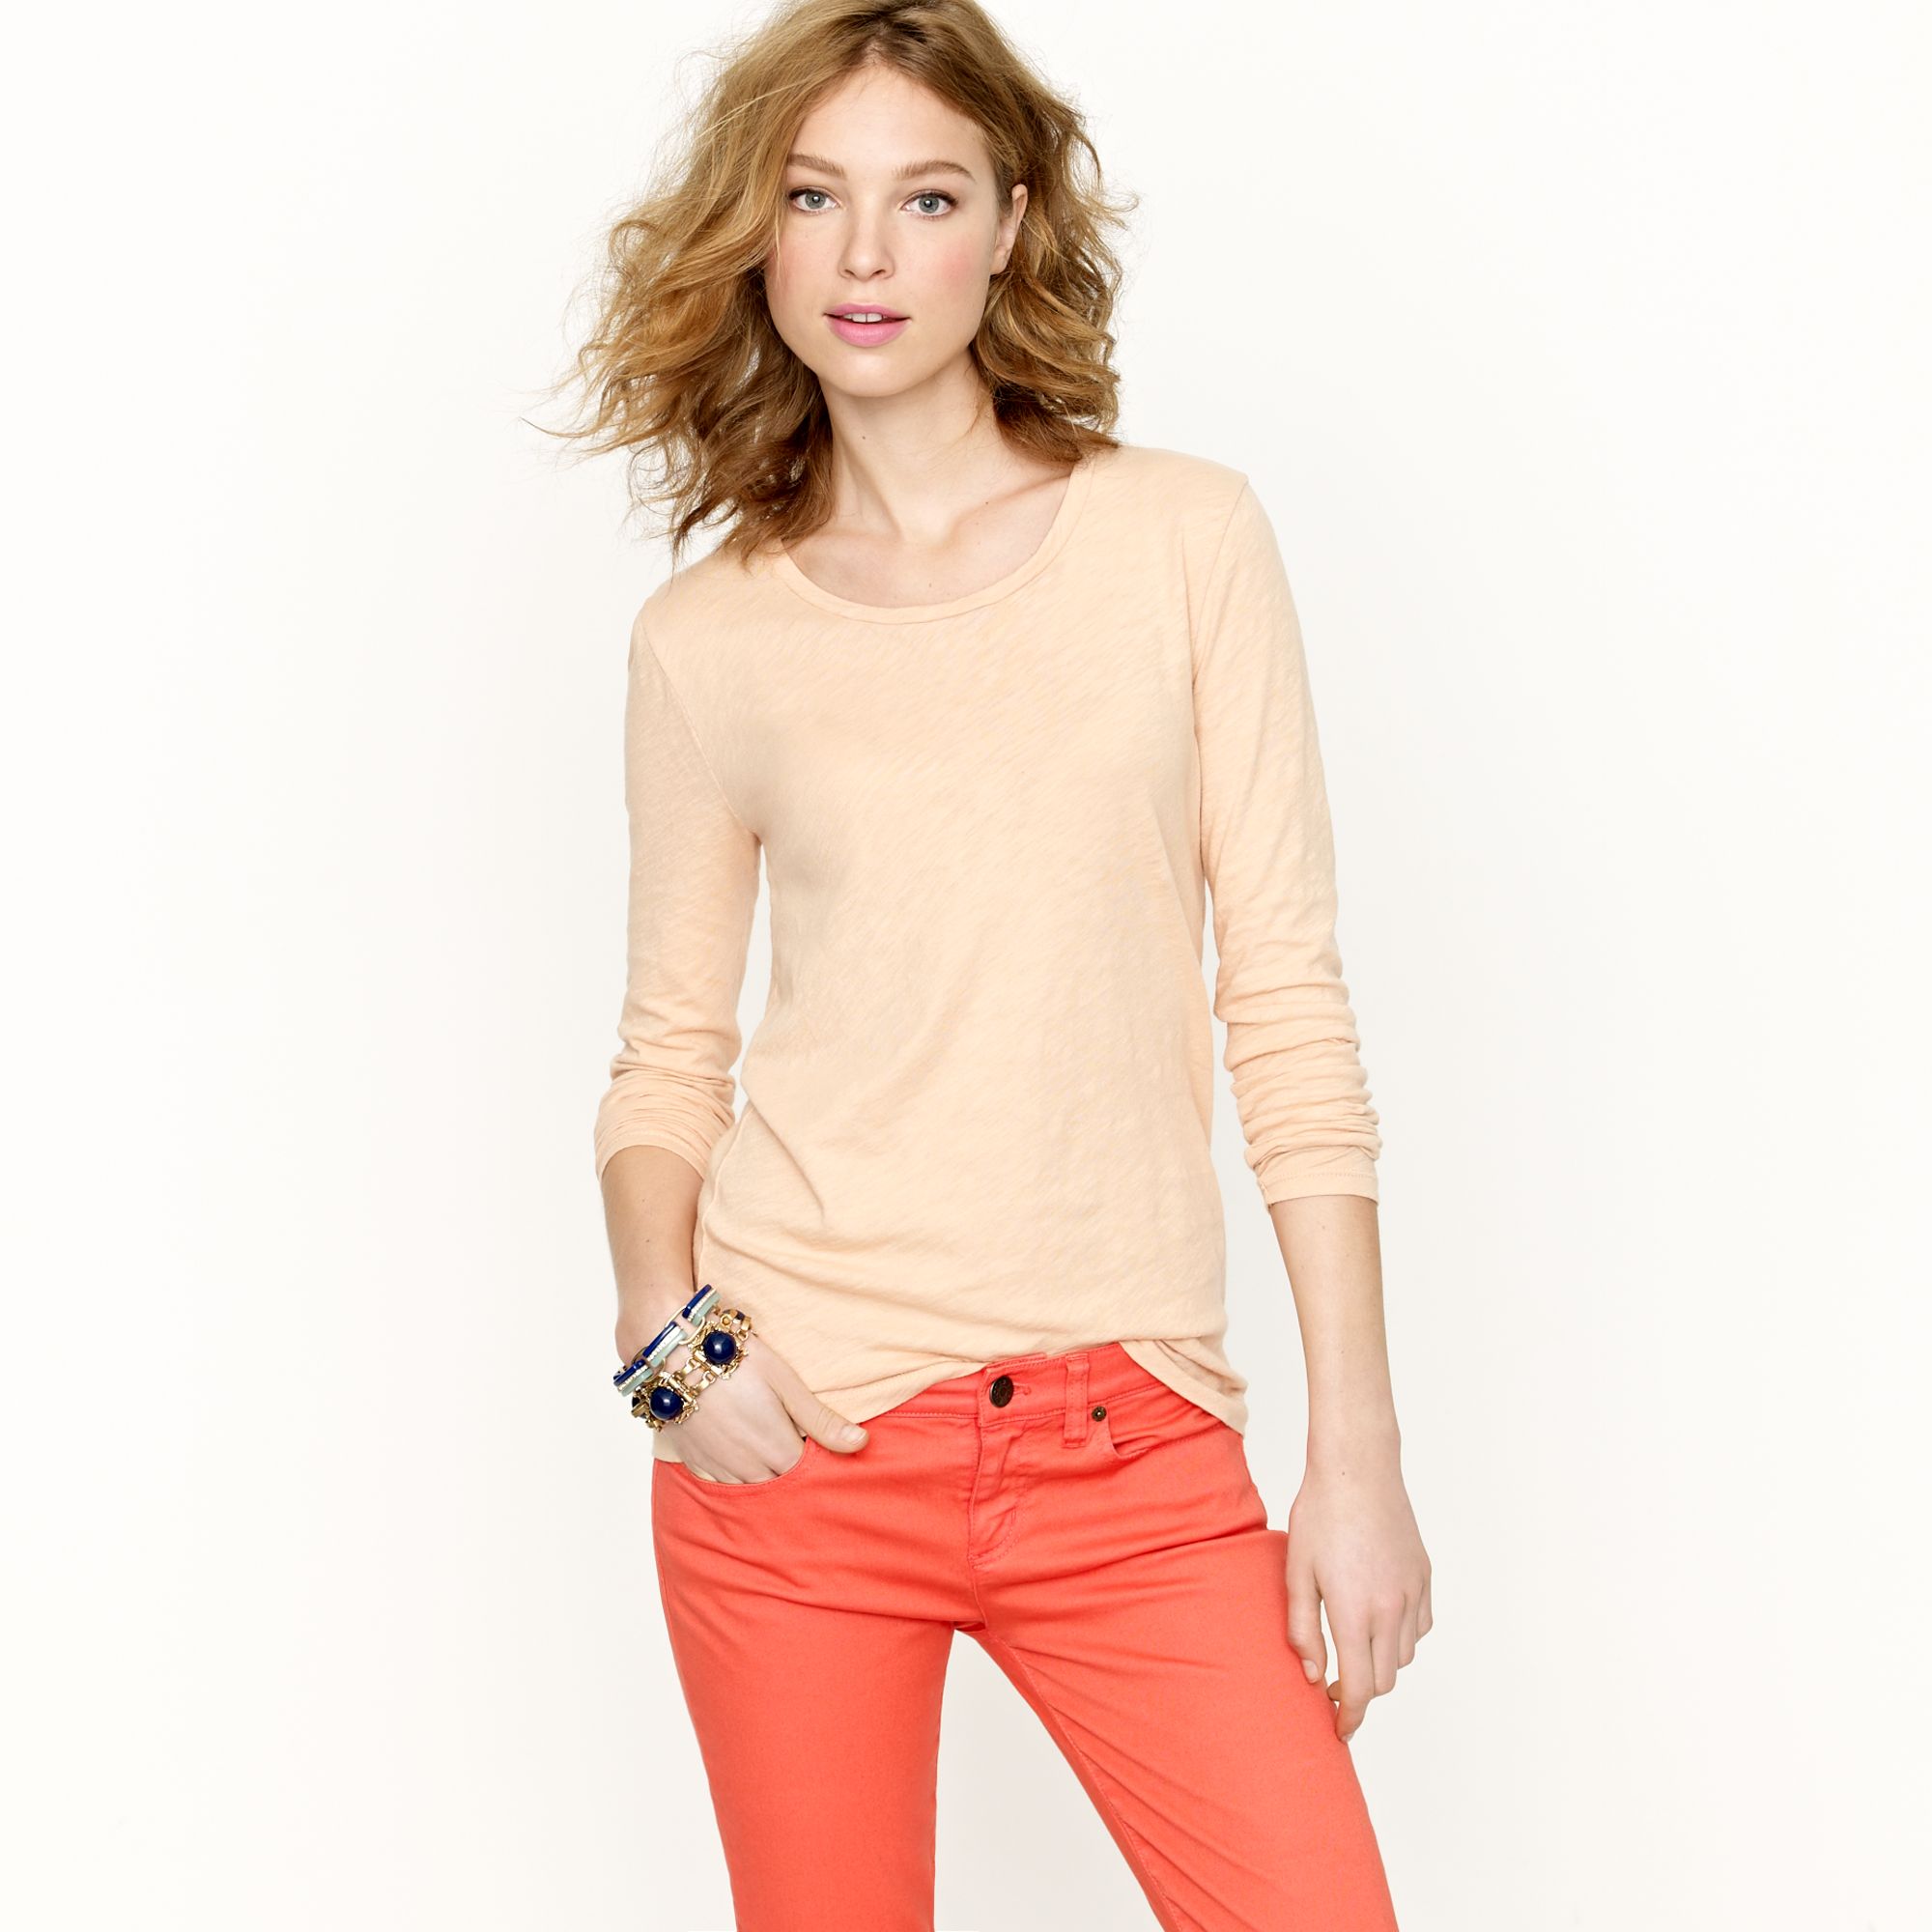
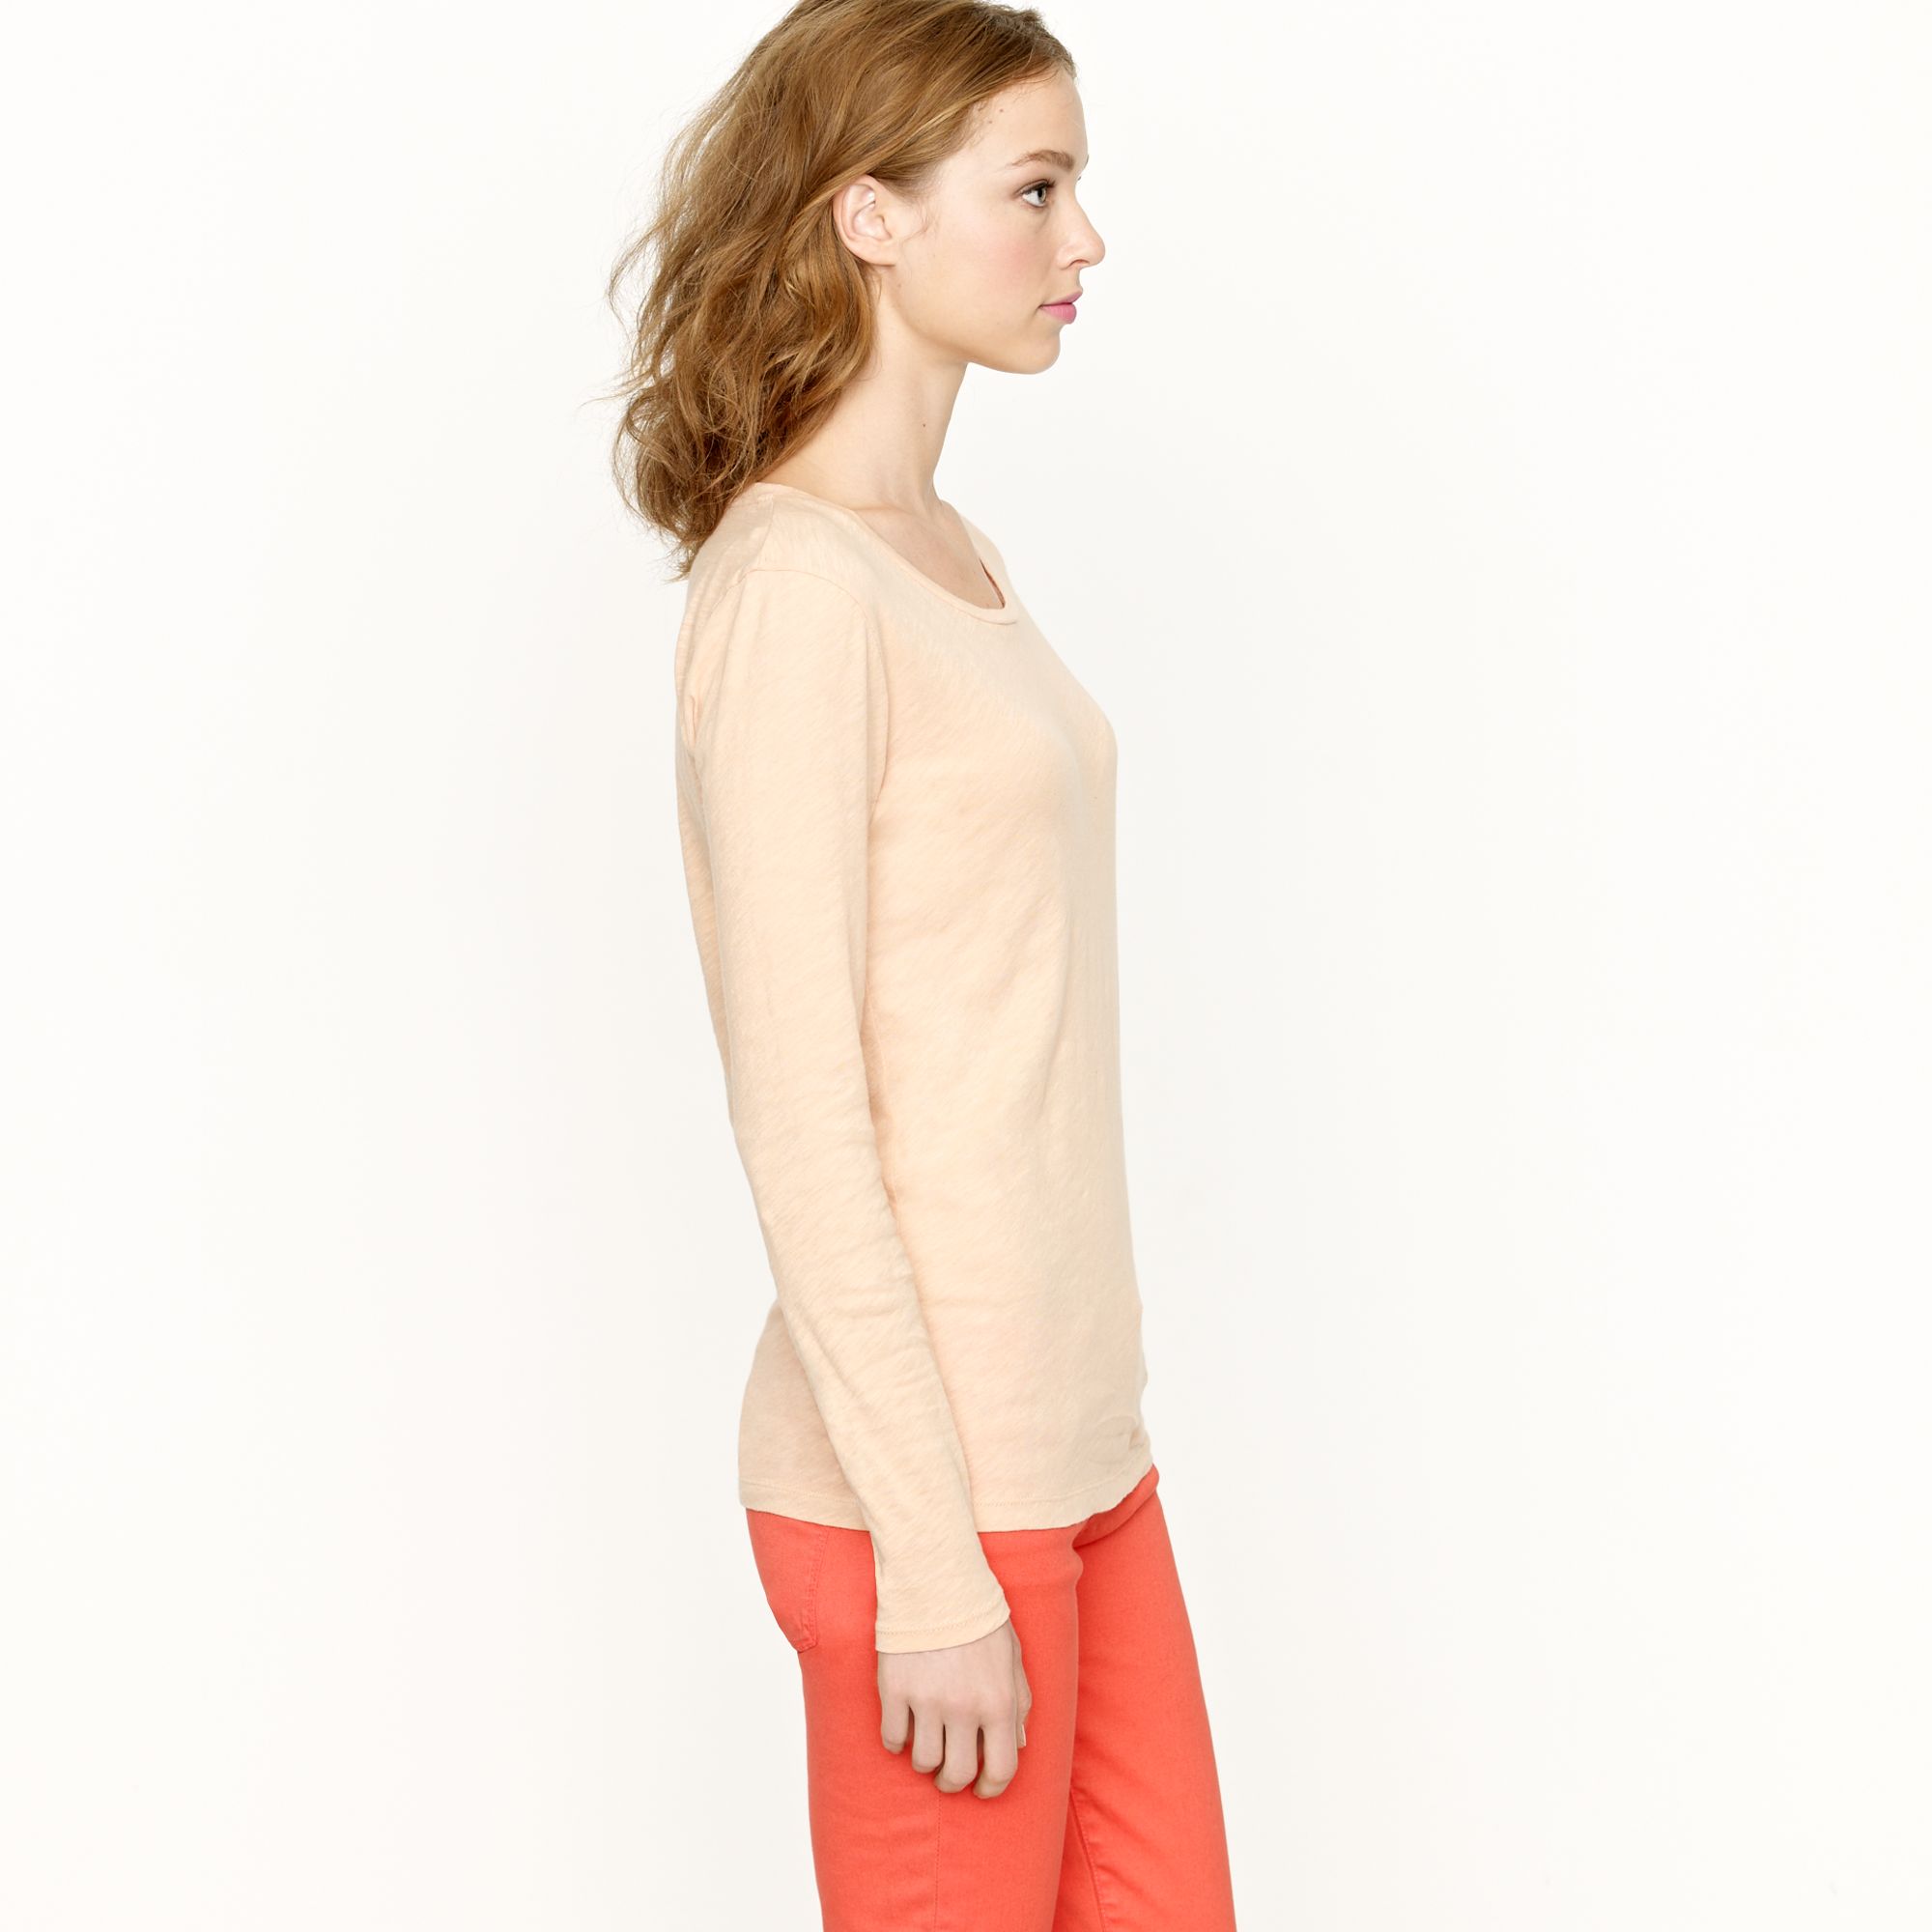
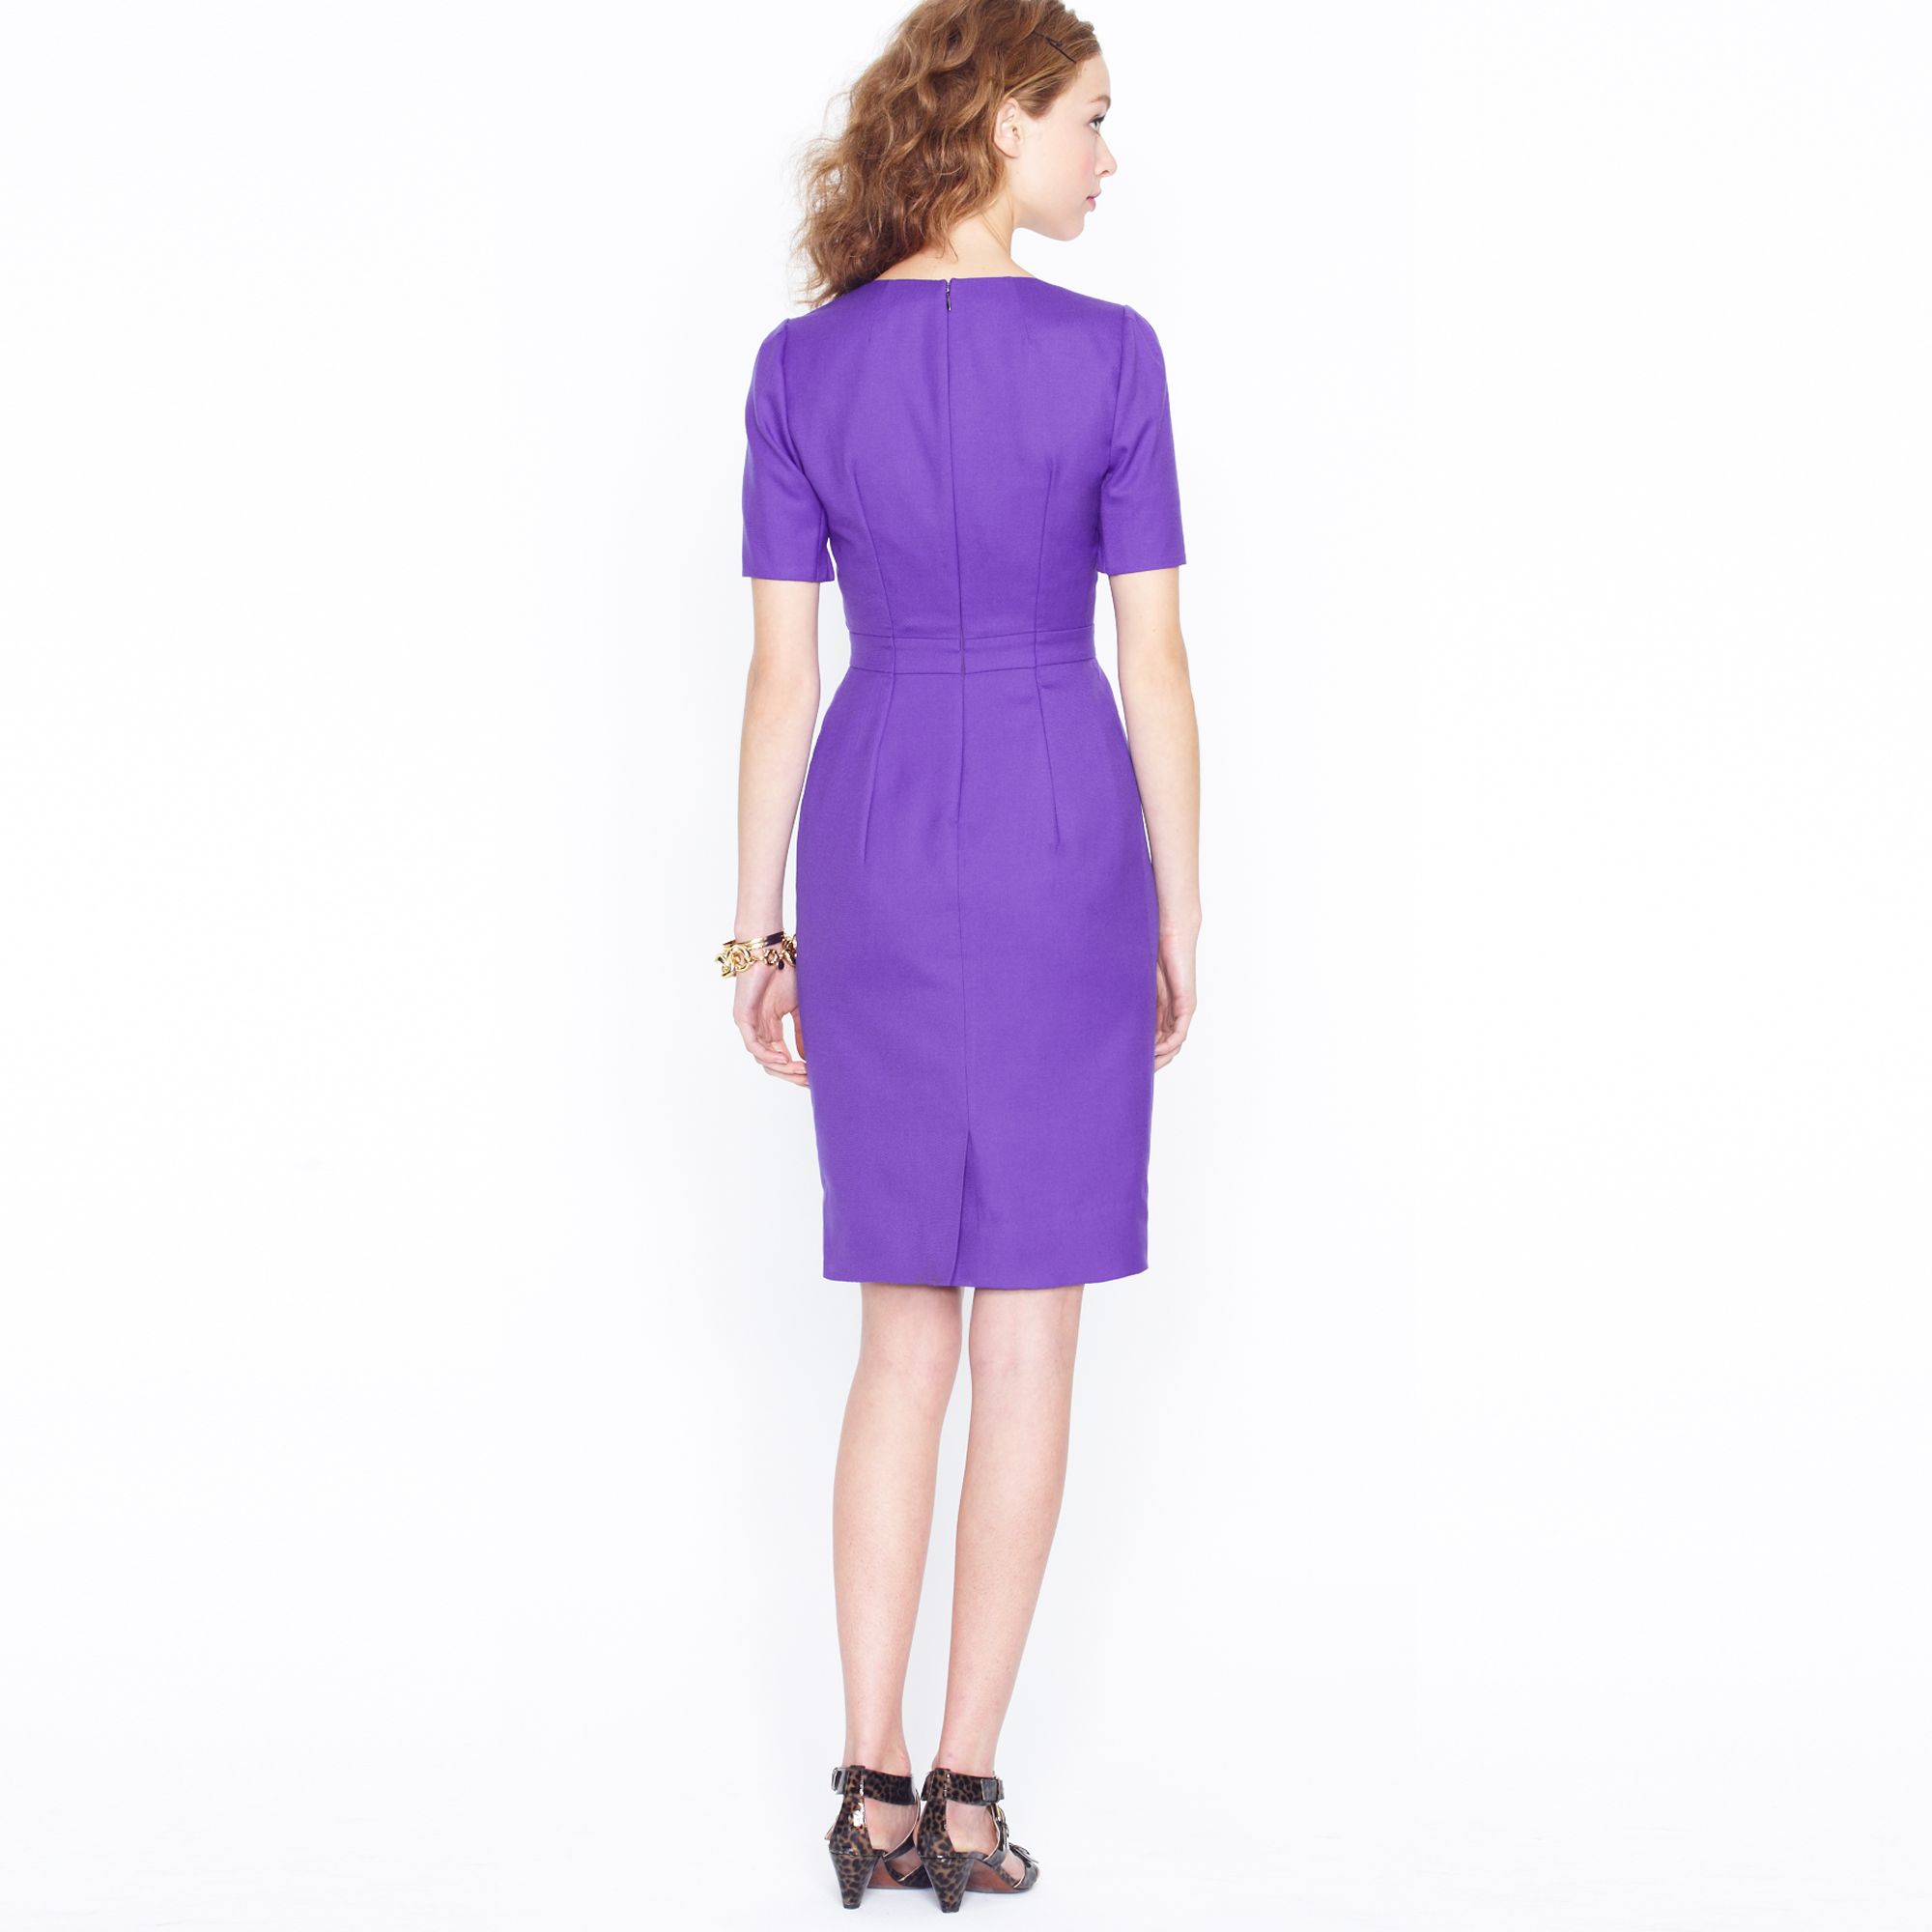
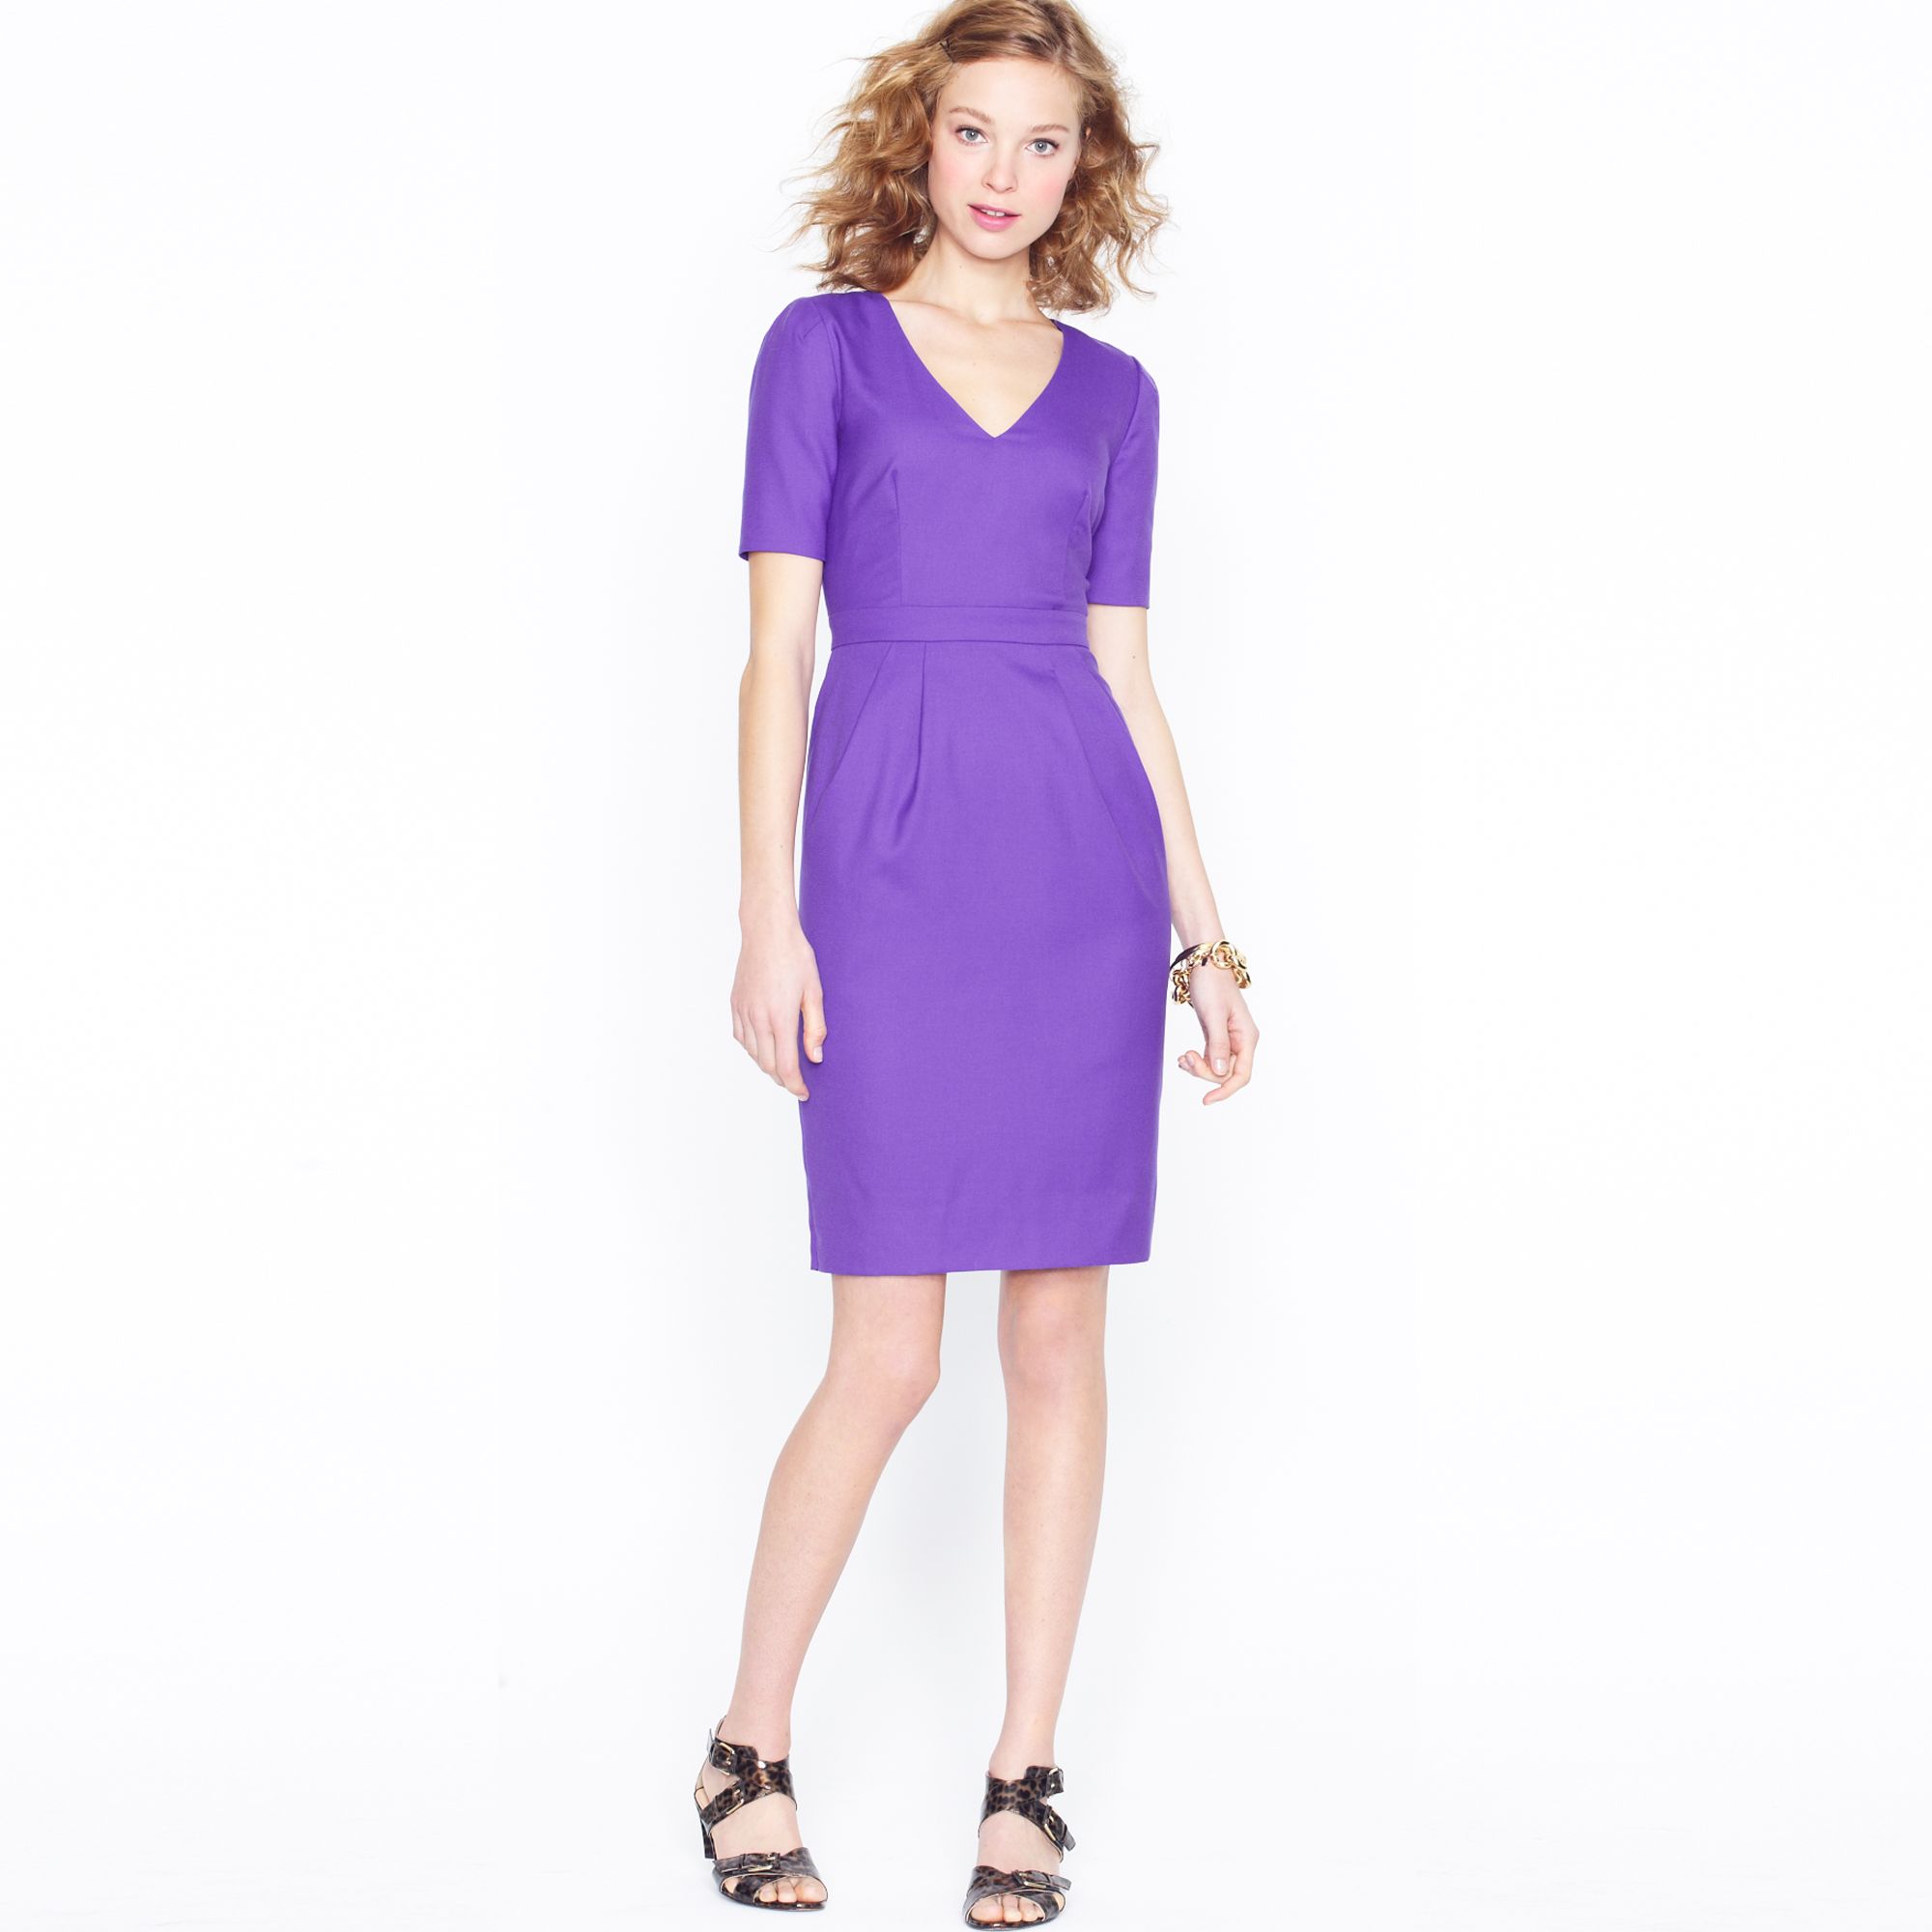
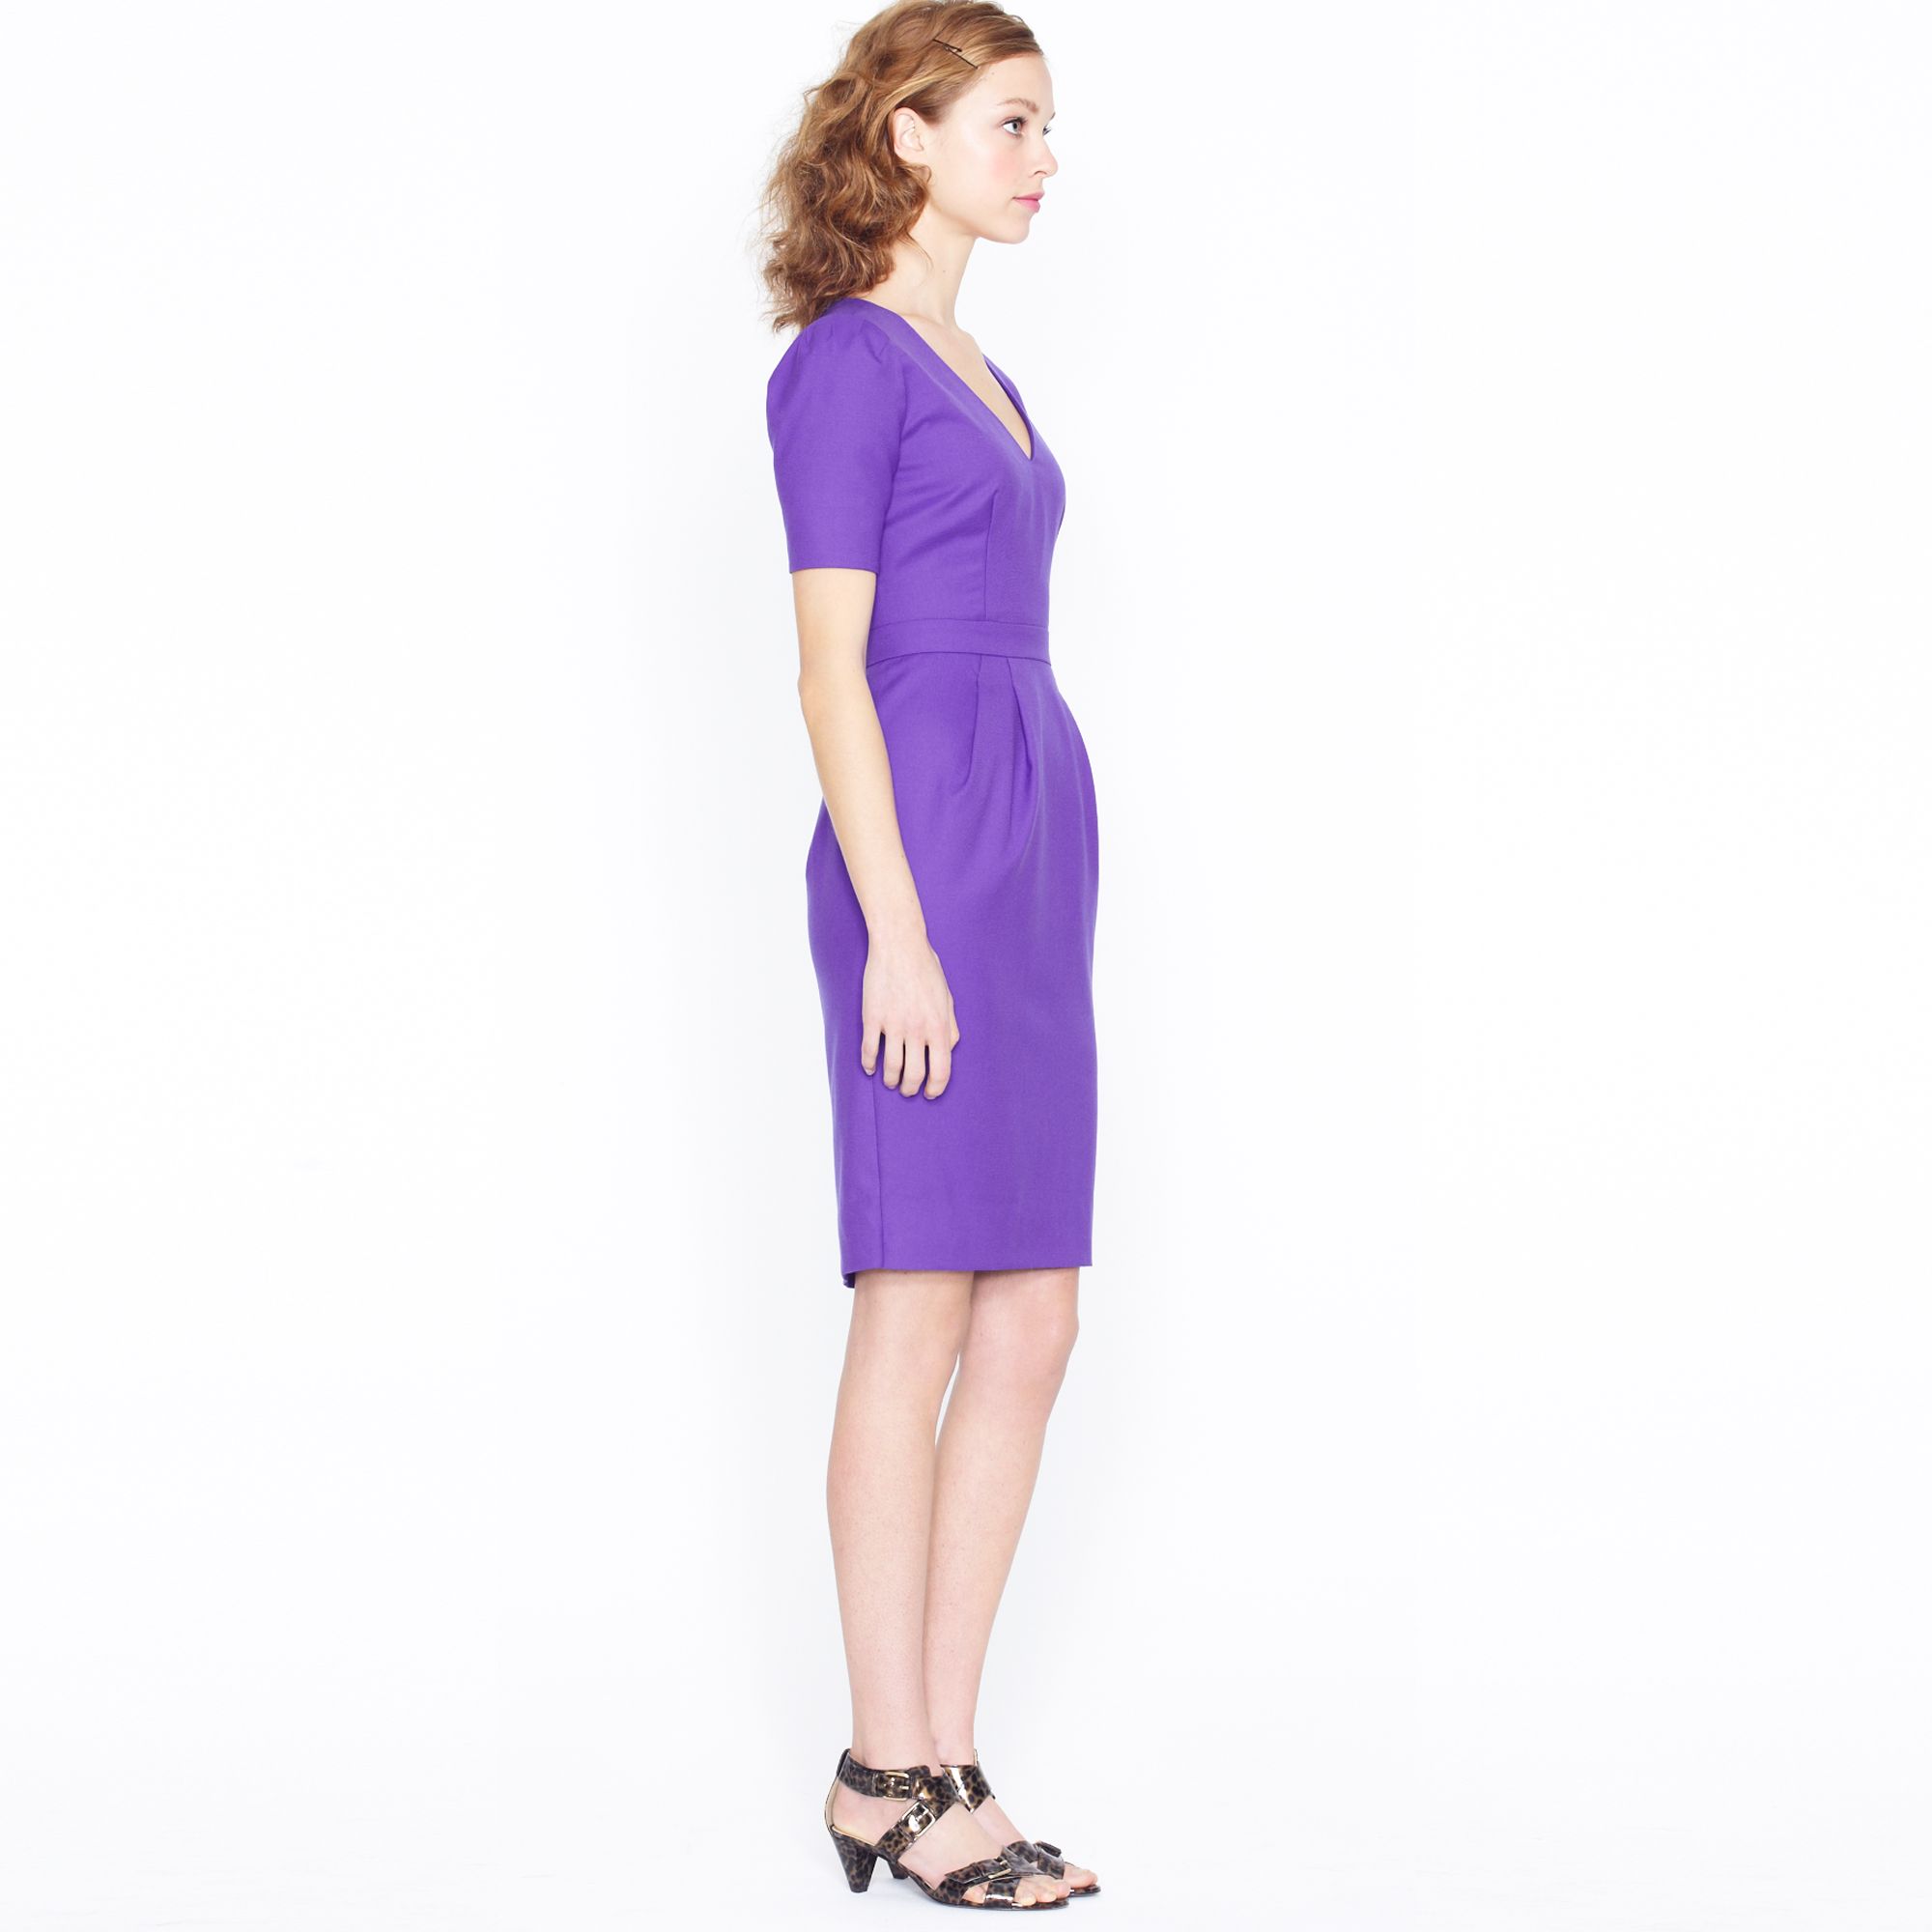
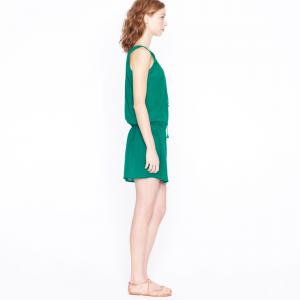


-
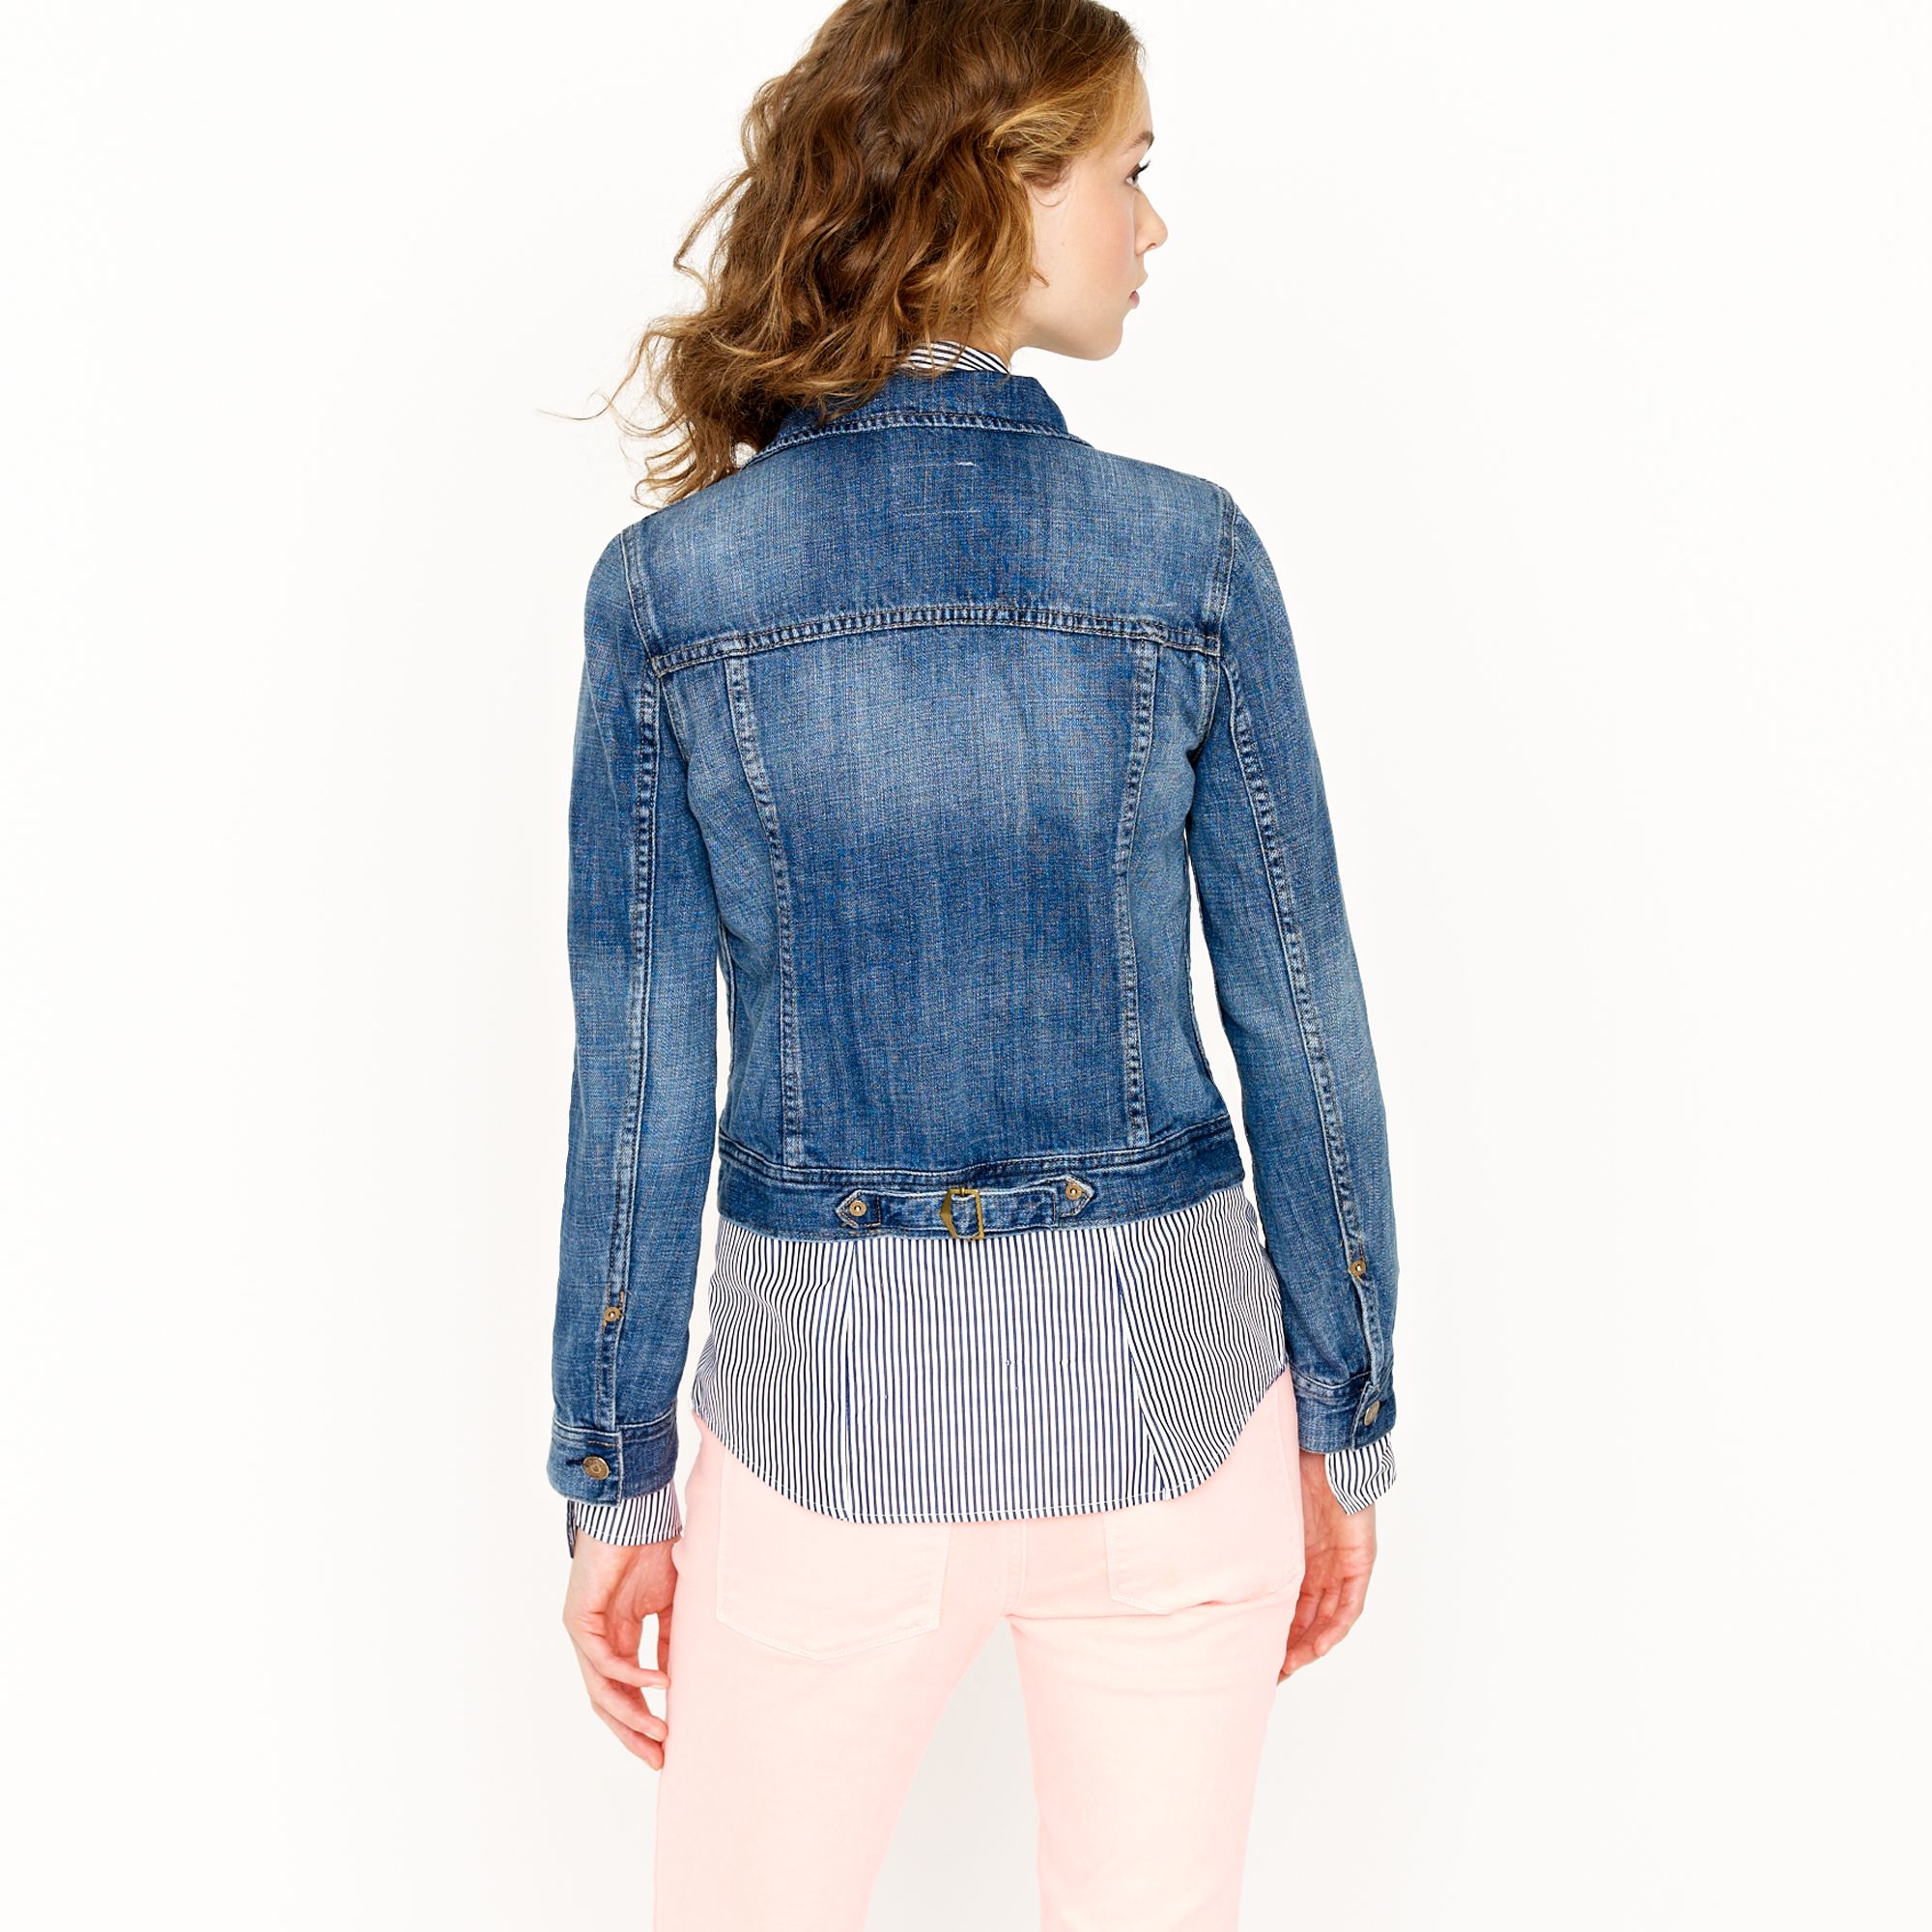
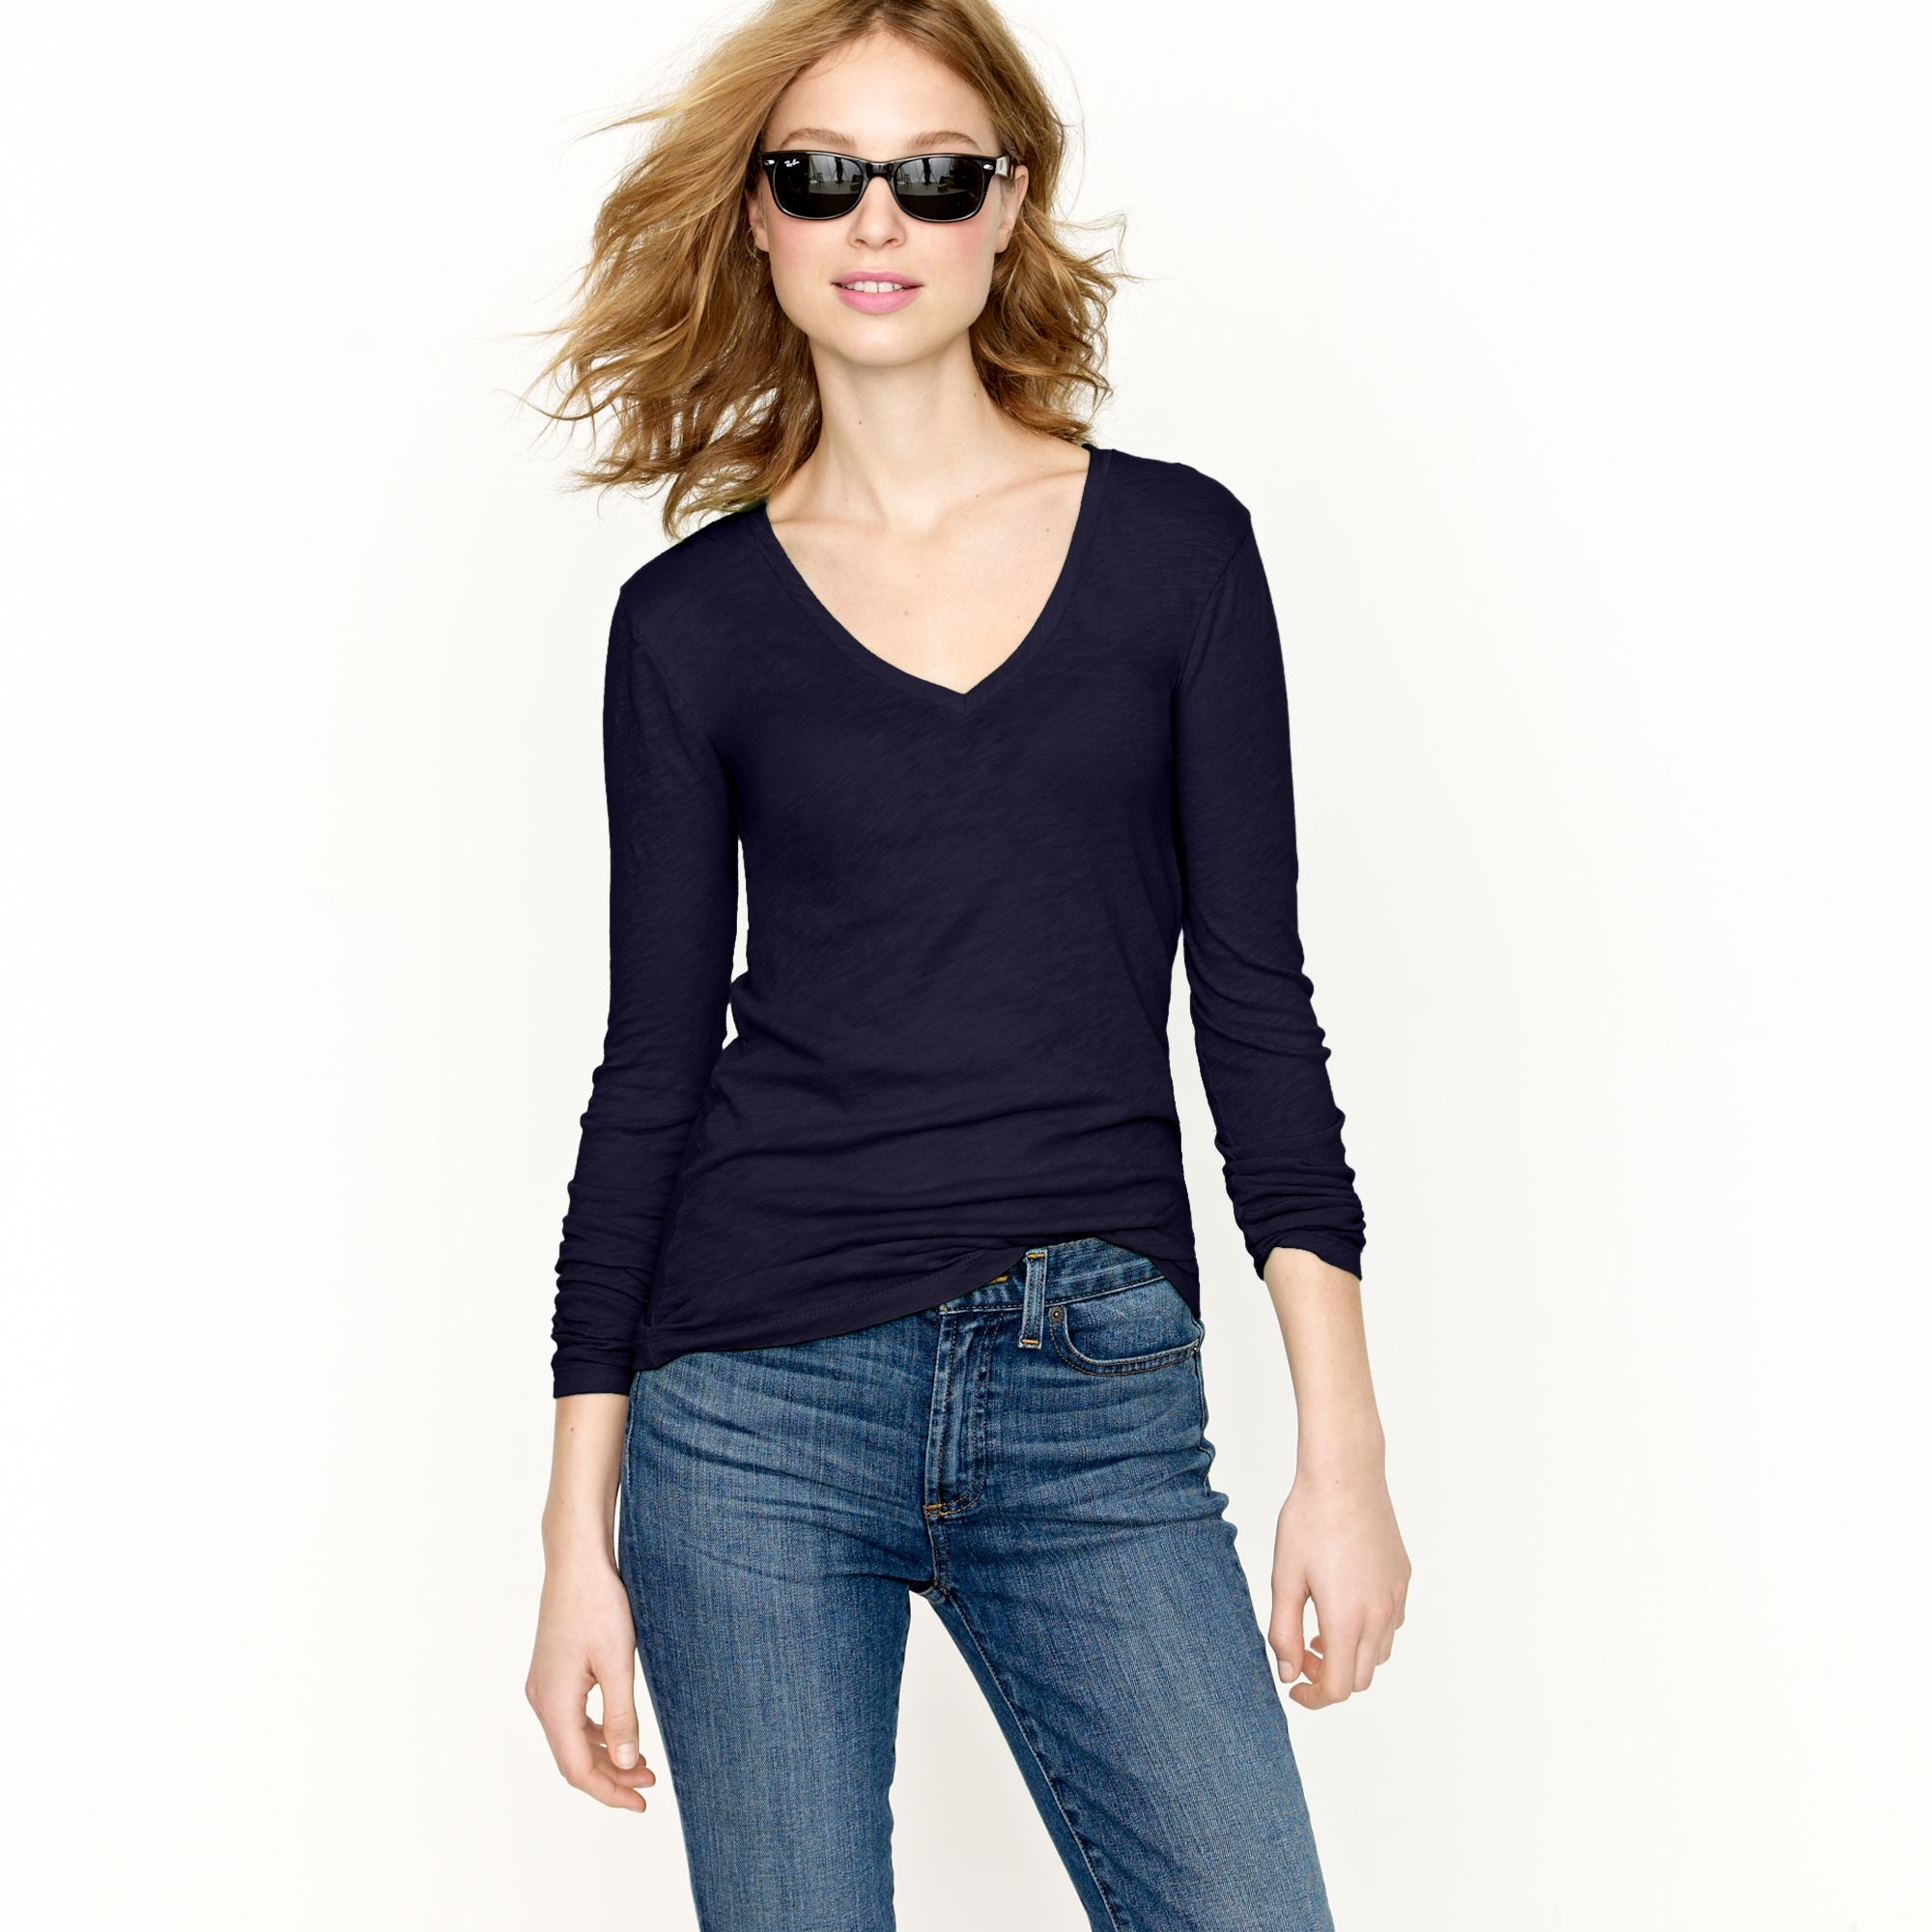
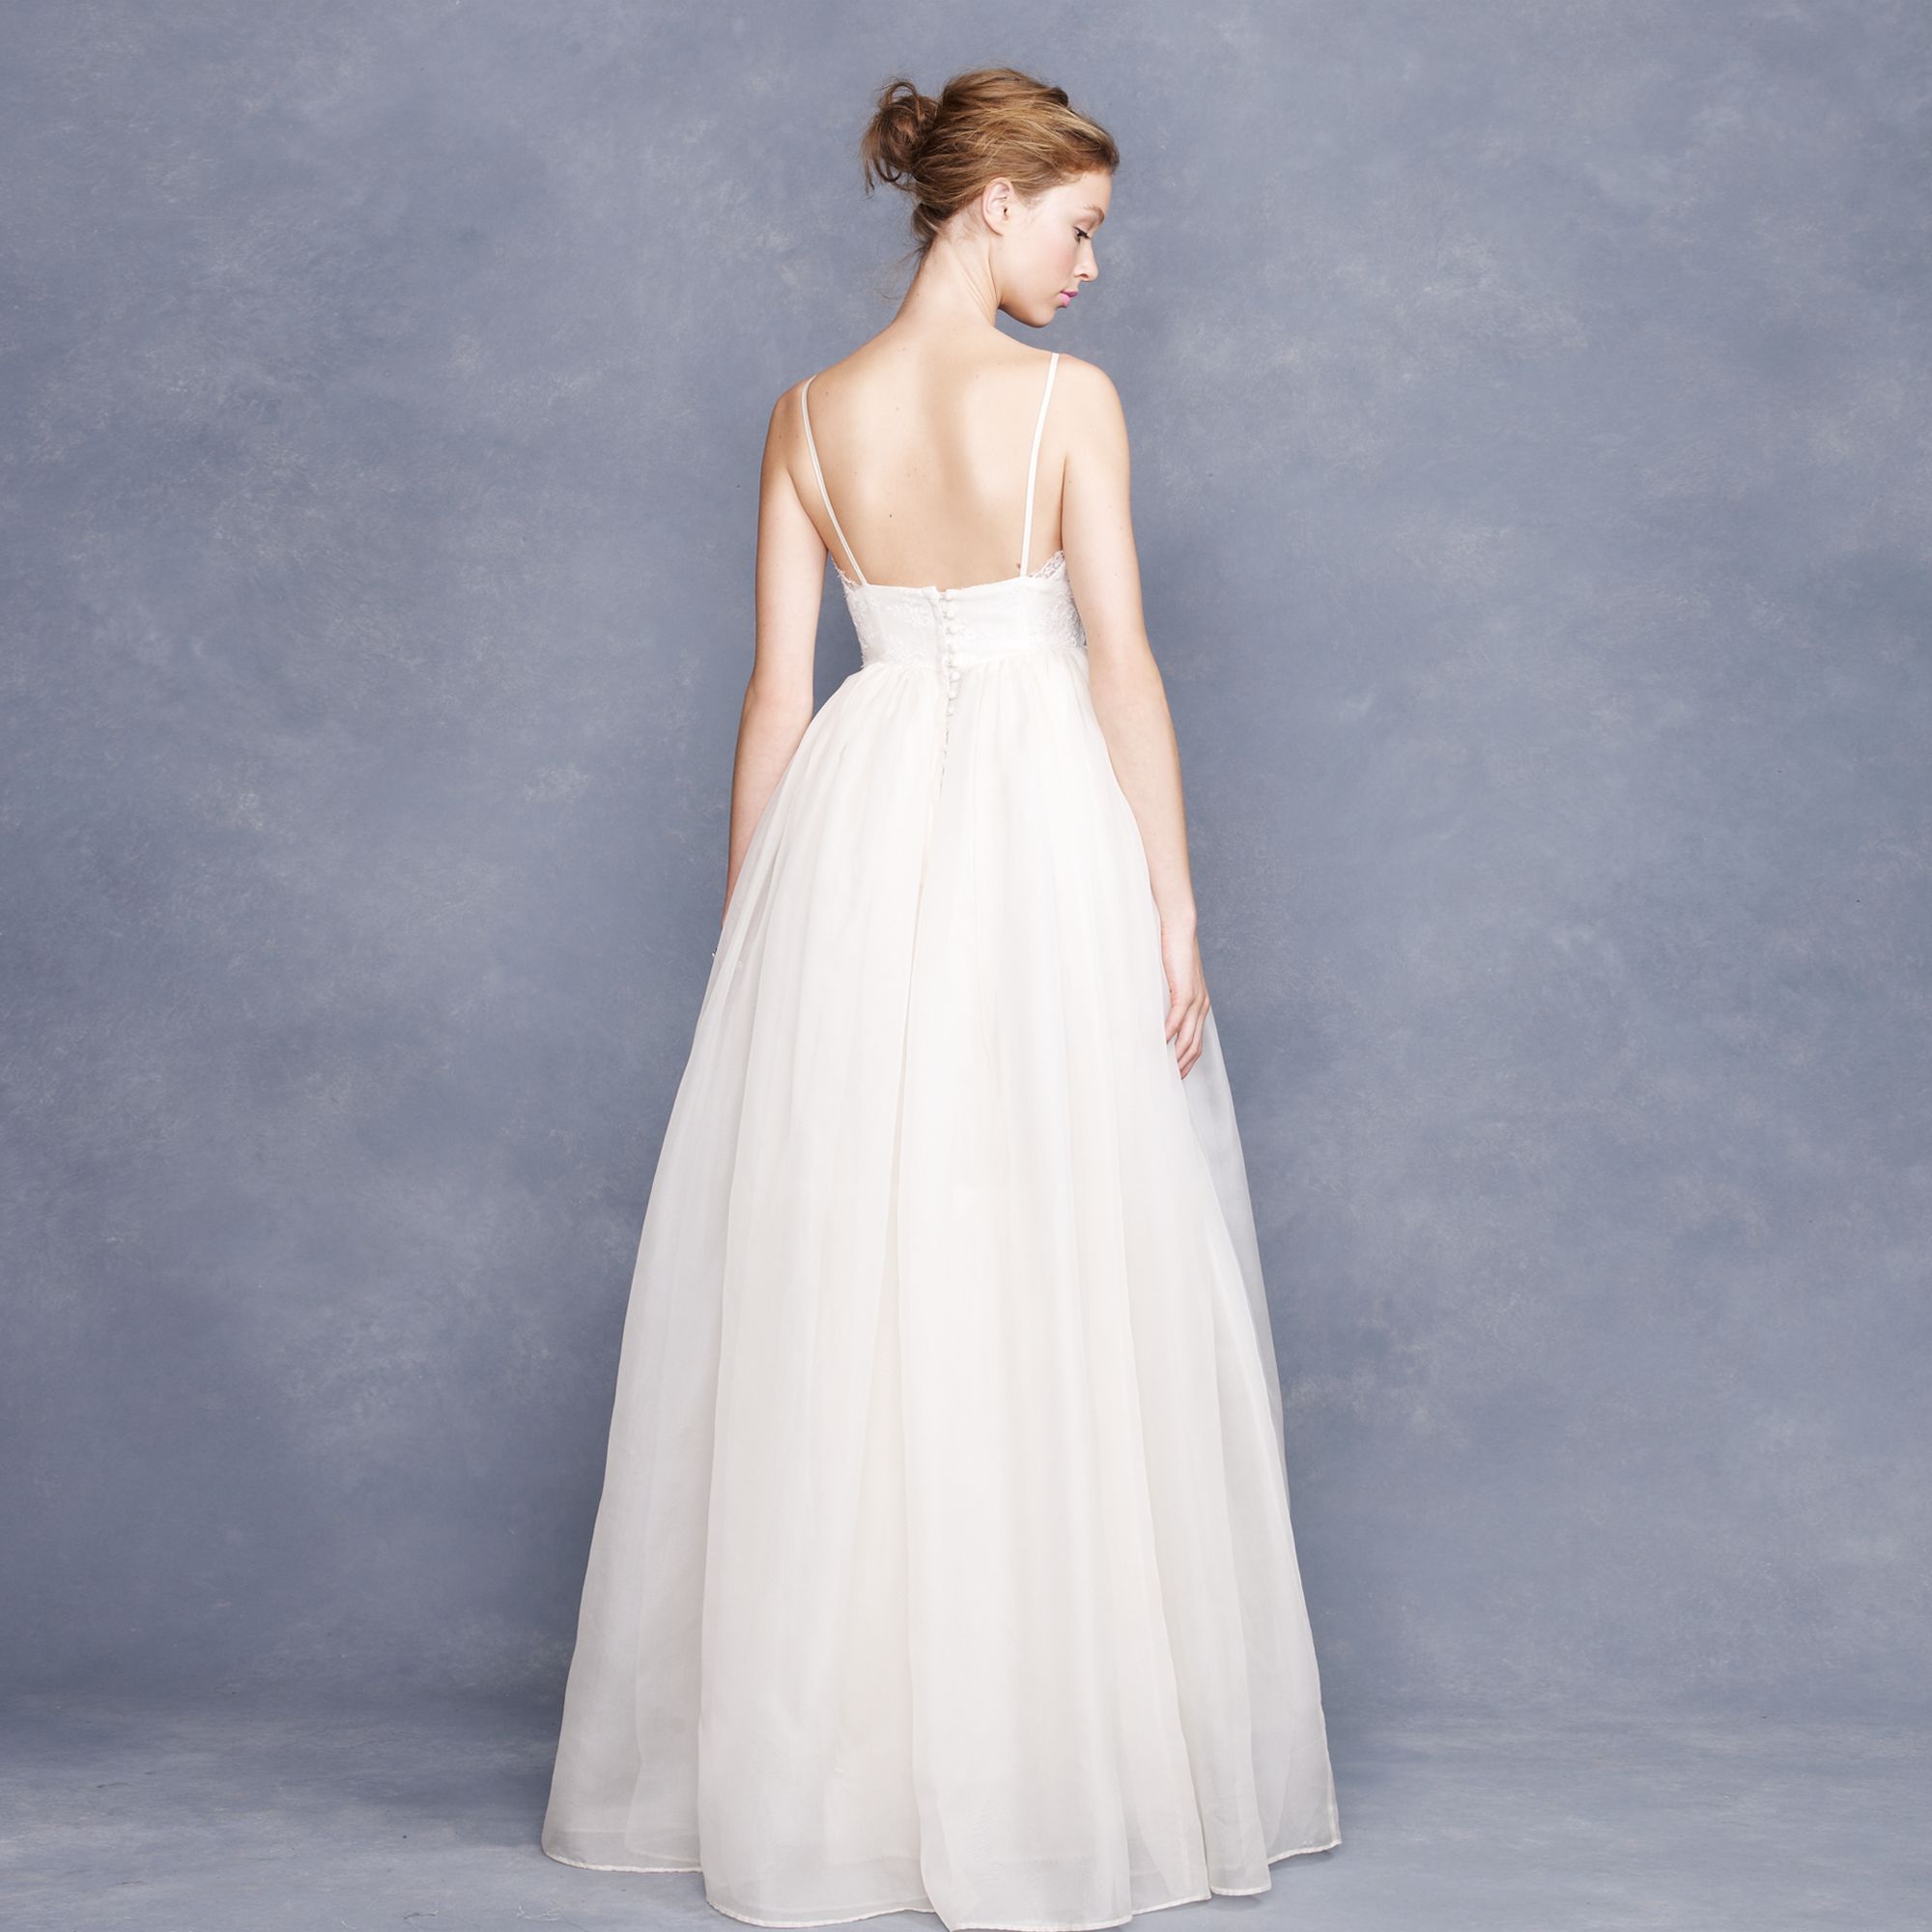
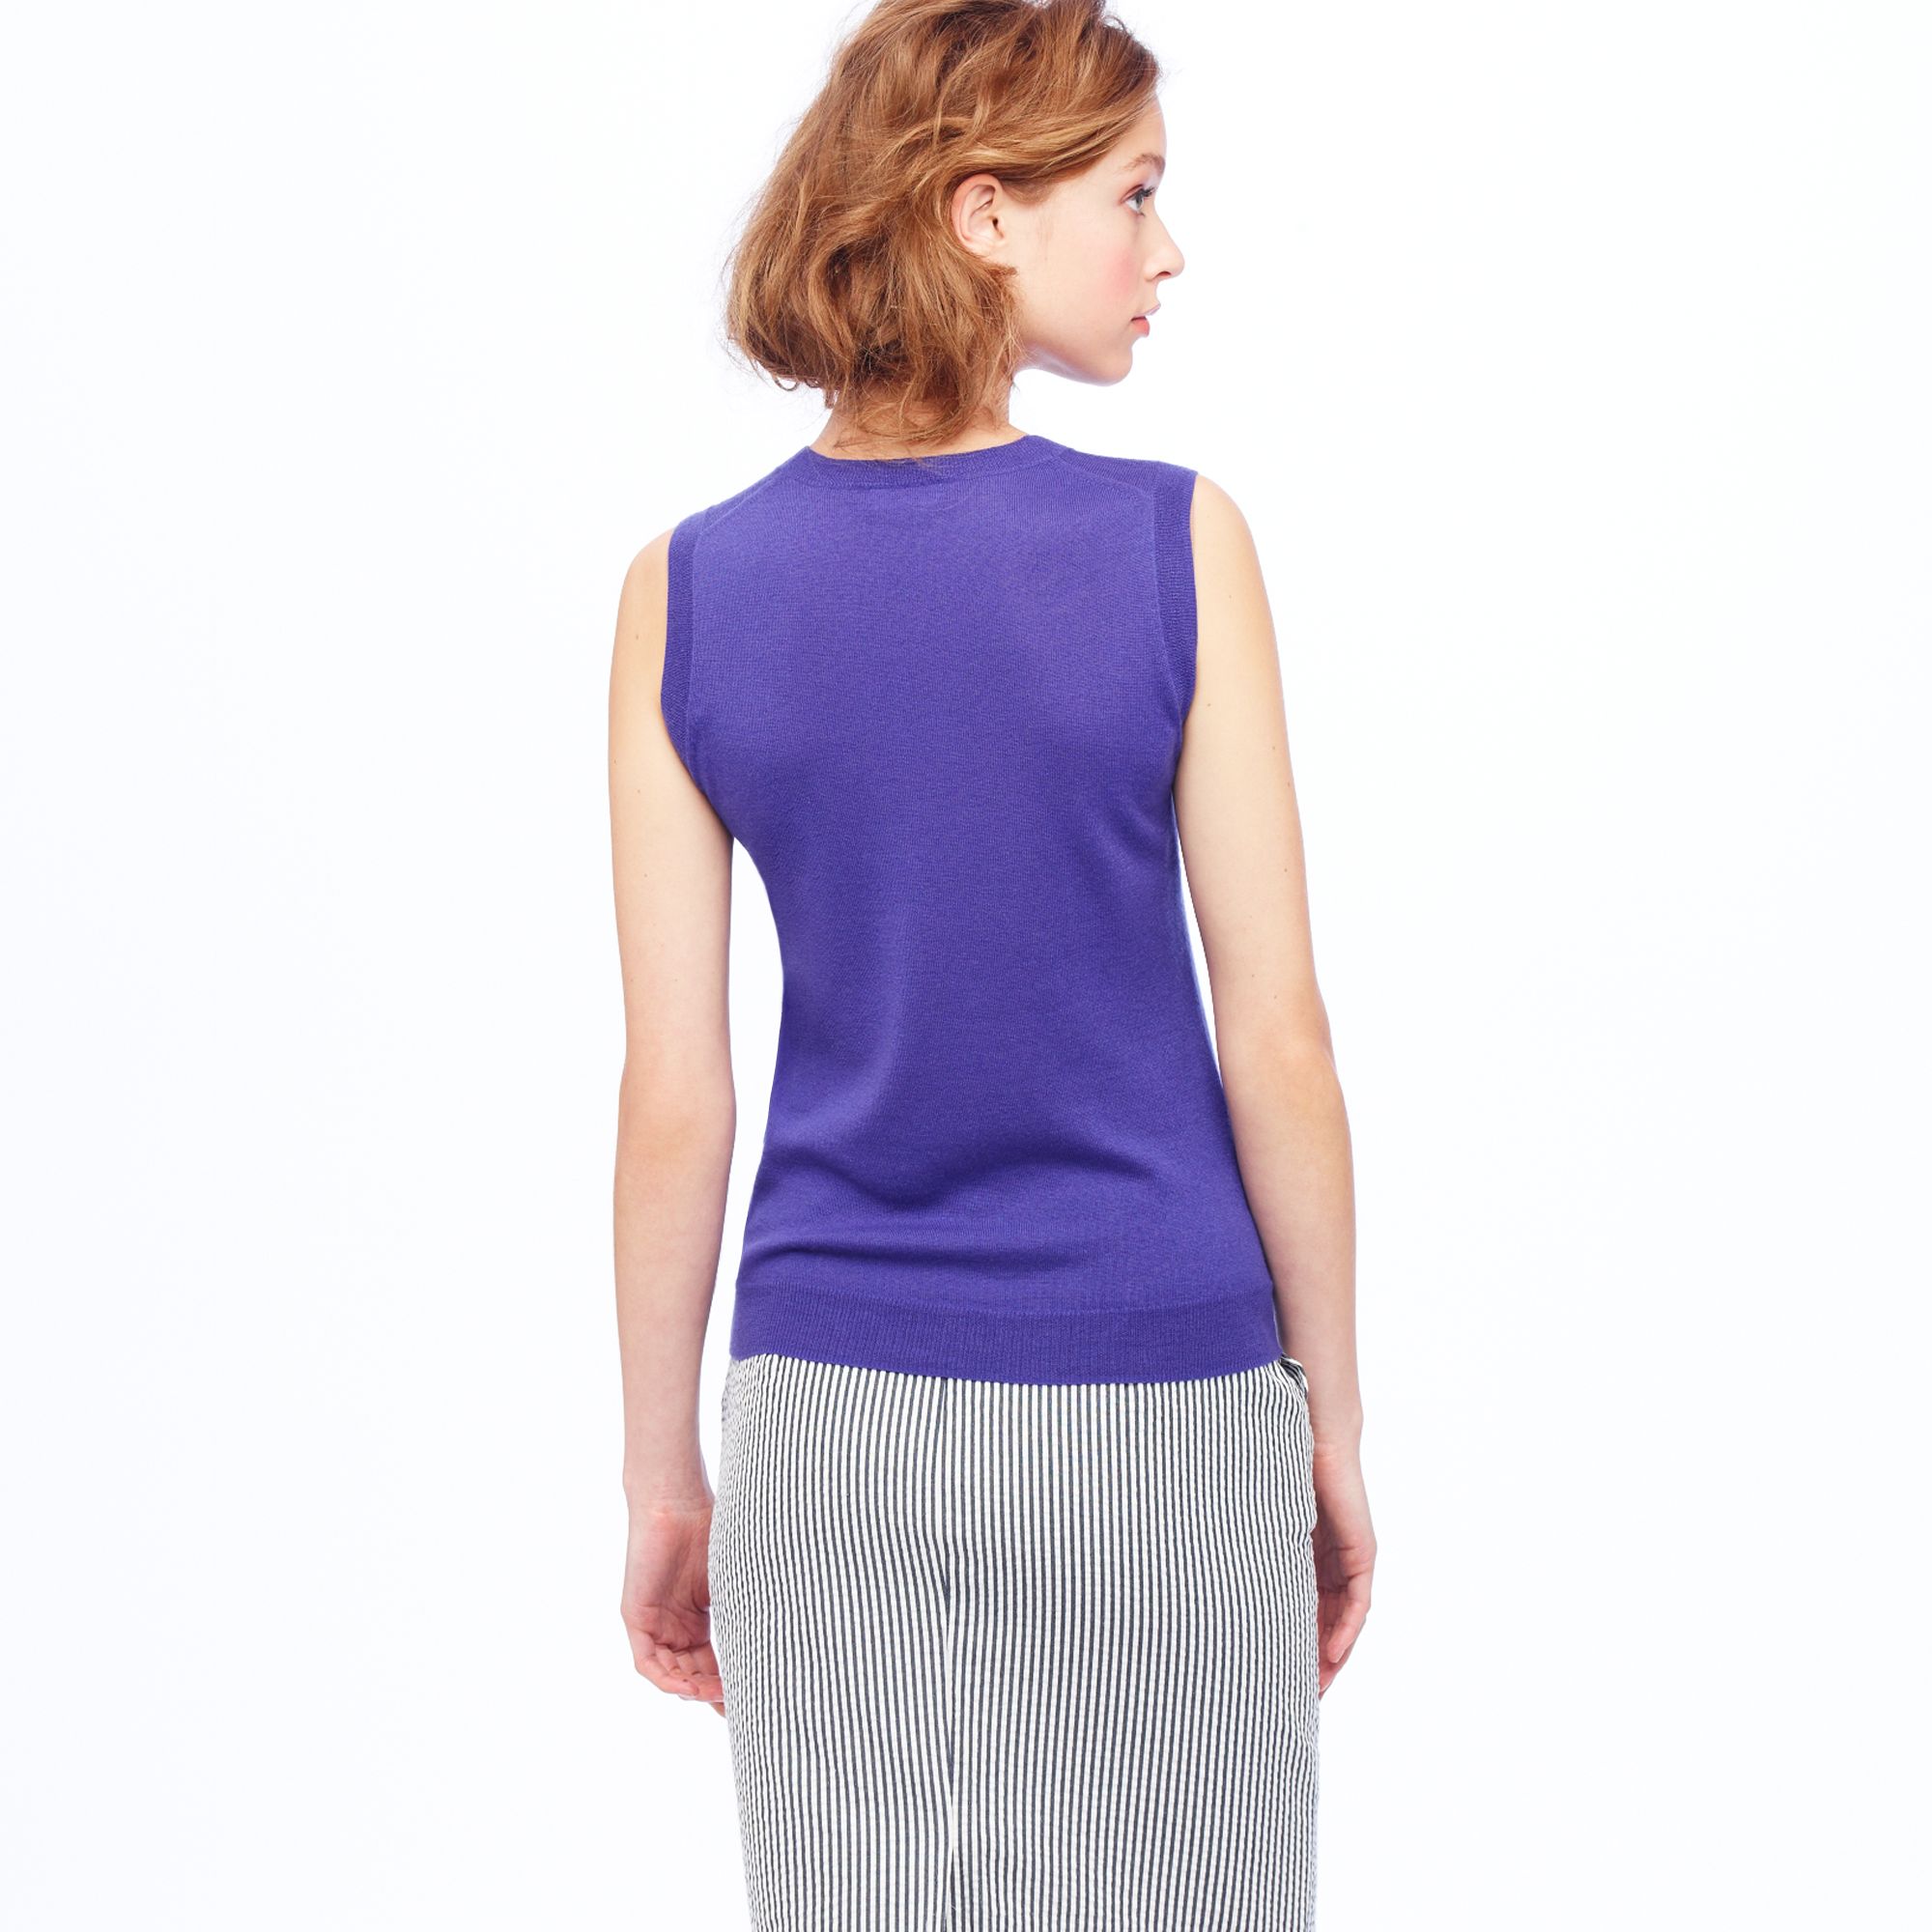
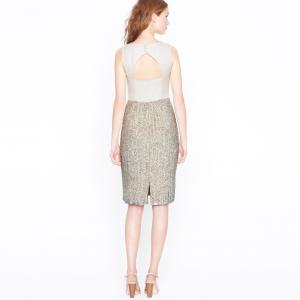
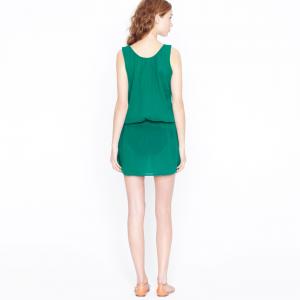
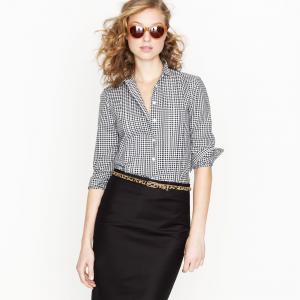
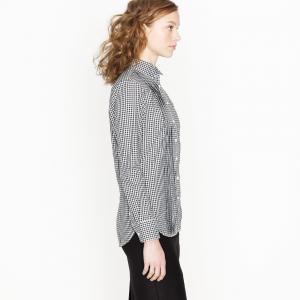
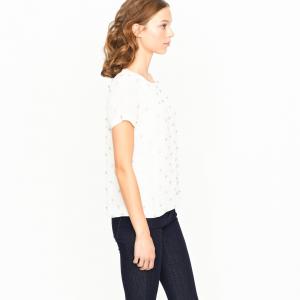
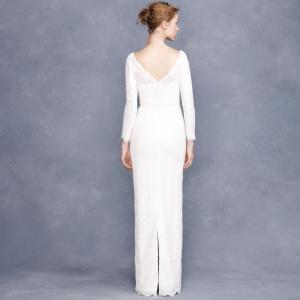
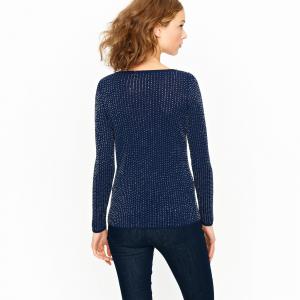
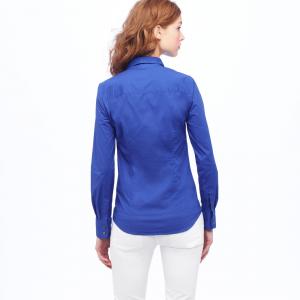
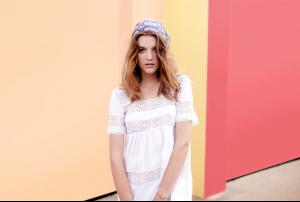
J Crew (3/6) jcrew


-
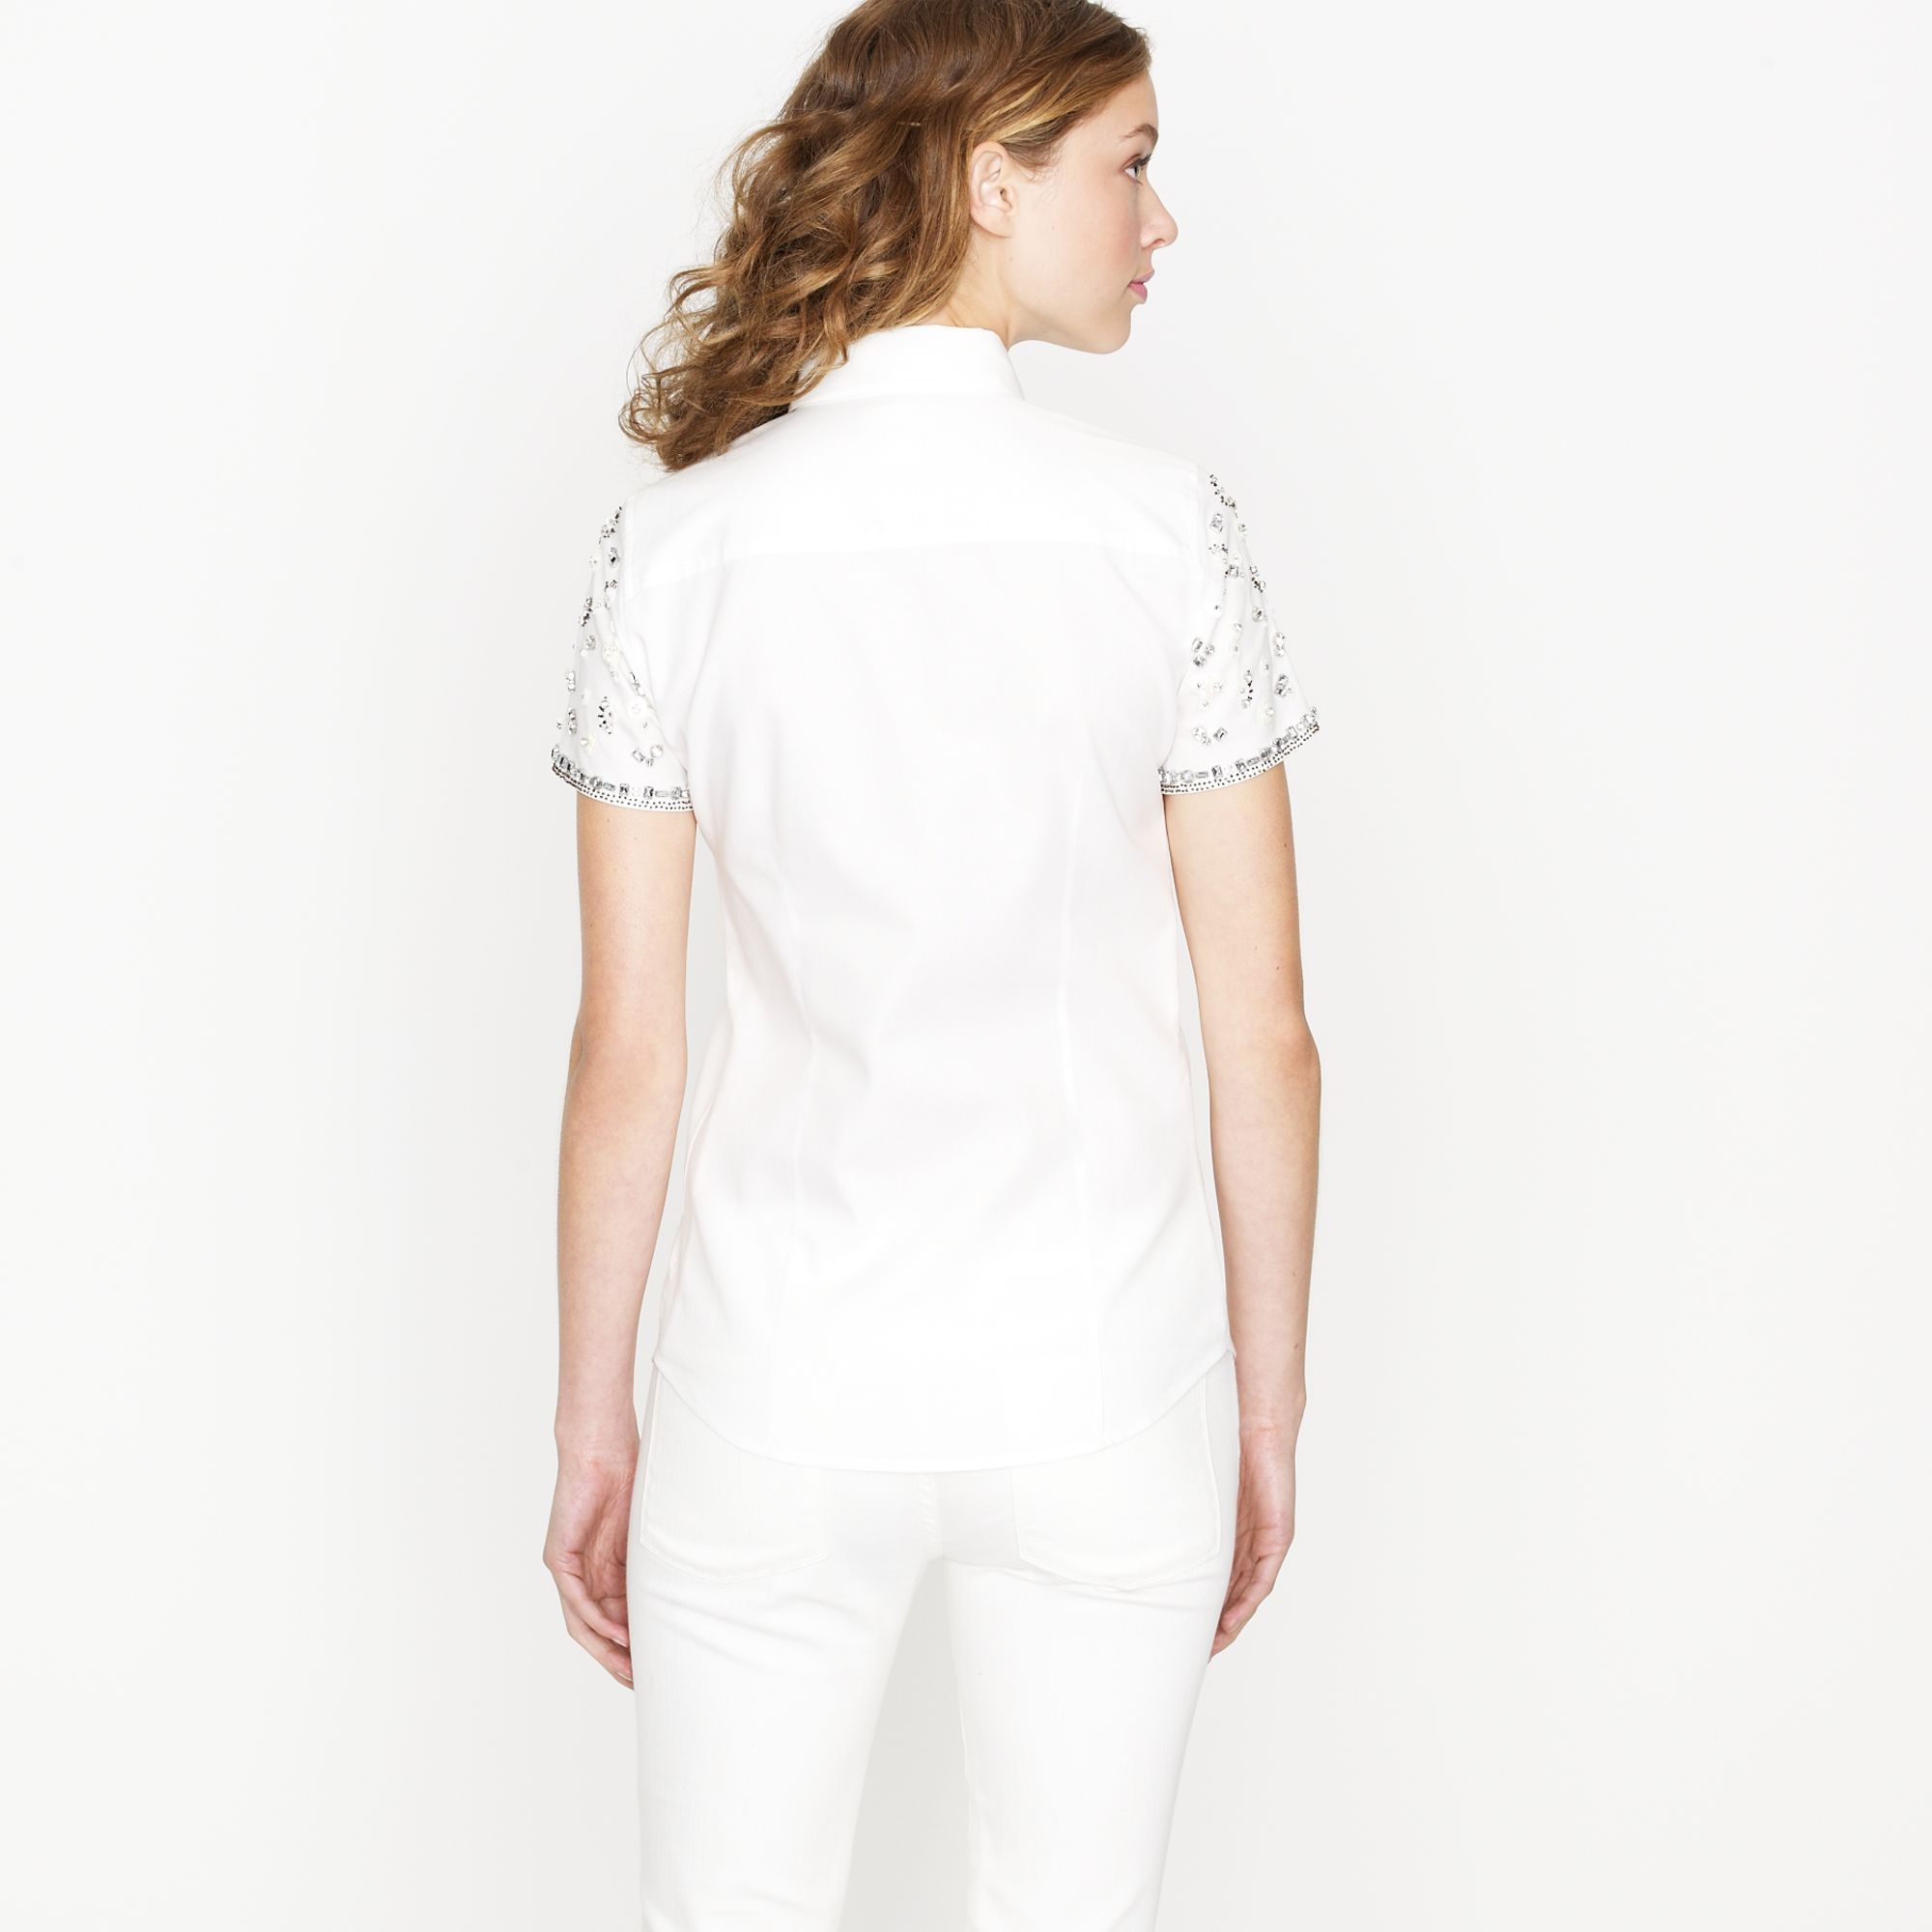
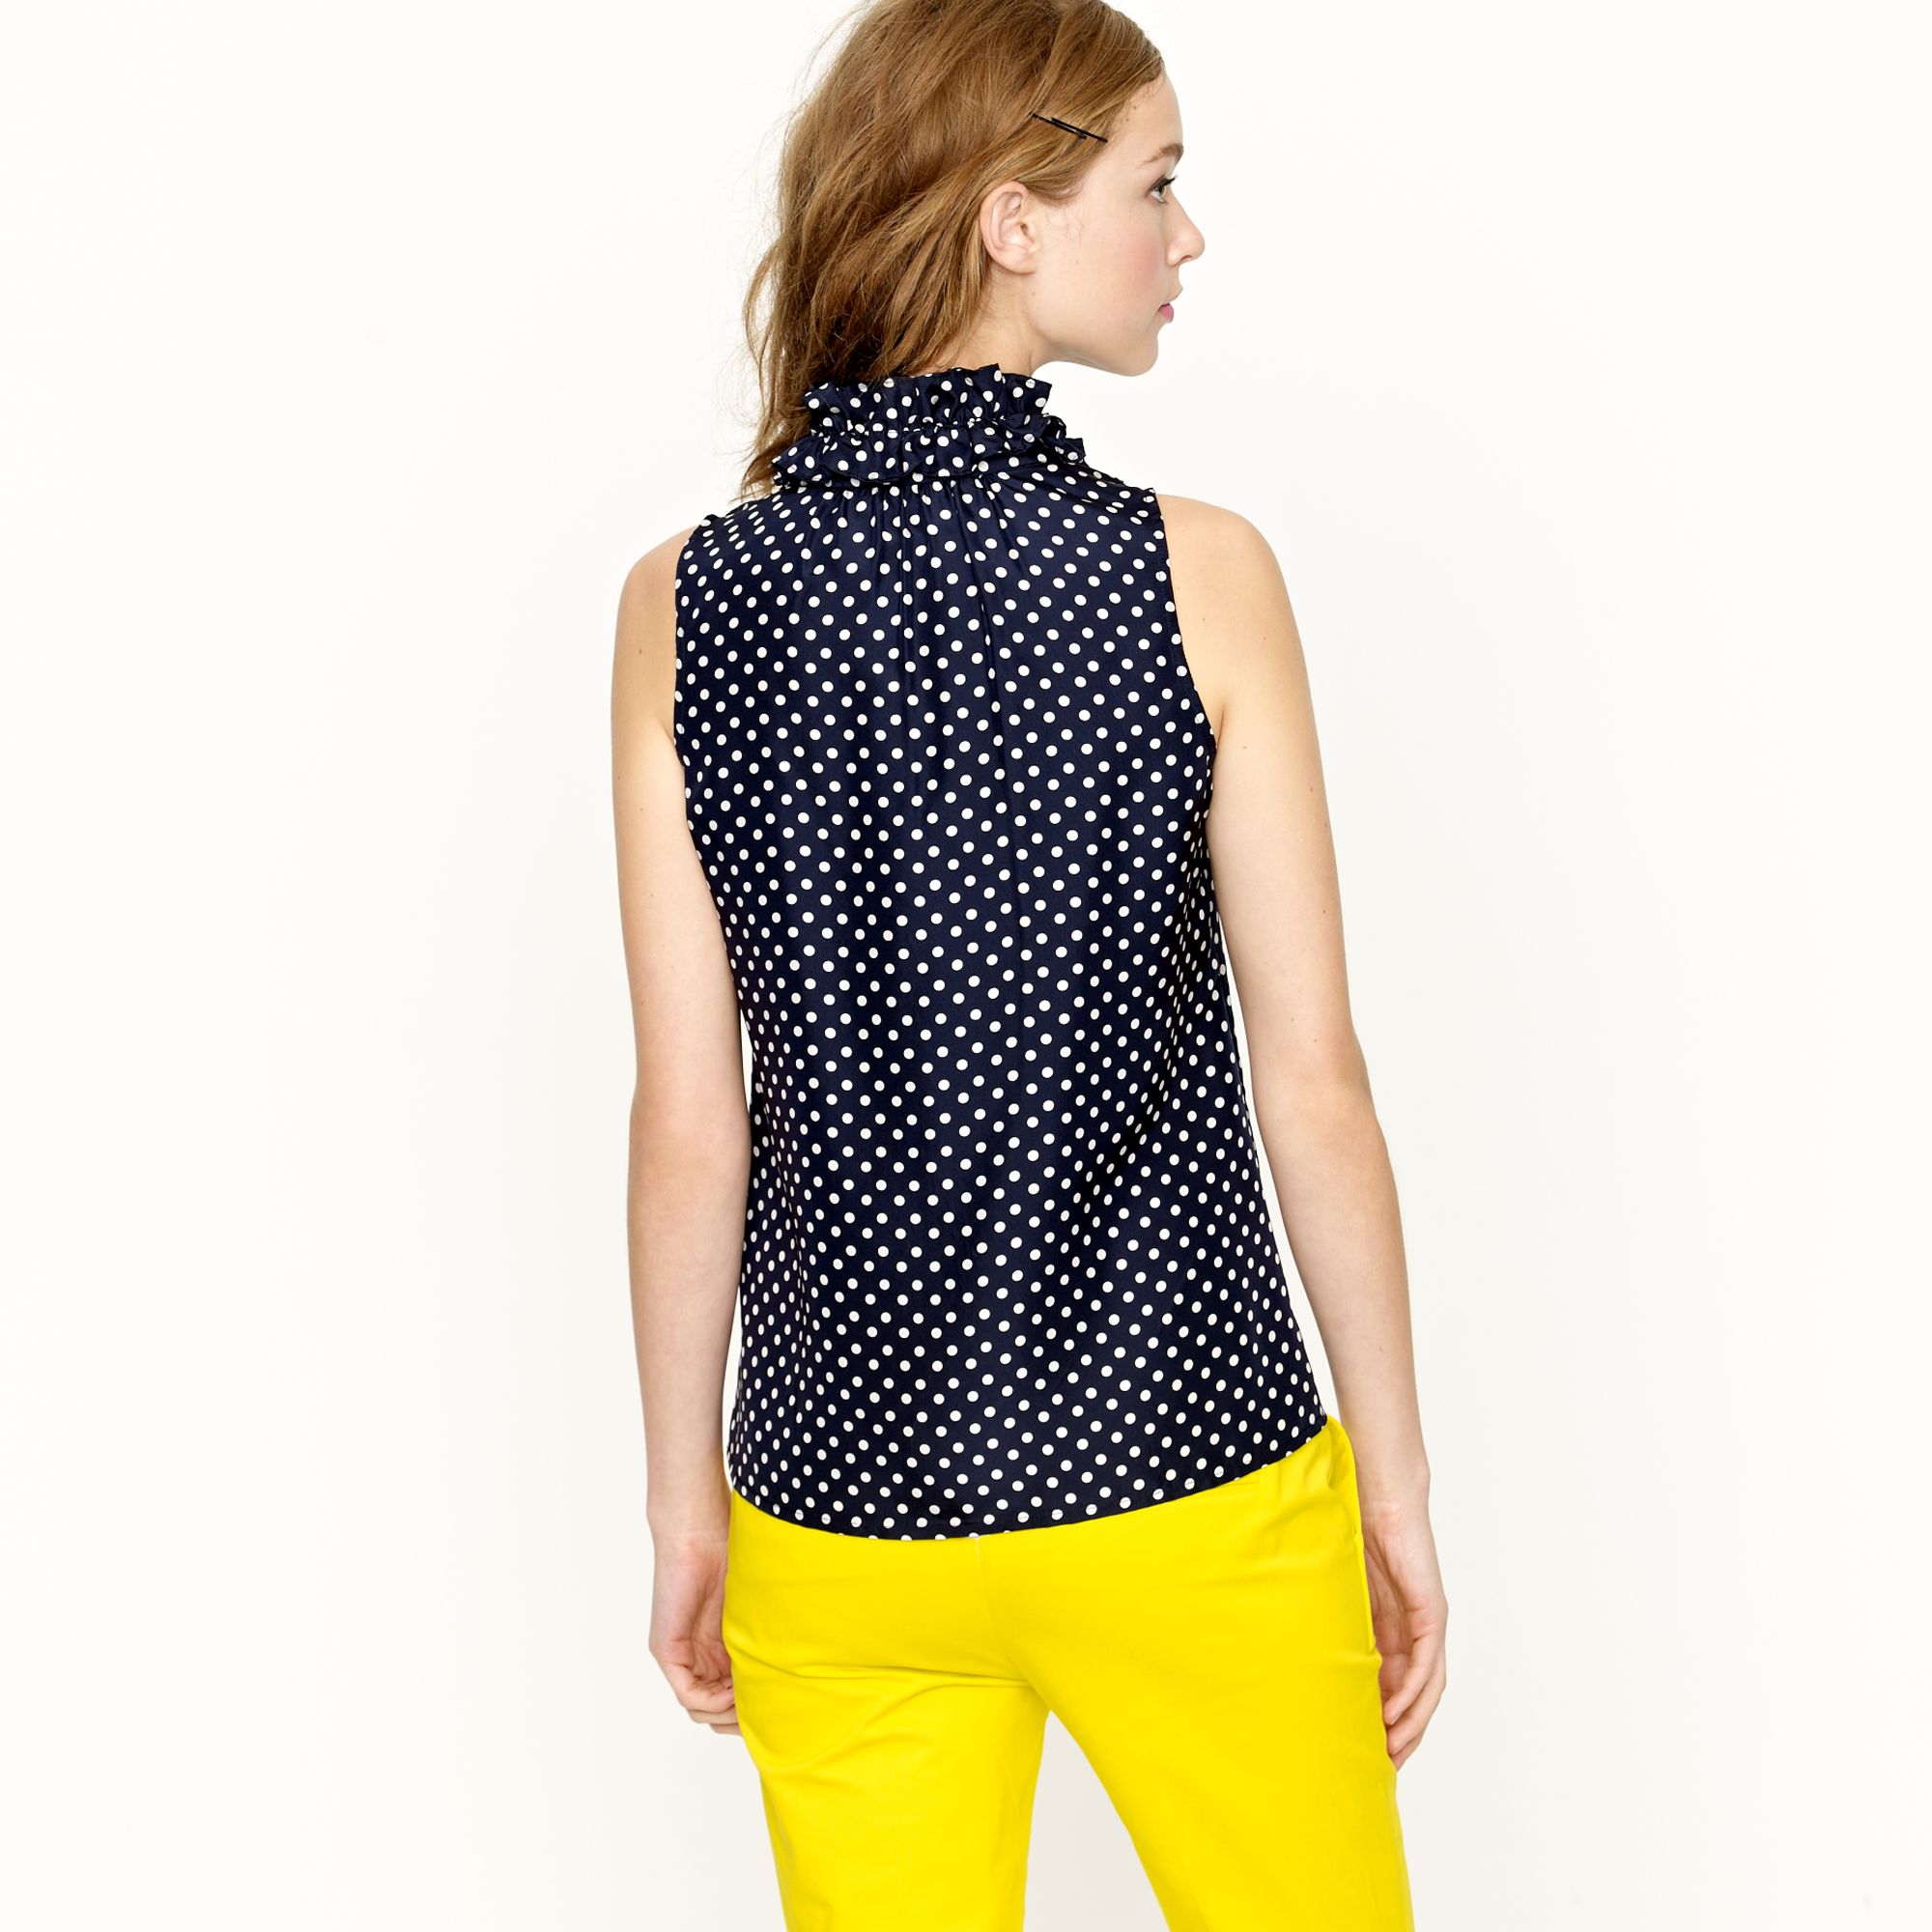
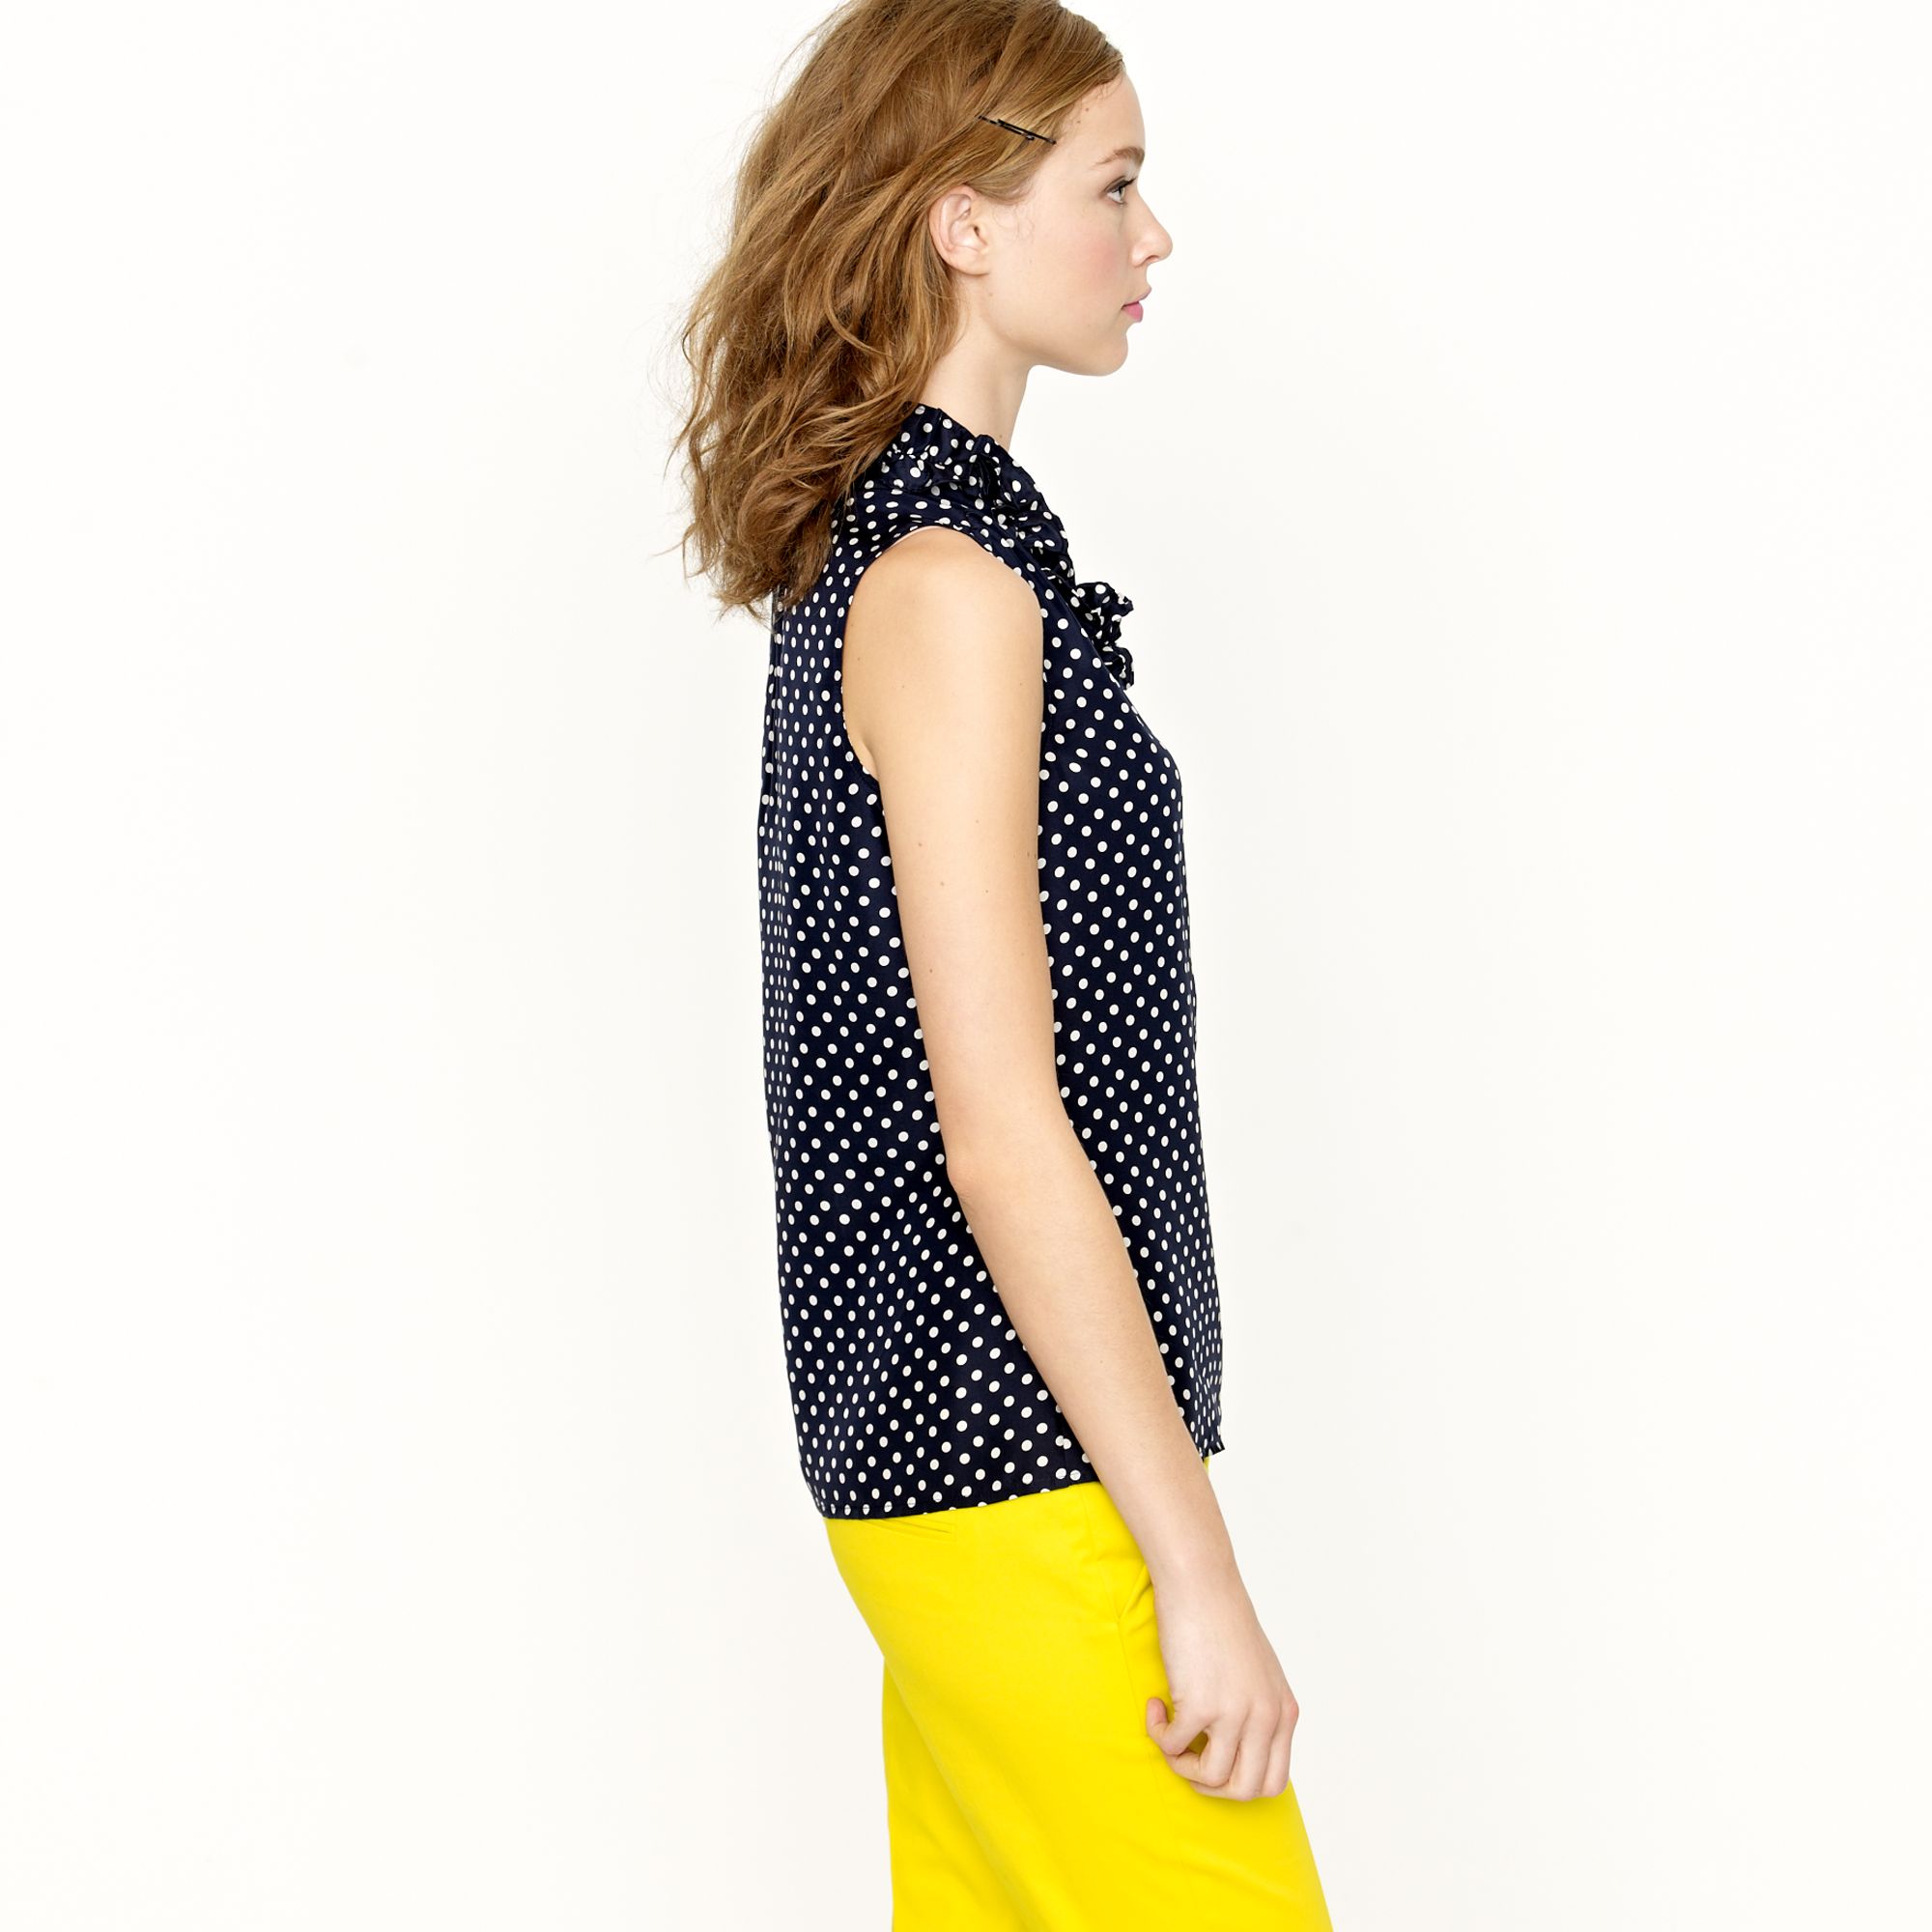
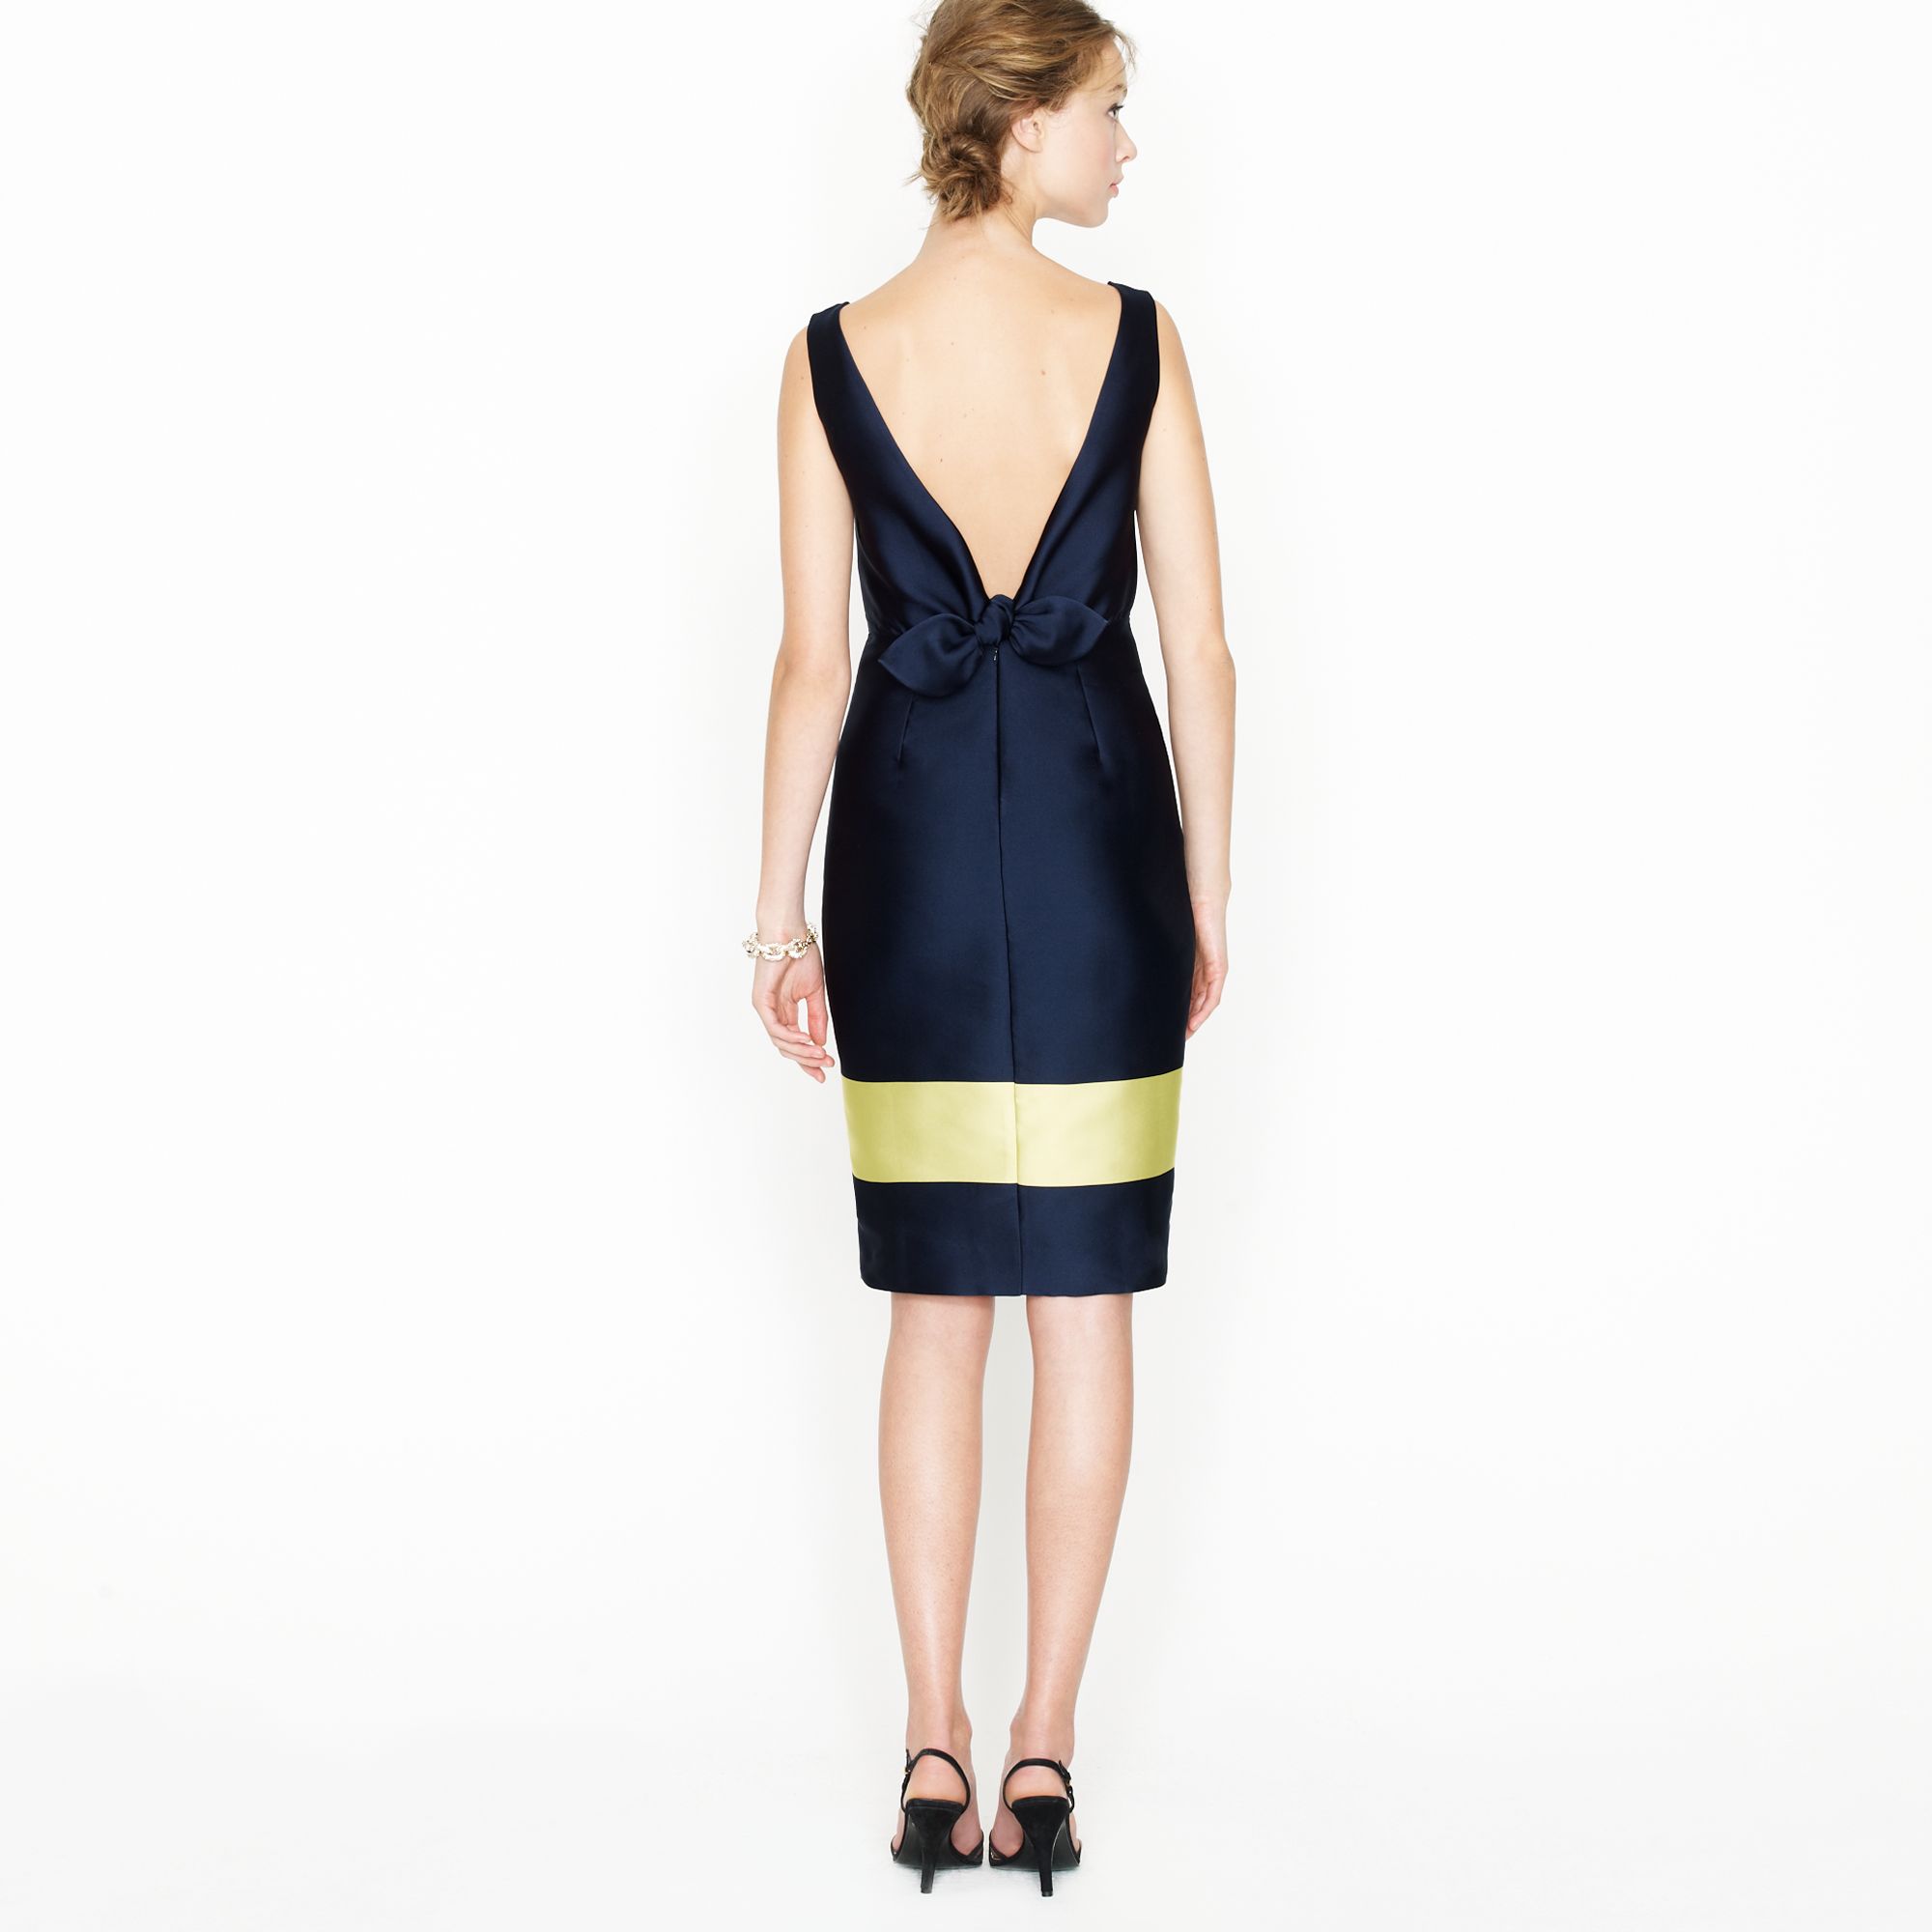
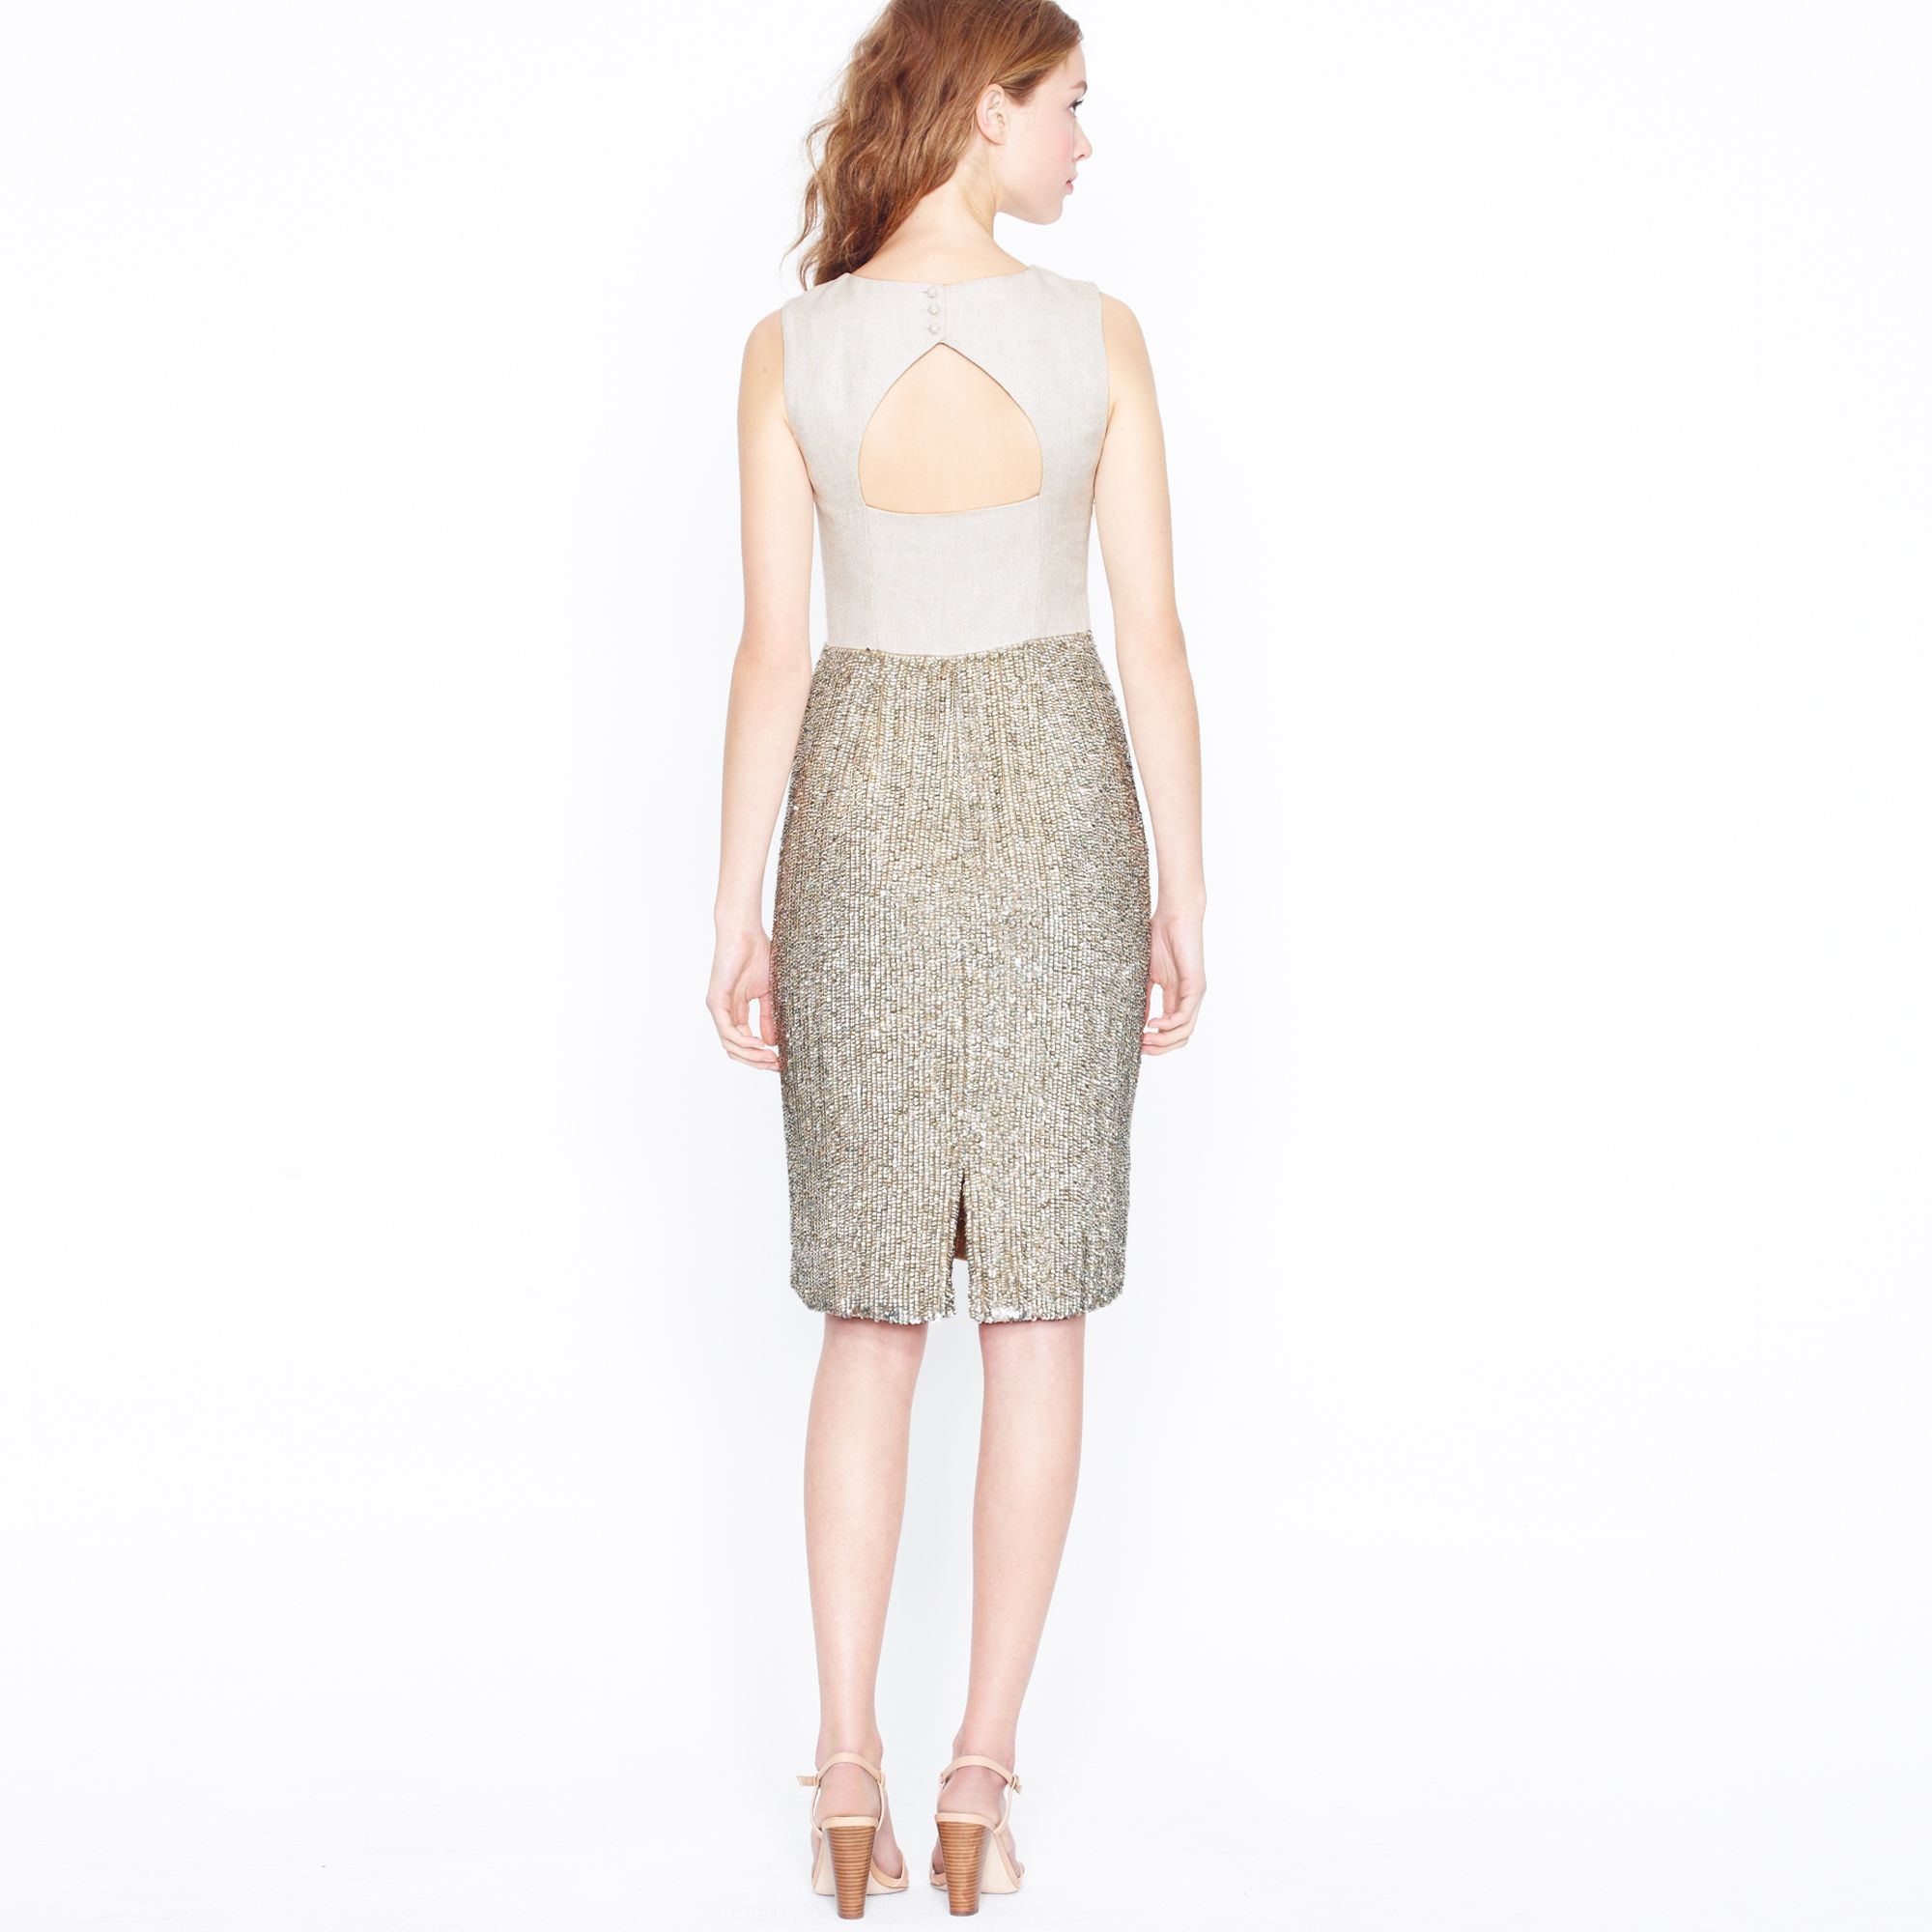
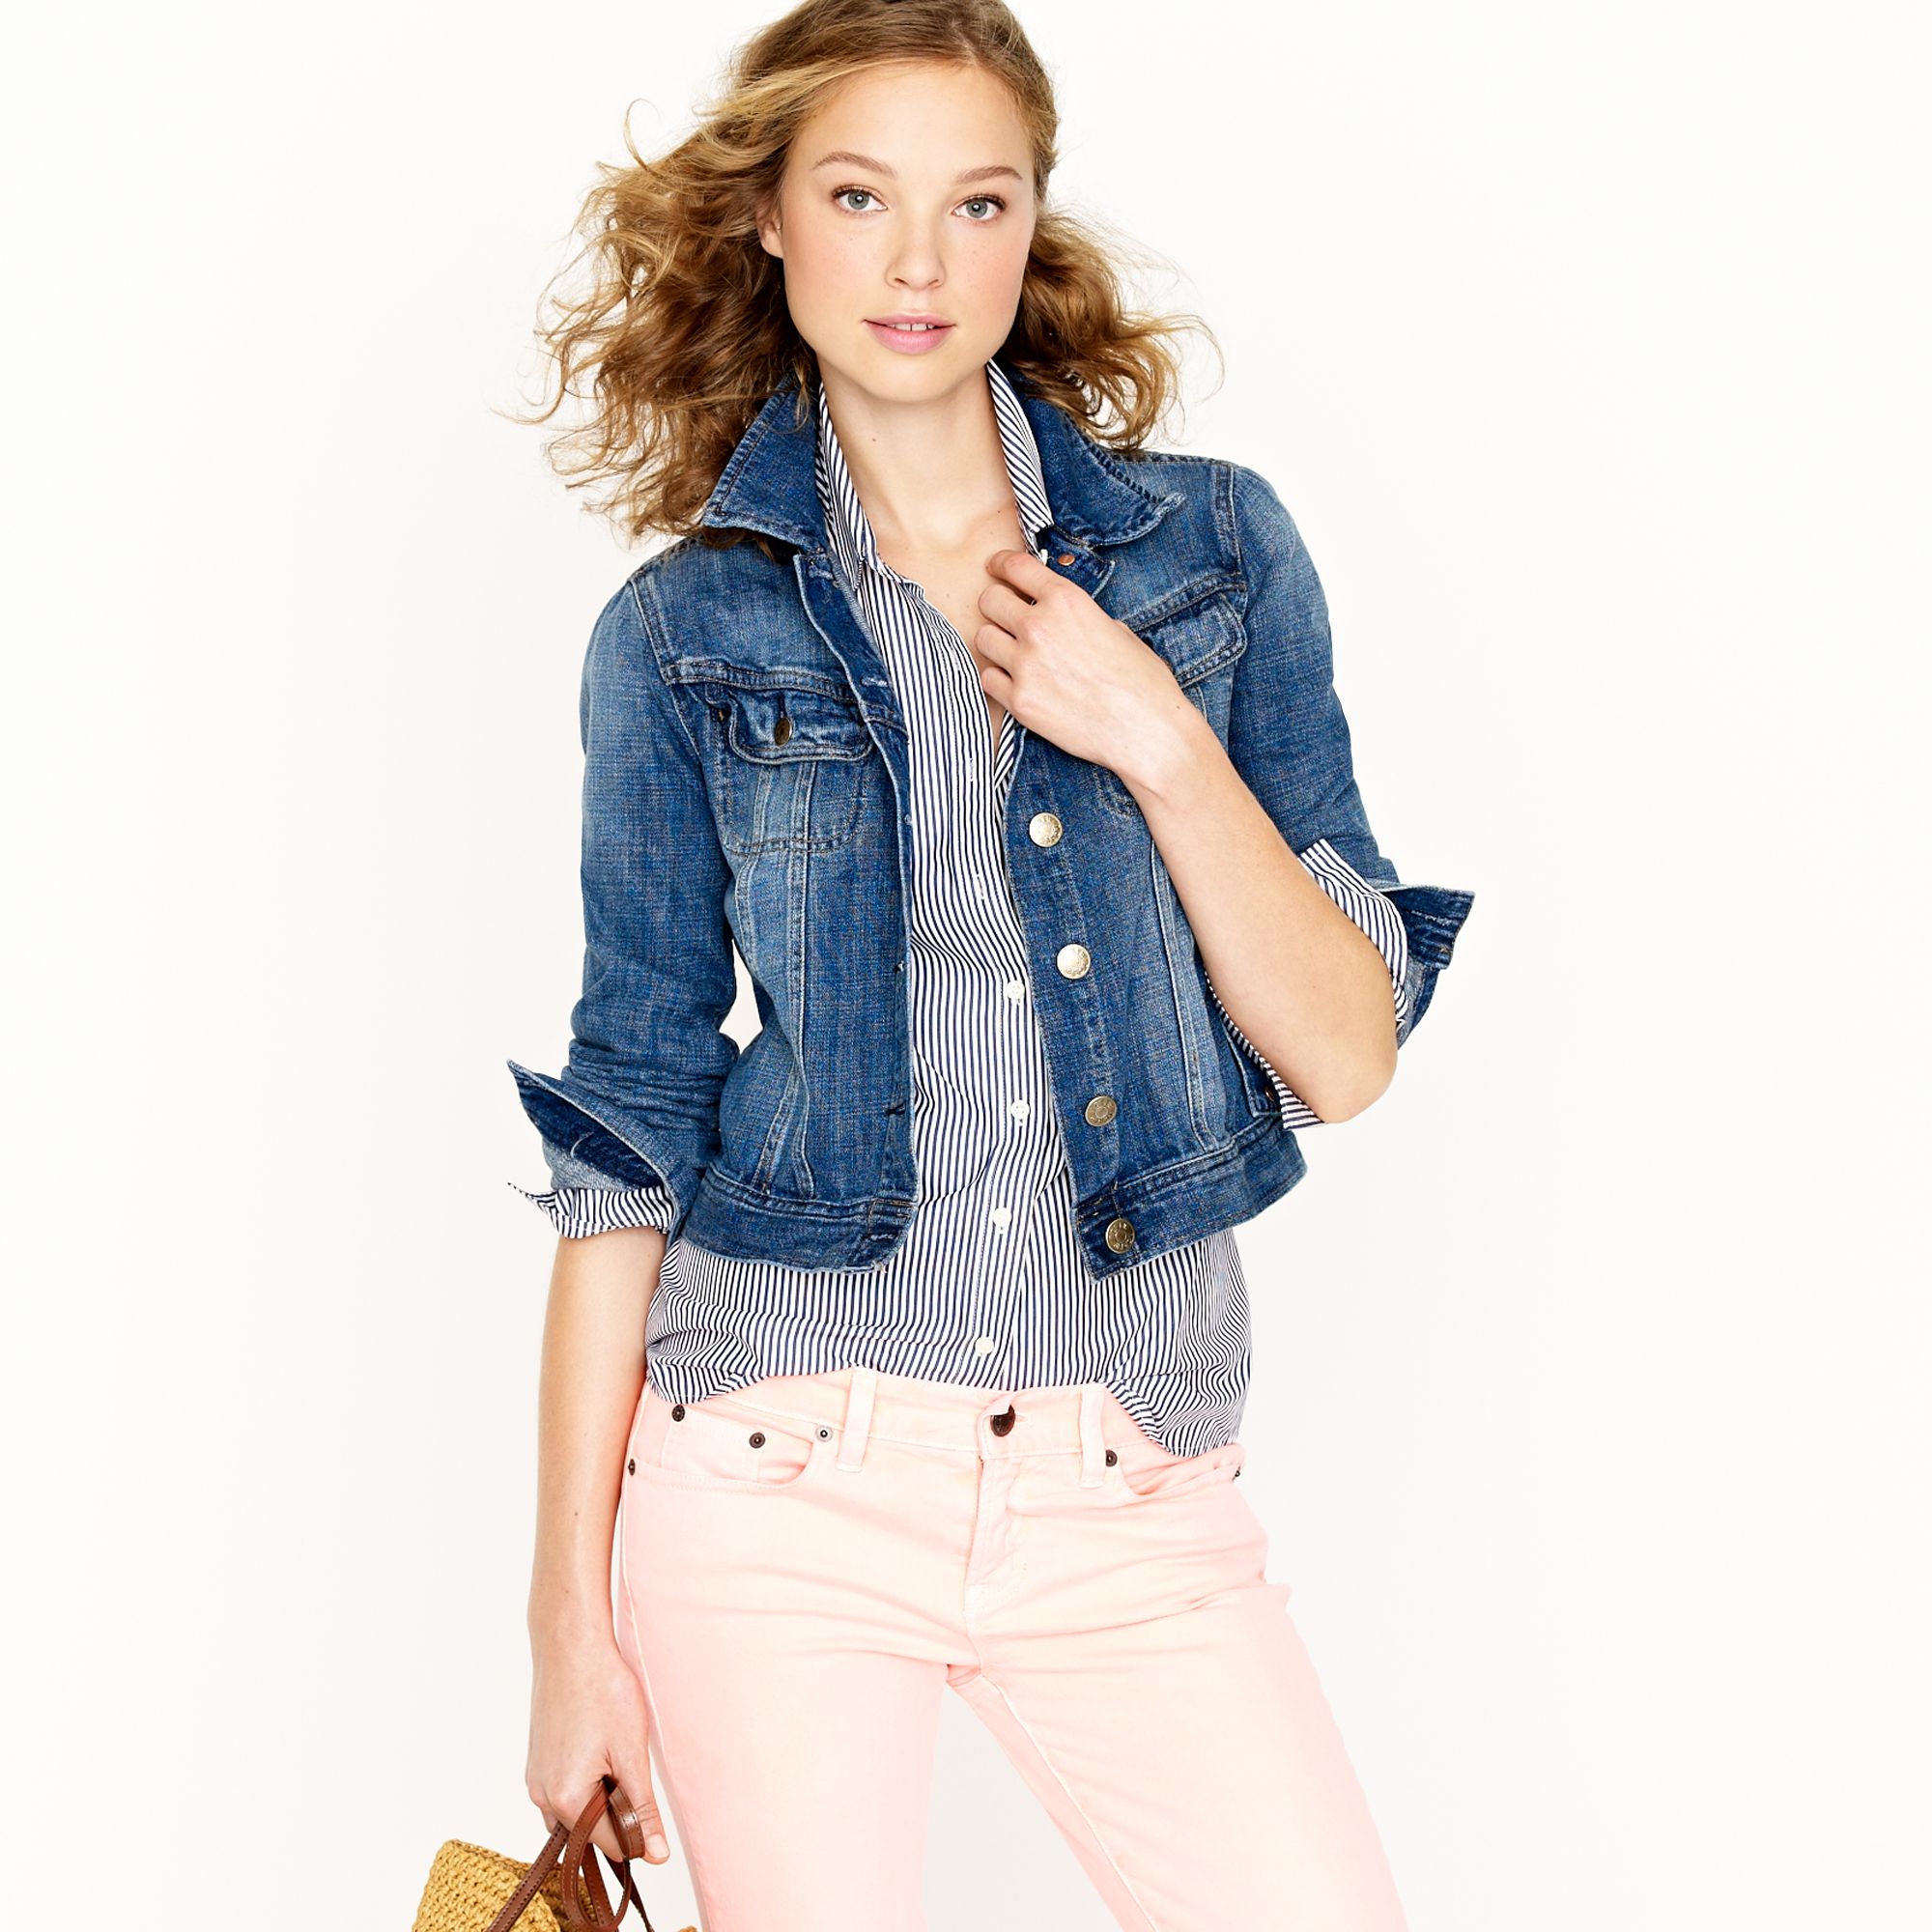
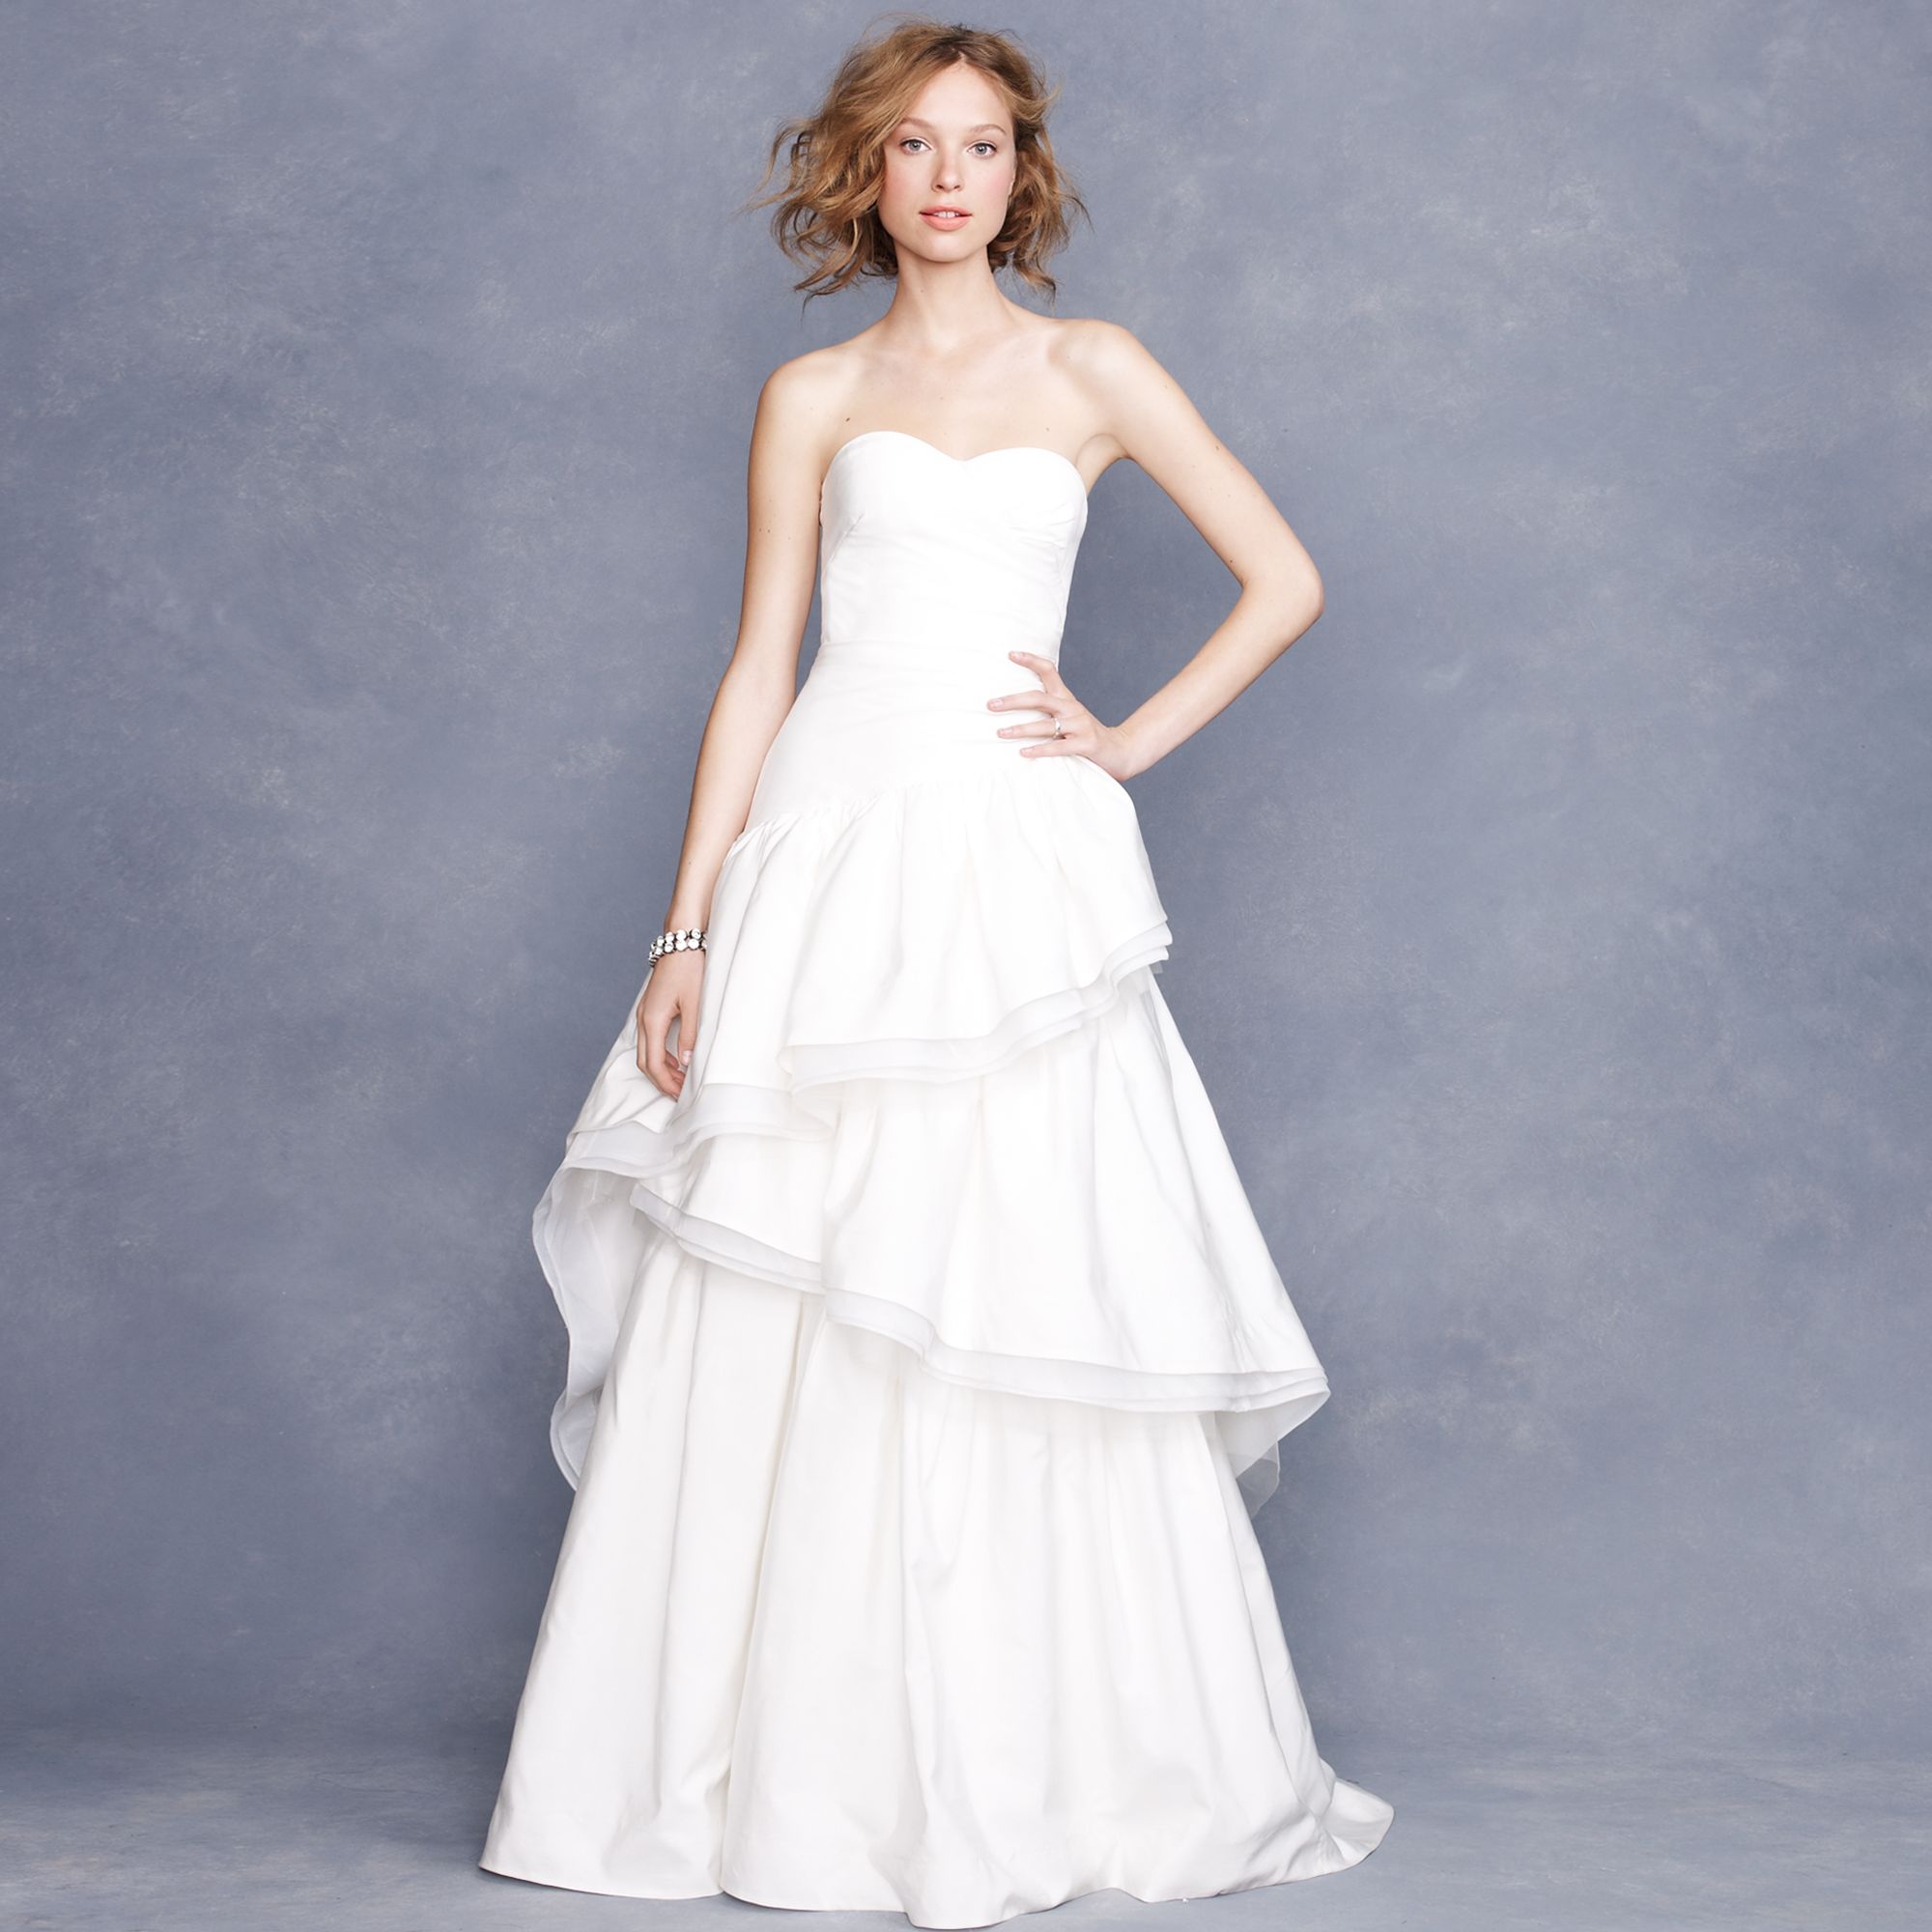
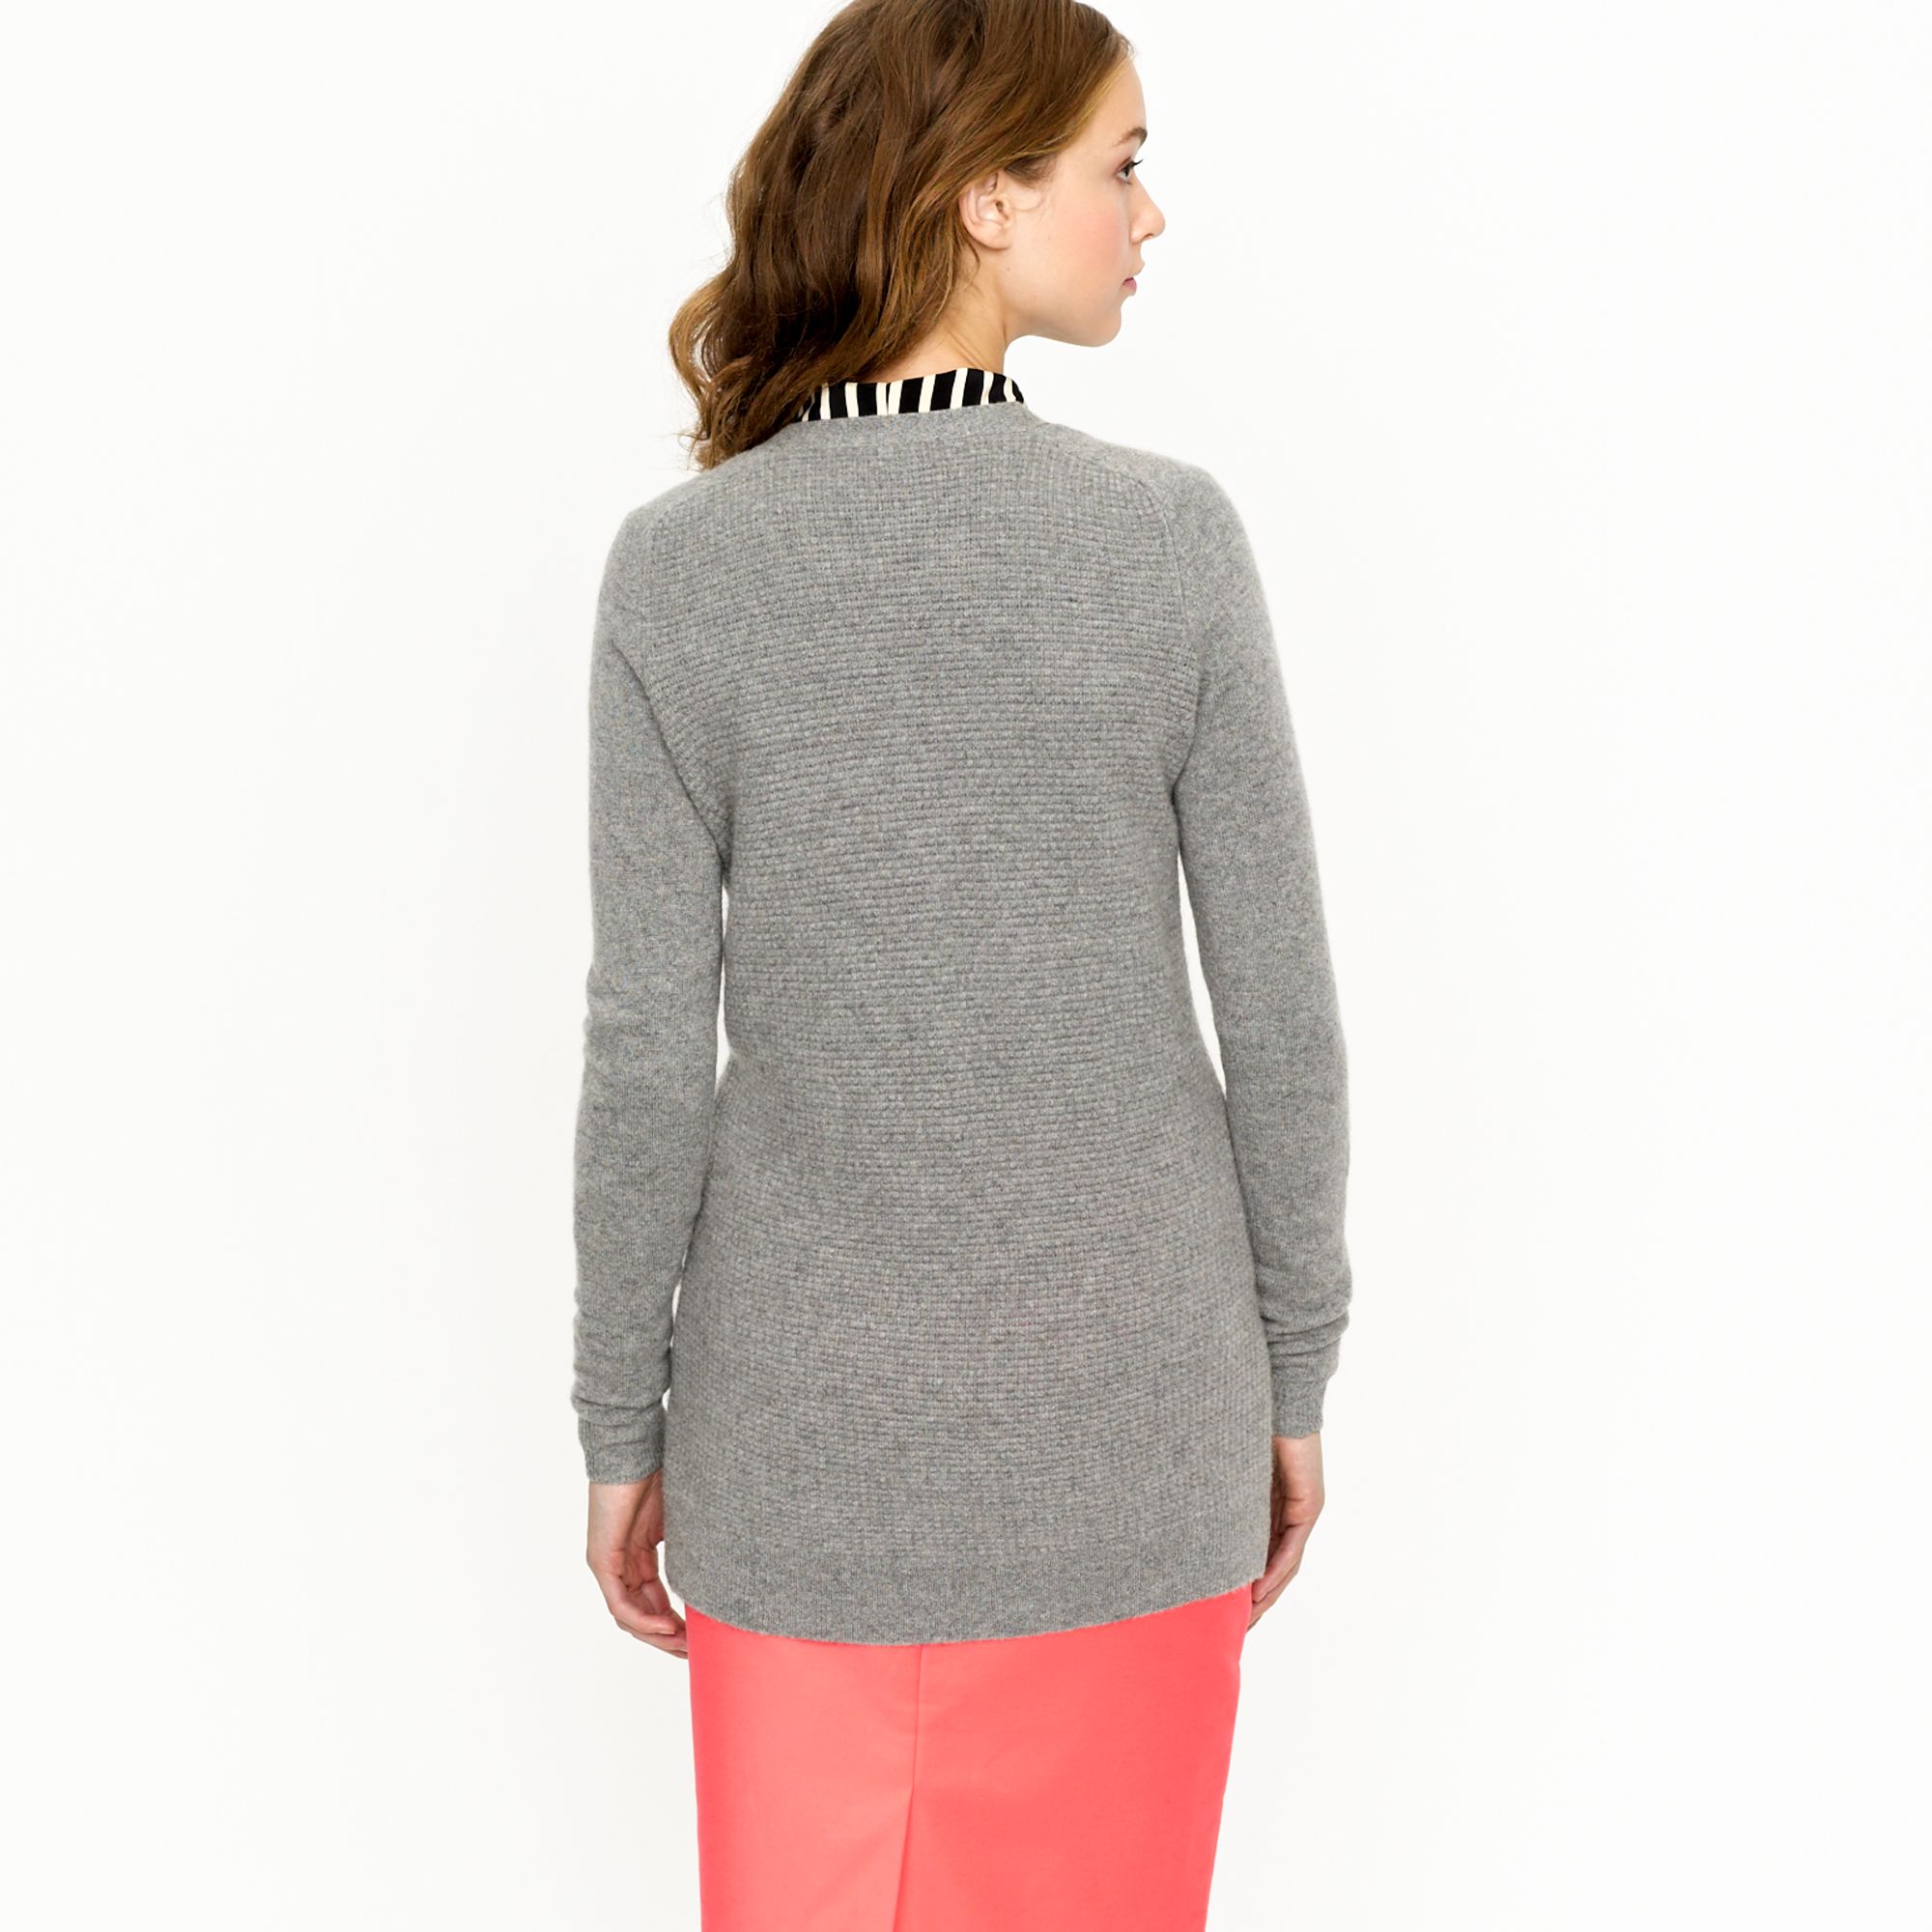
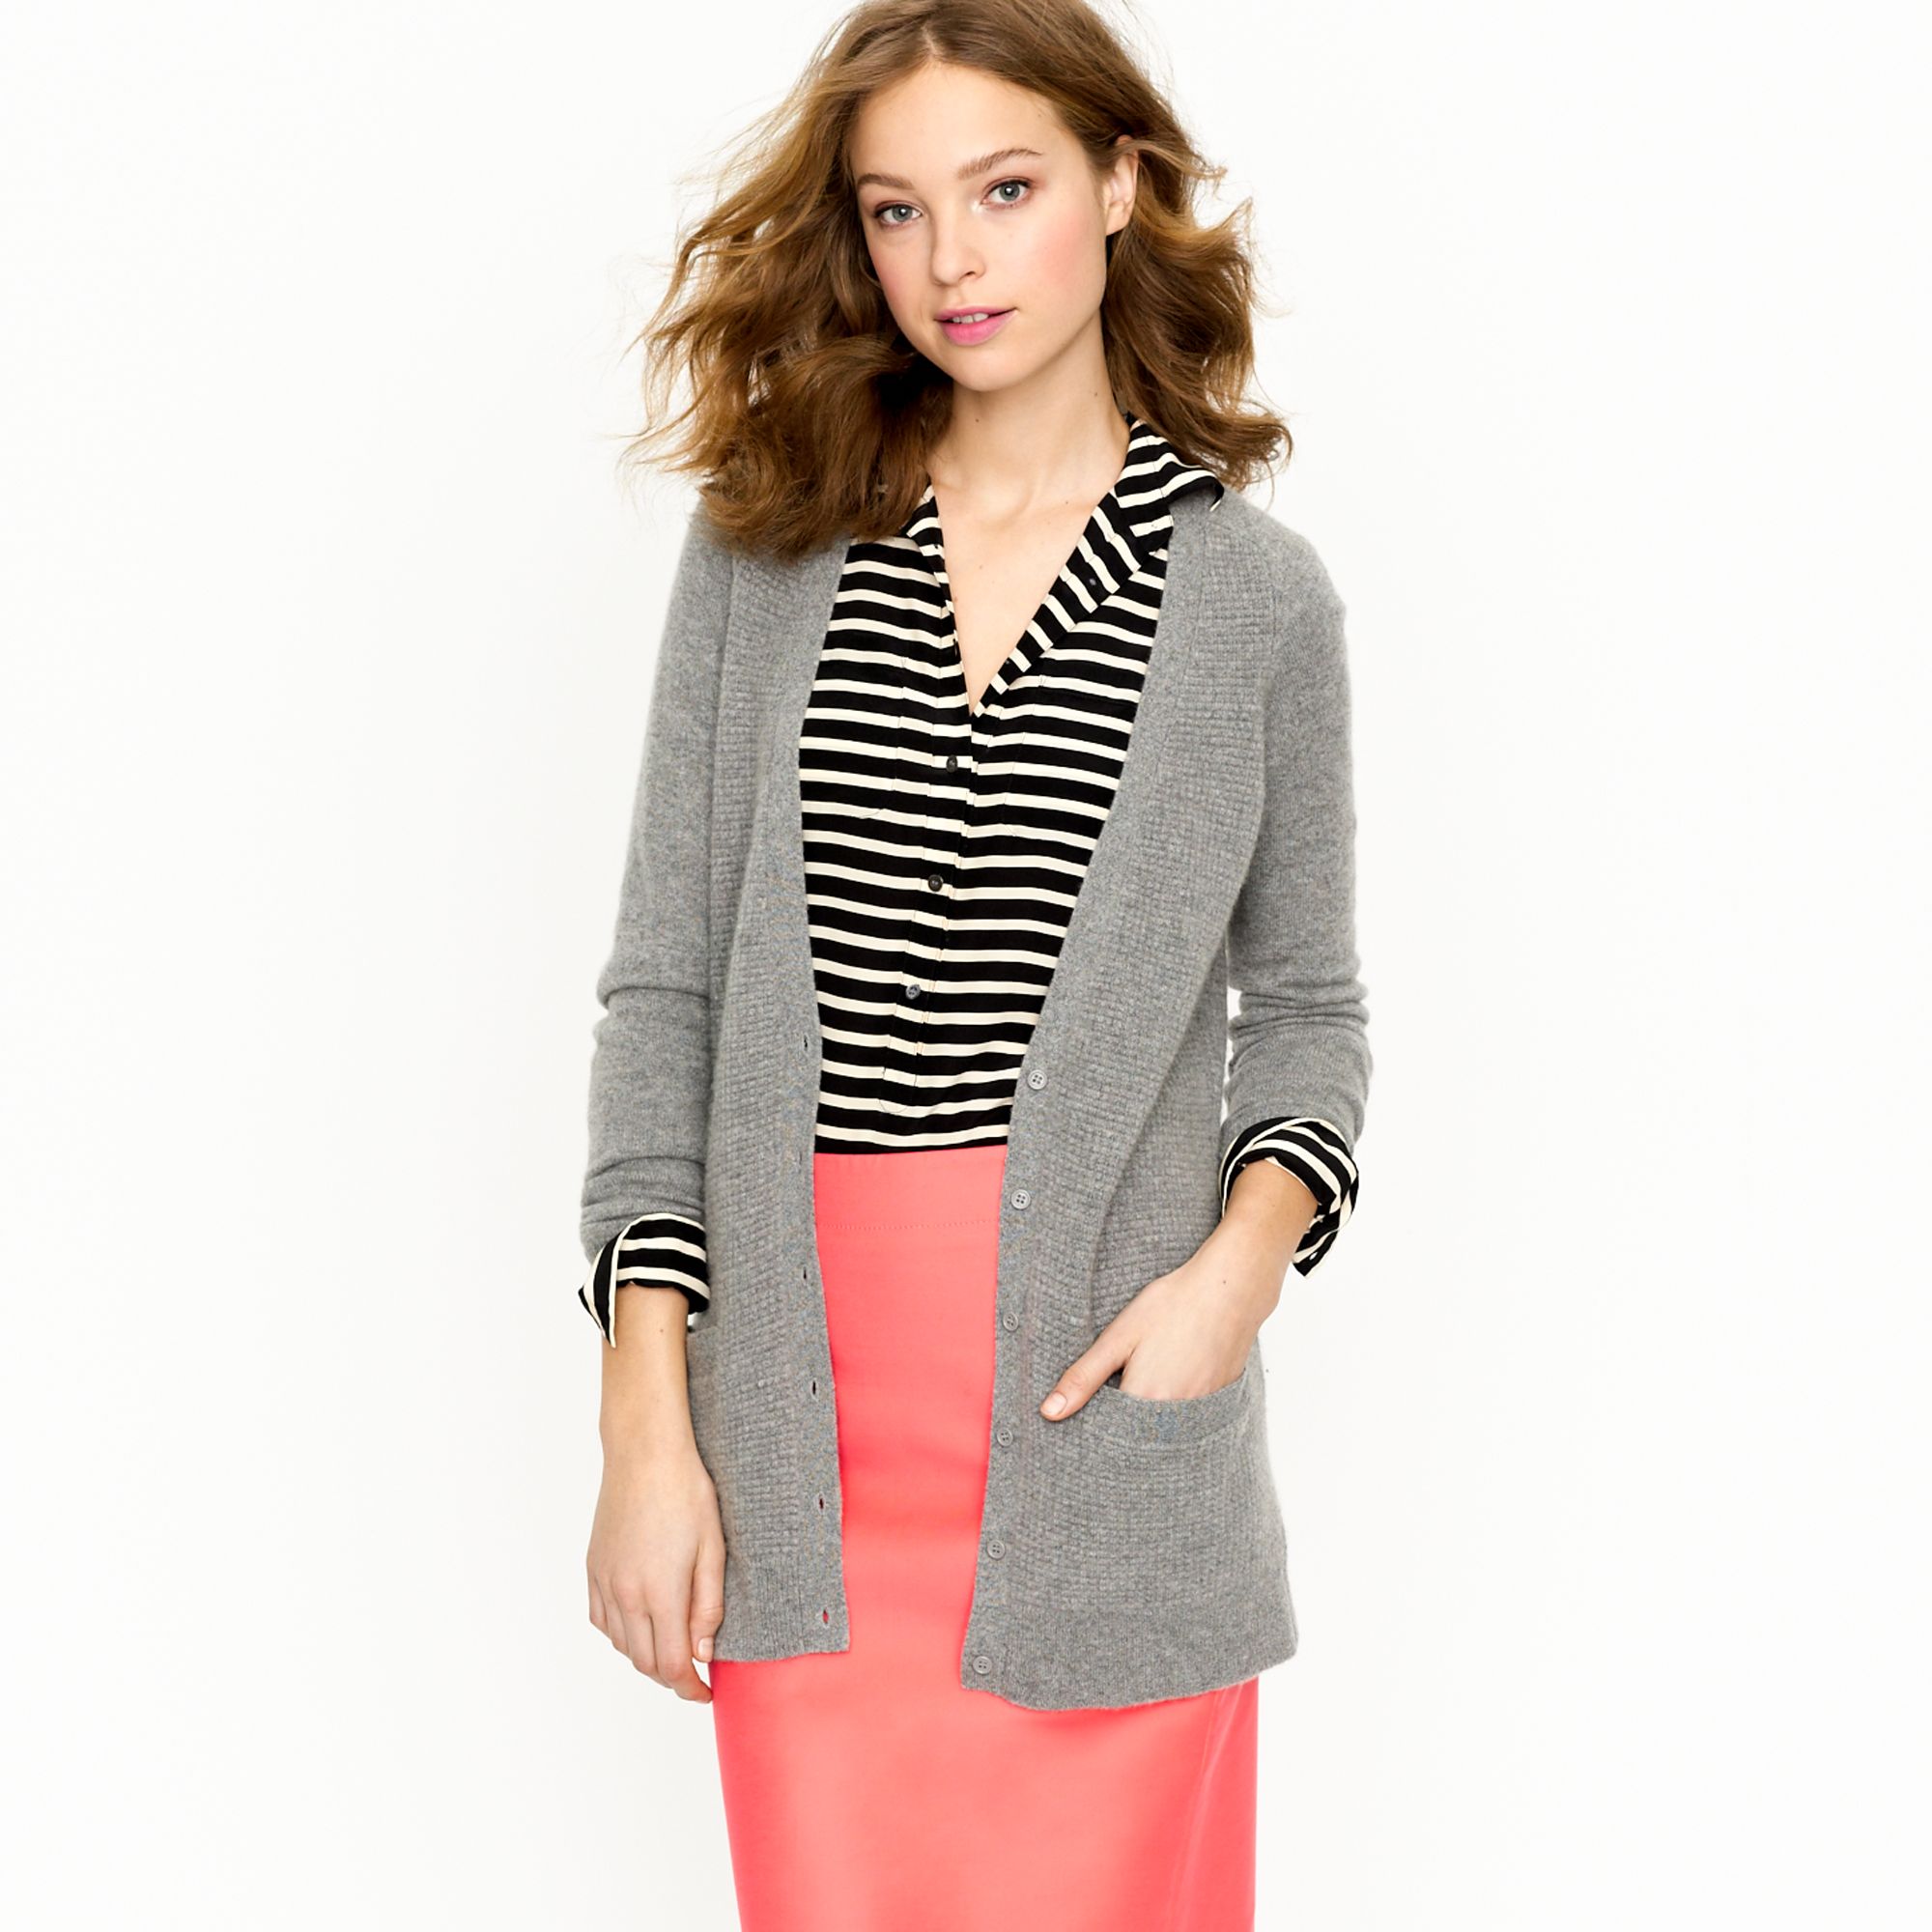
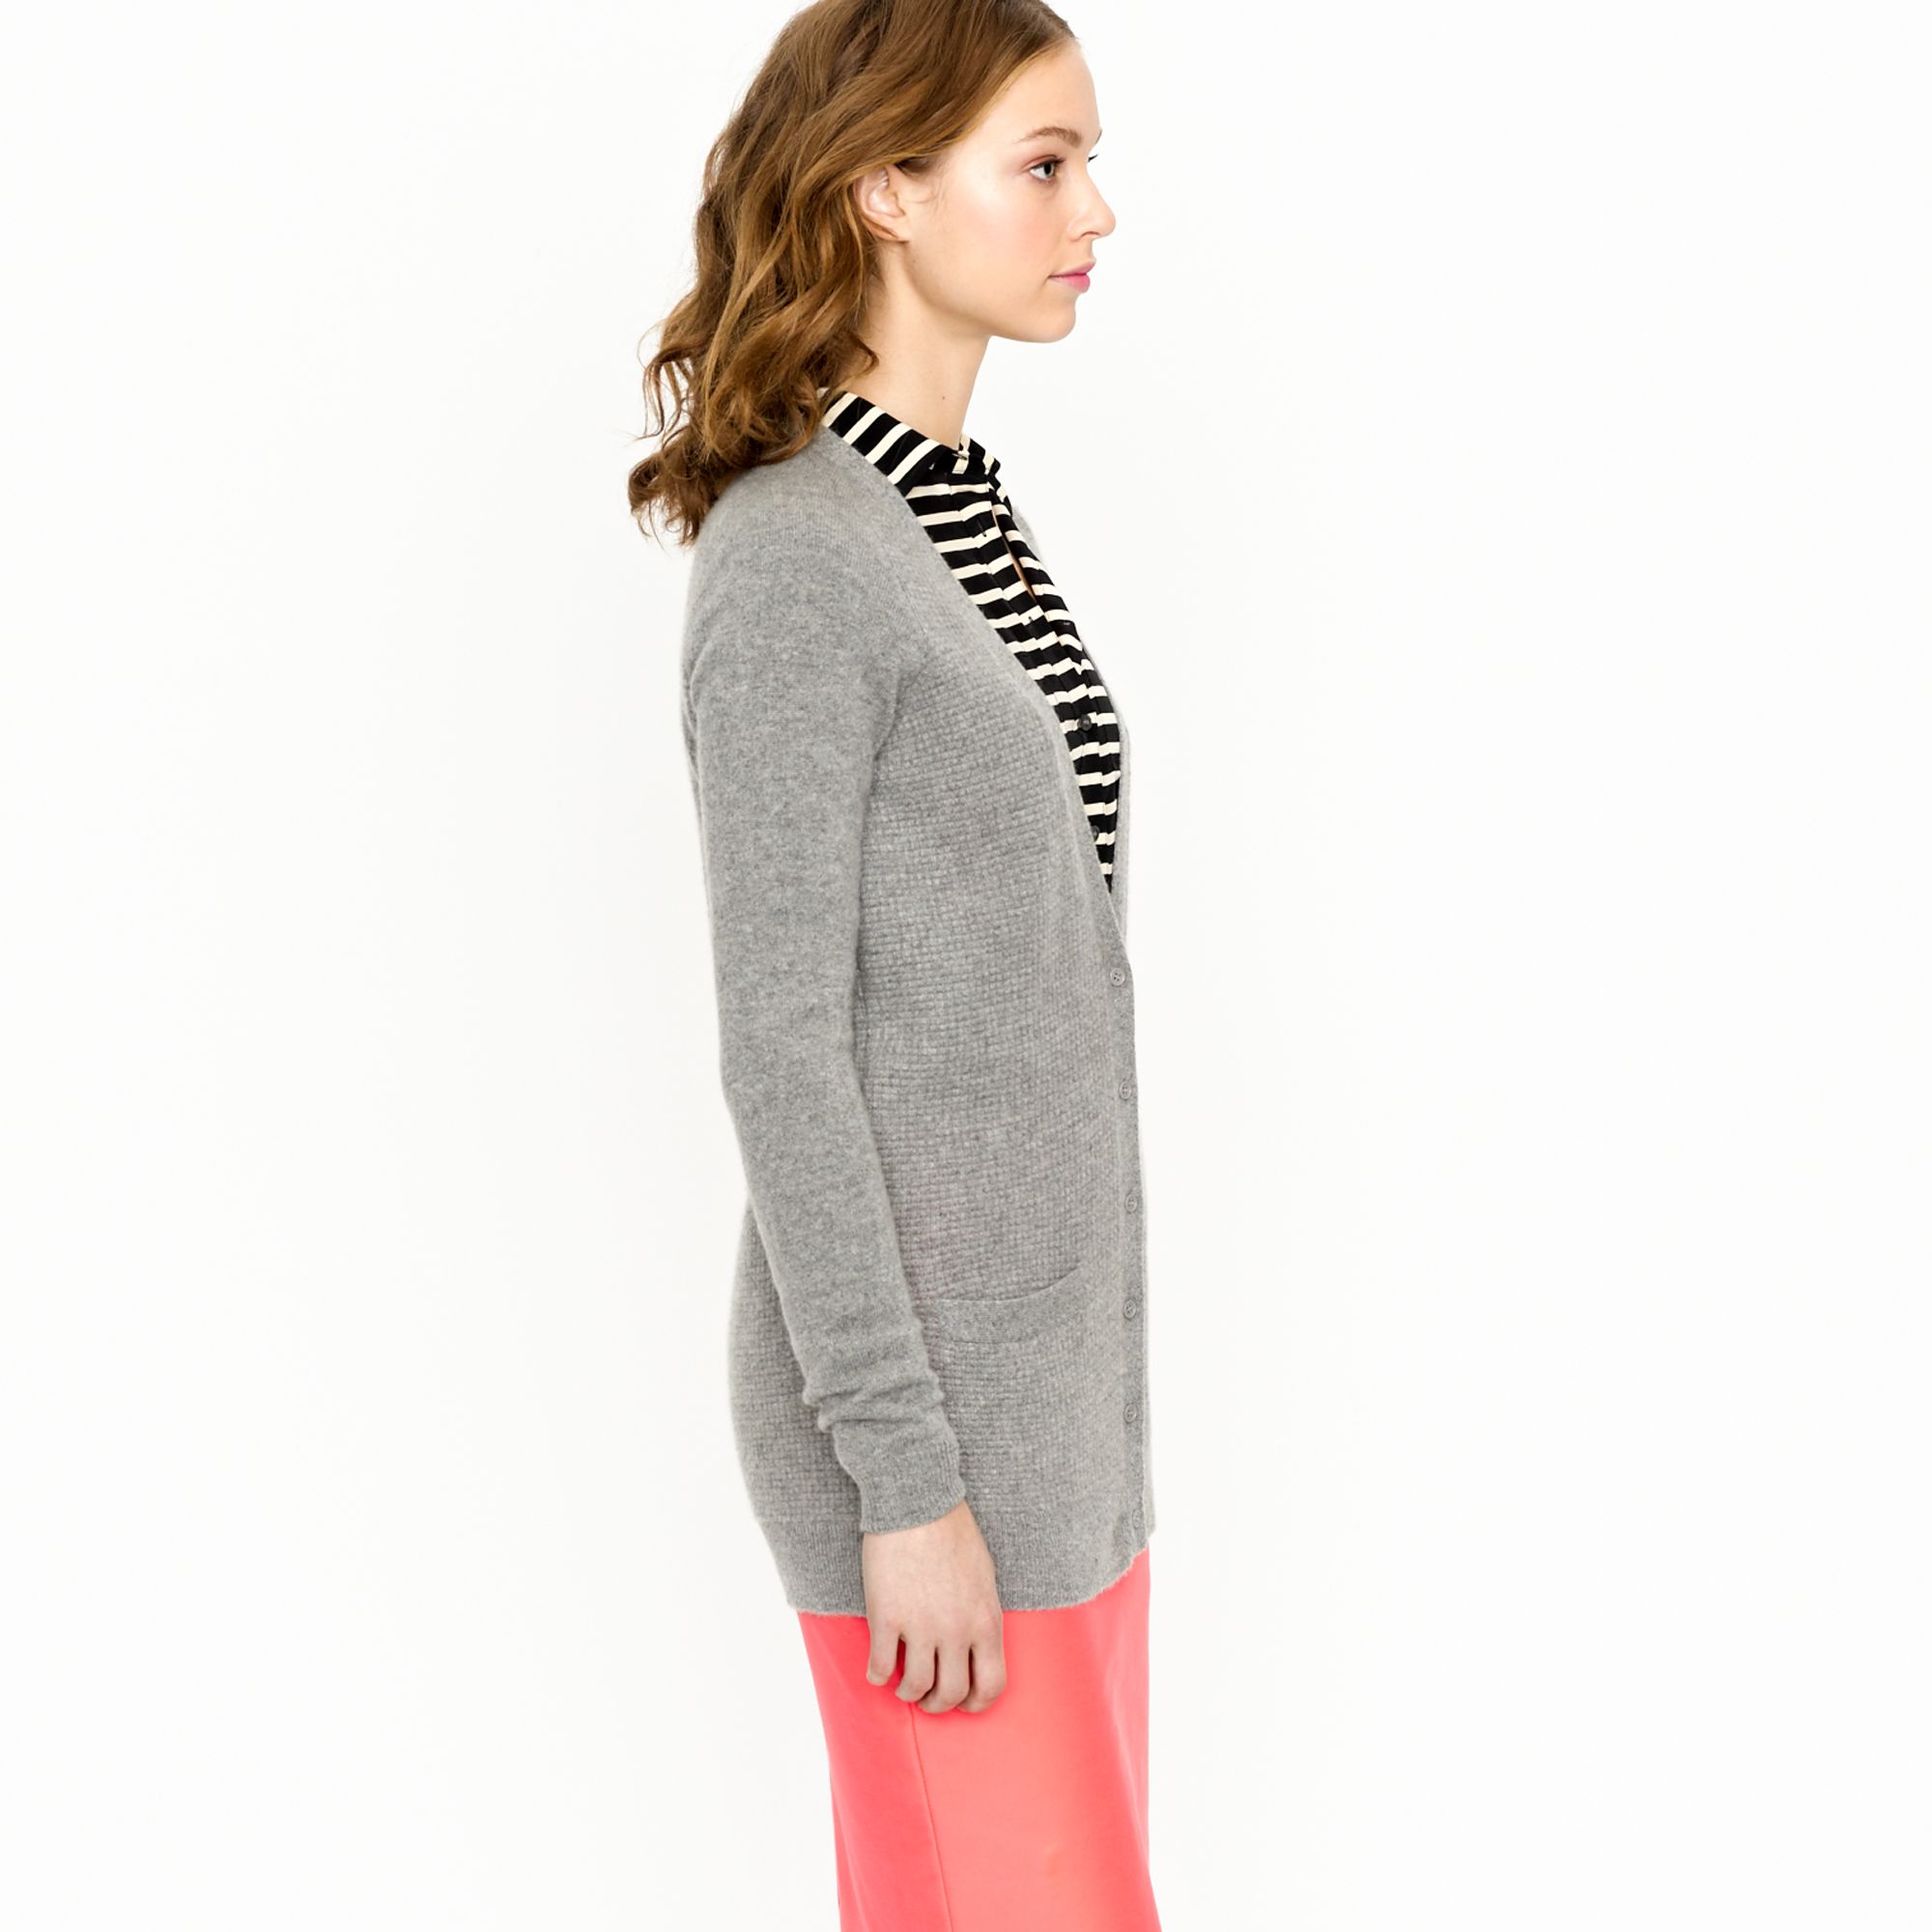
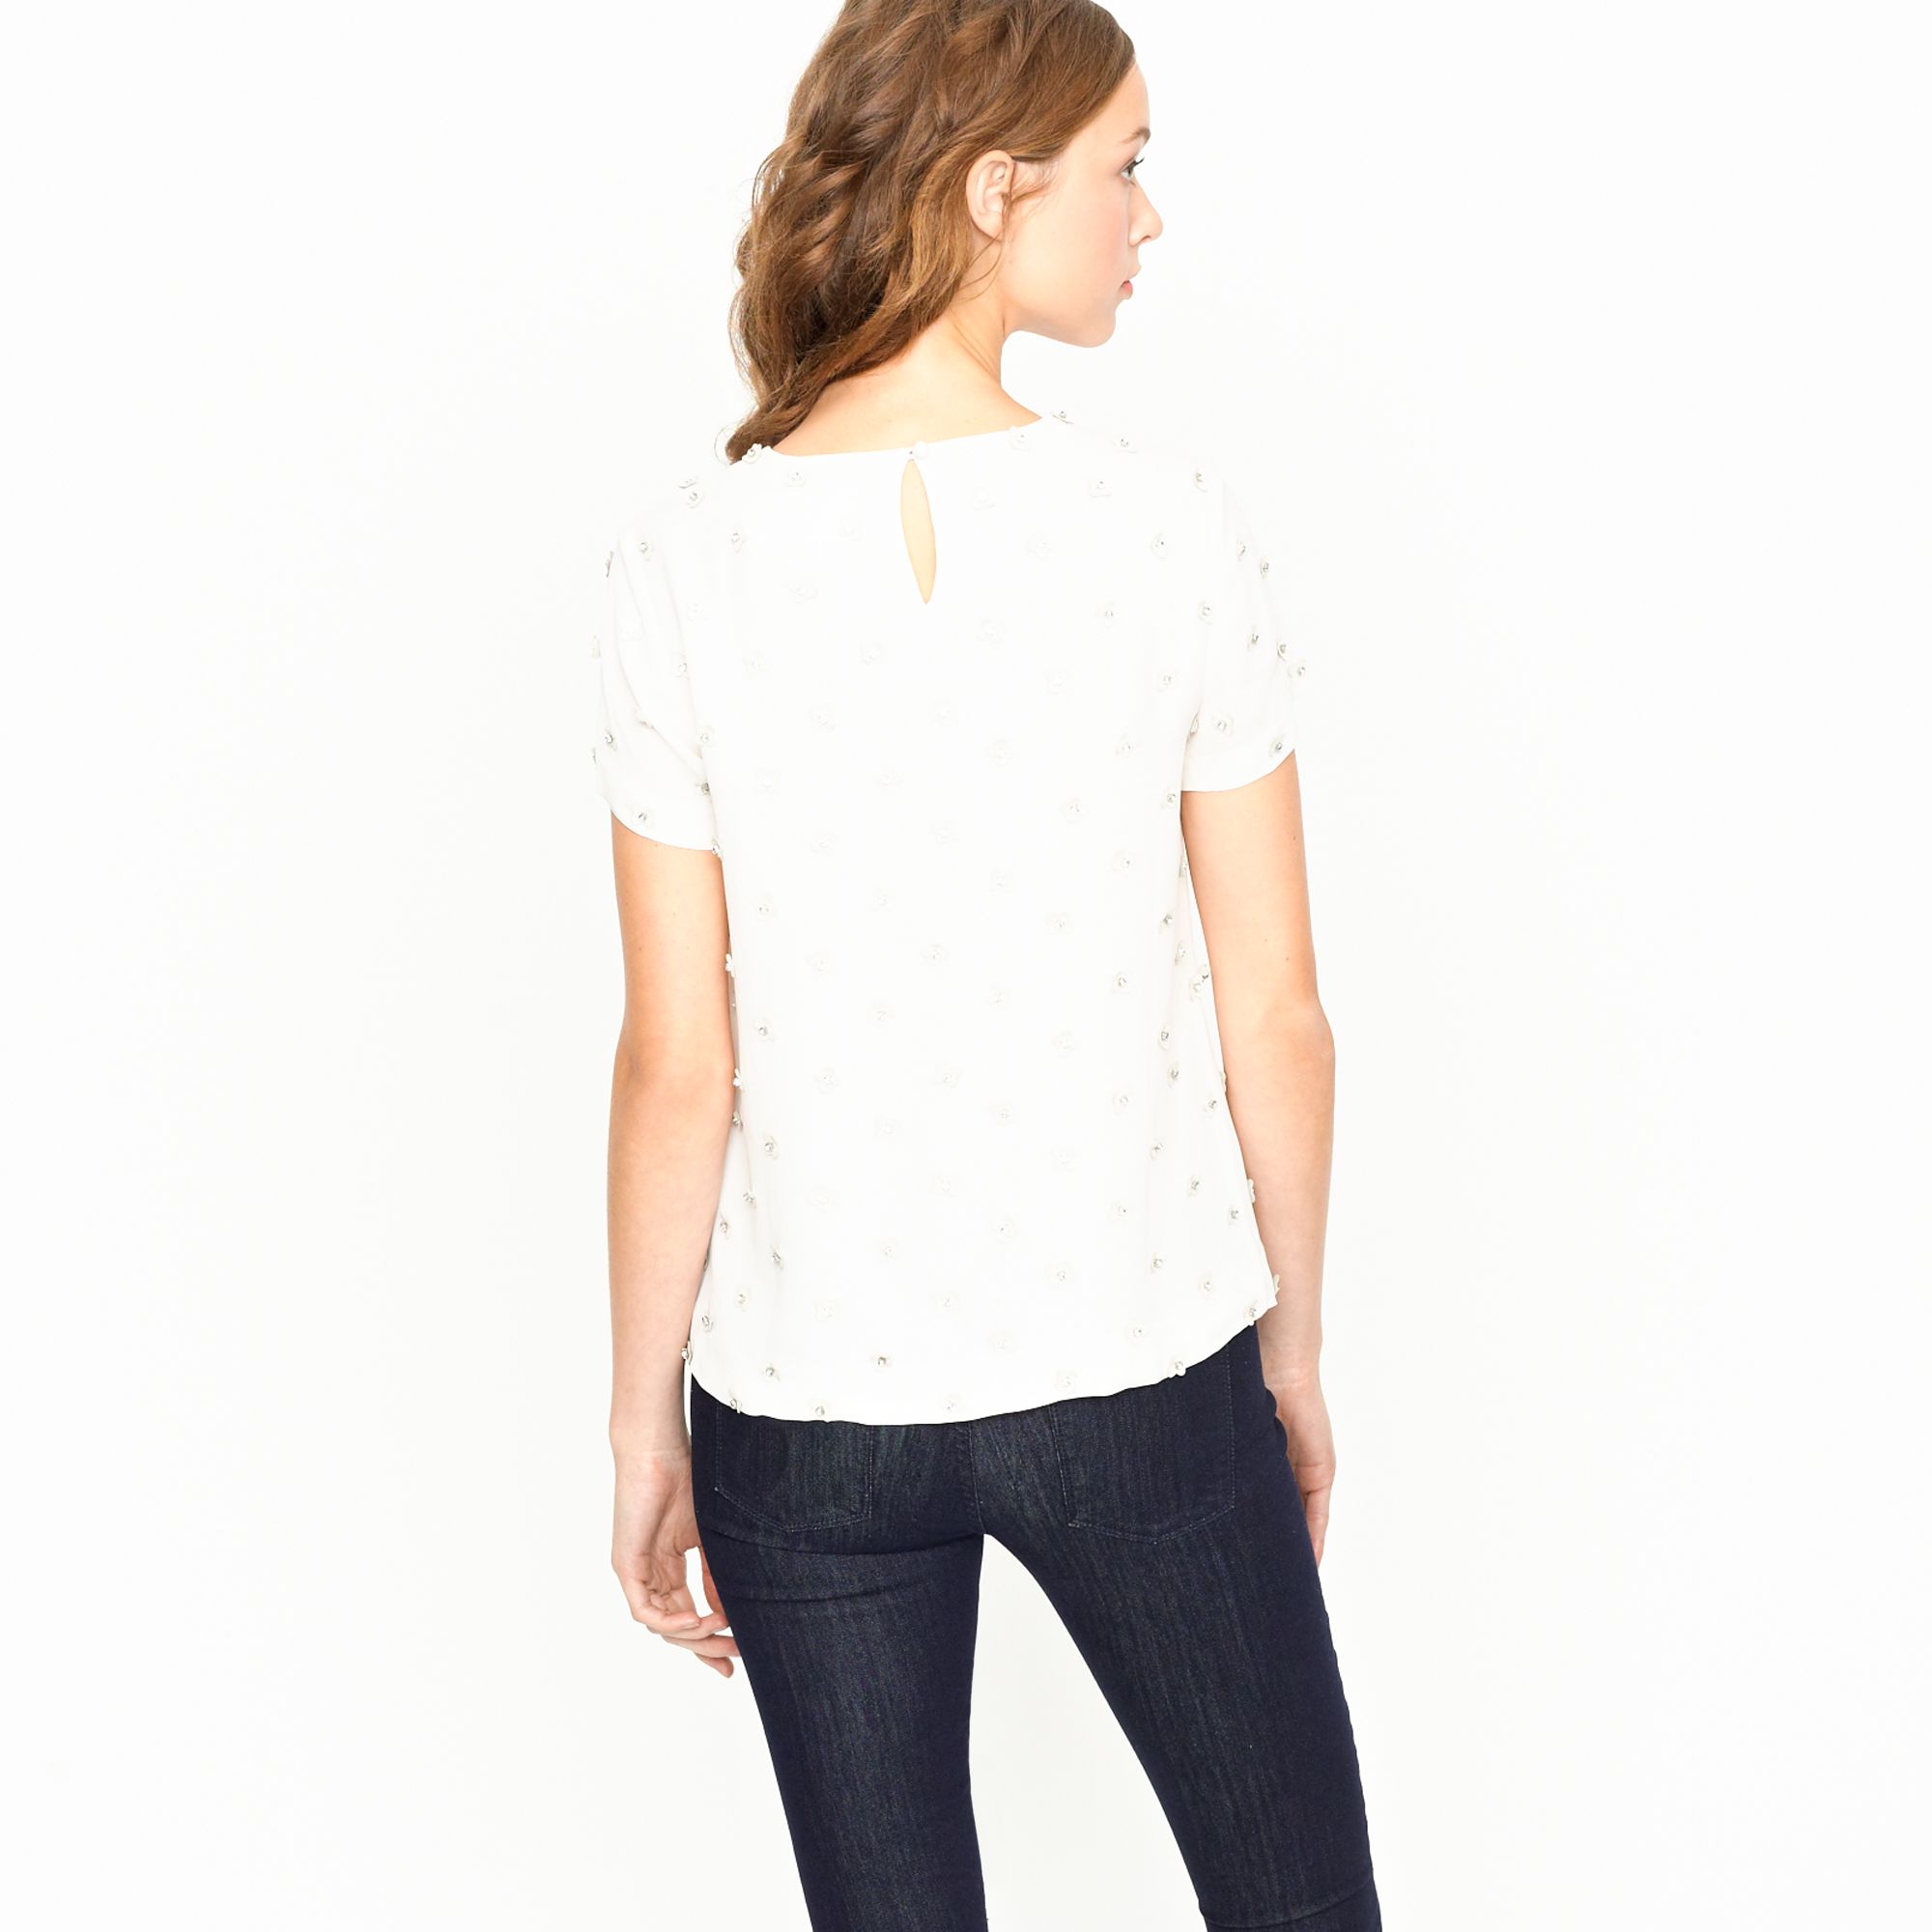
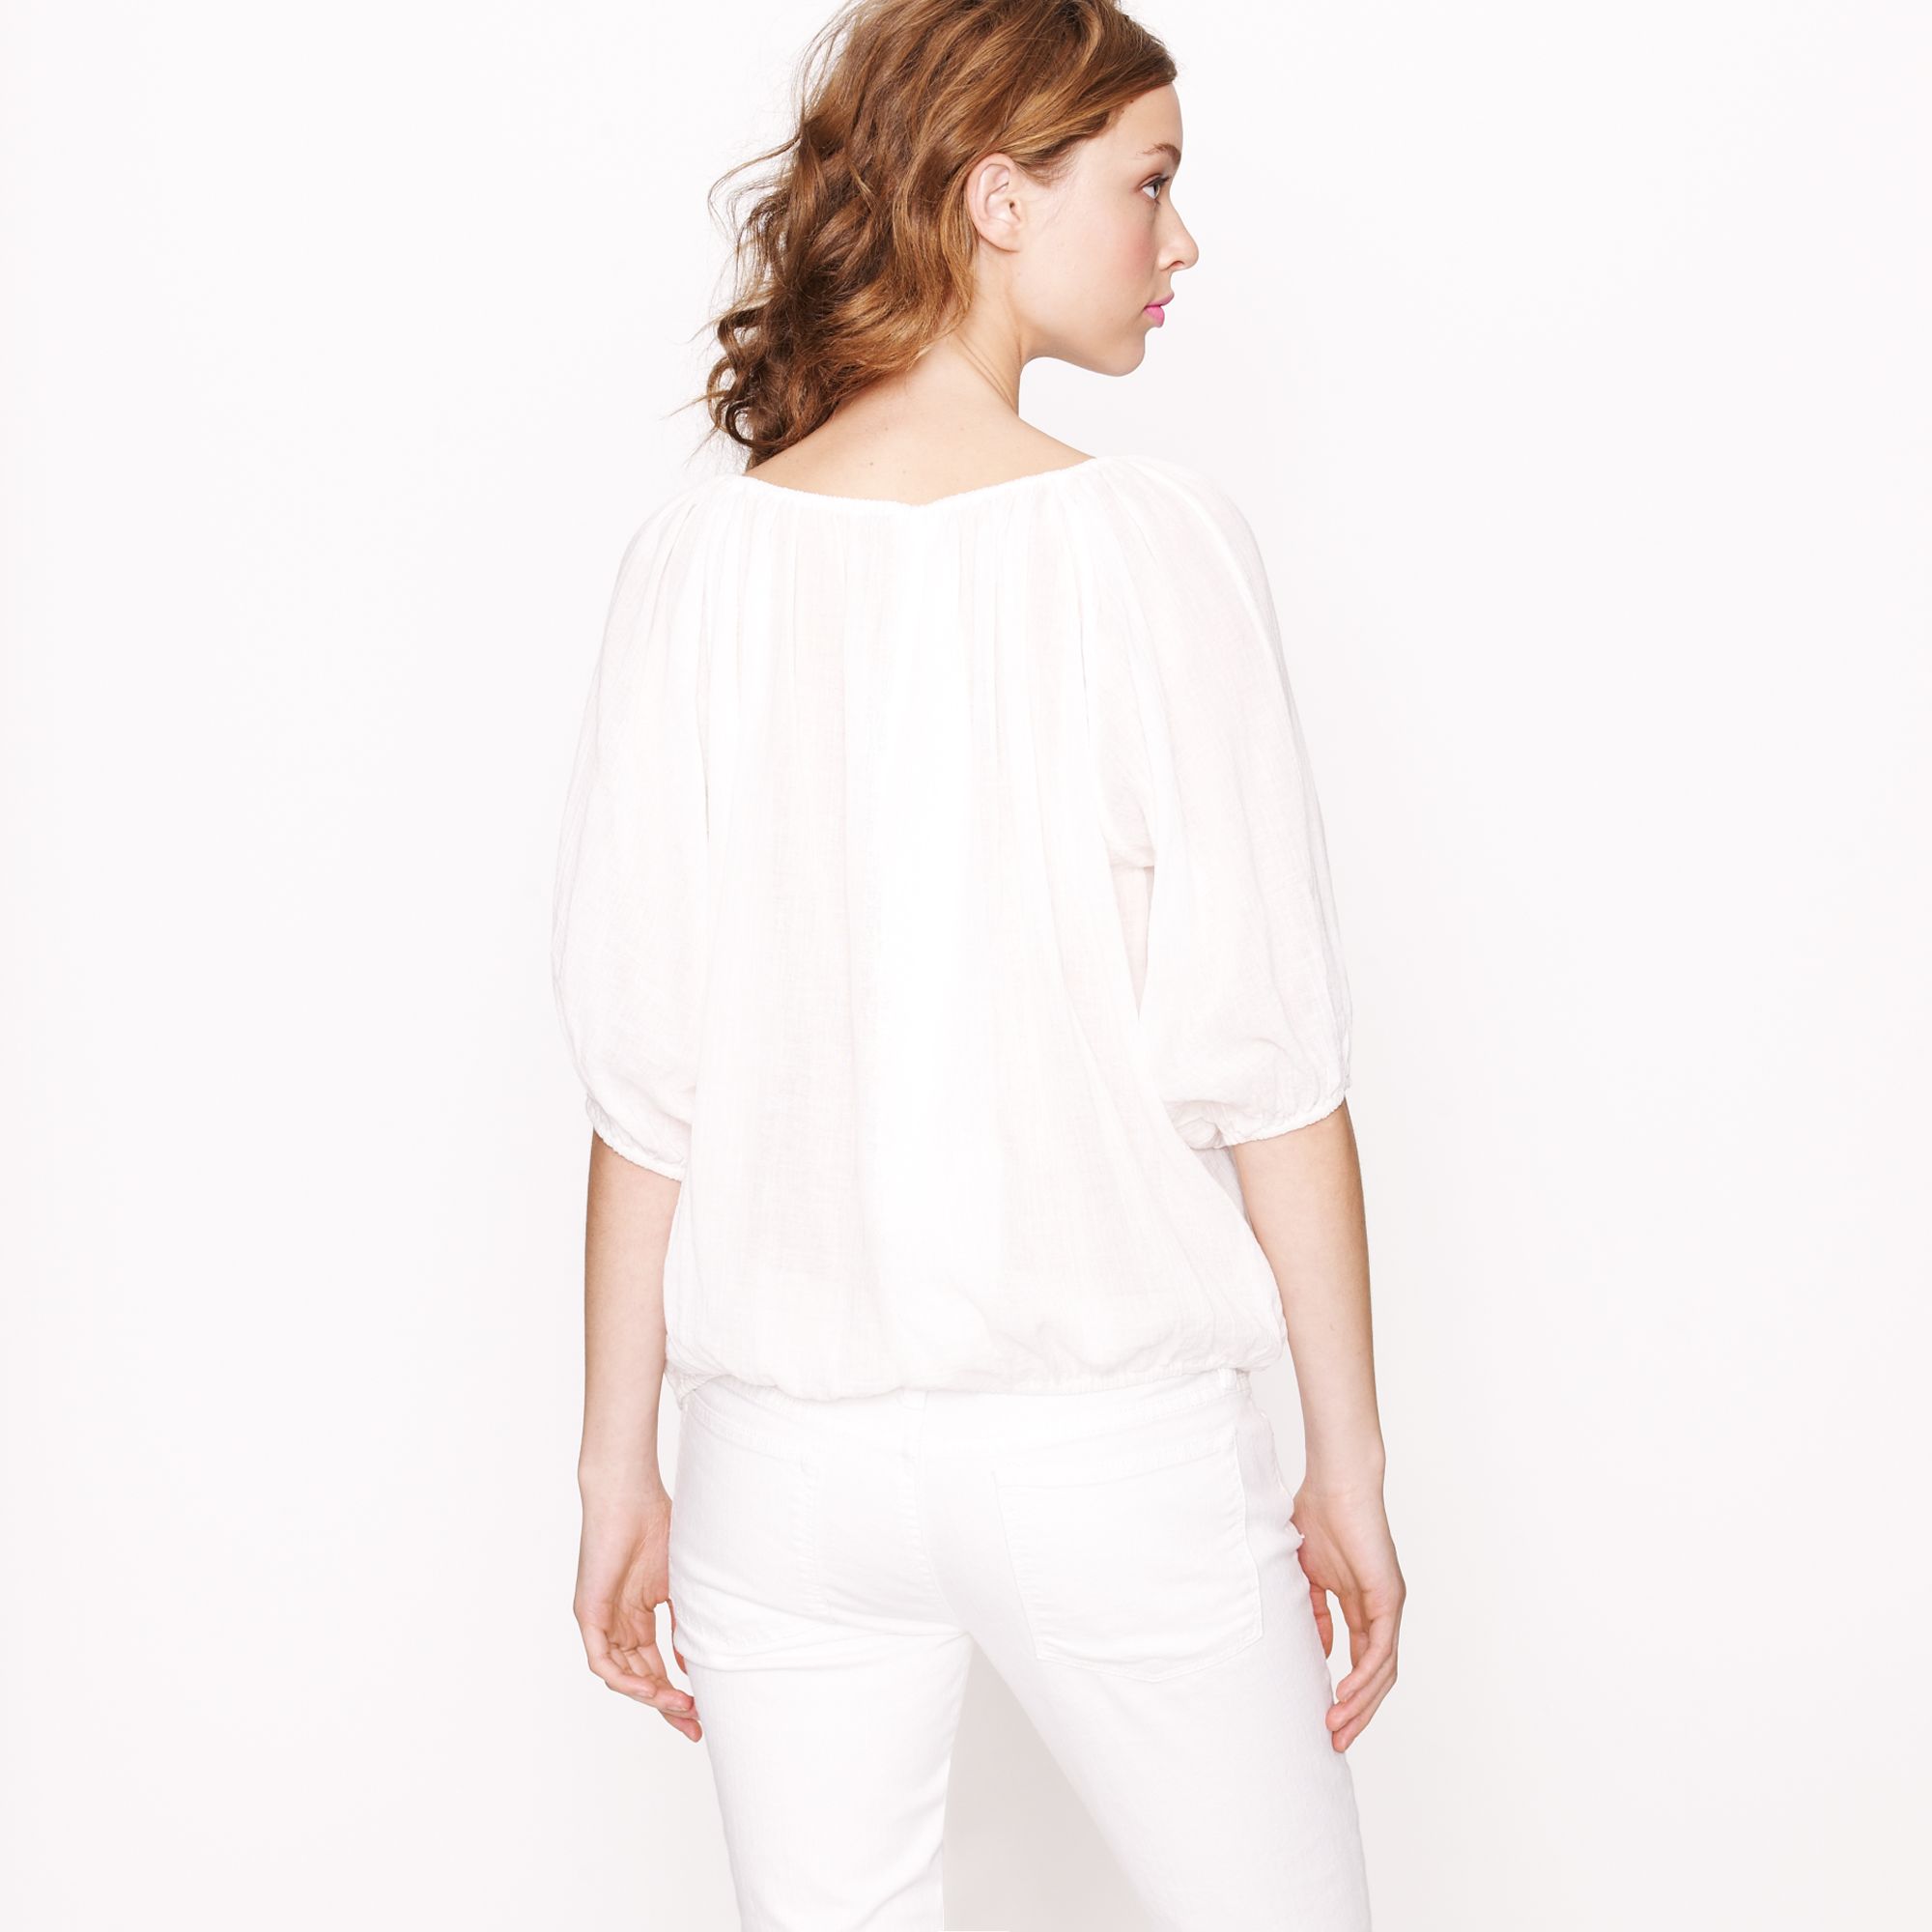
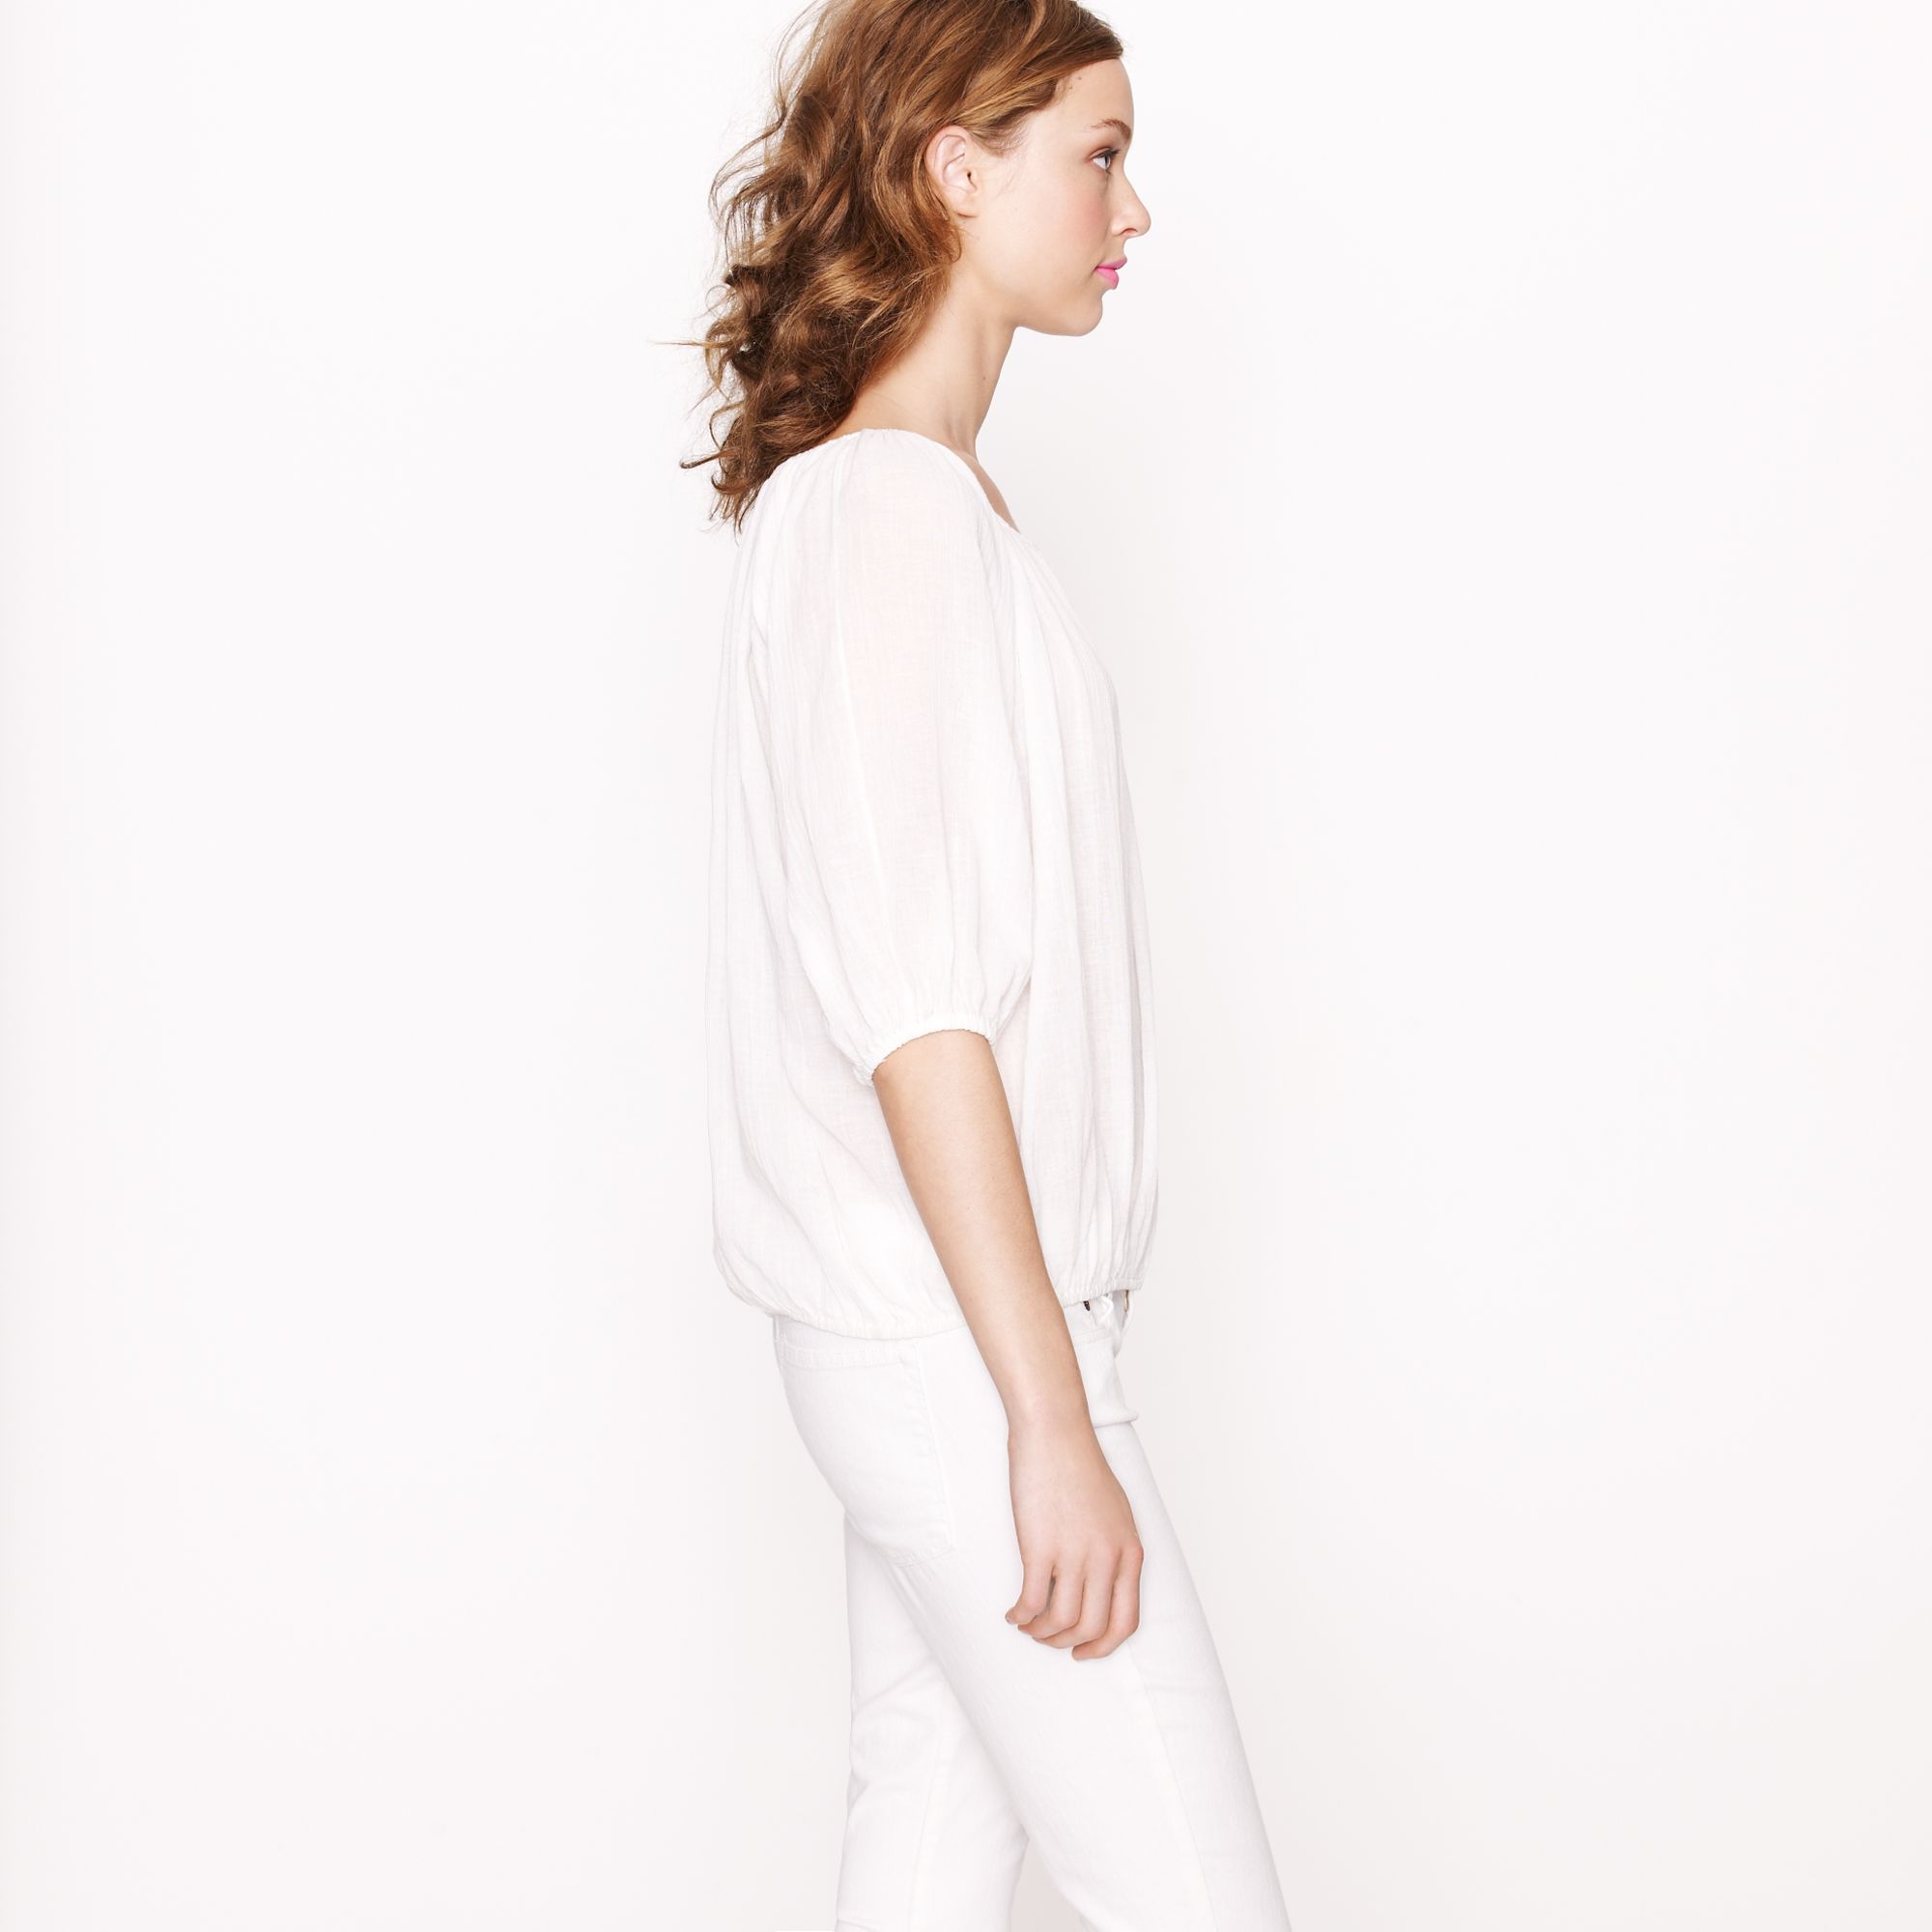
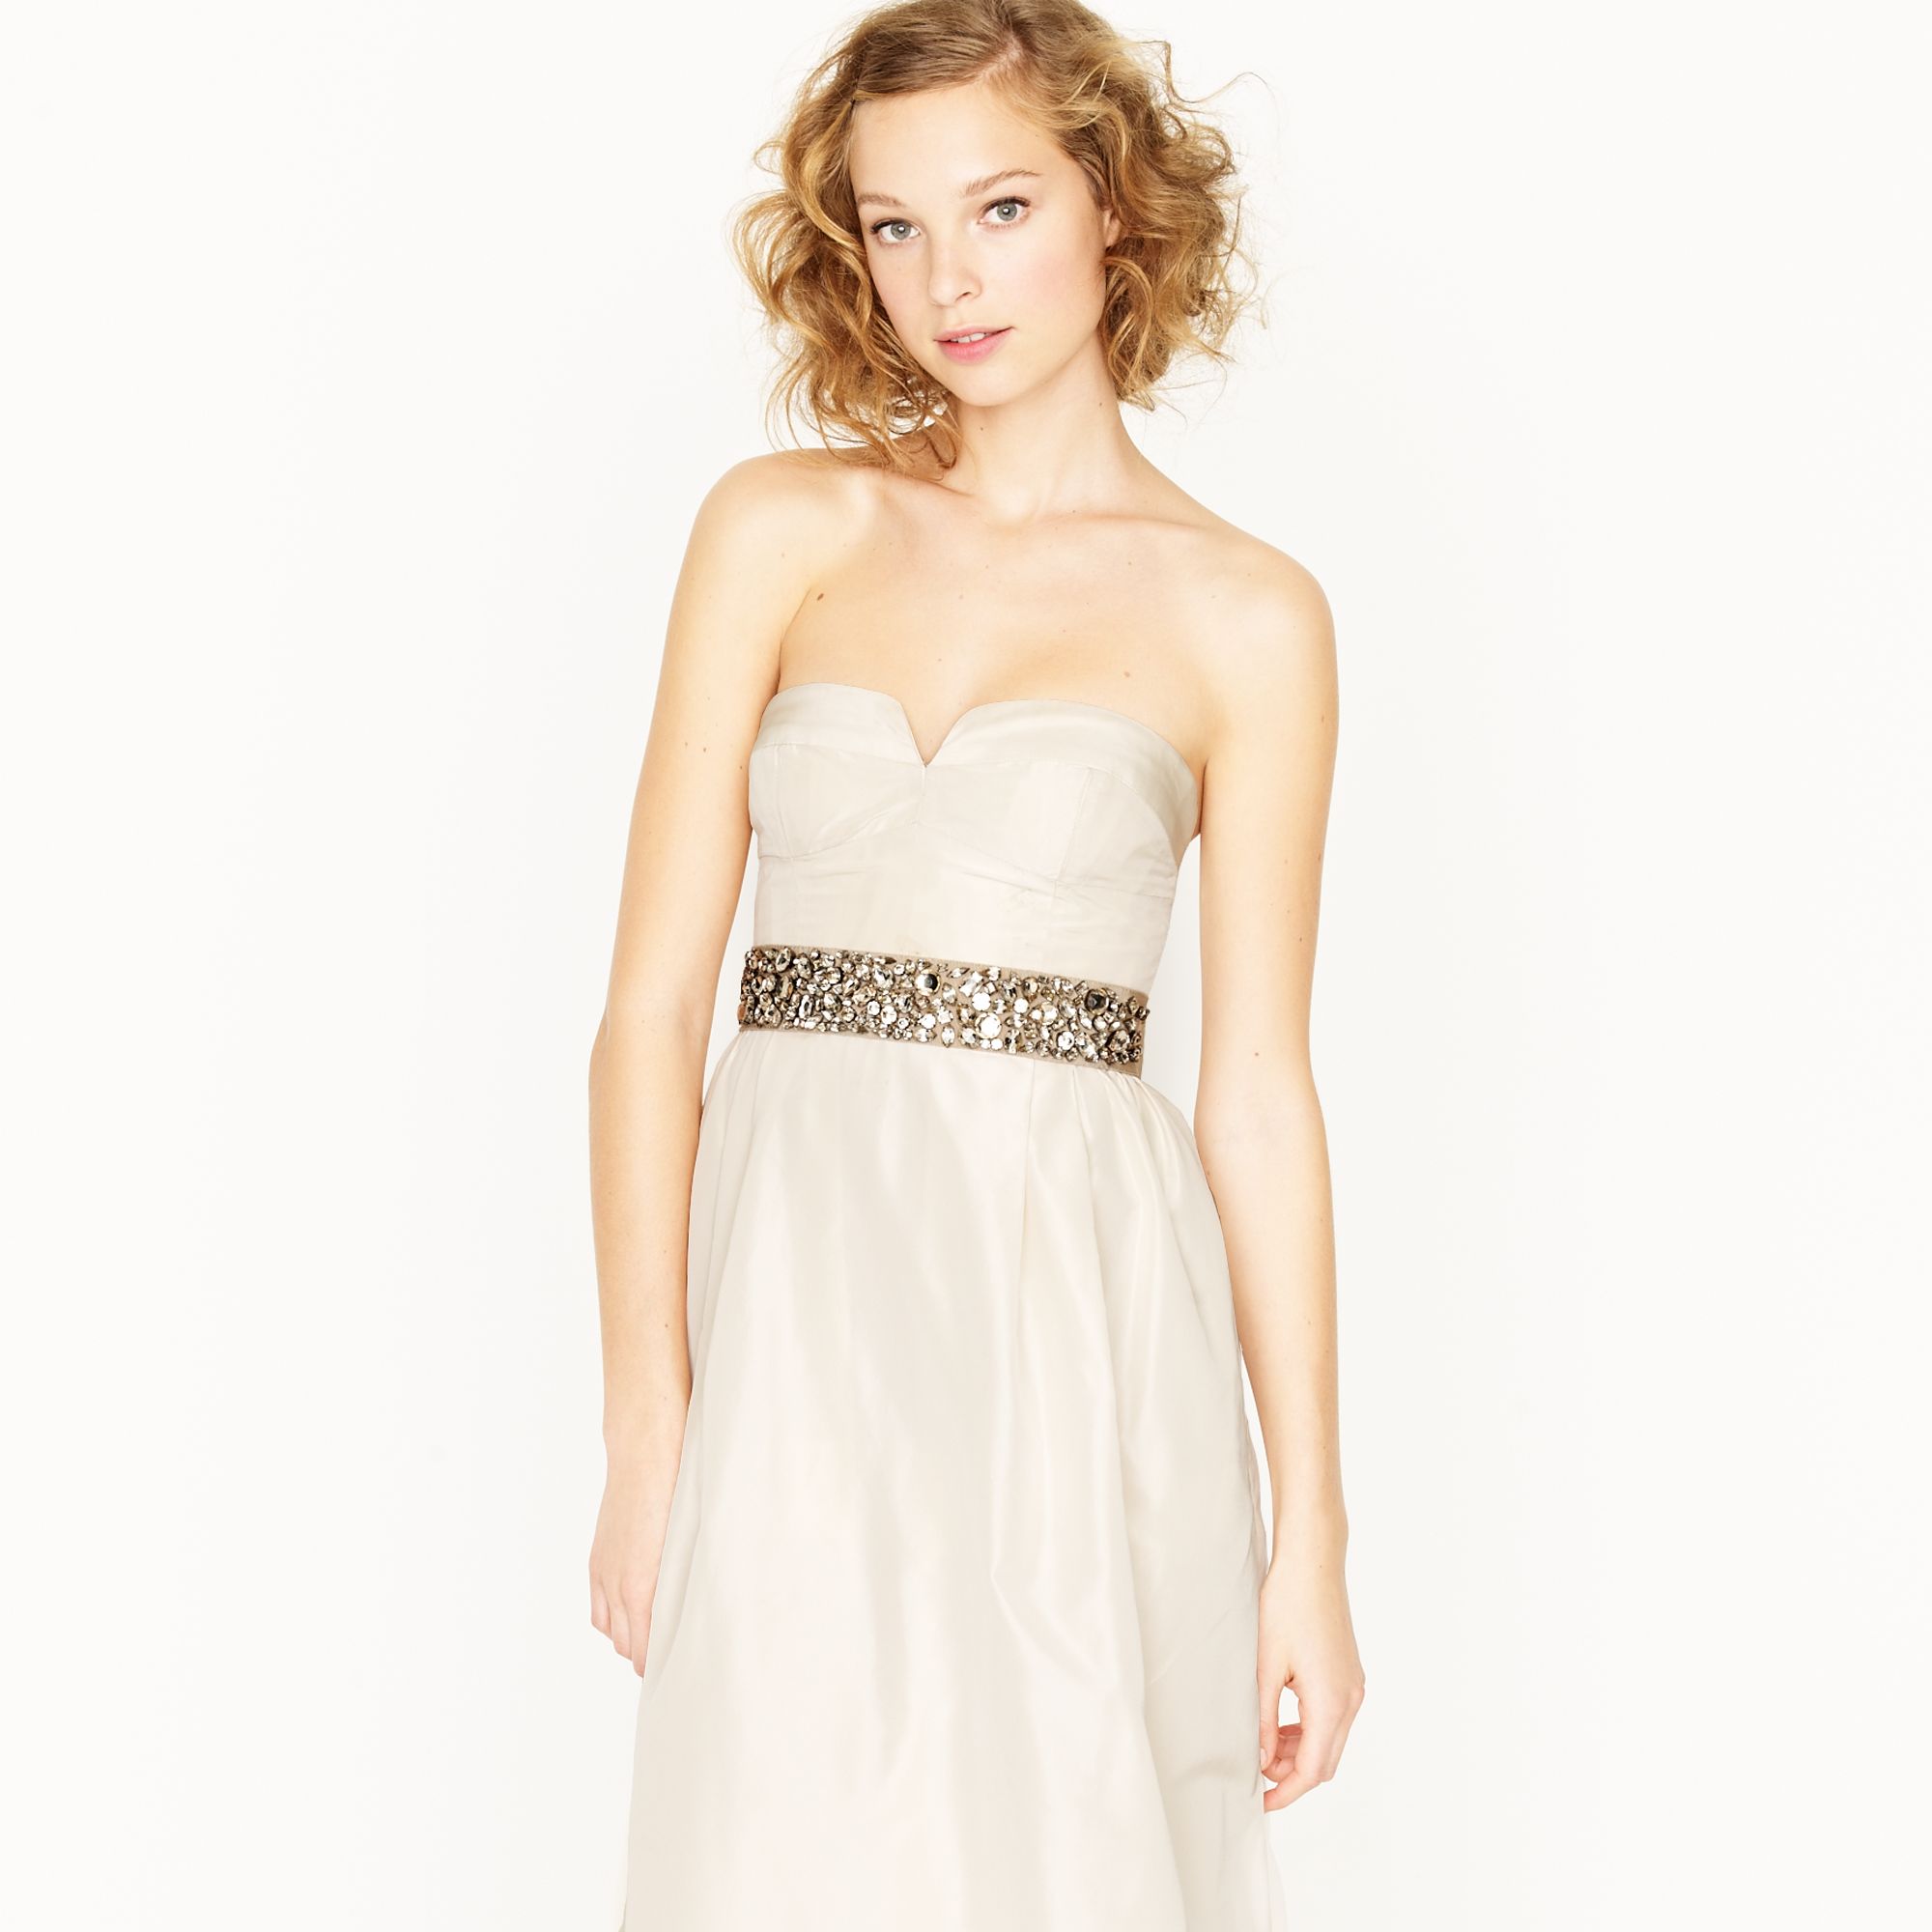
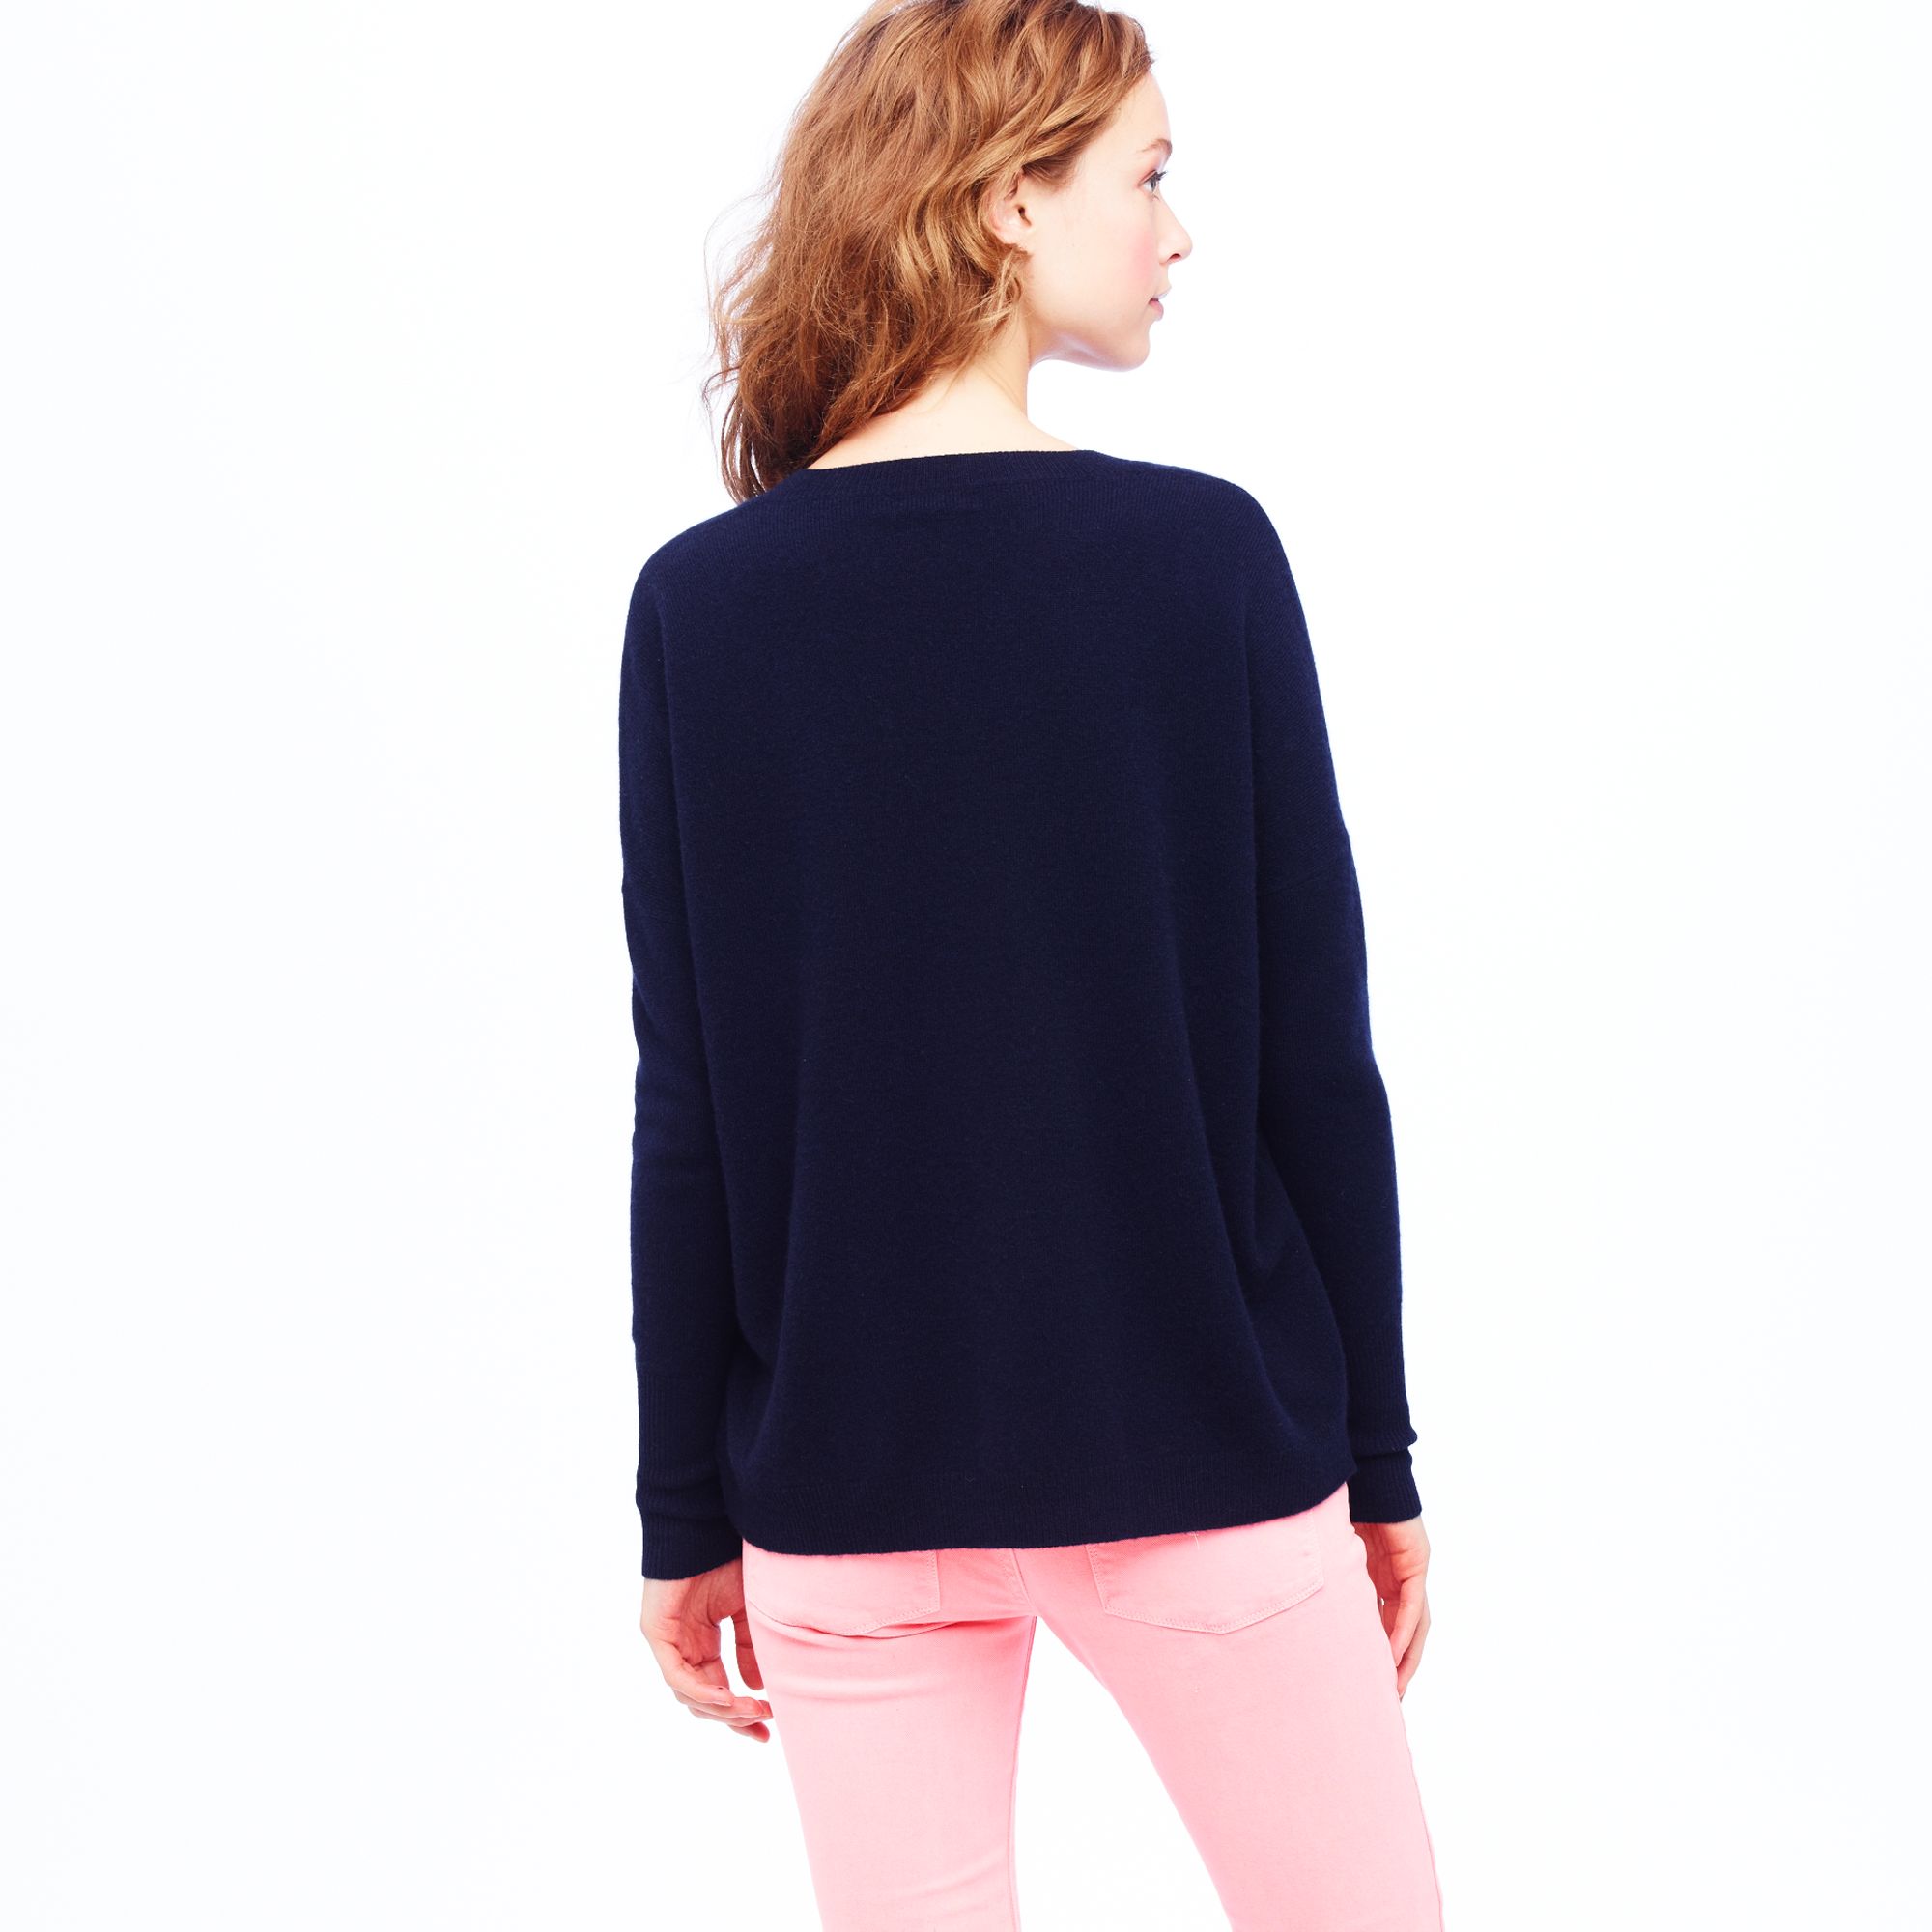
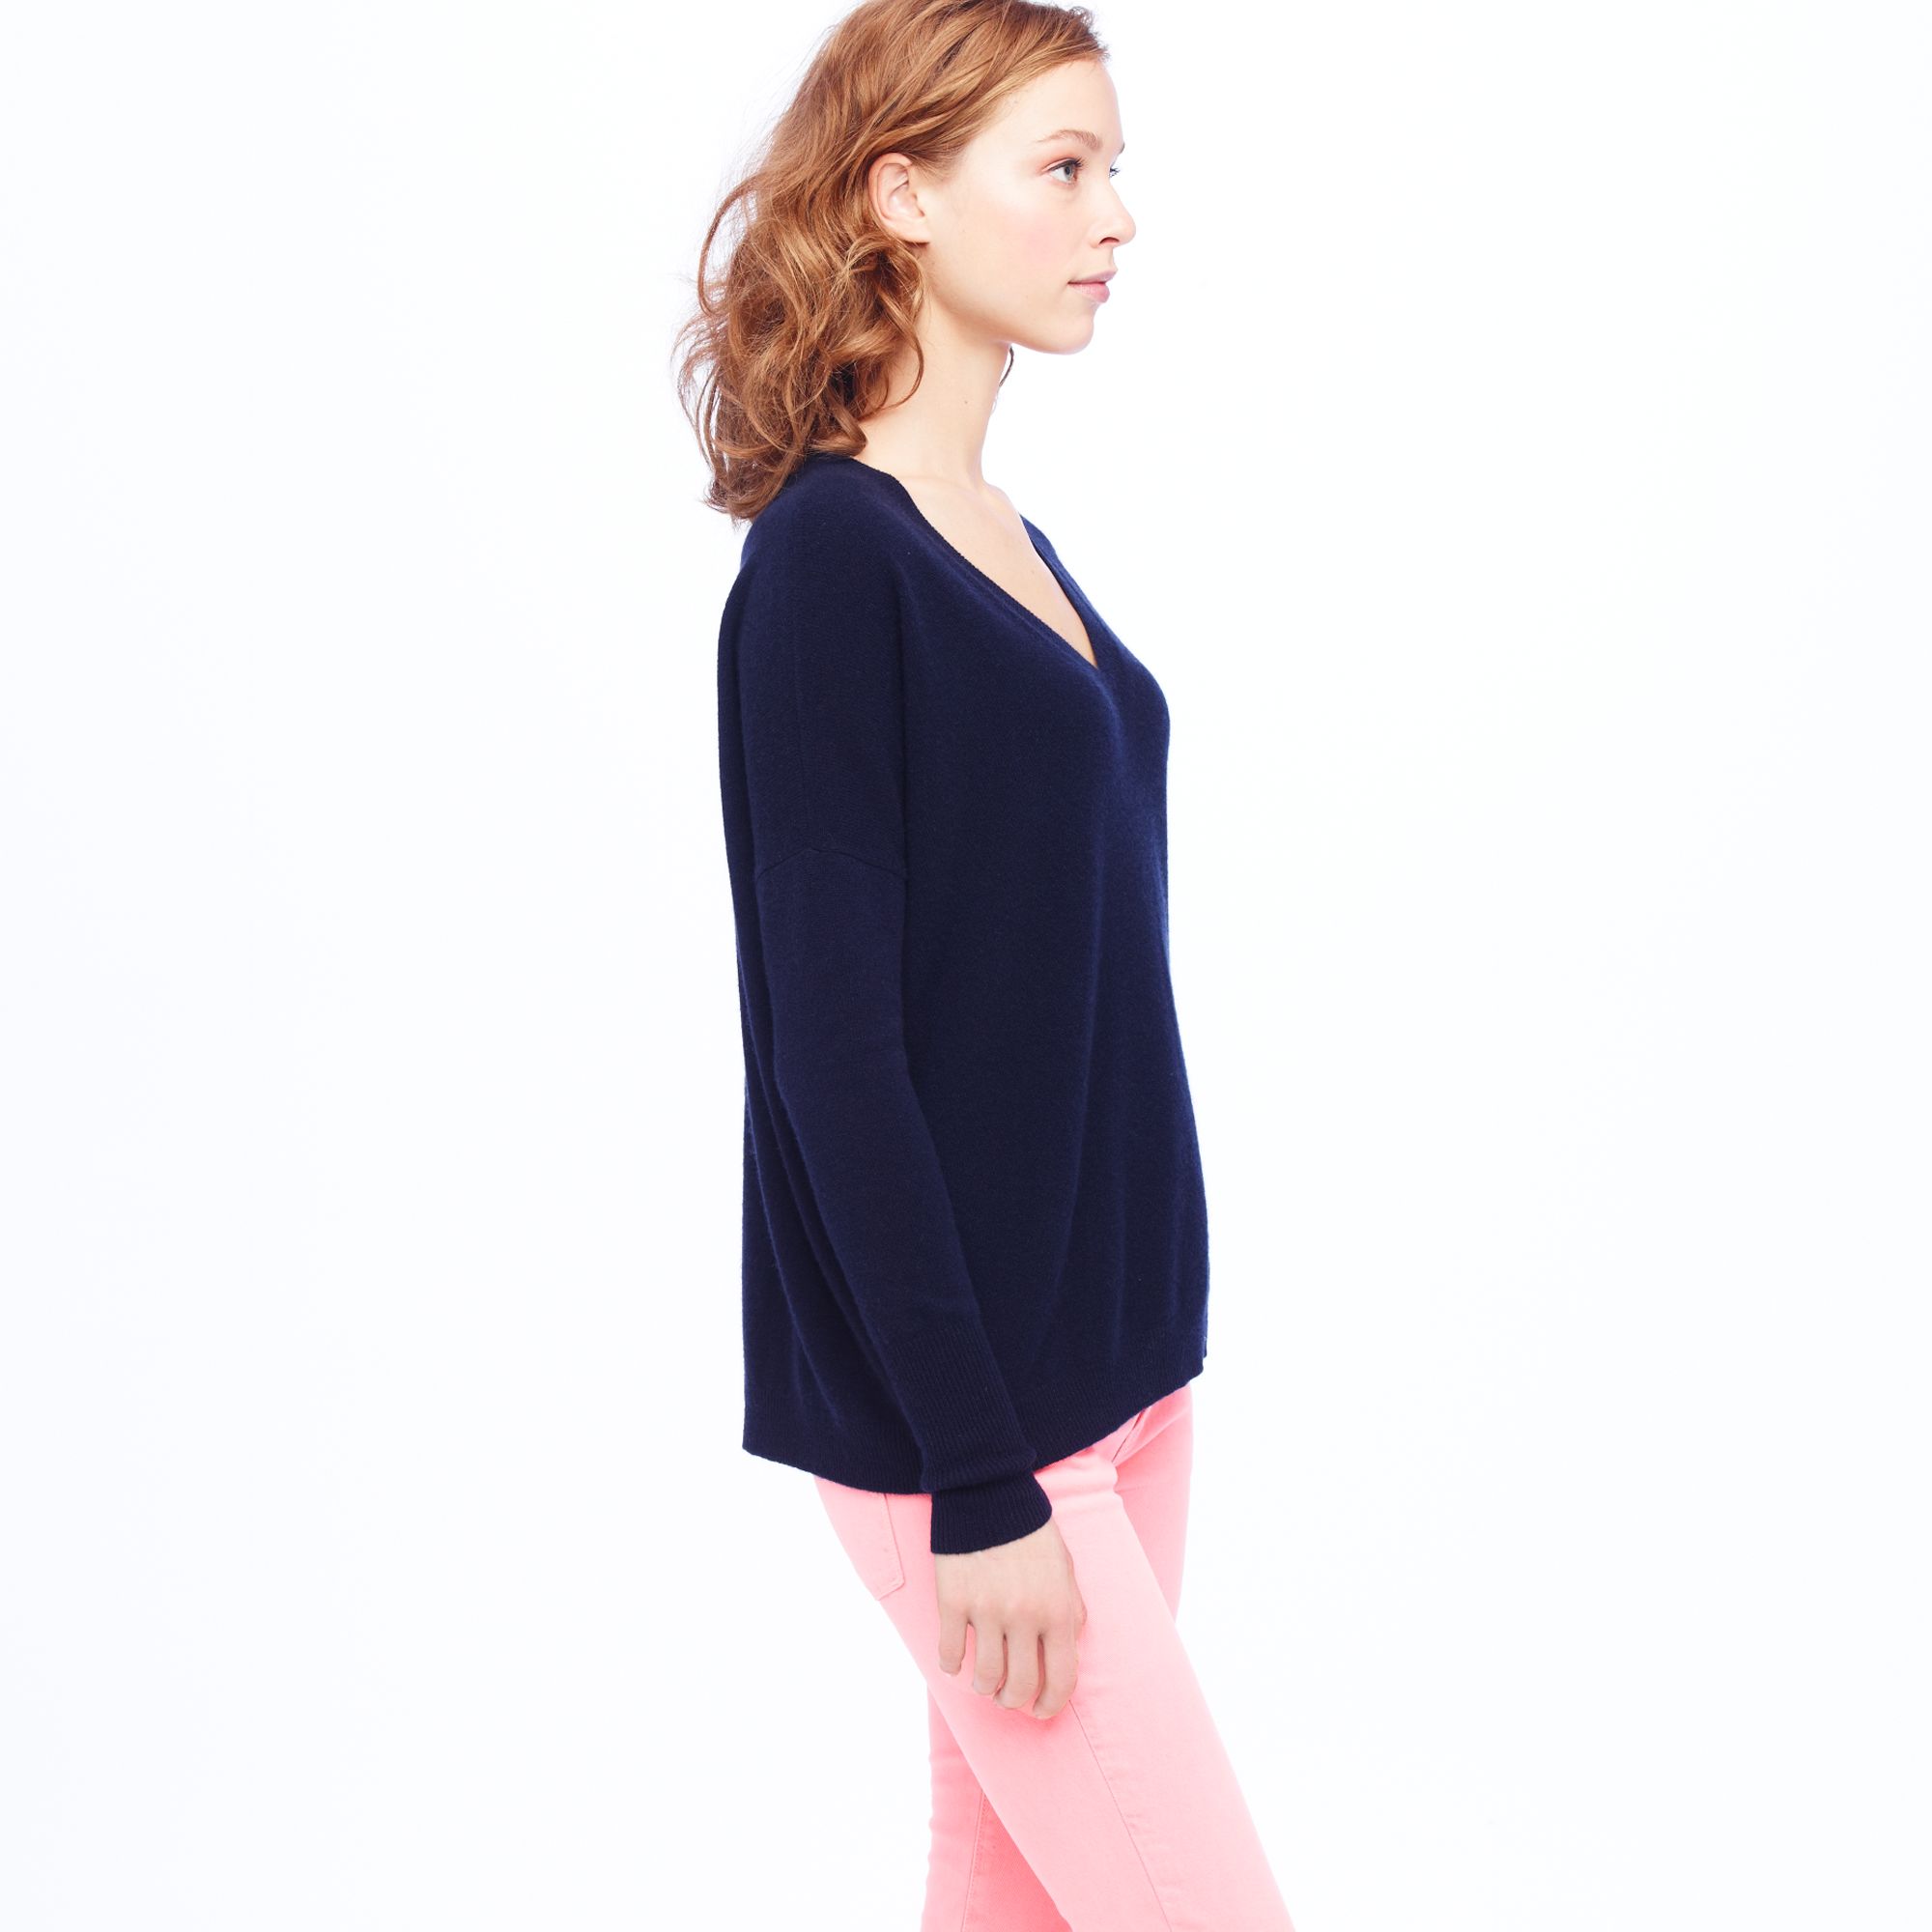
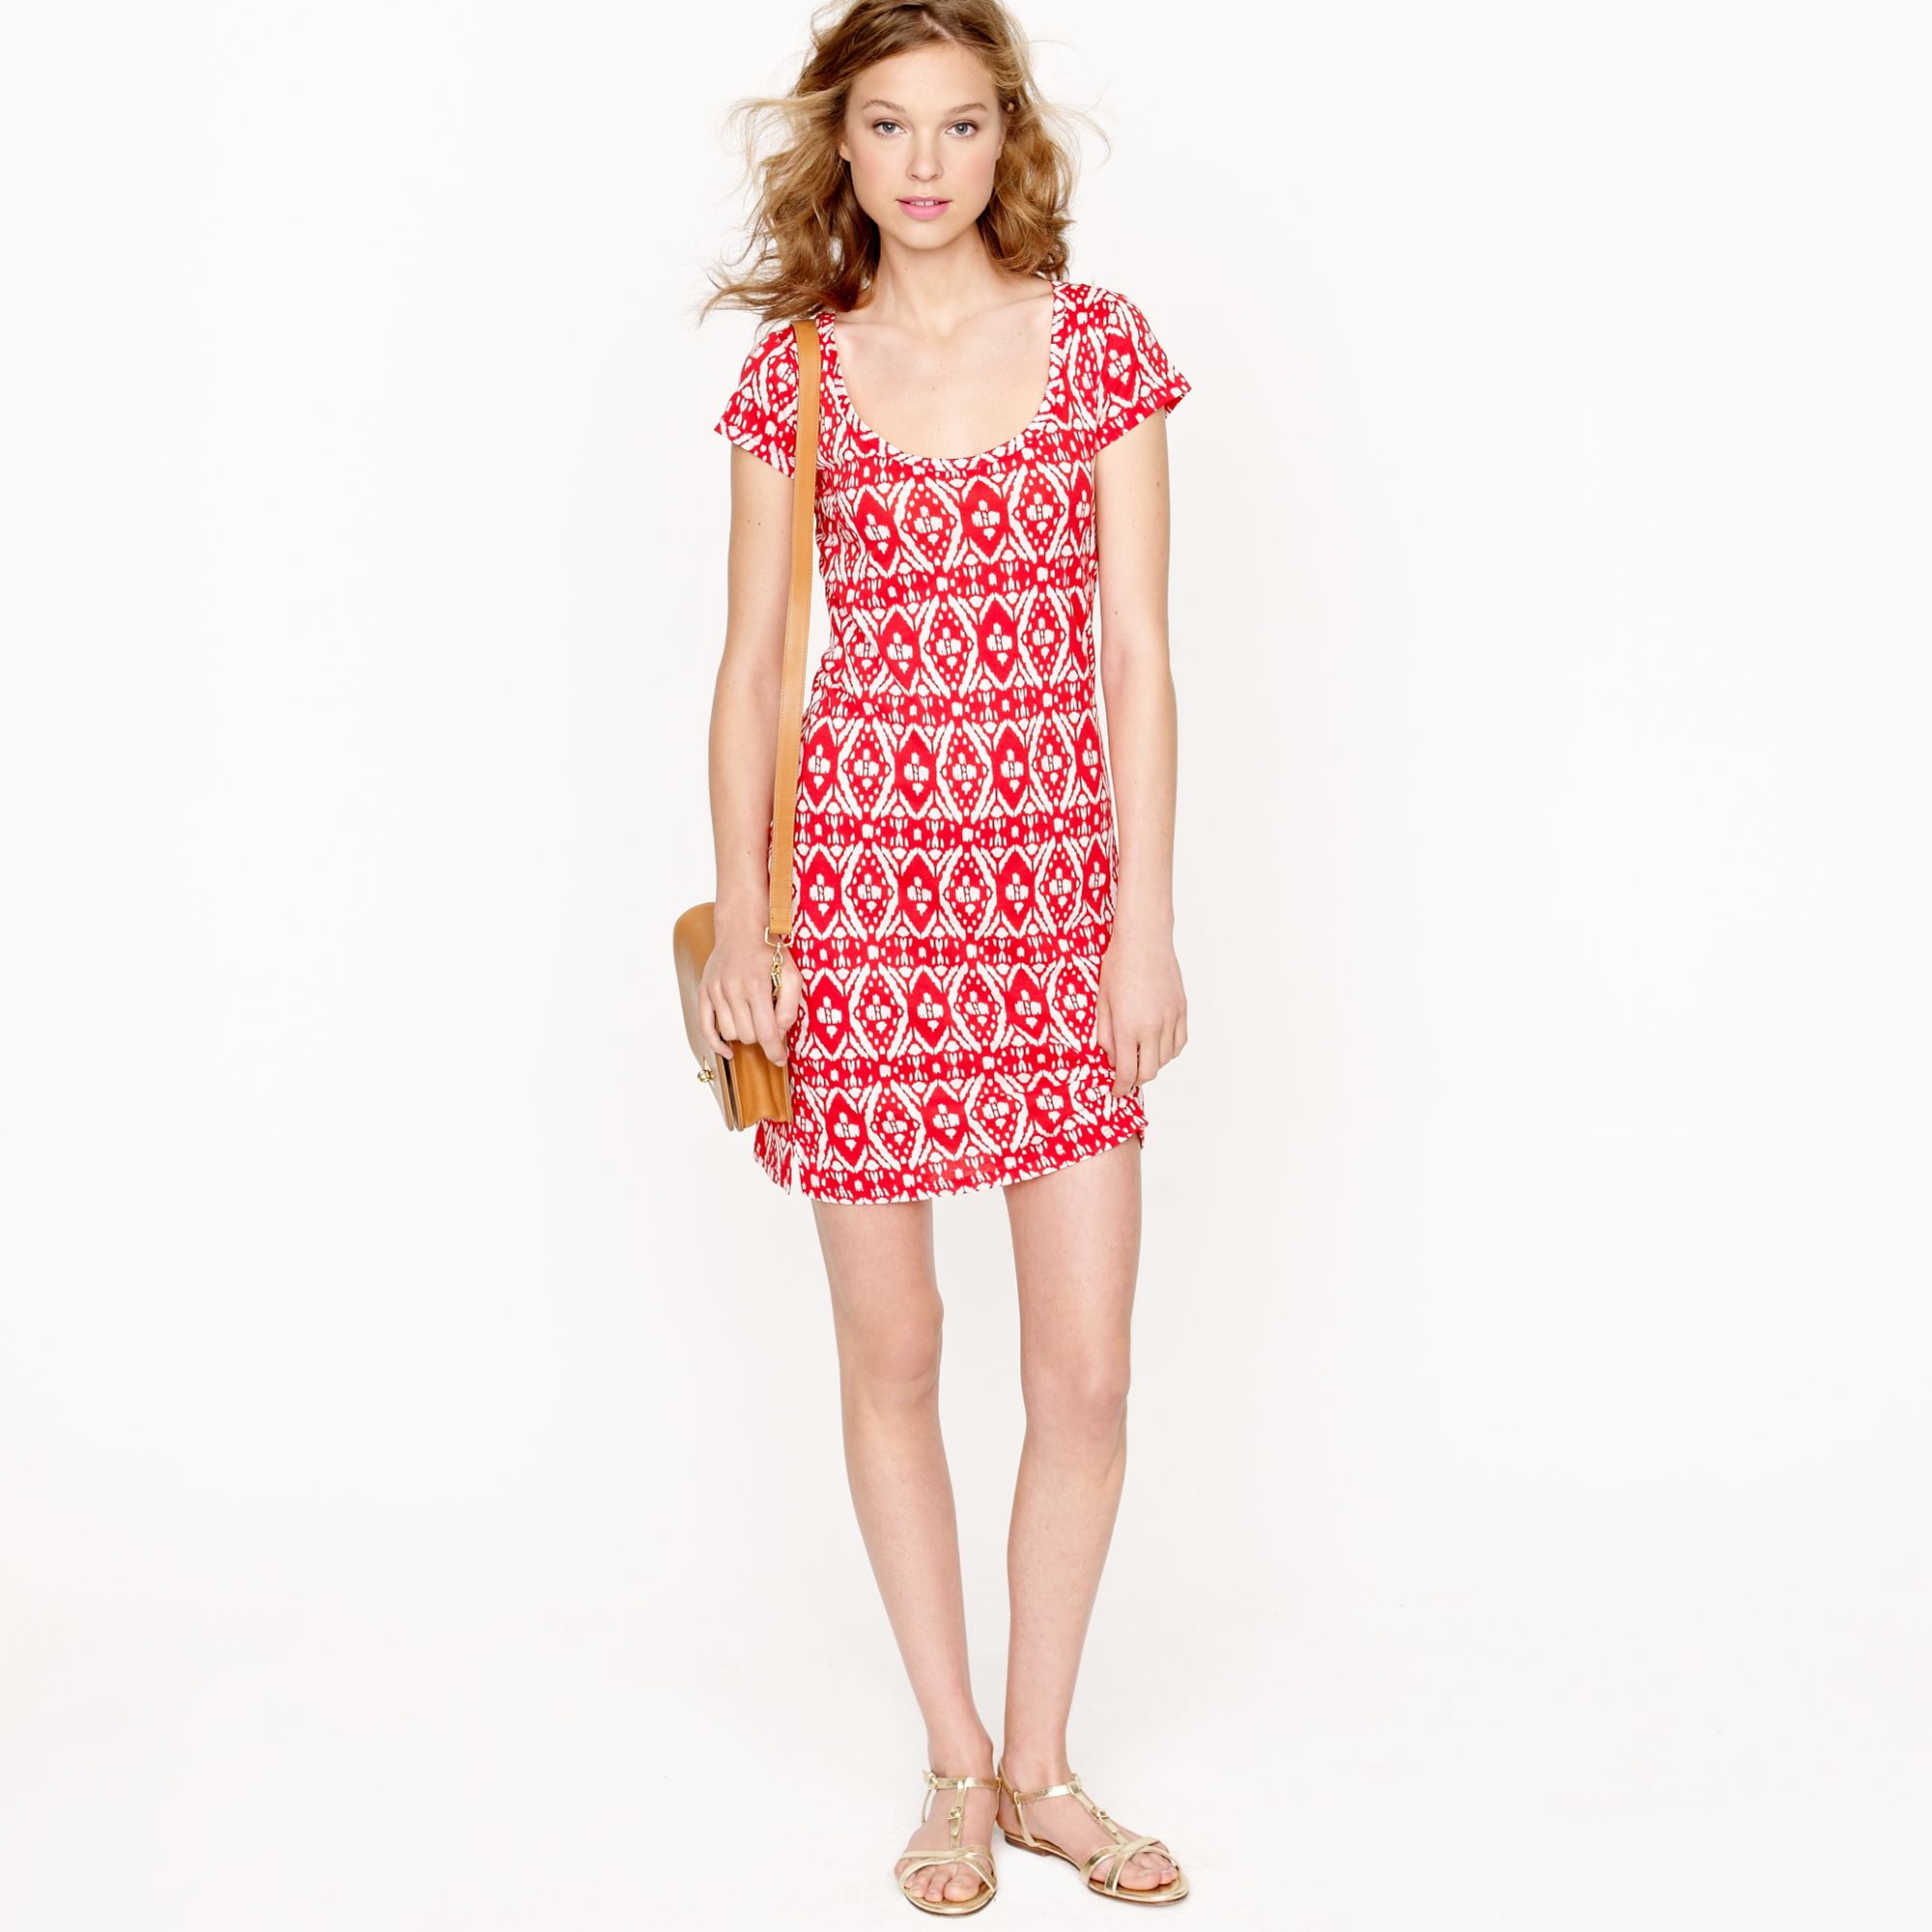
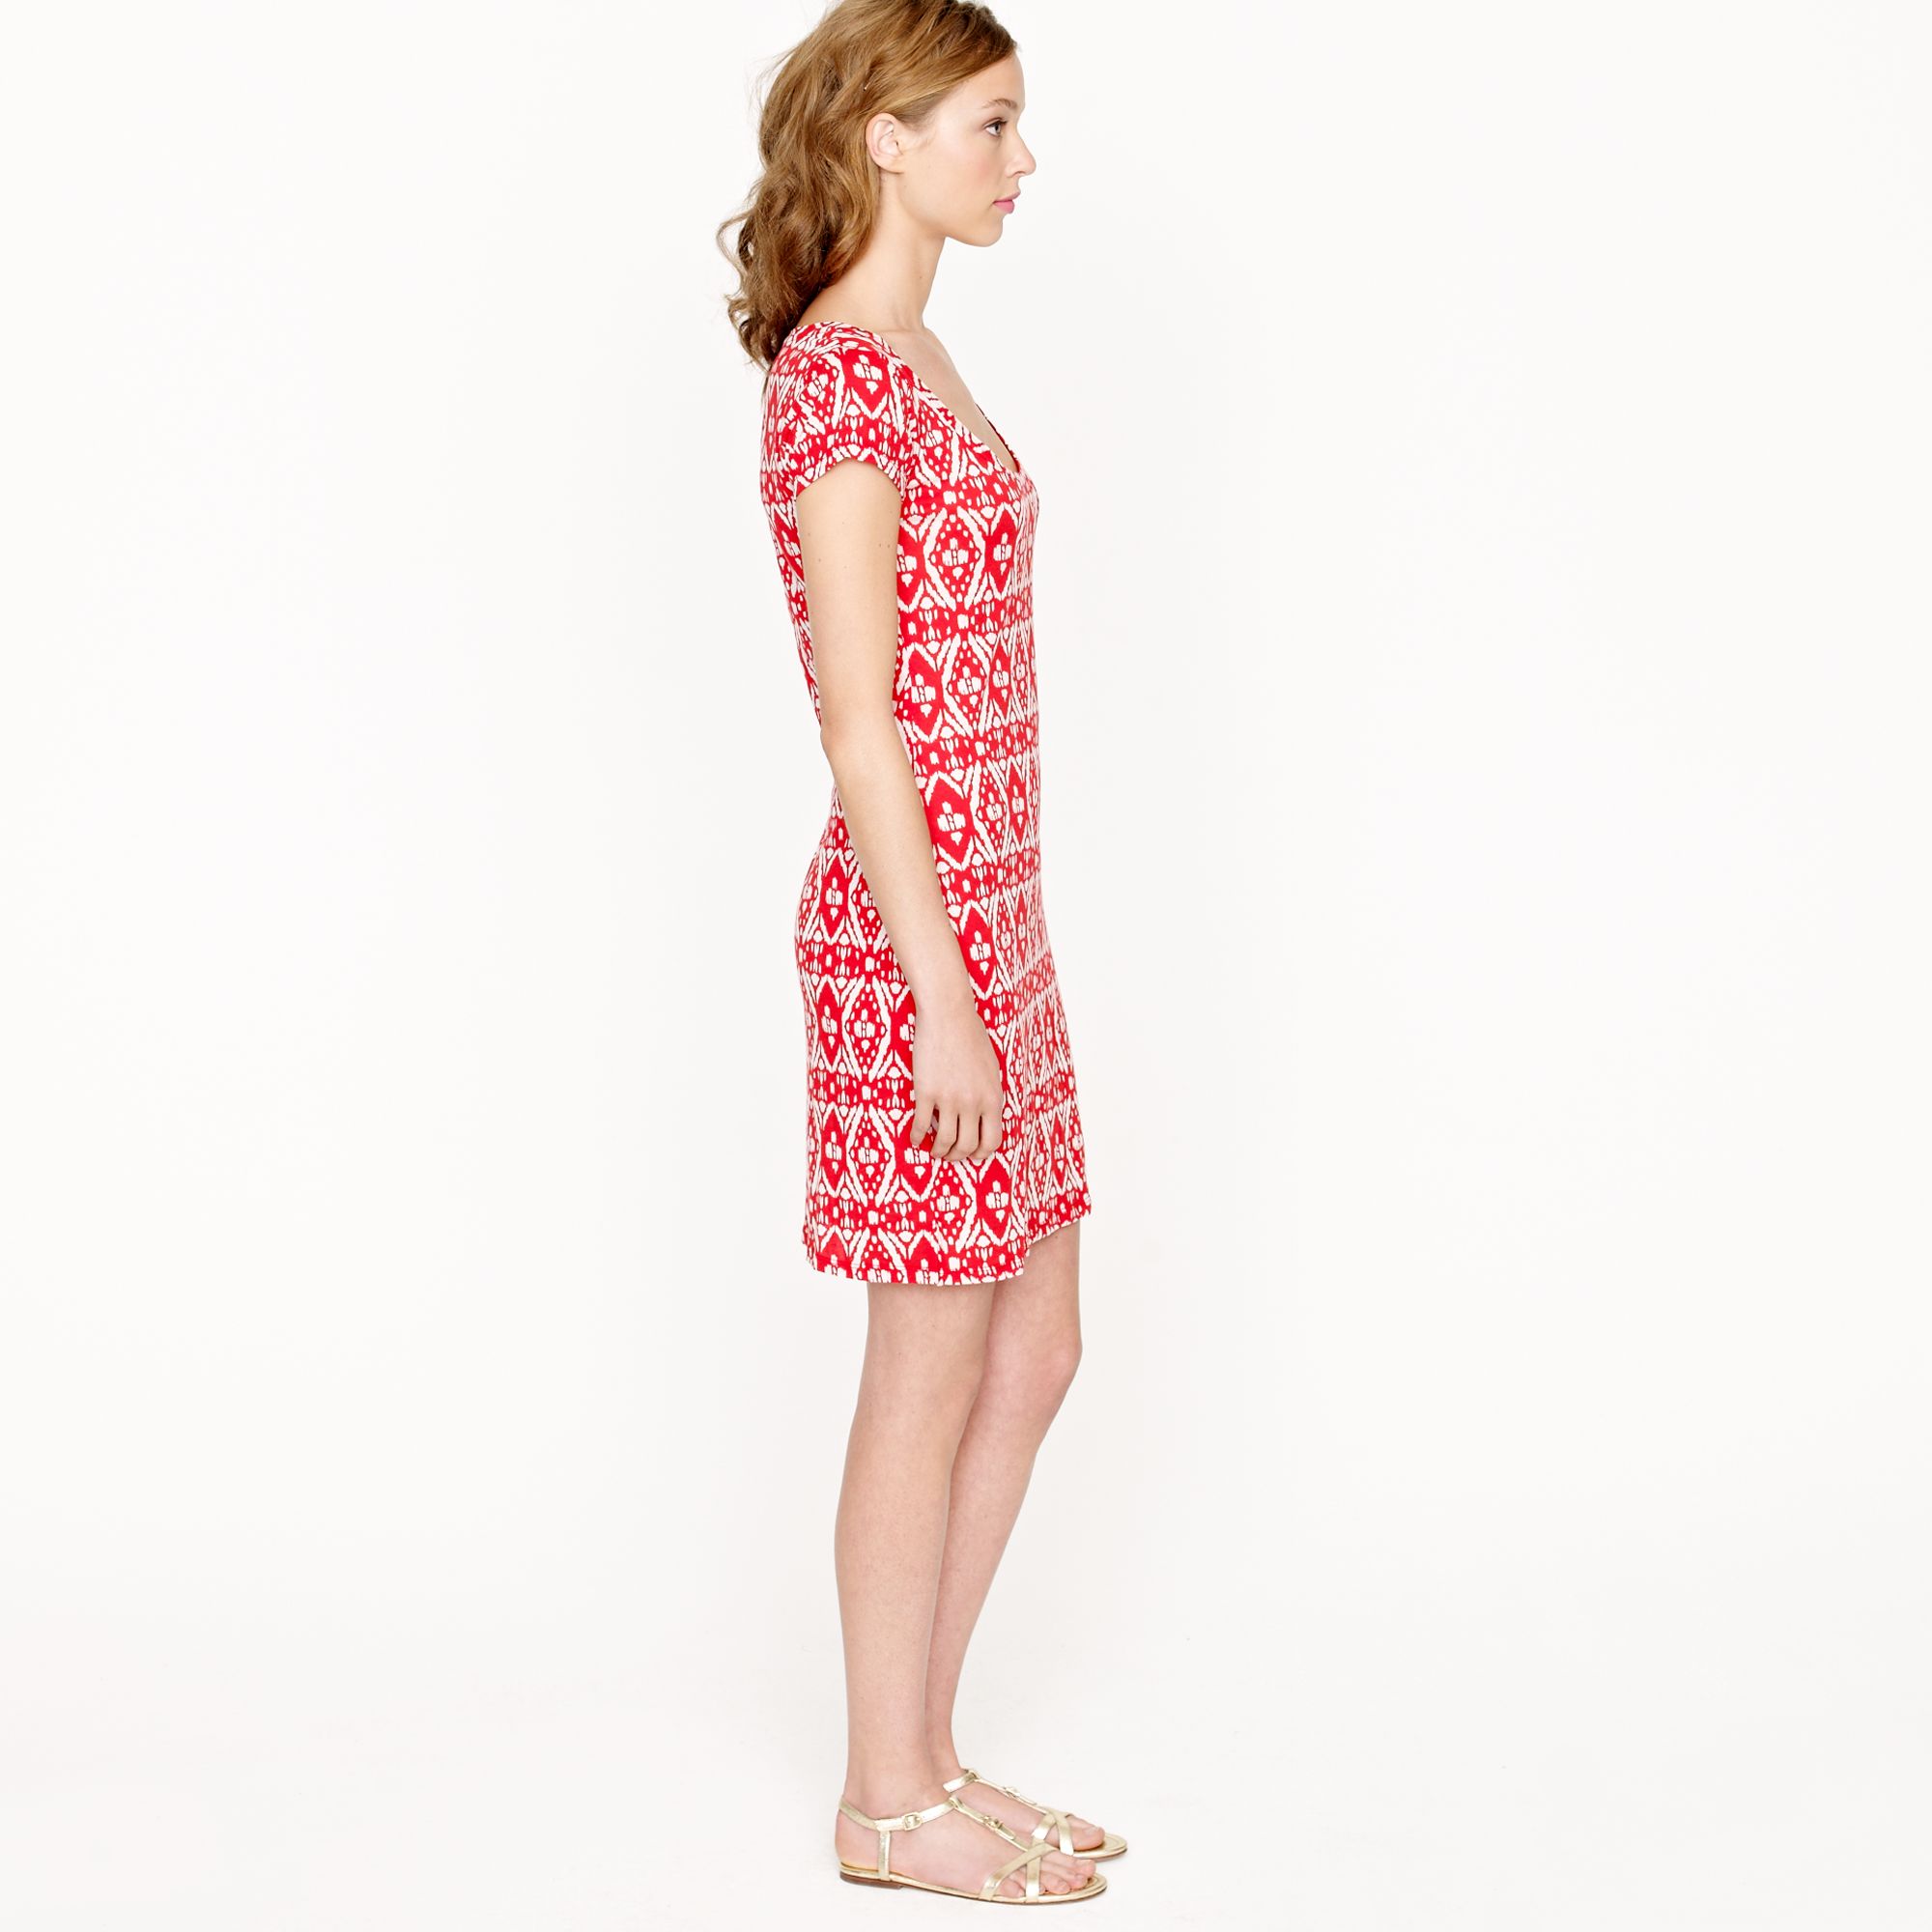
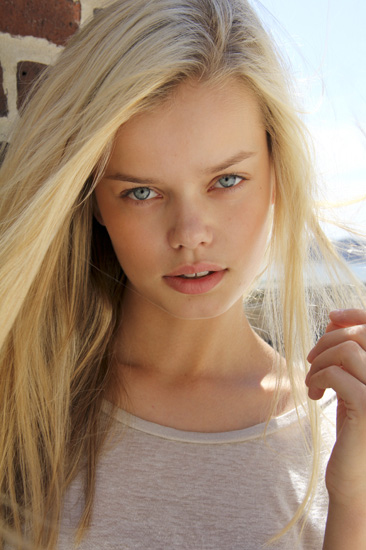
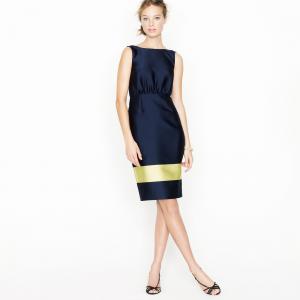
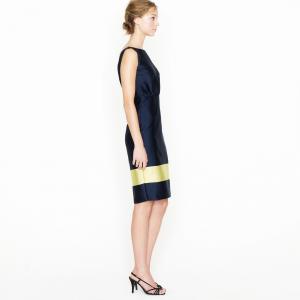
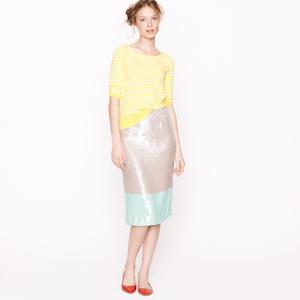
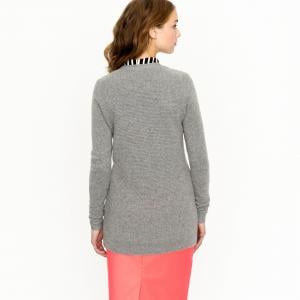
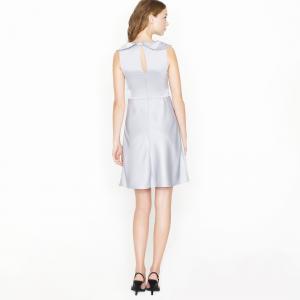
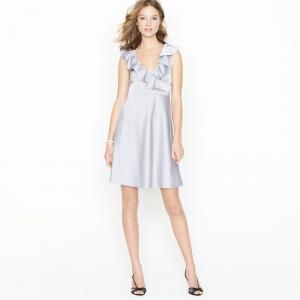
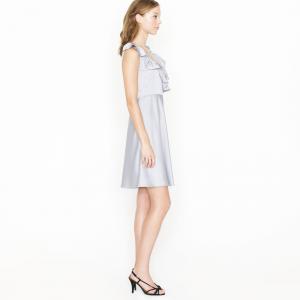
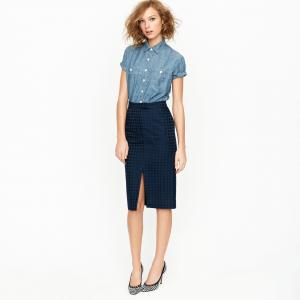
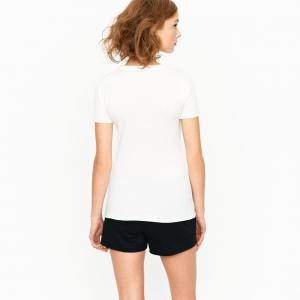
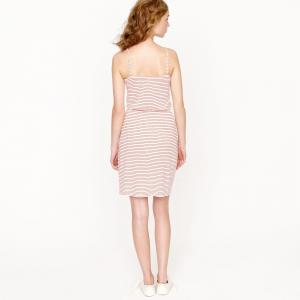
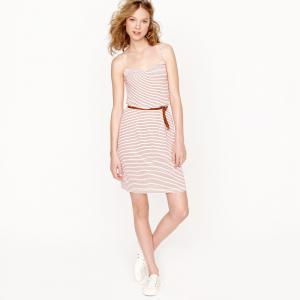
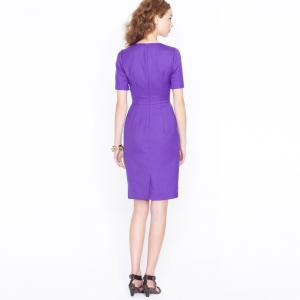
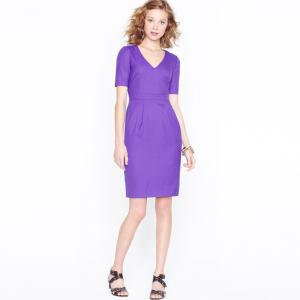
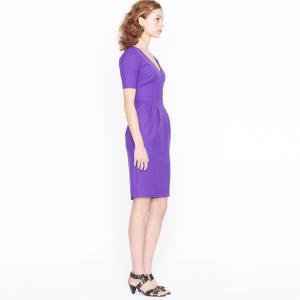
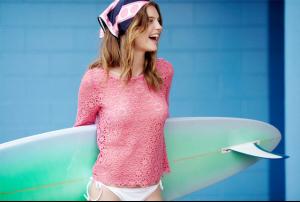
J Crew (2/6) jcrew


-
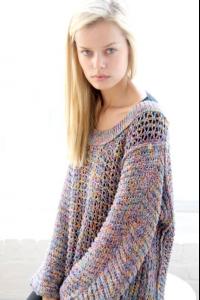
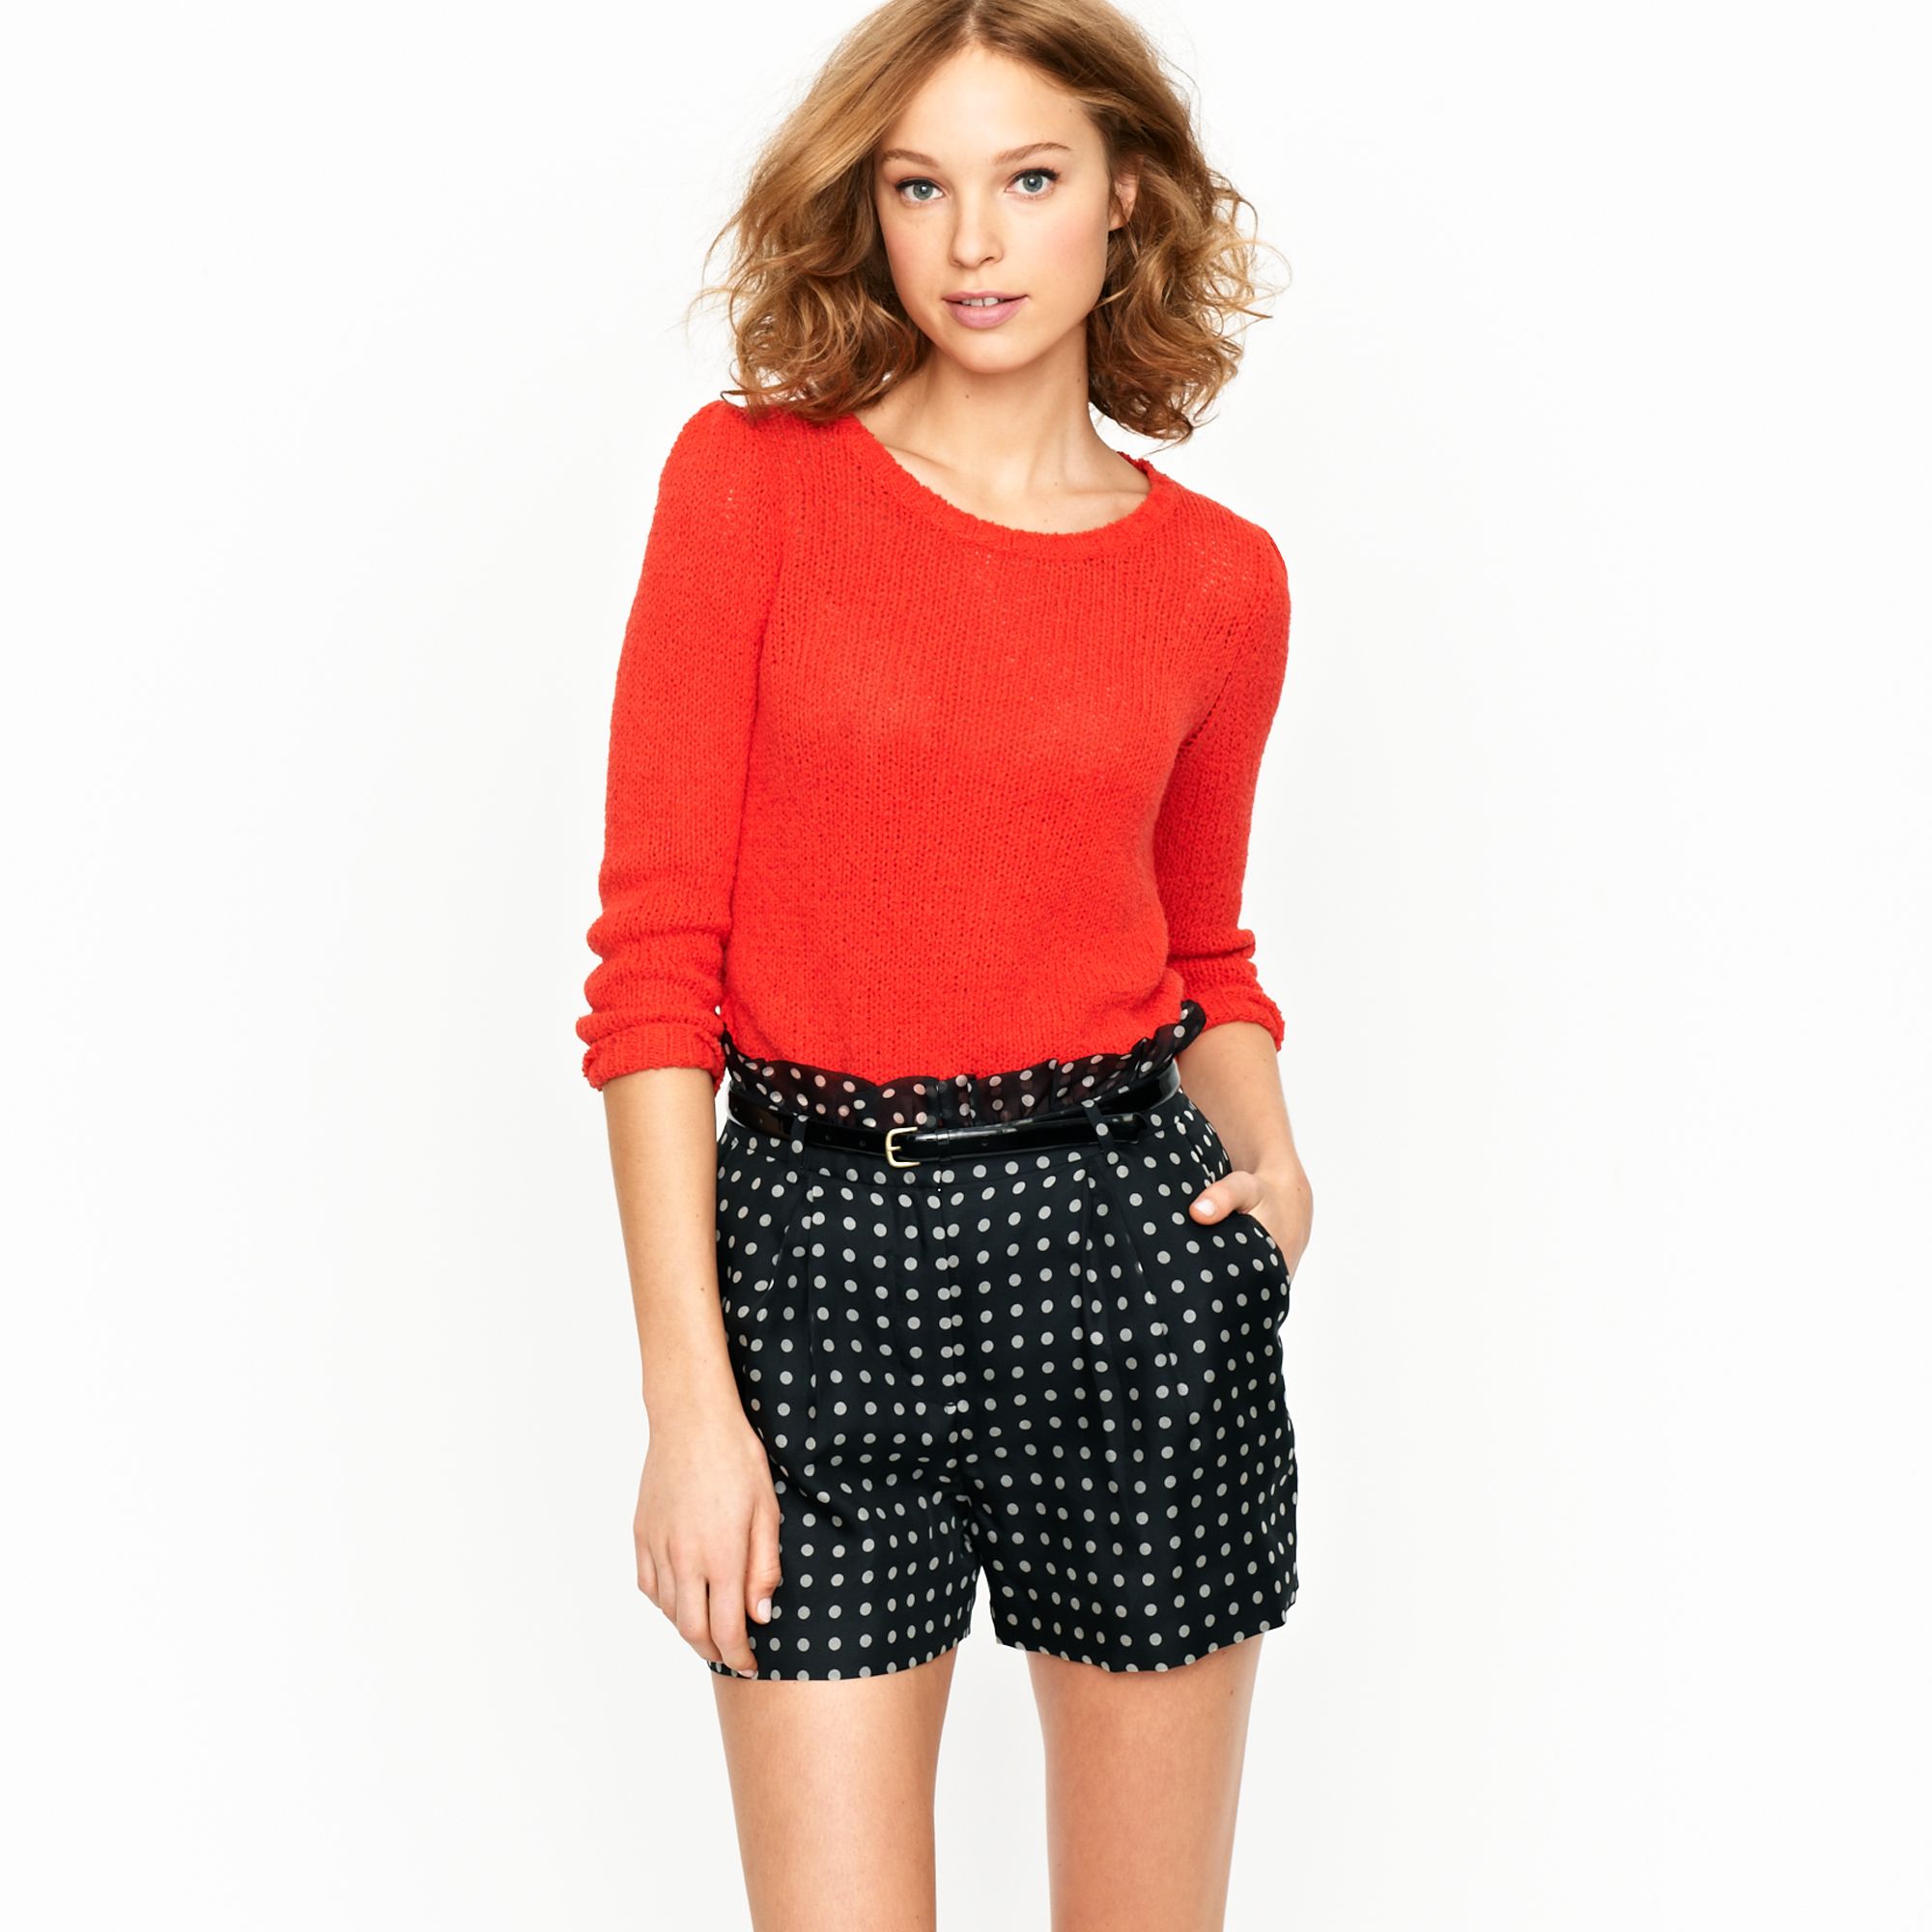
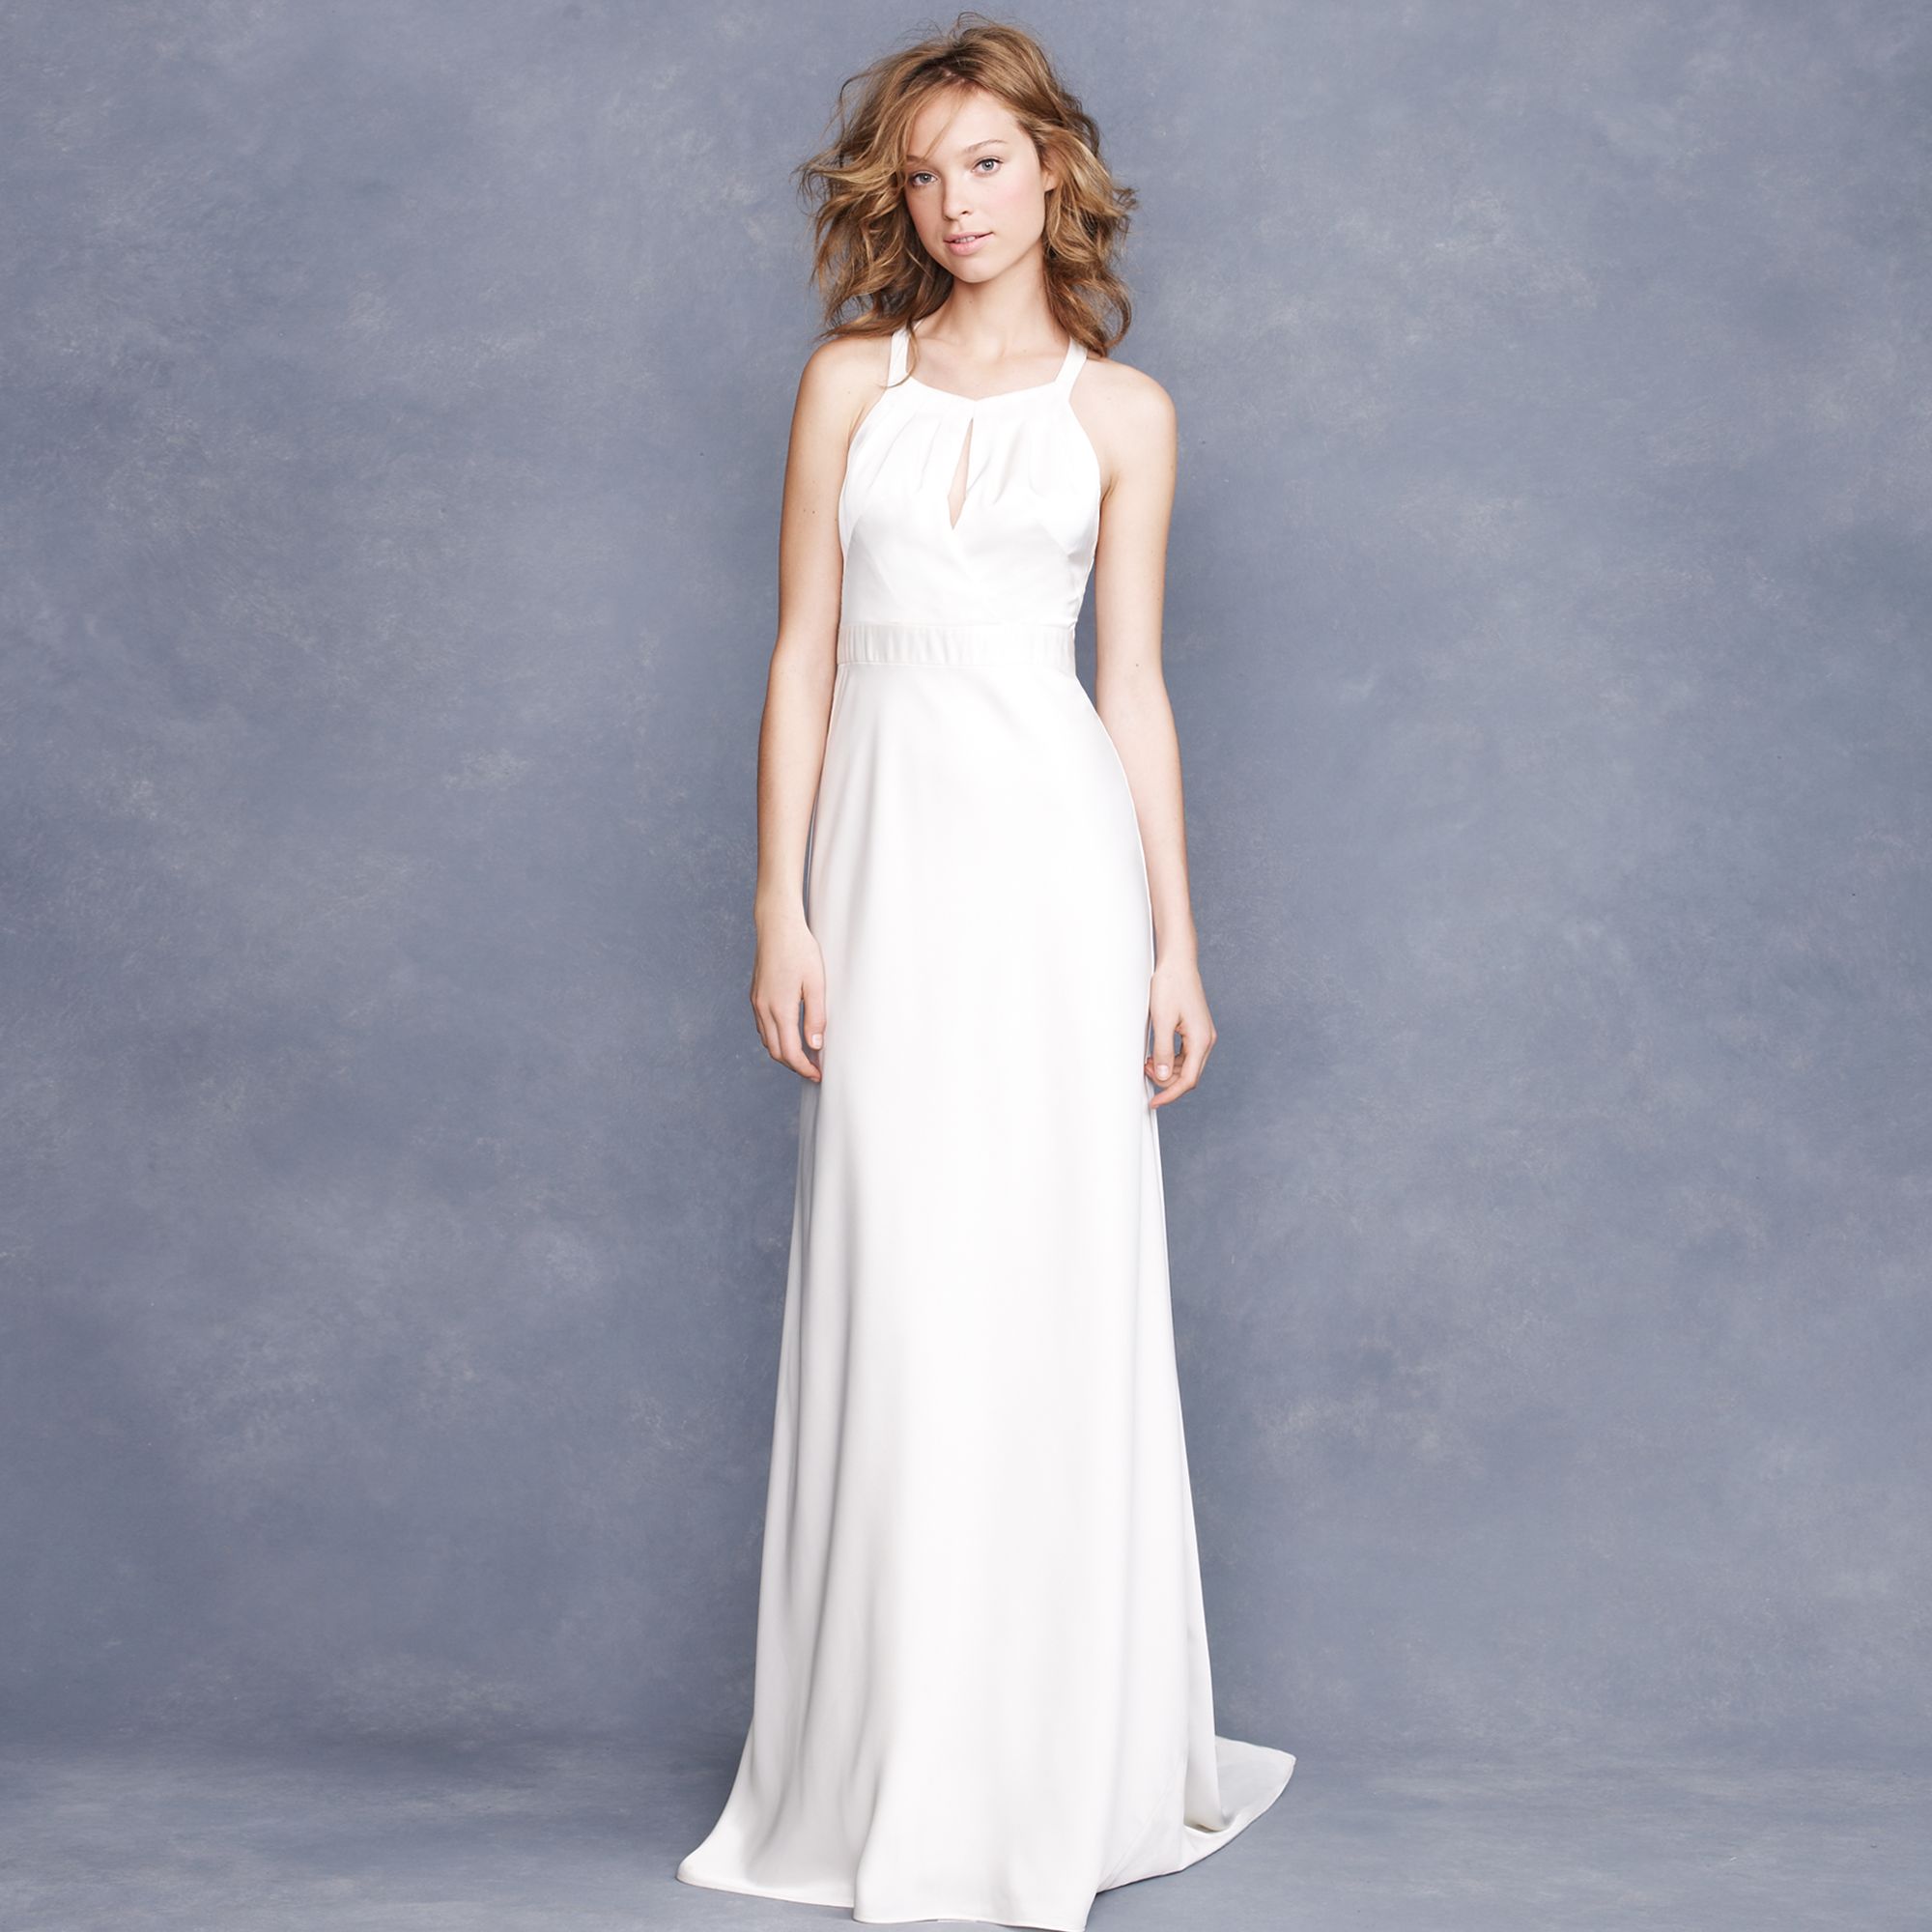
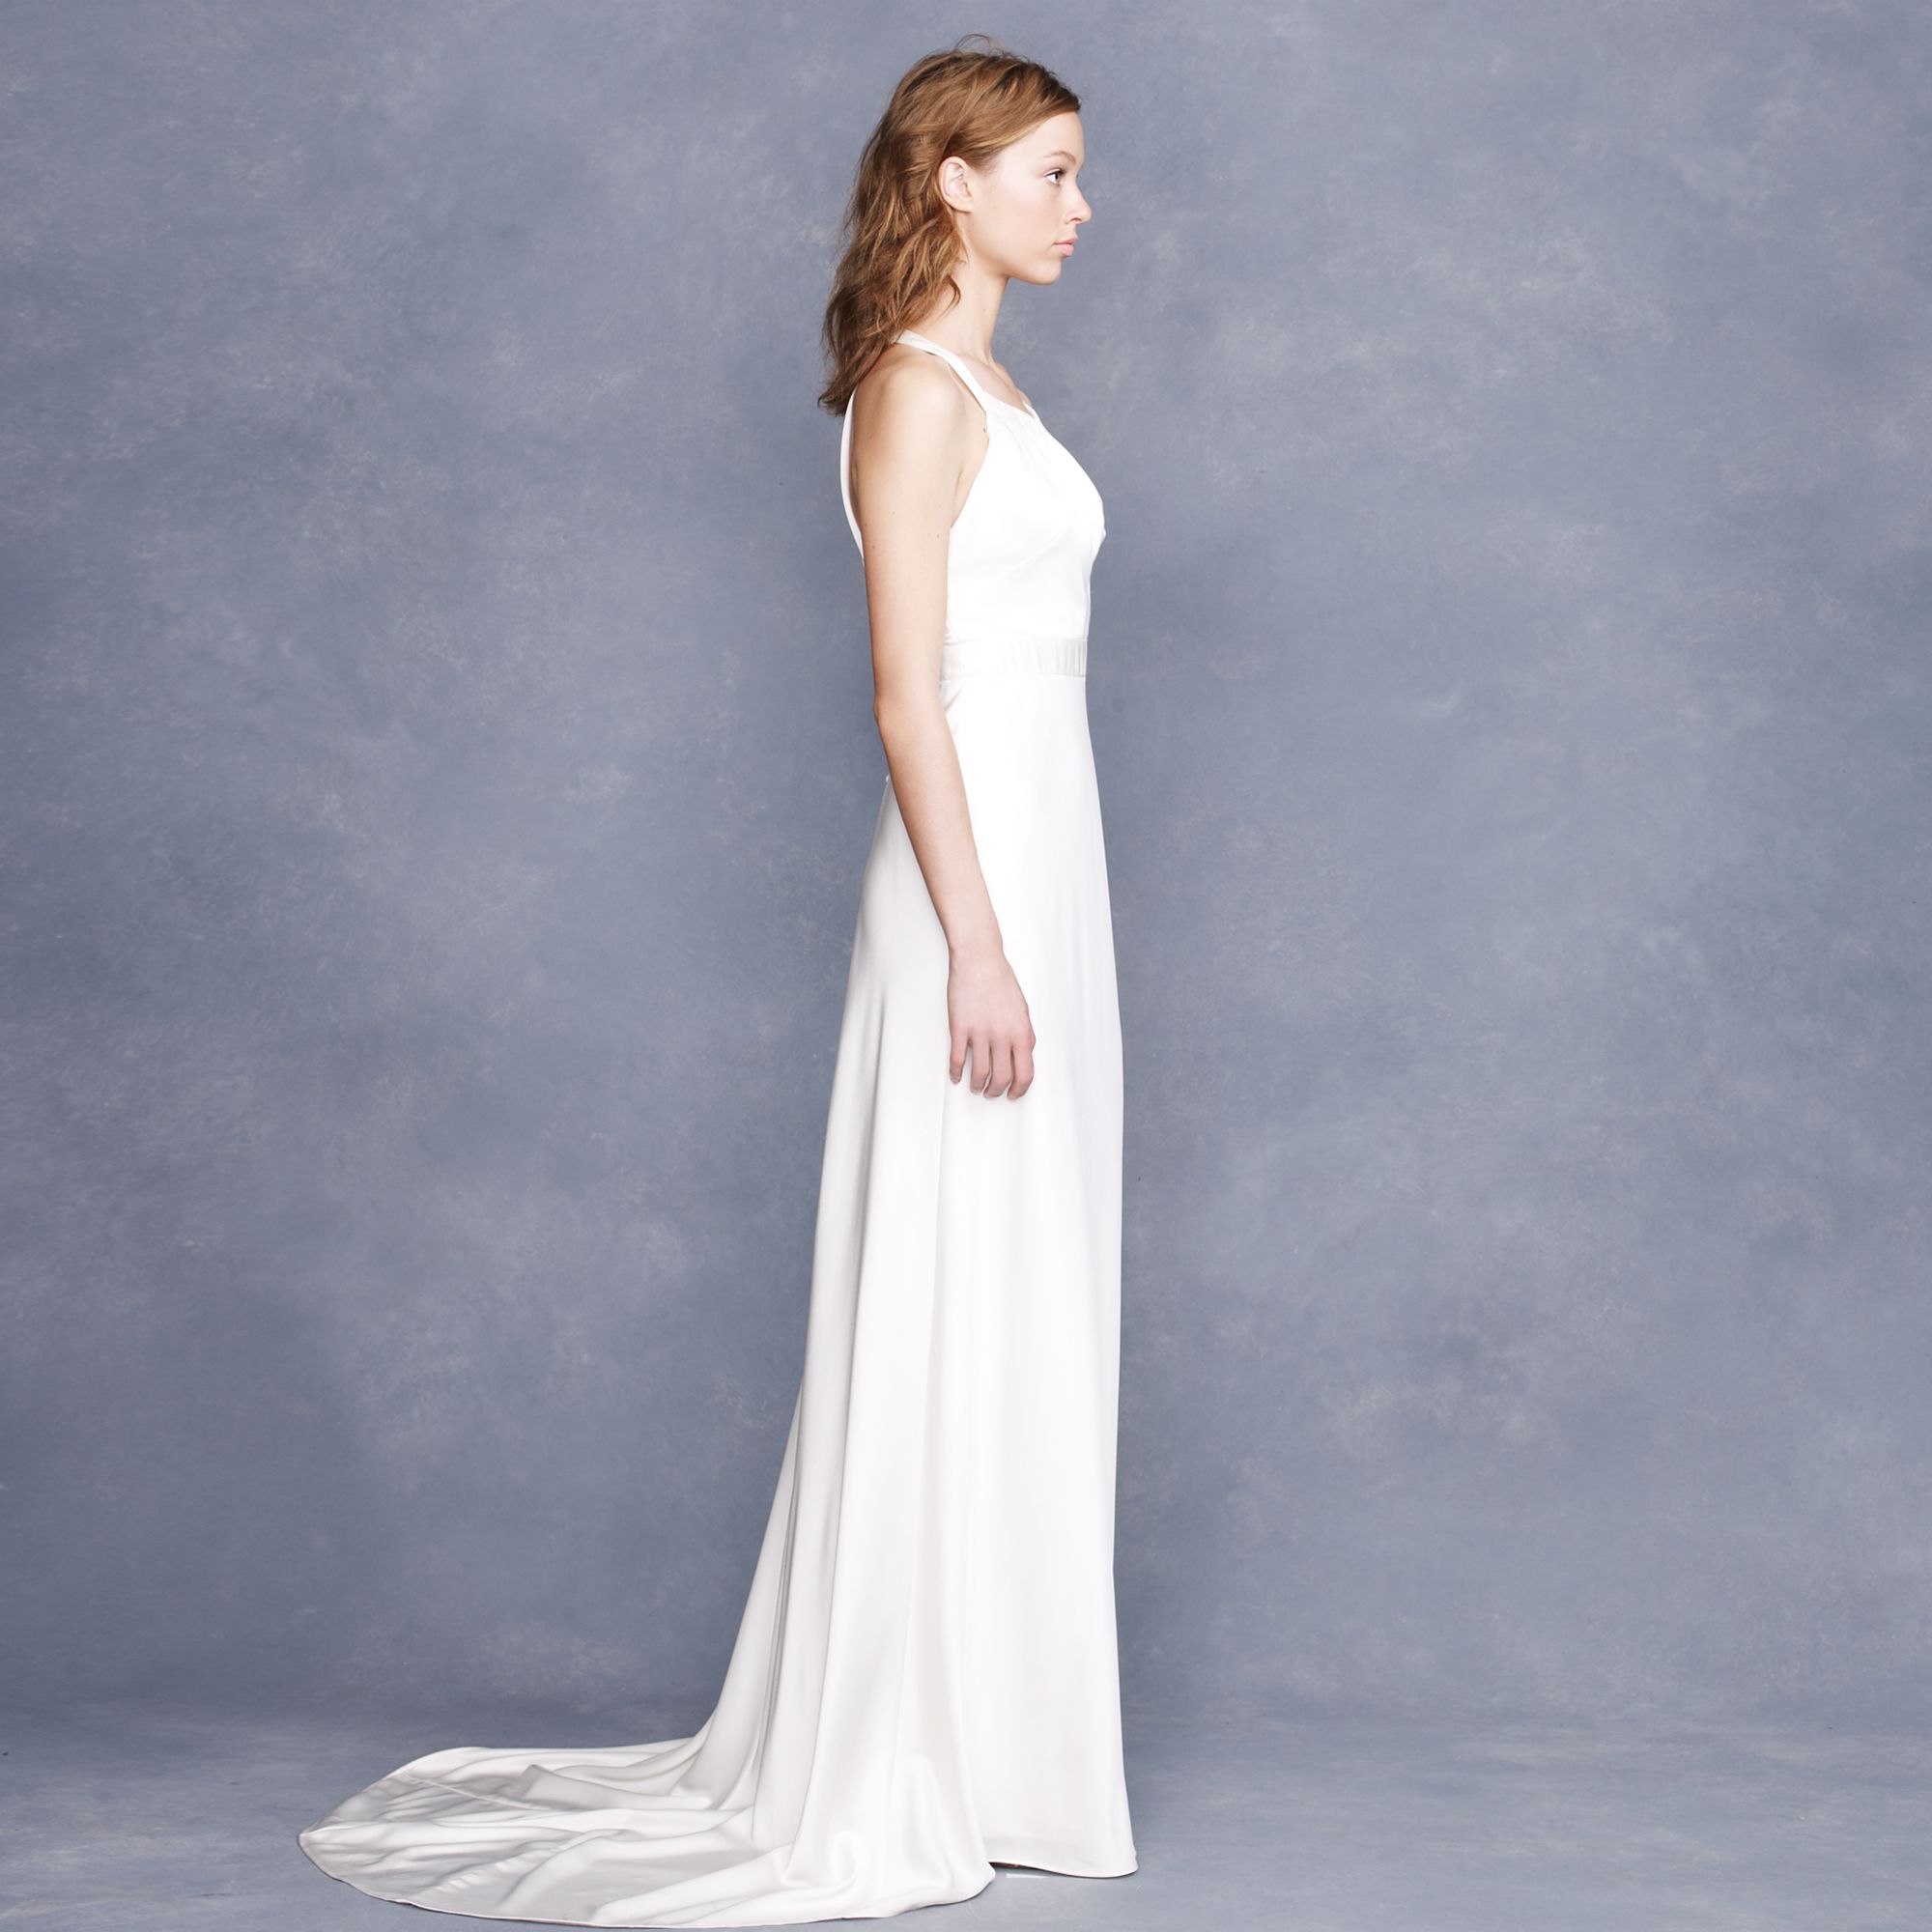
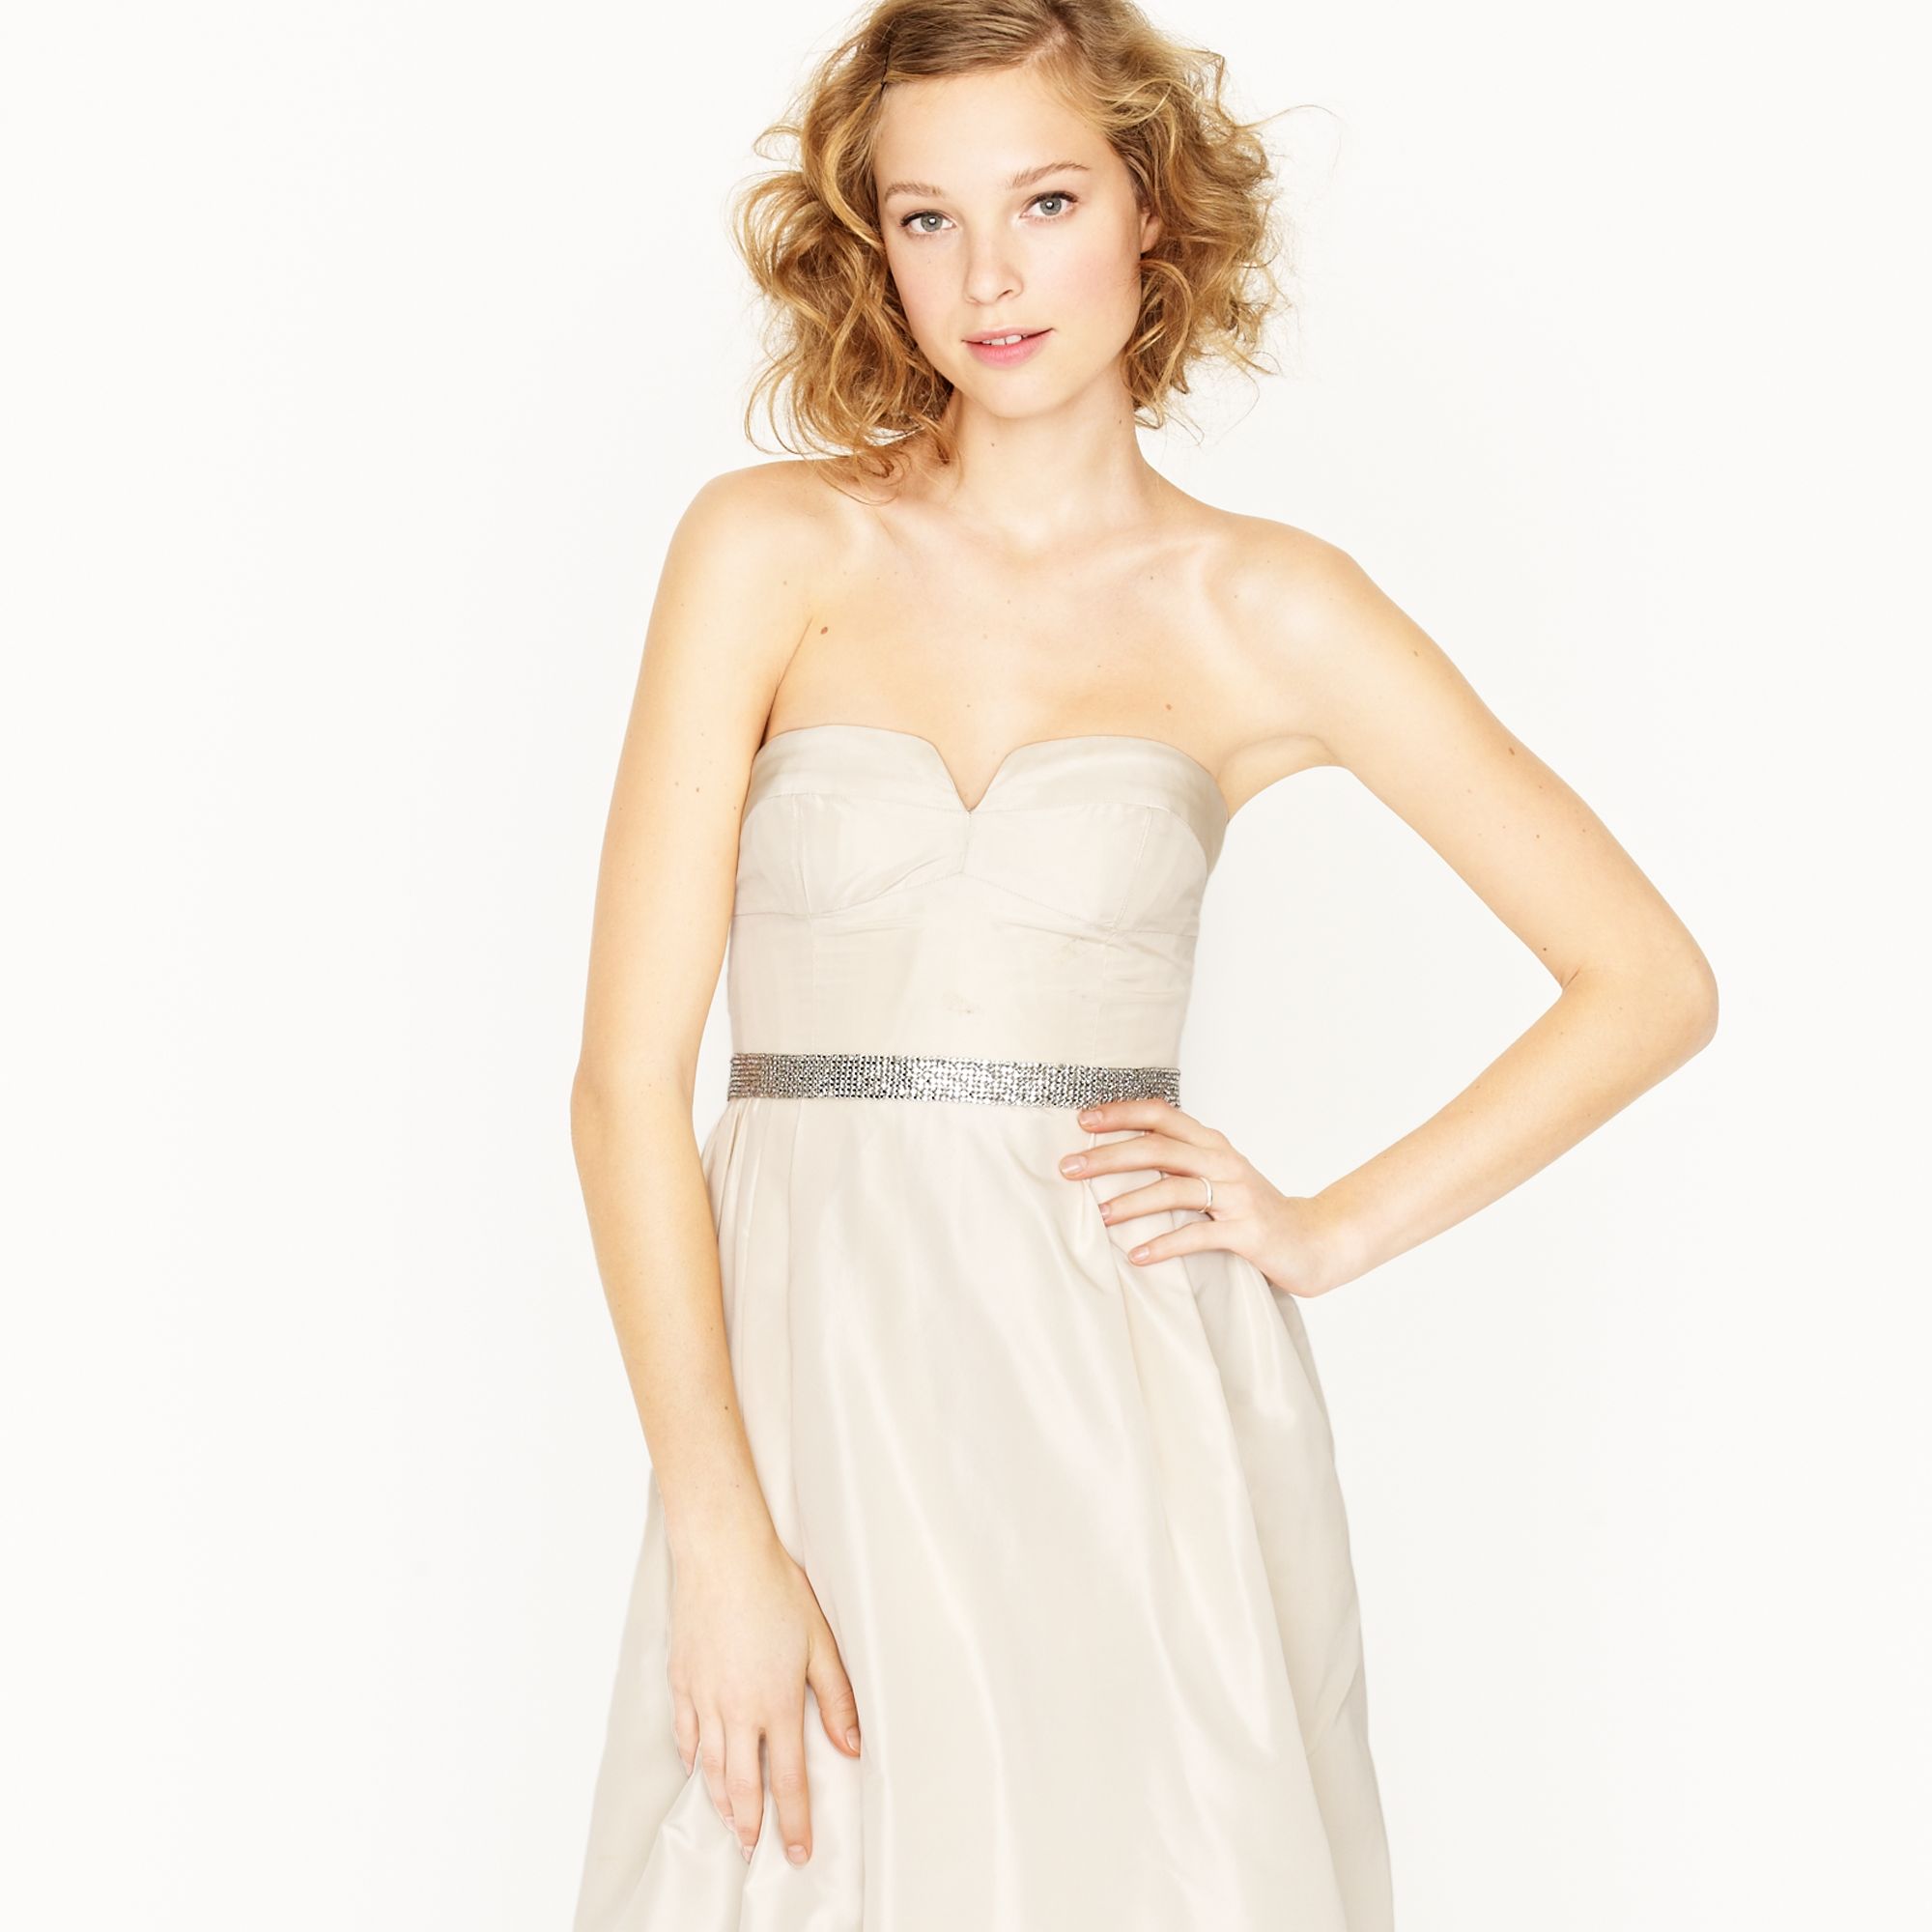
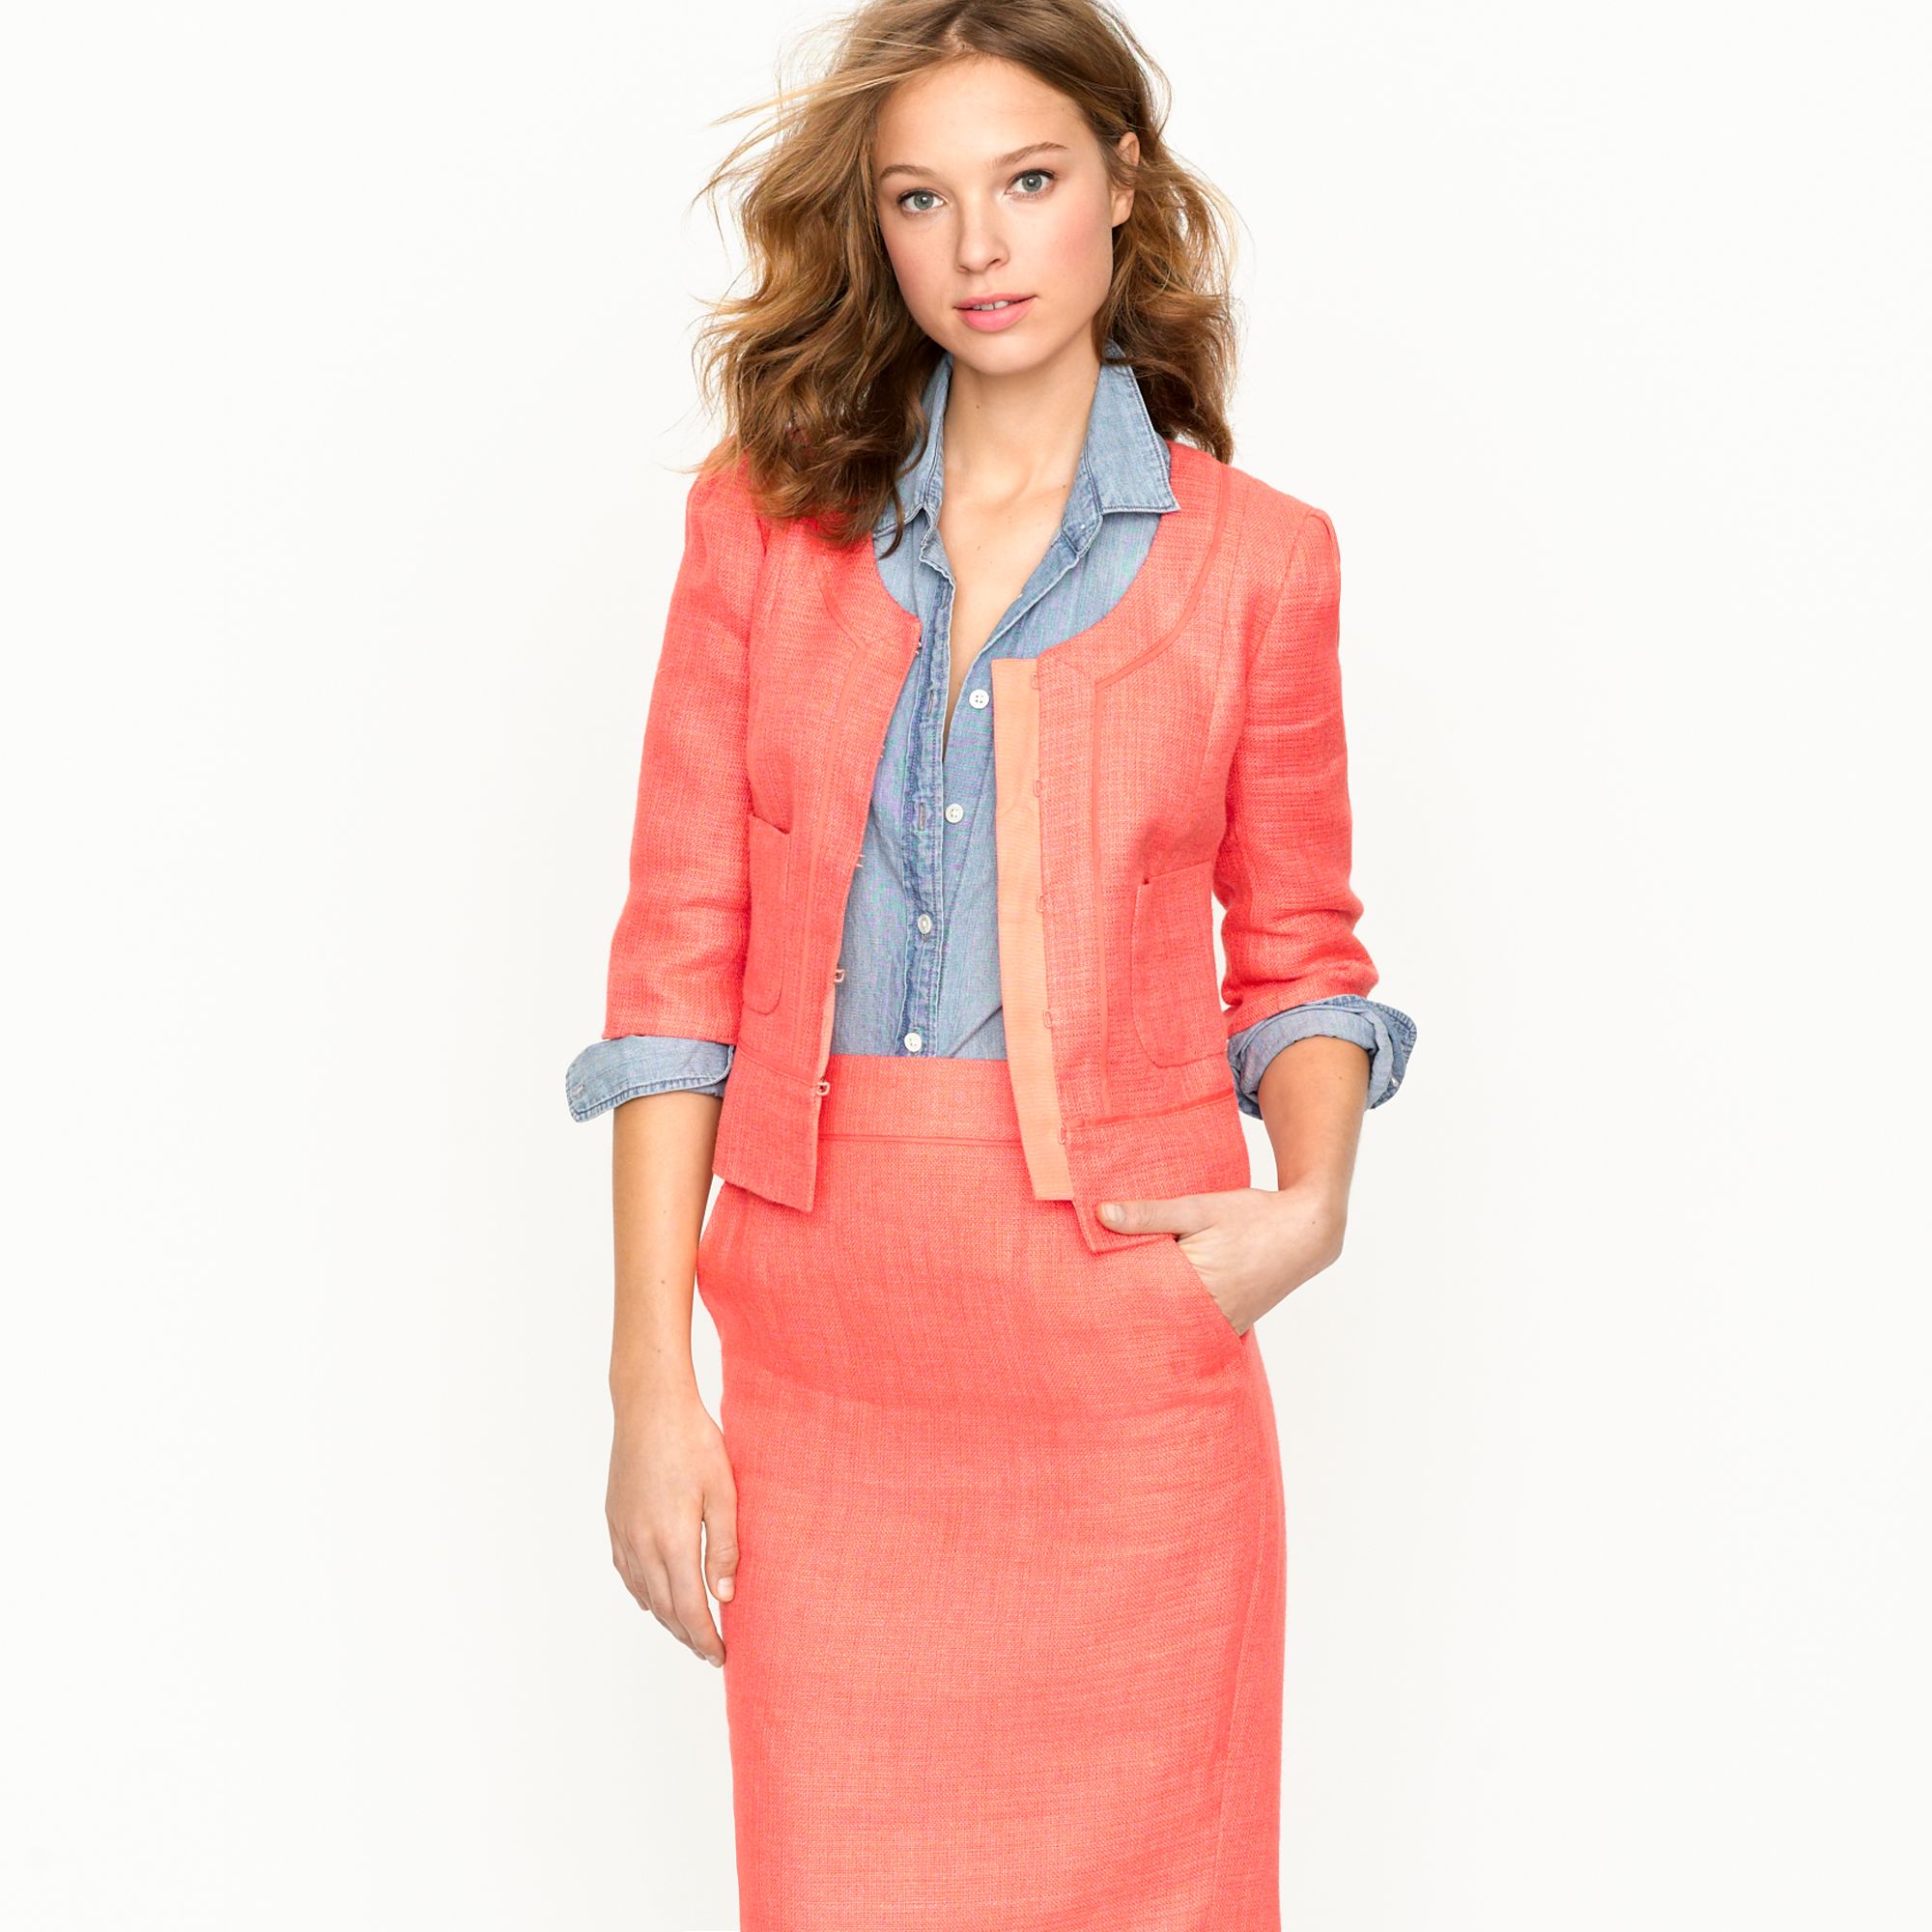
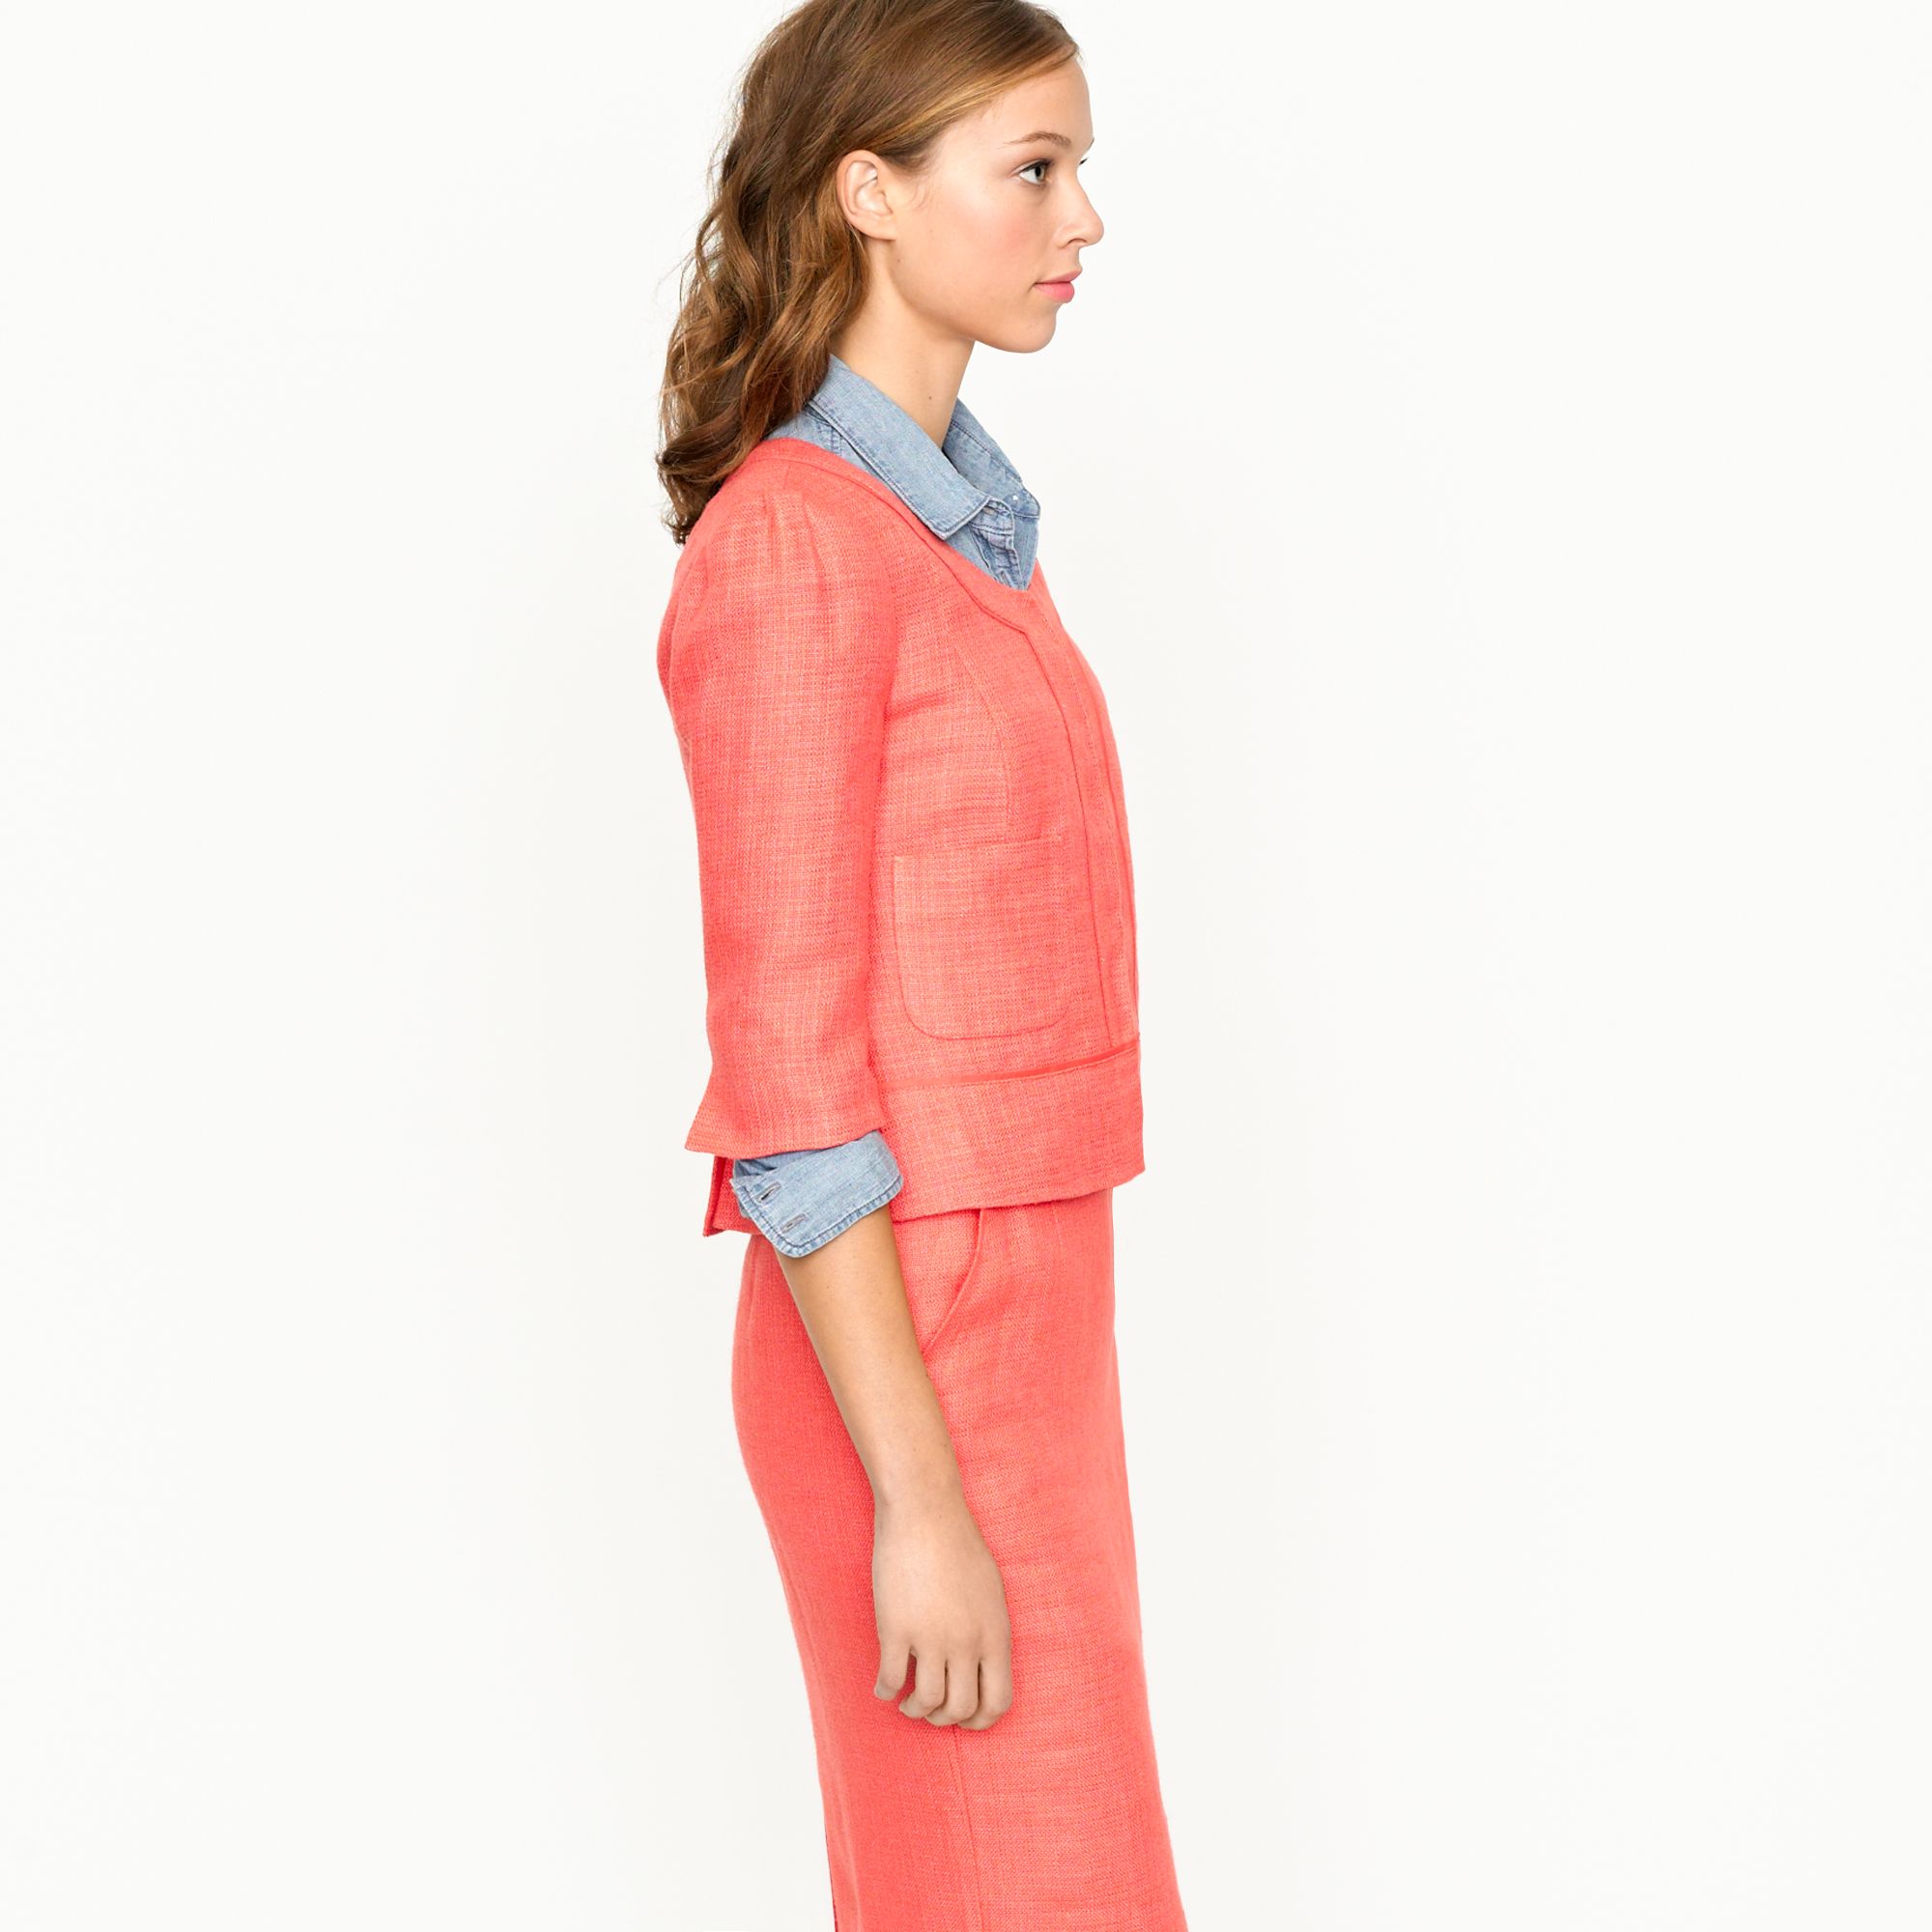
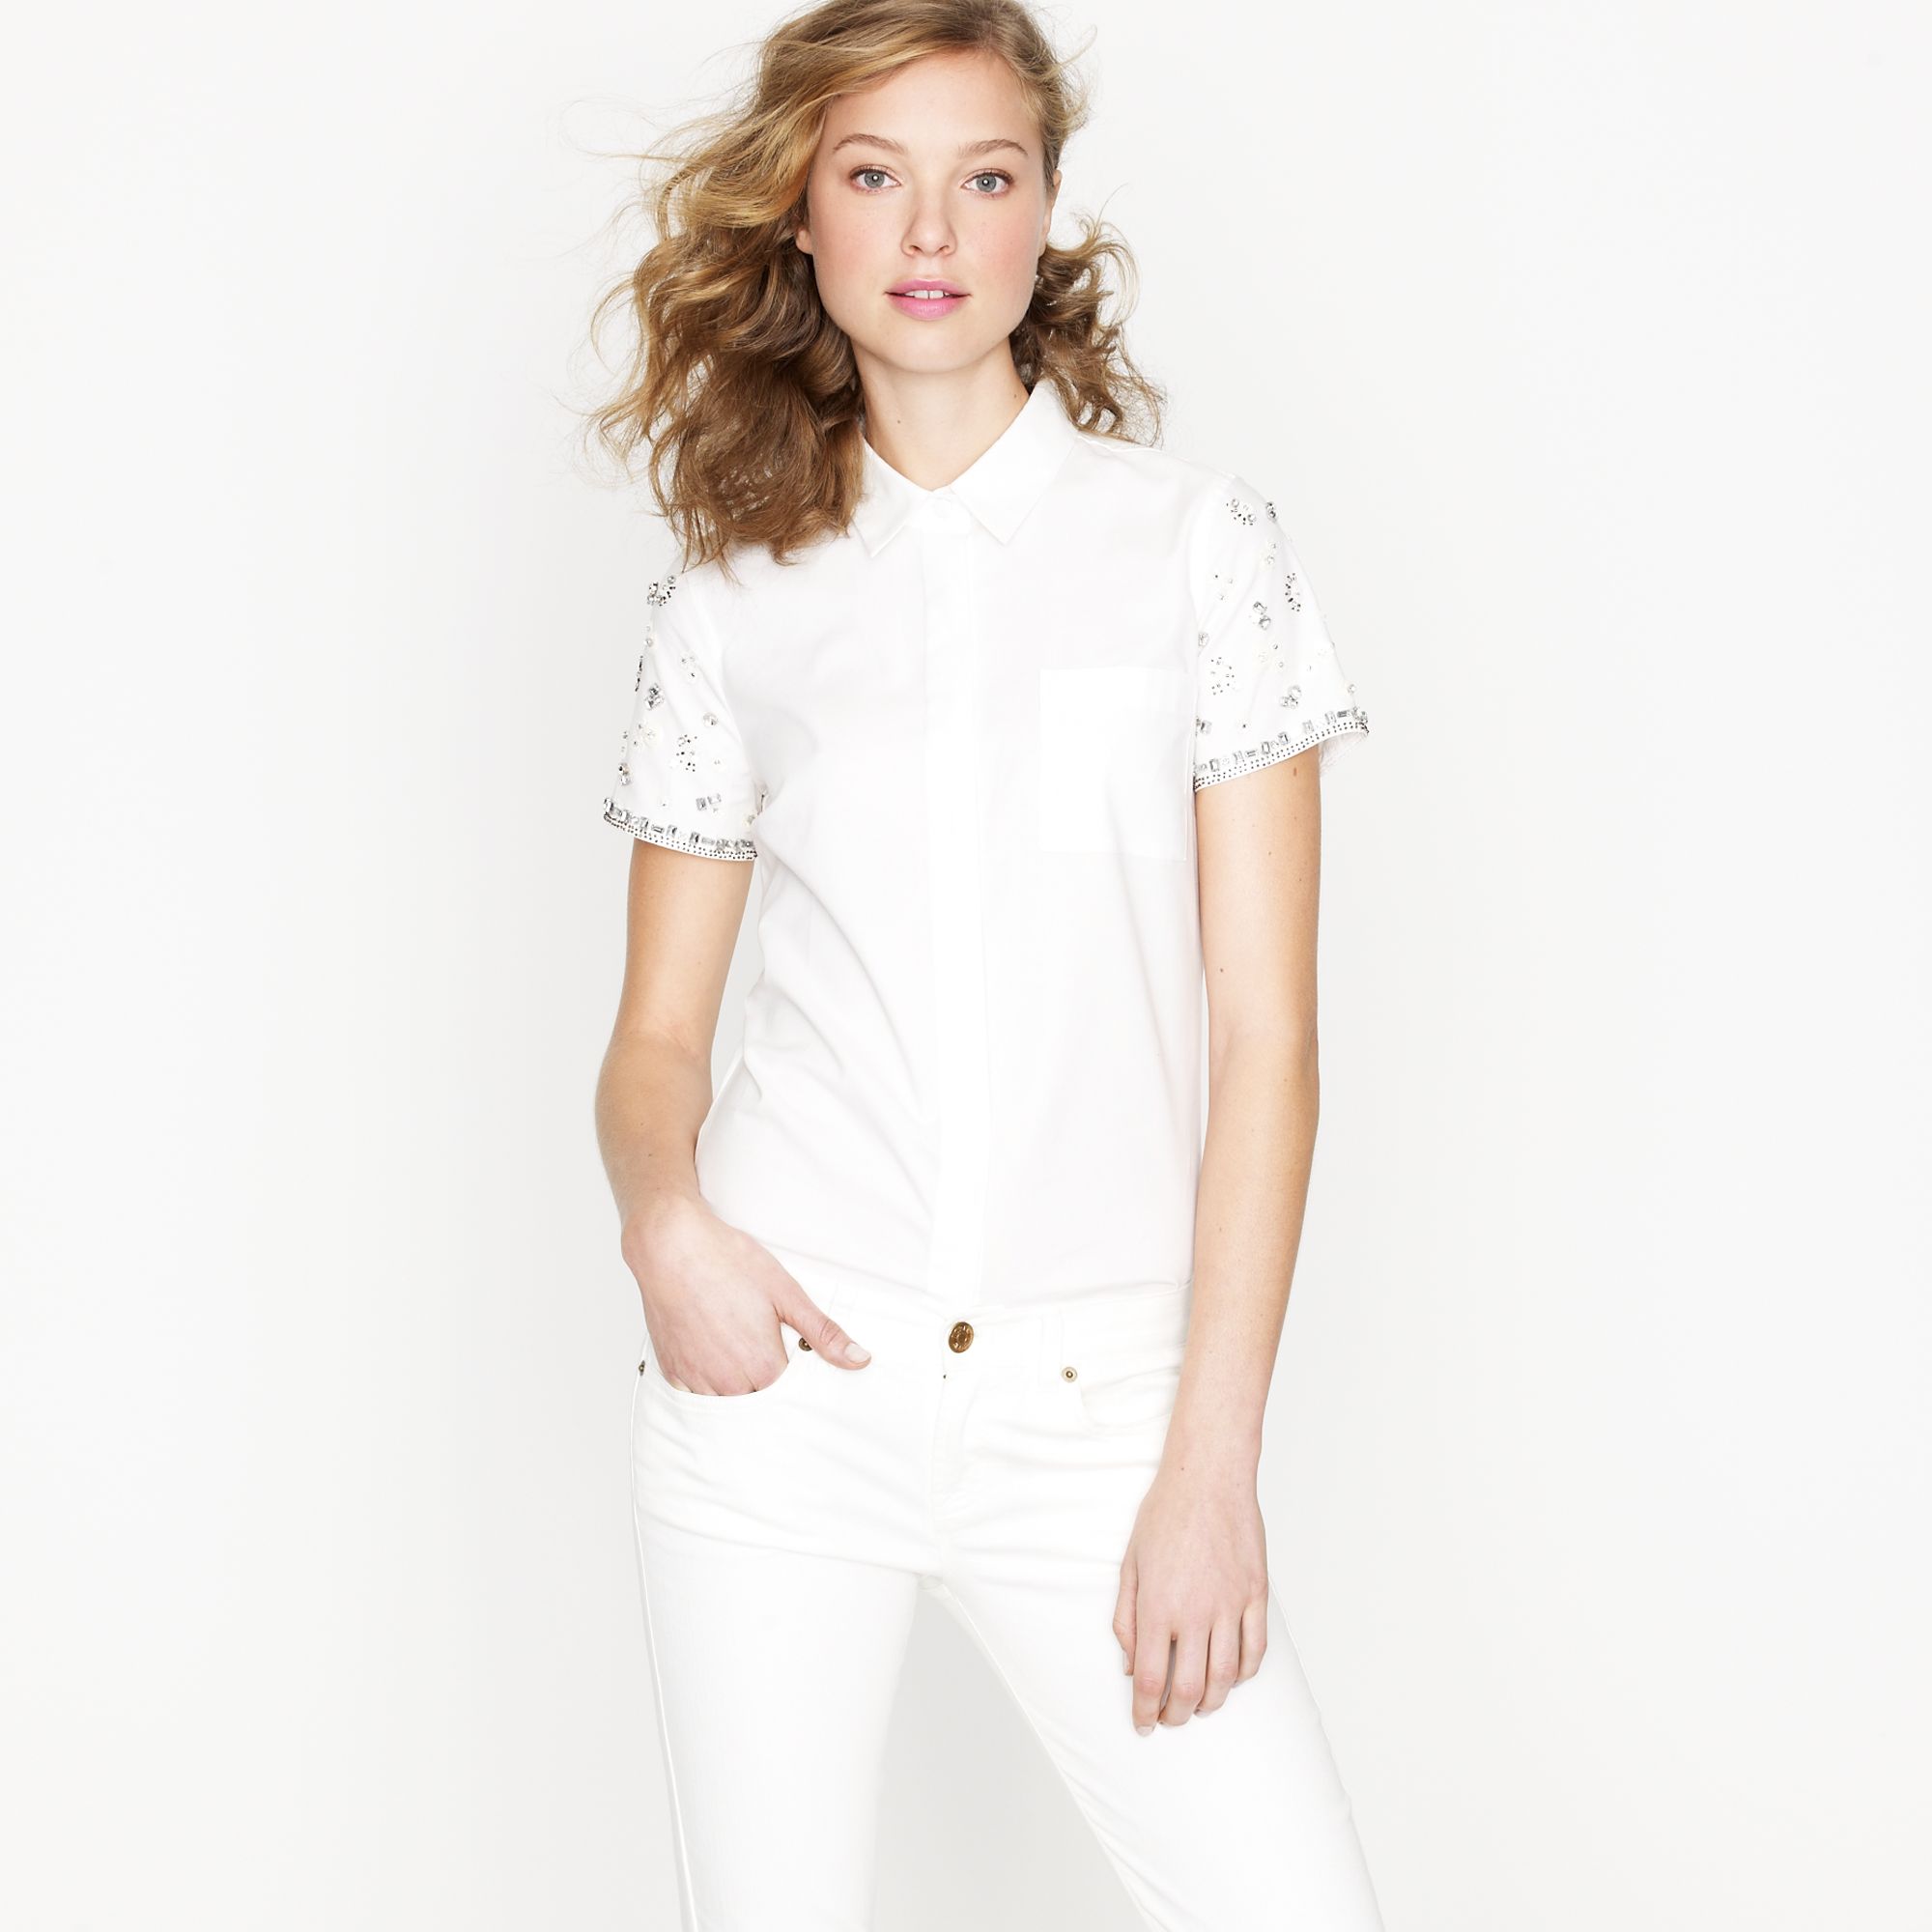
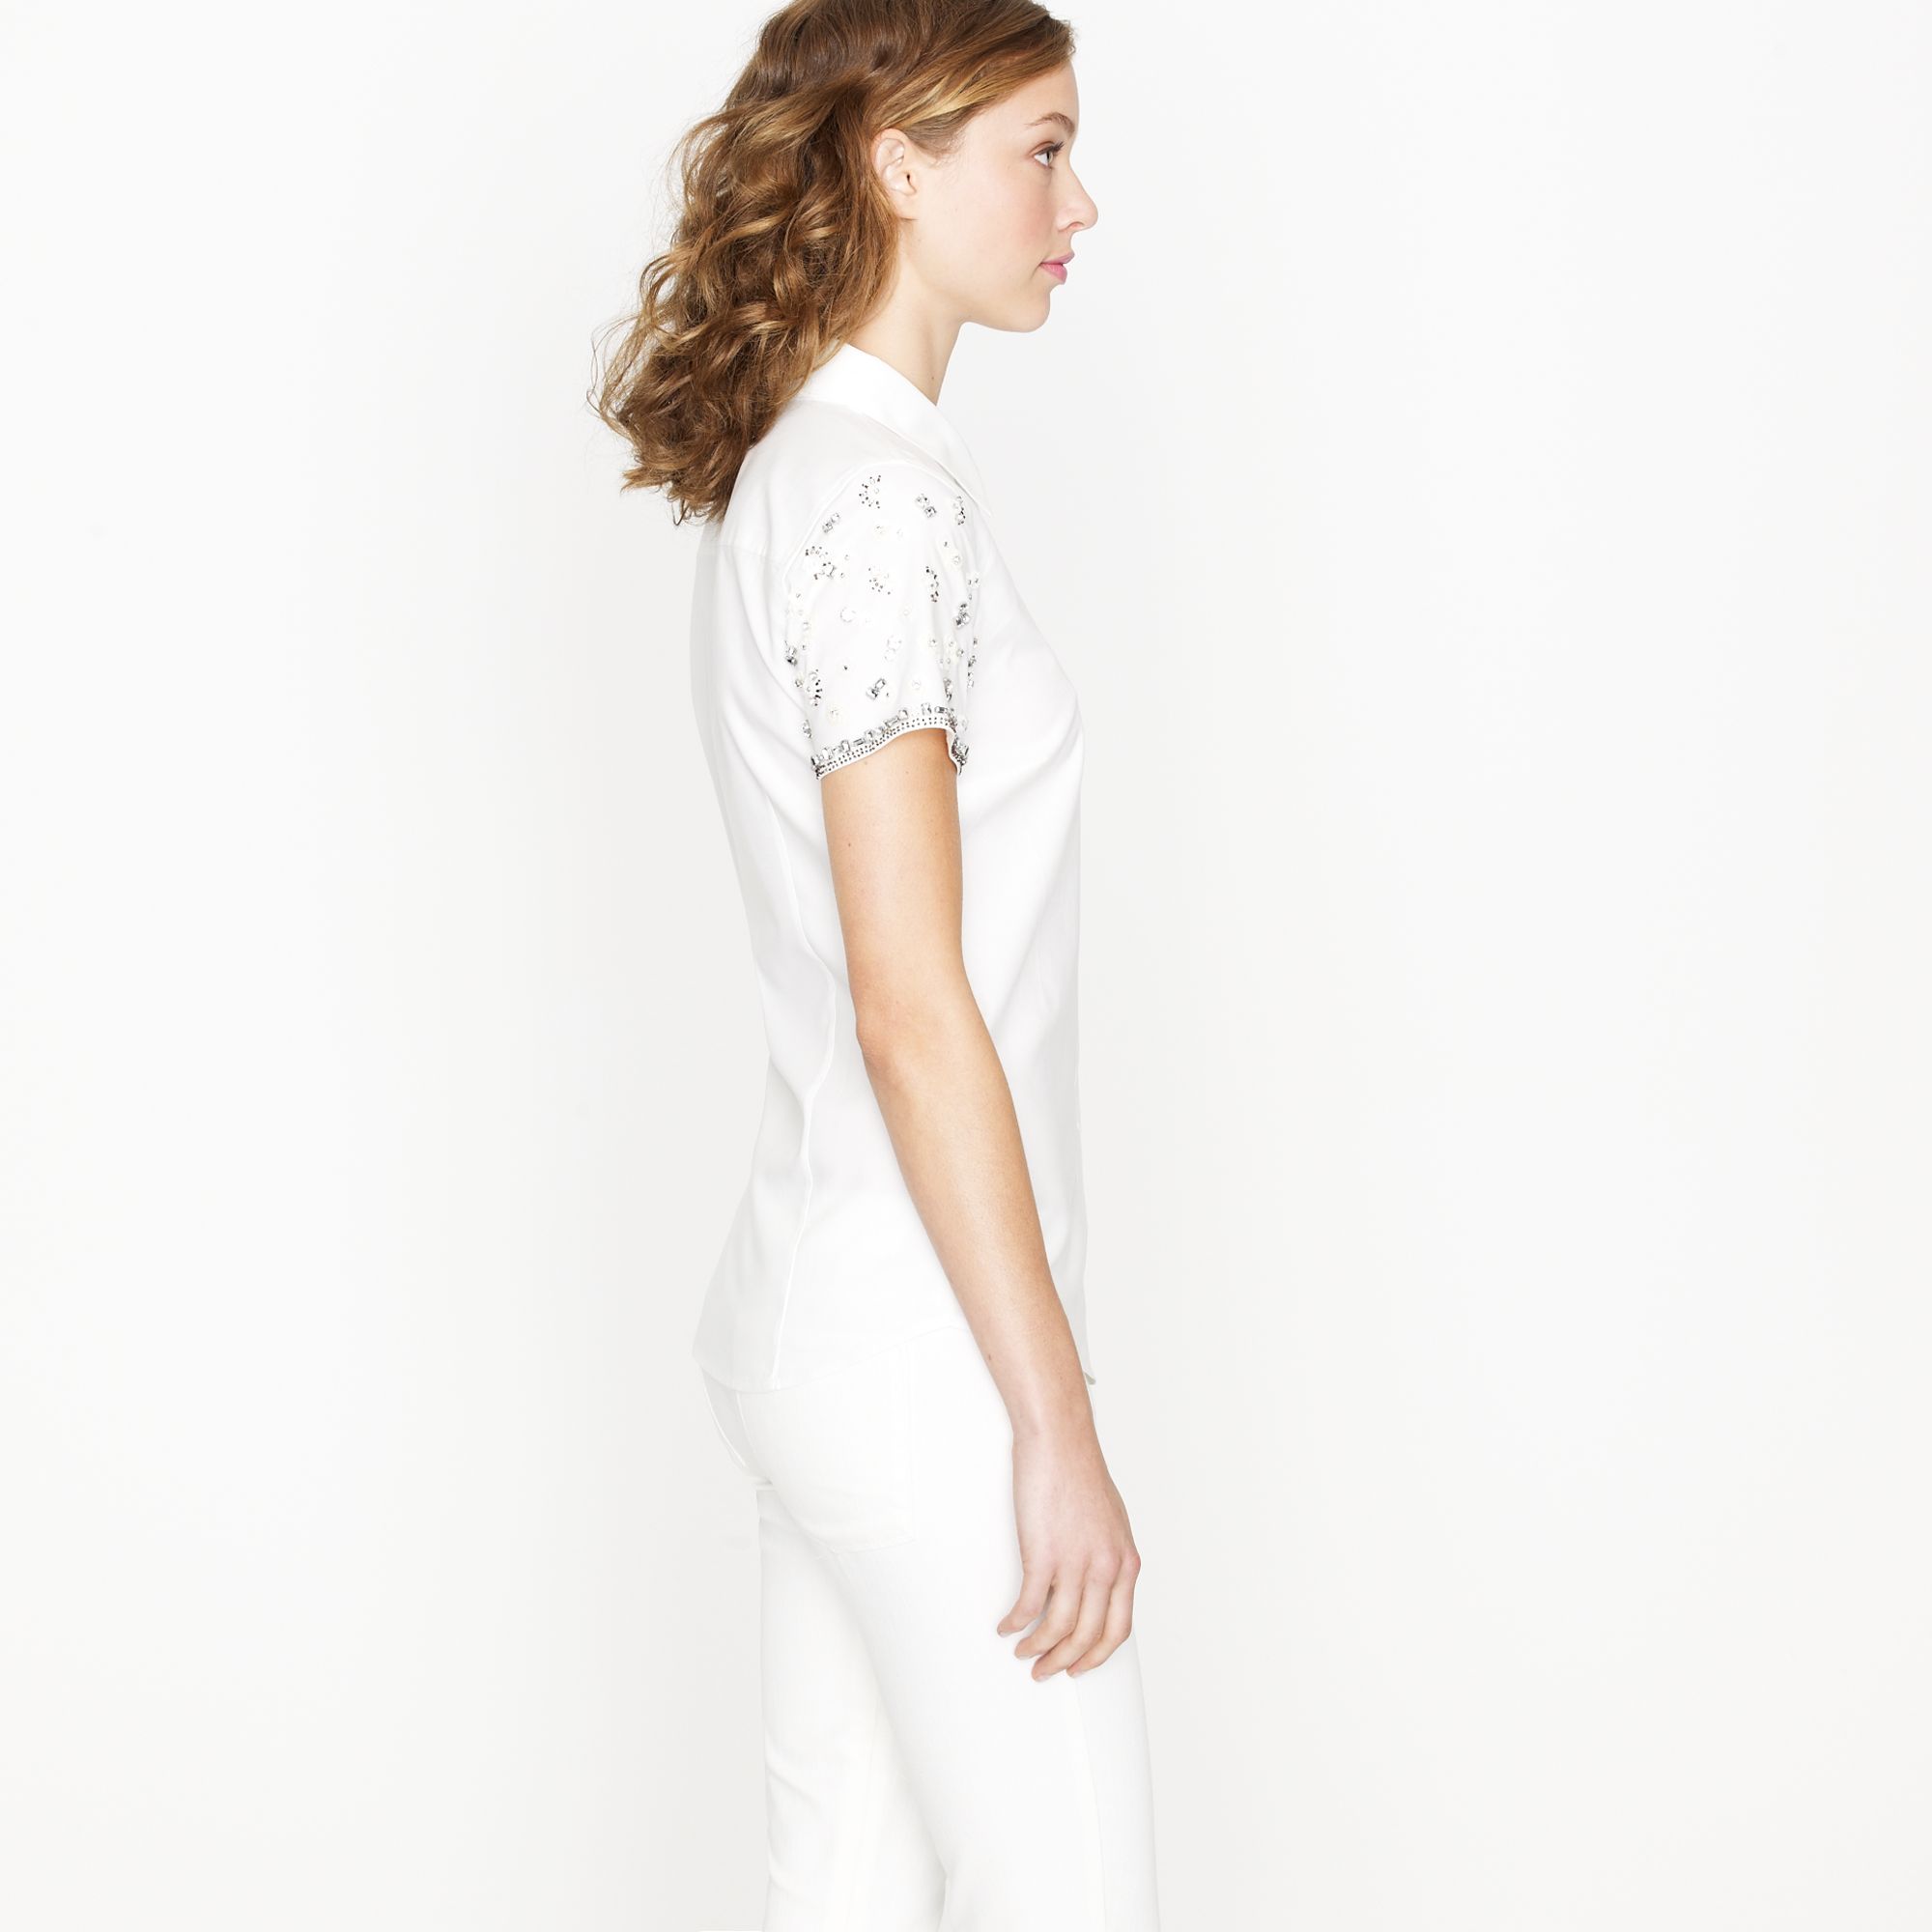
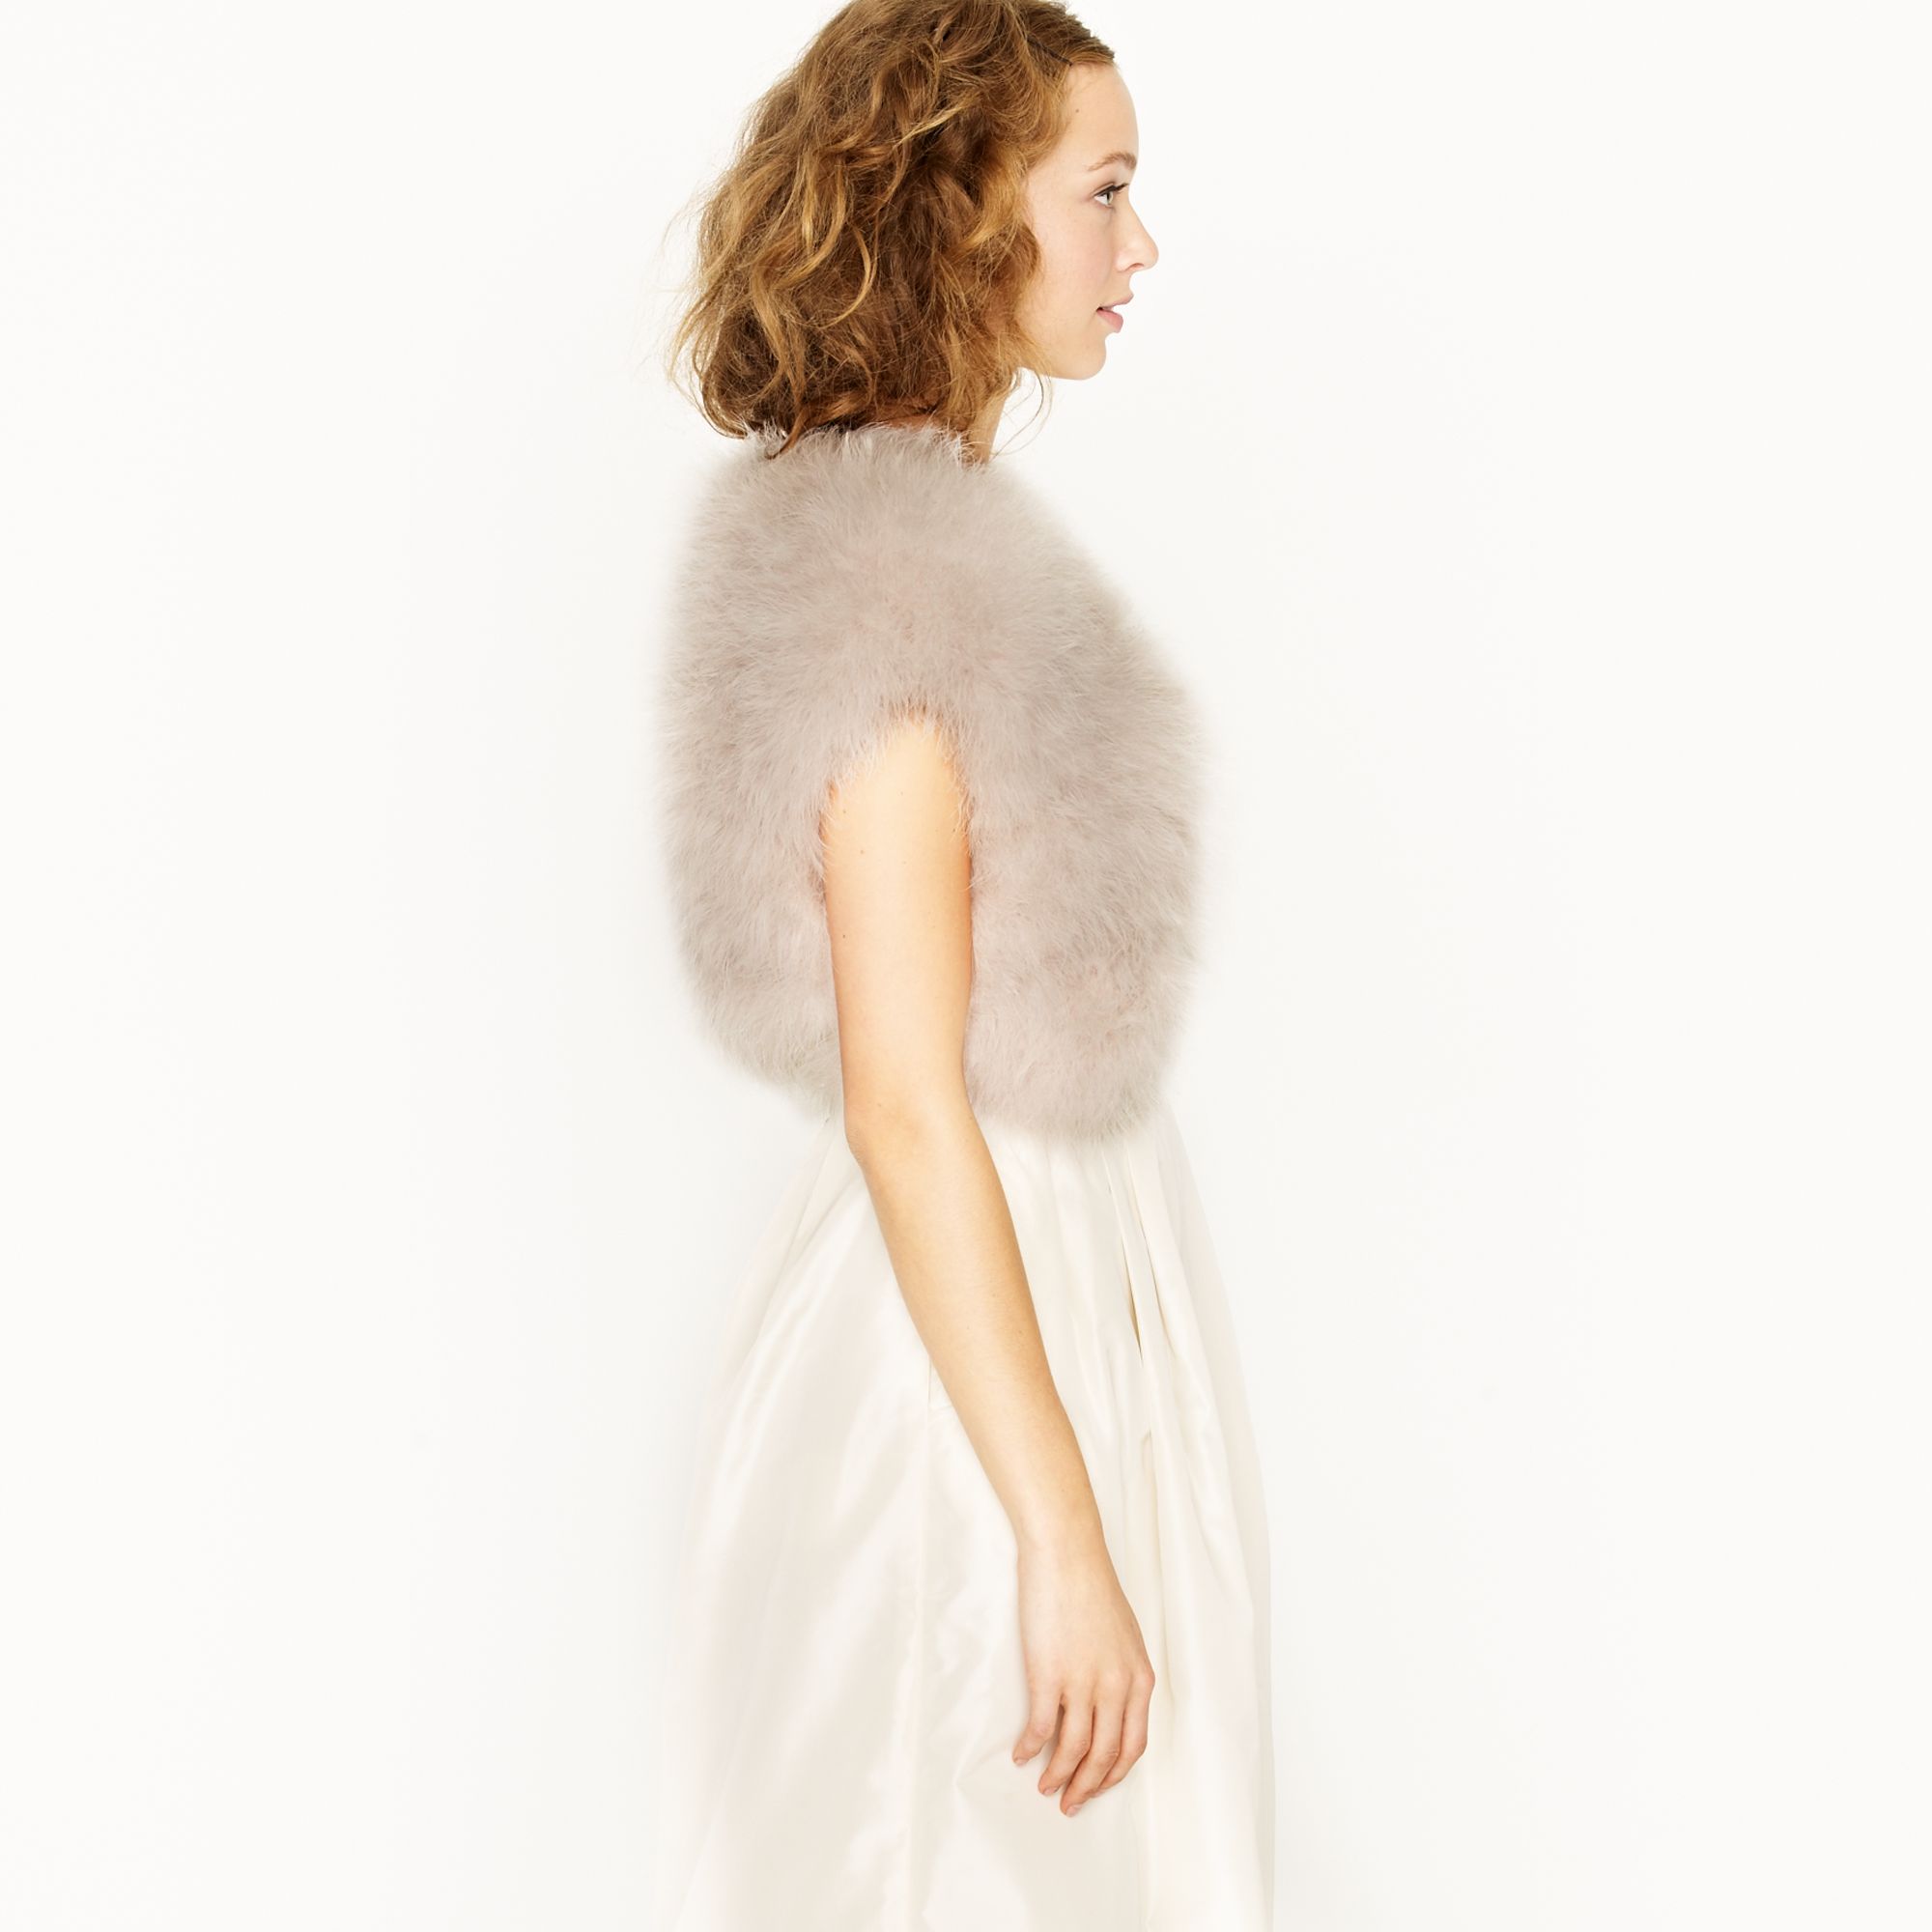
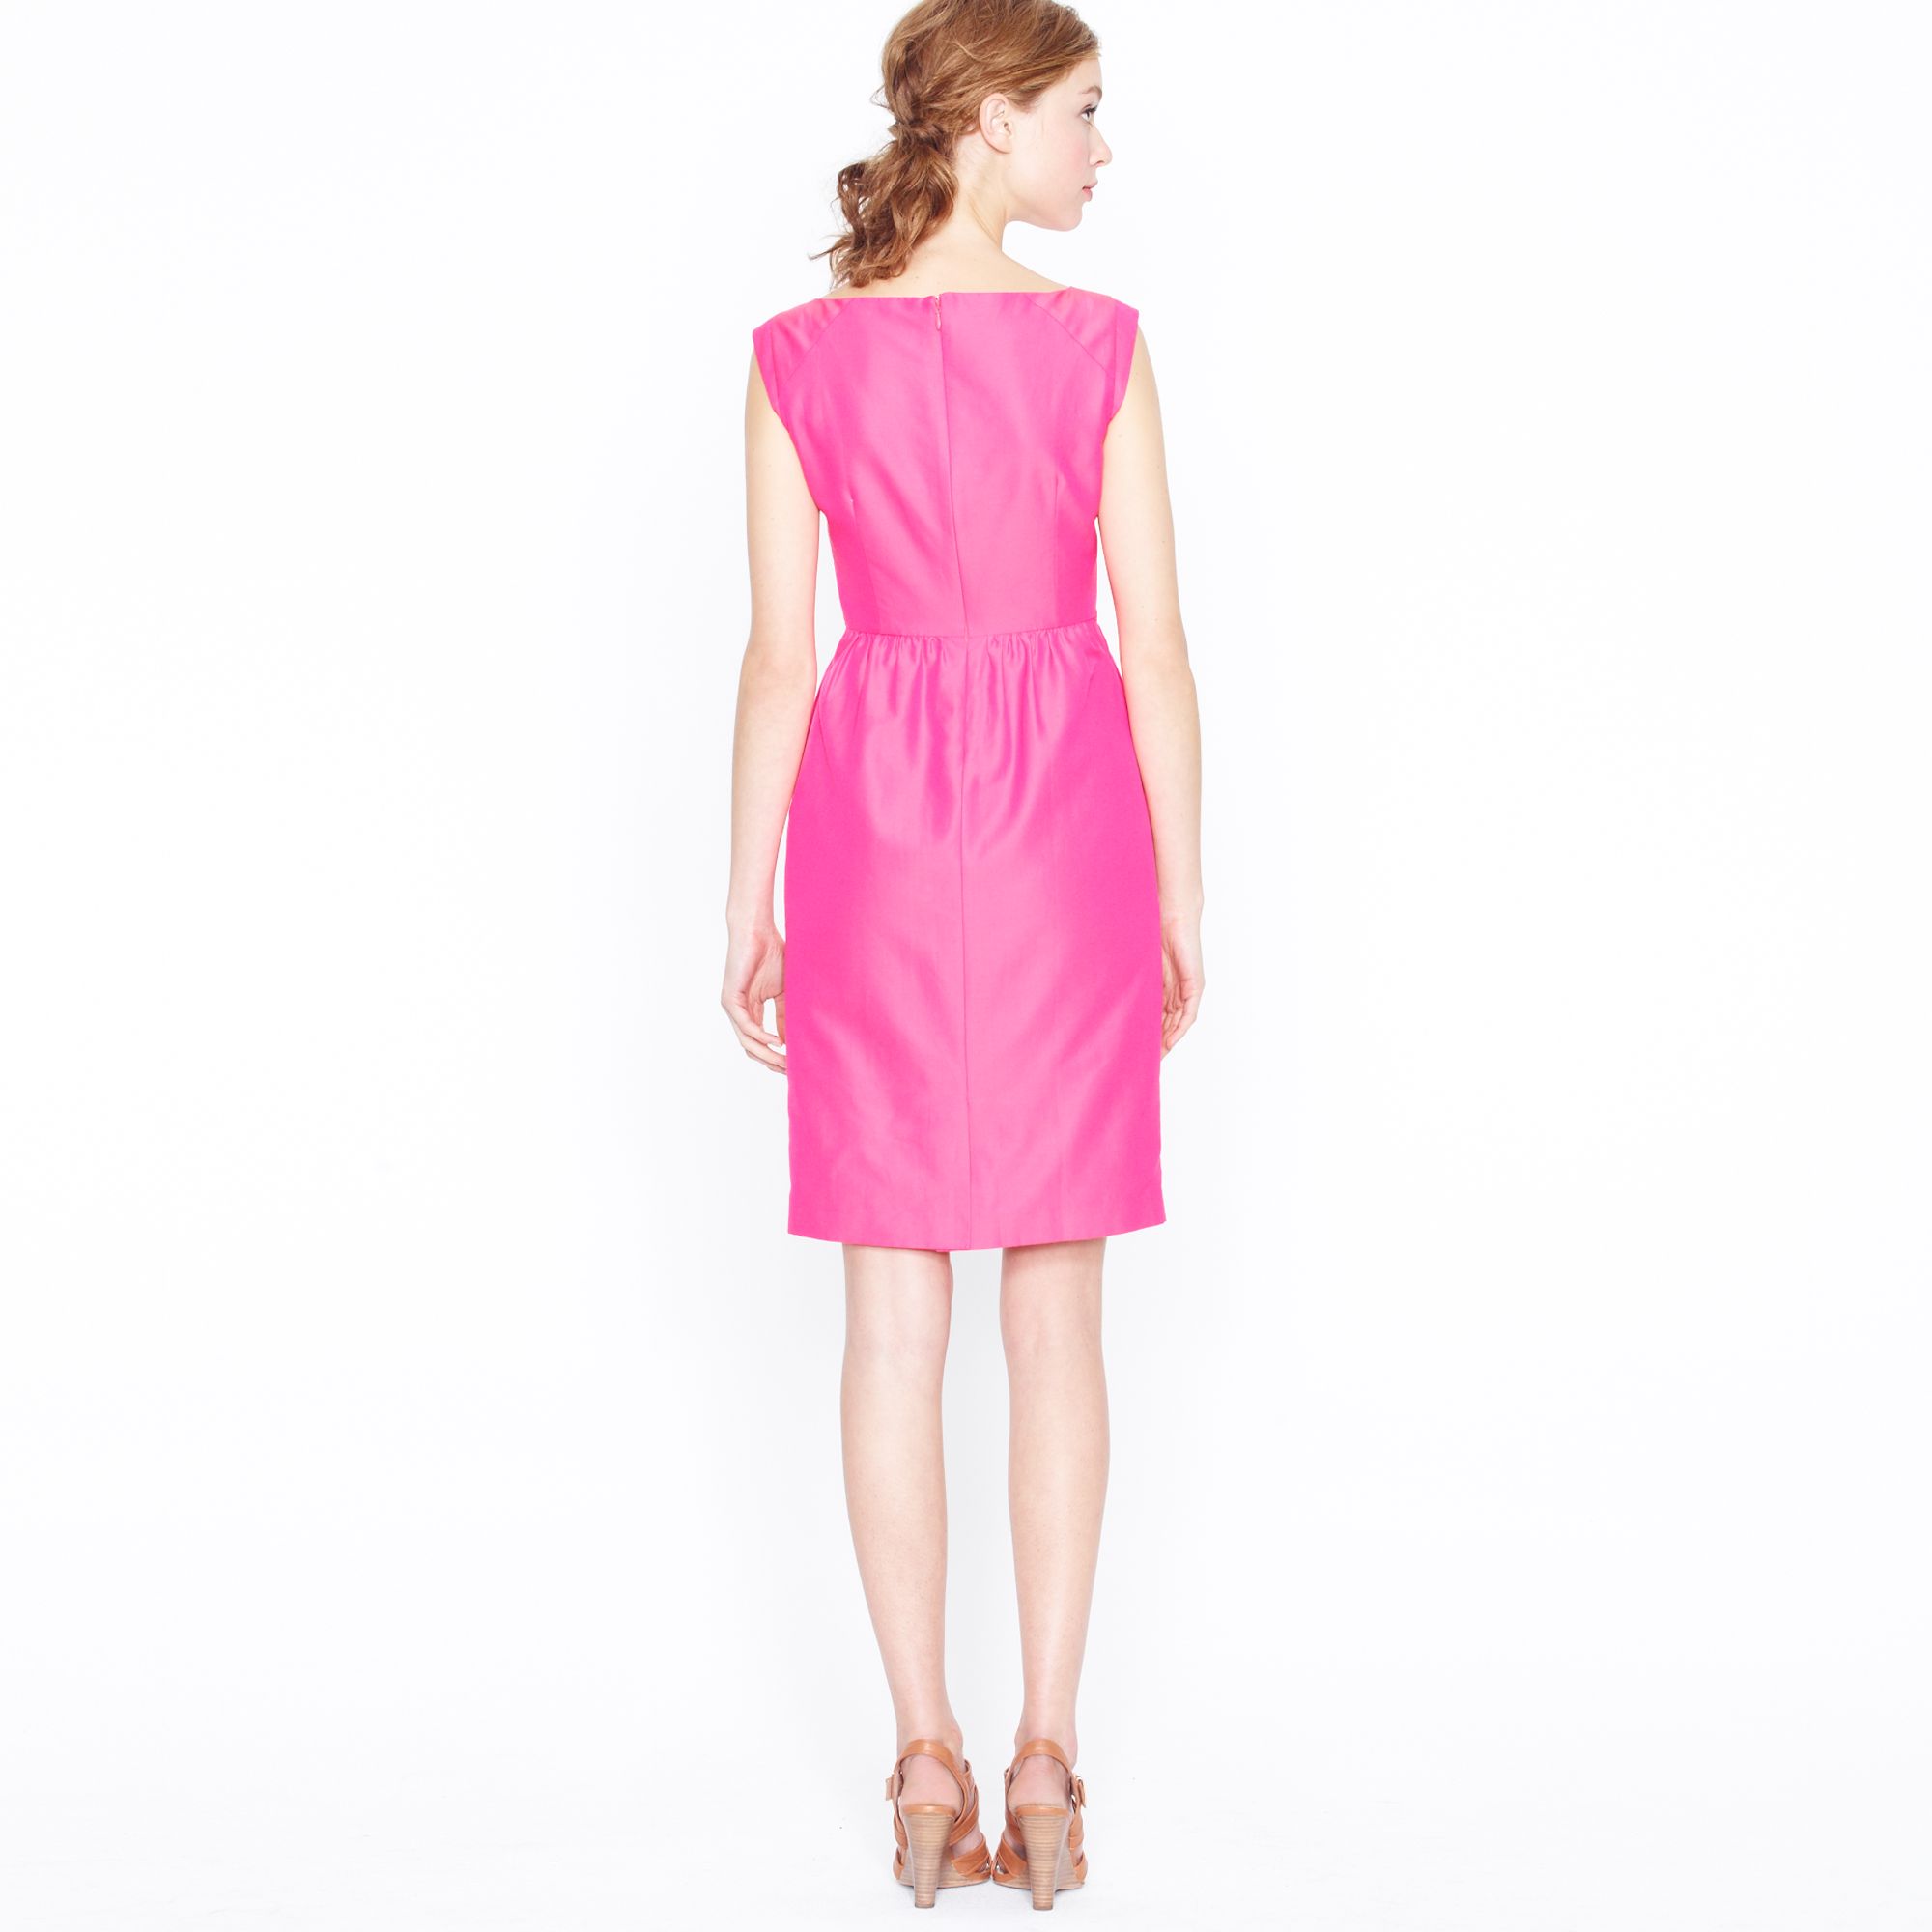
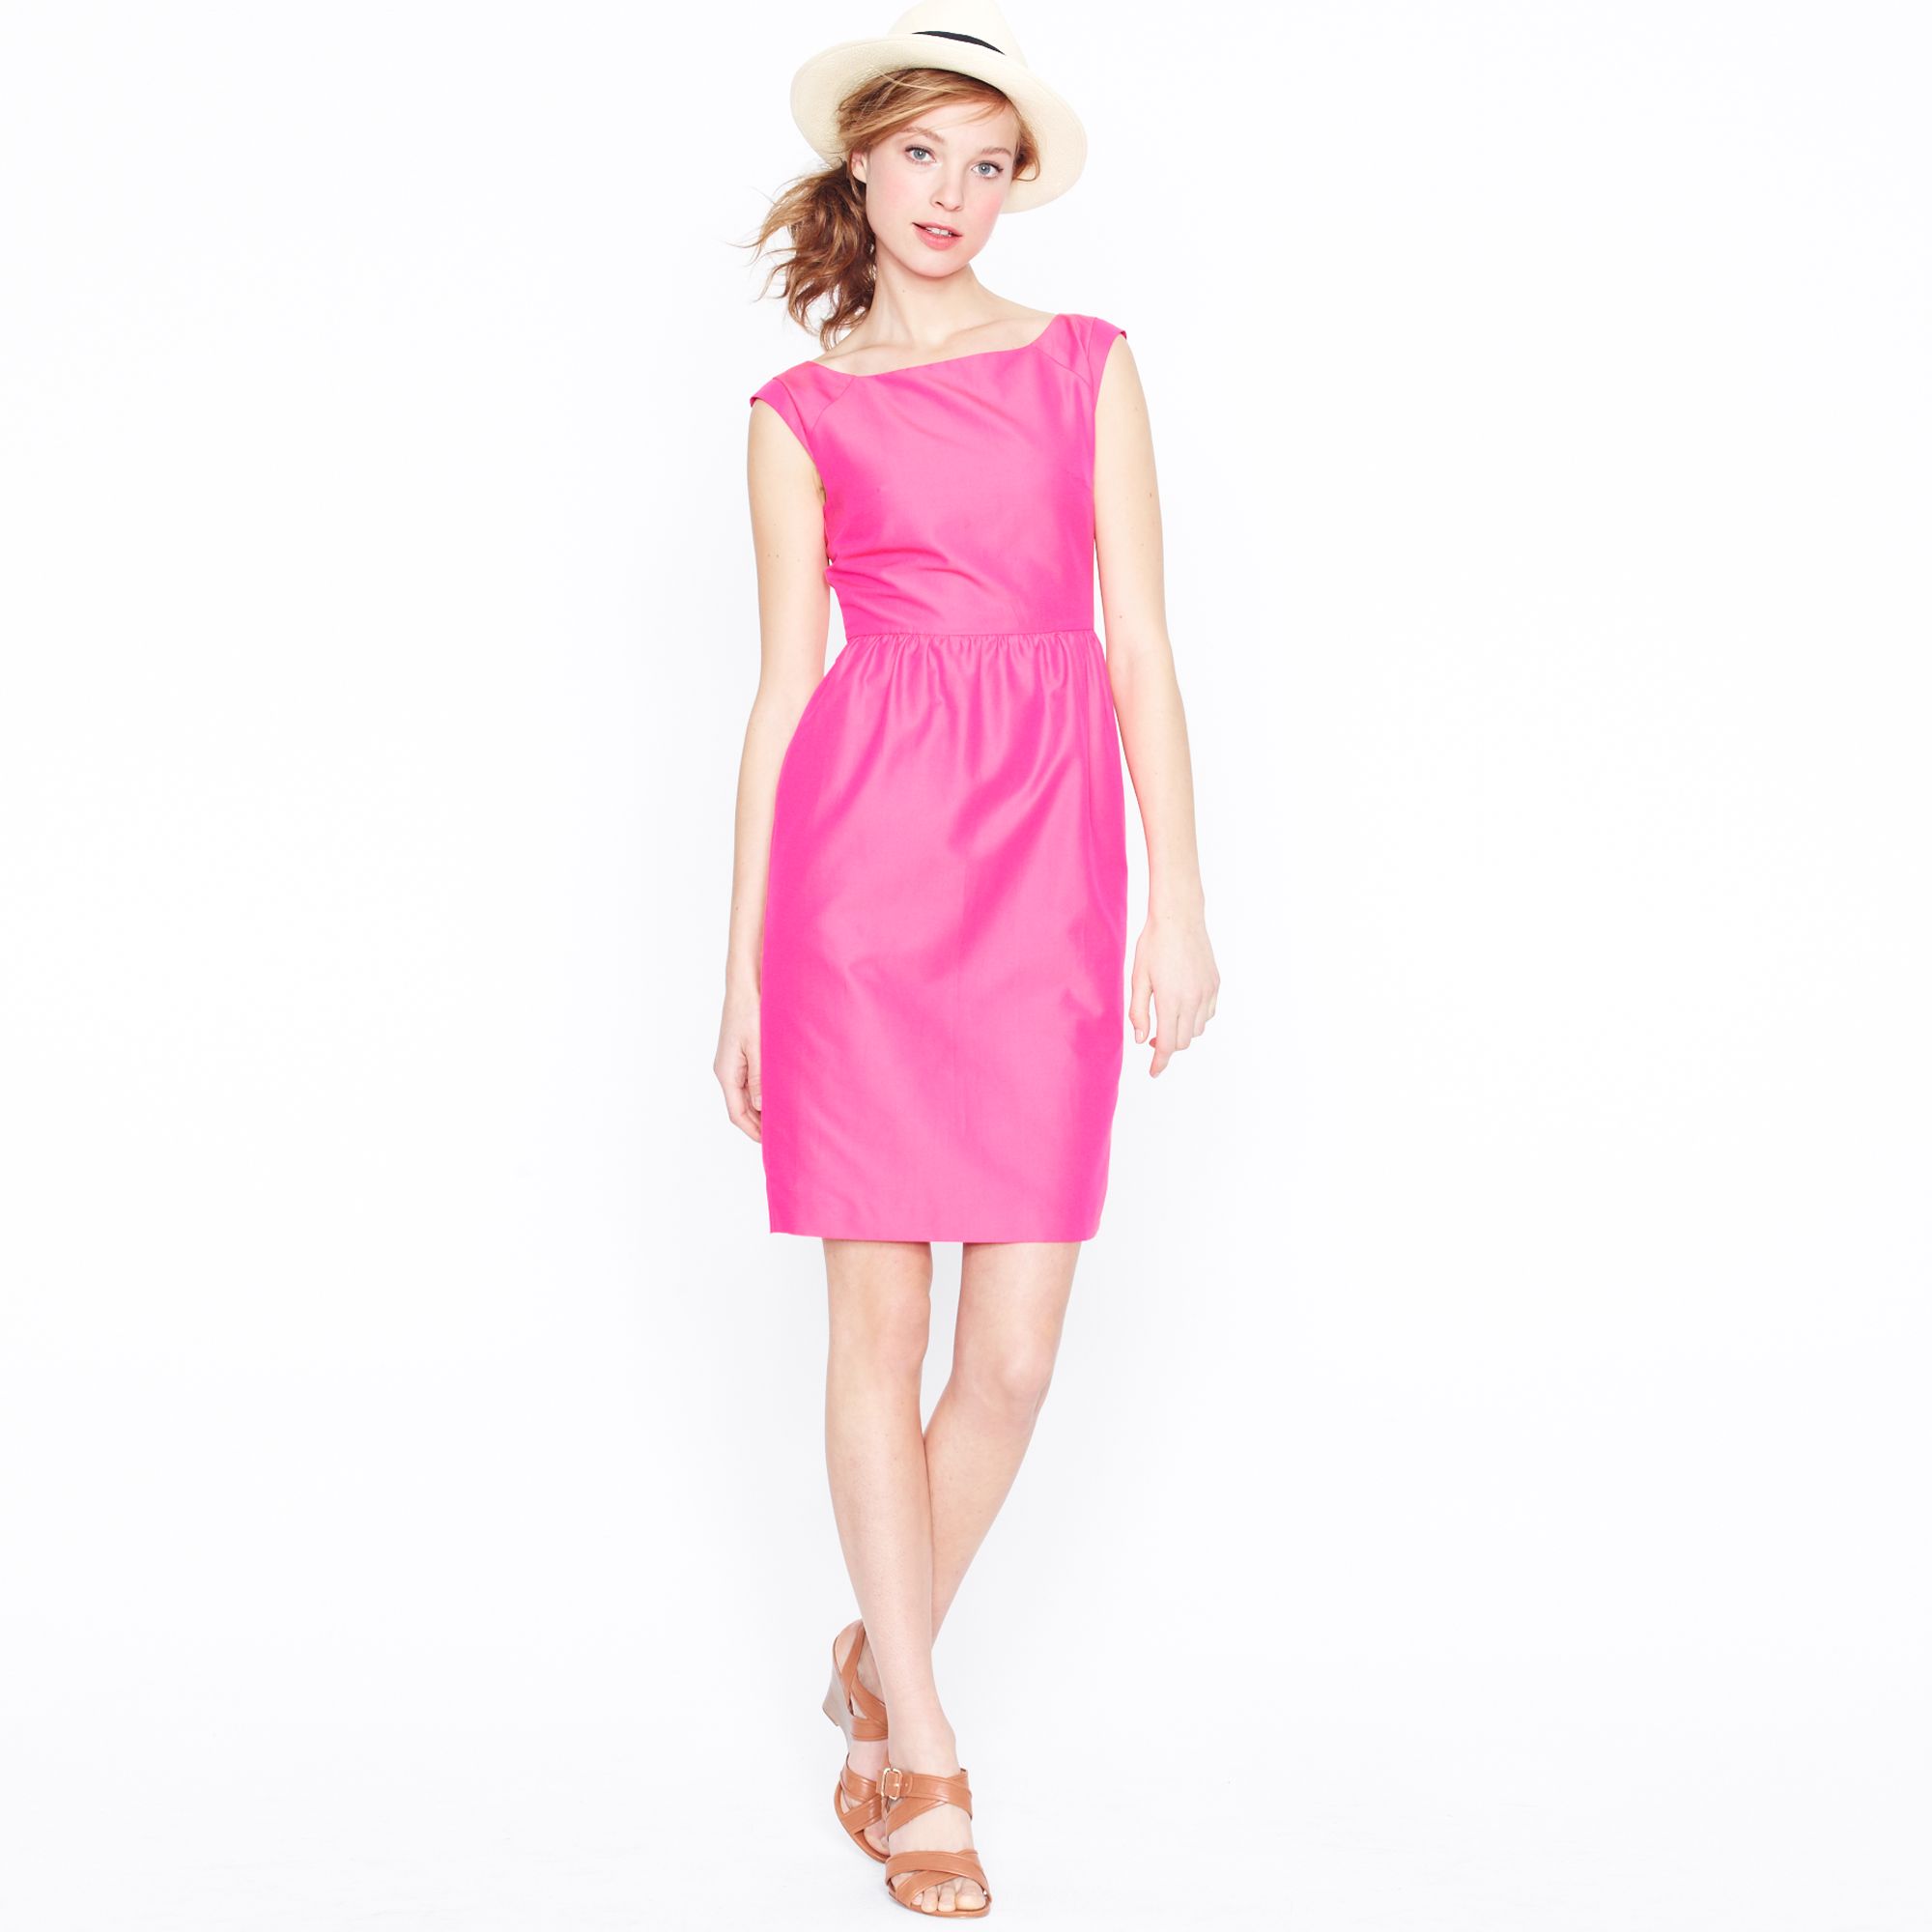
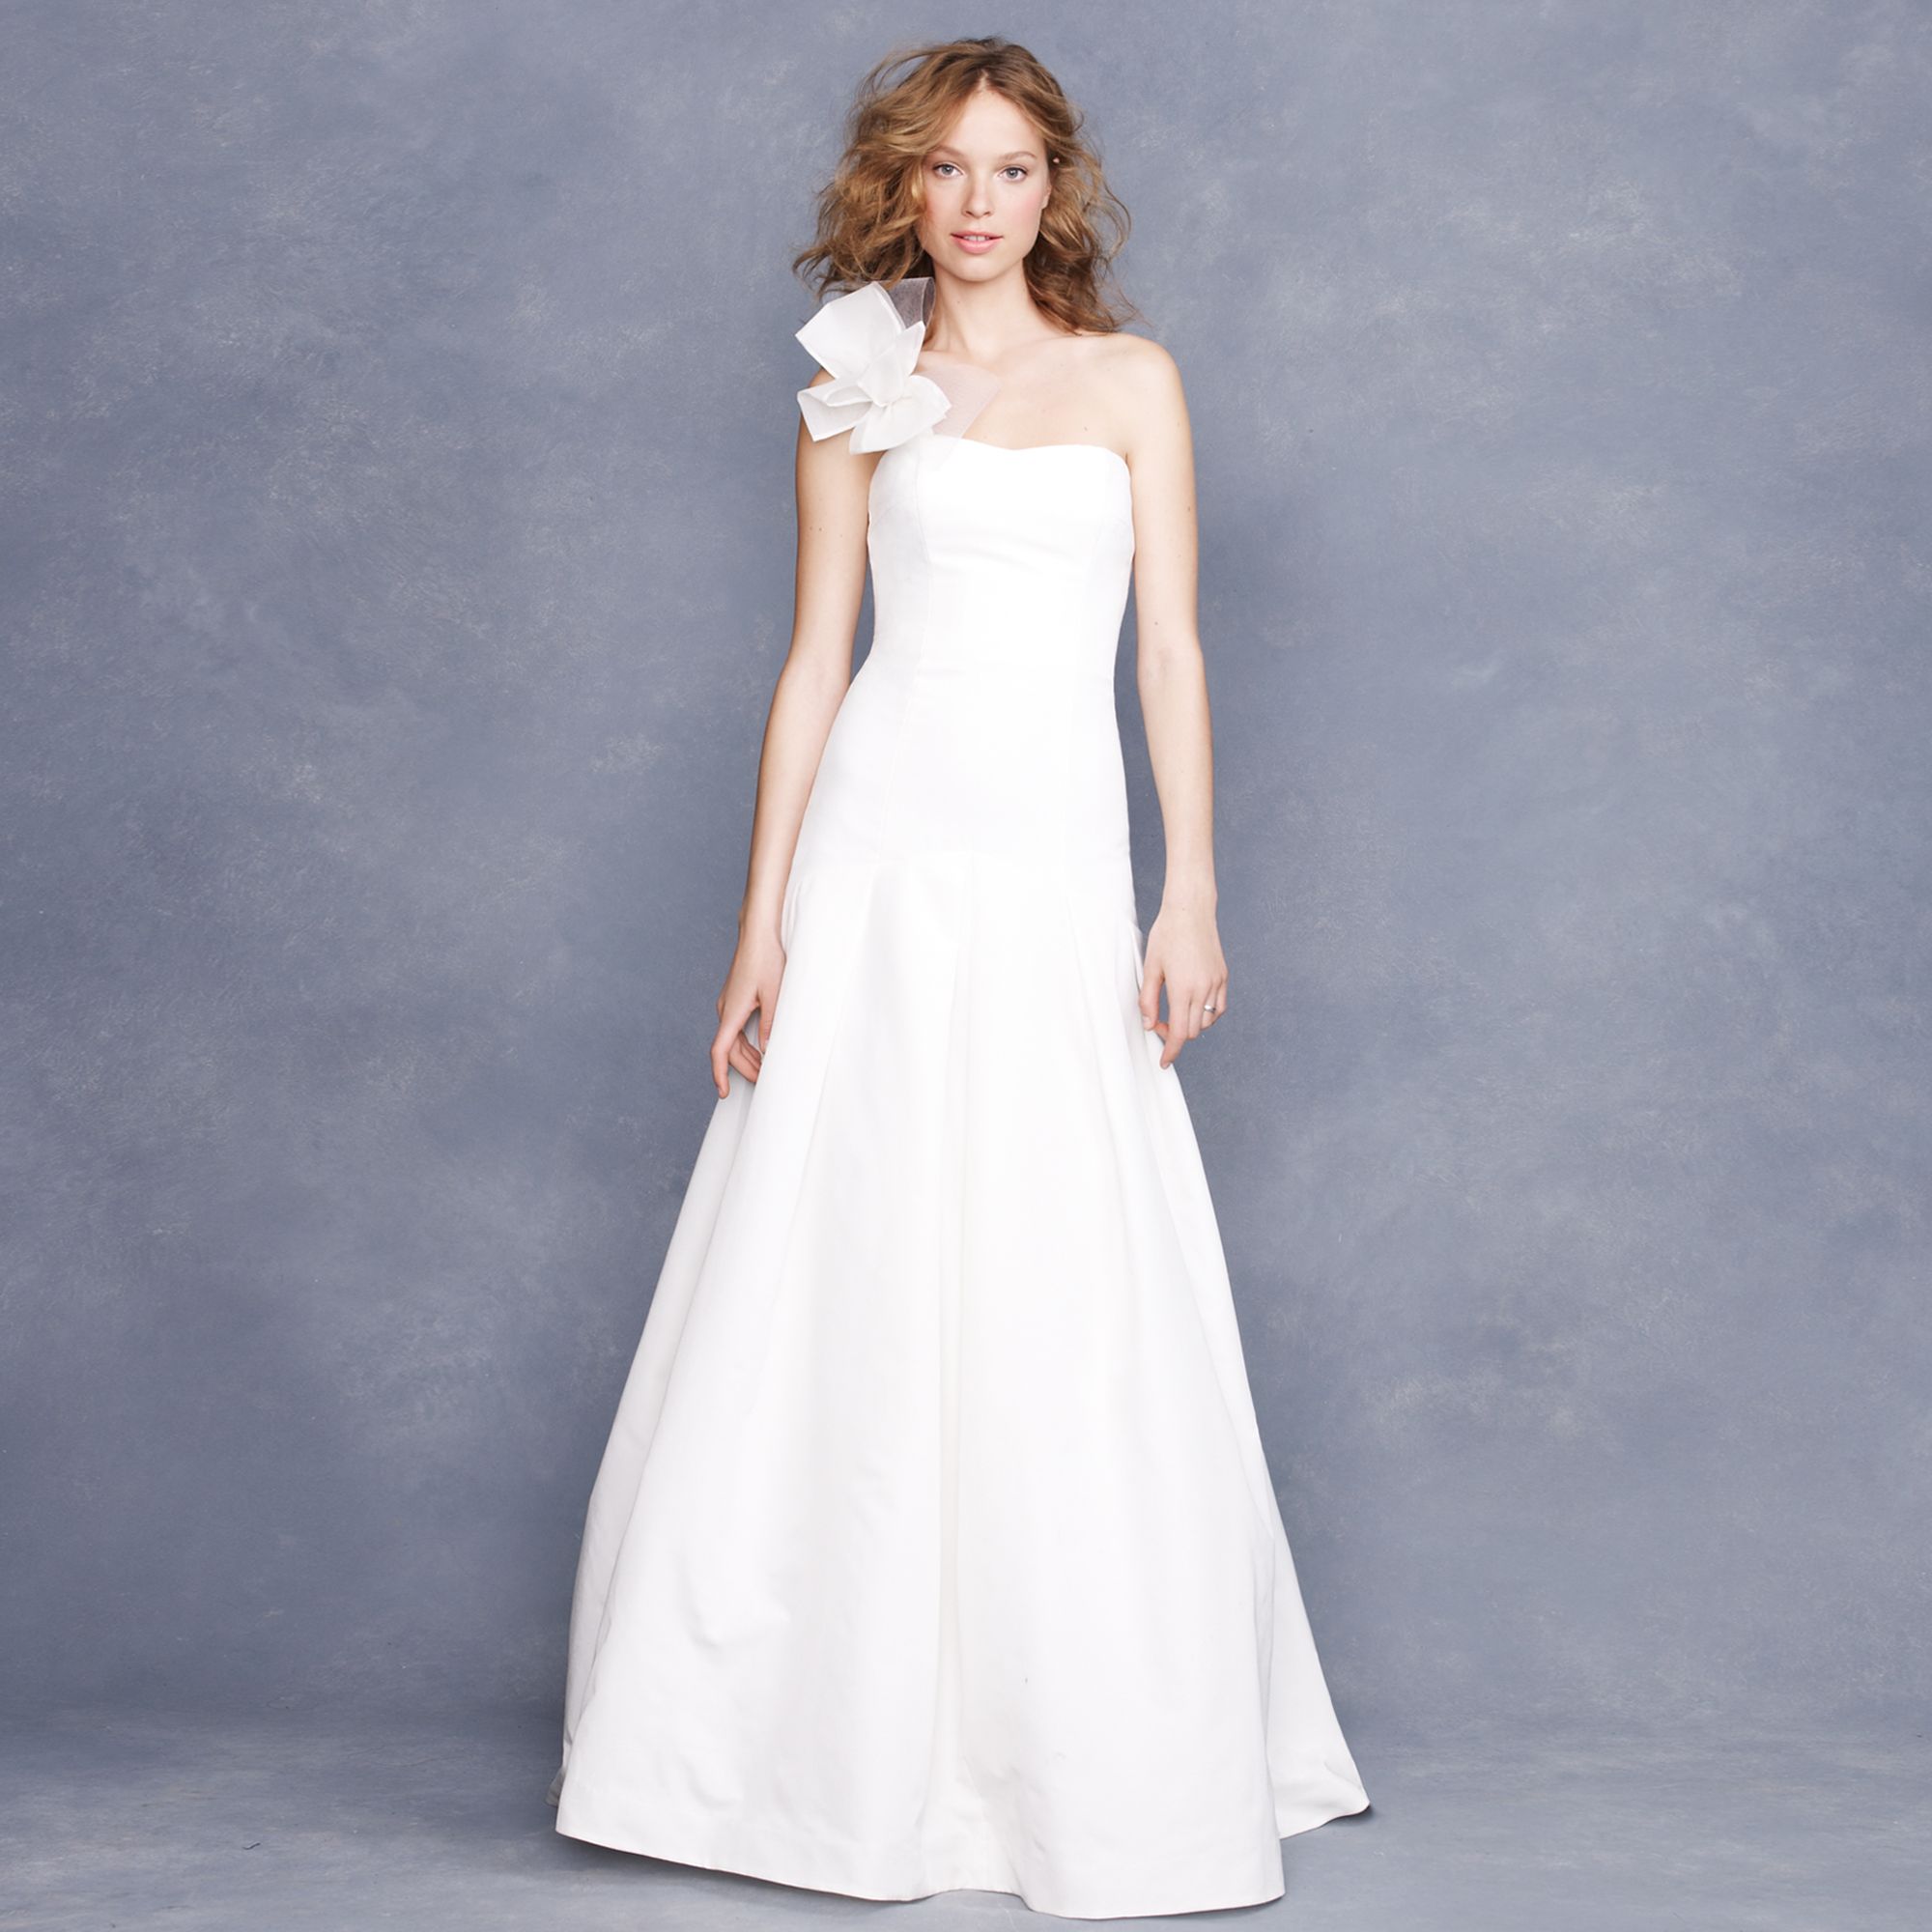
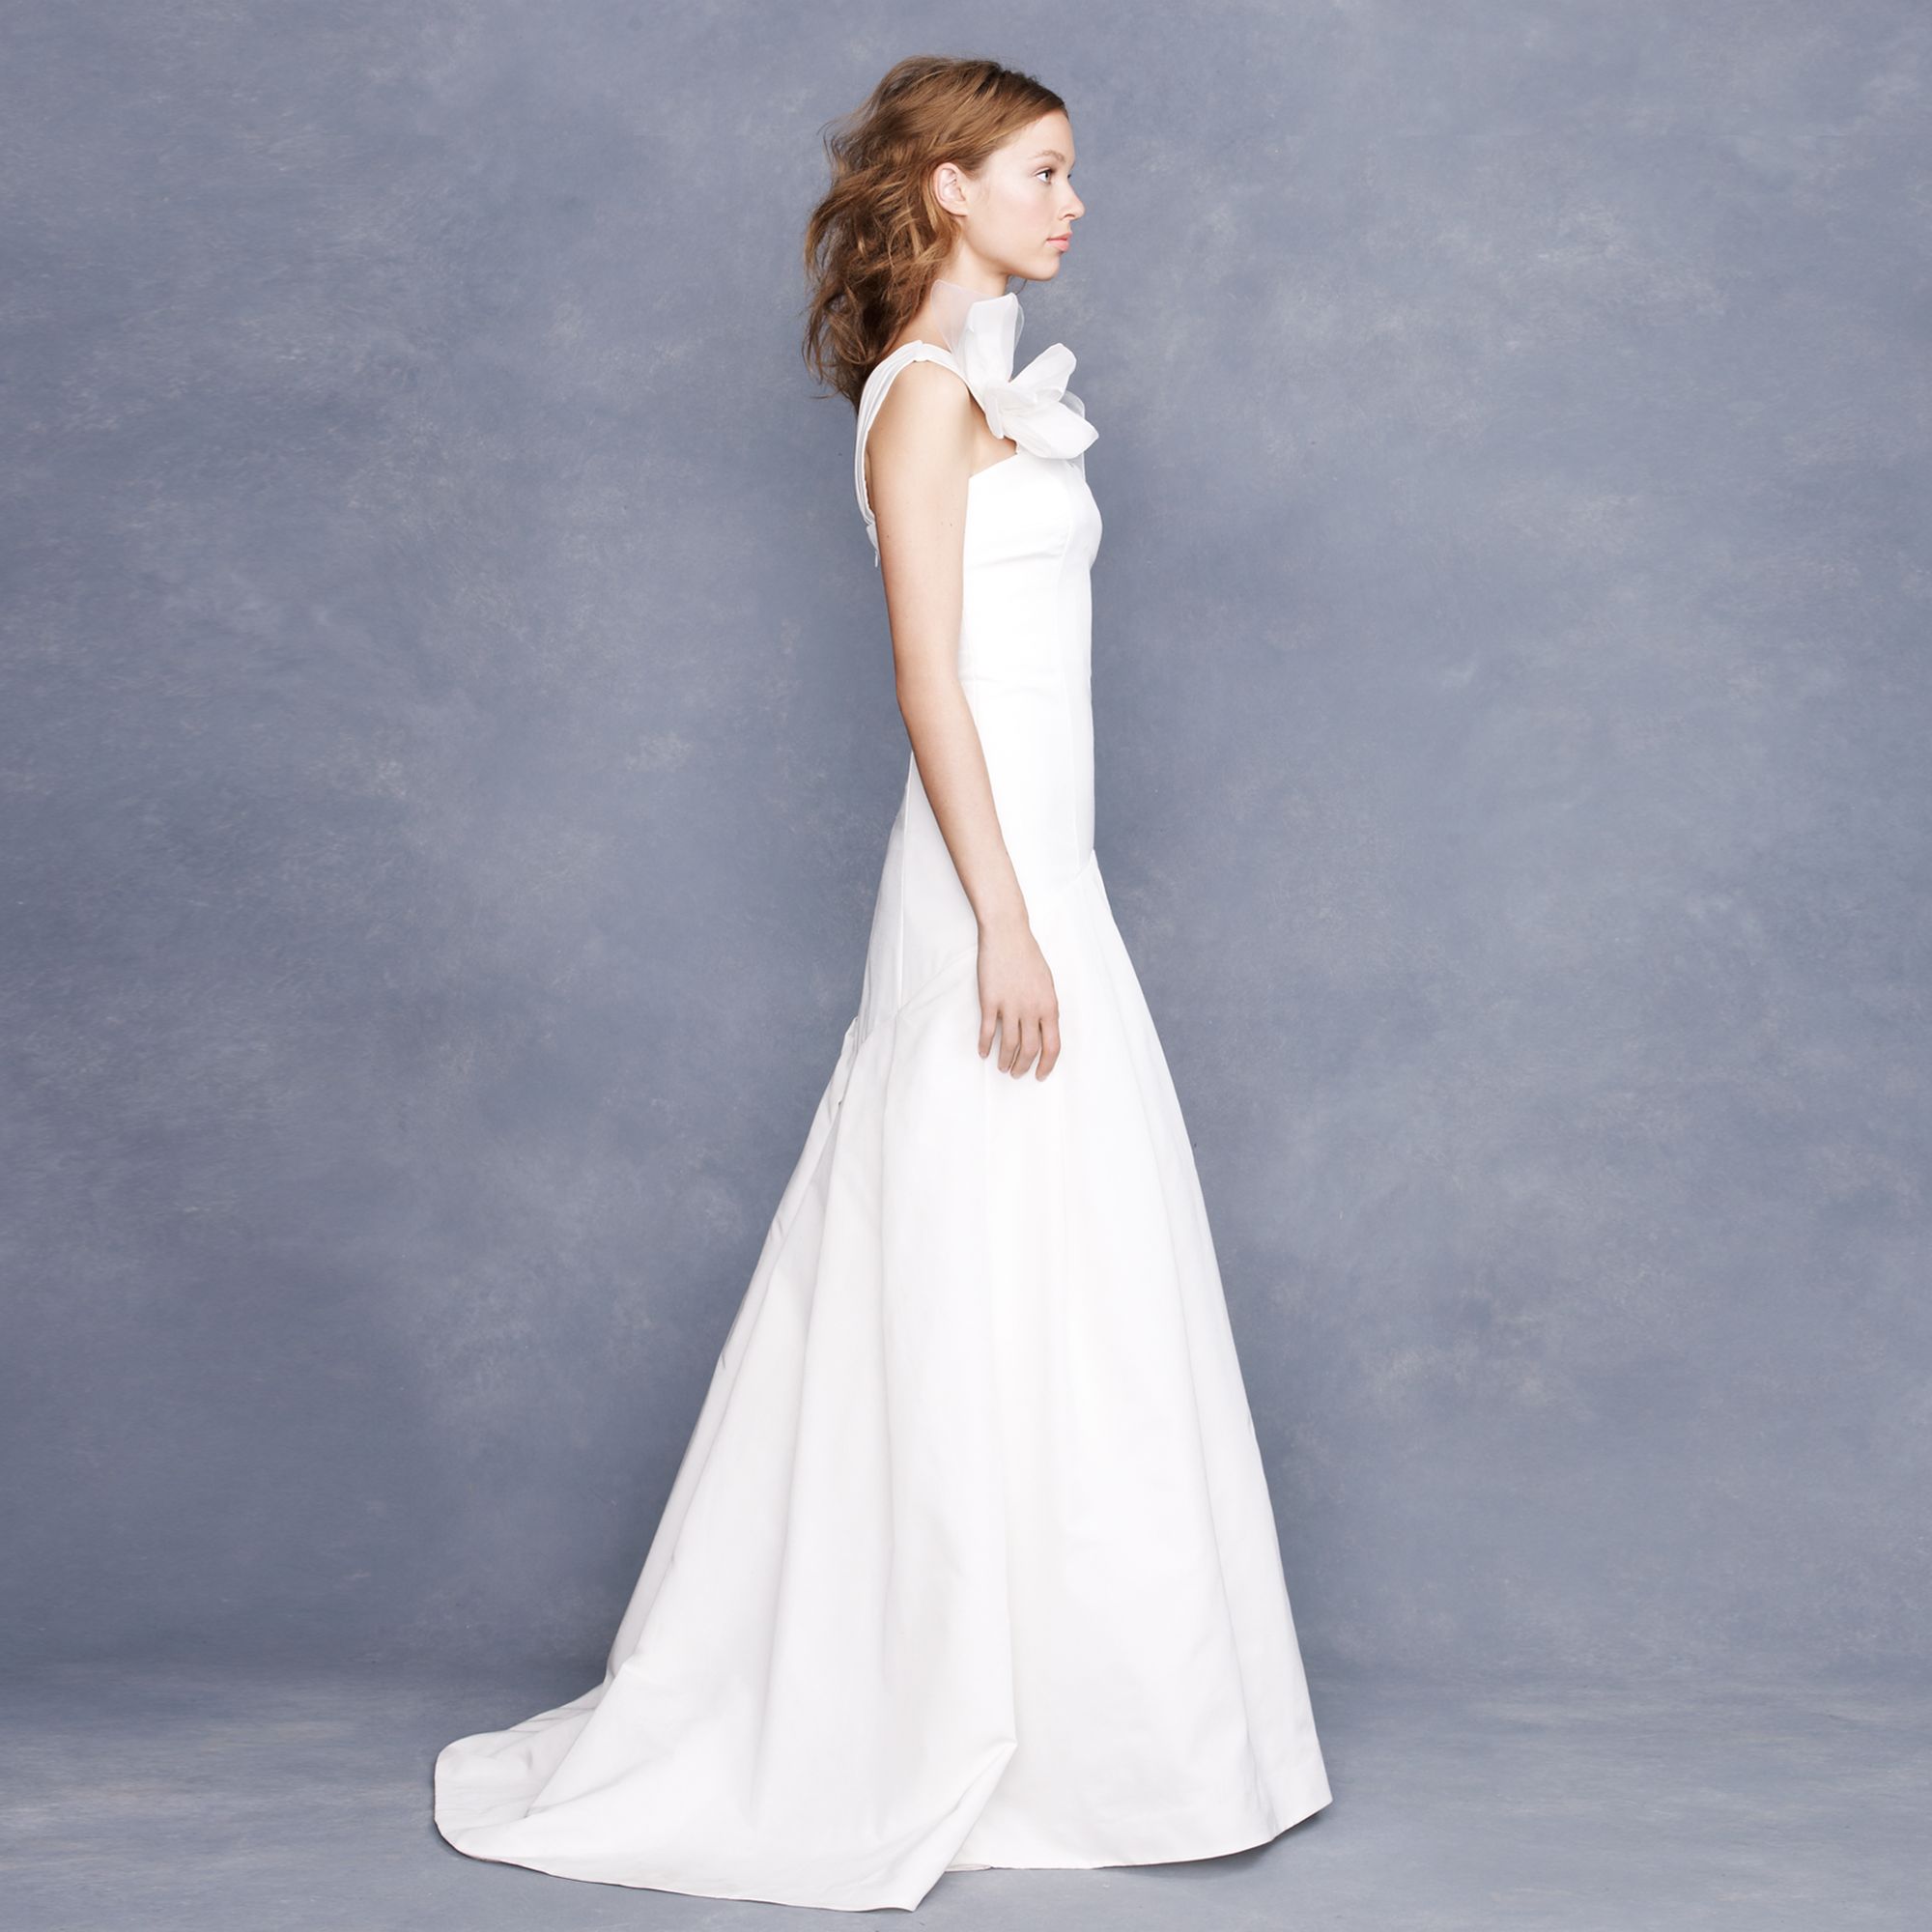
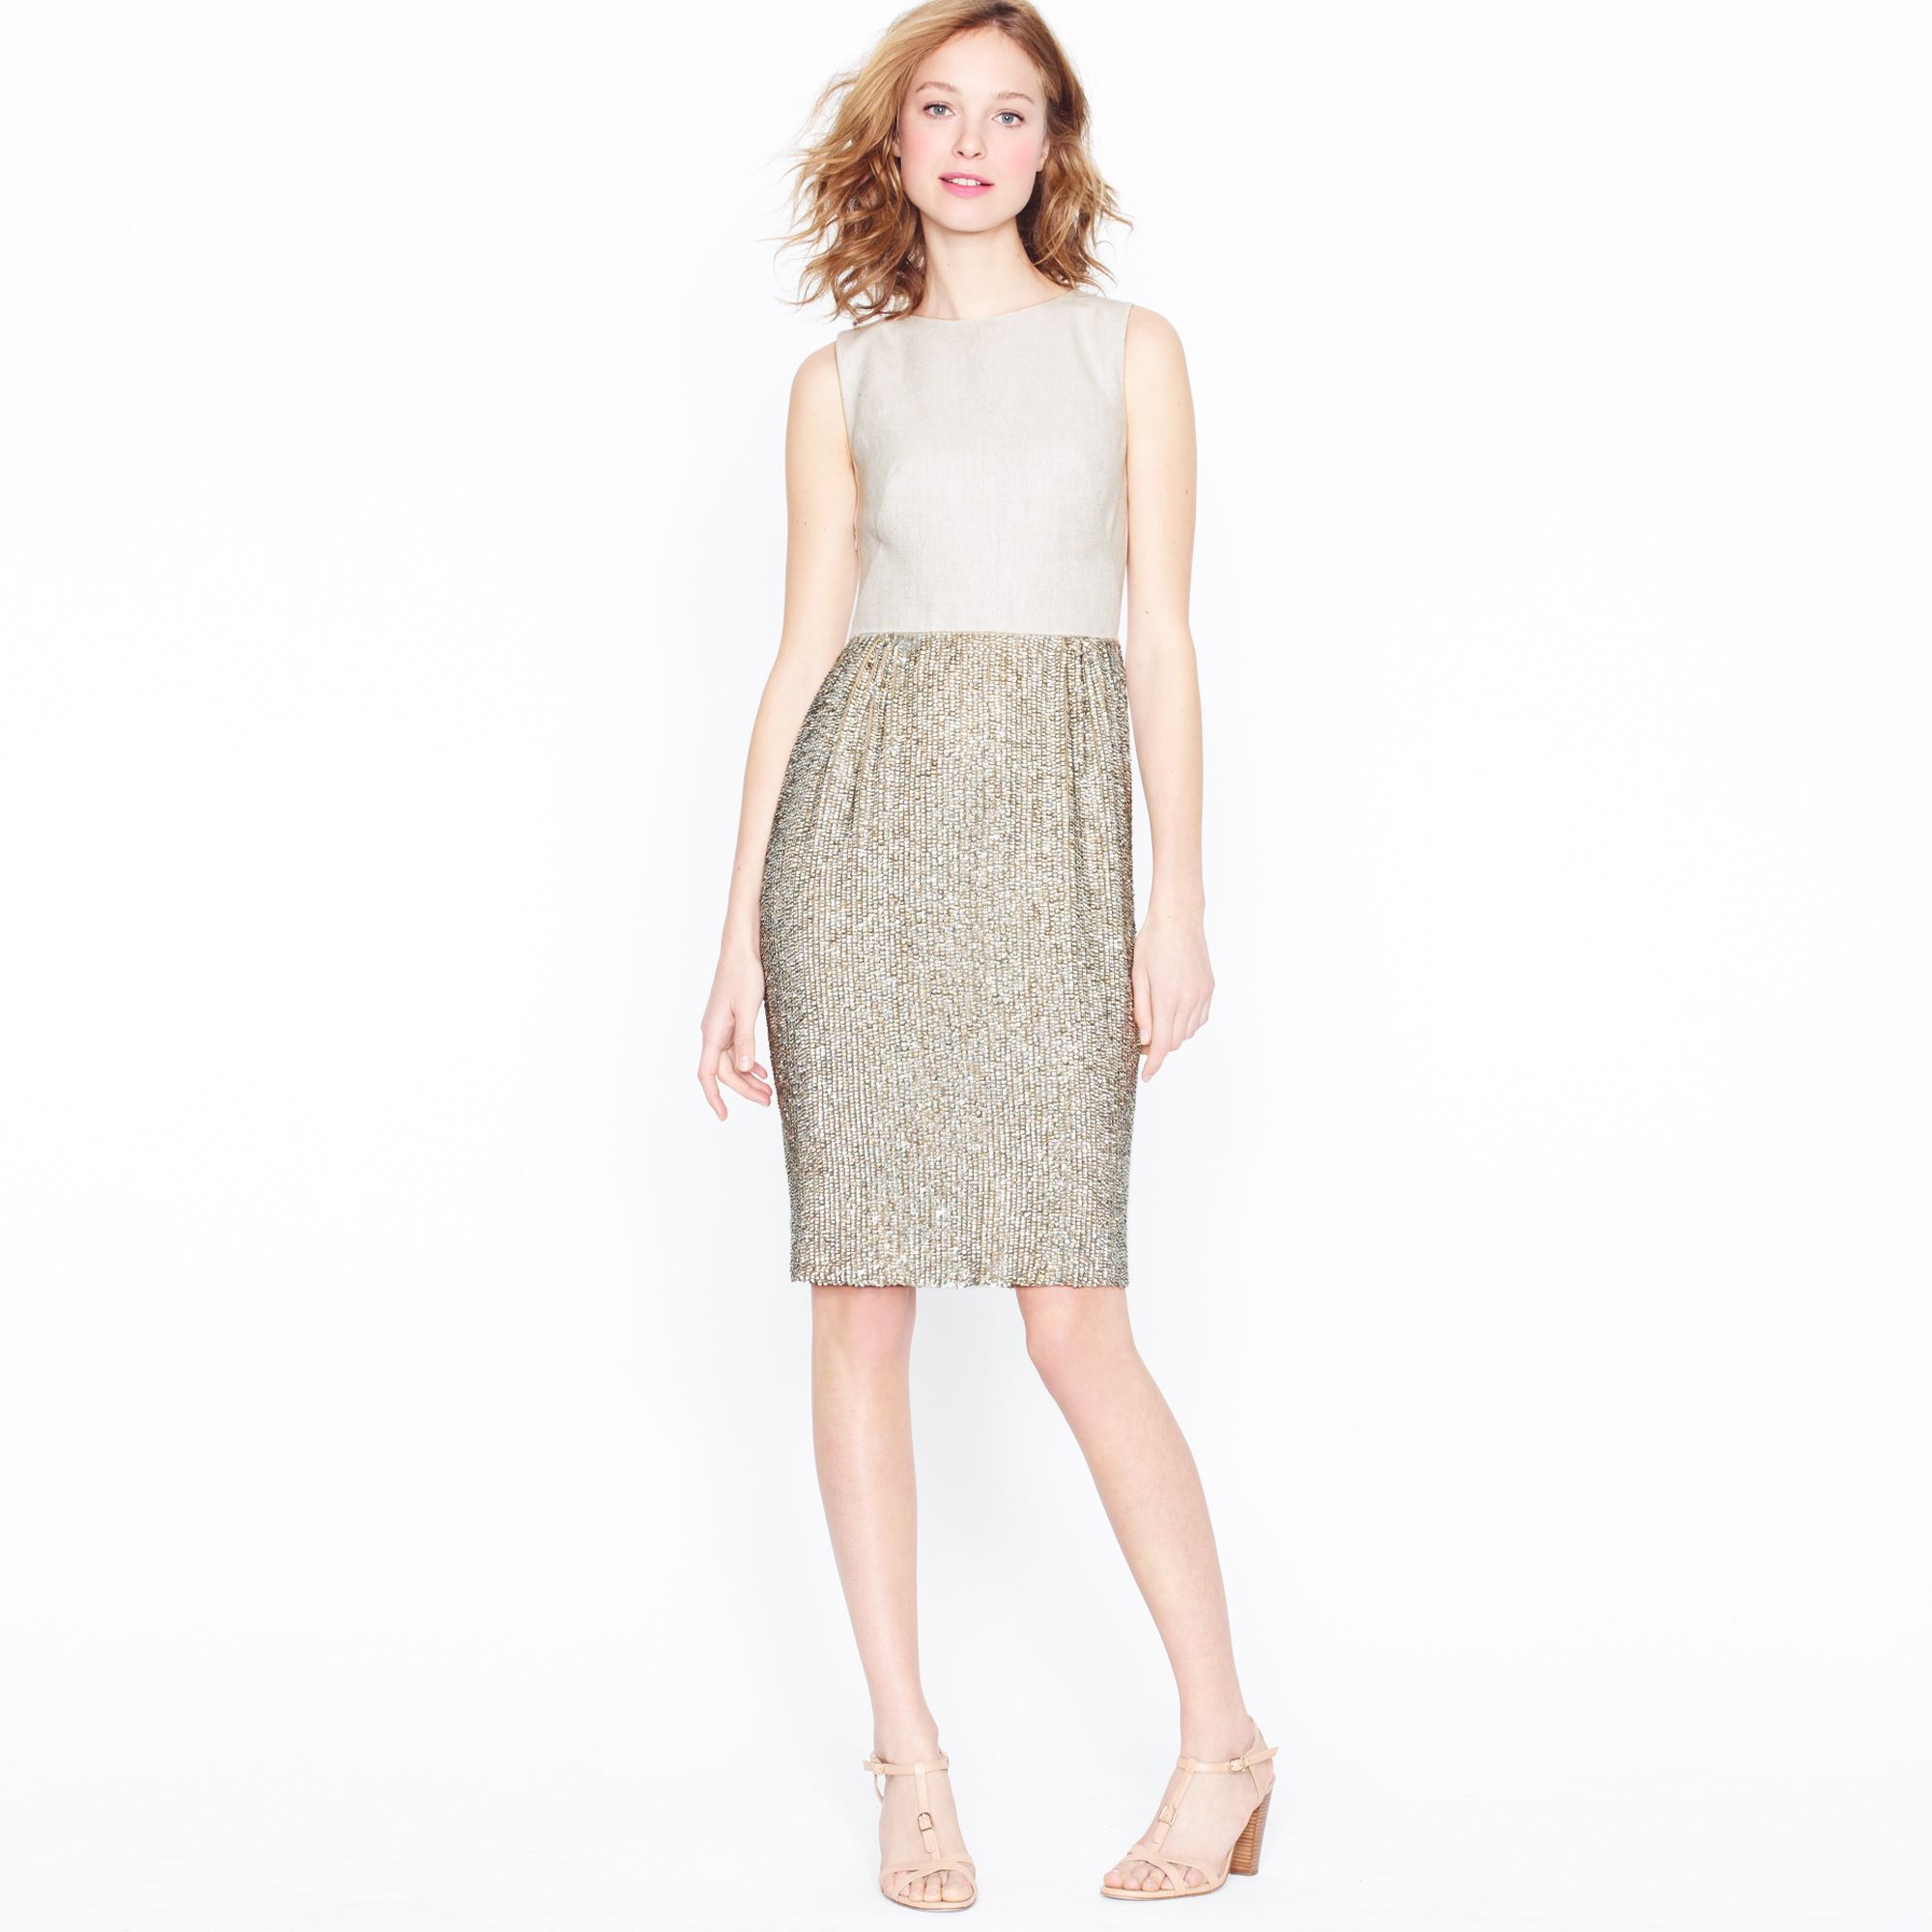
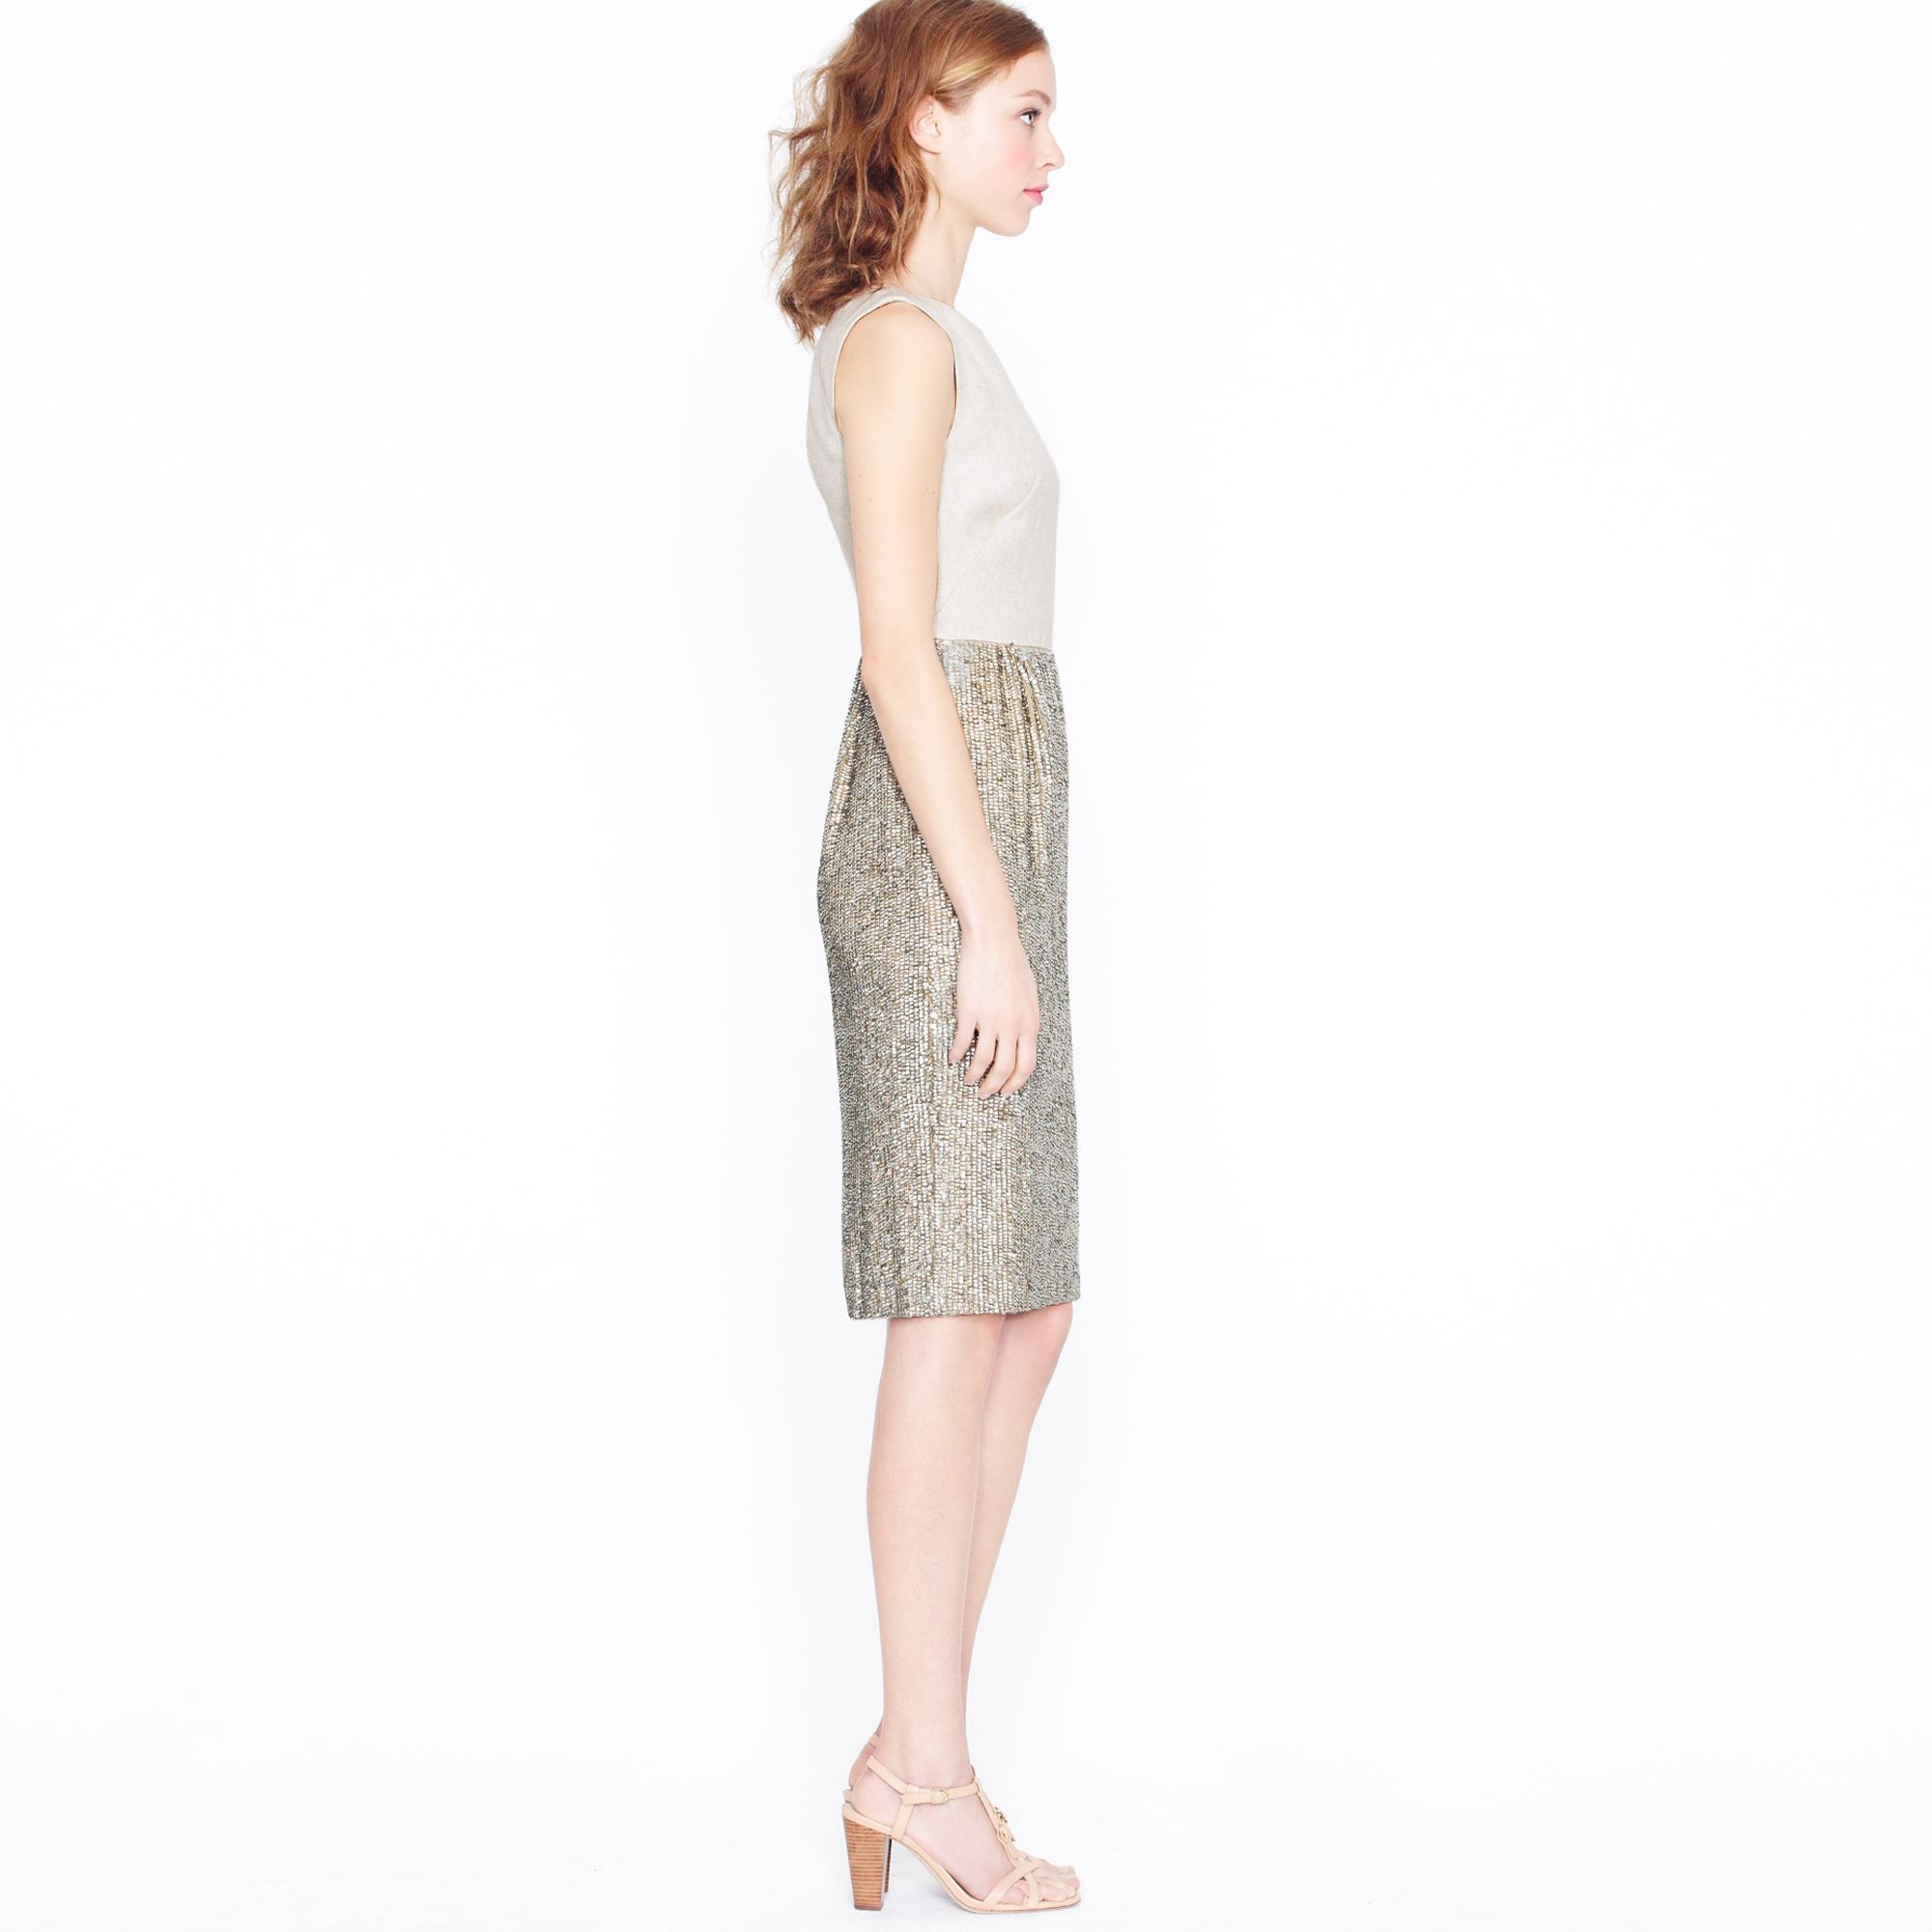
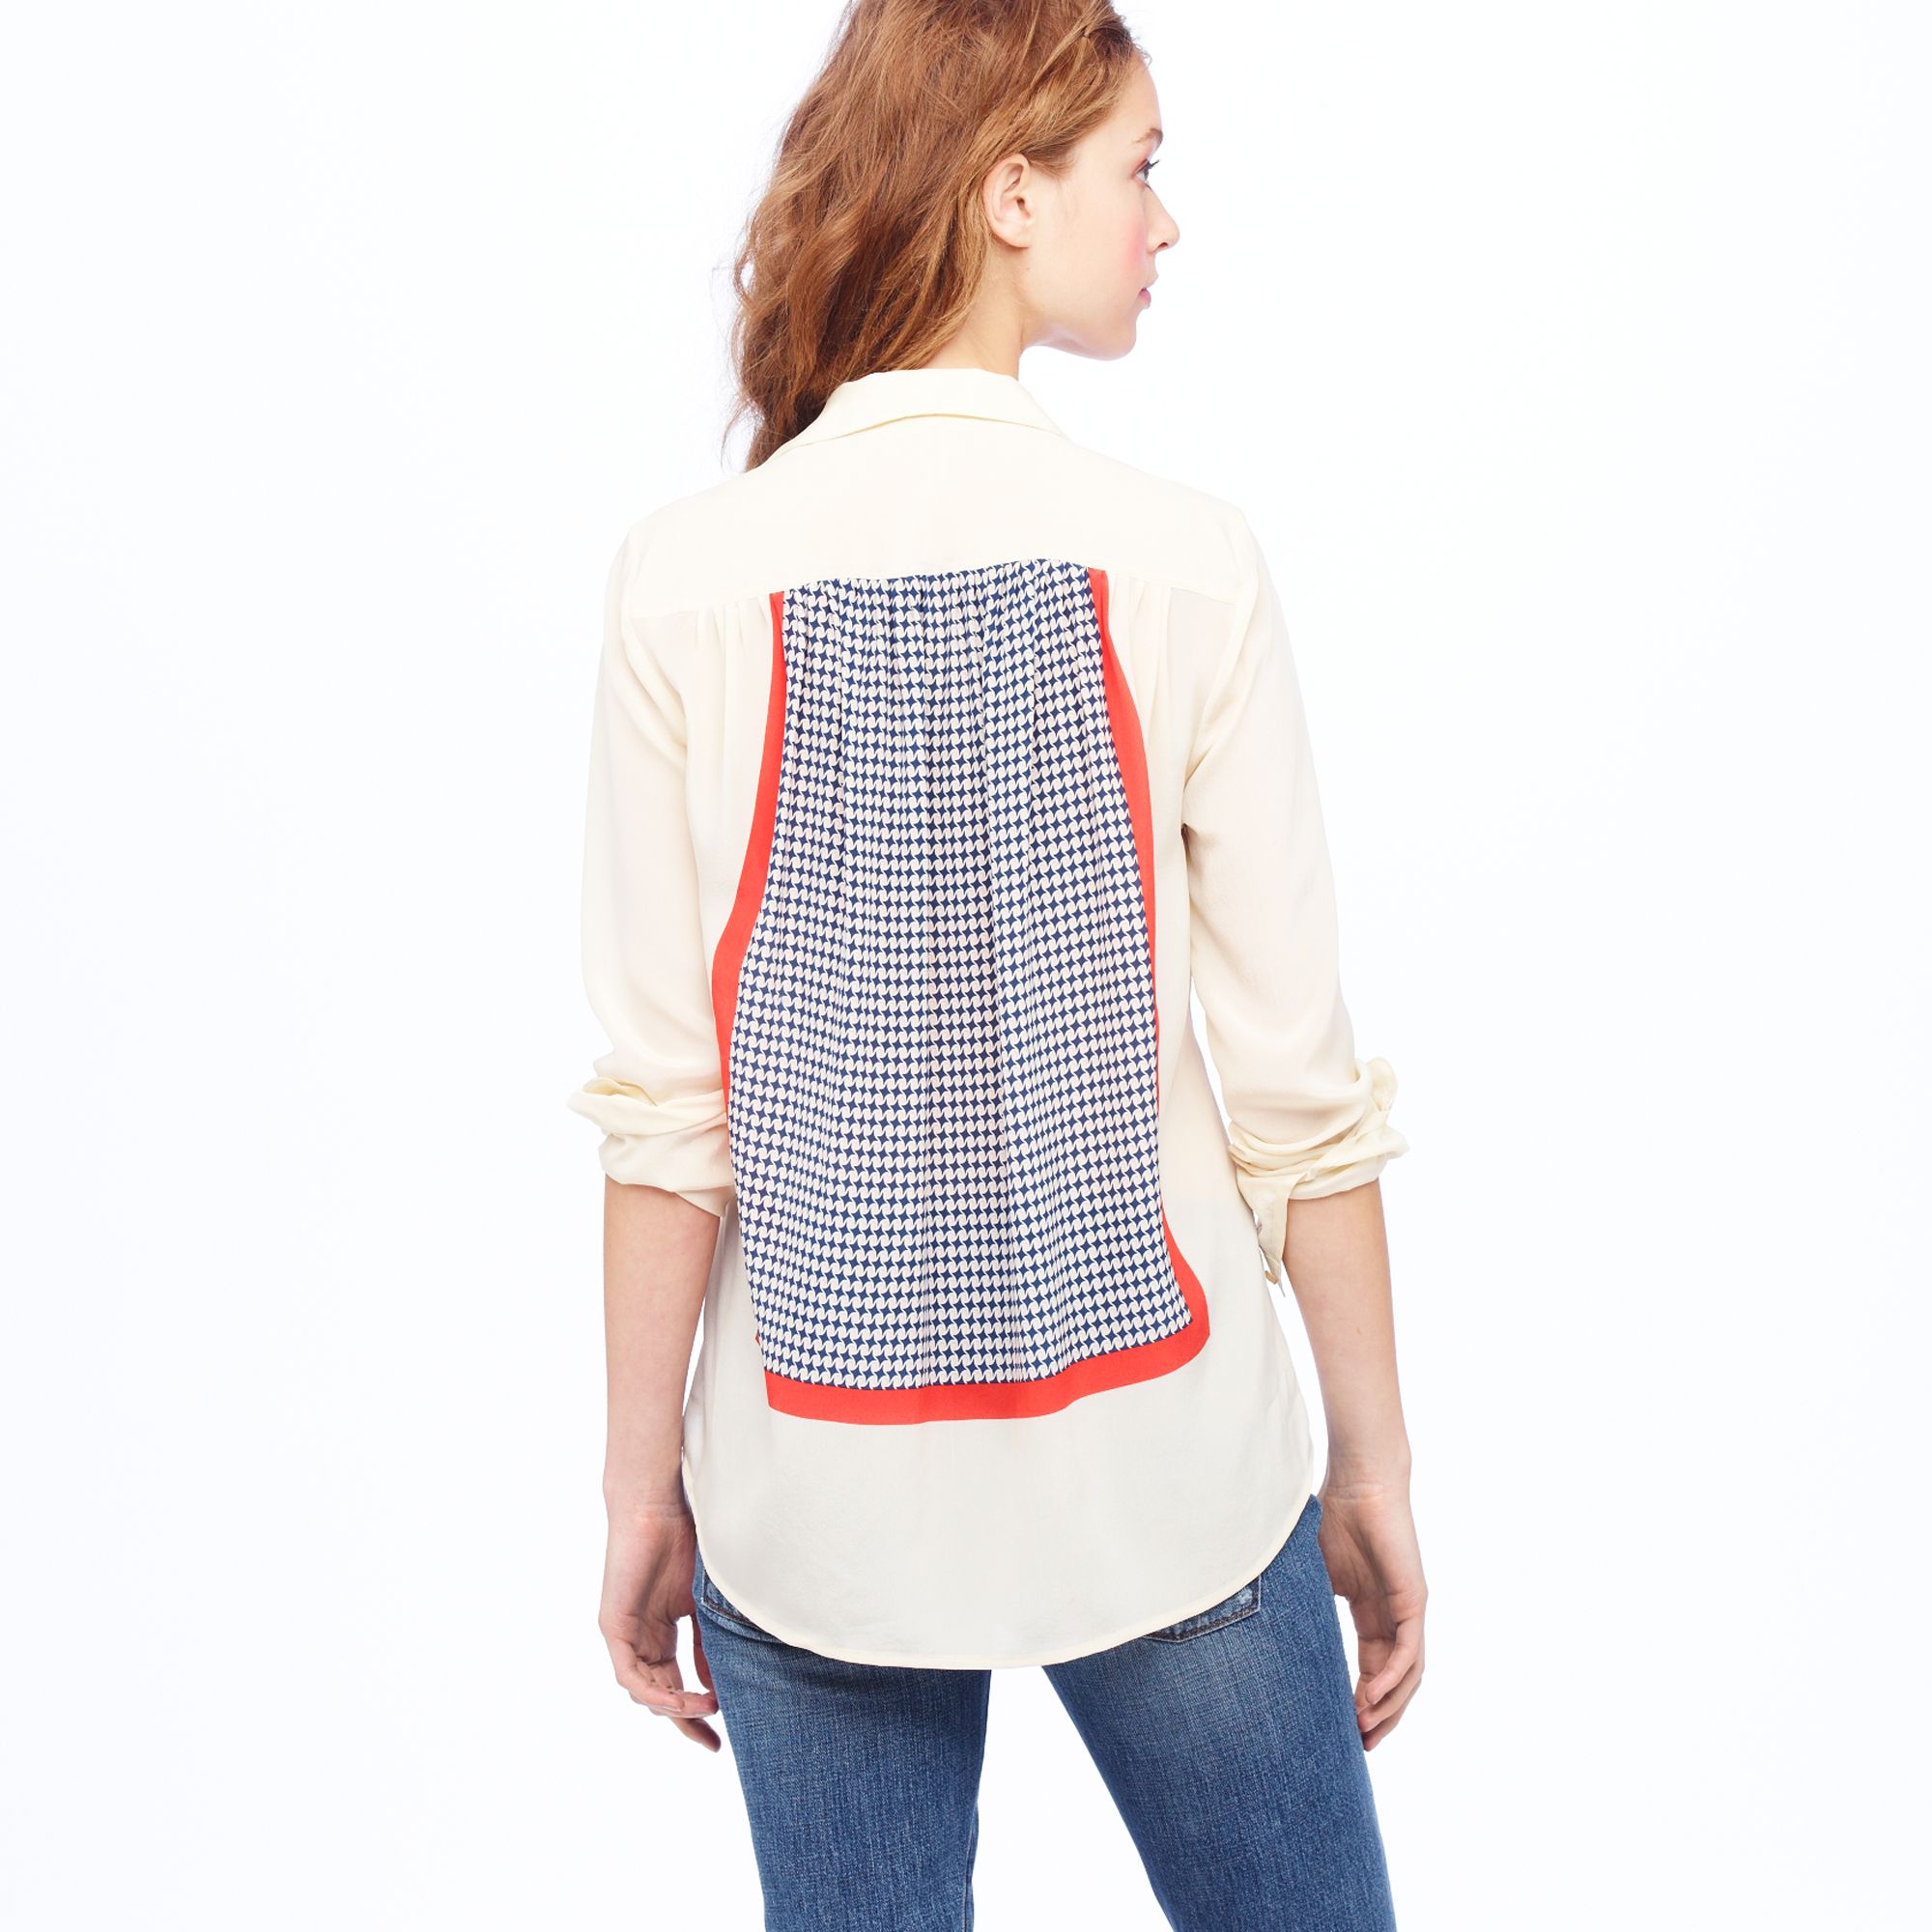
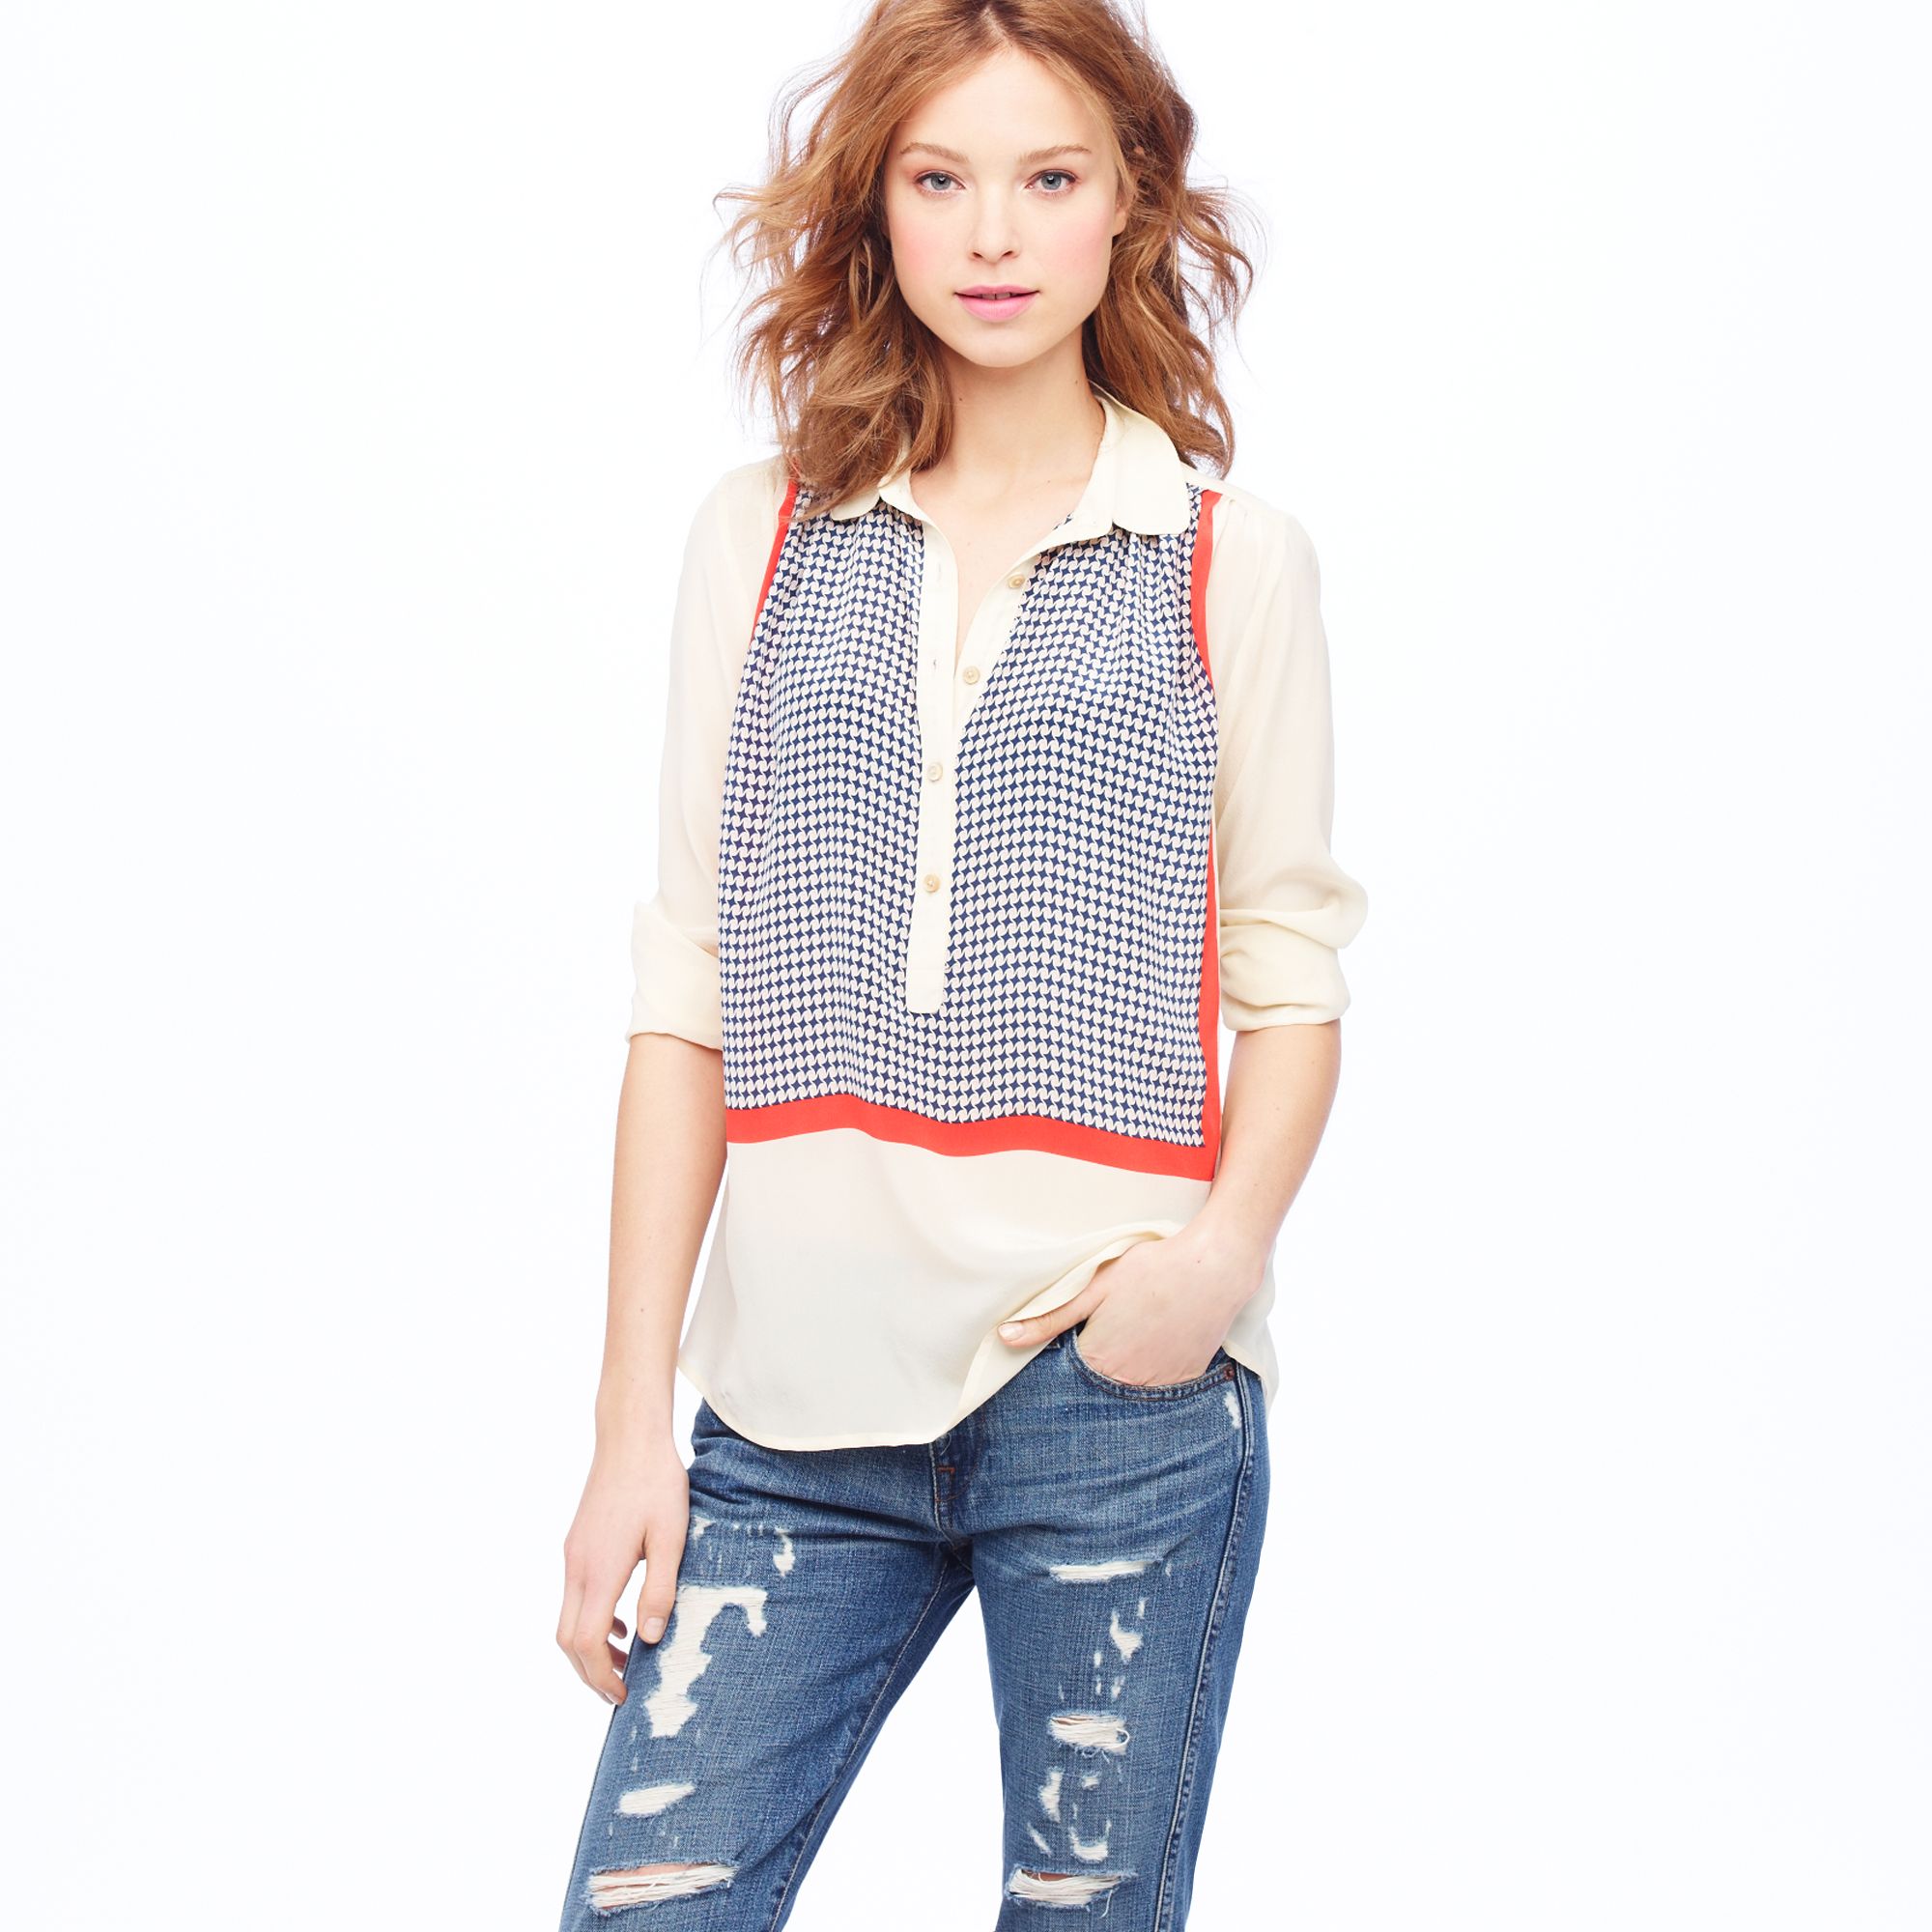
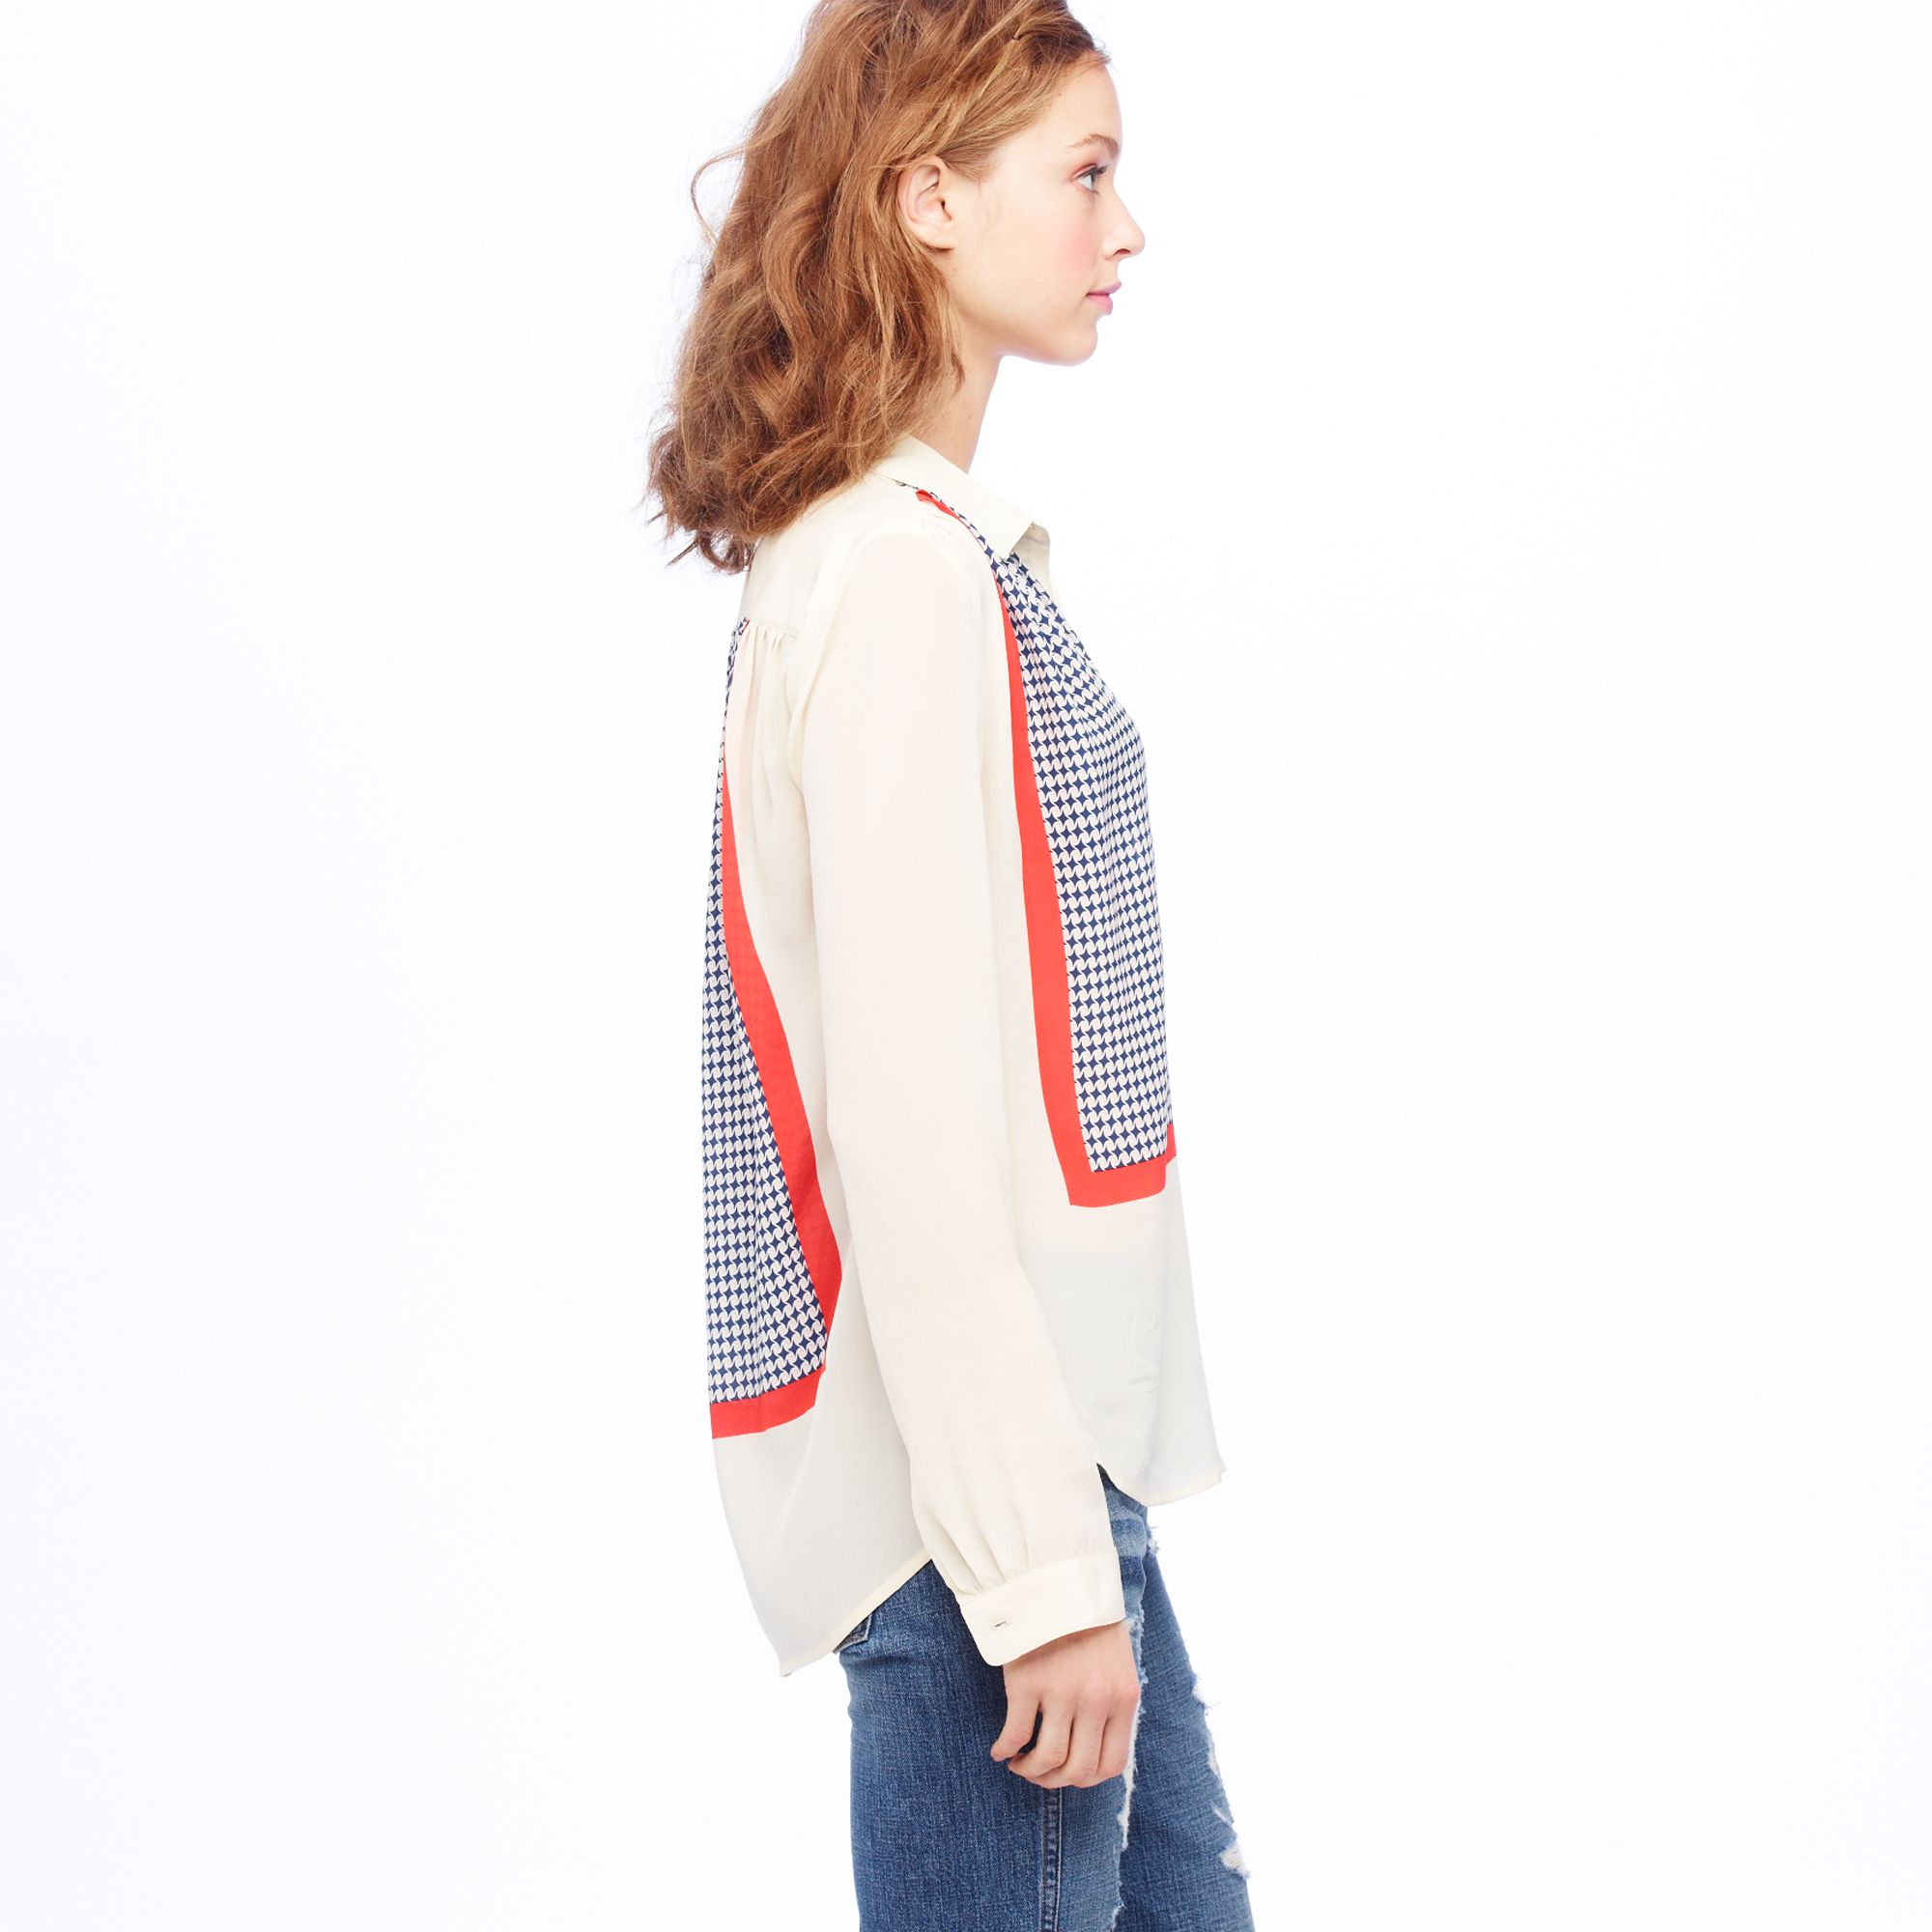
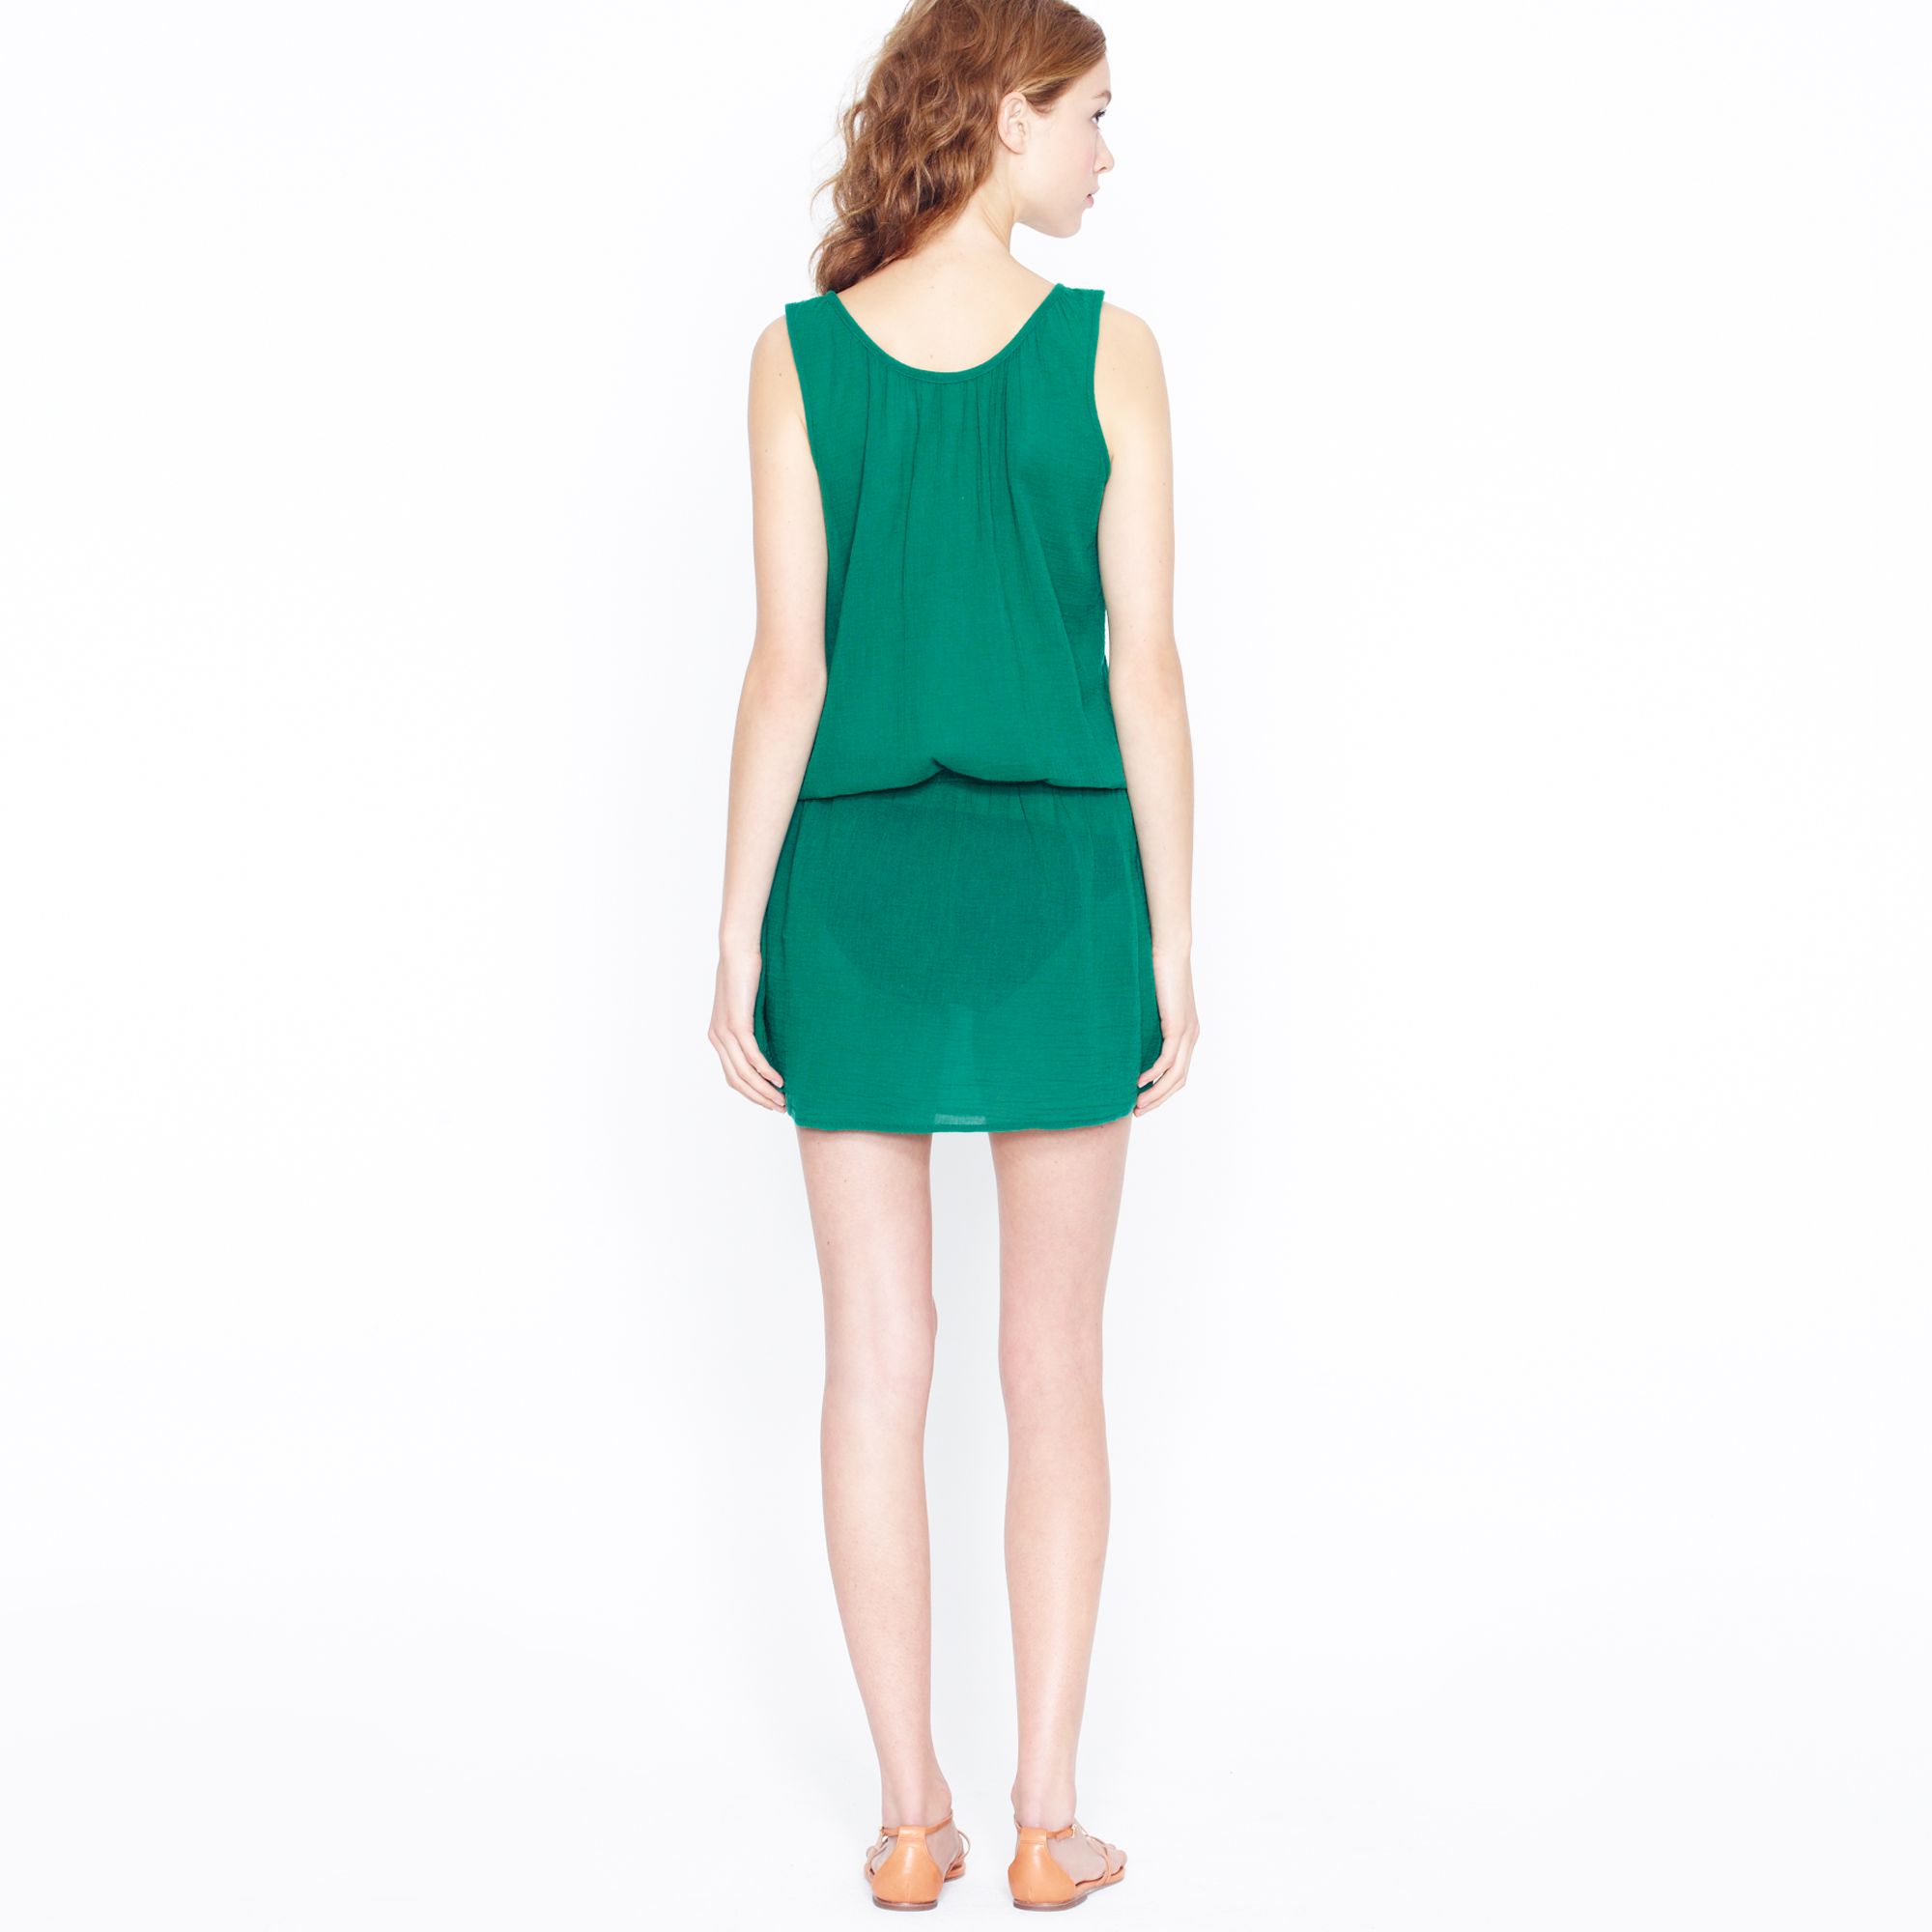
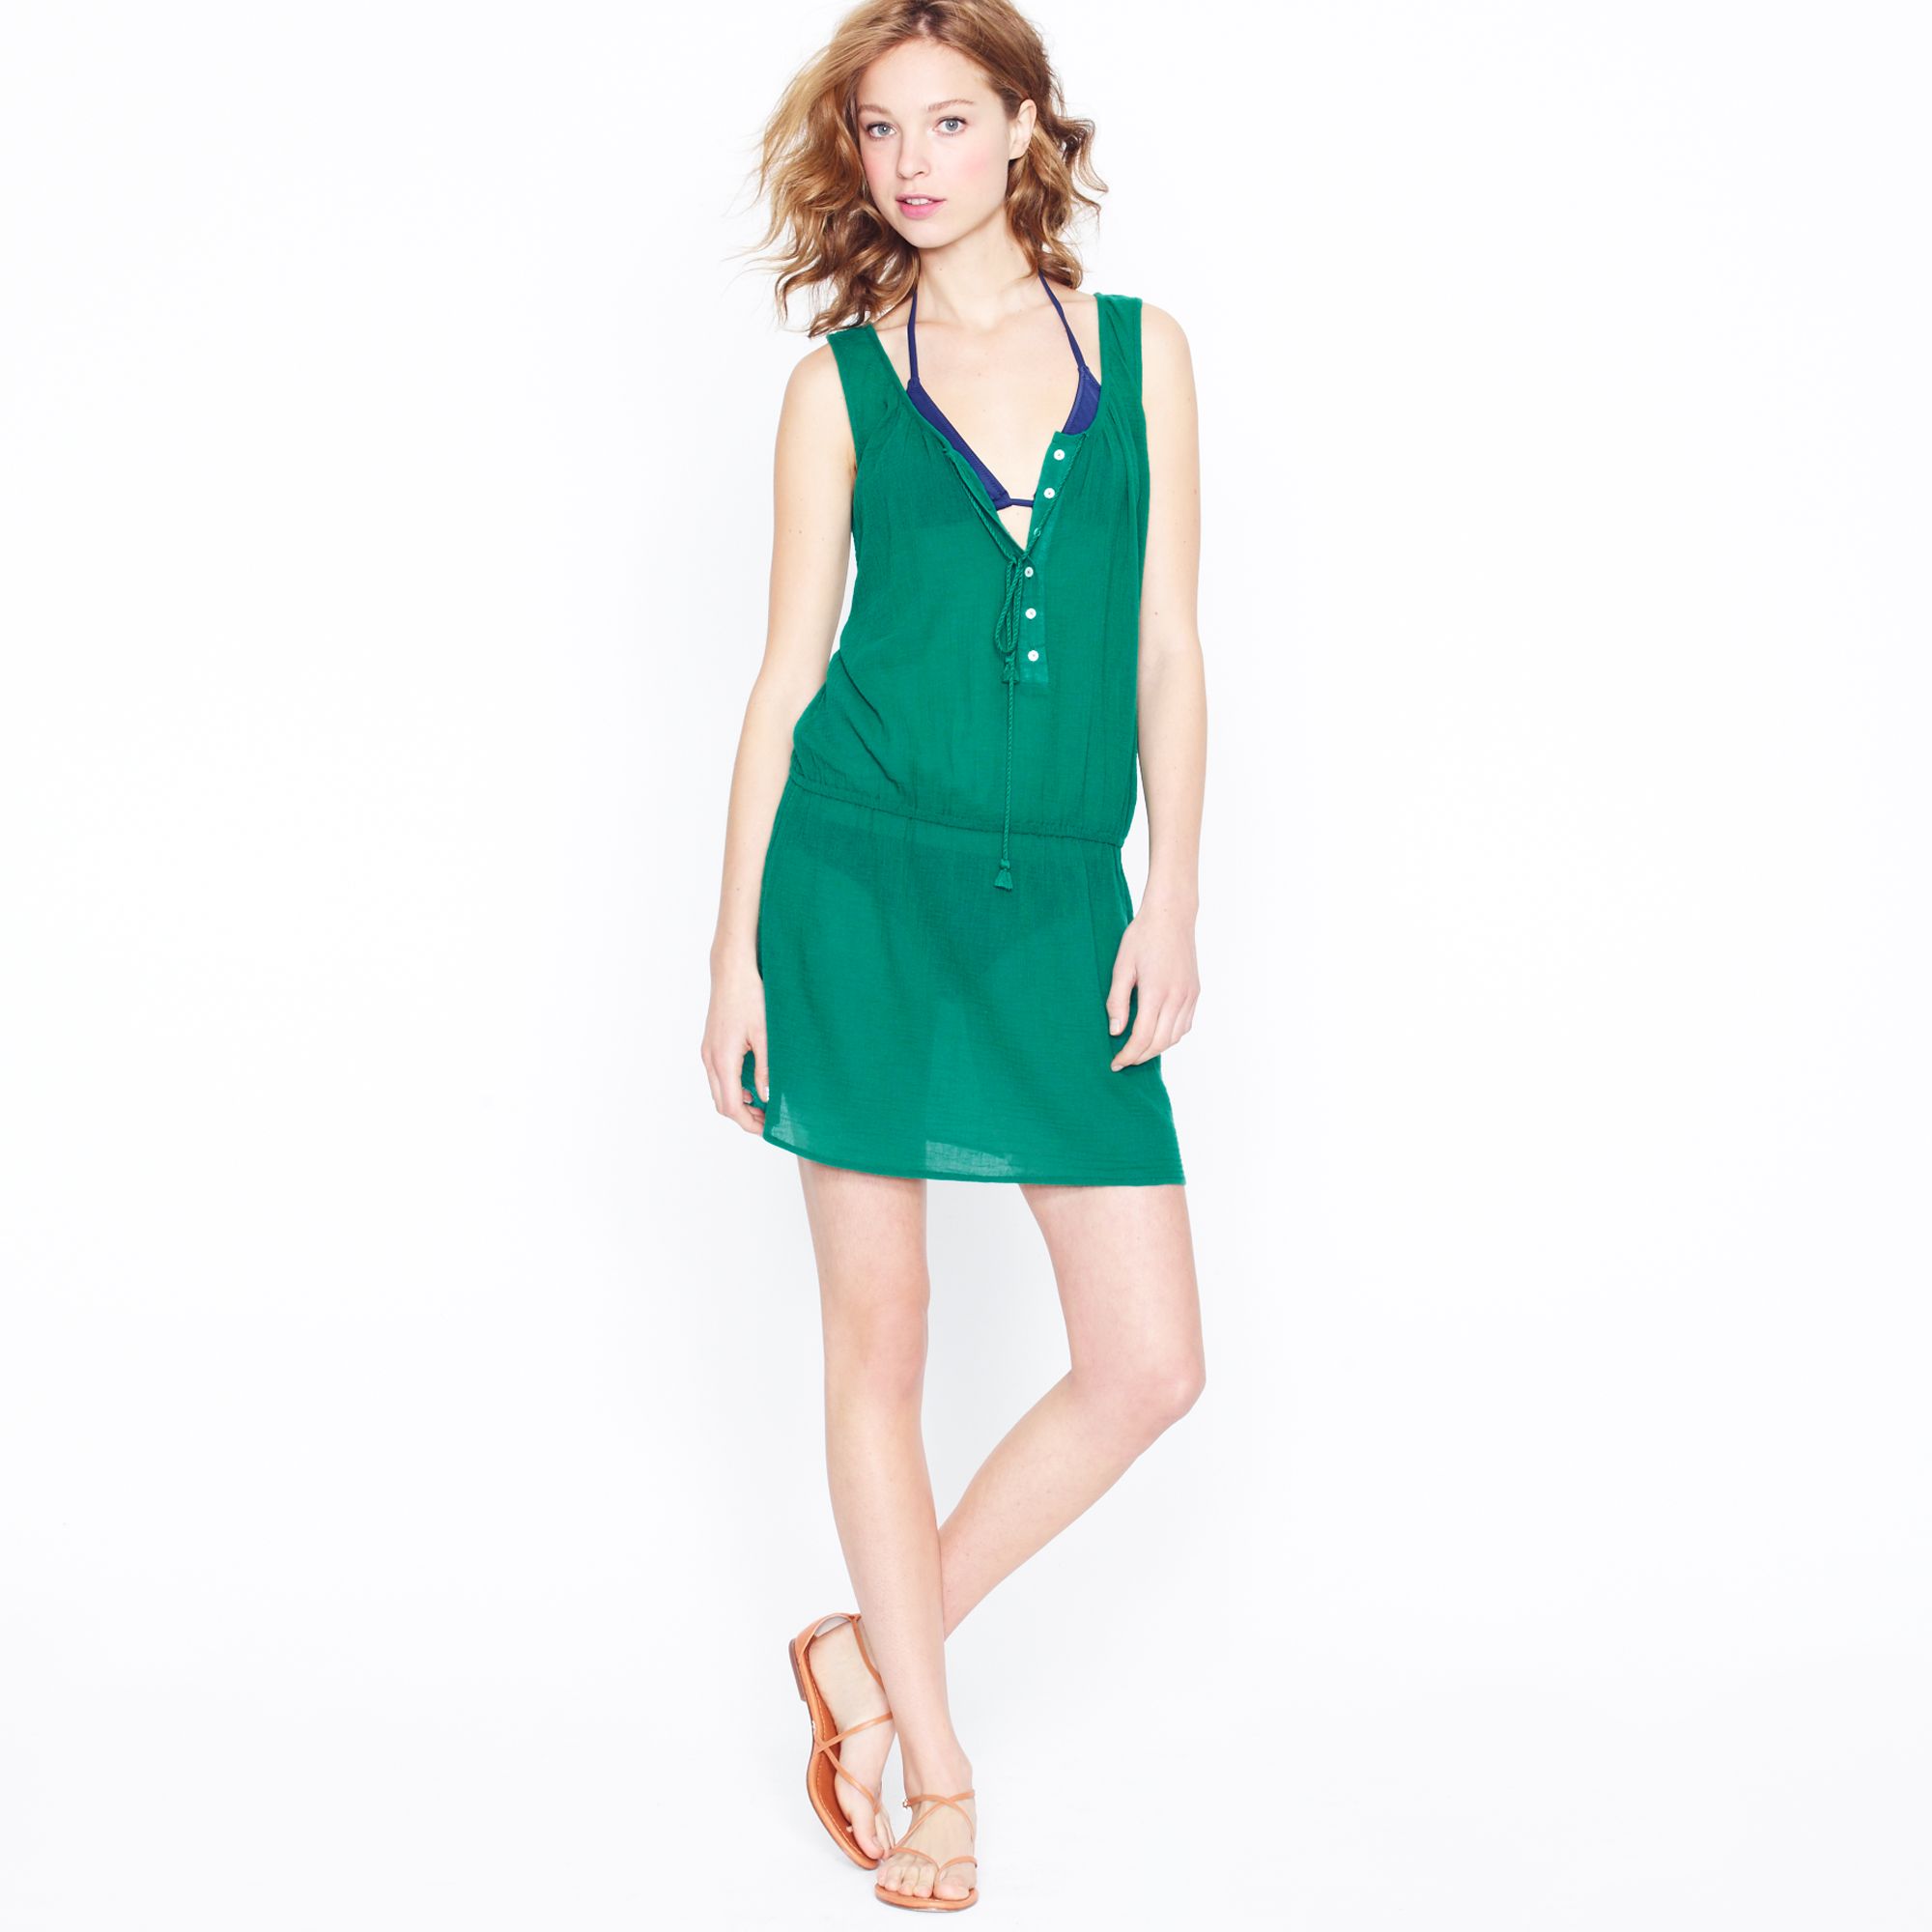
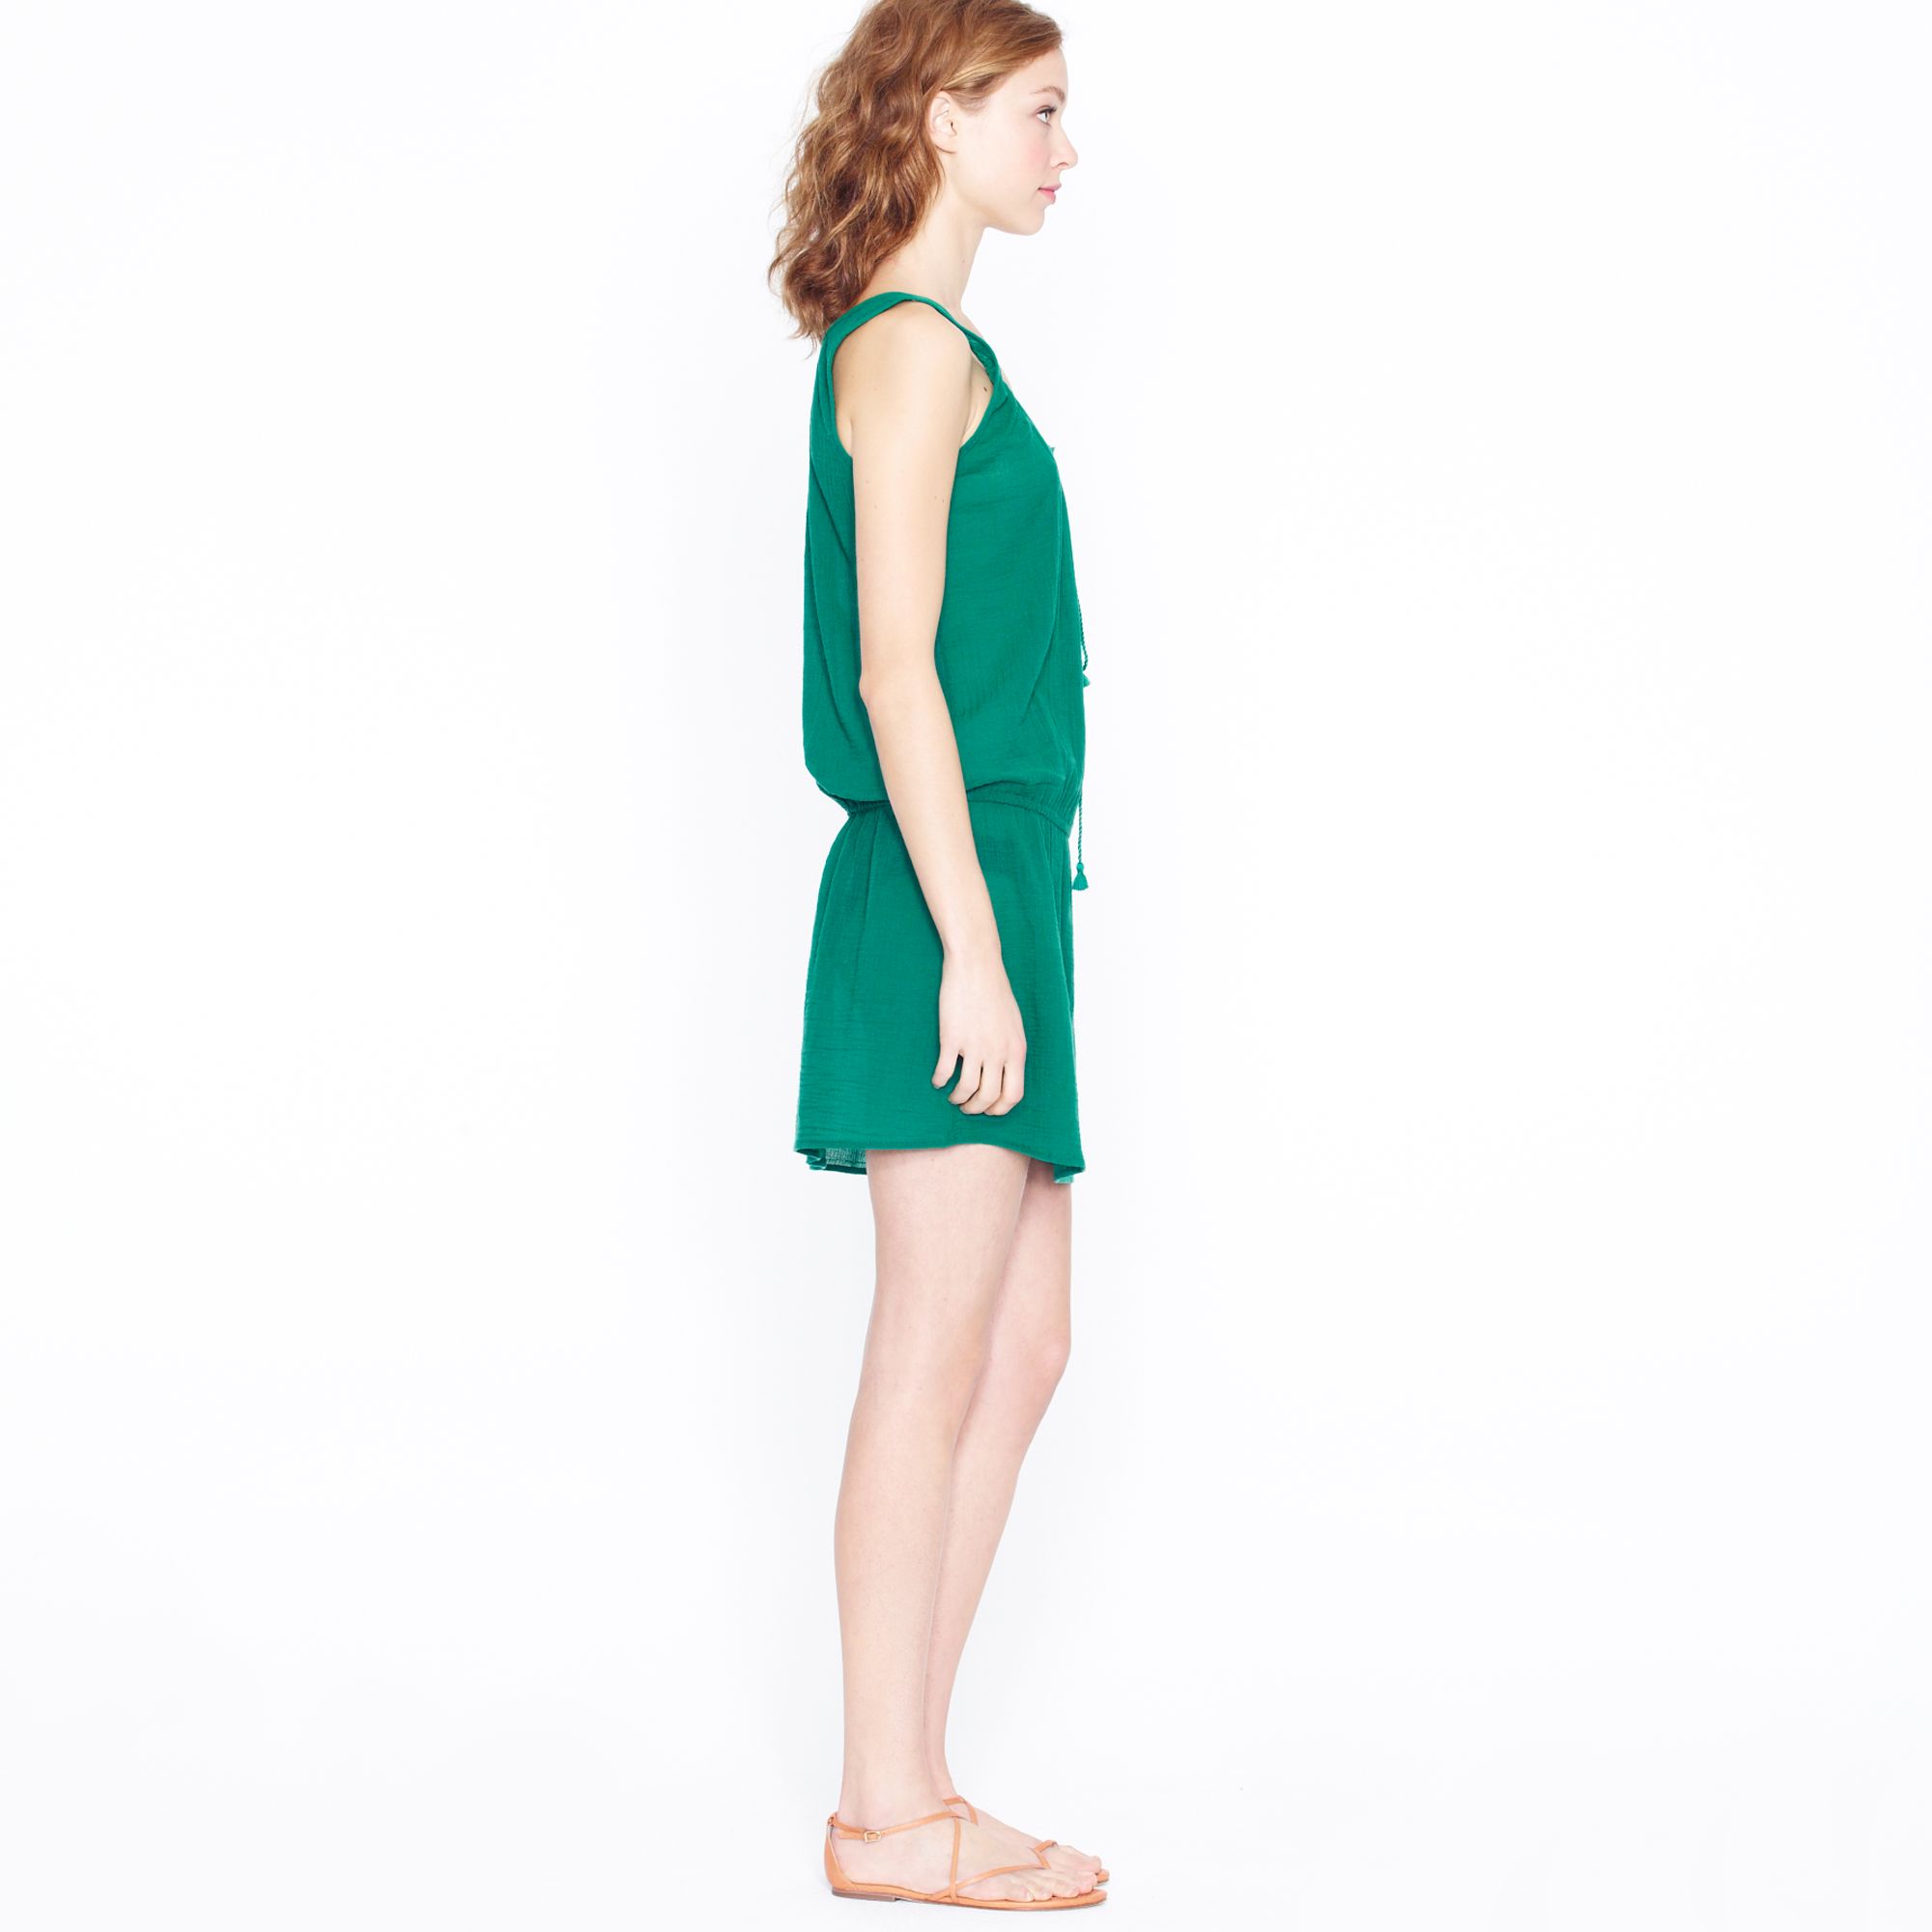
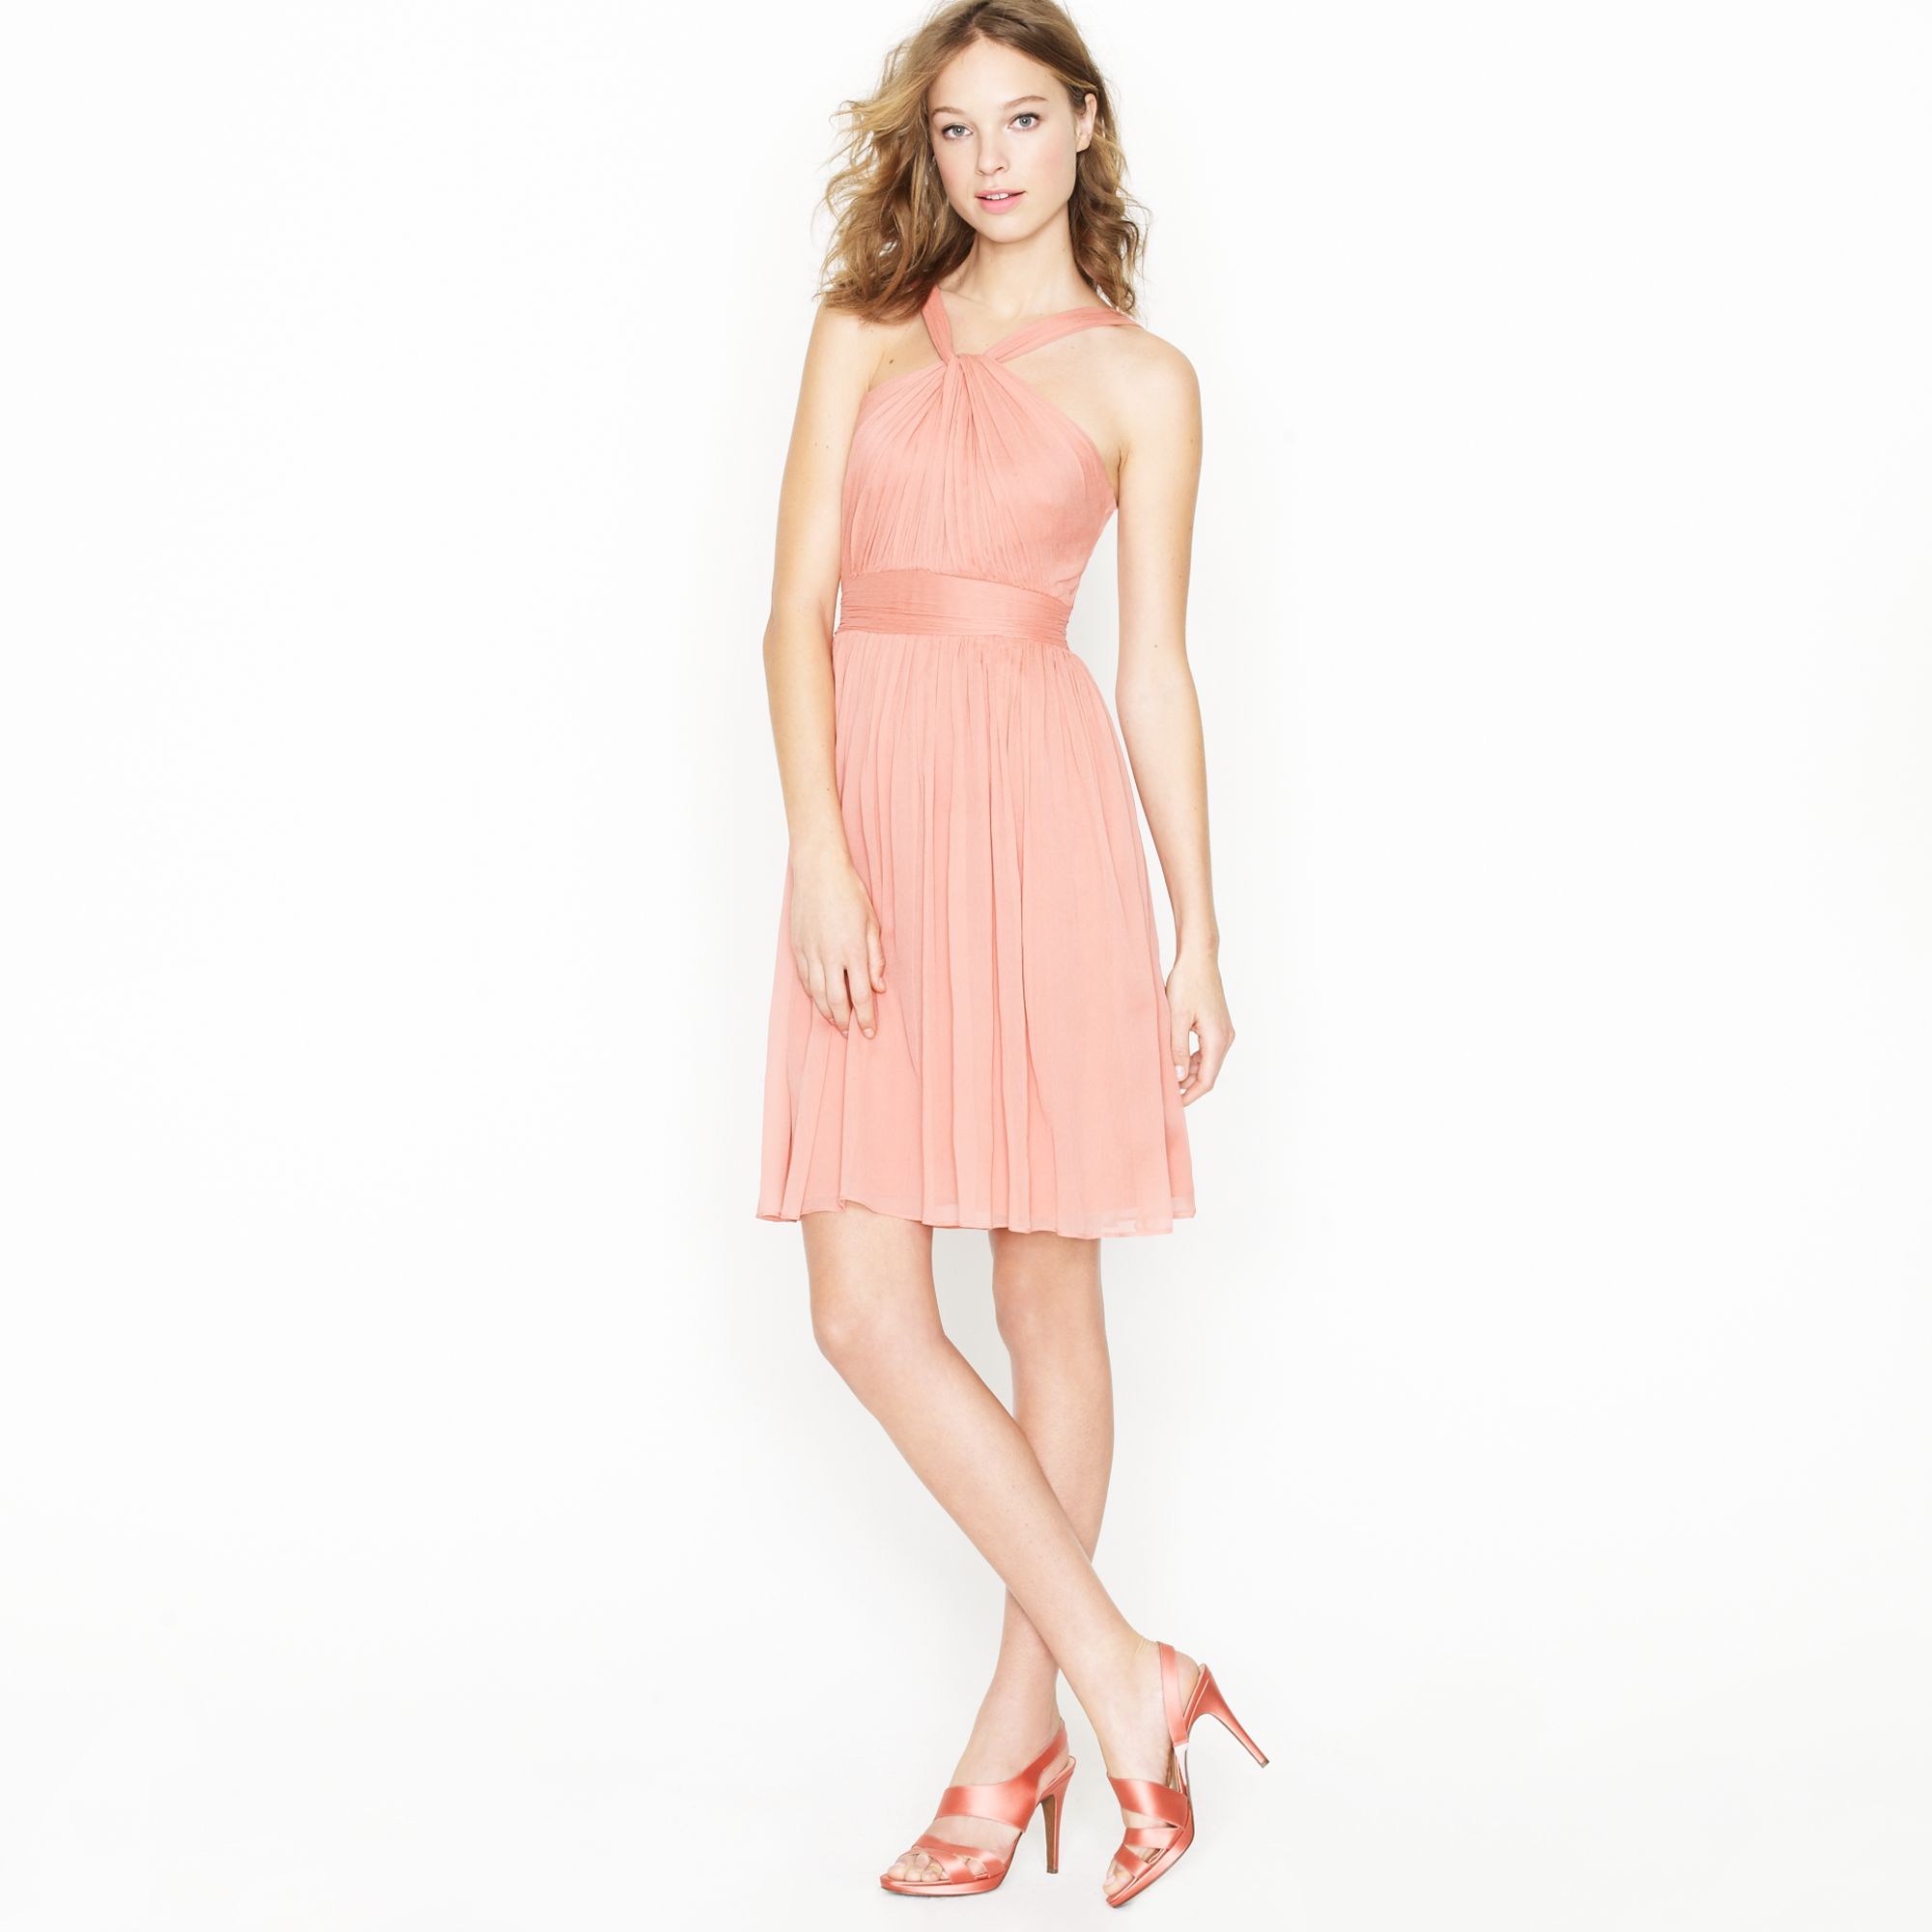
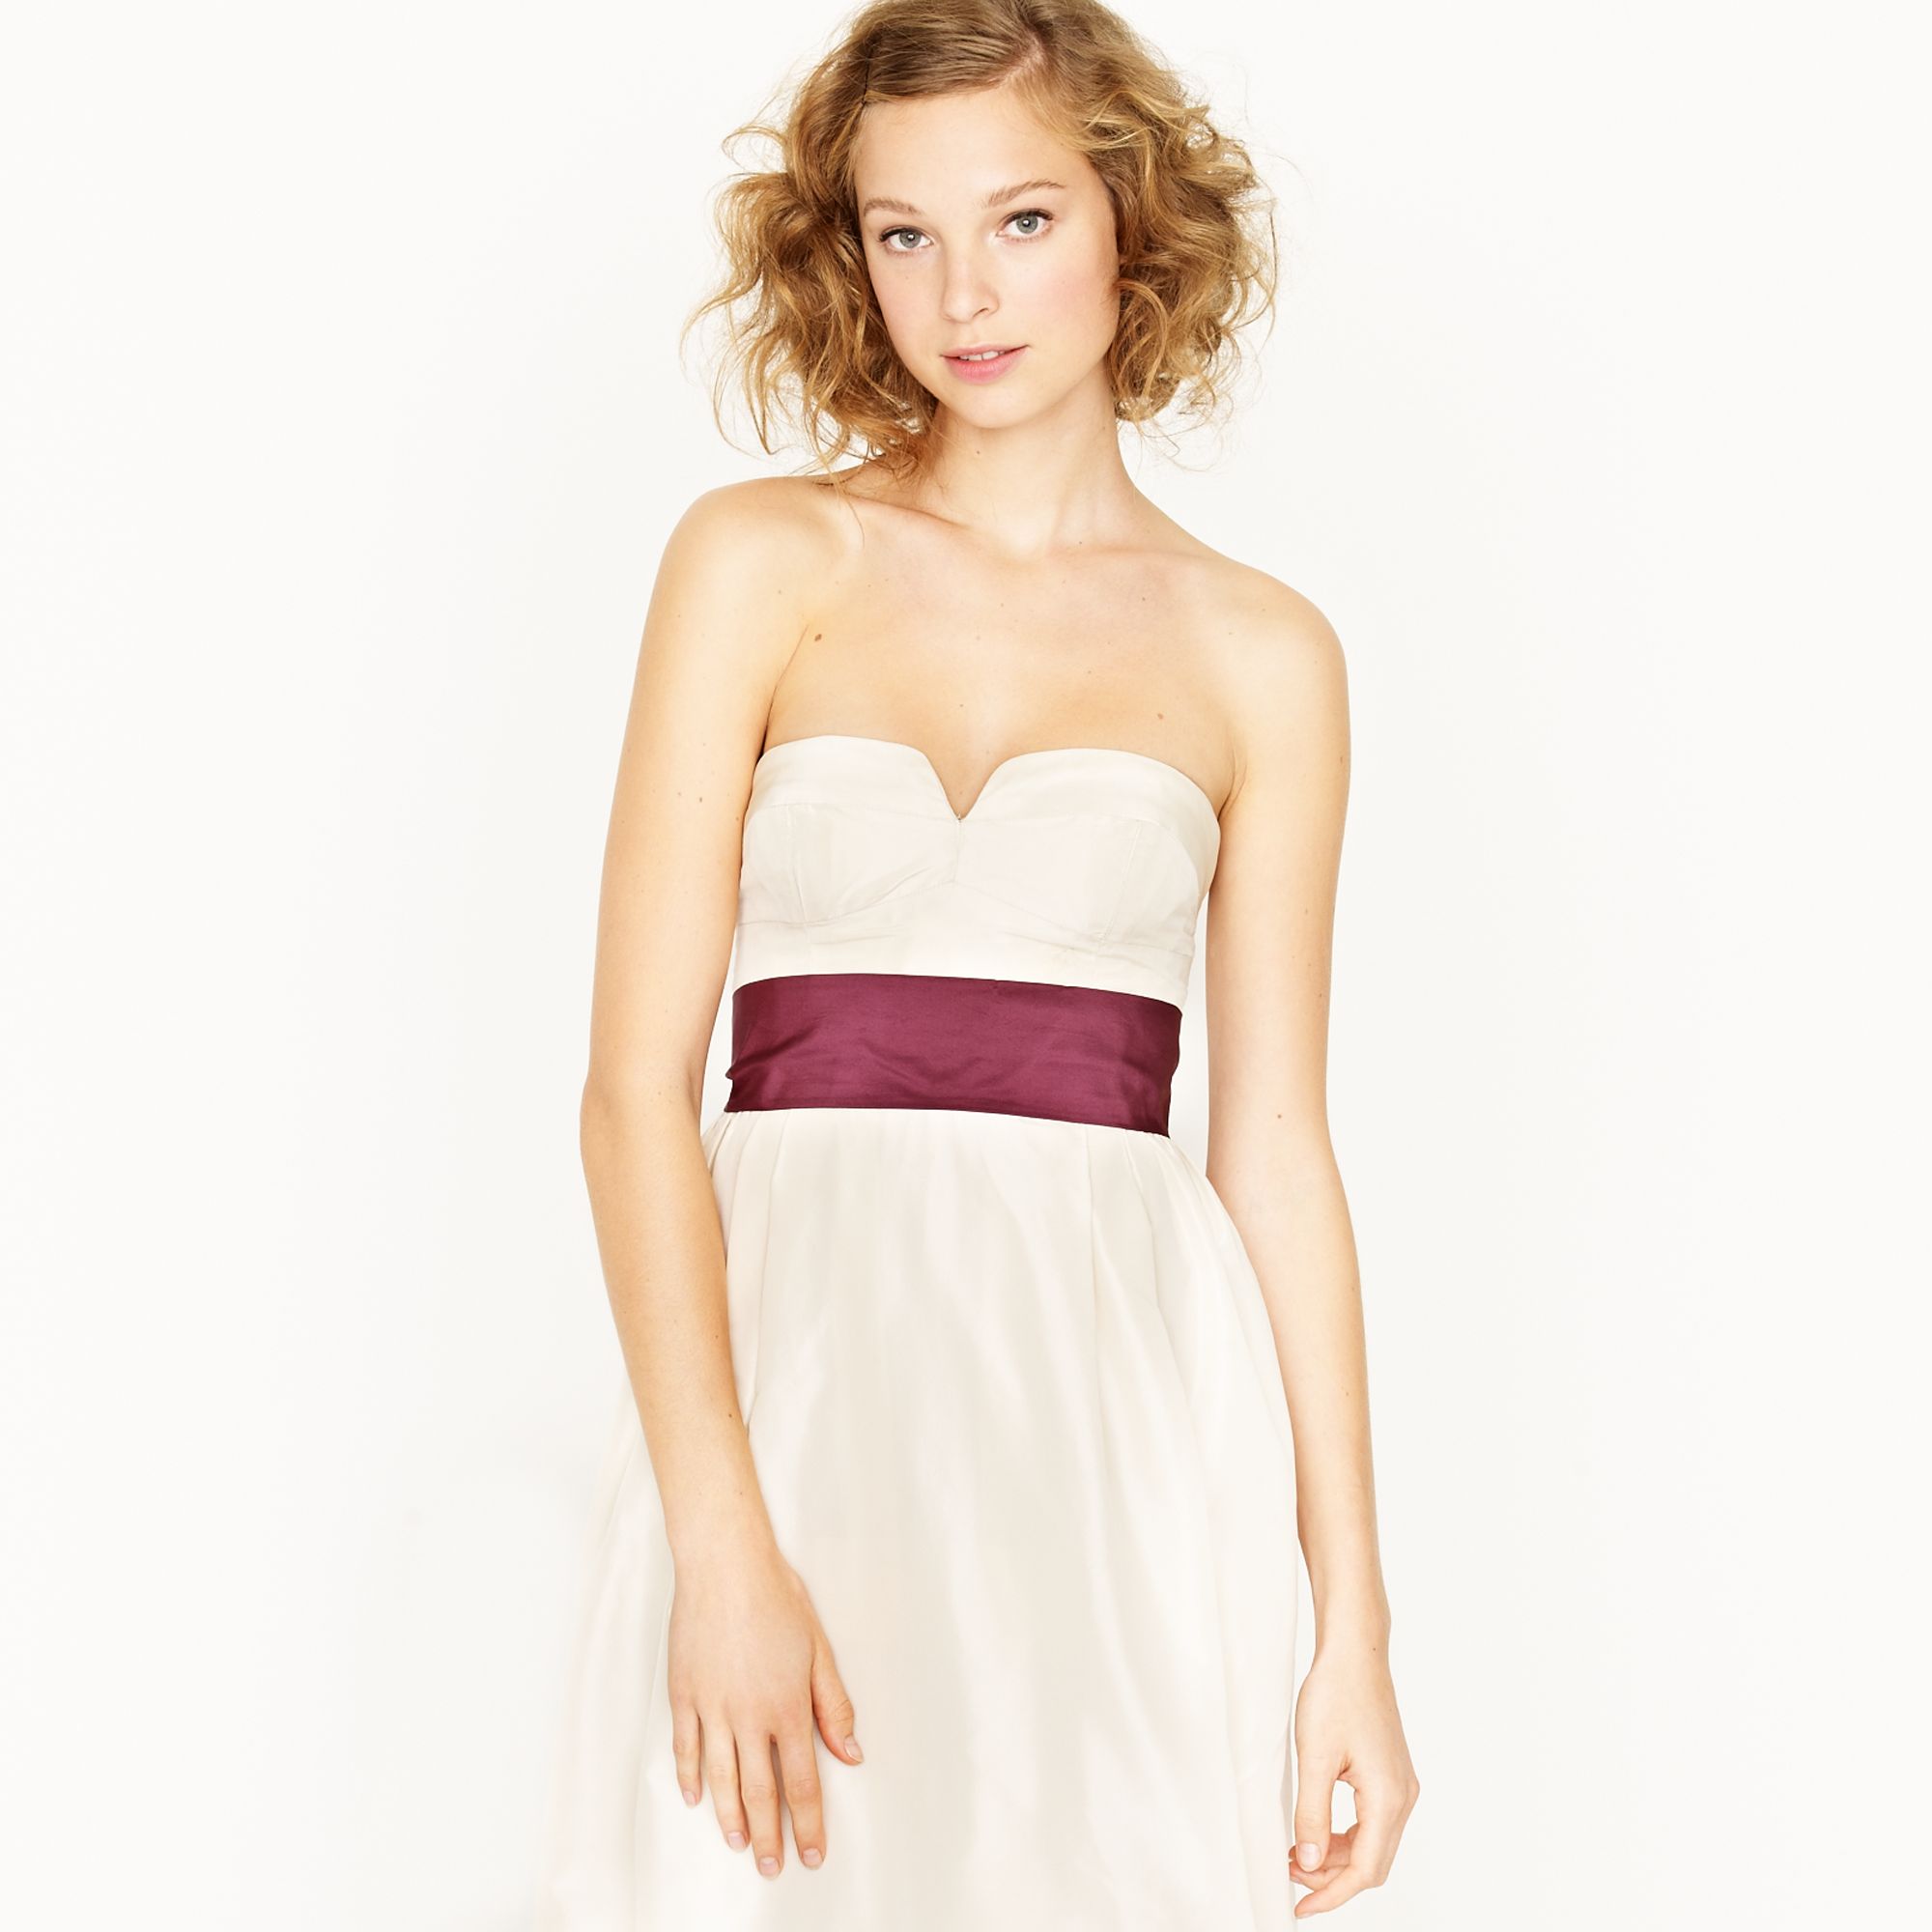
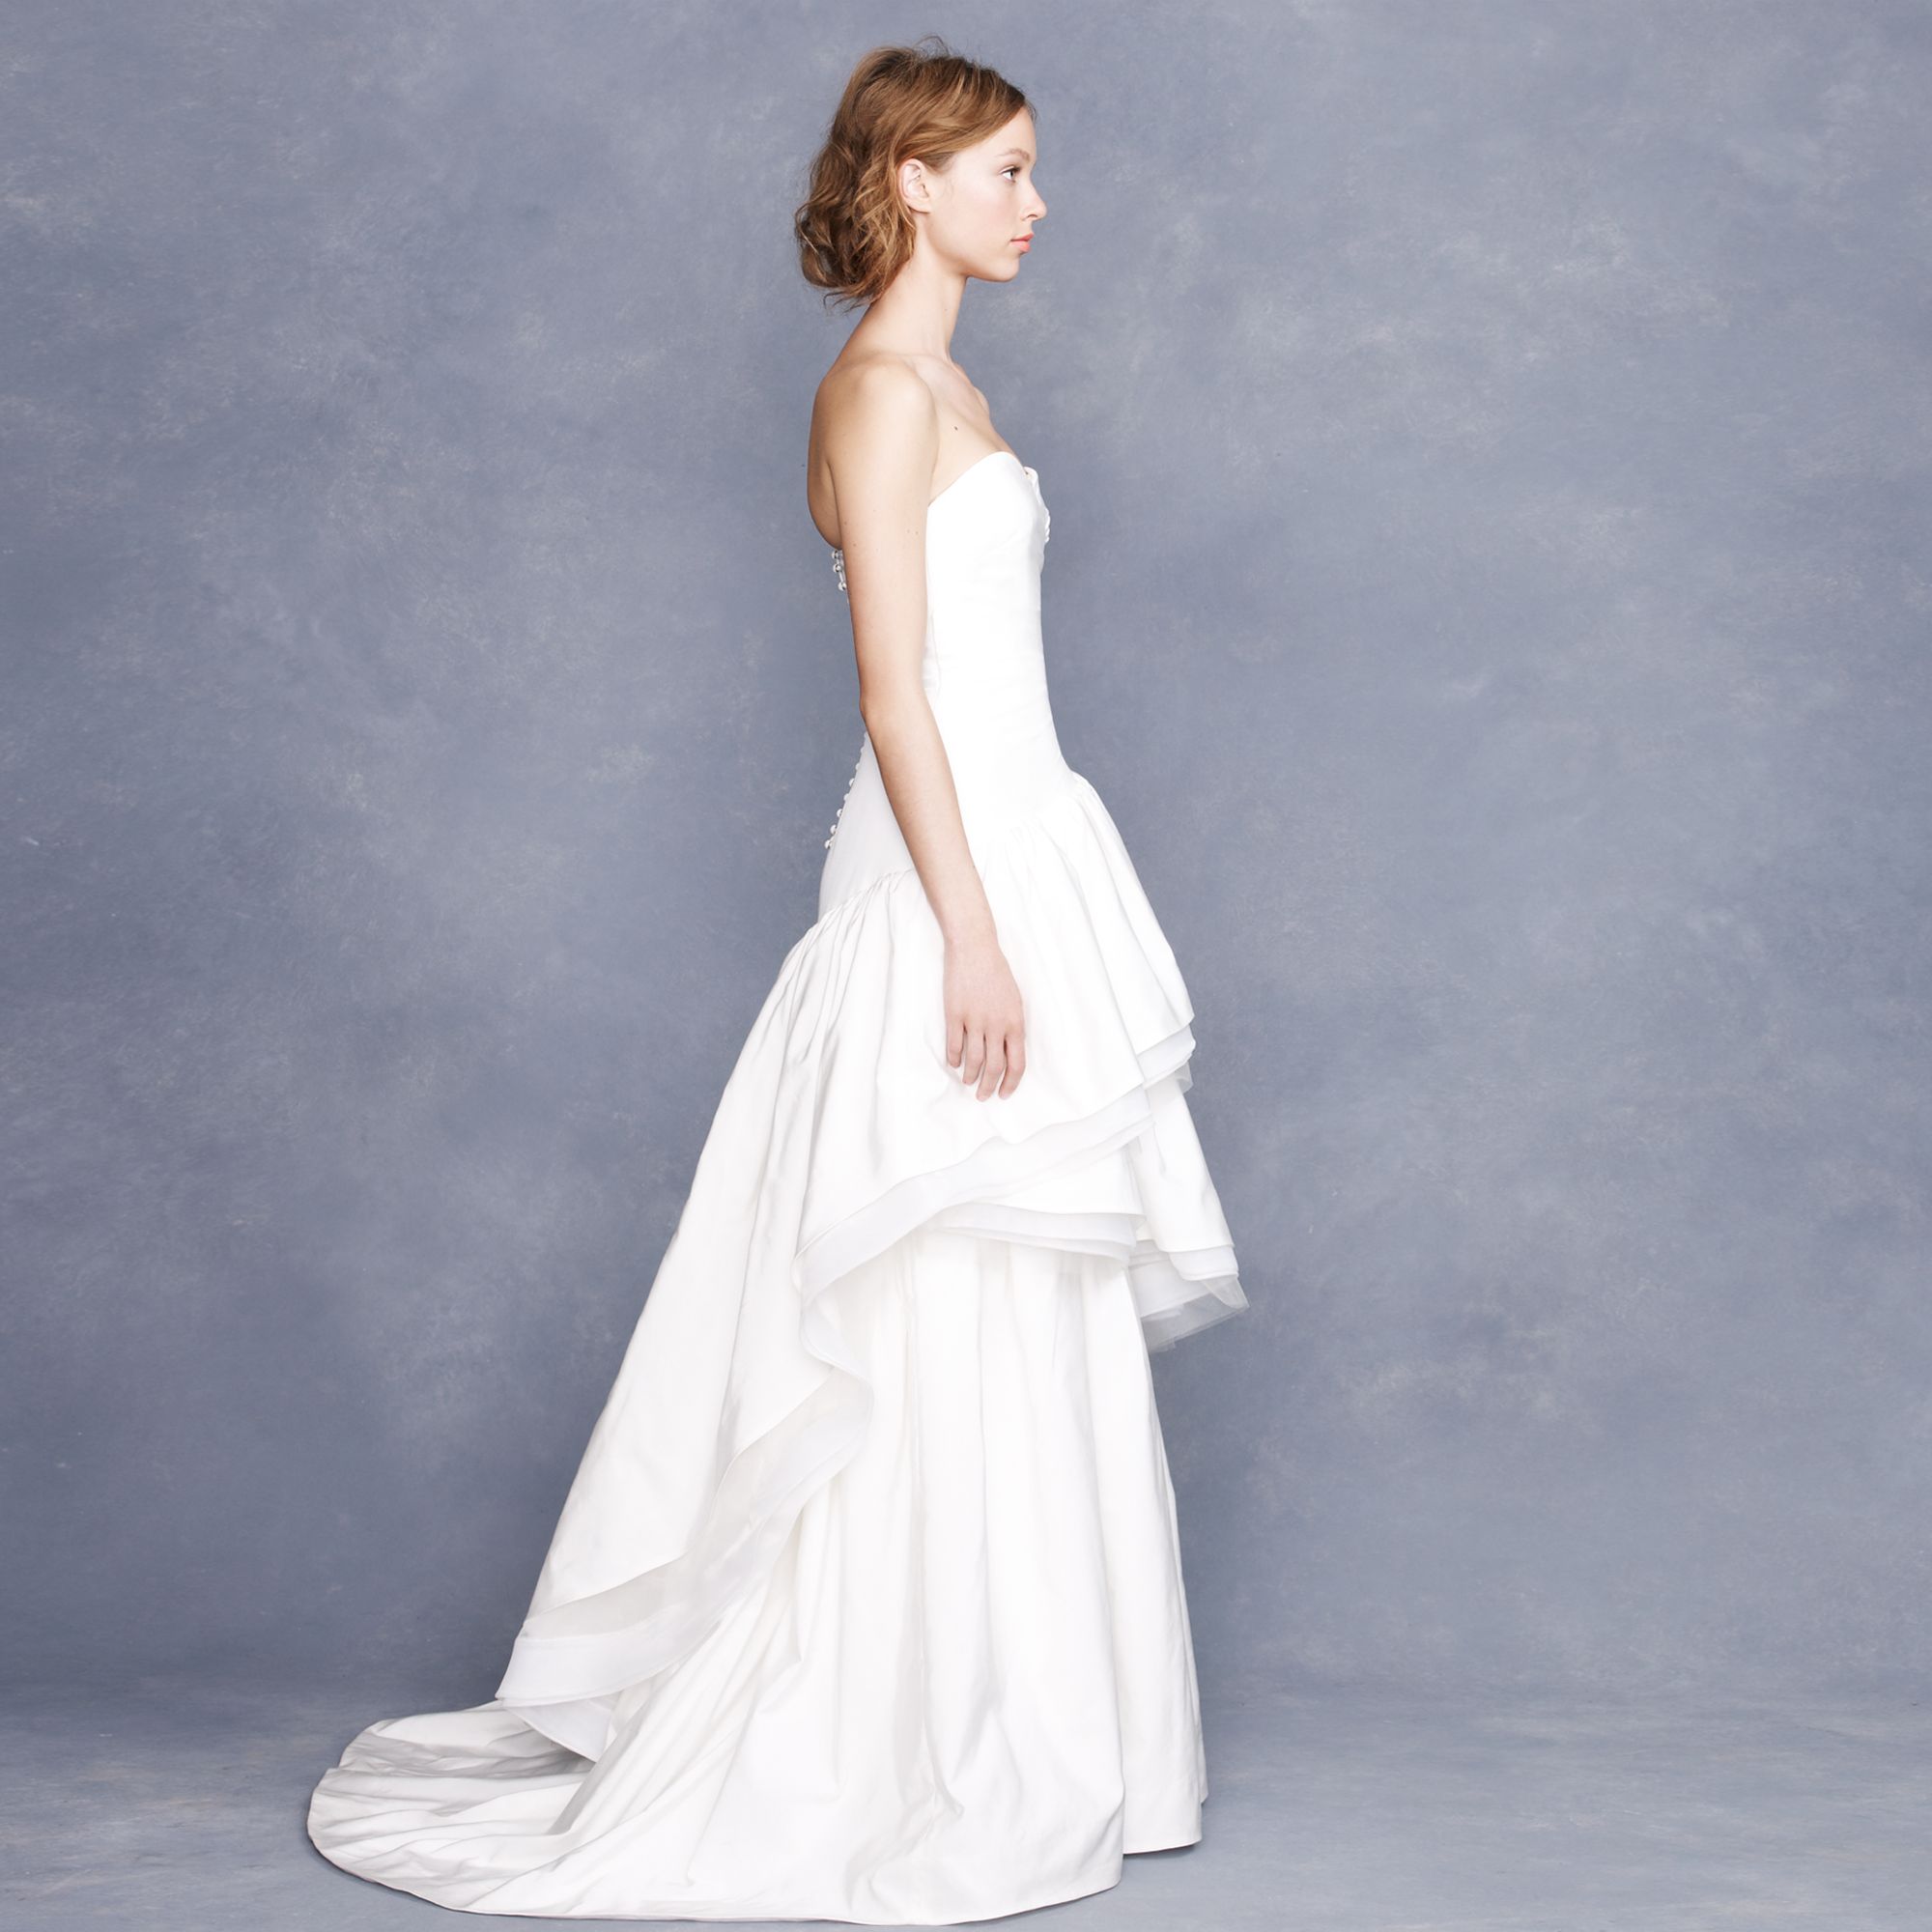
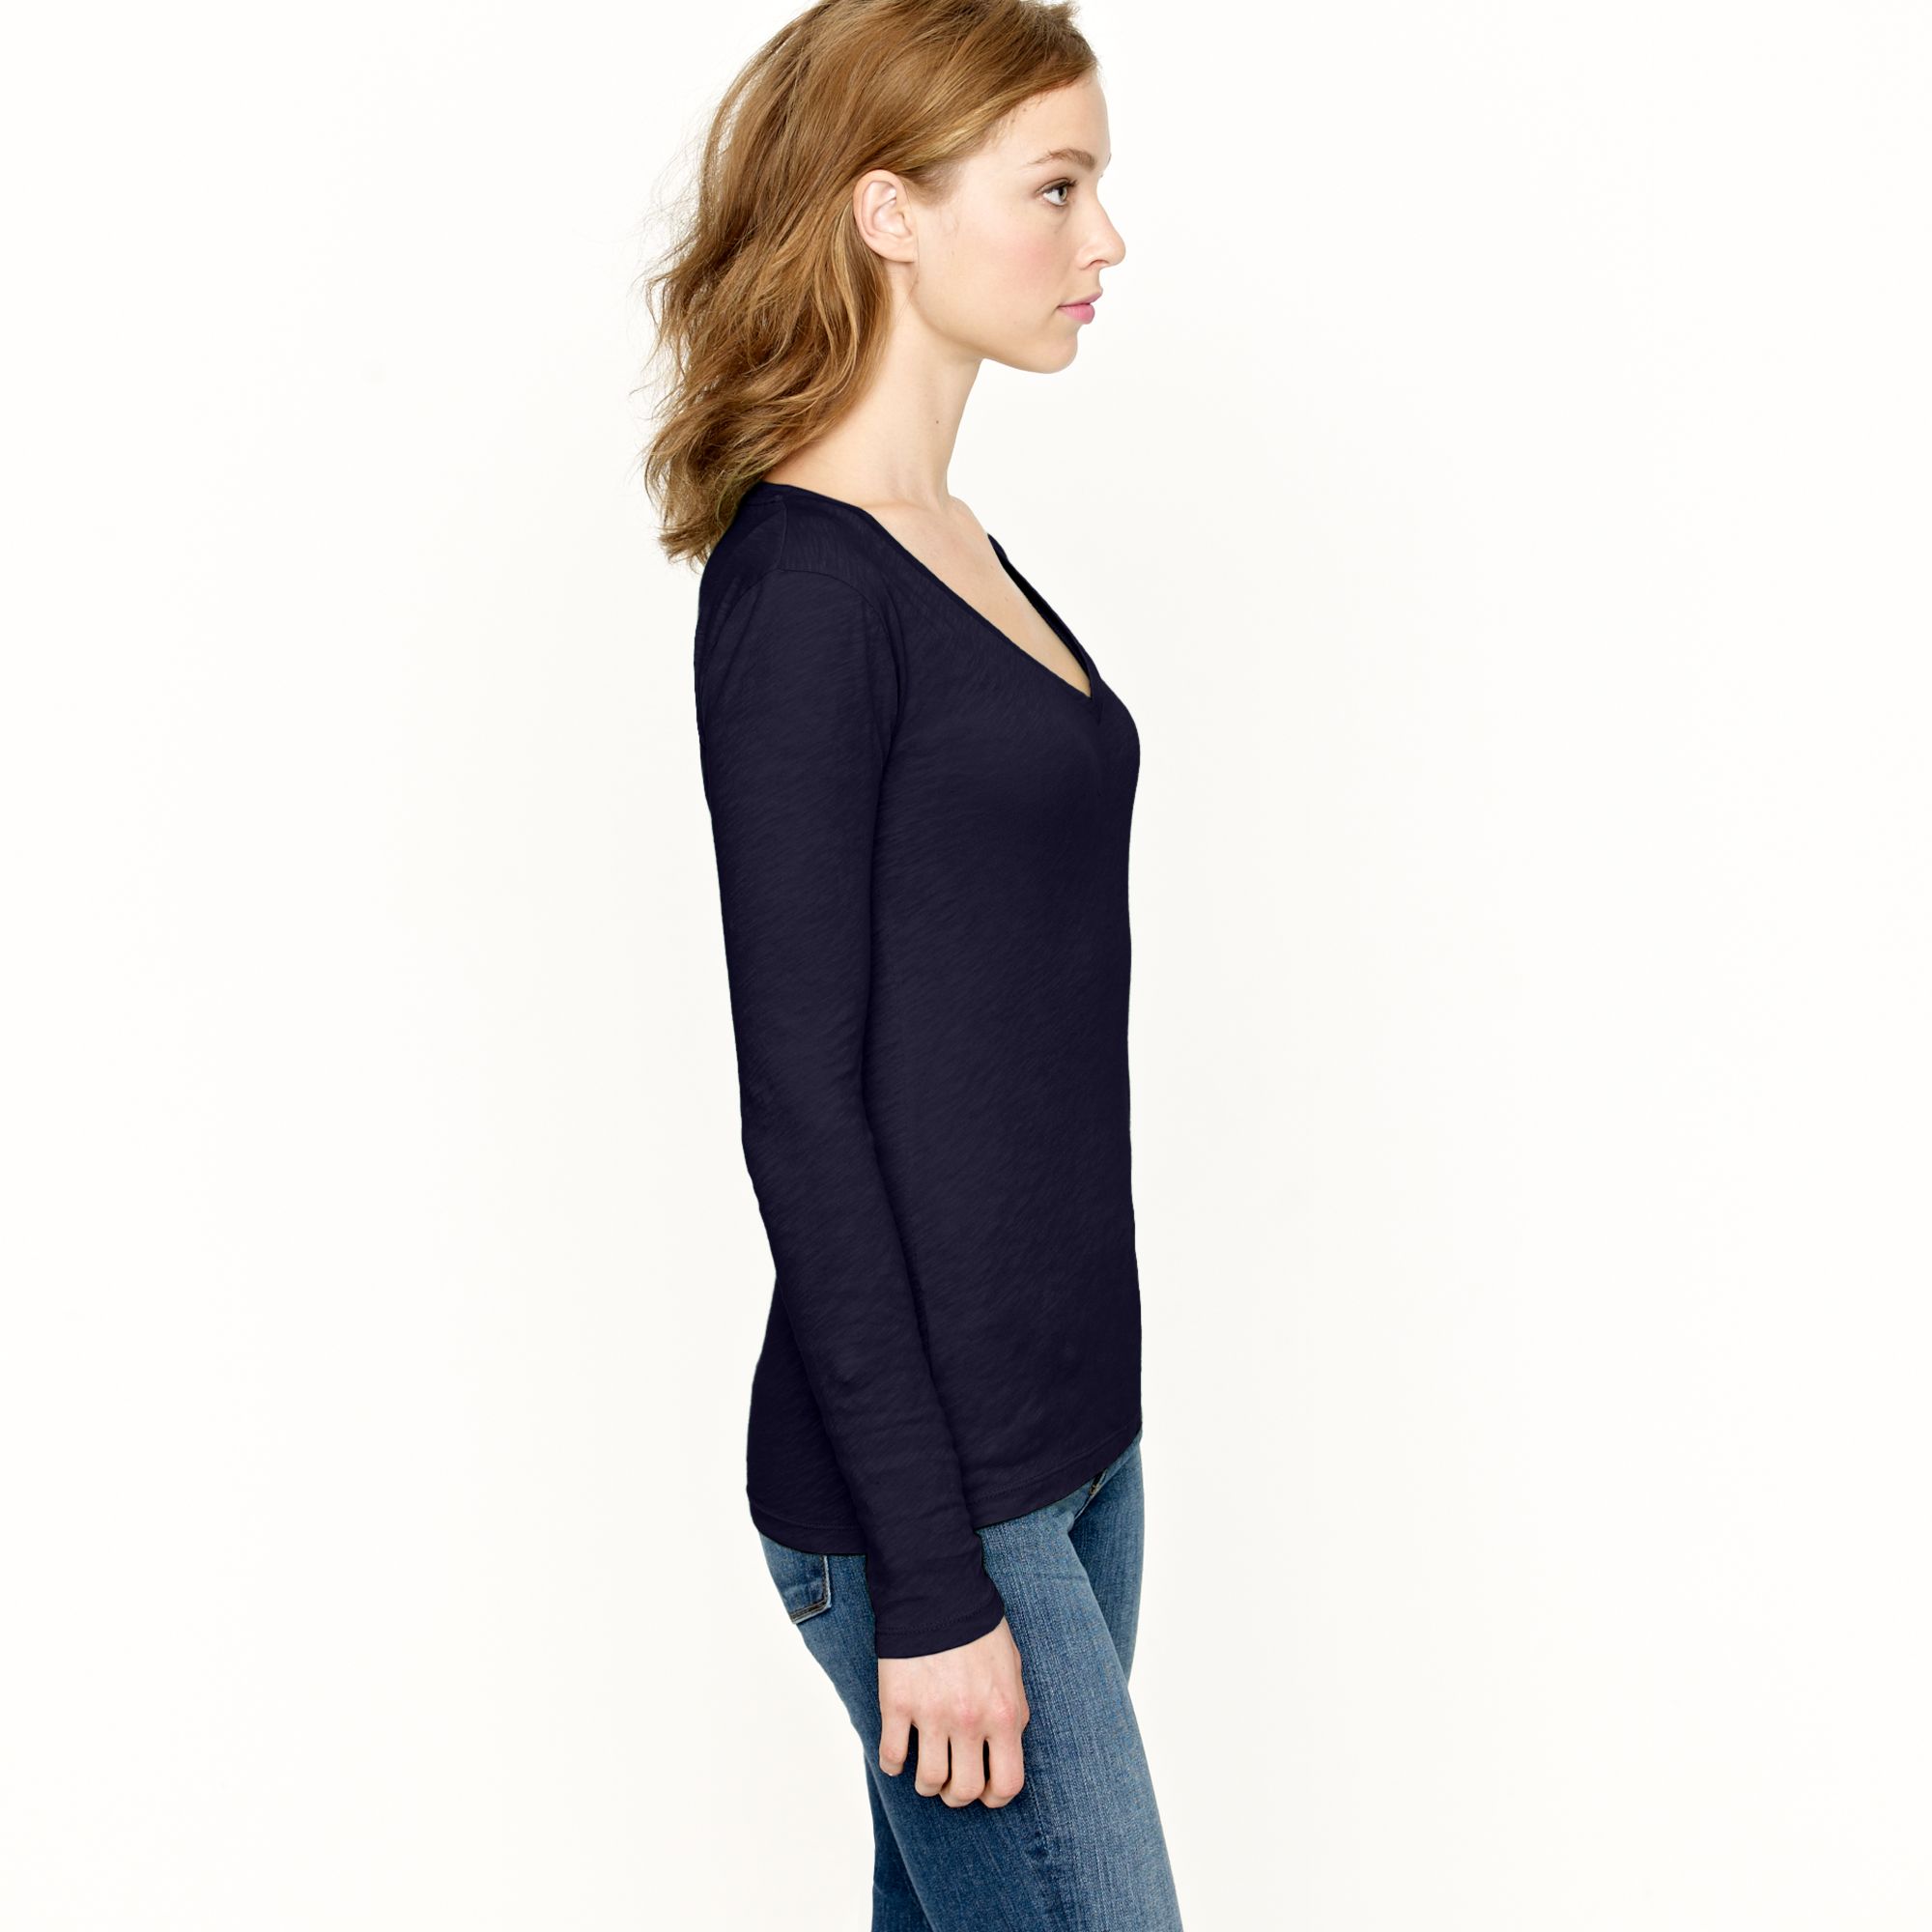
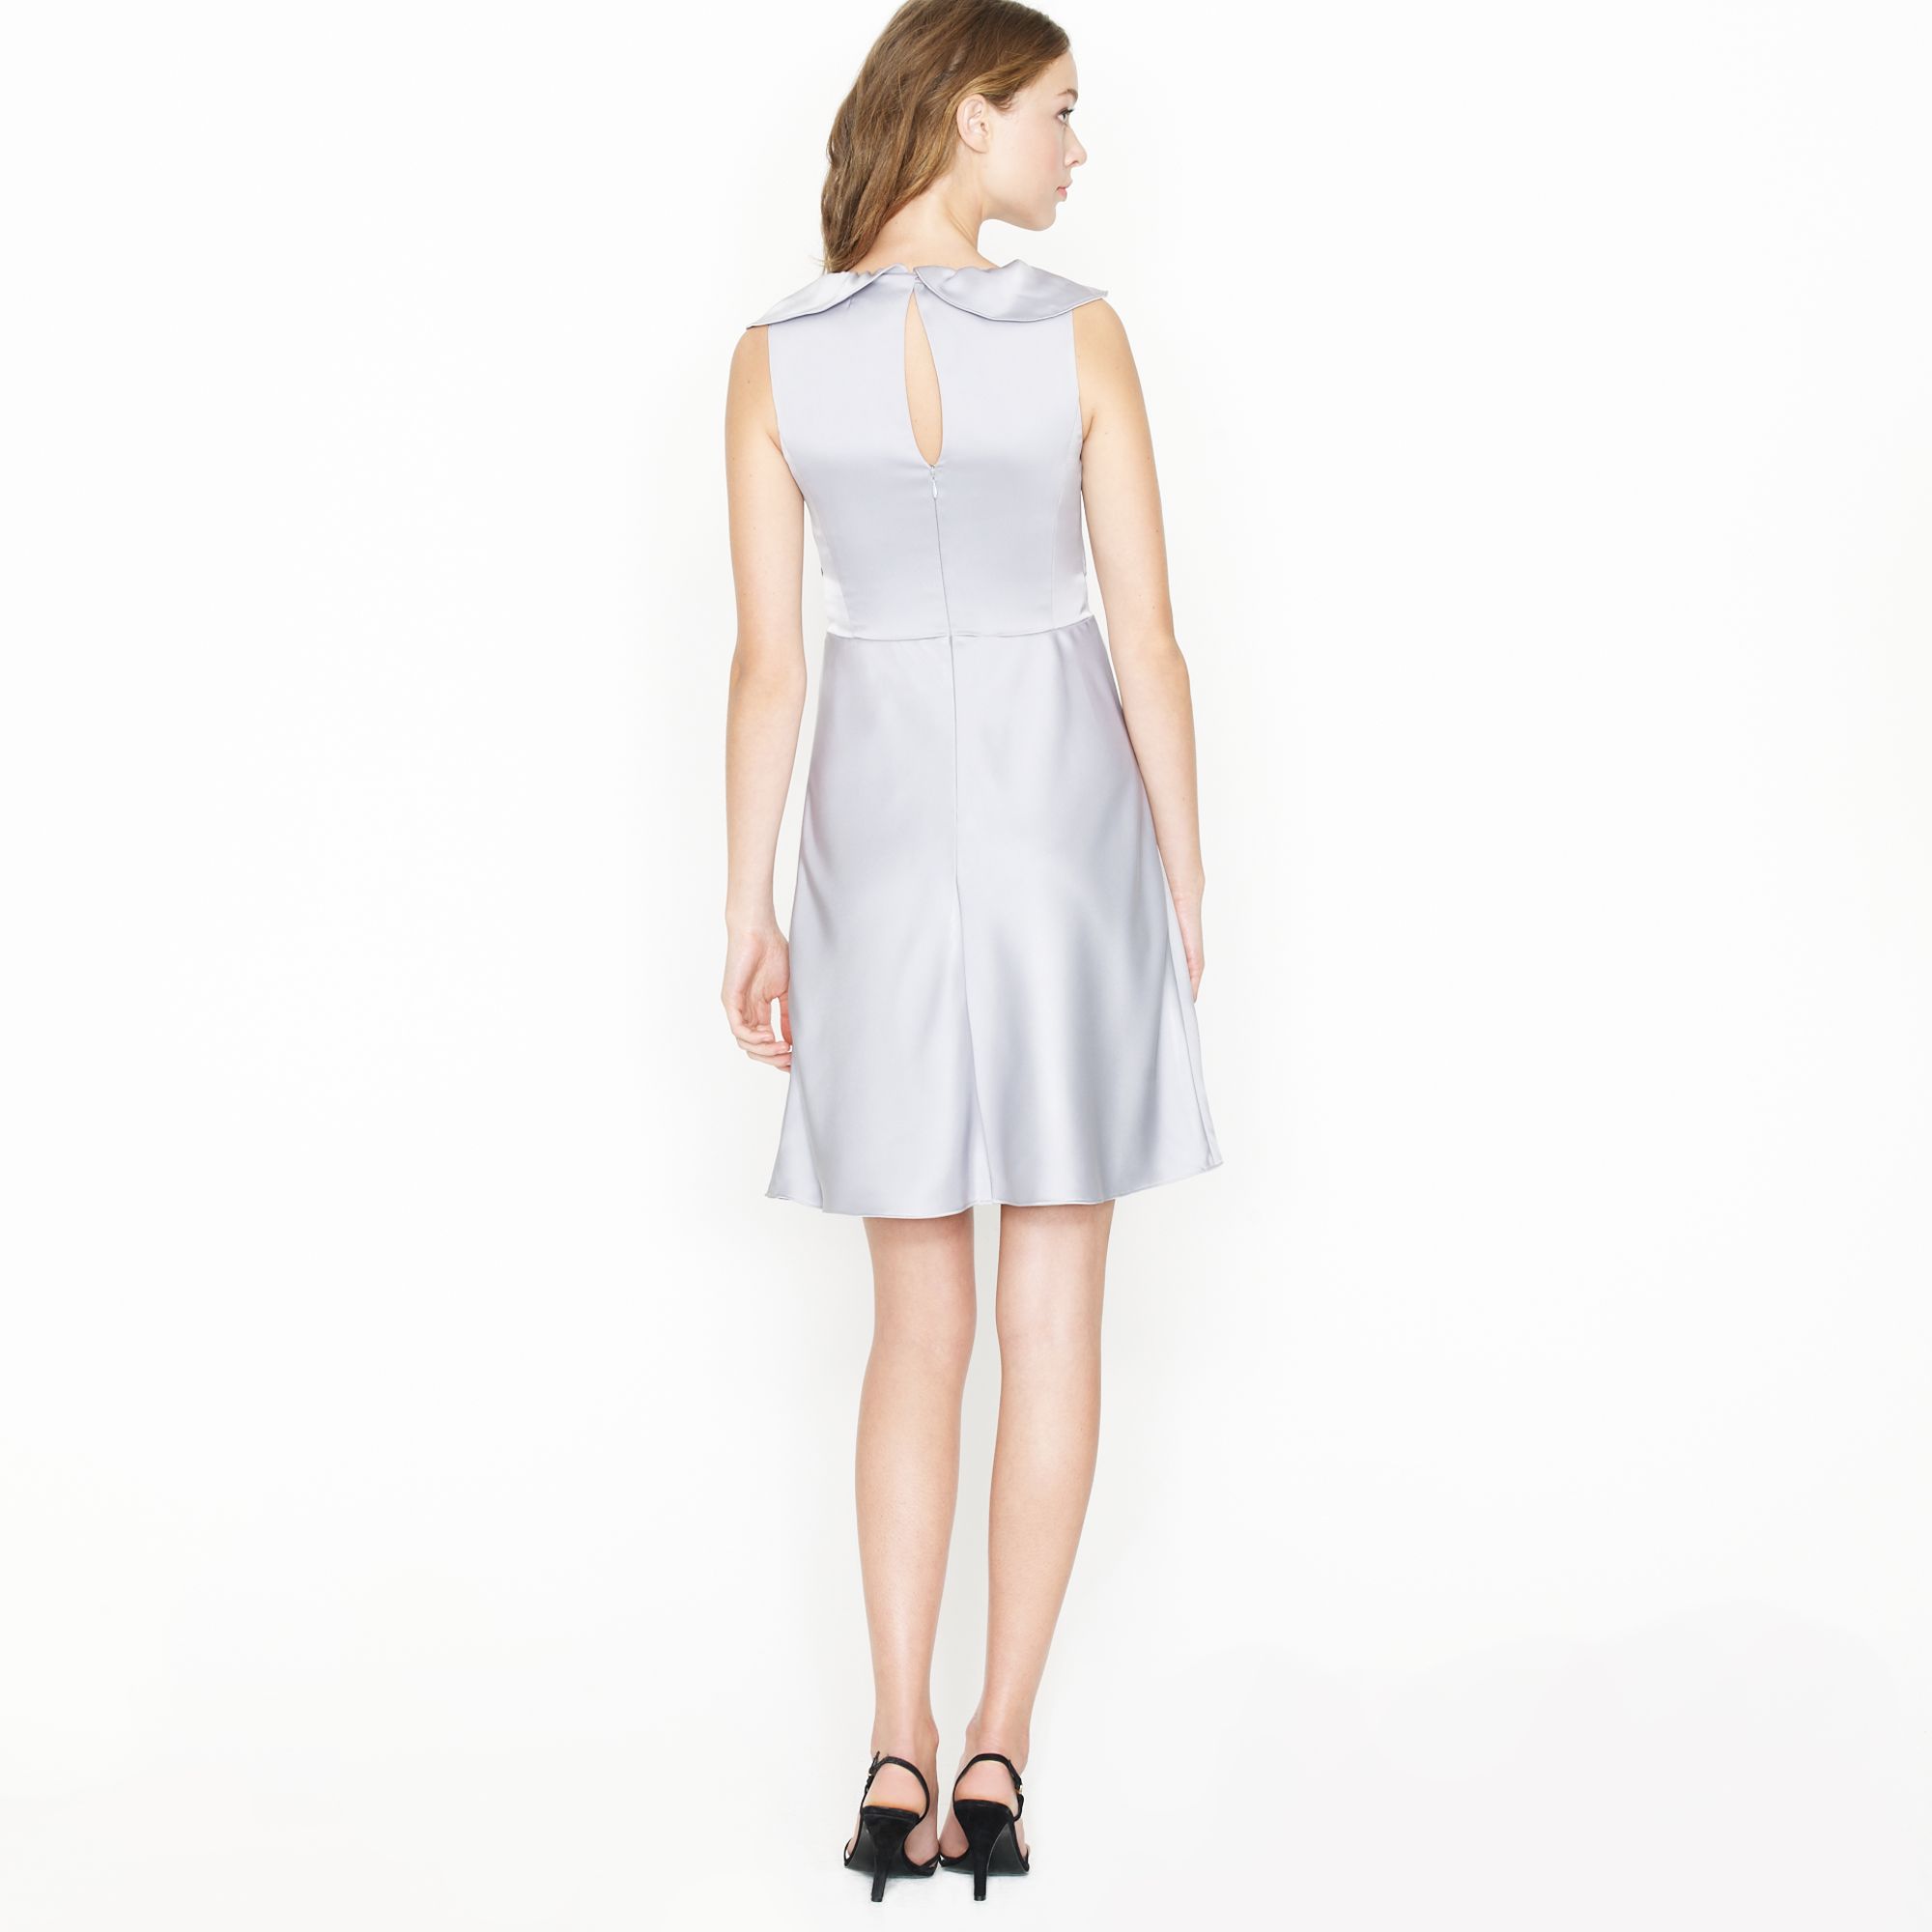
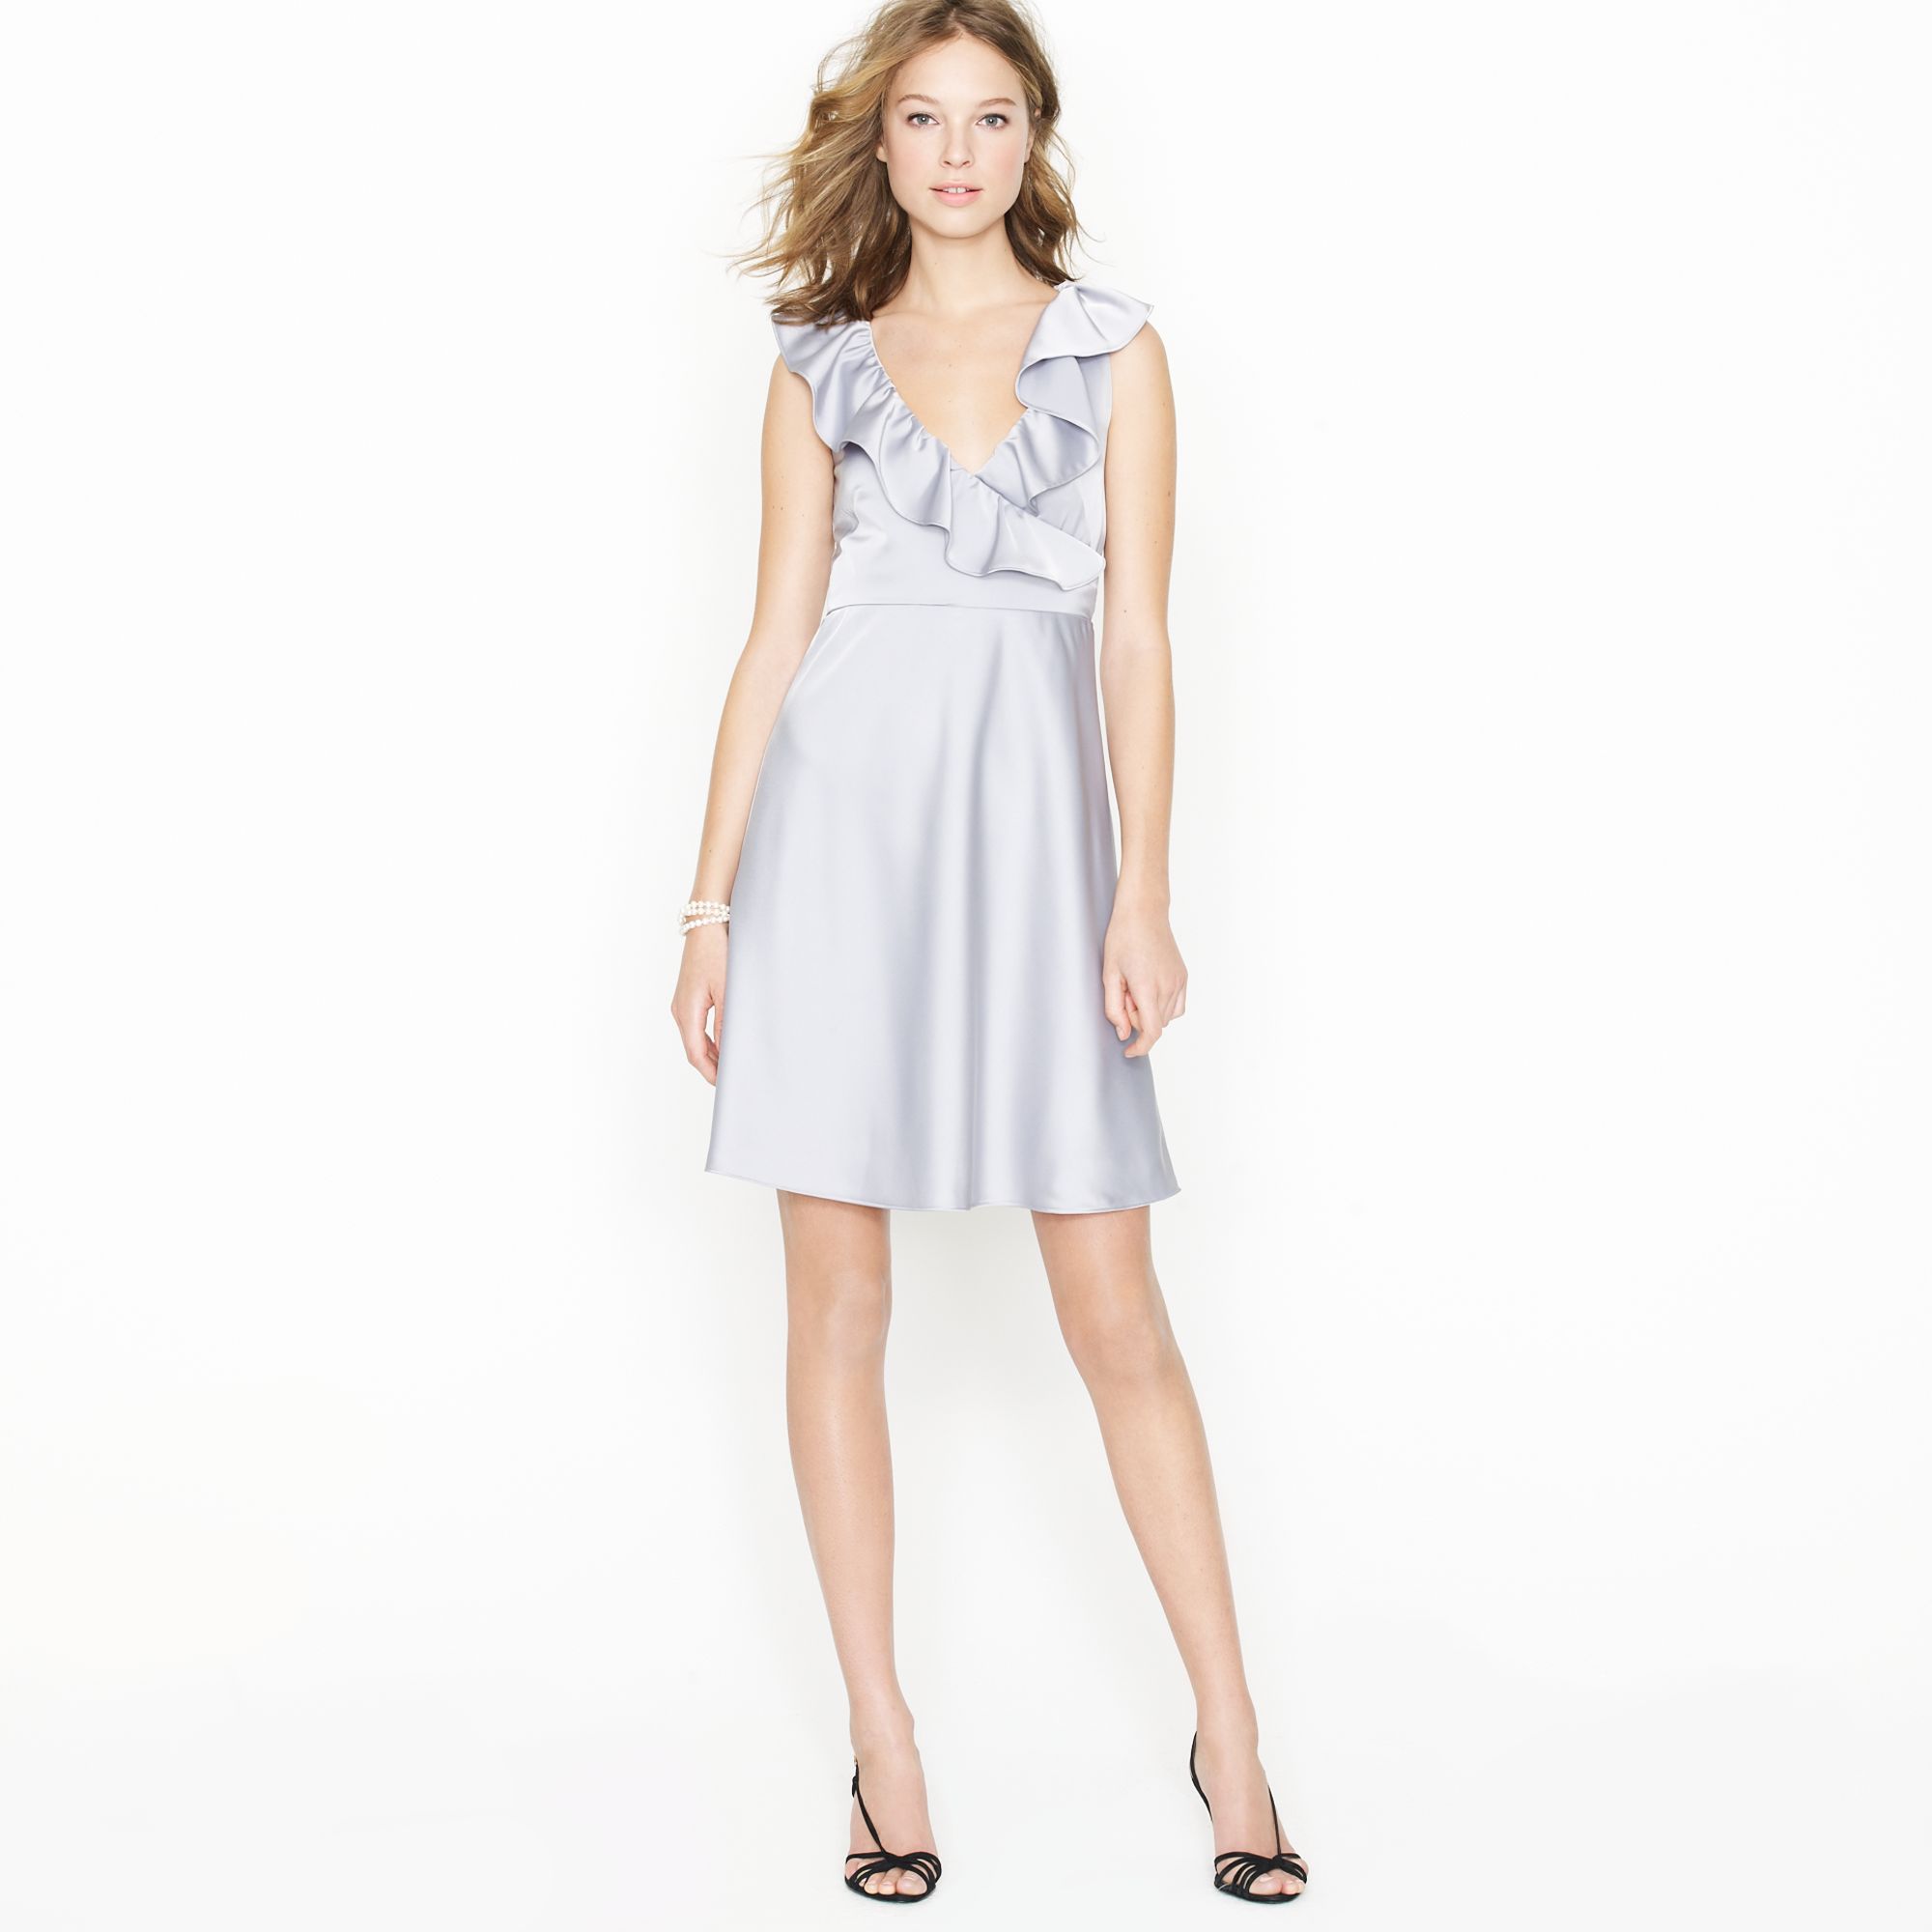
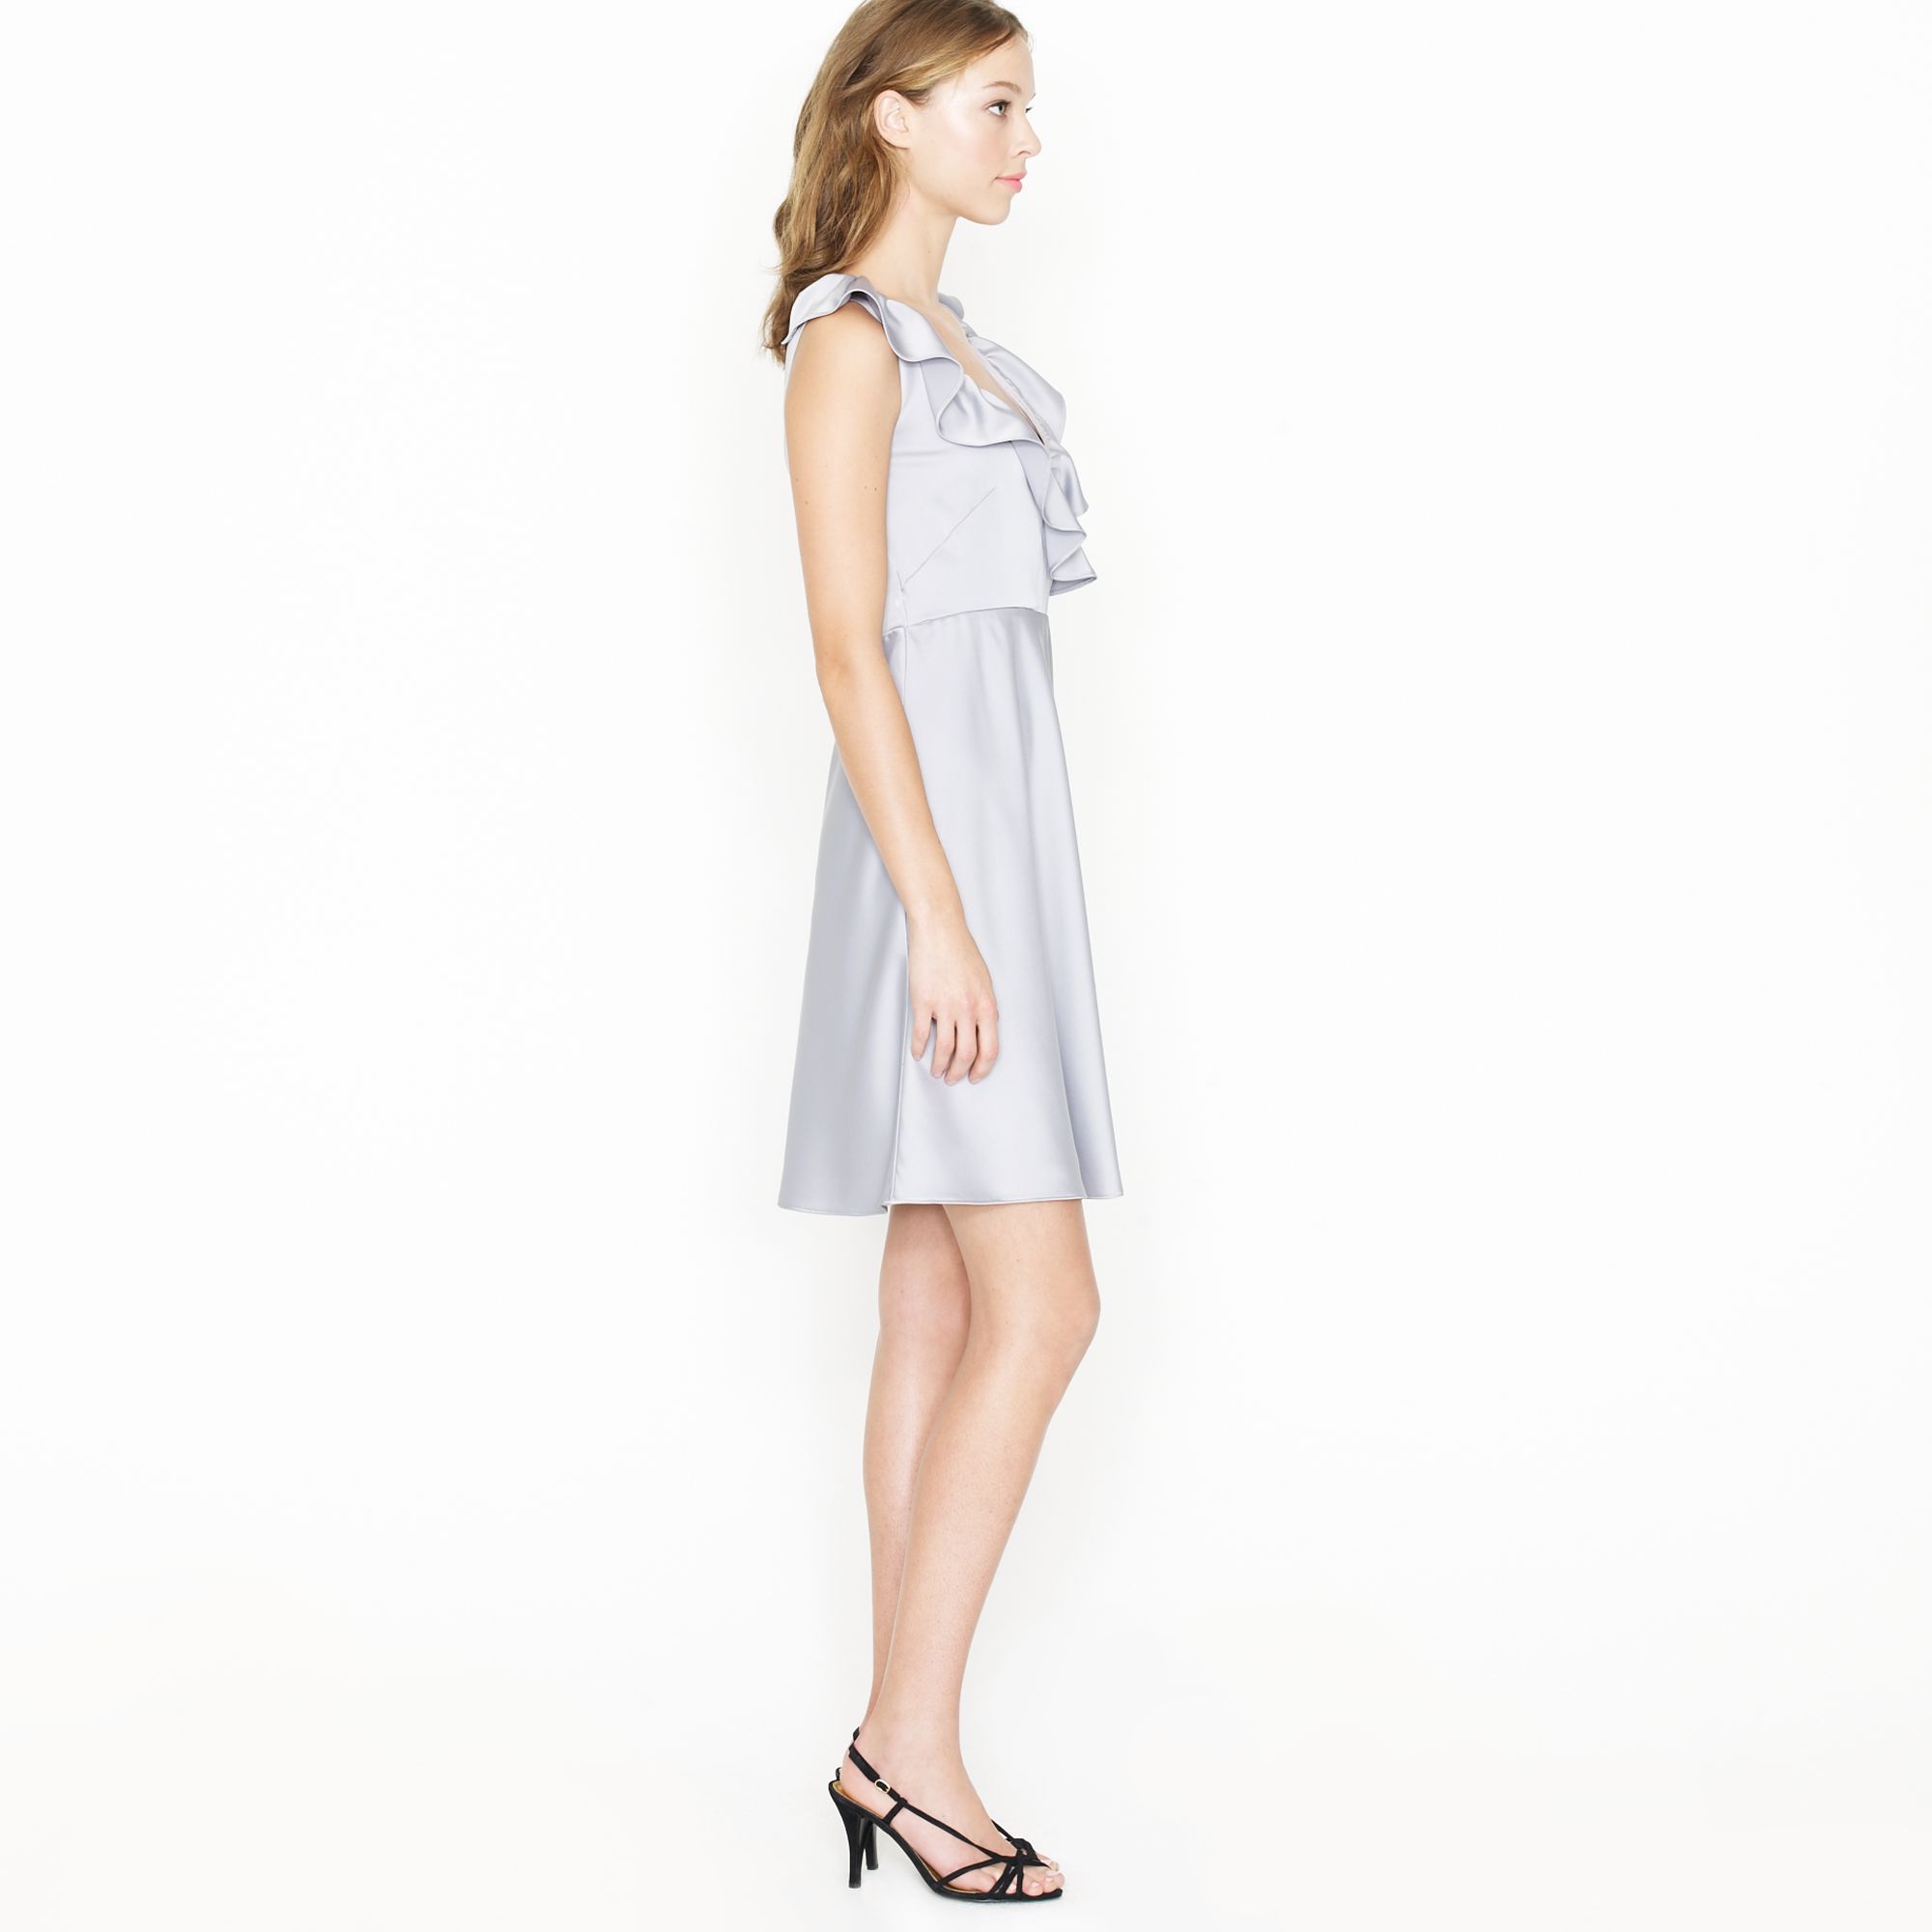
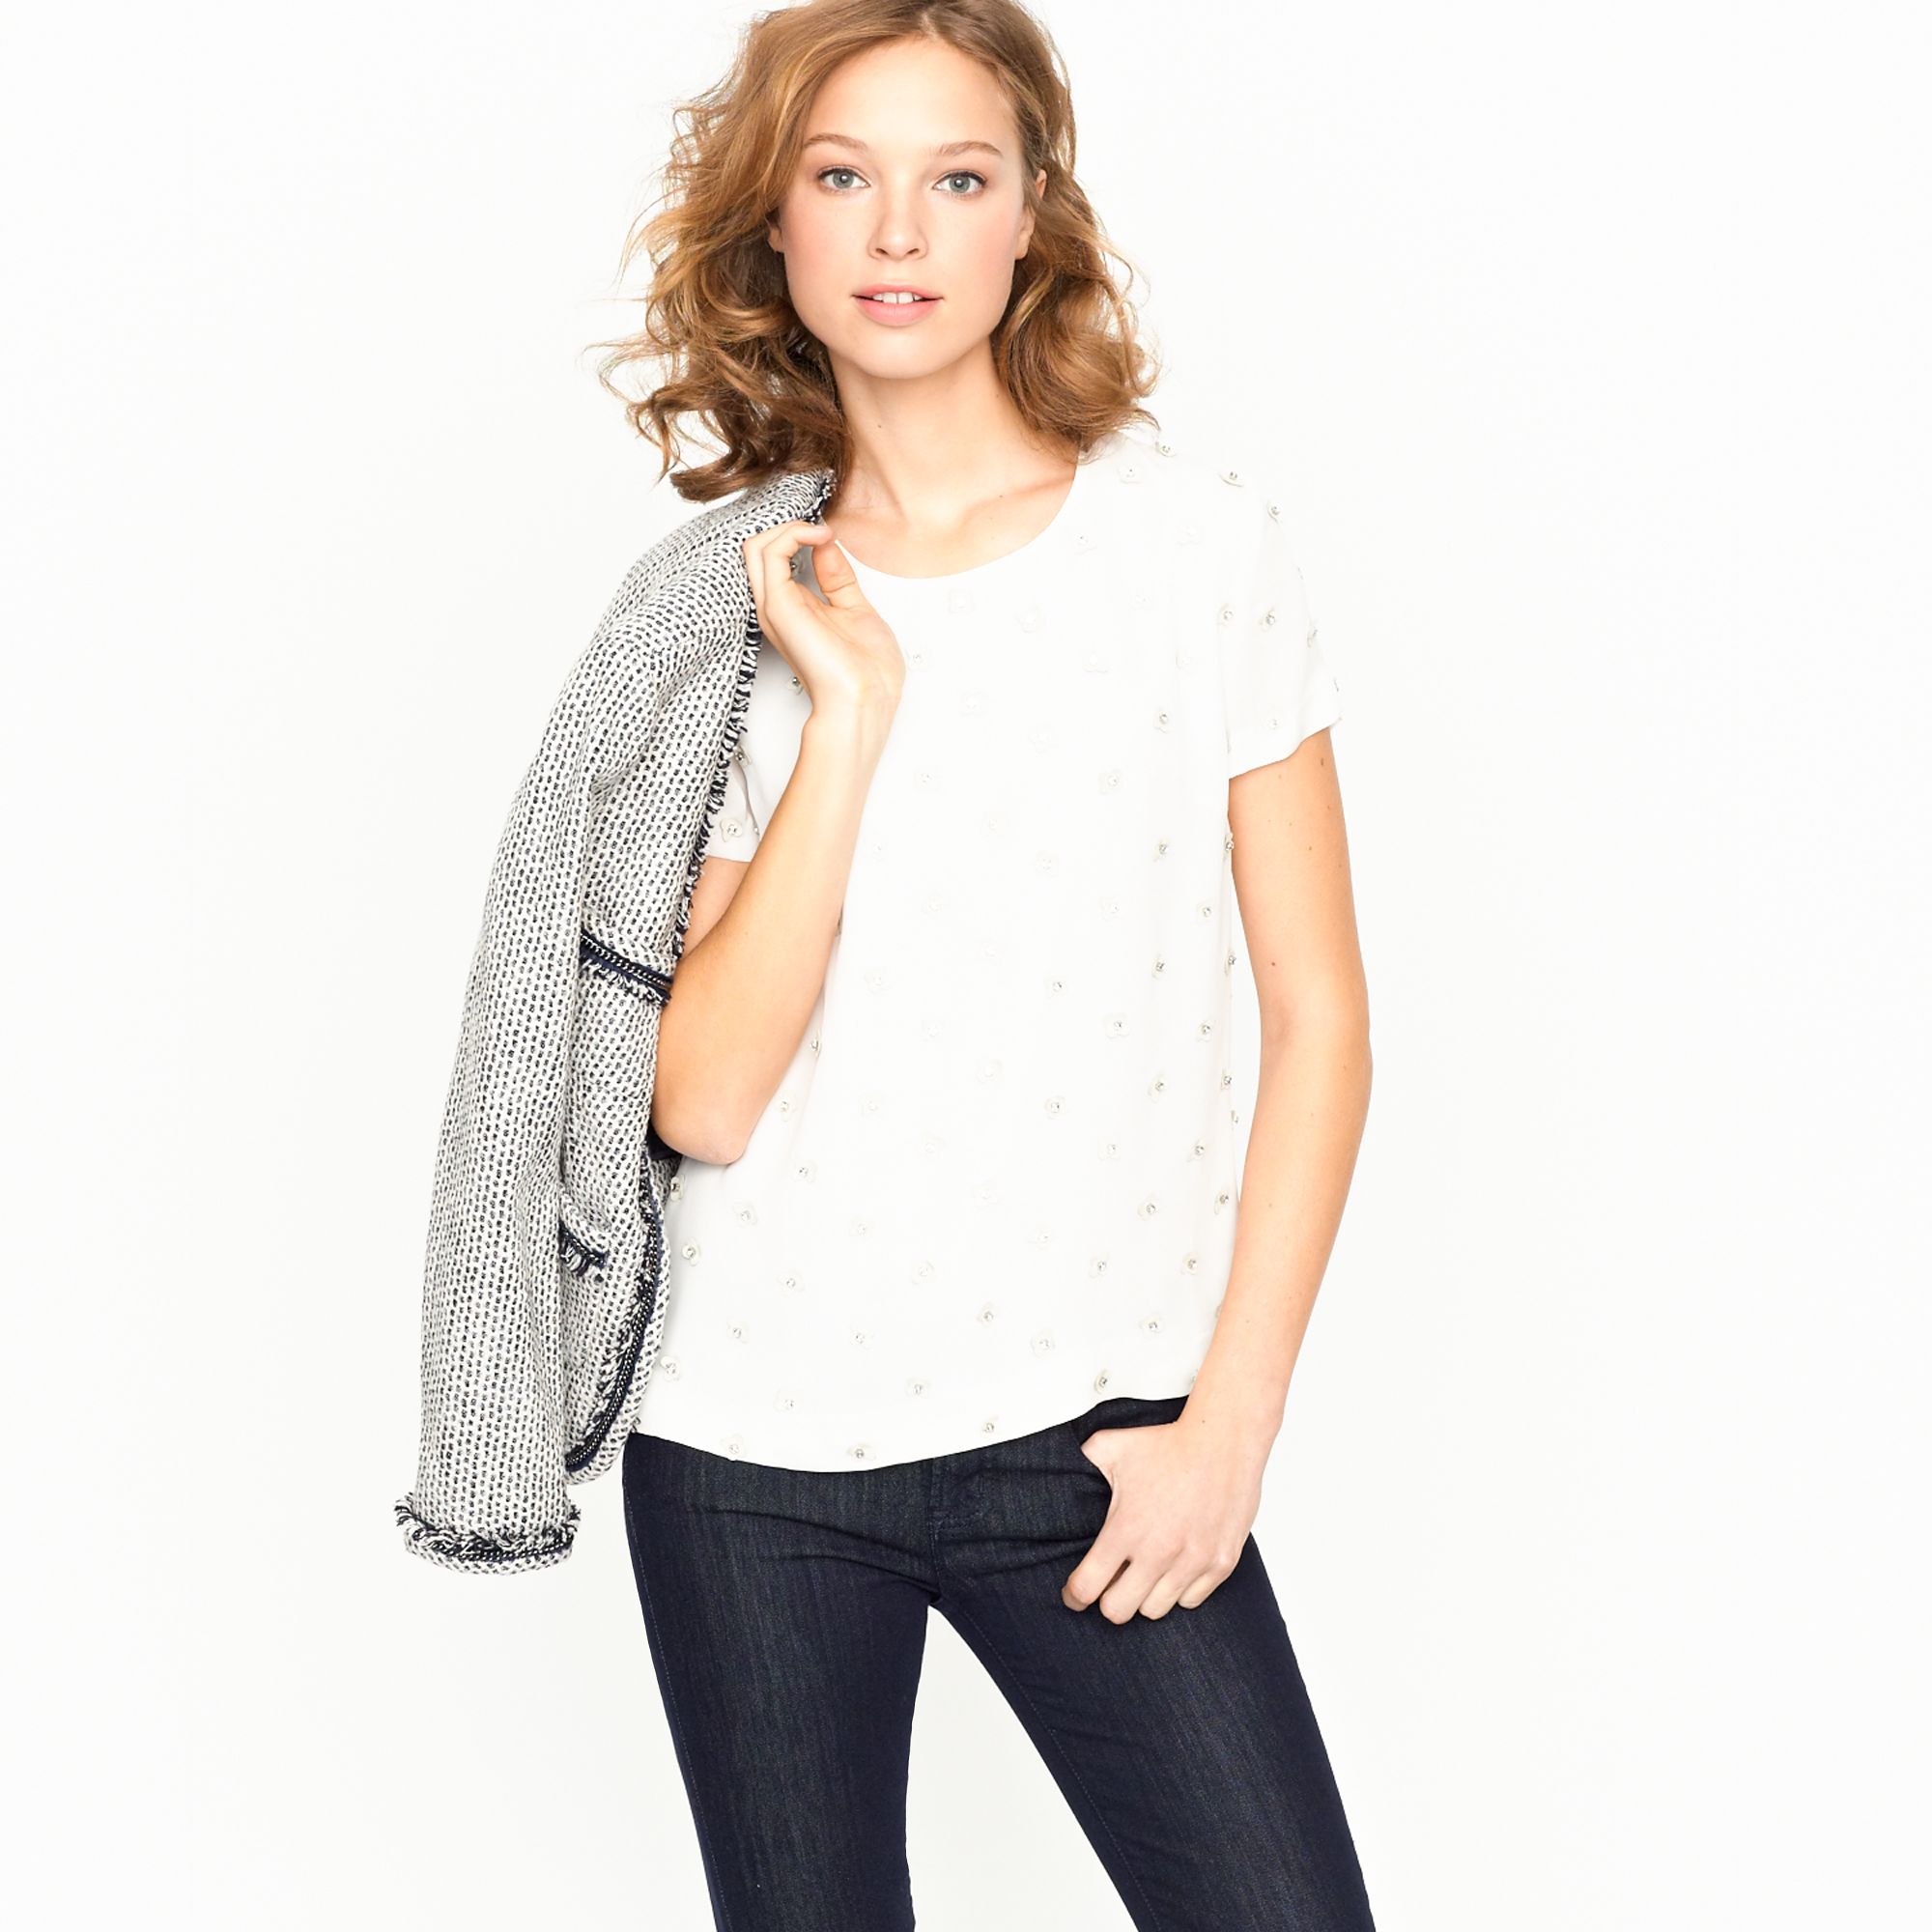
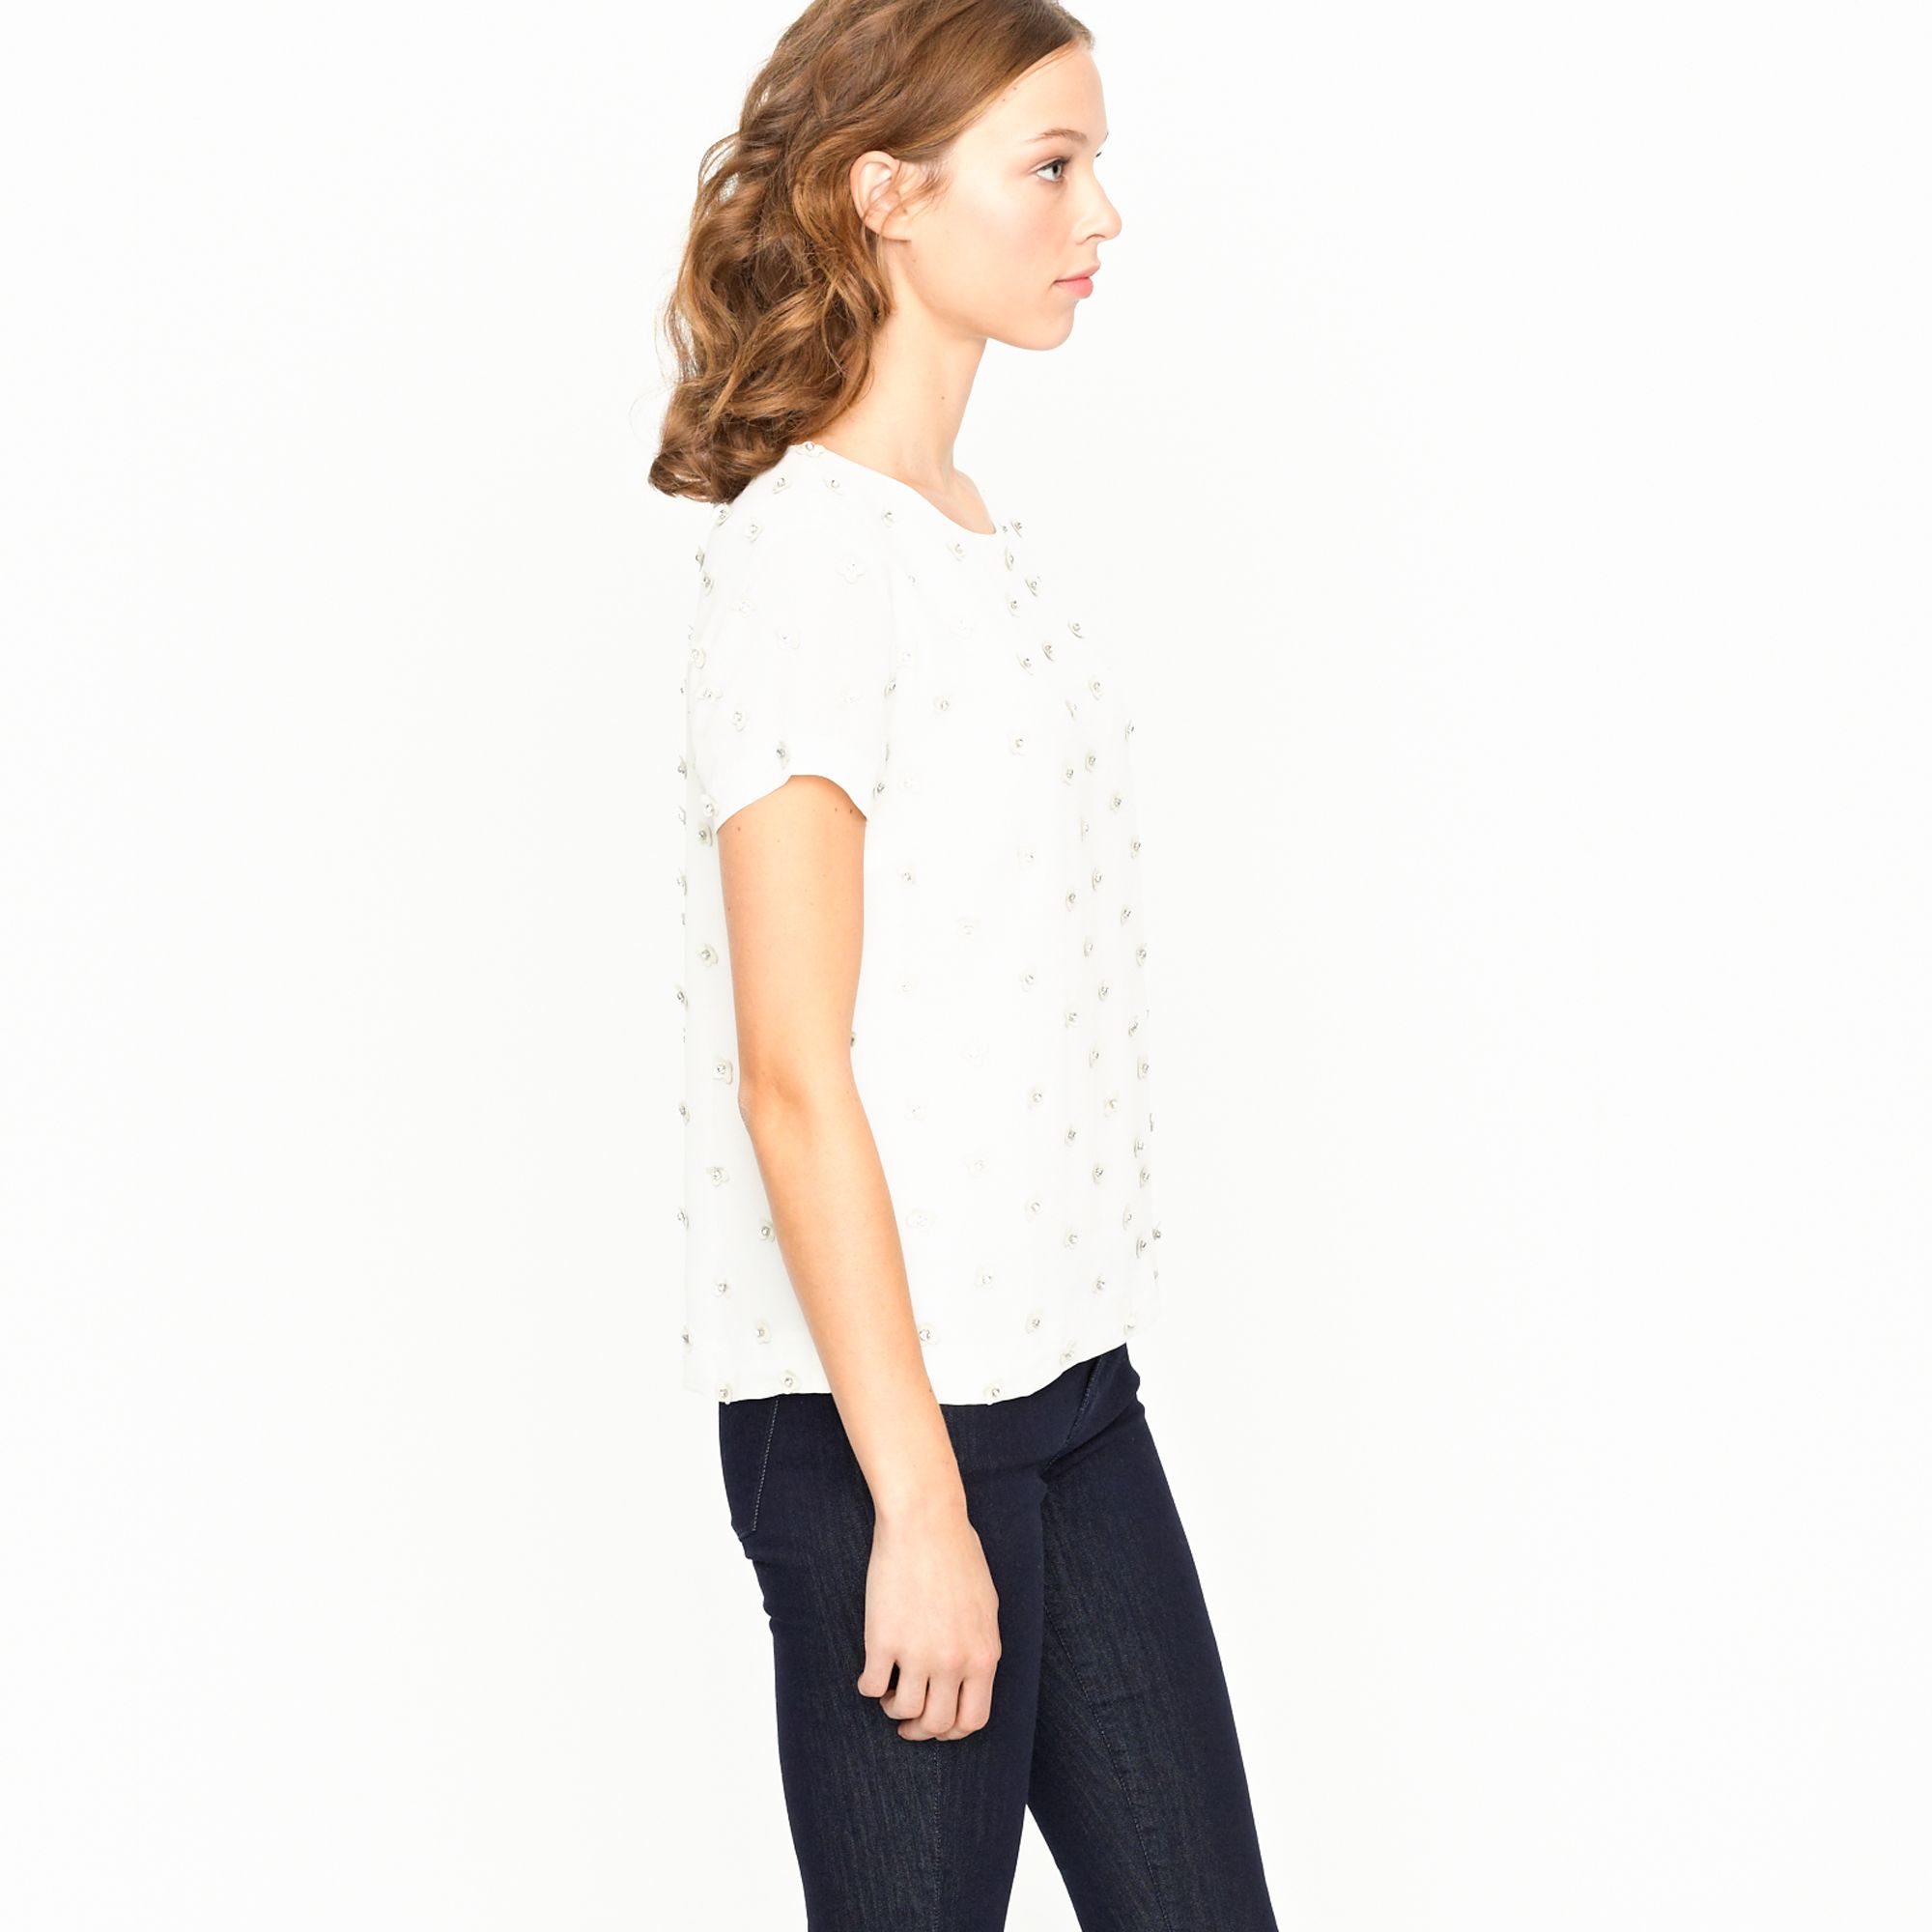
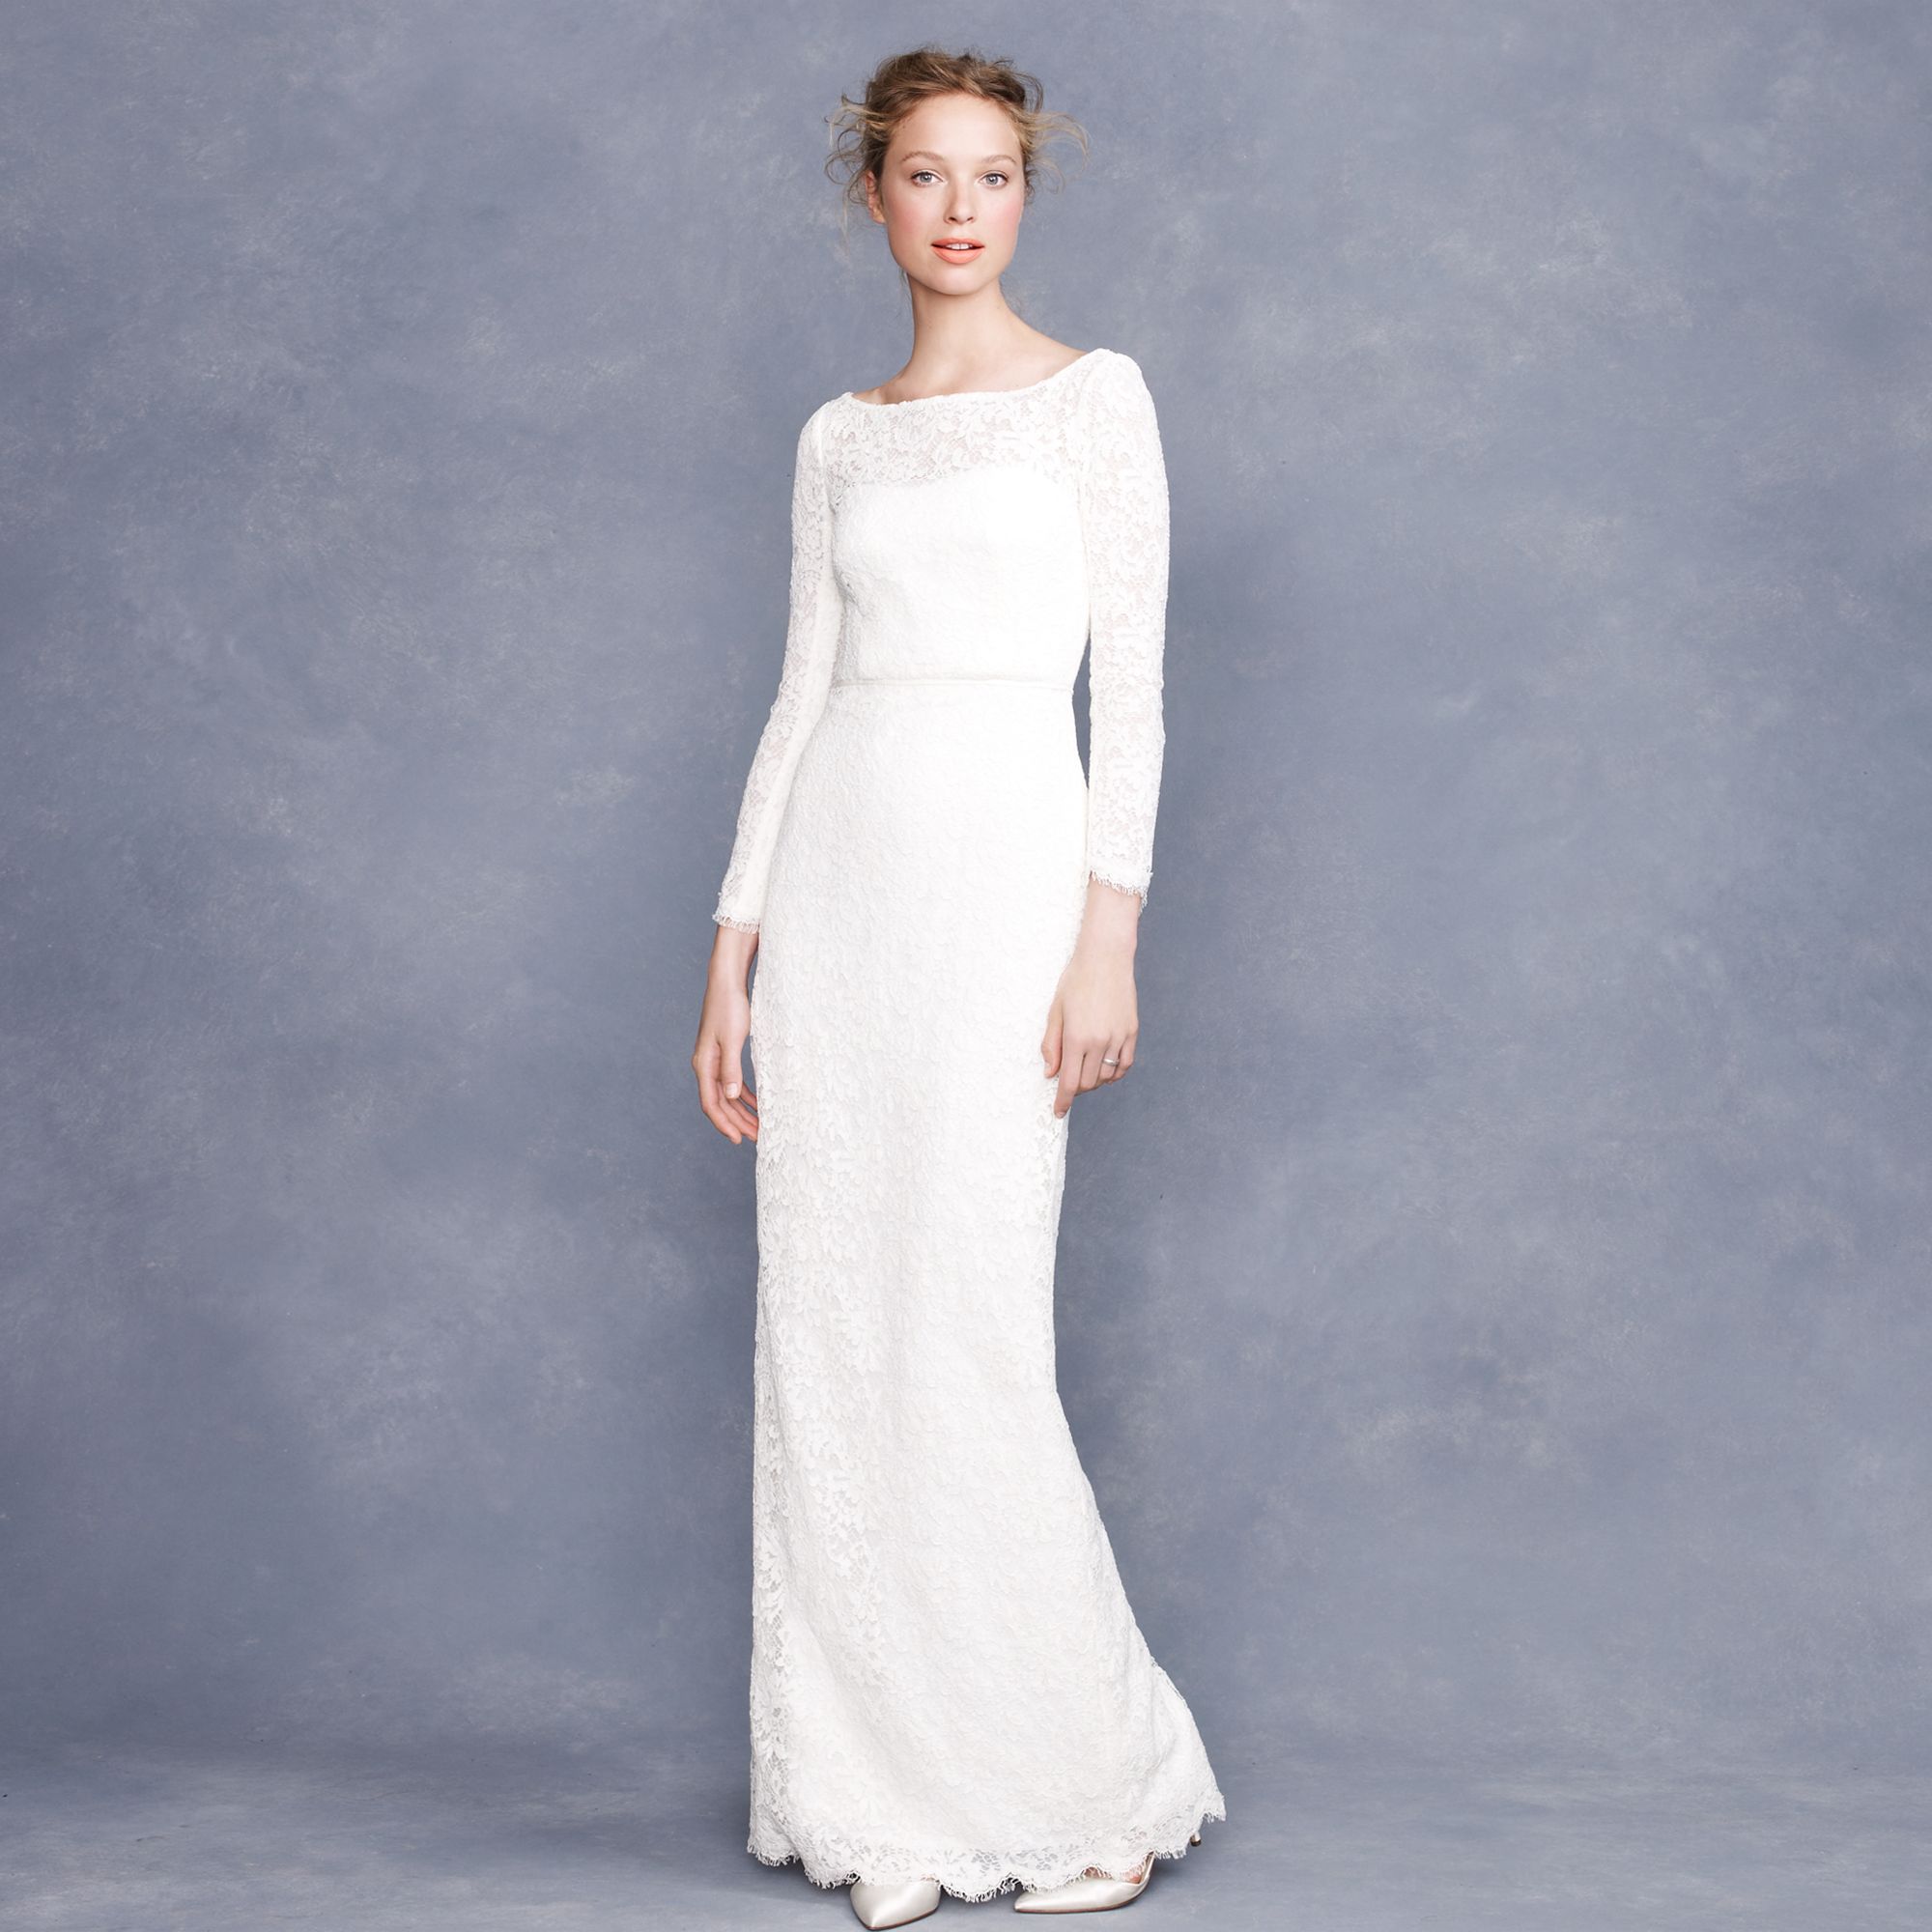
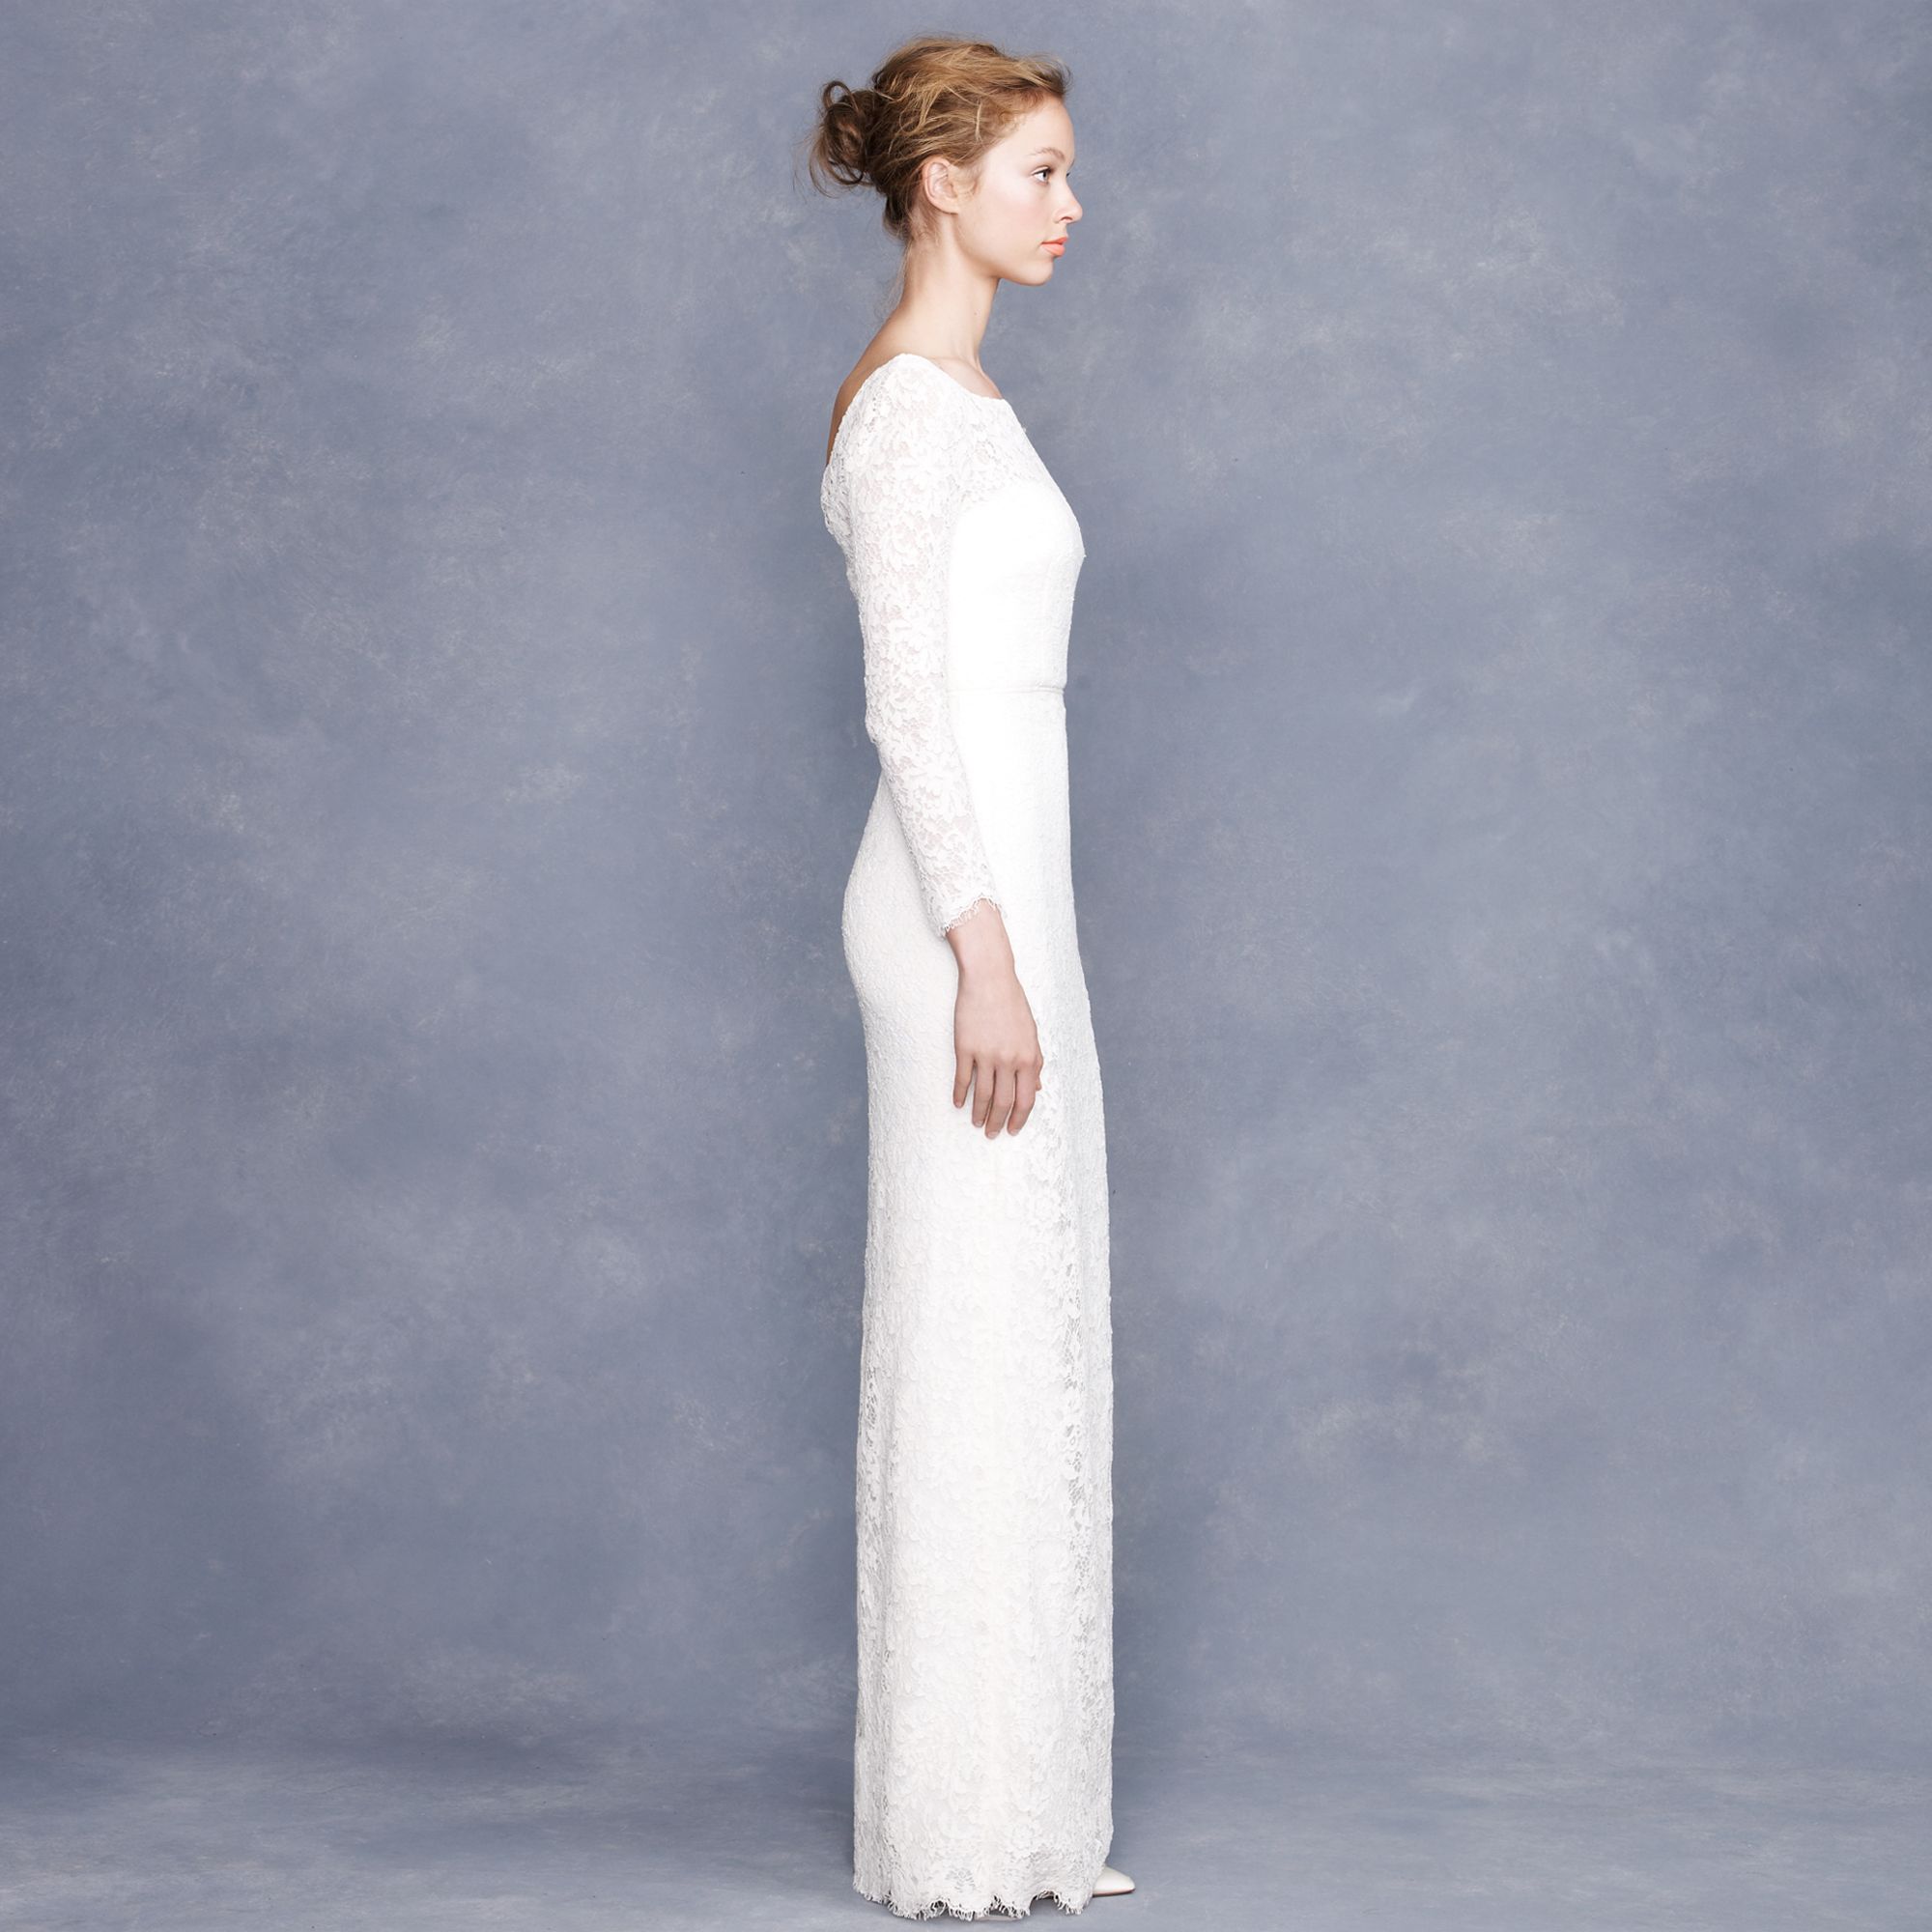
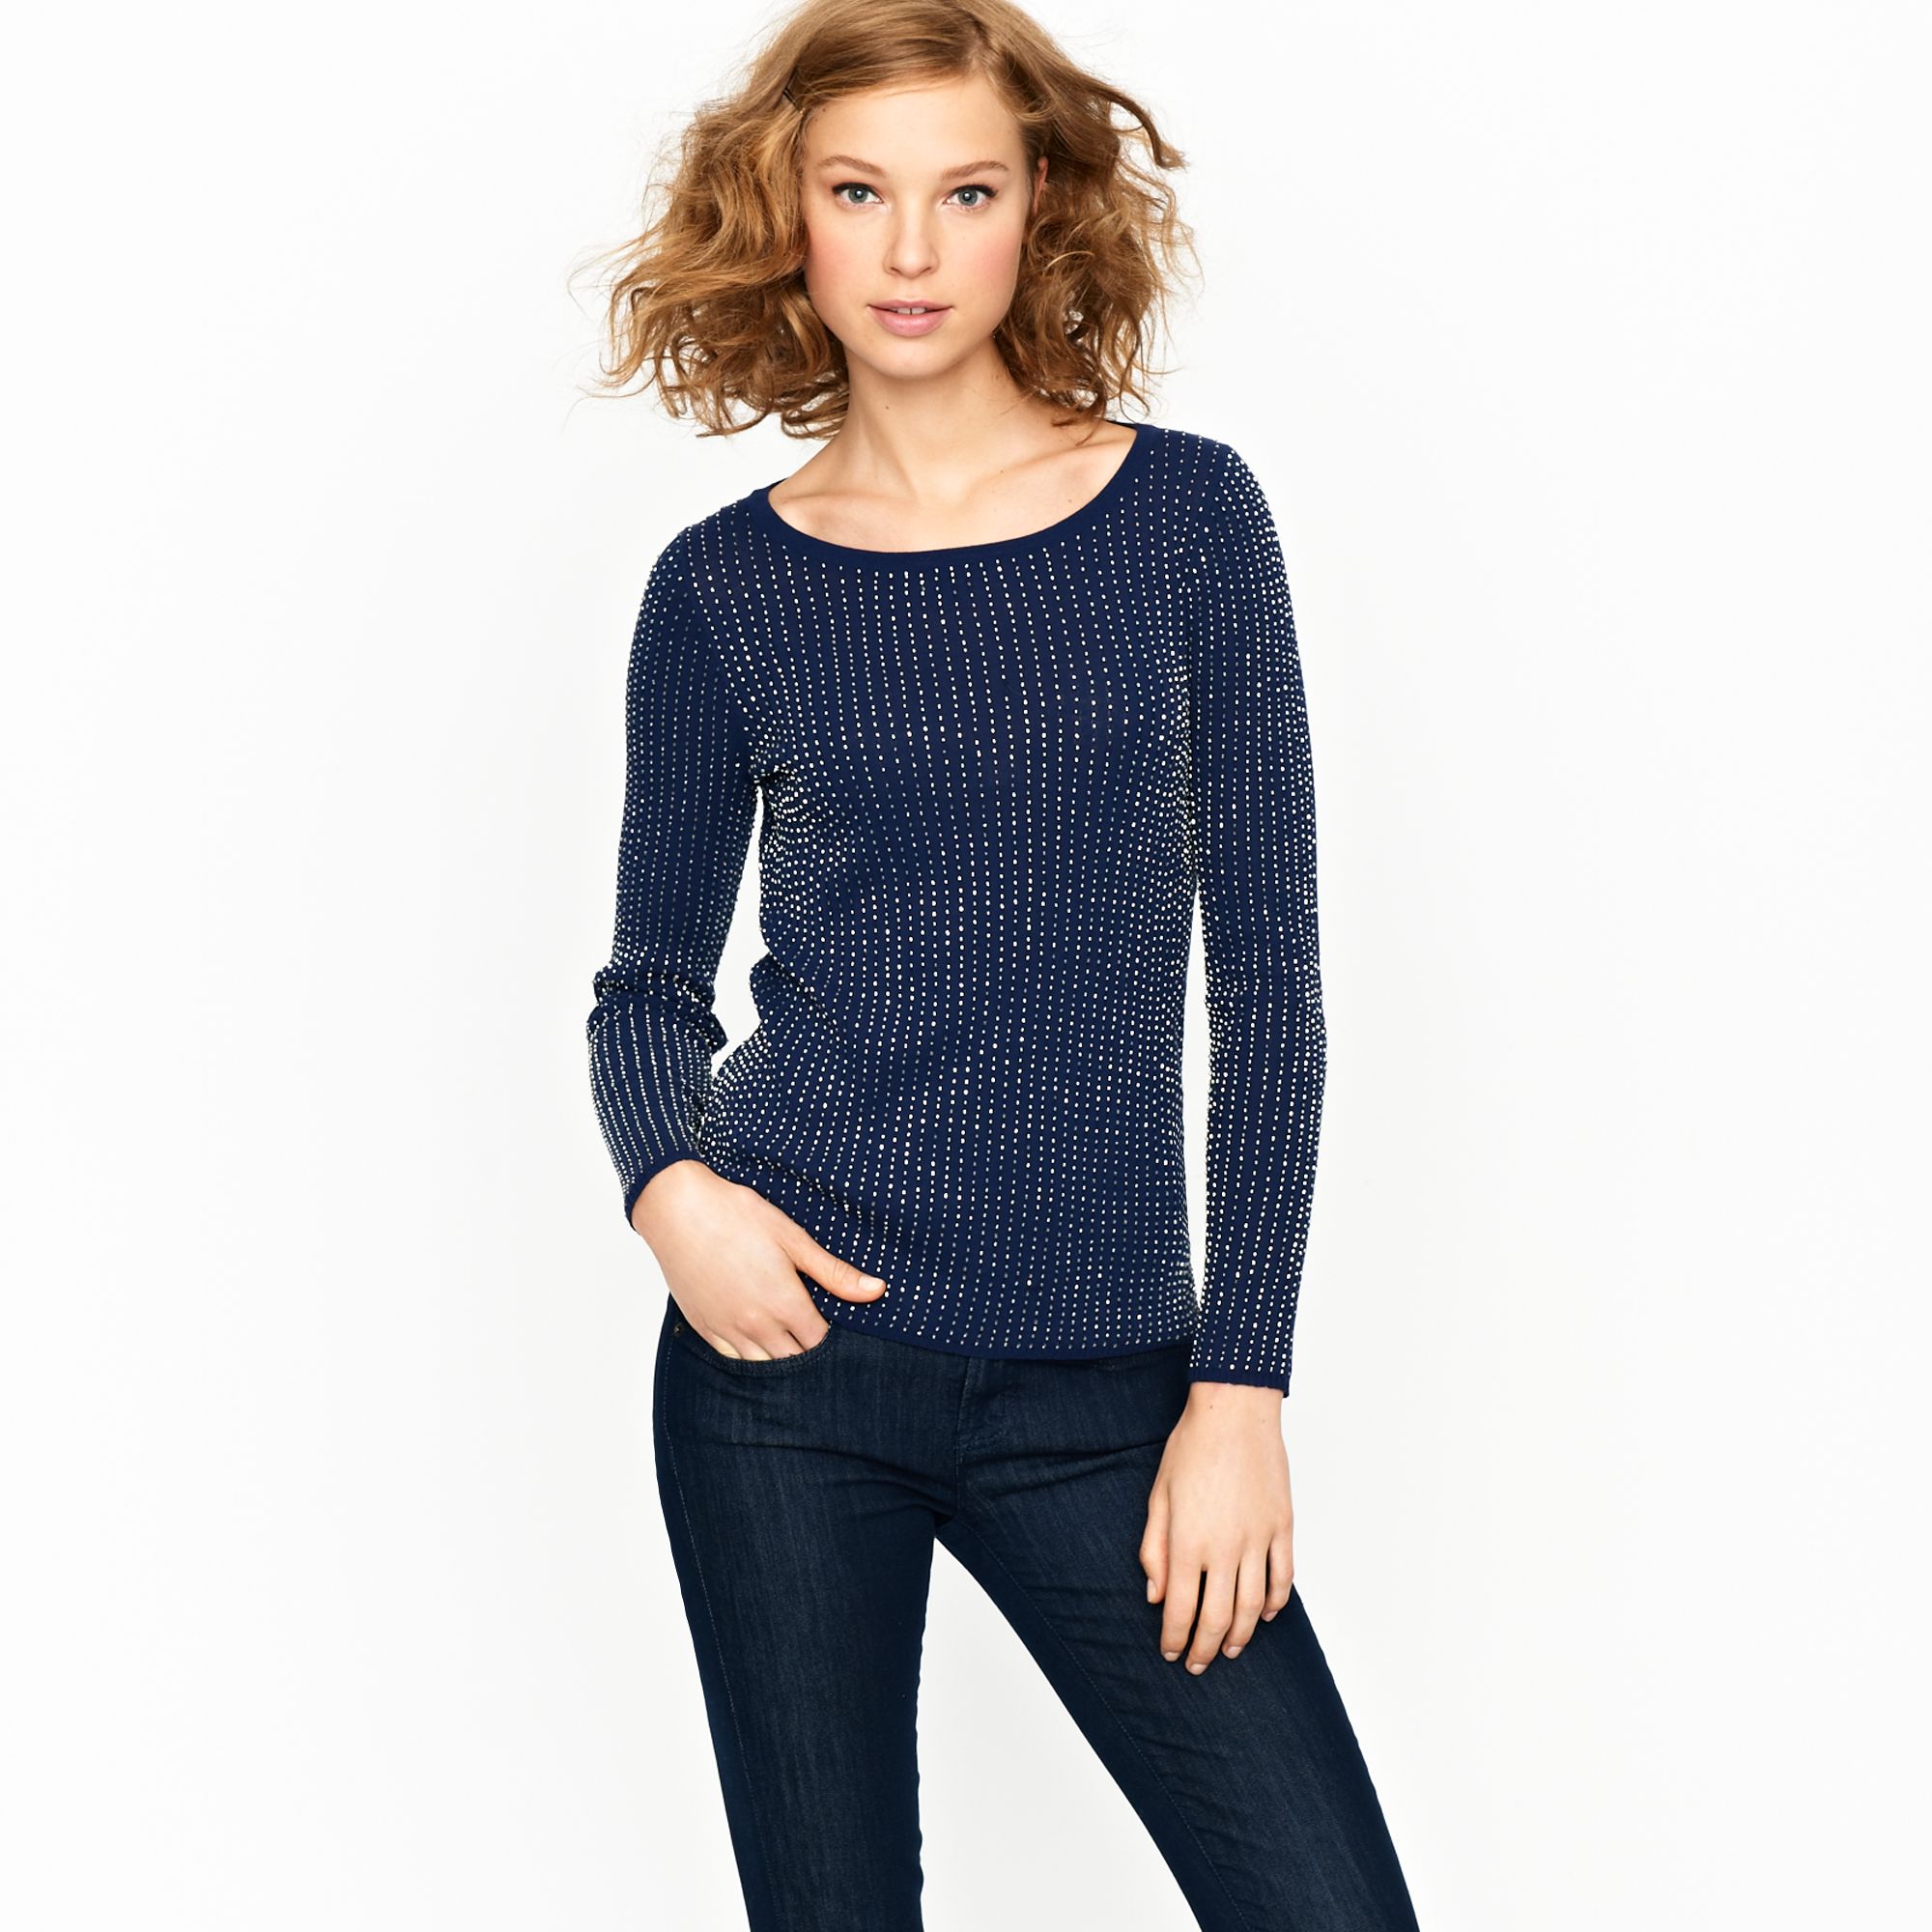
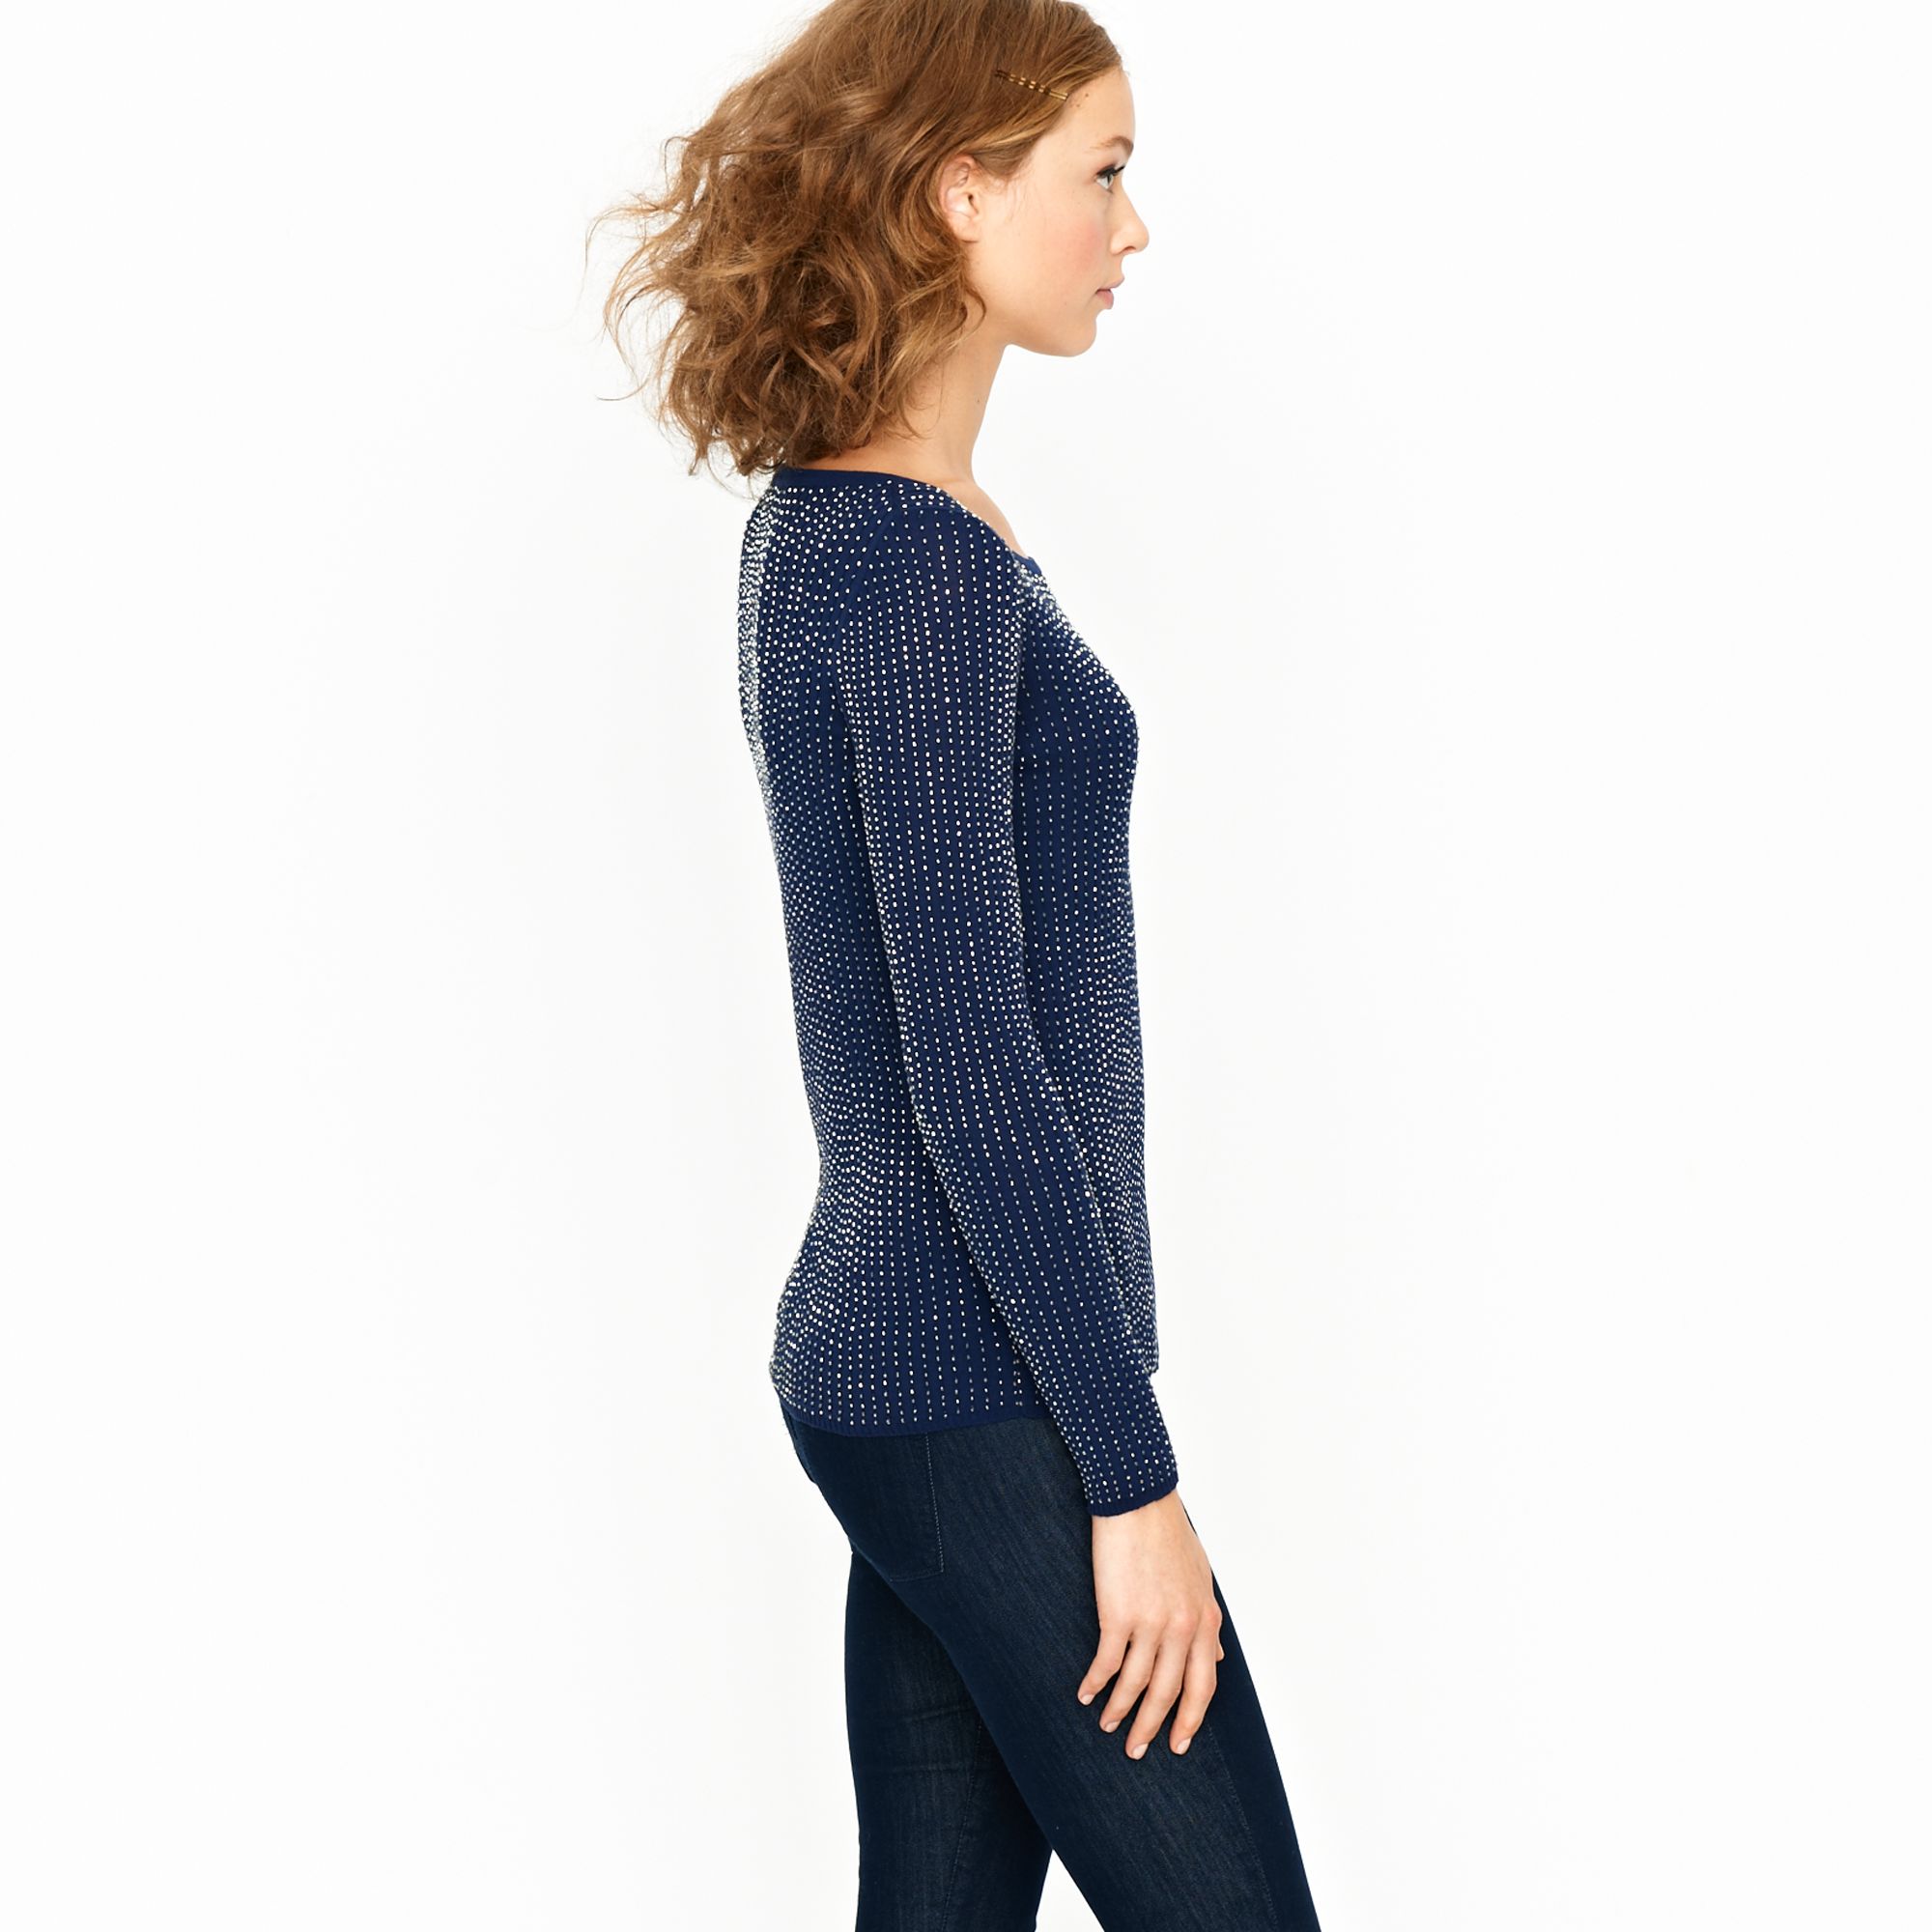
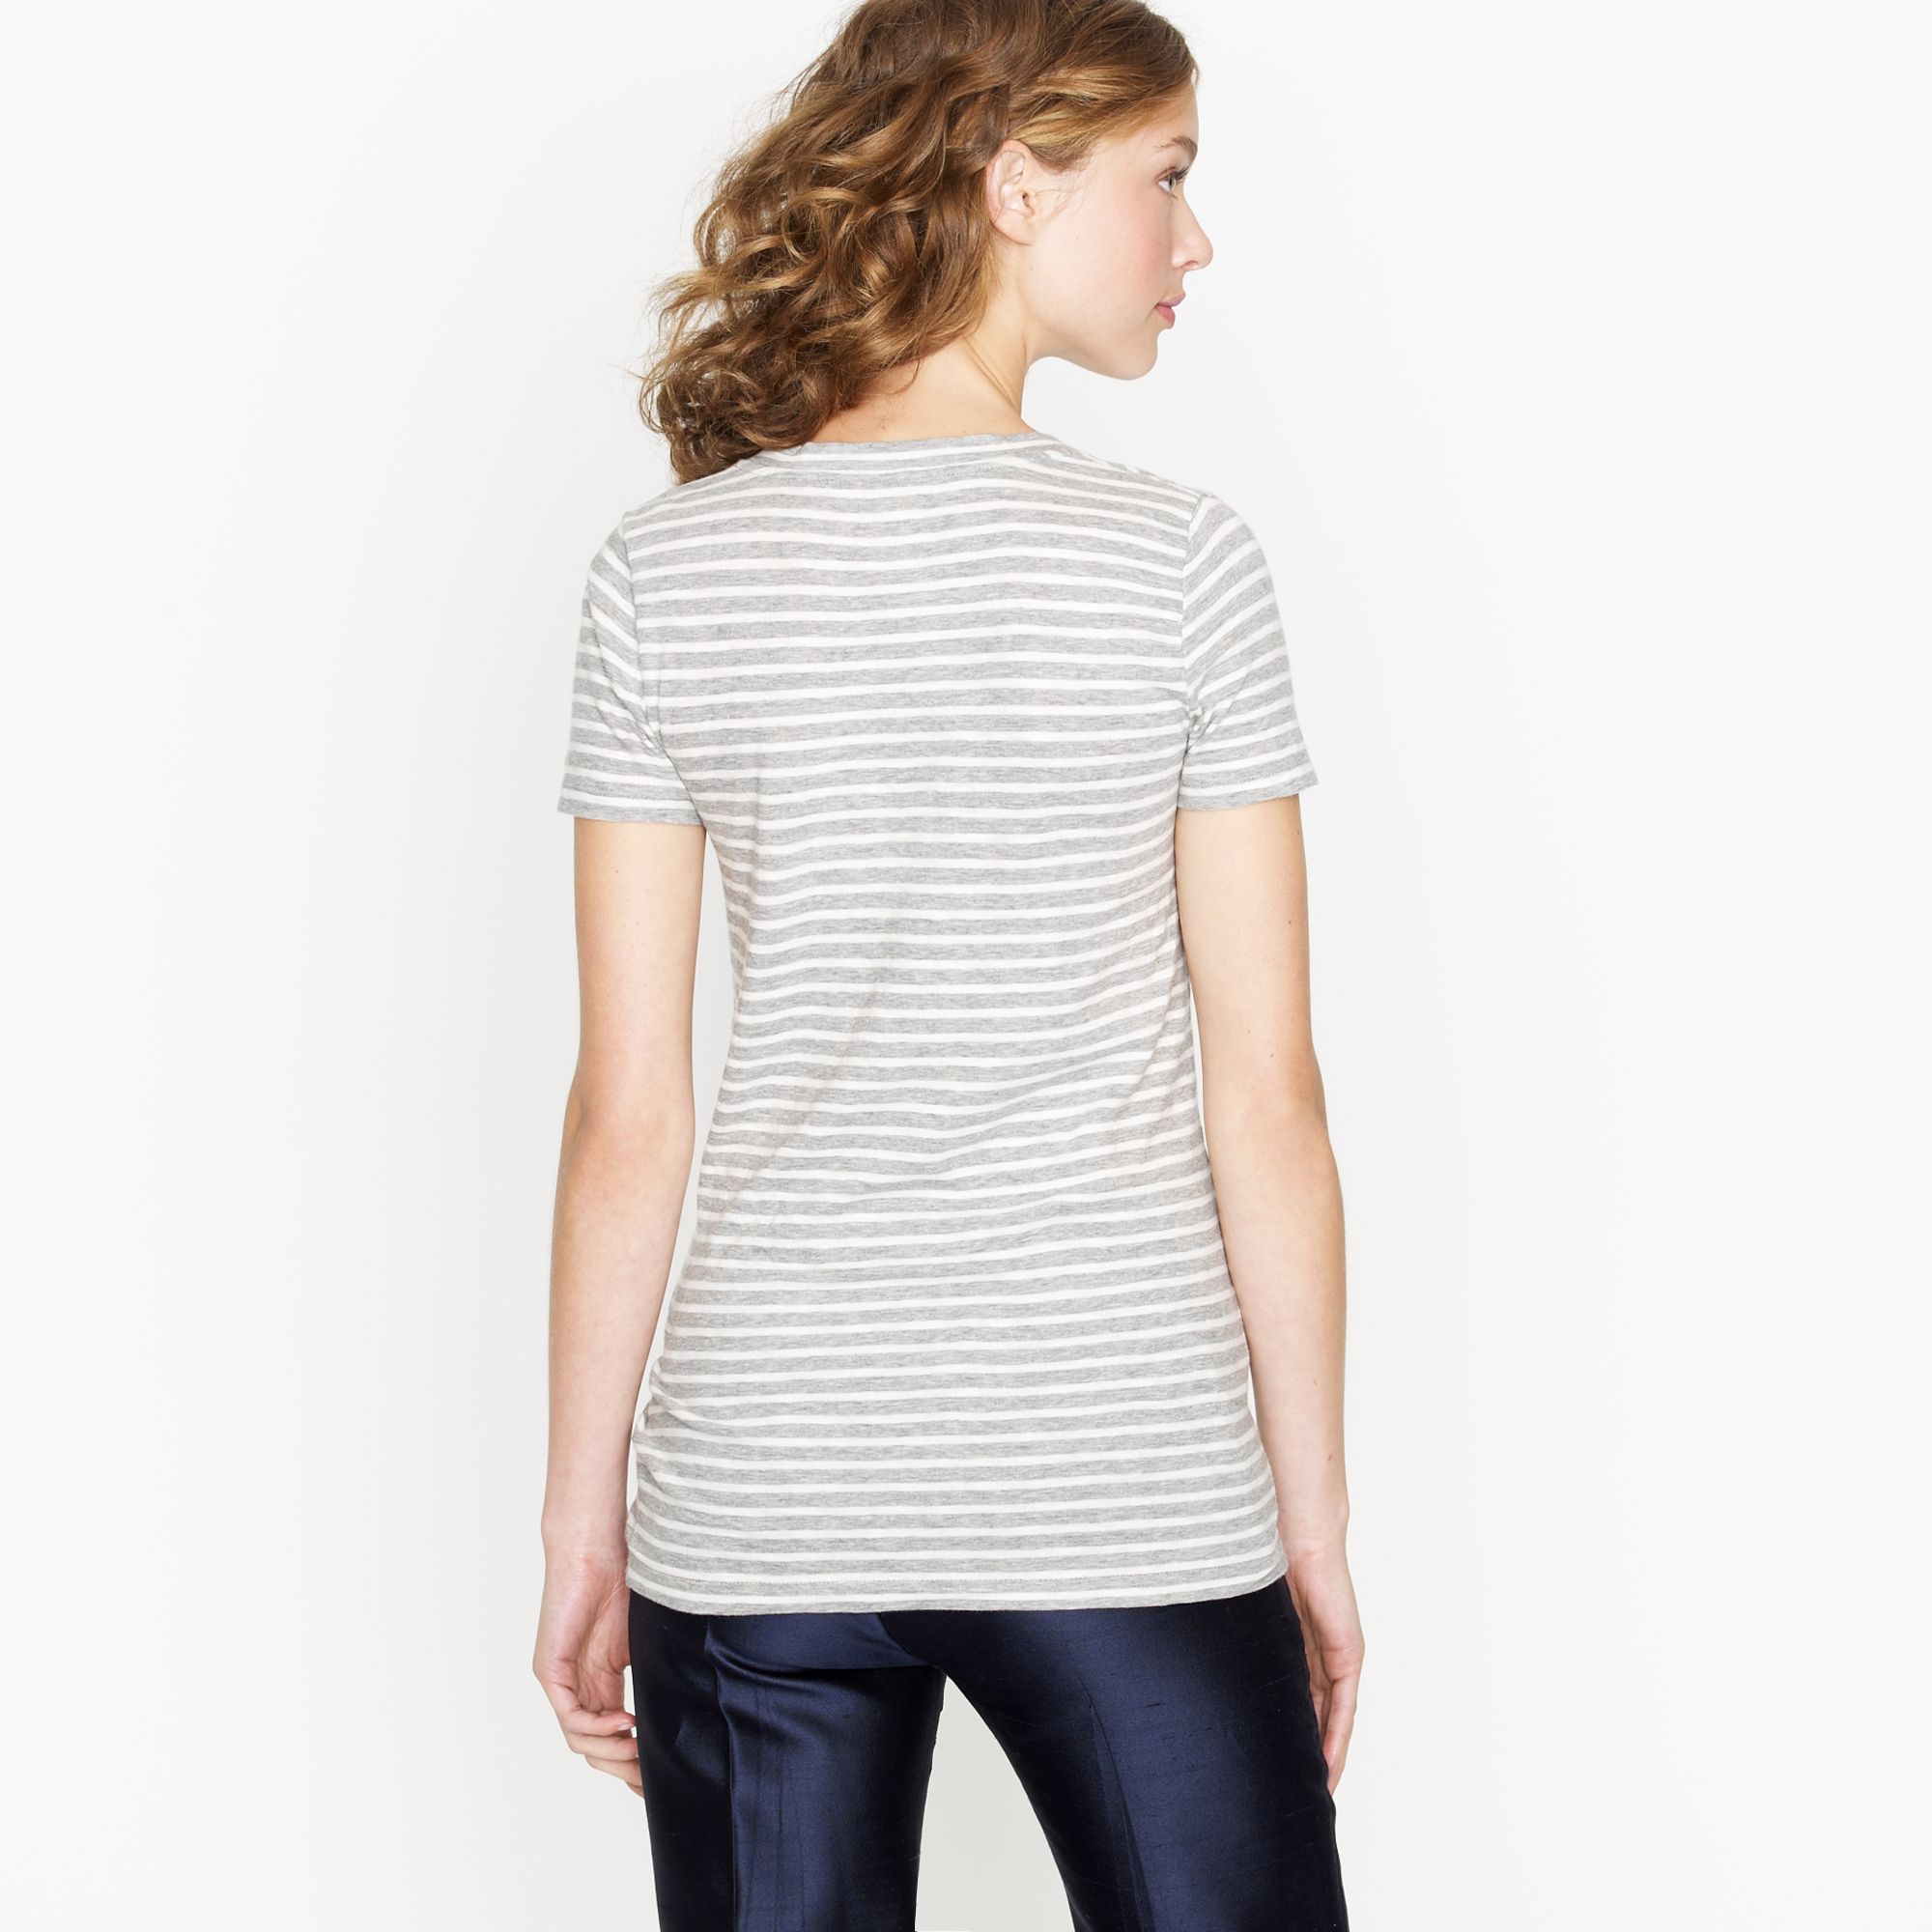
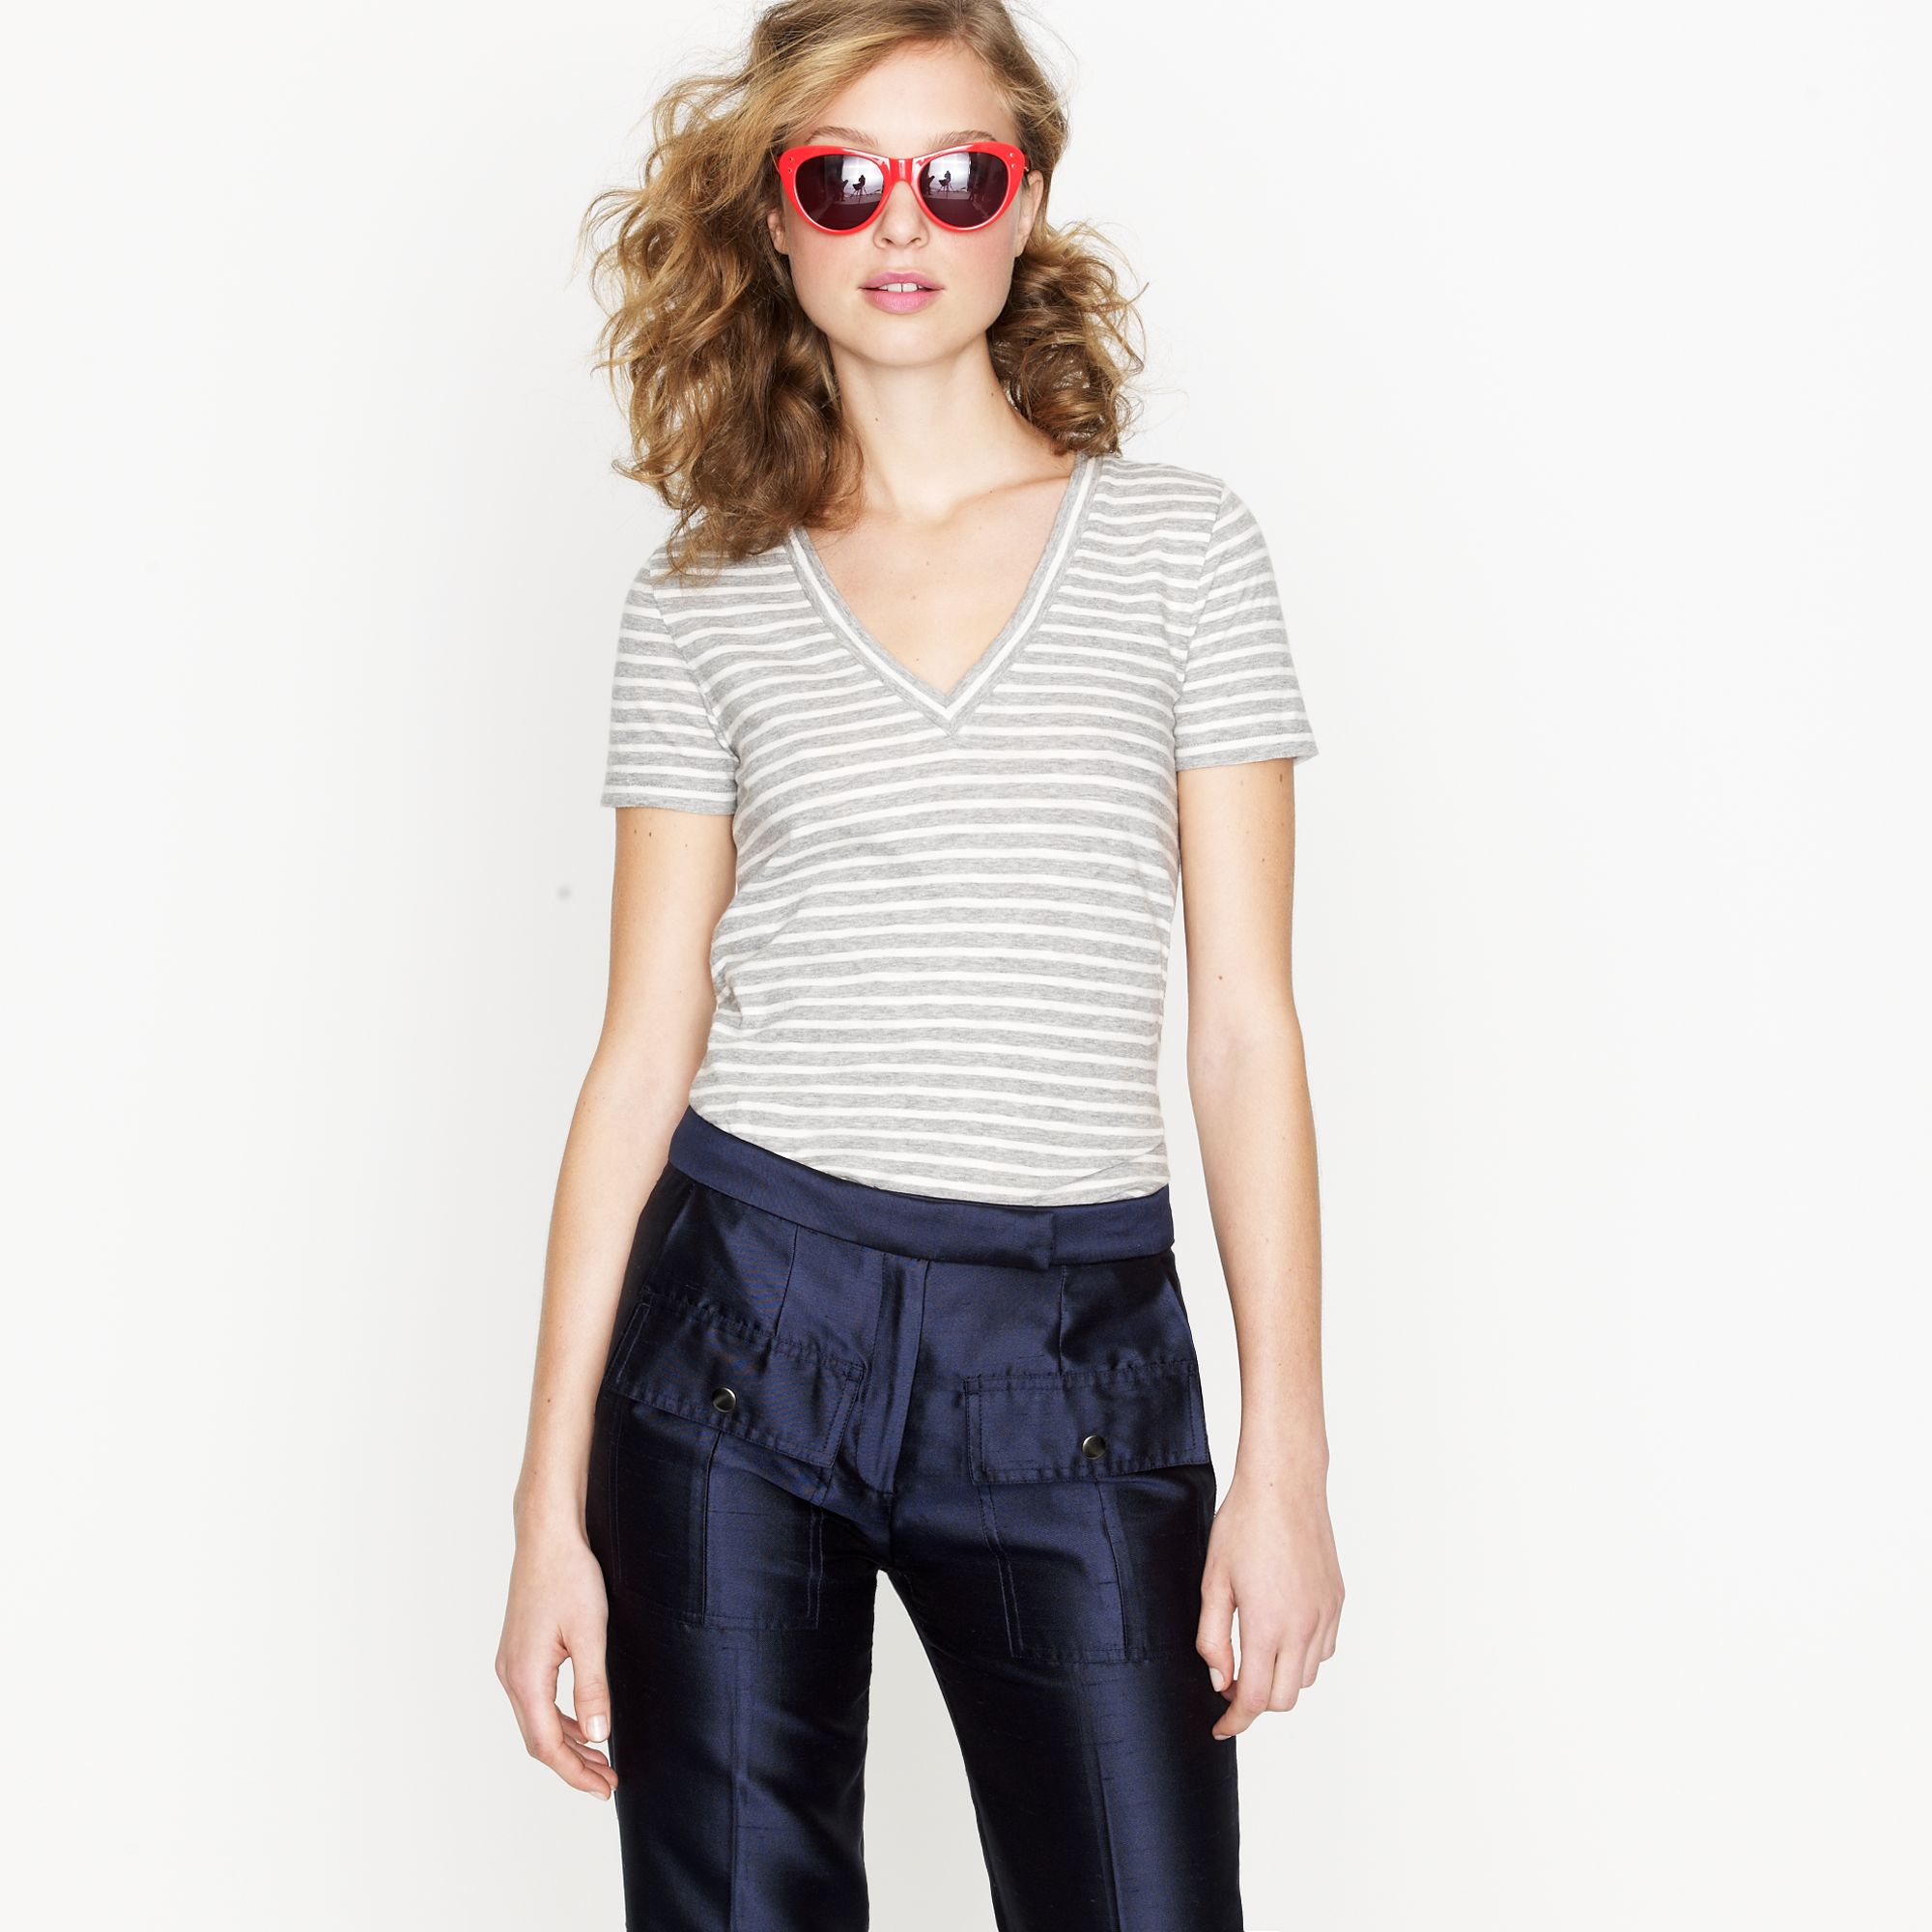
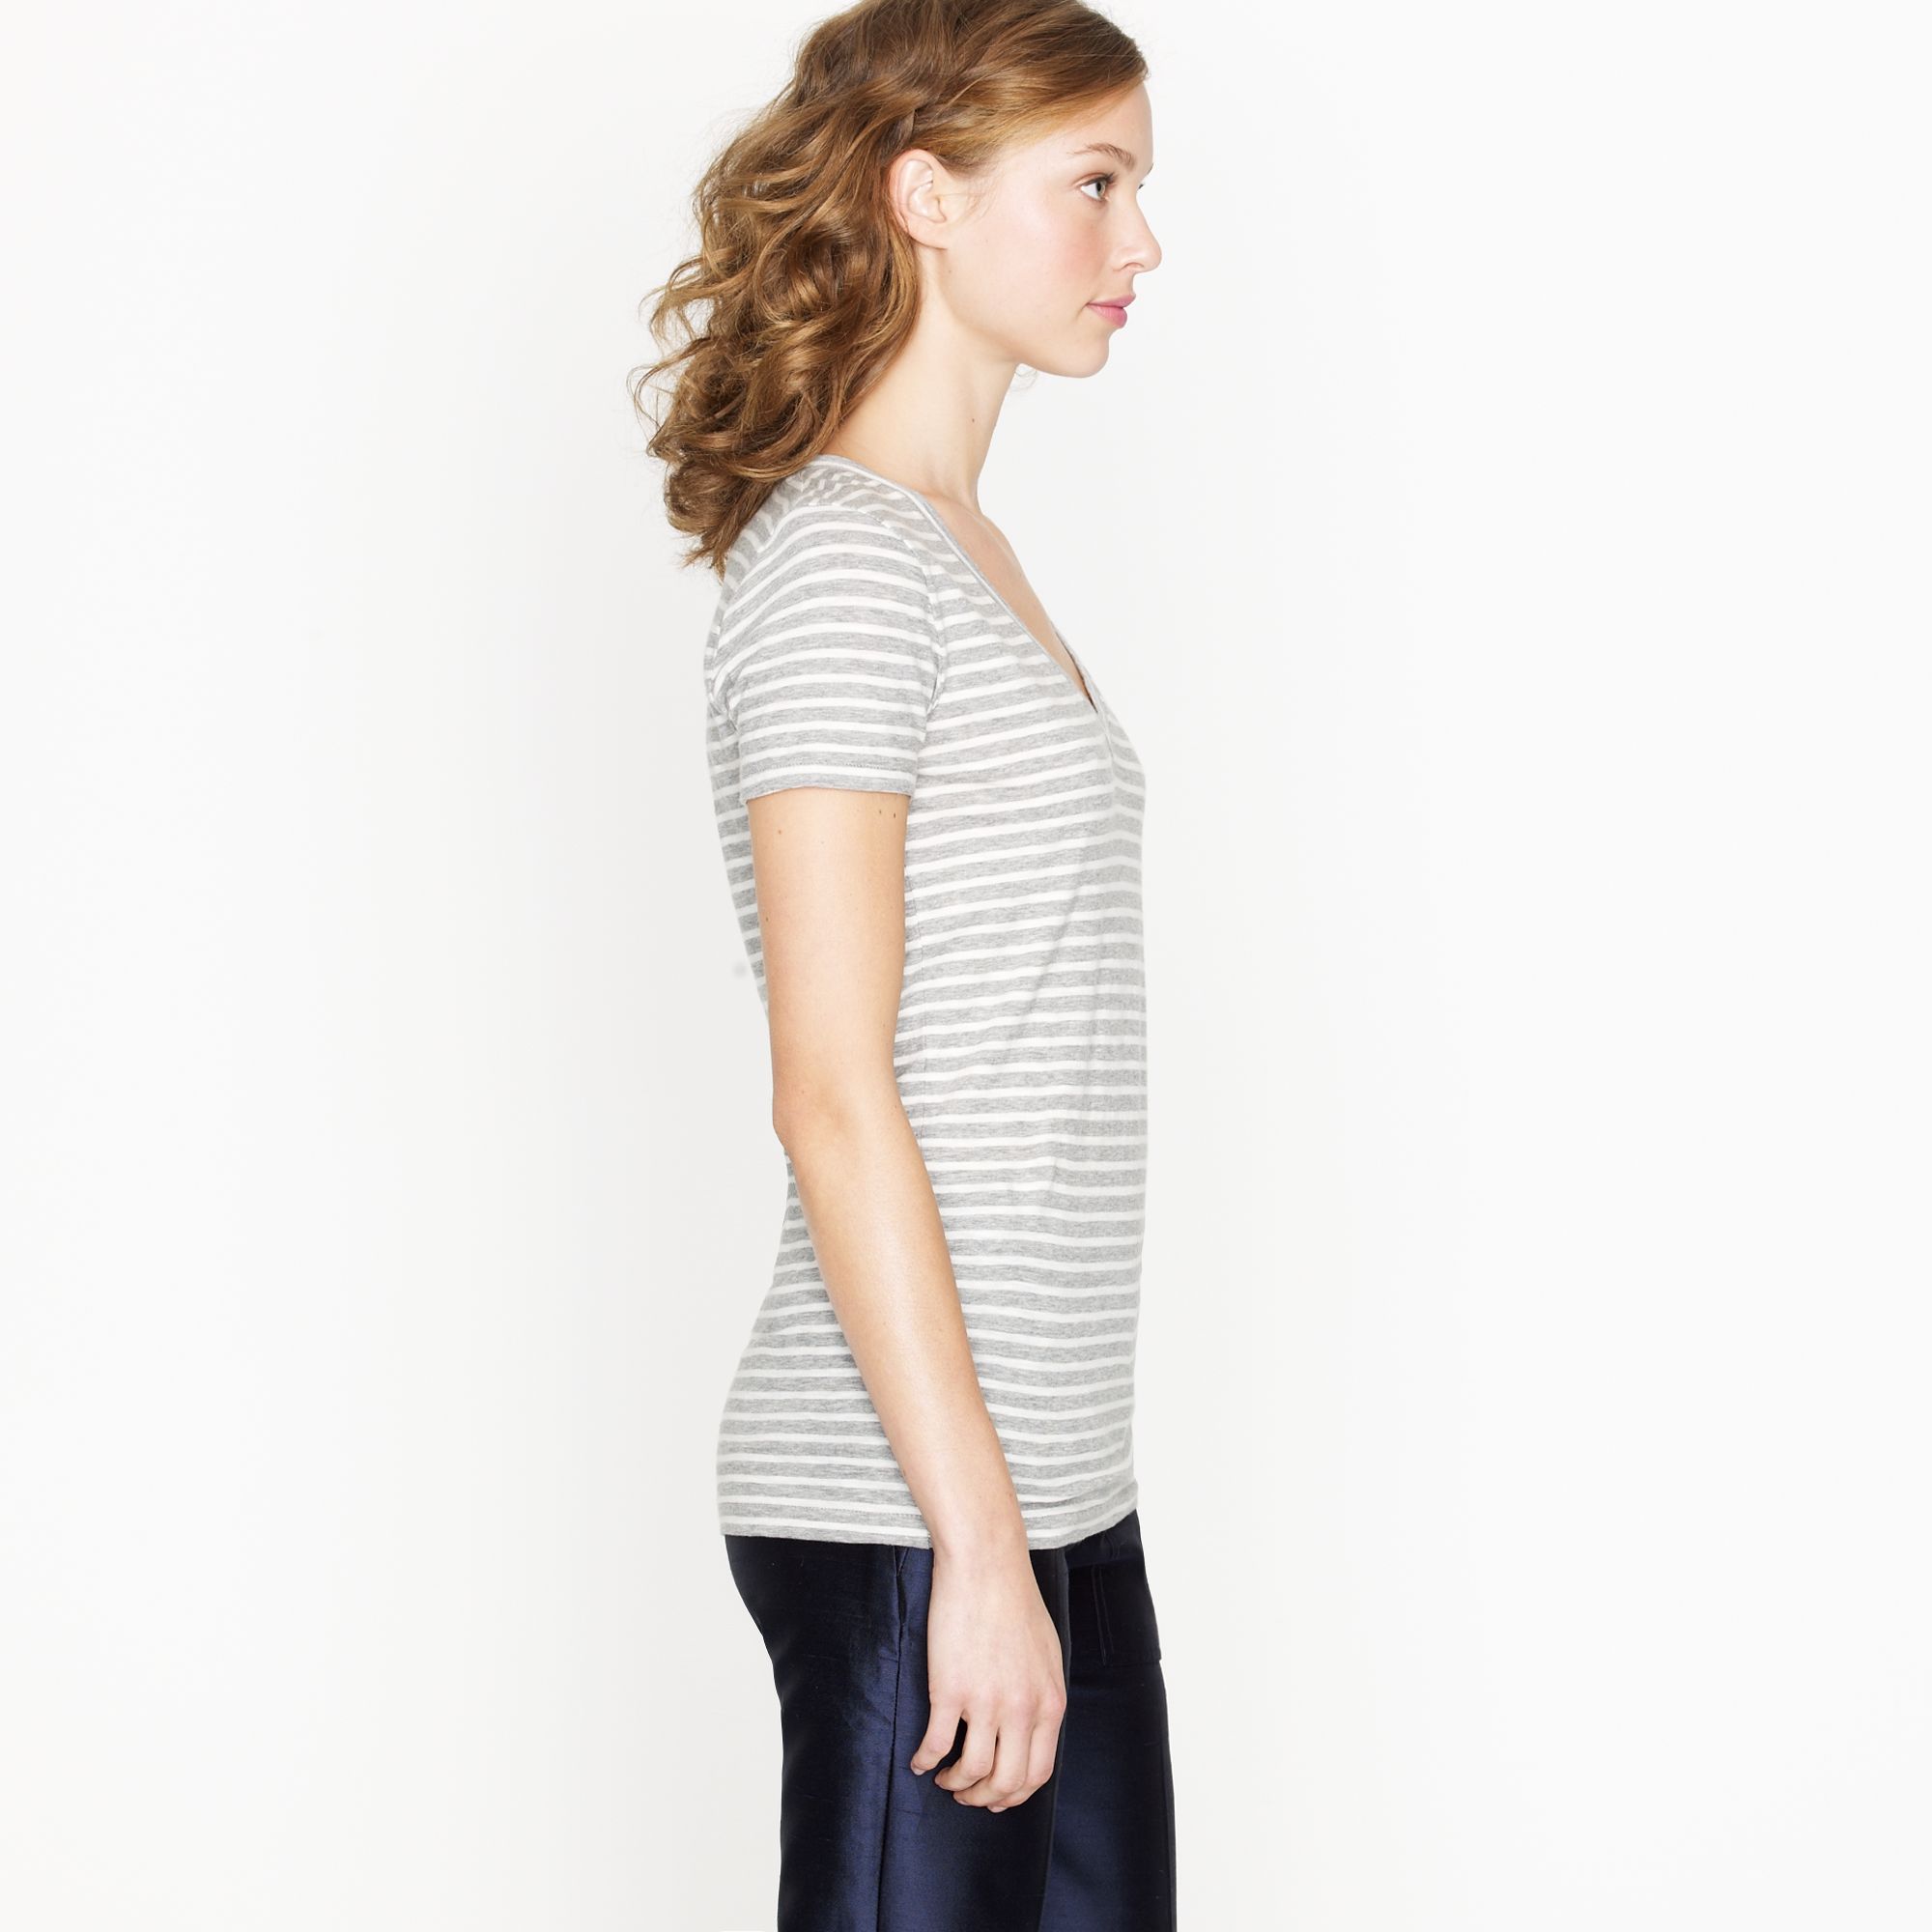
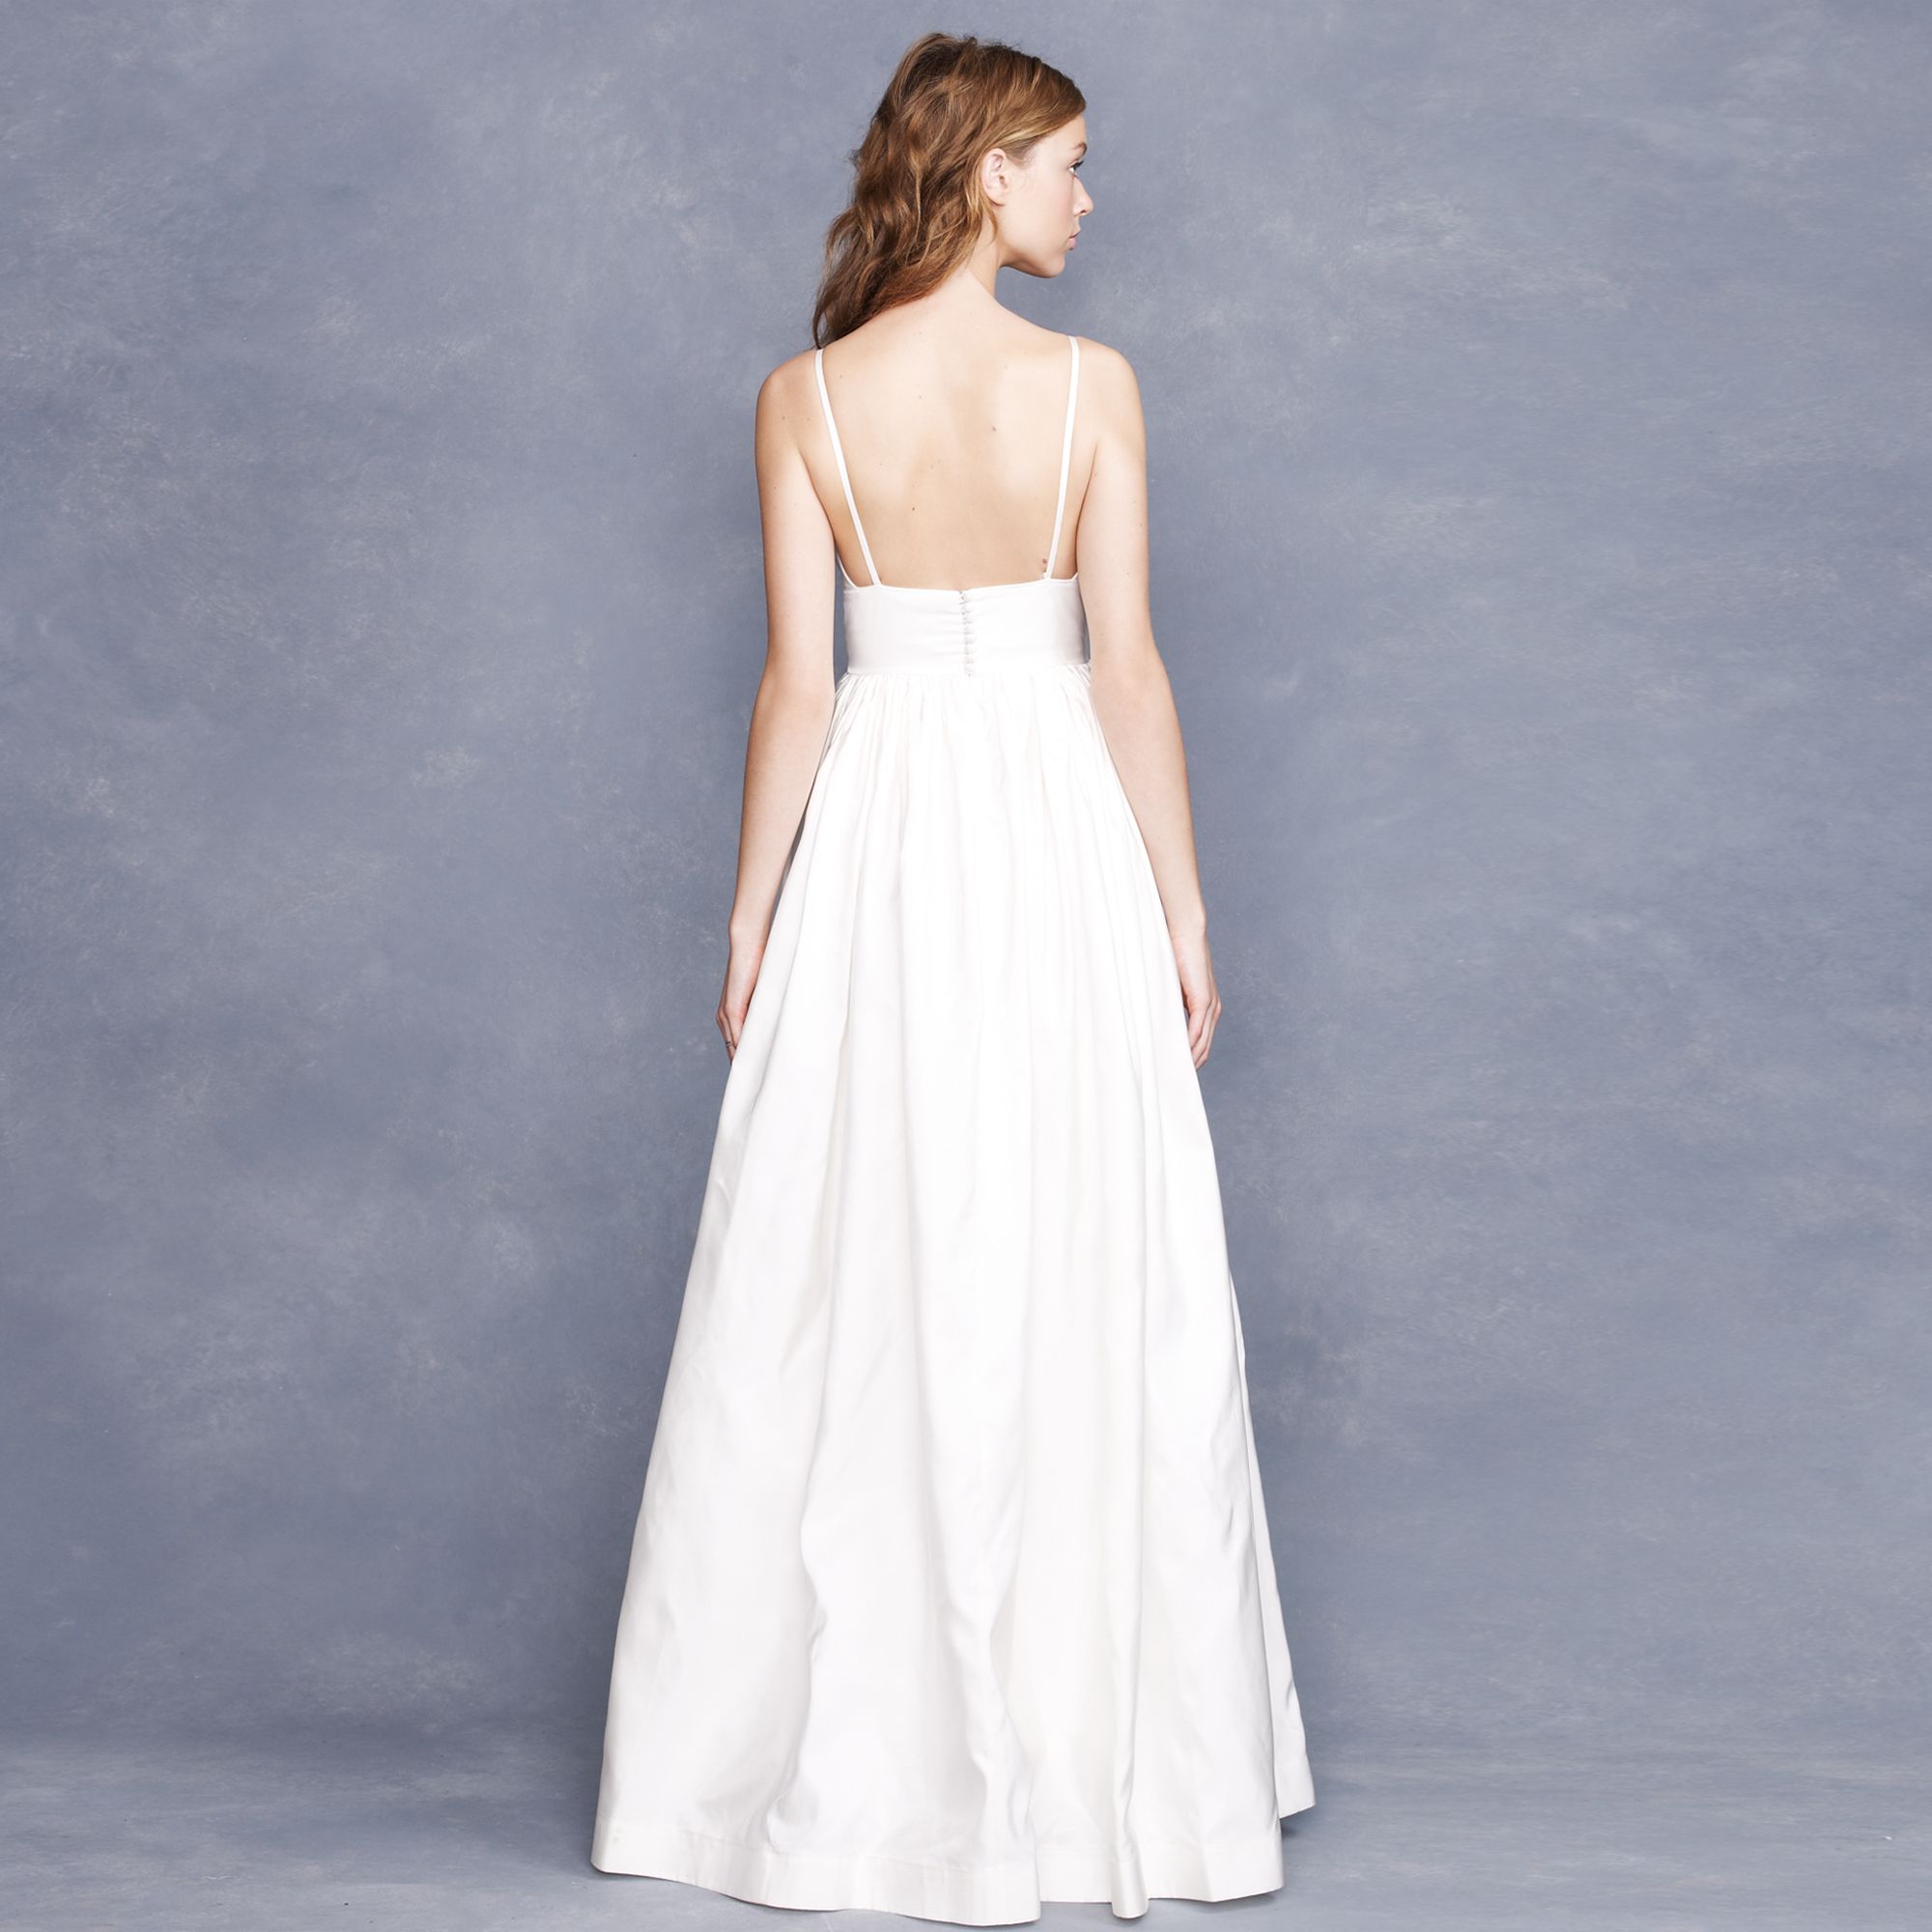
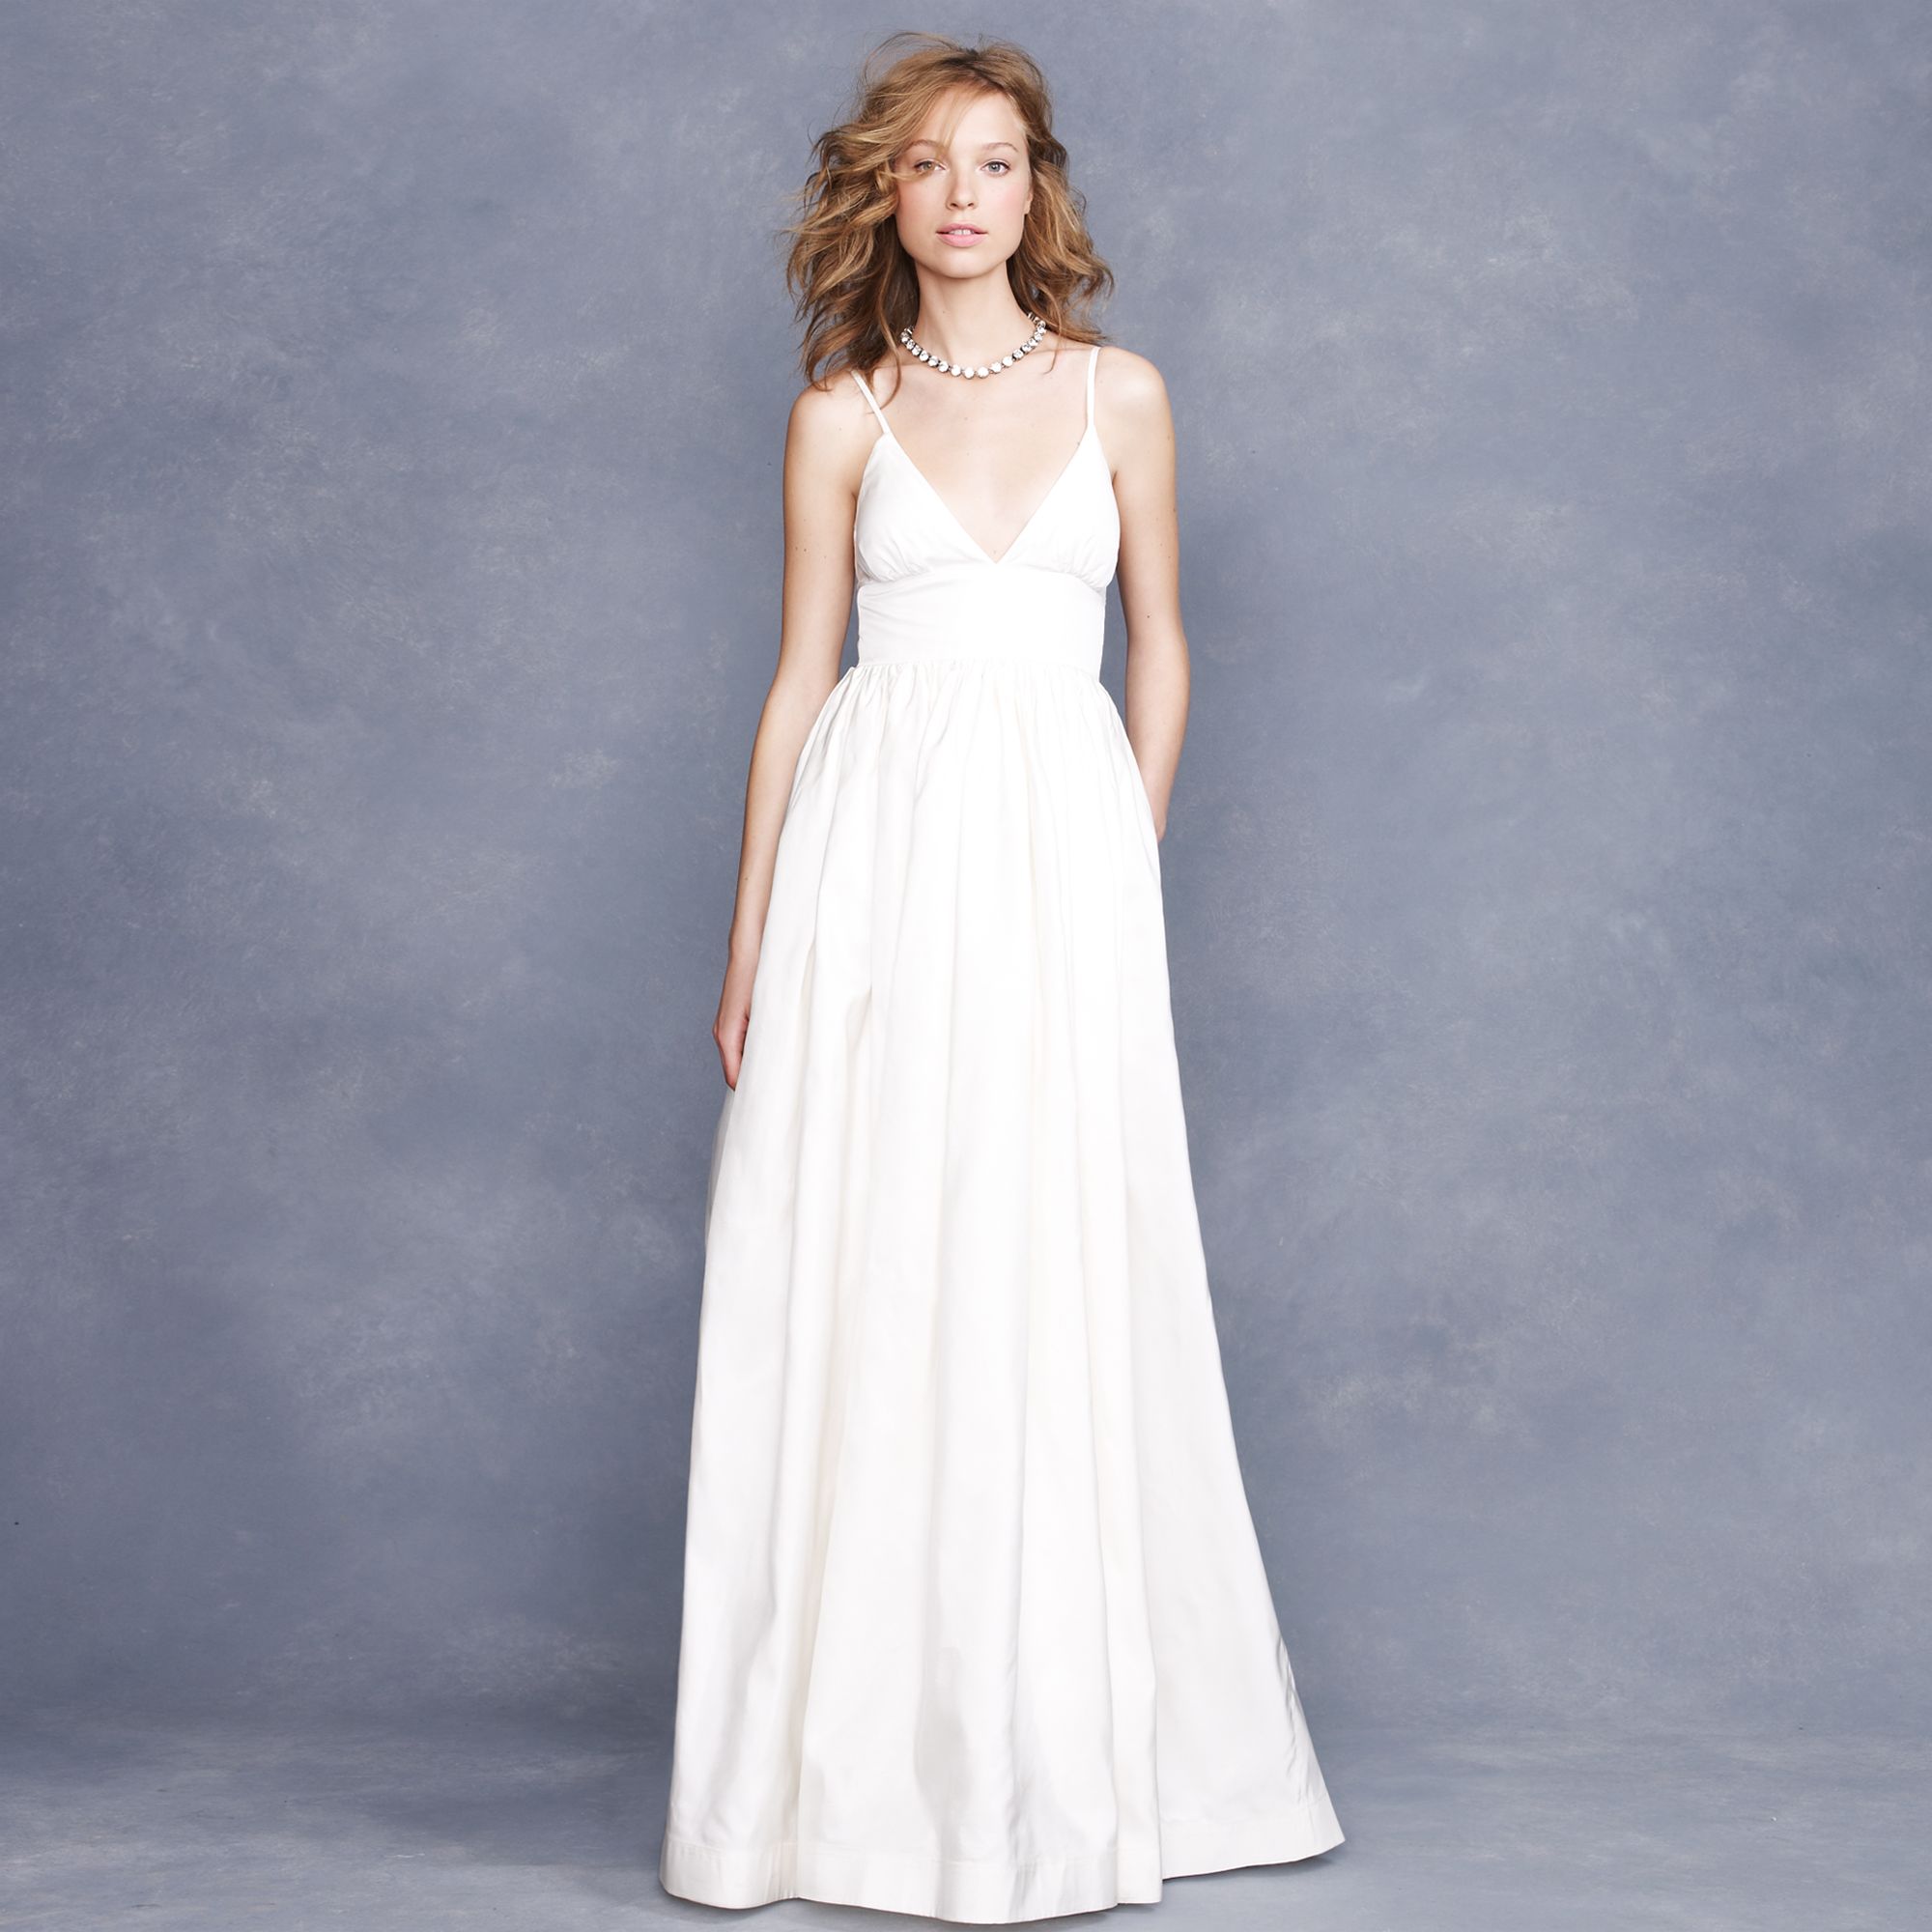
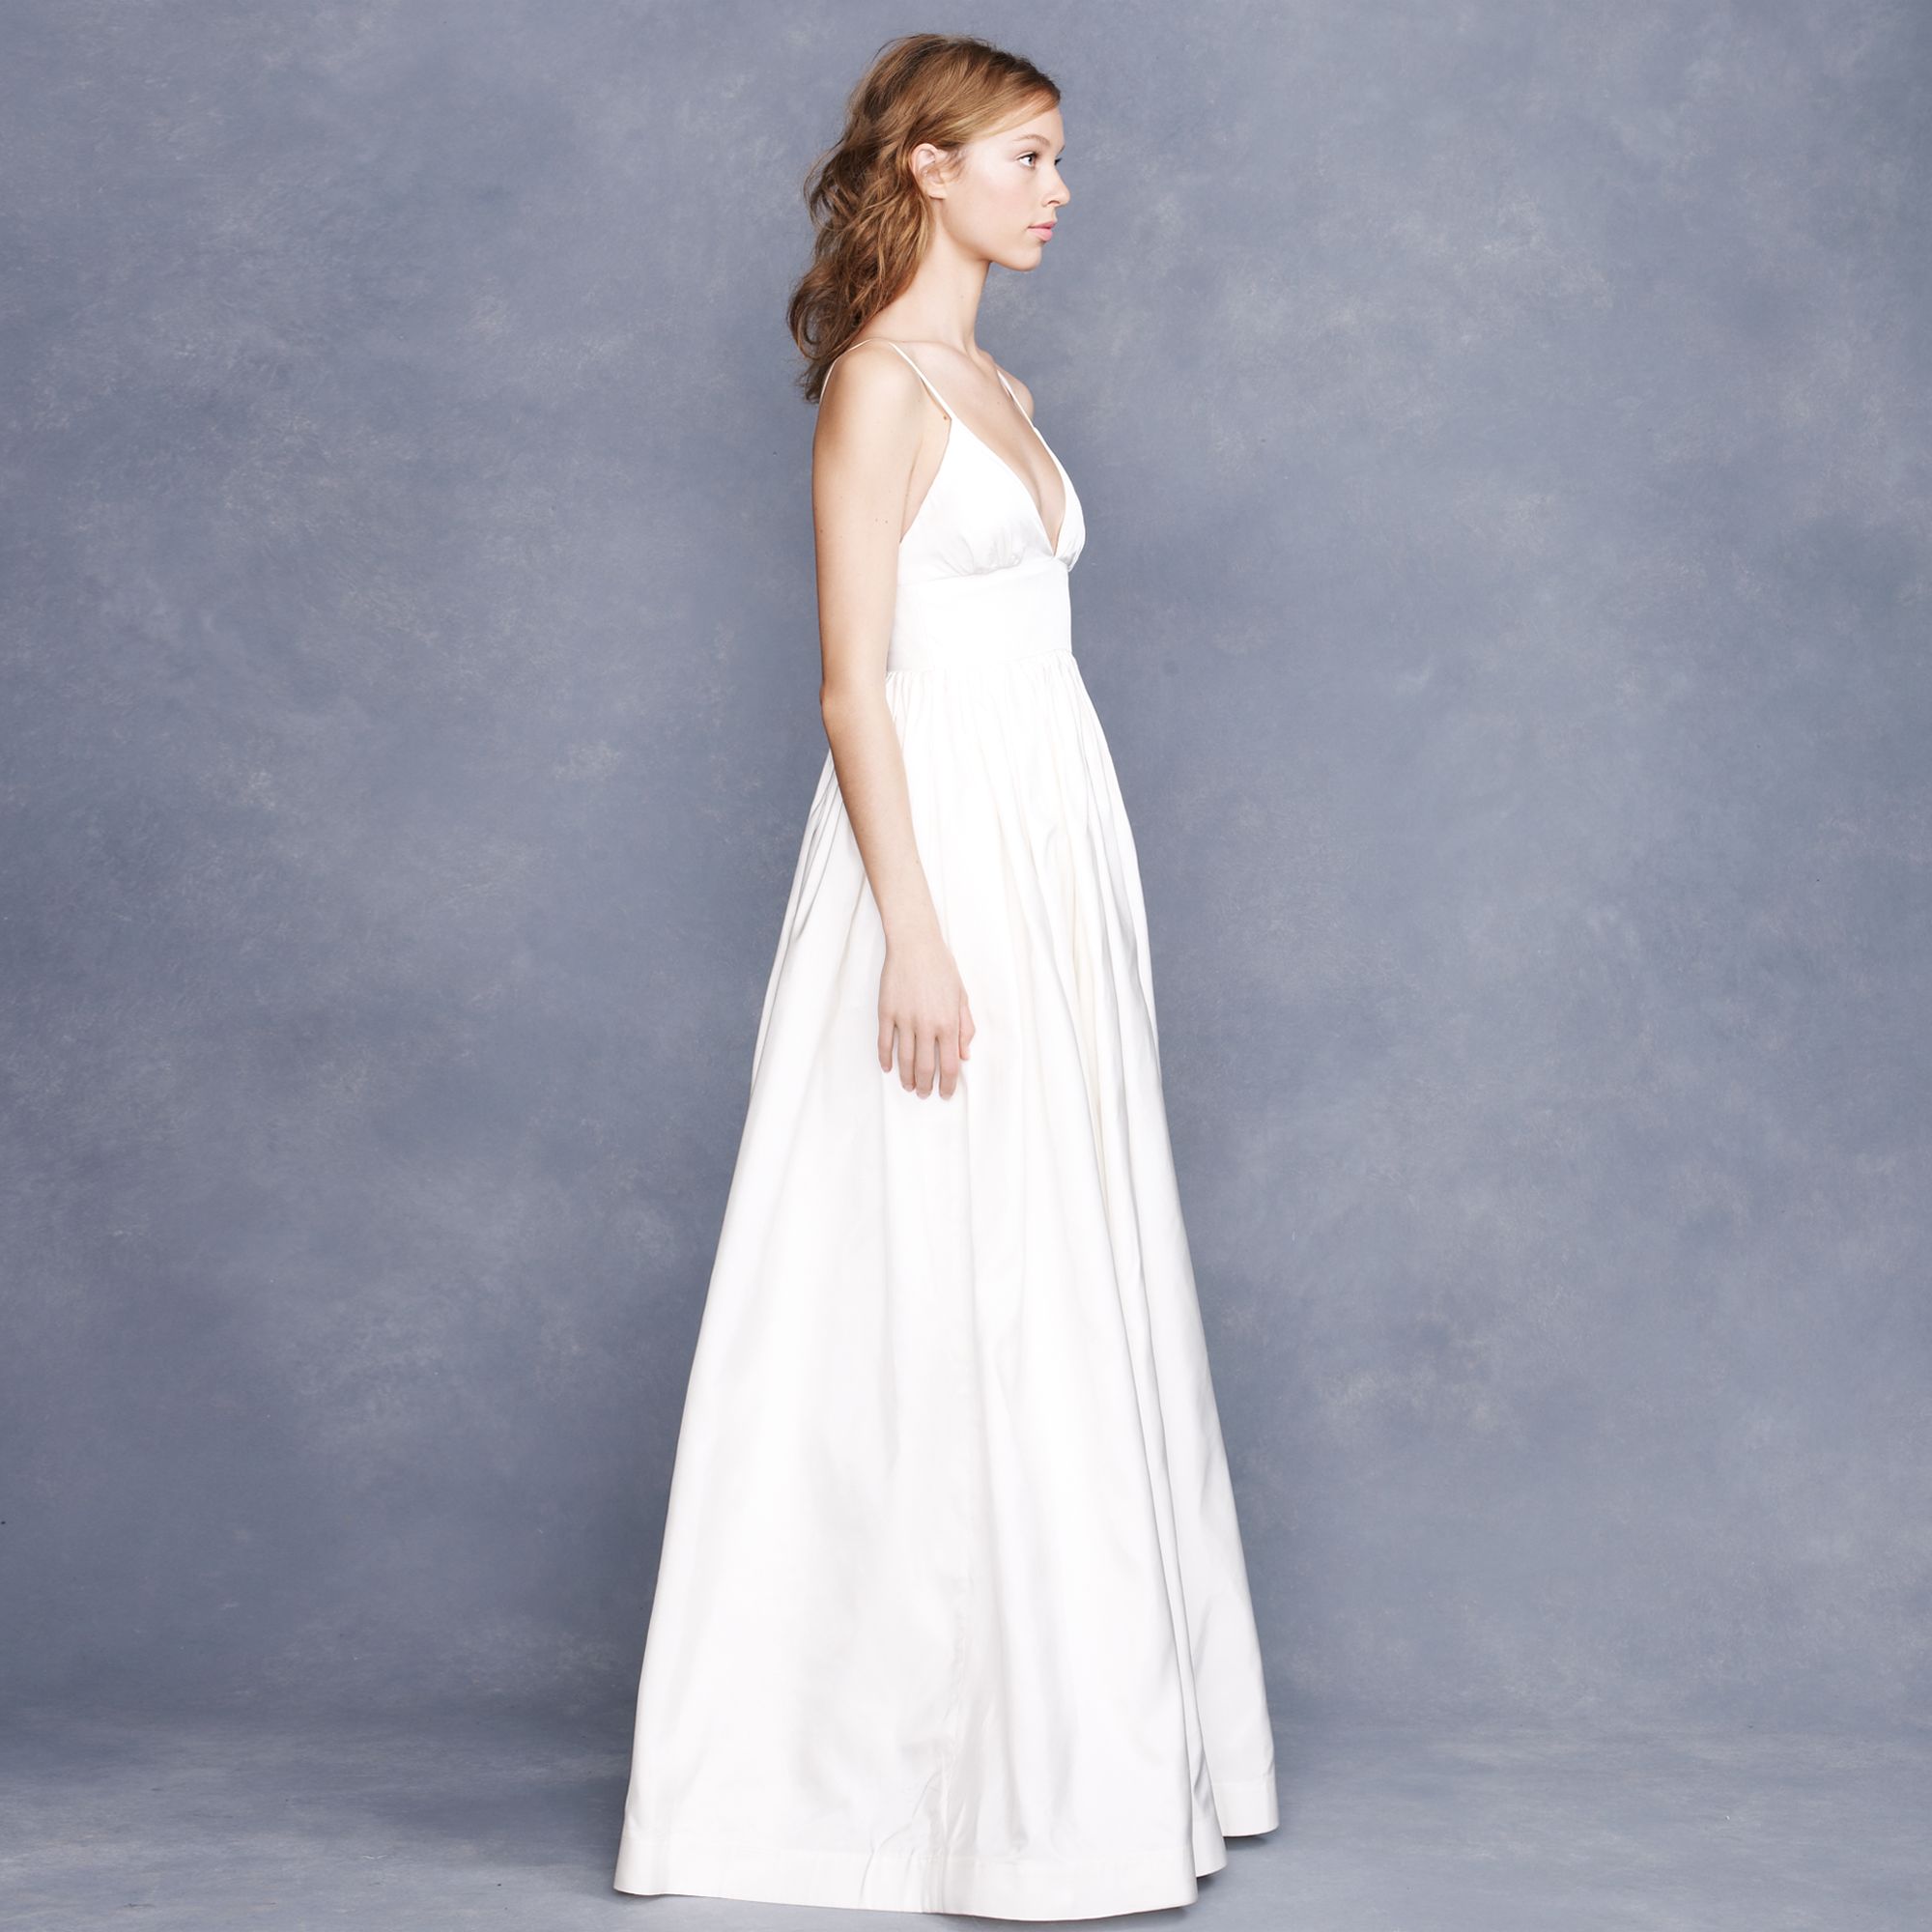
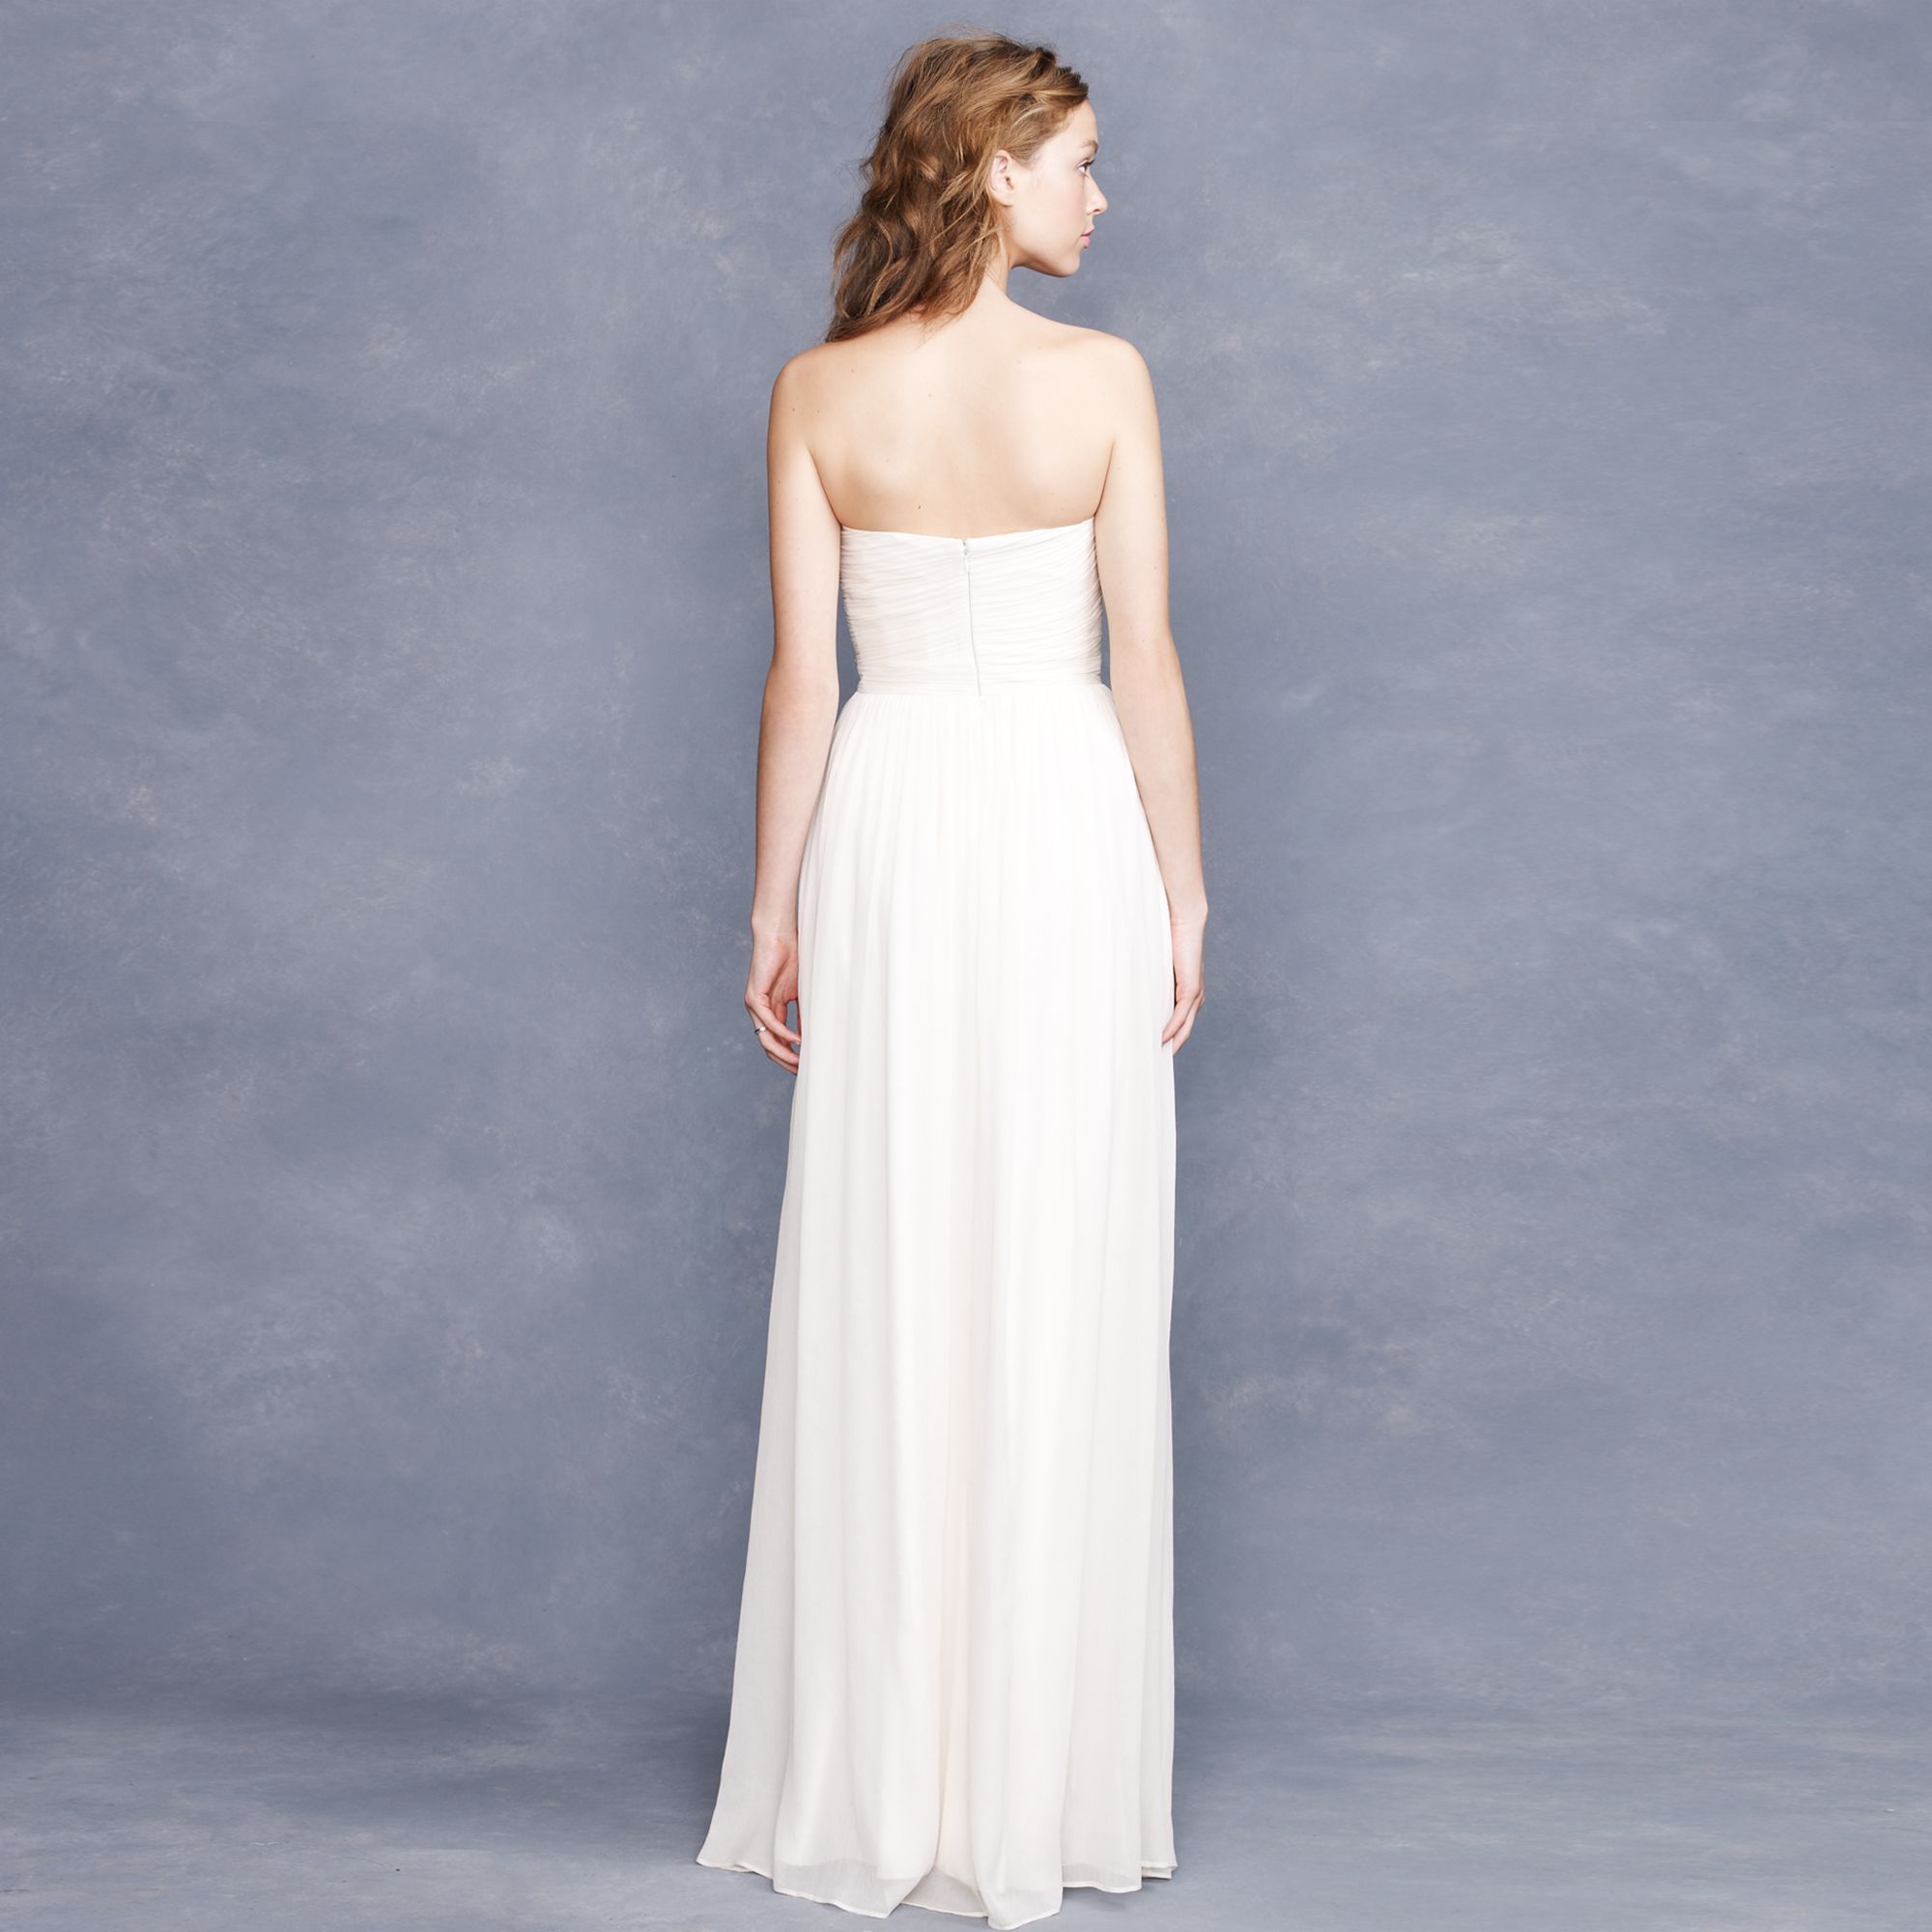
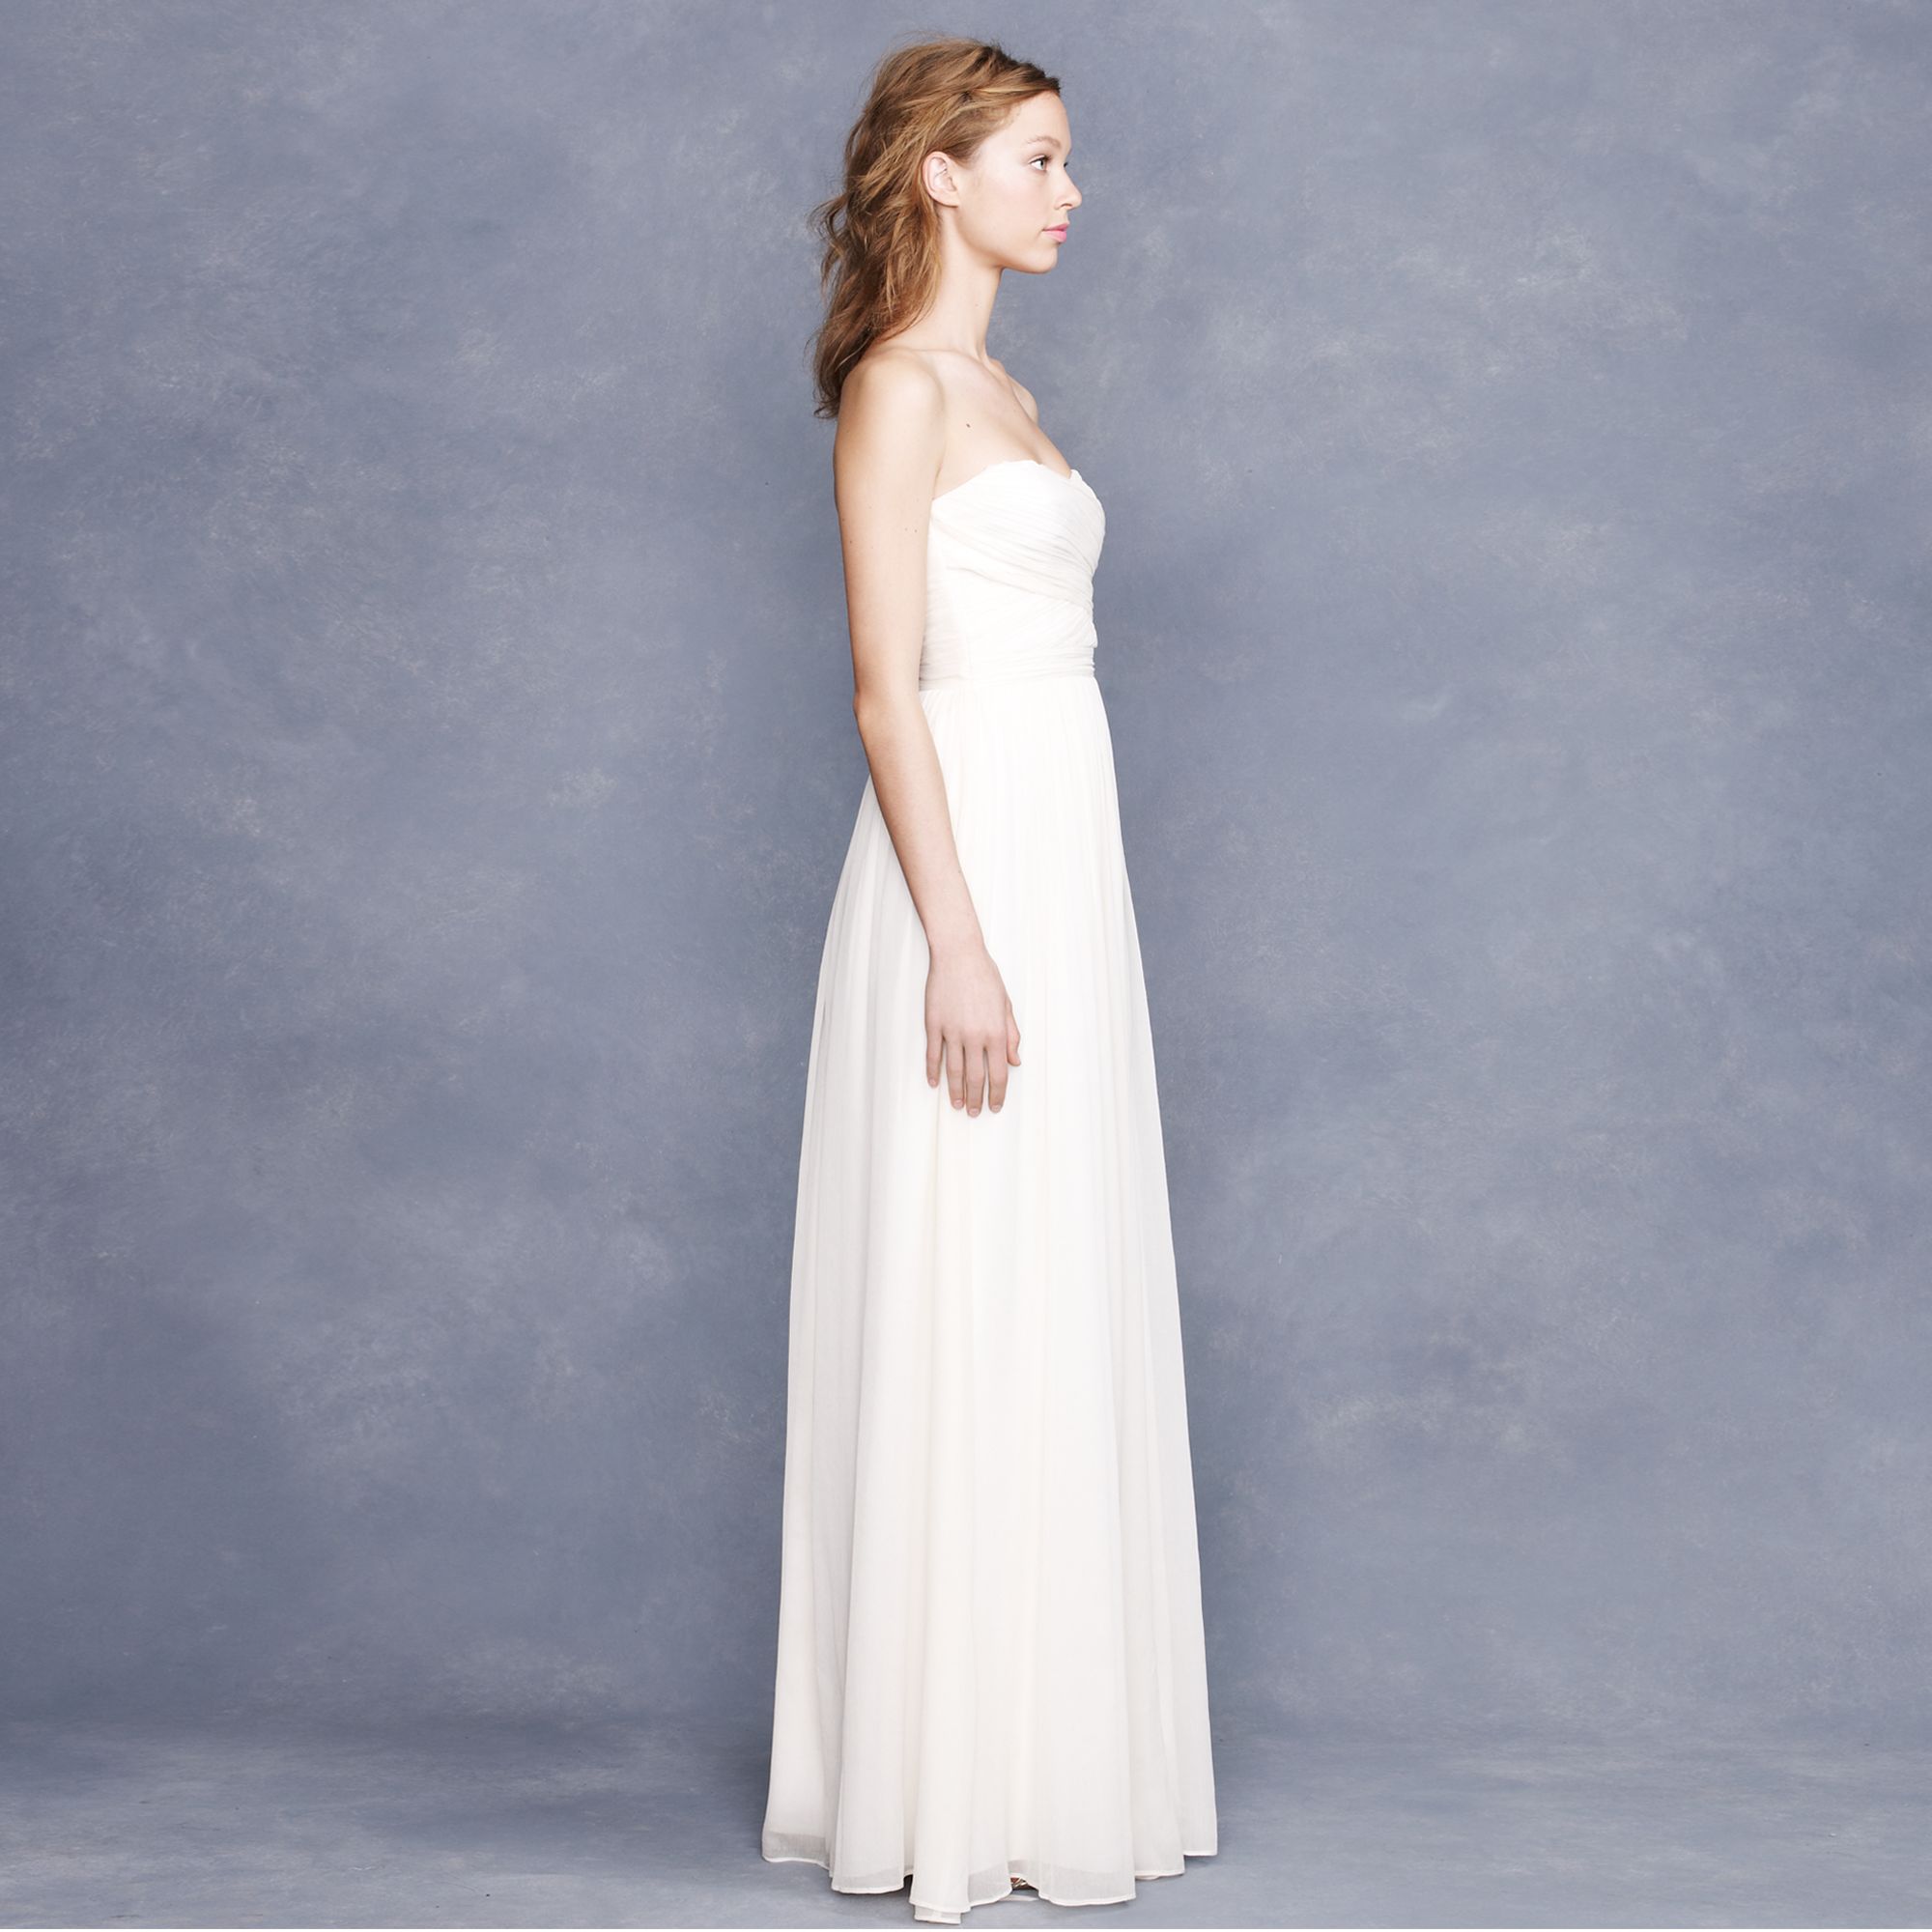
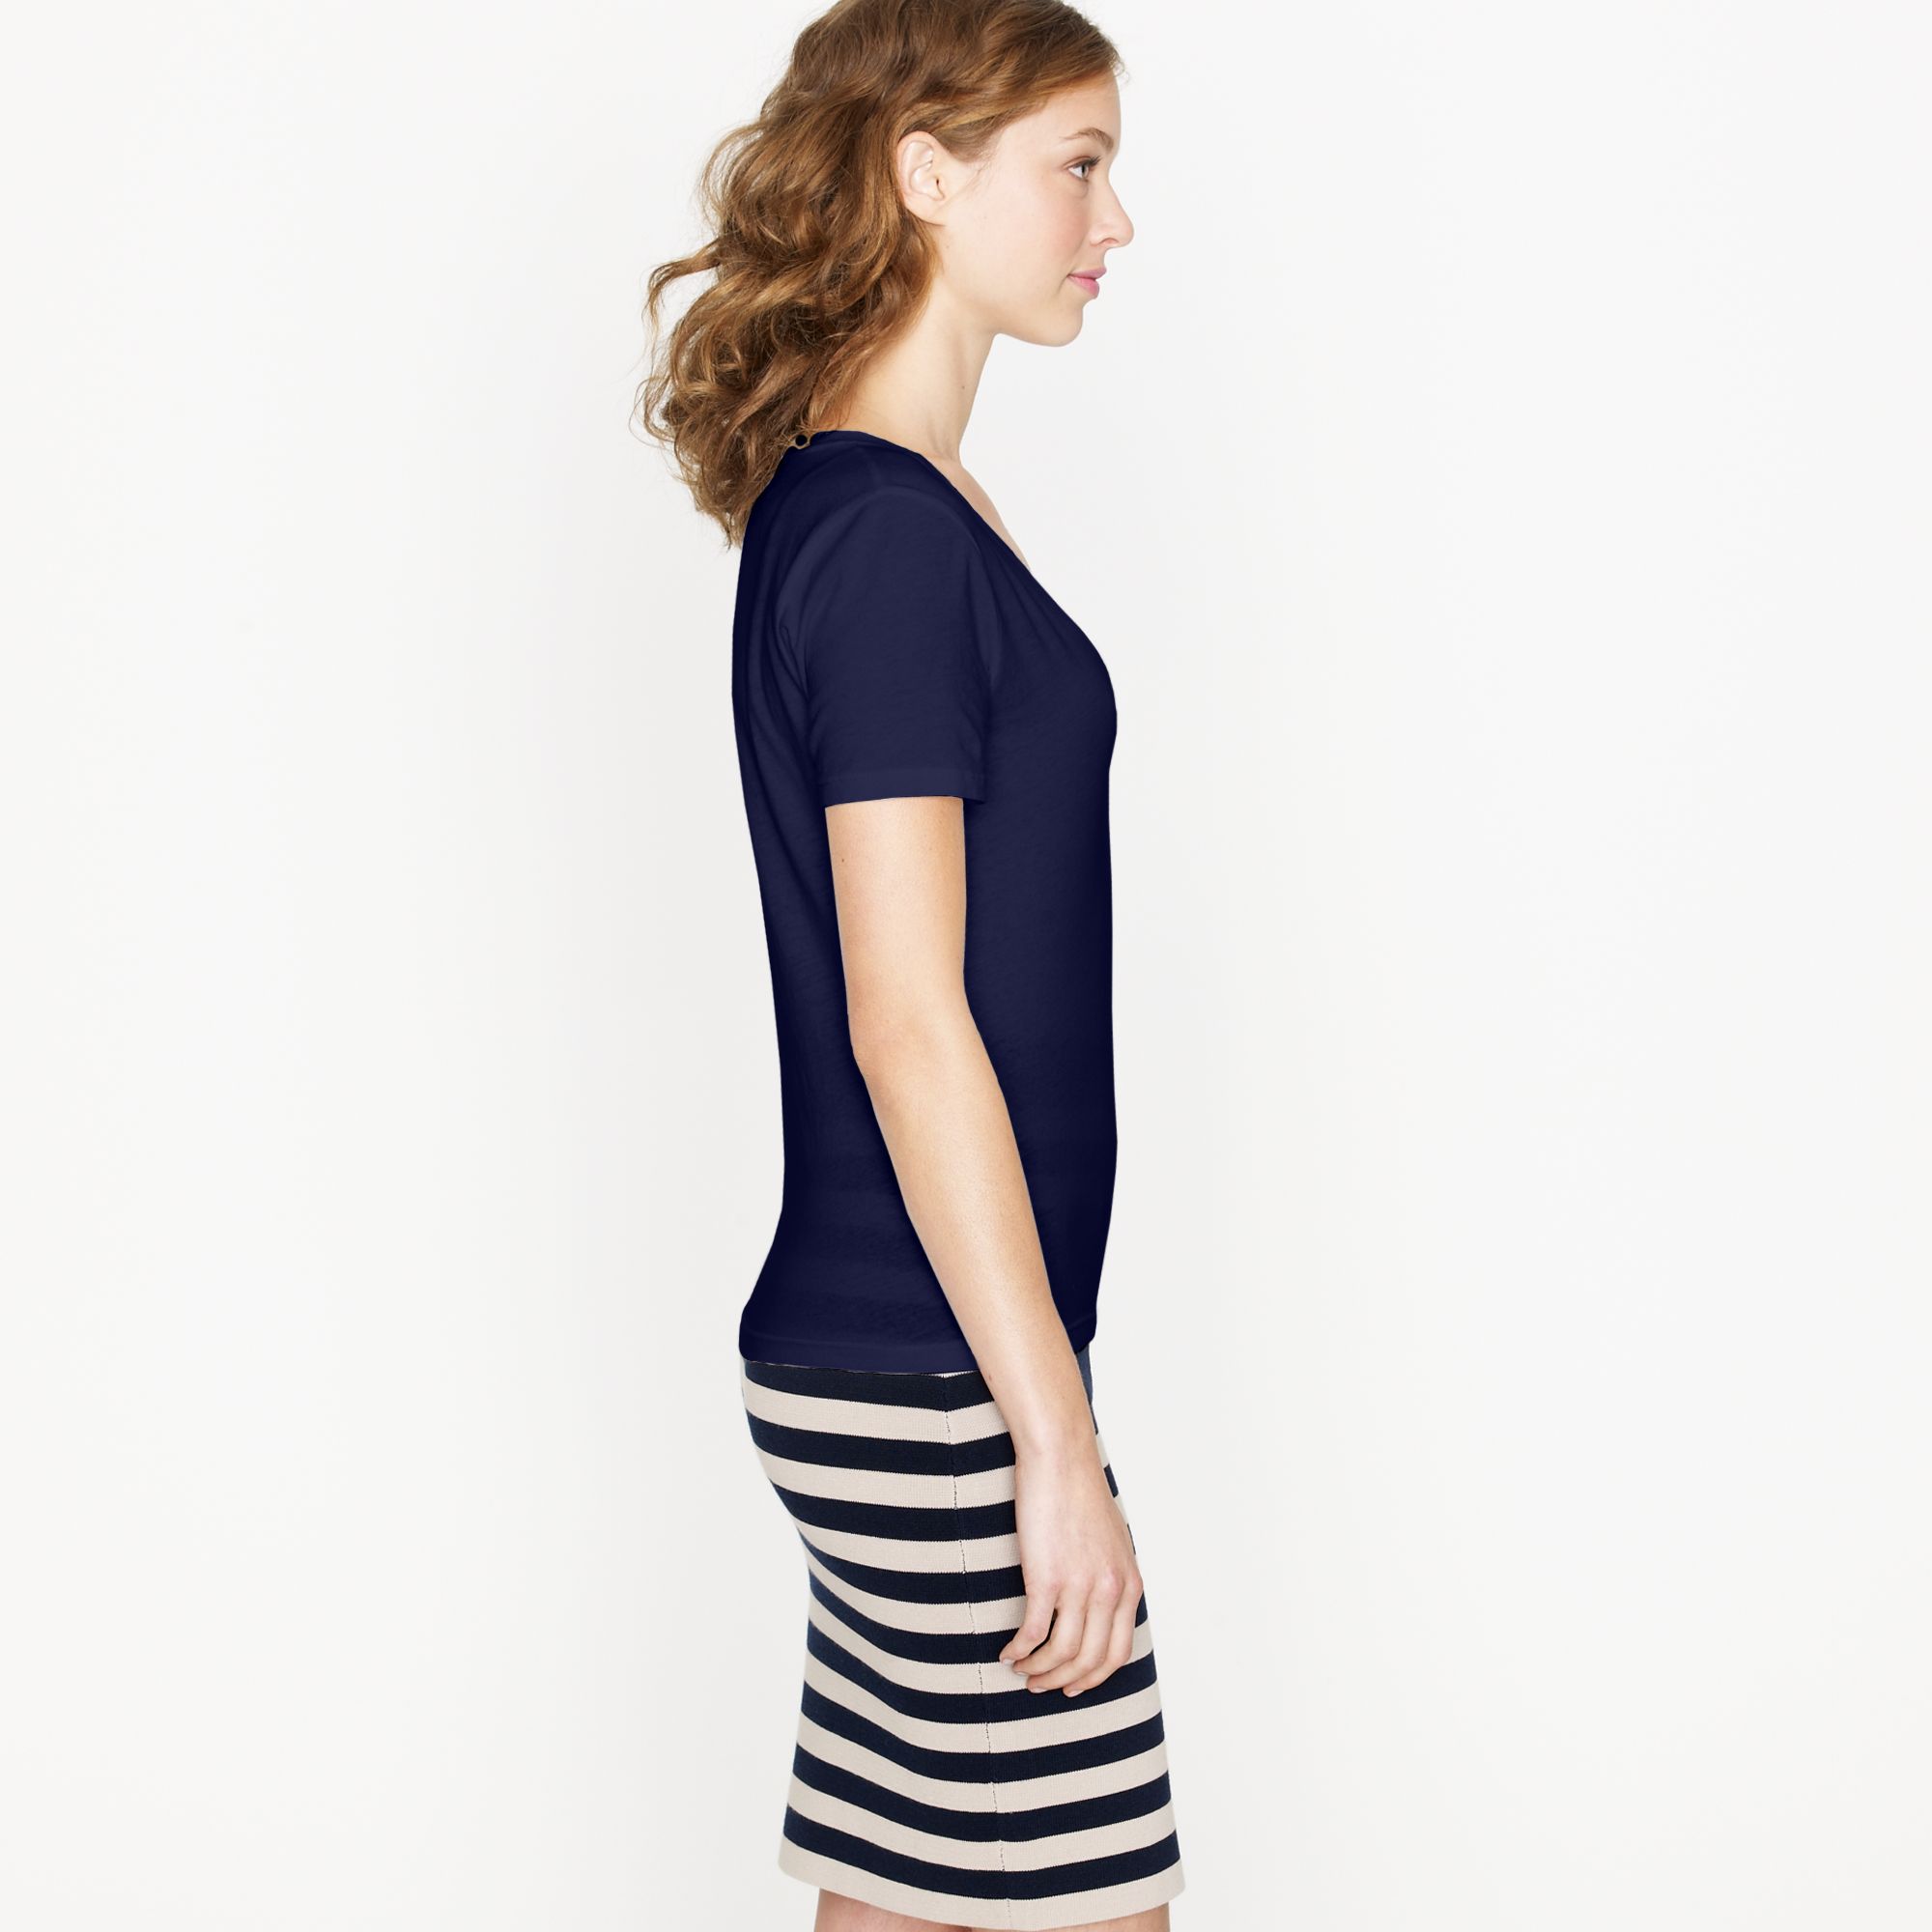
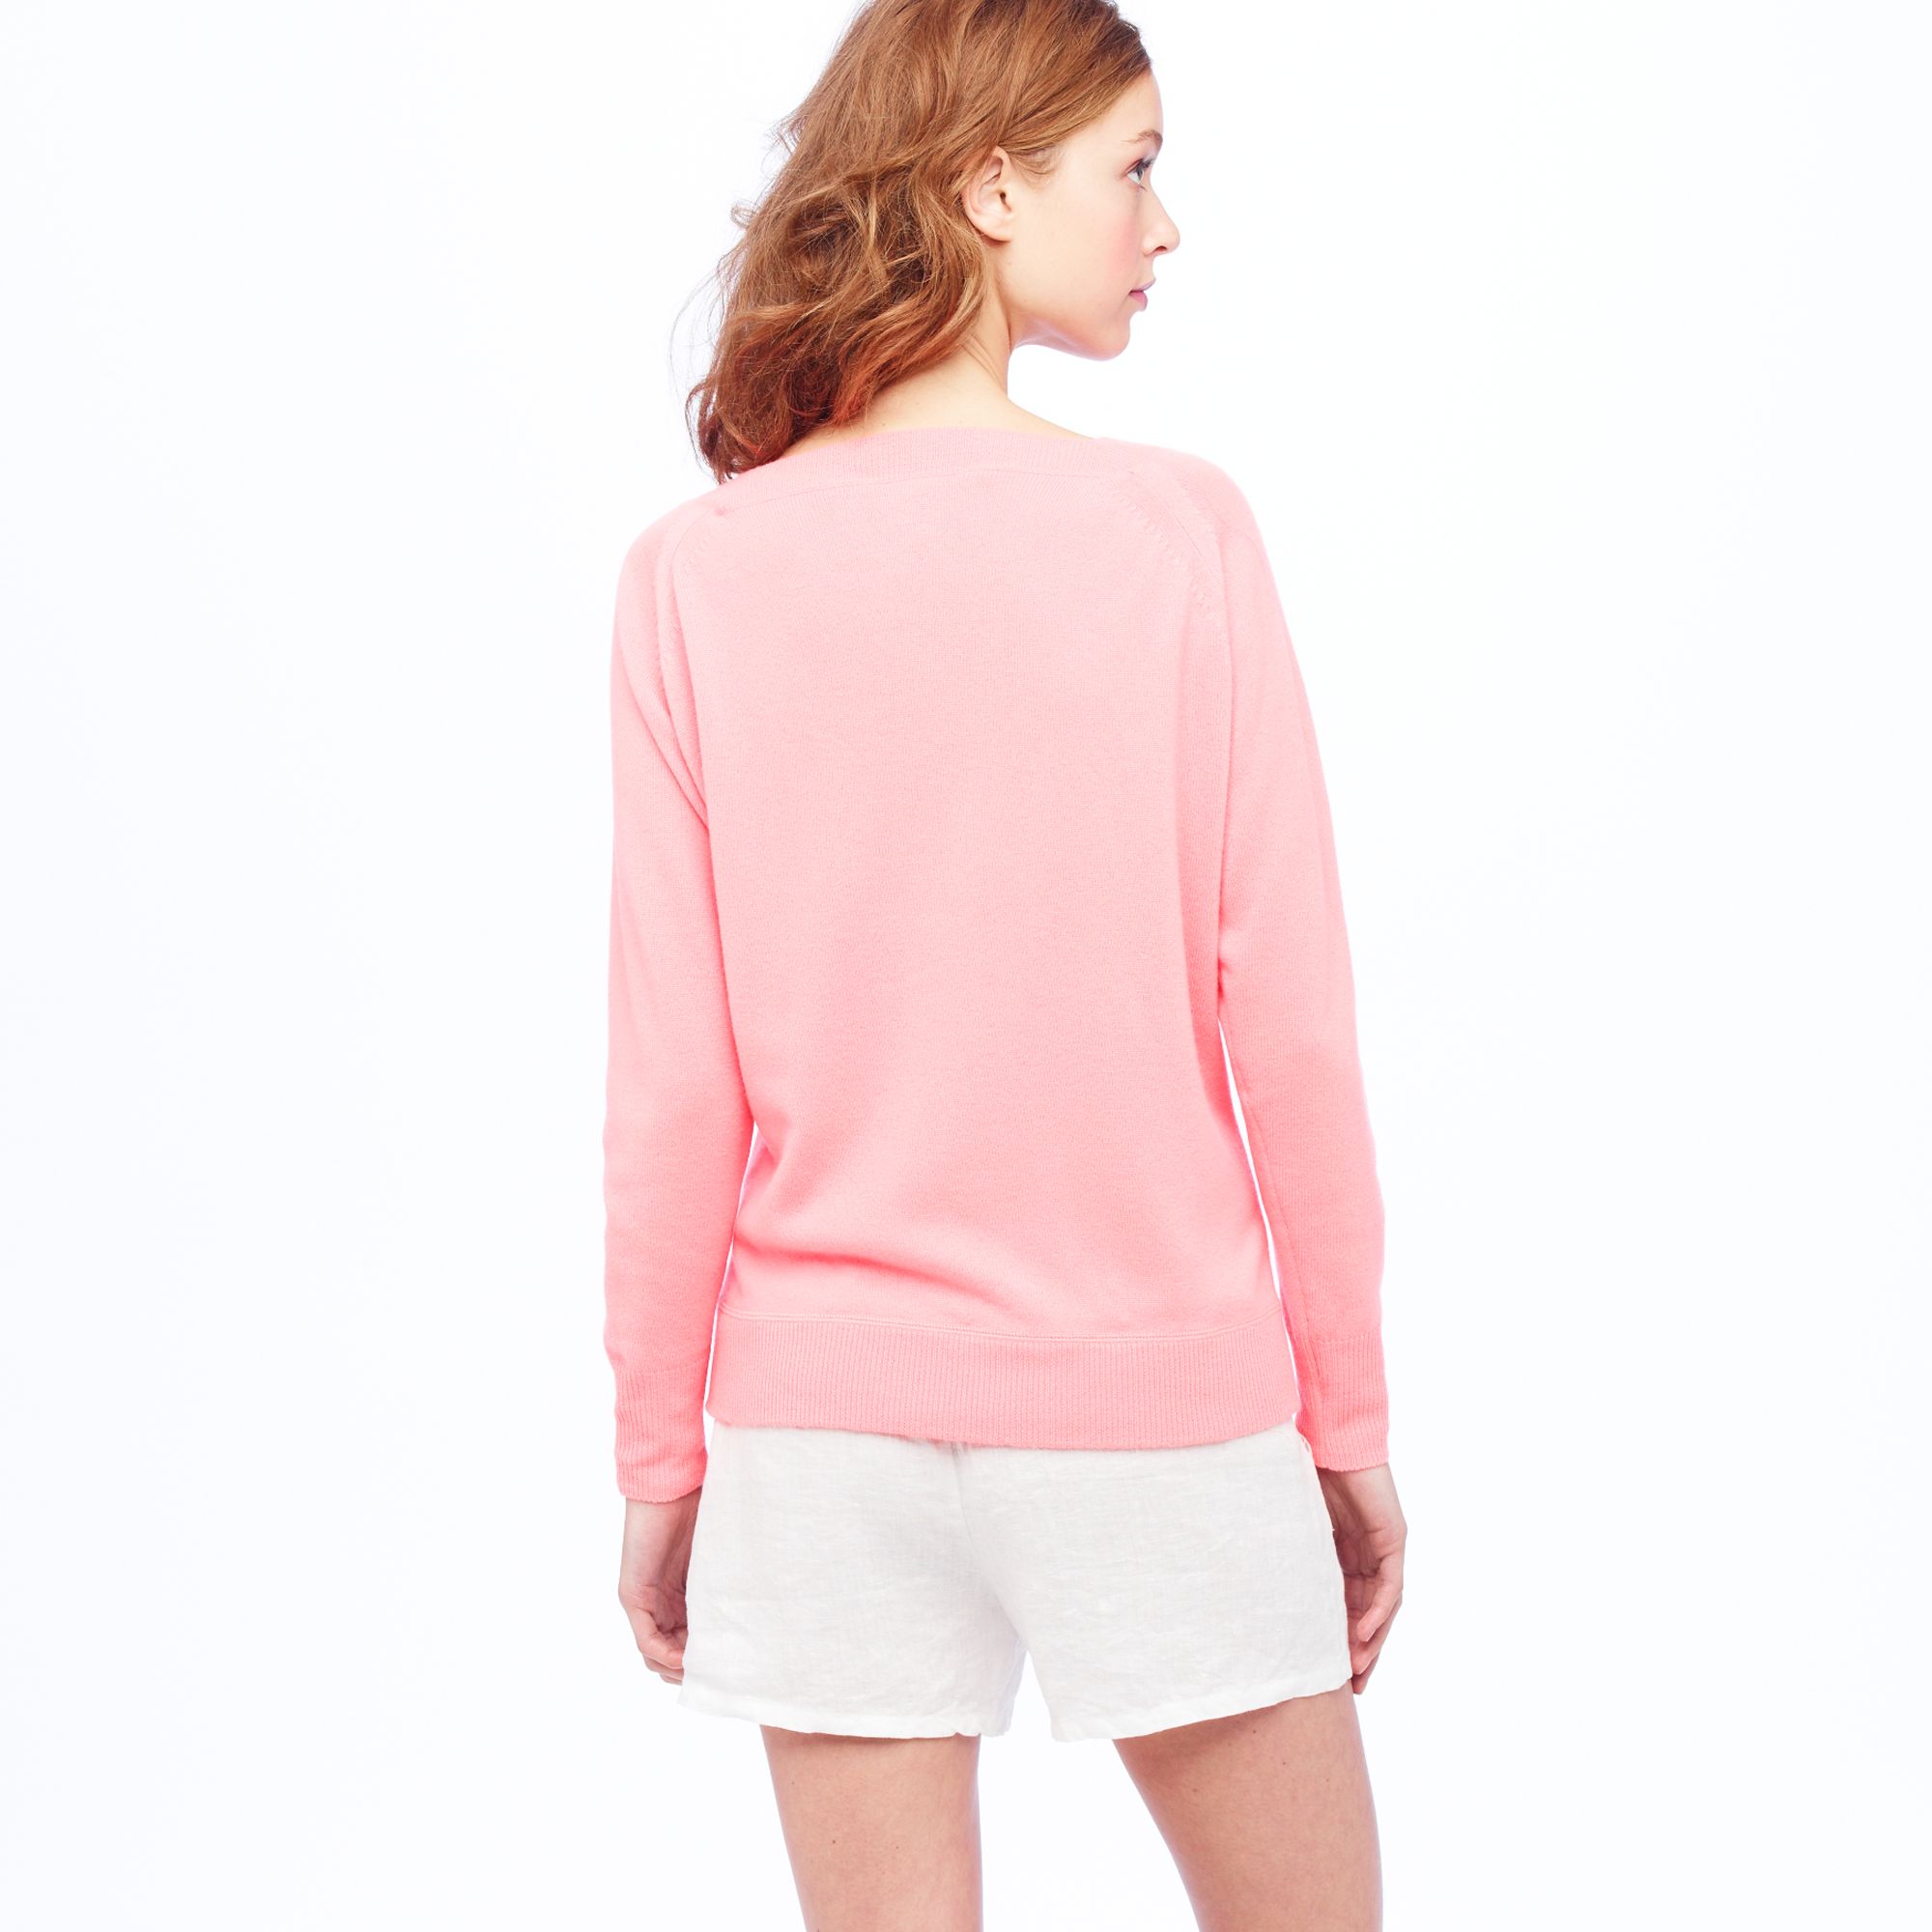
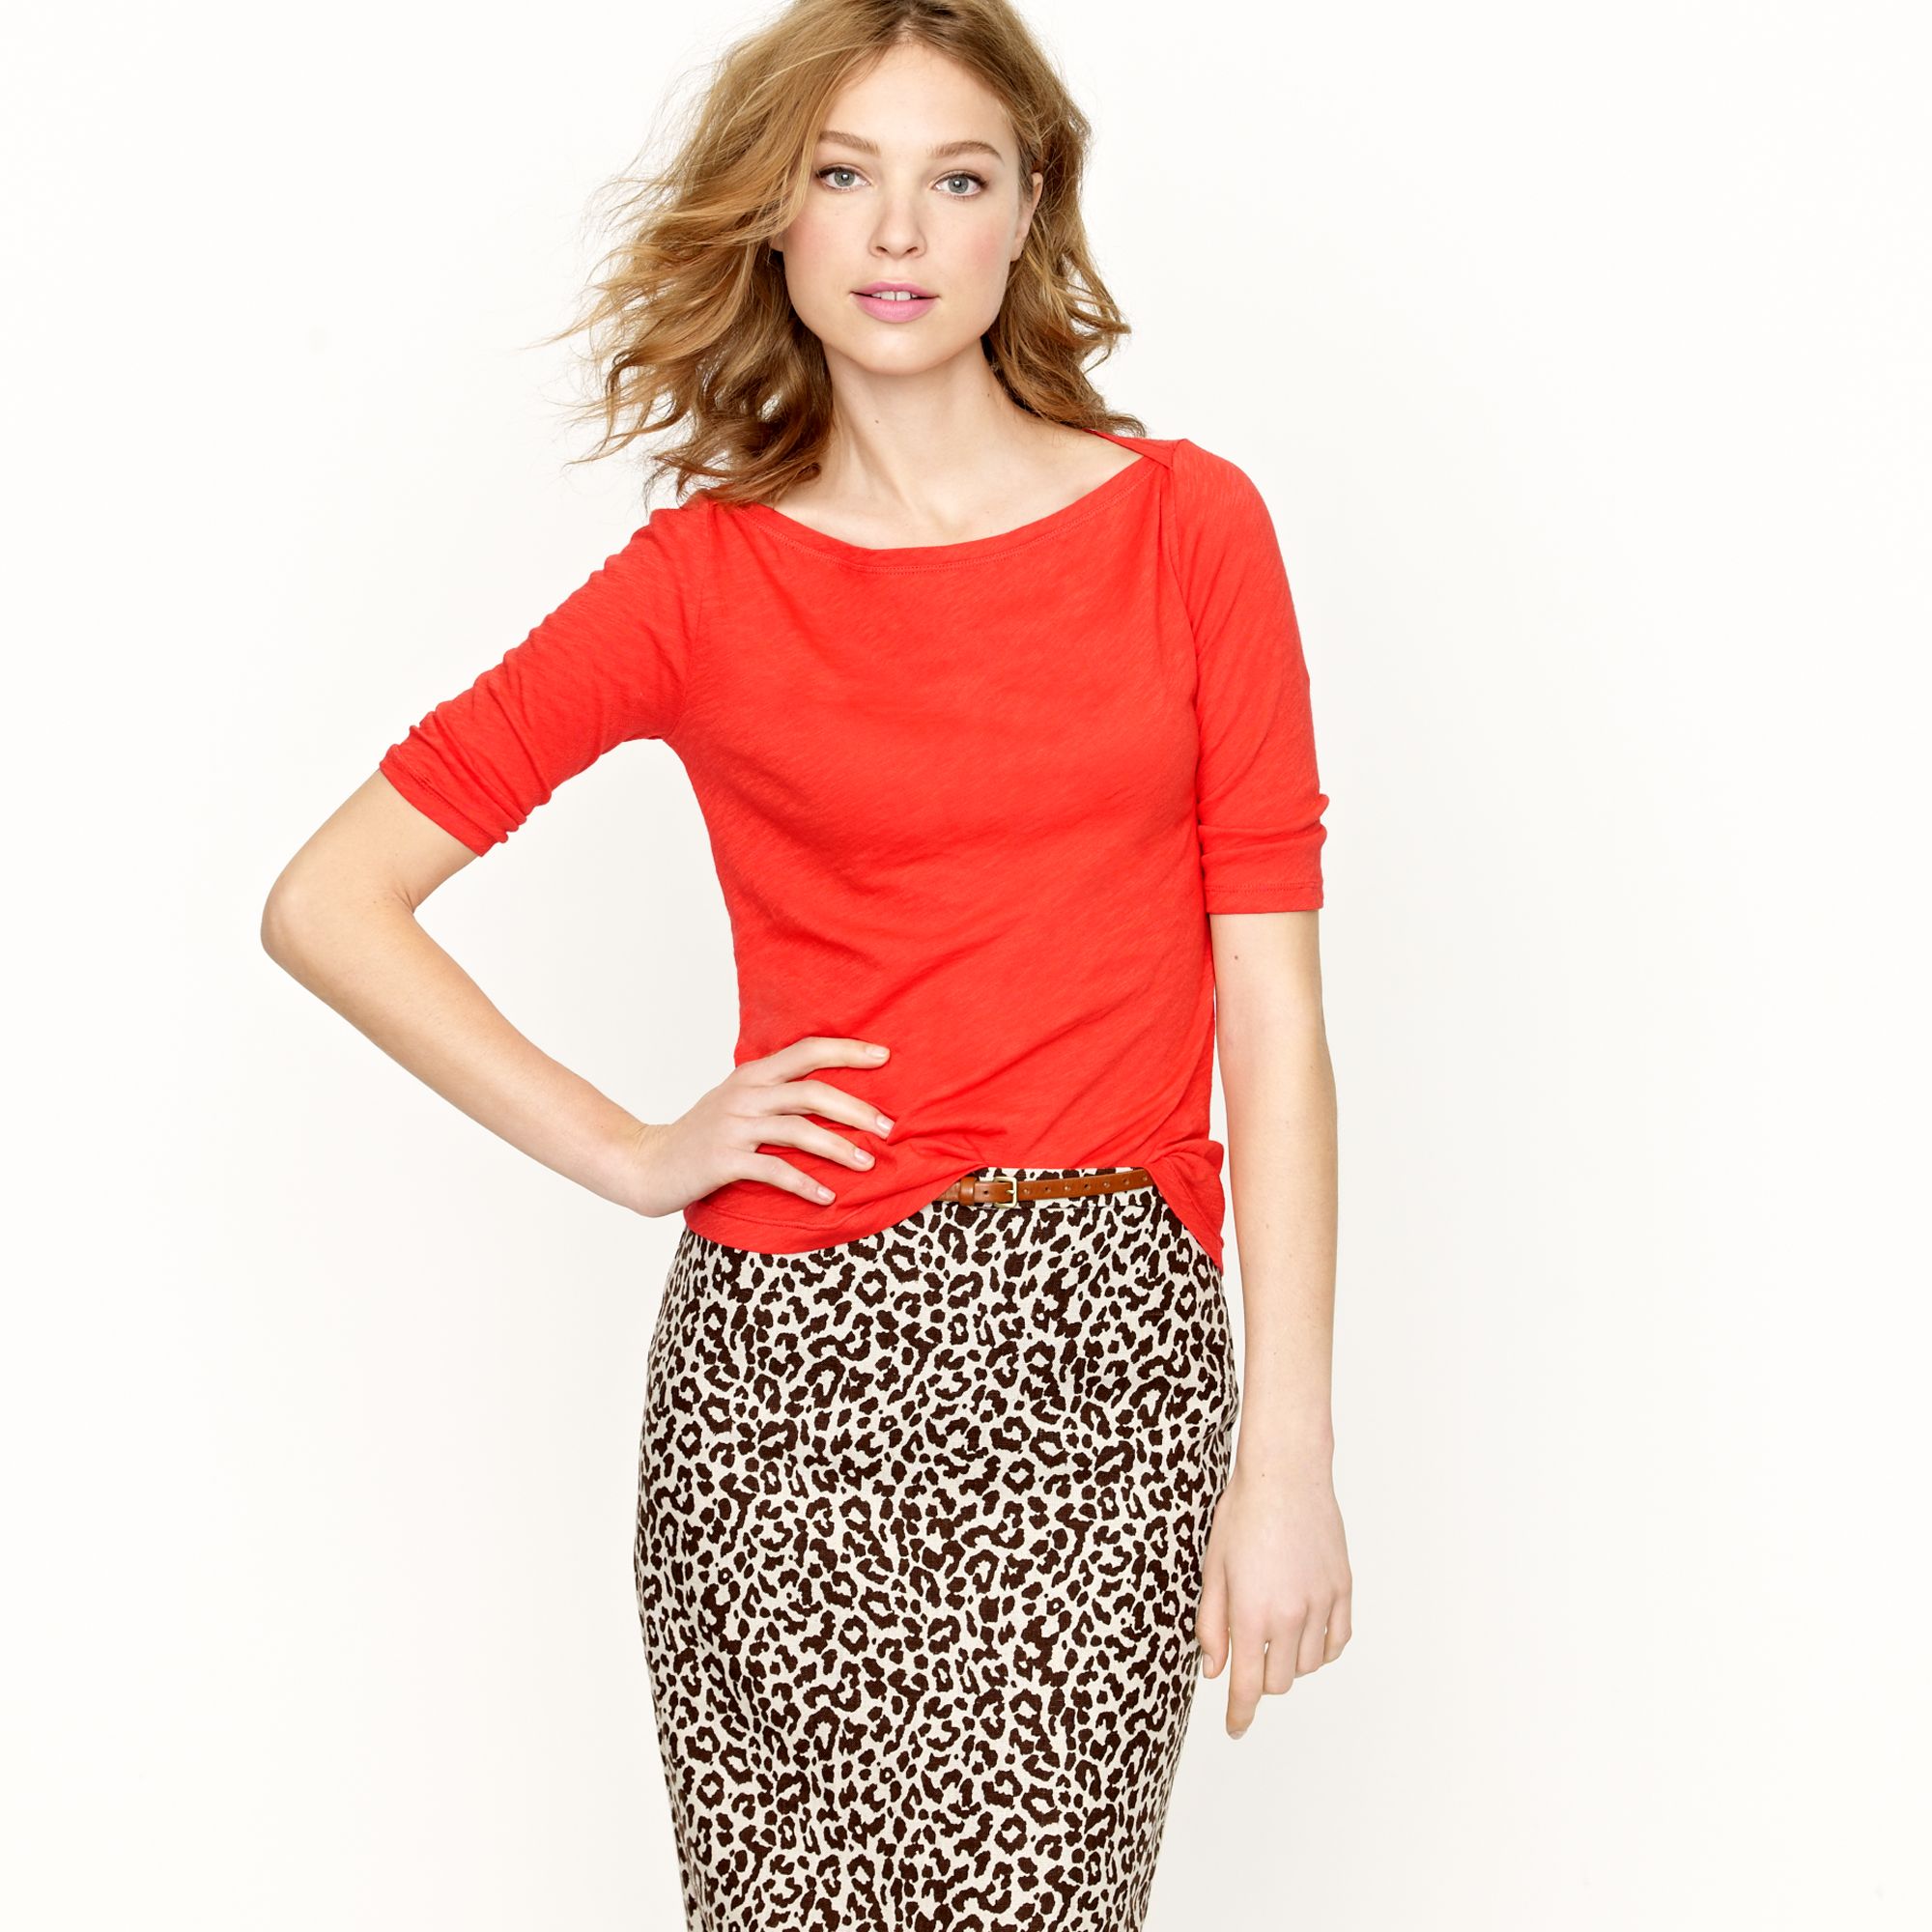
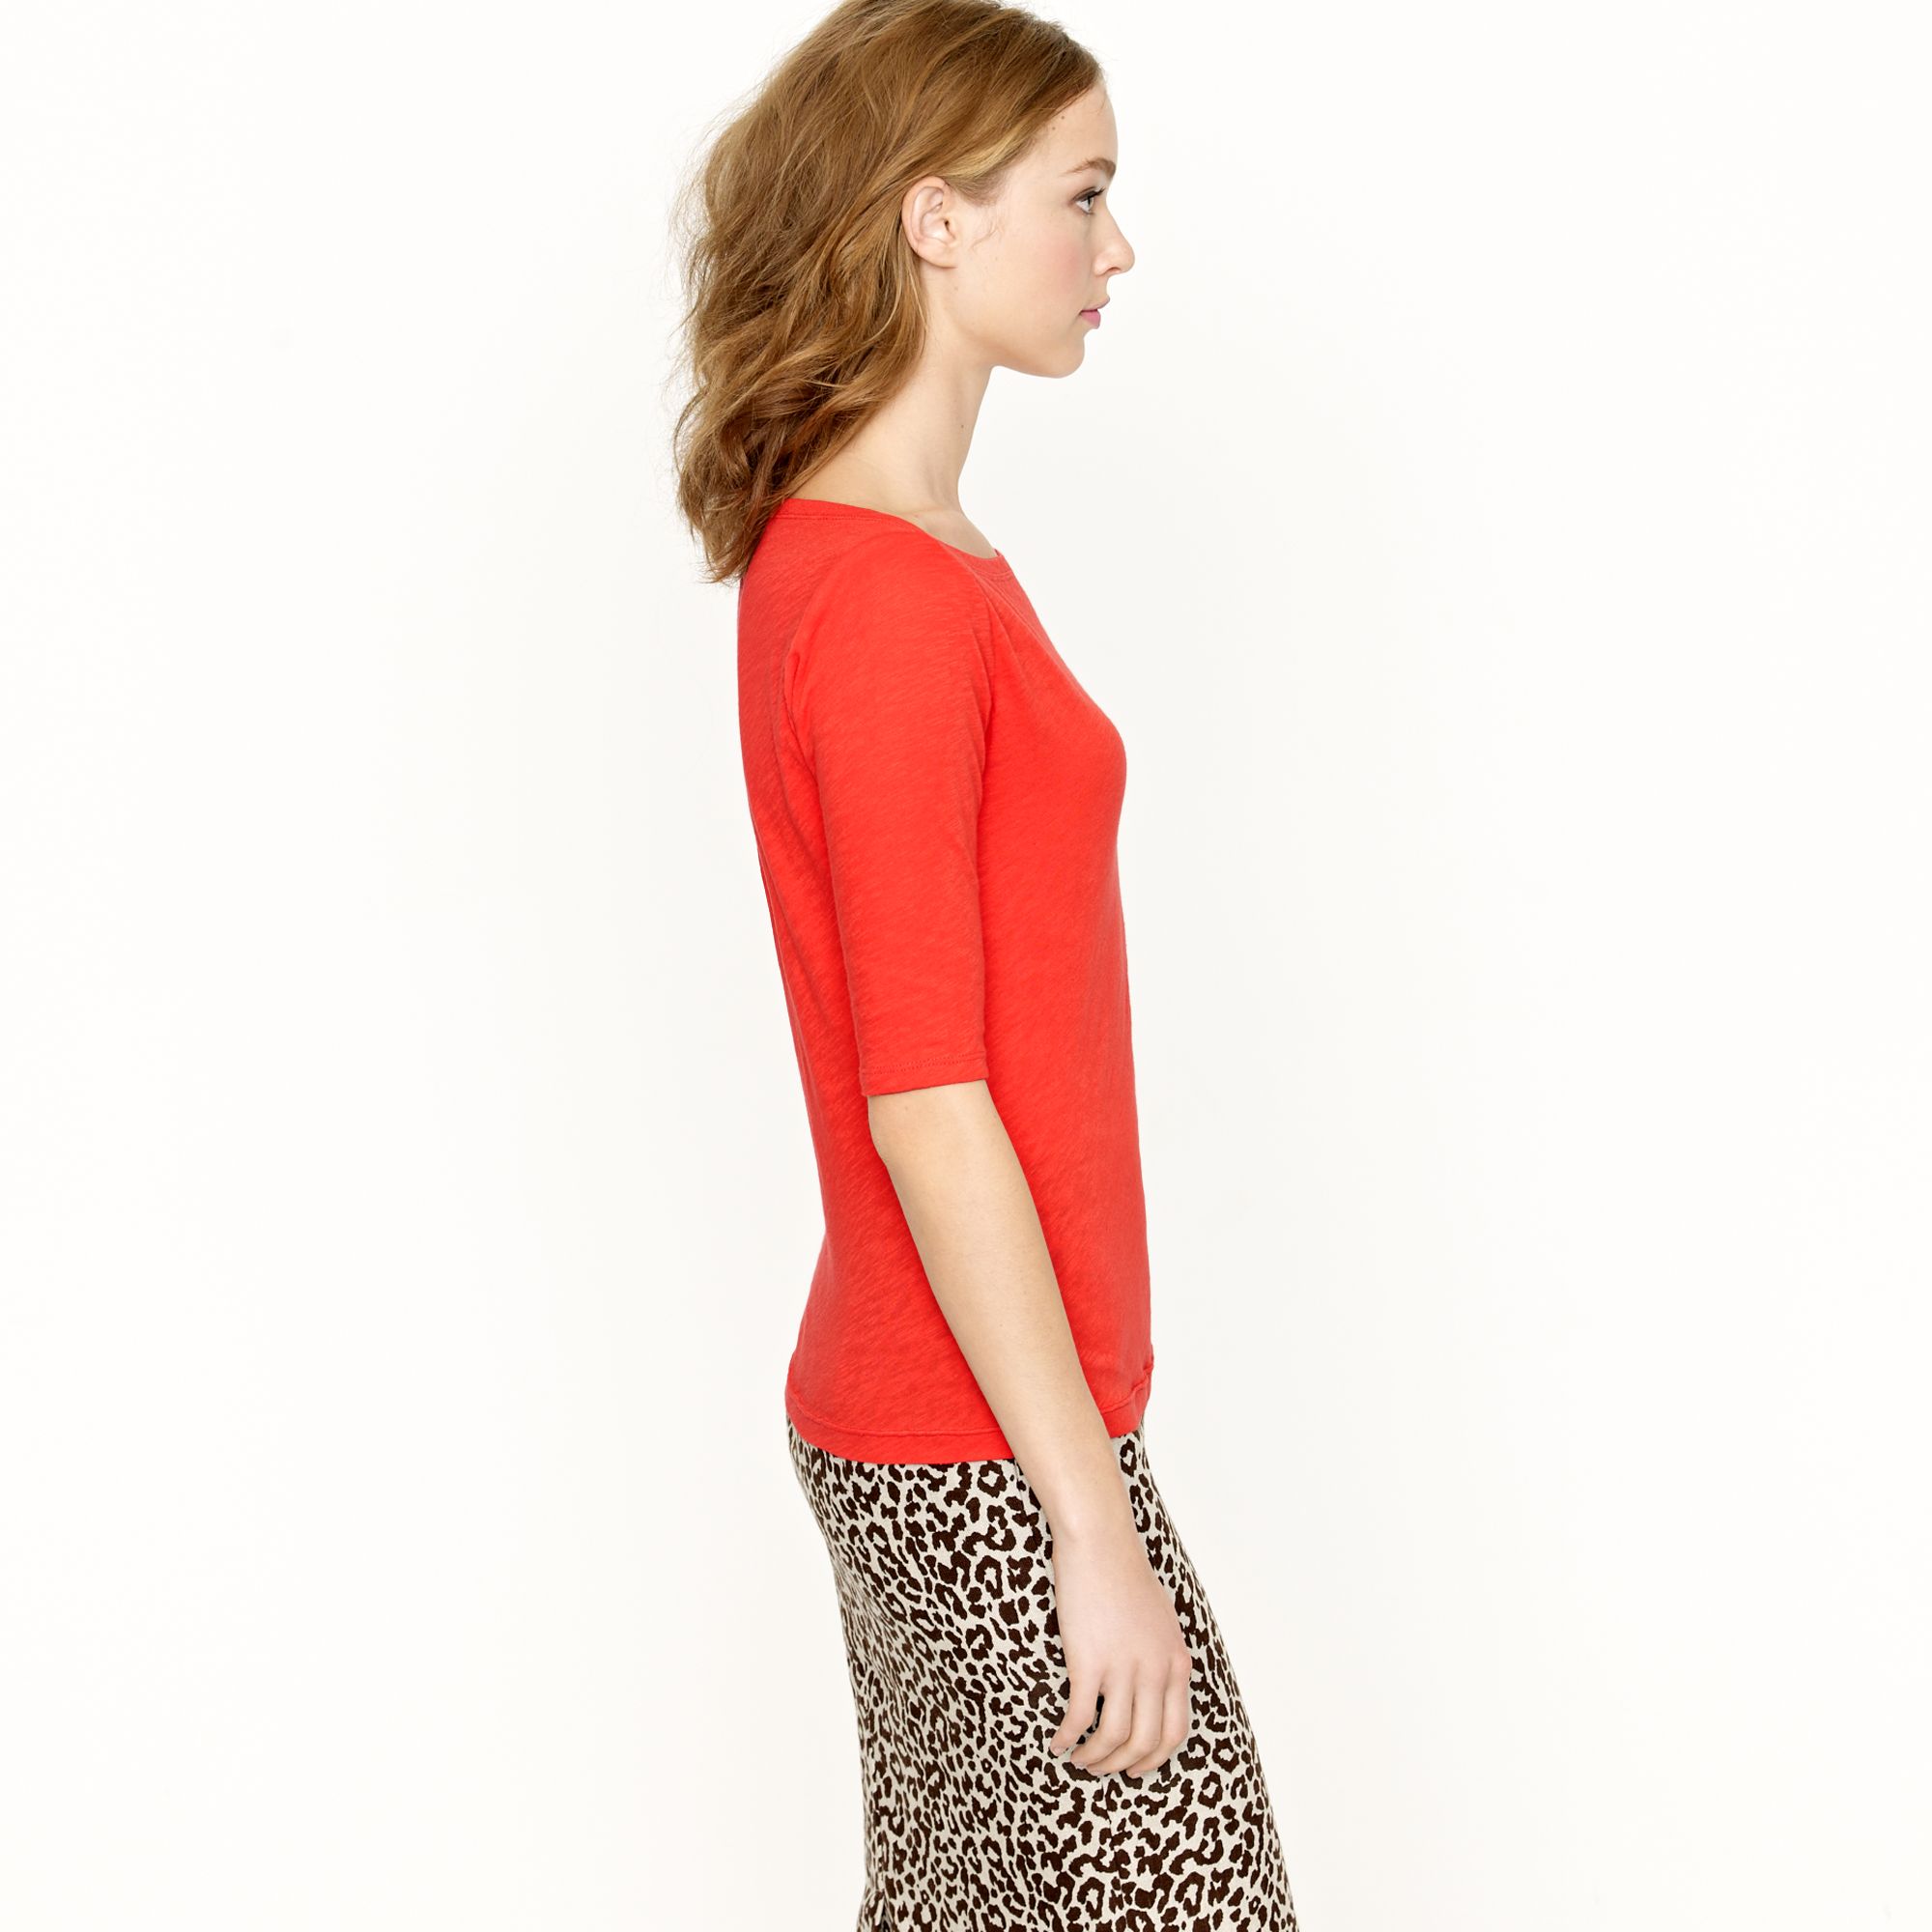
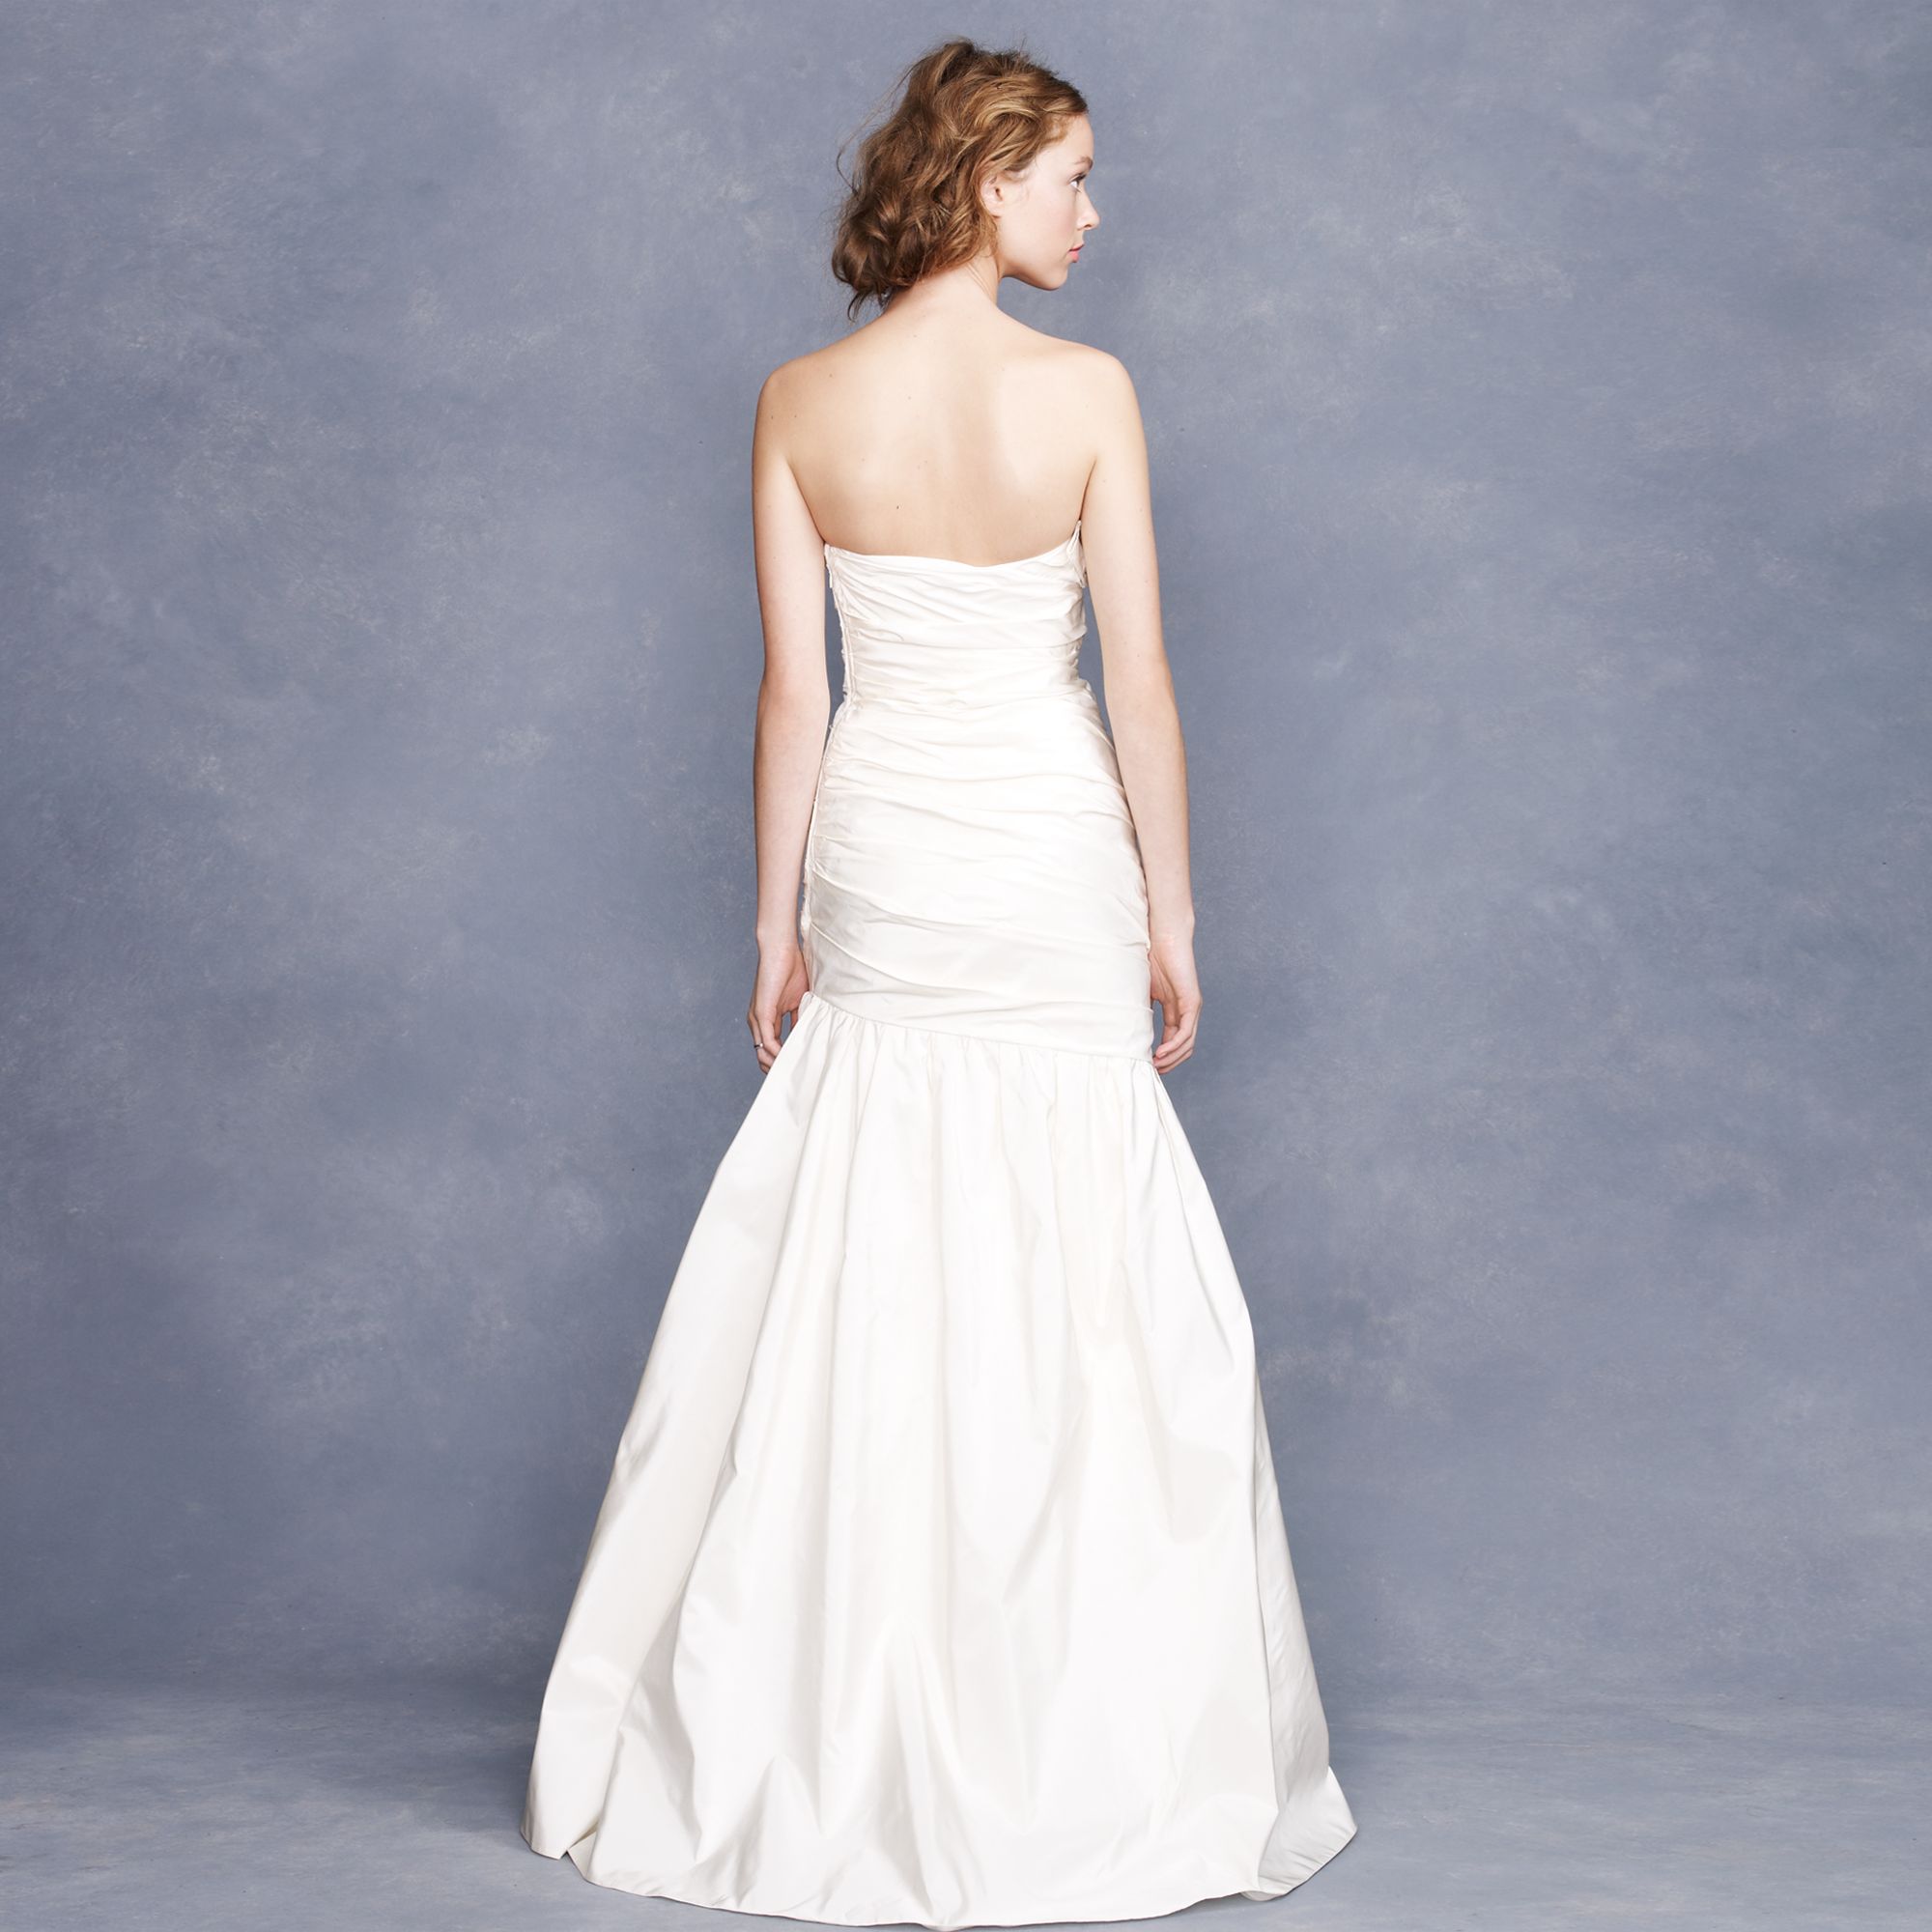
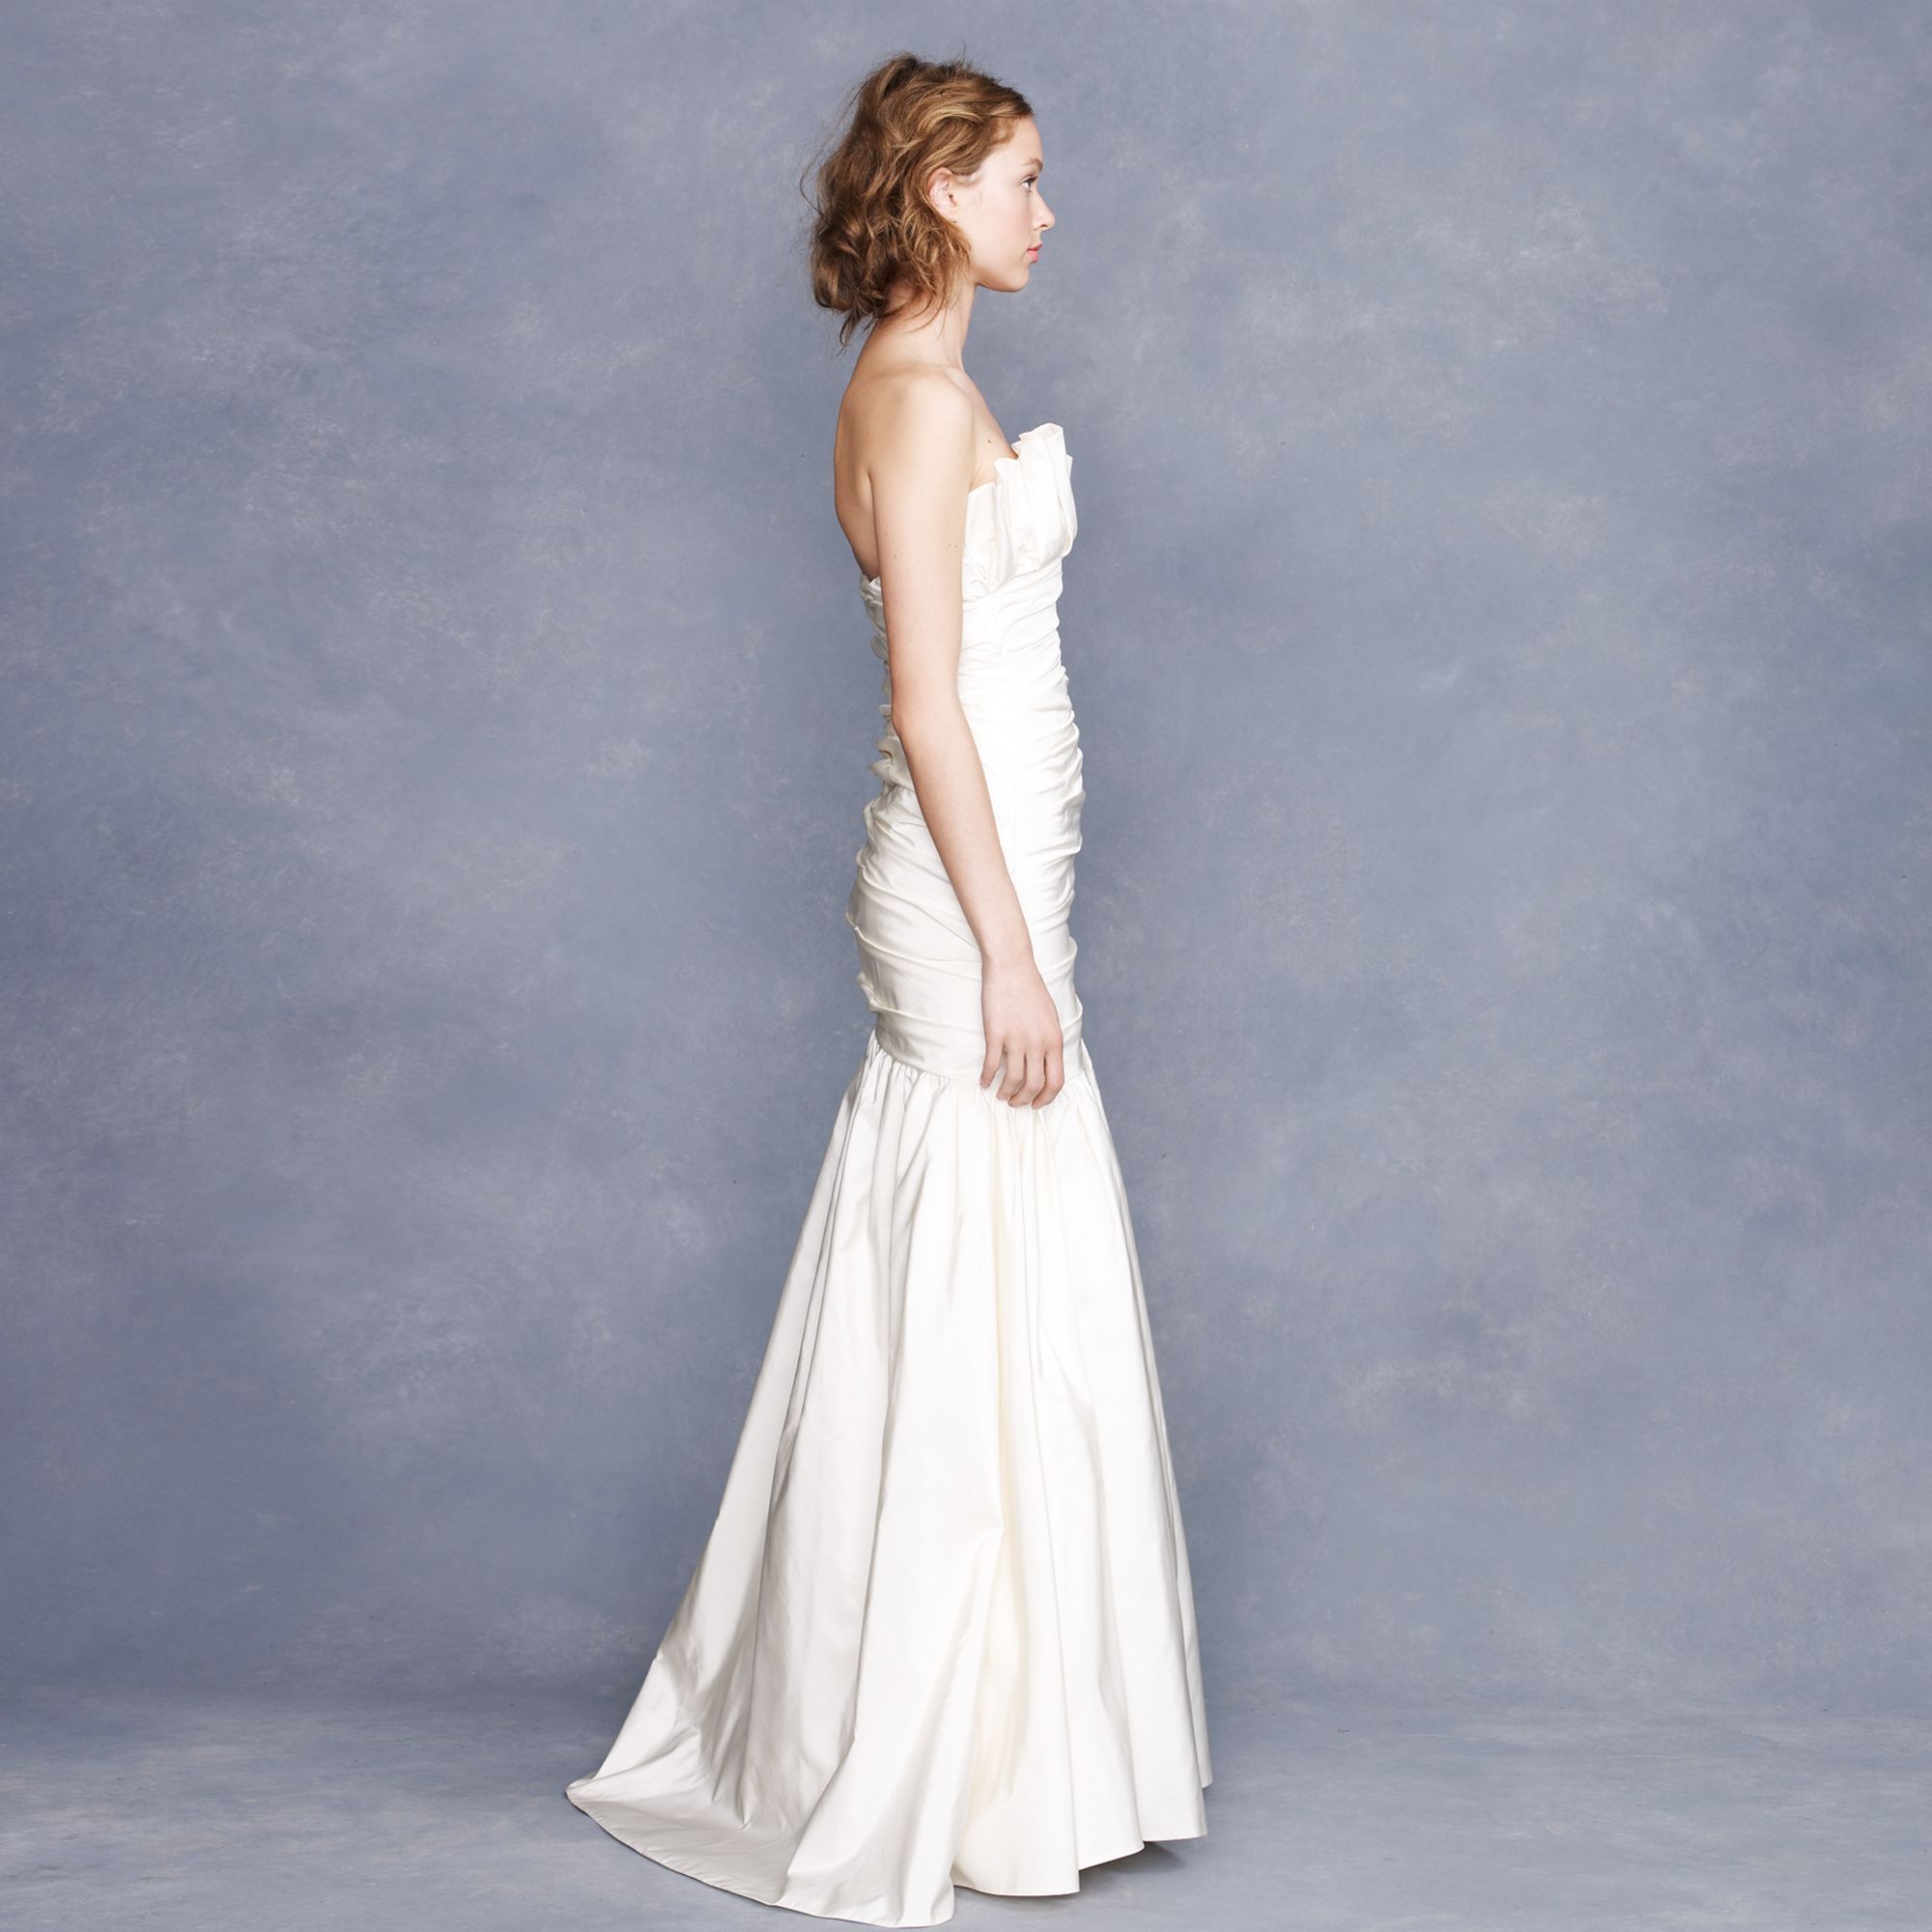
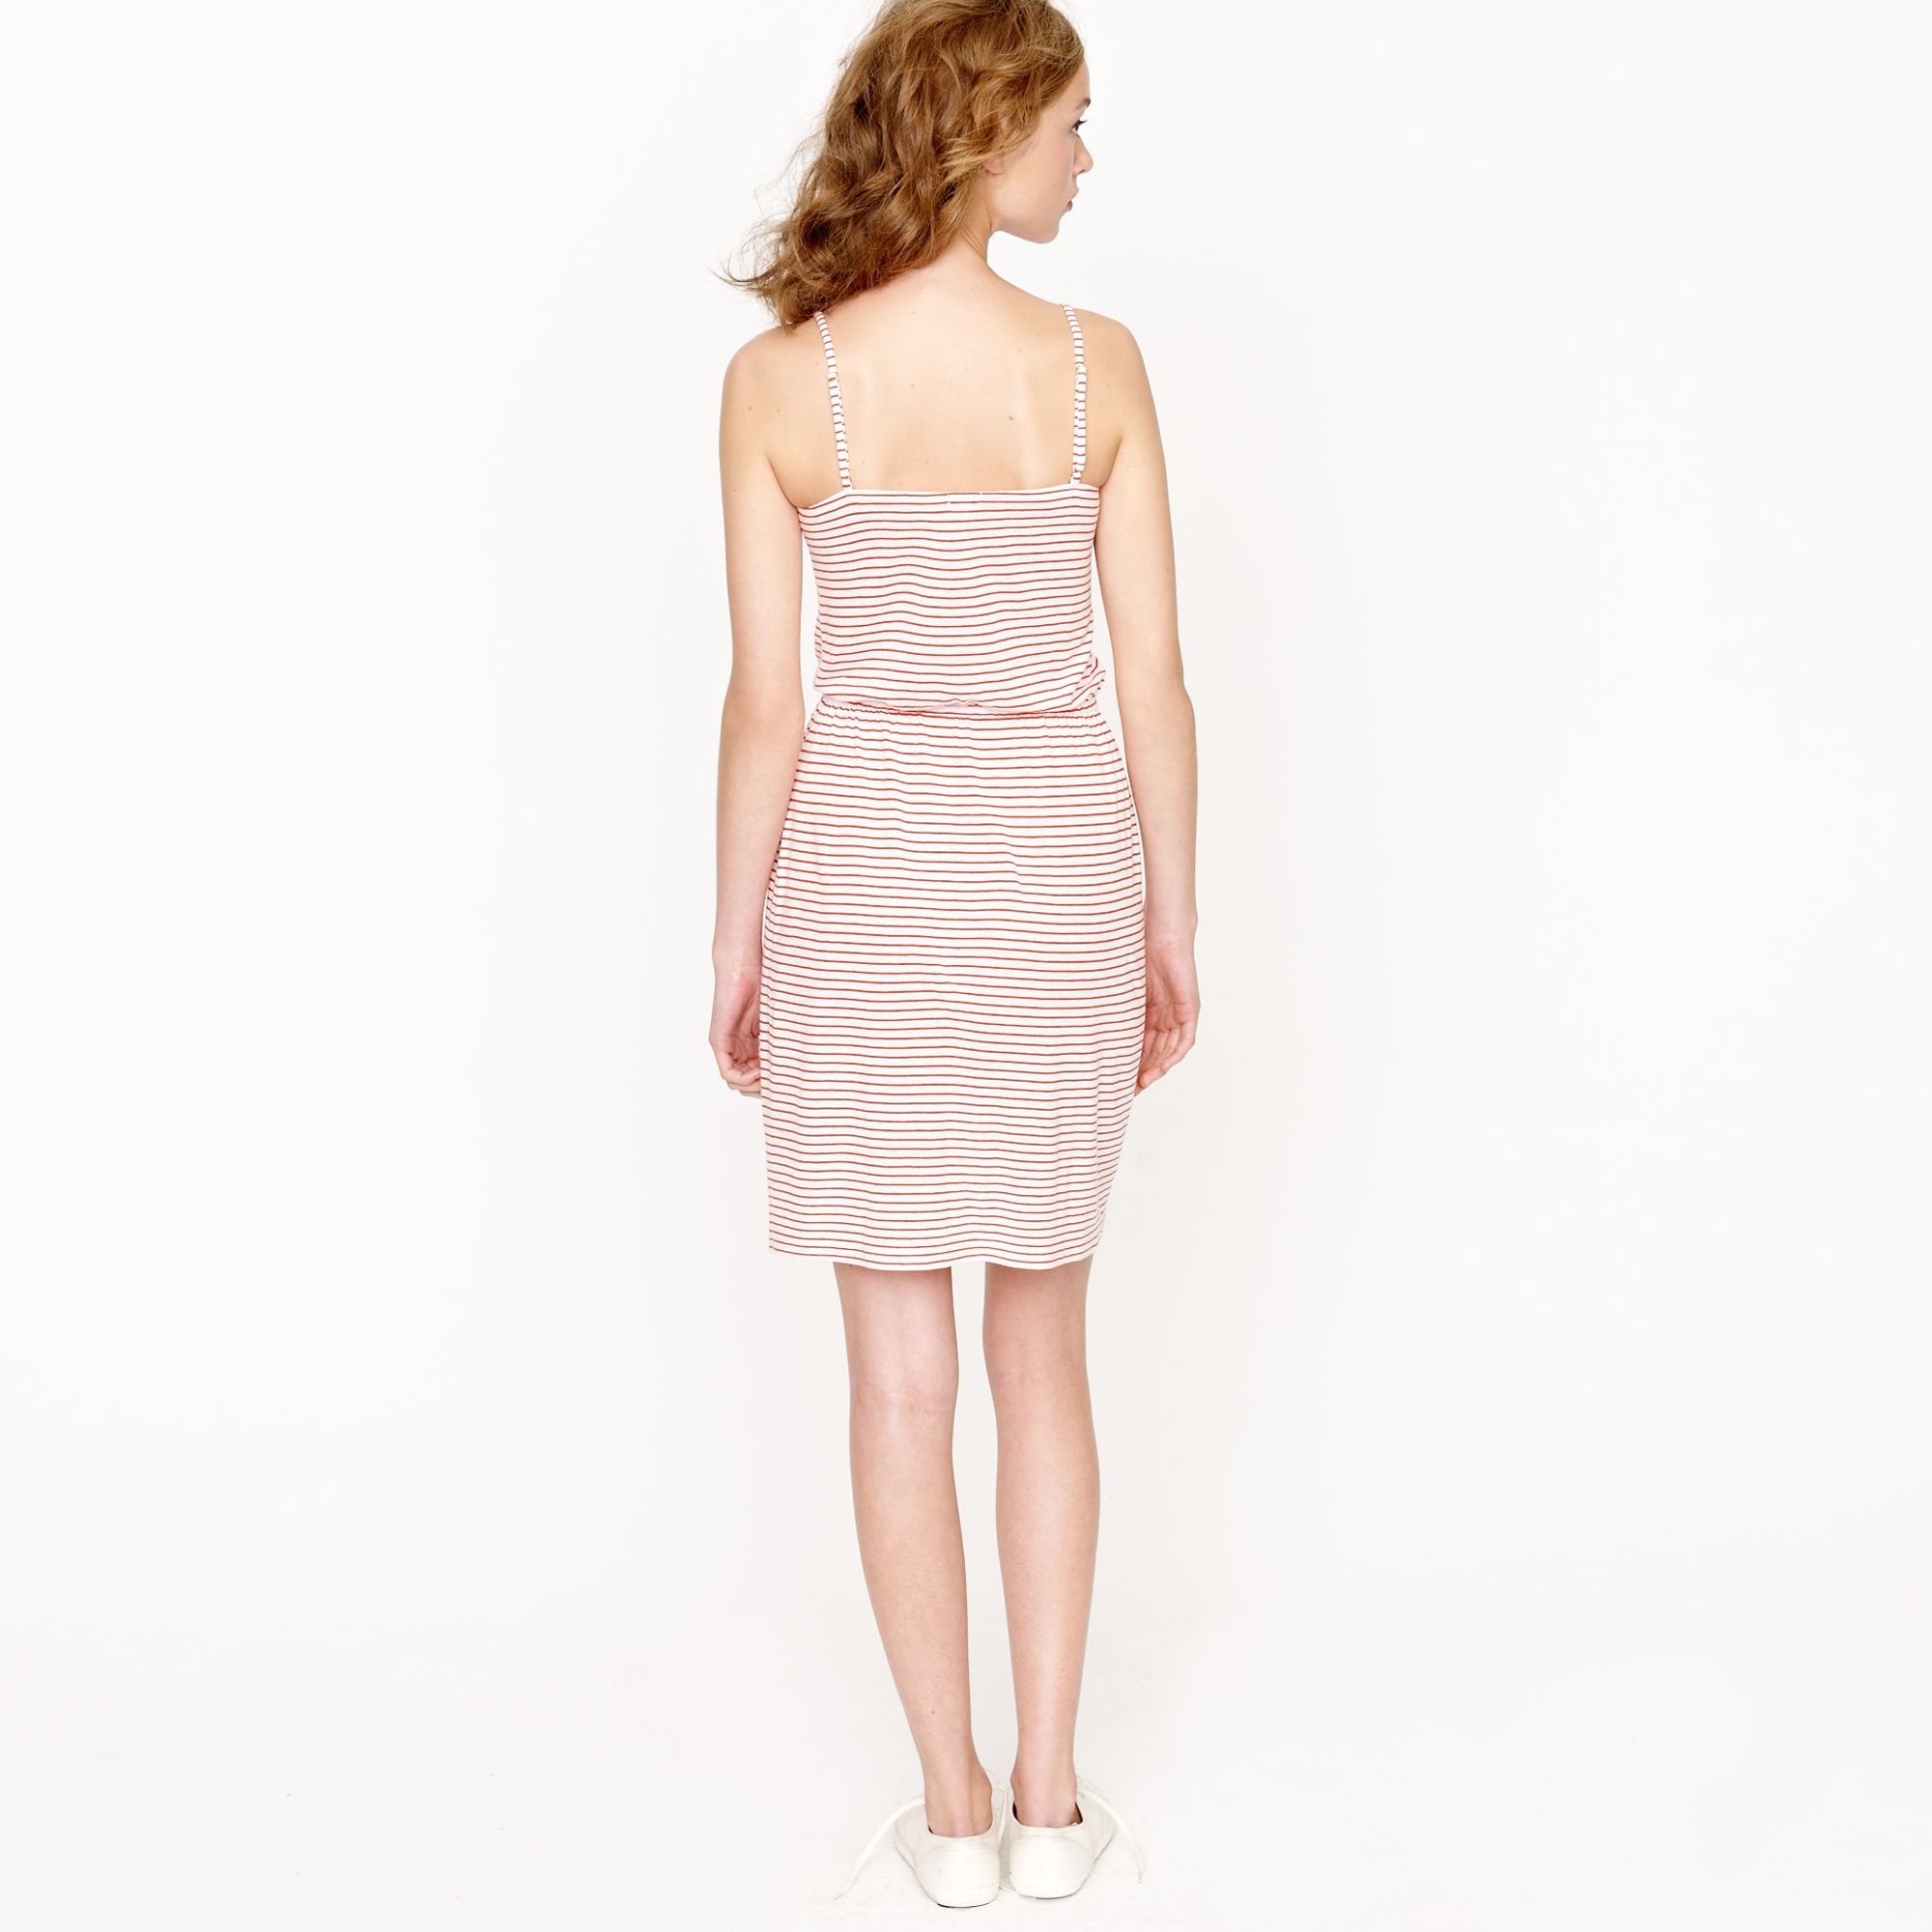
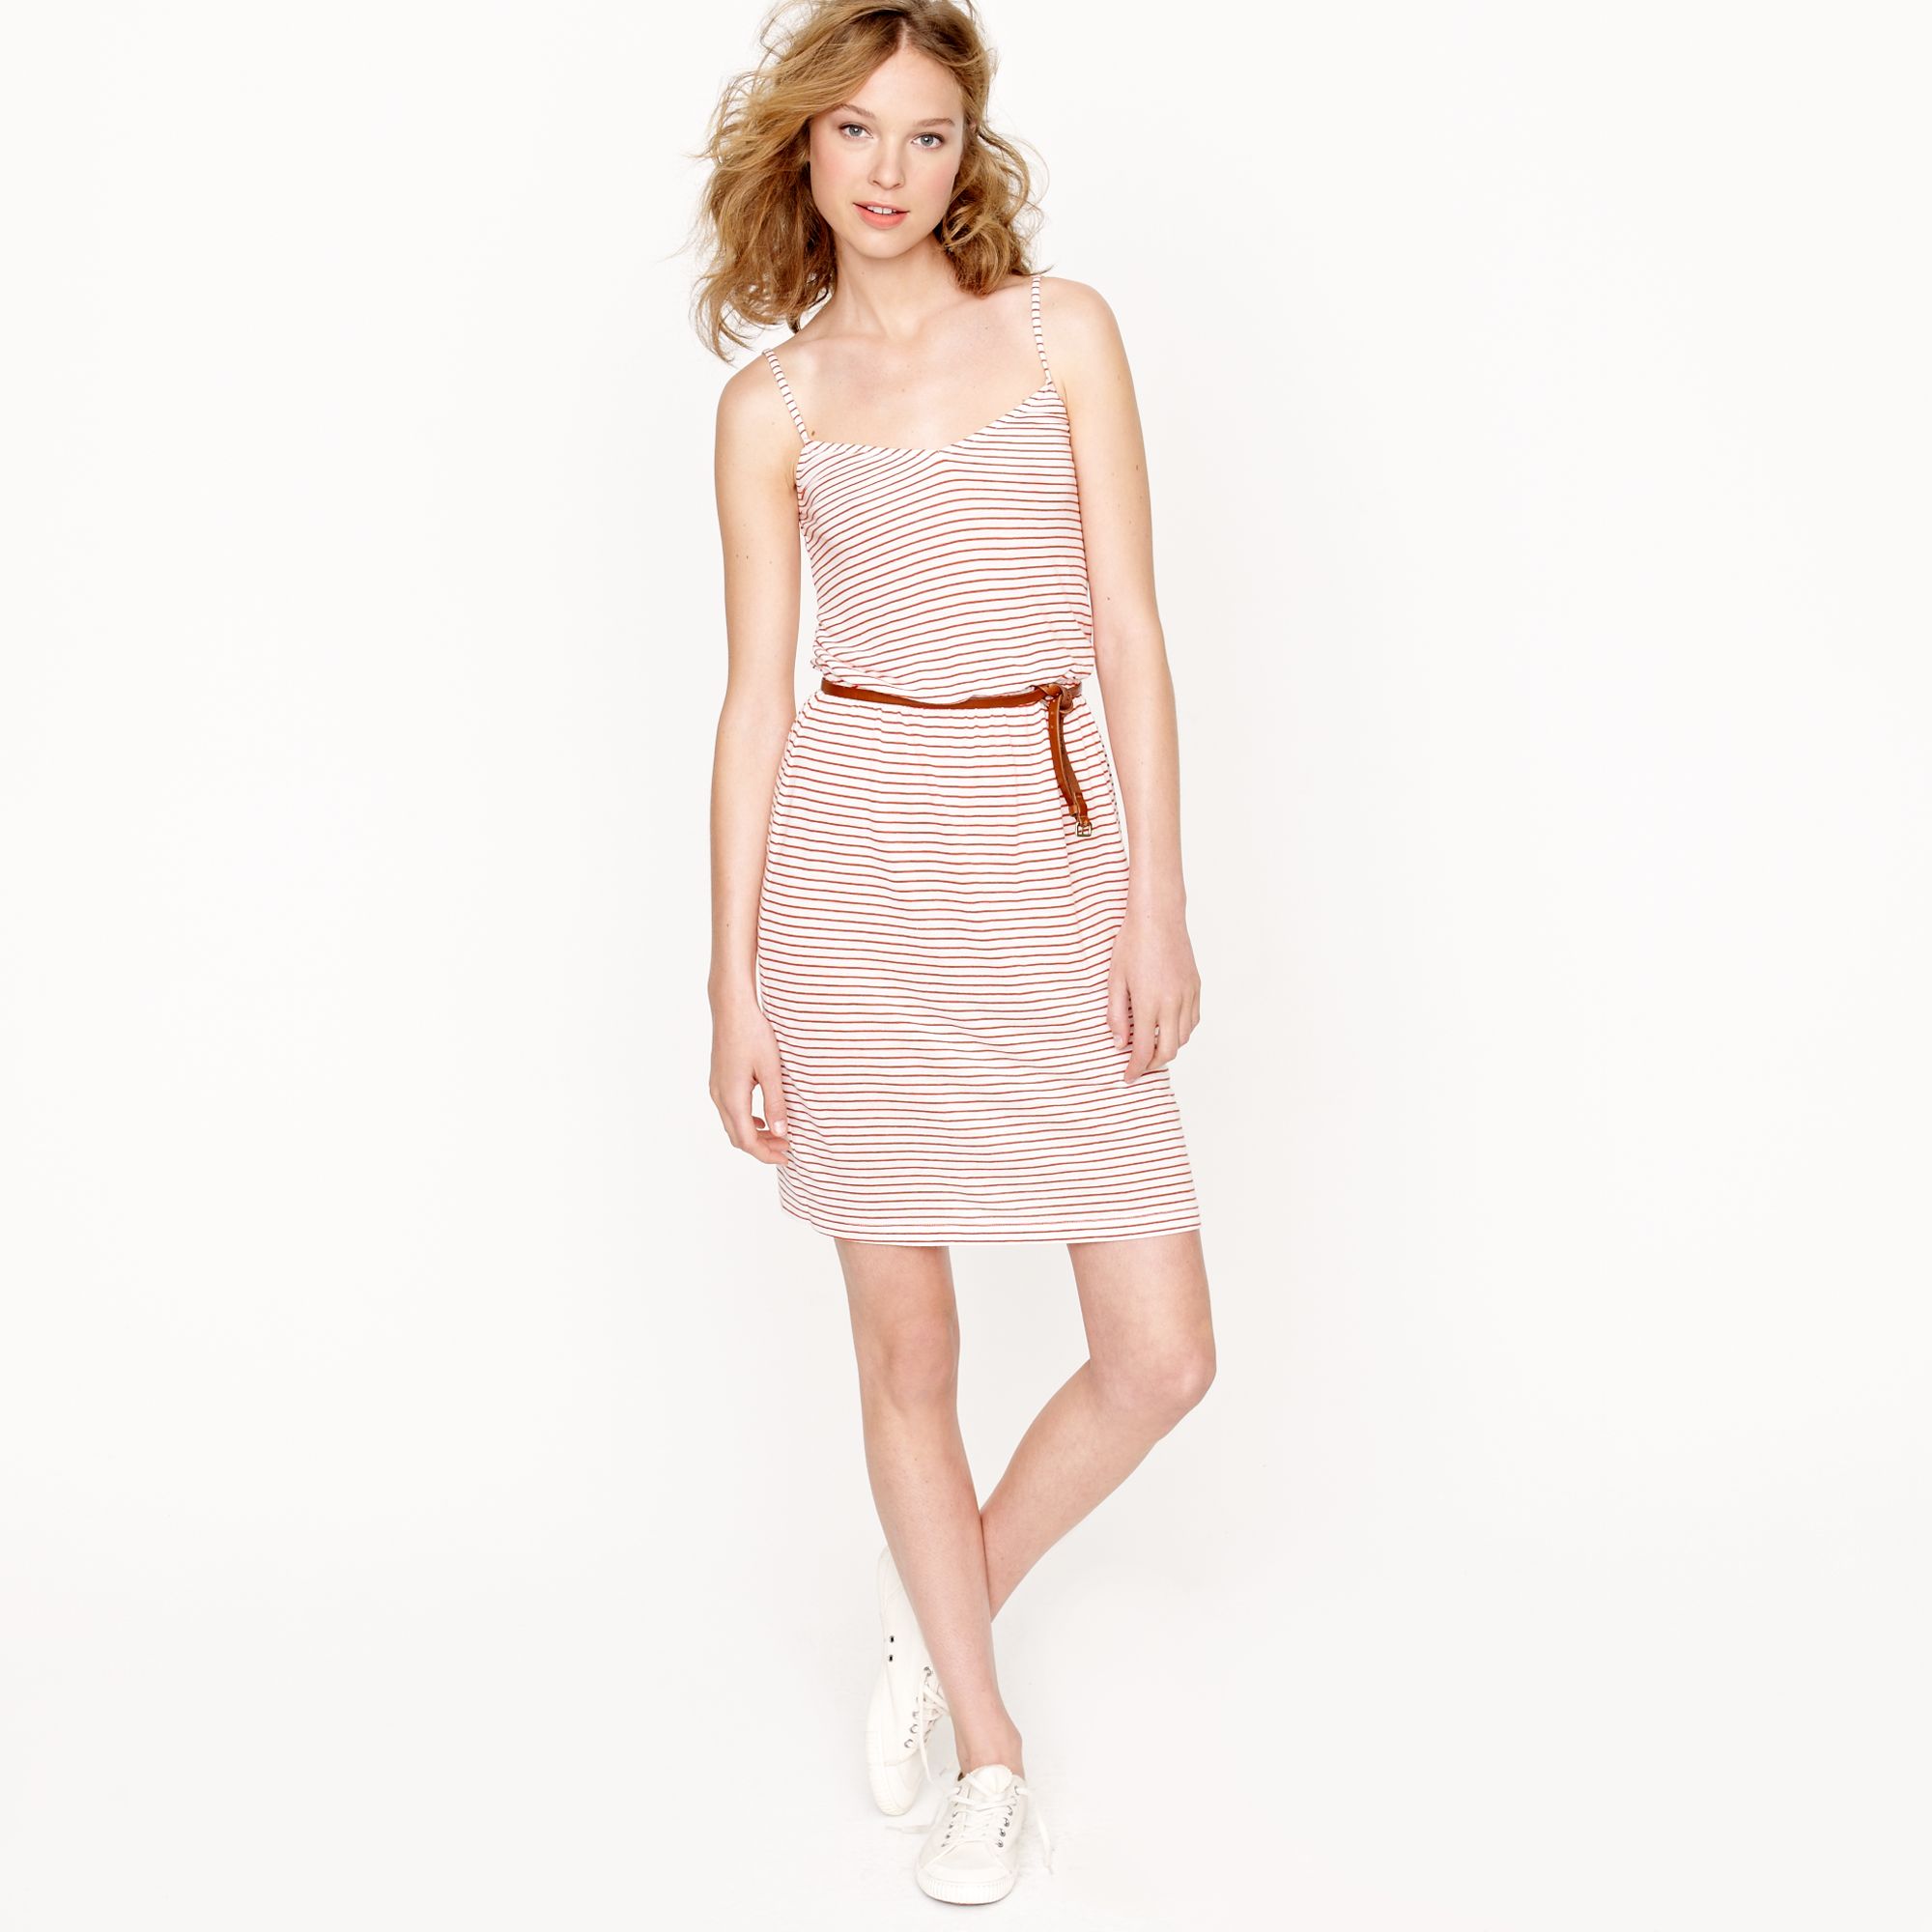
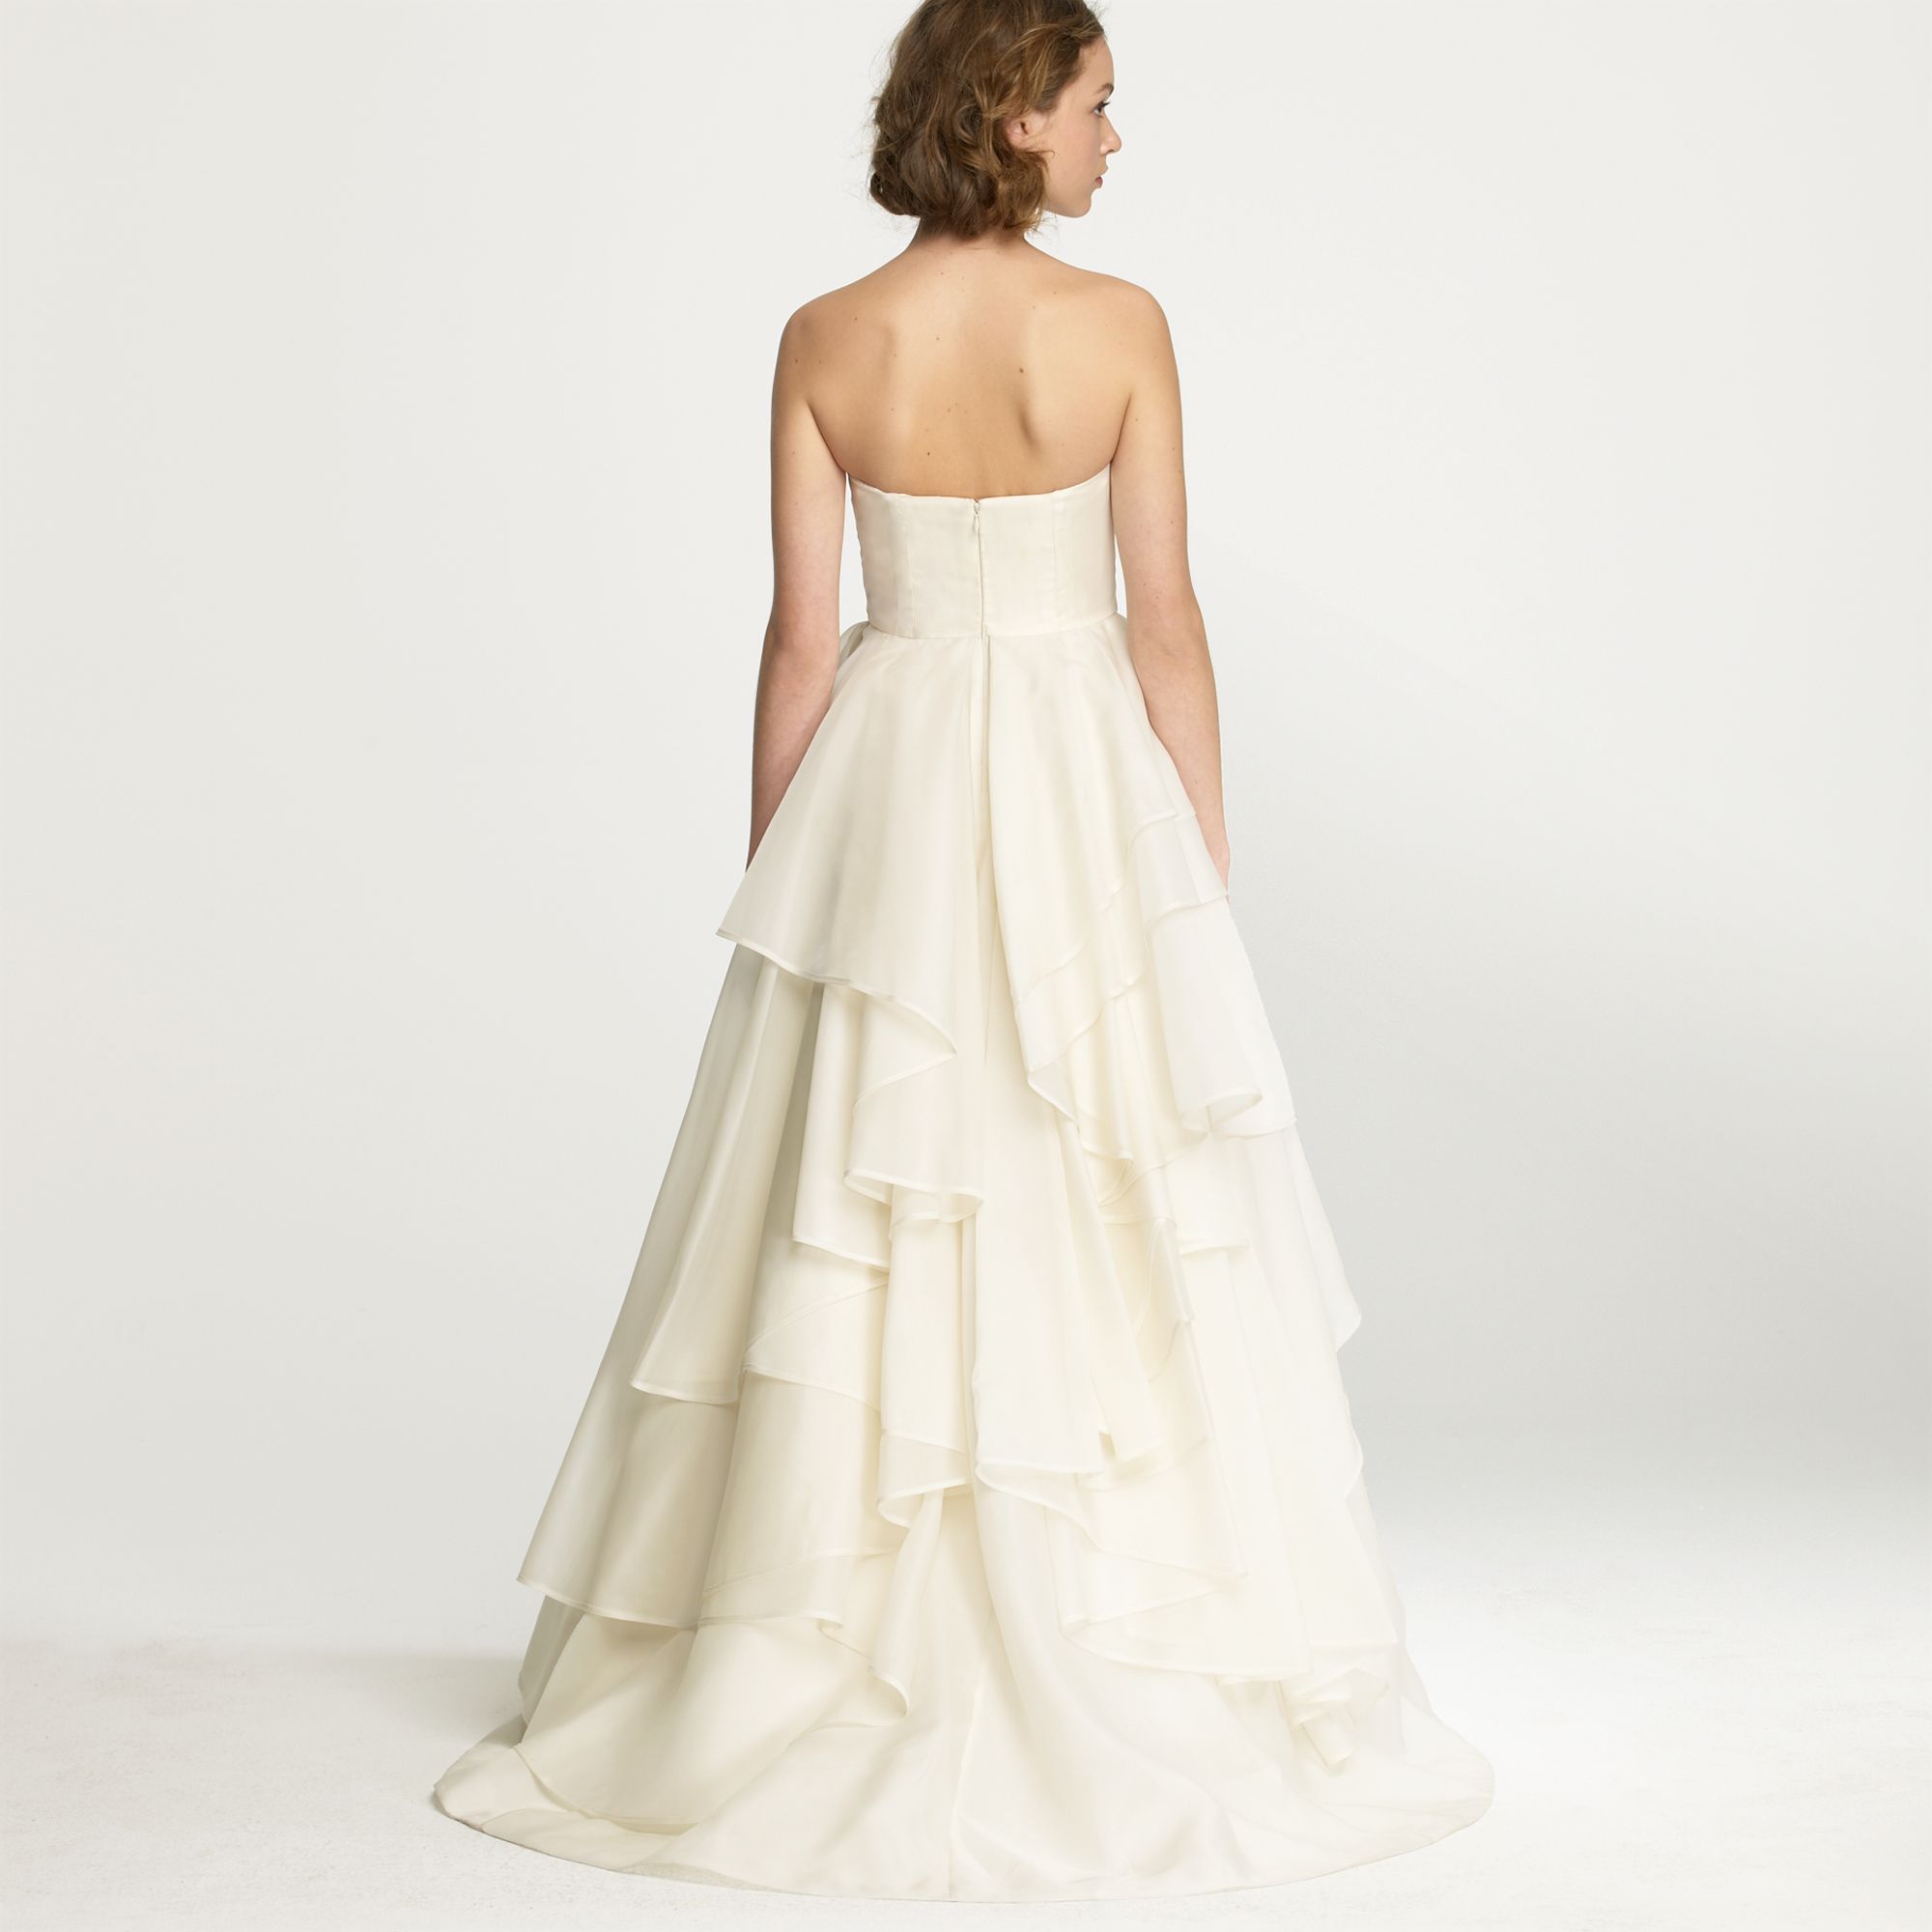
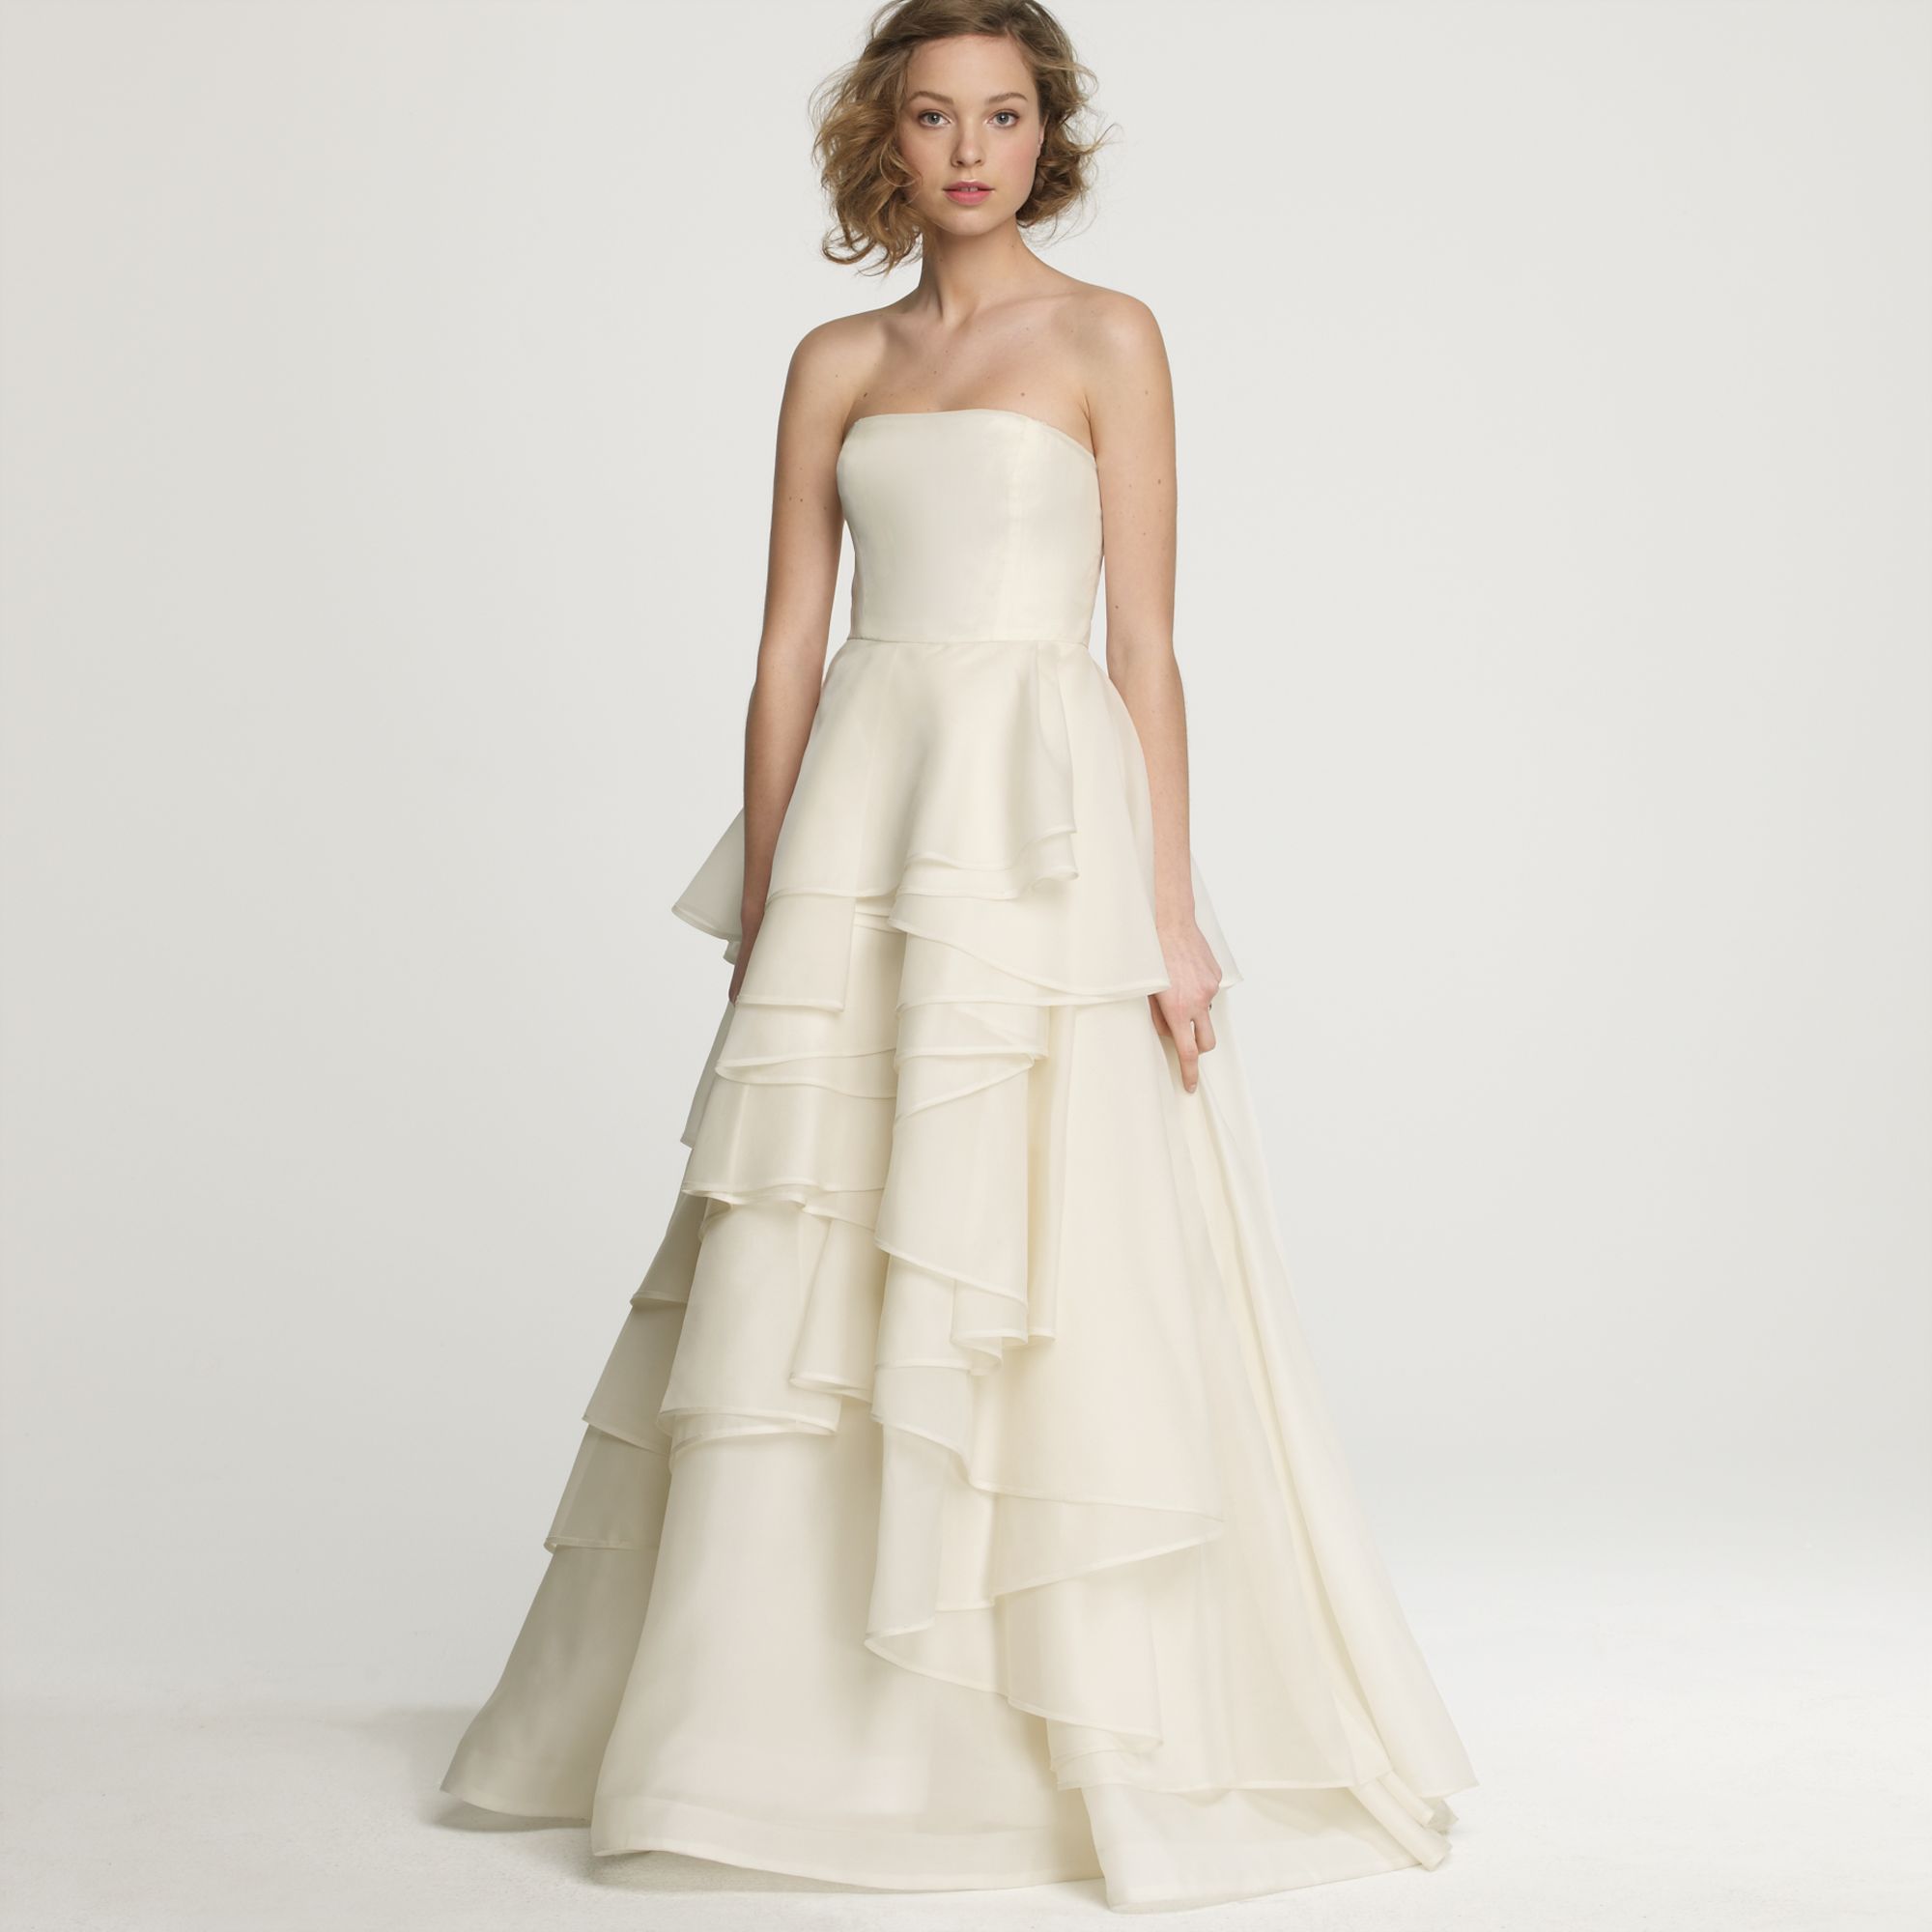
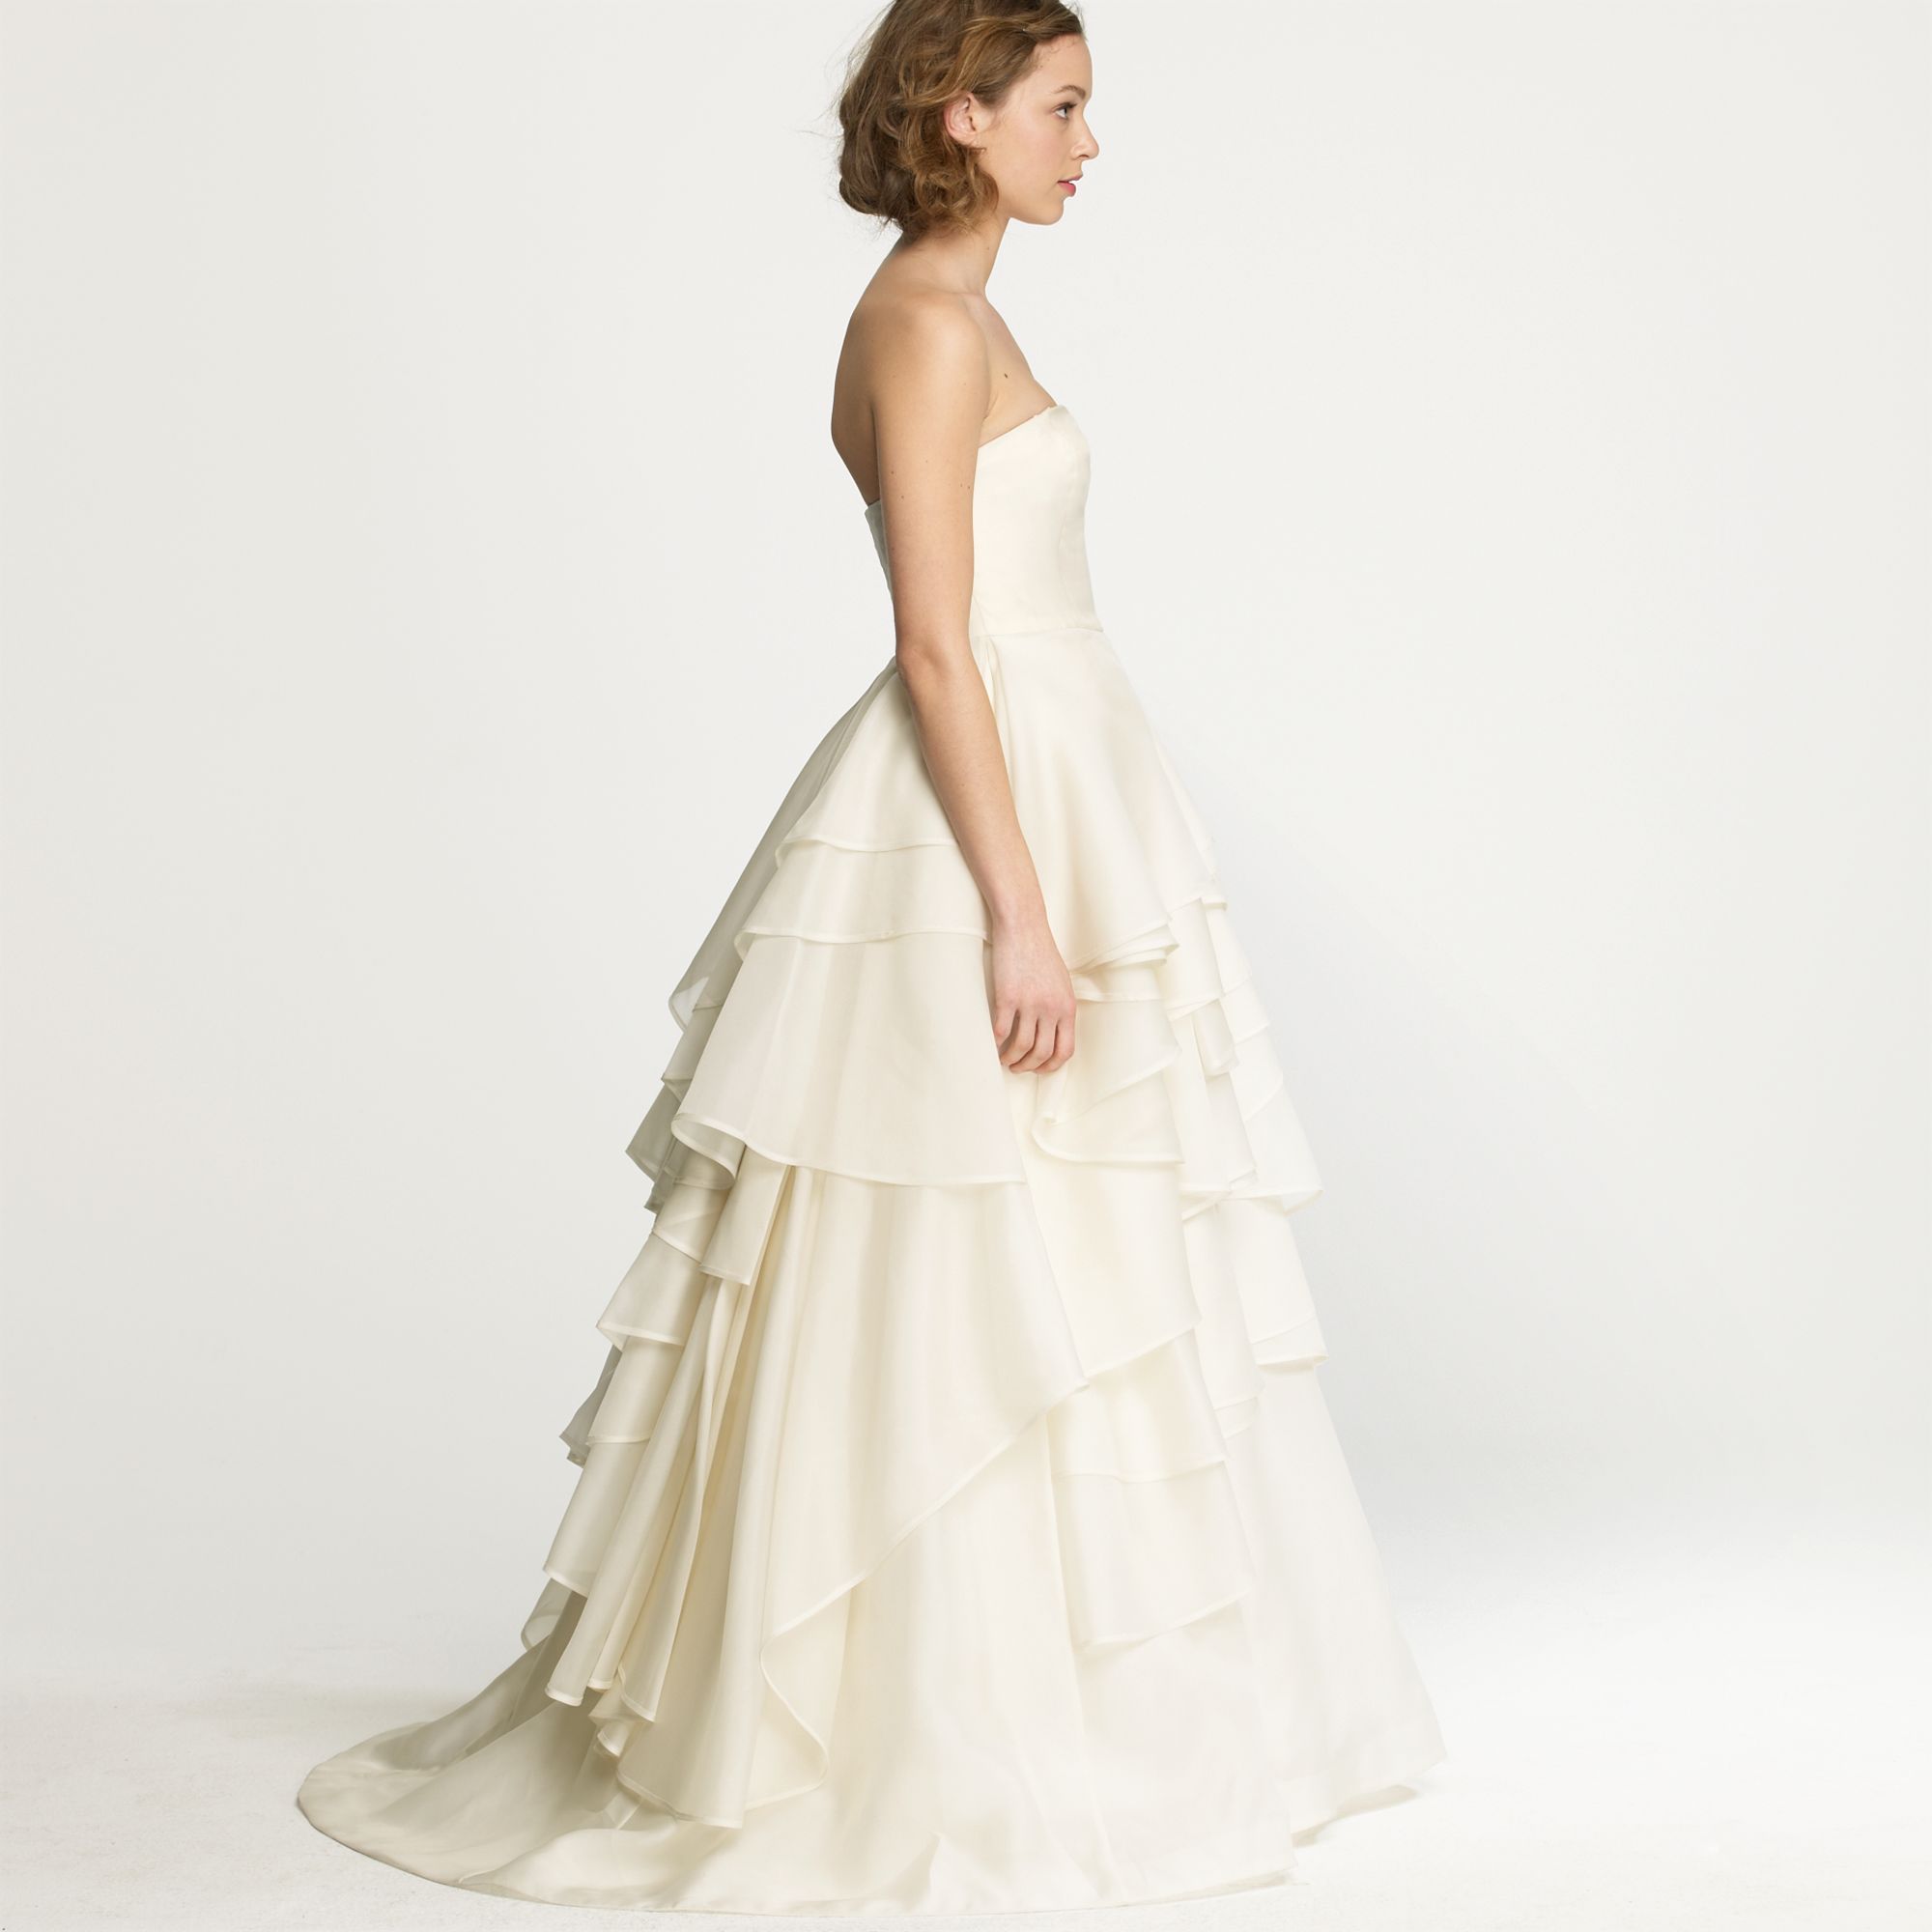
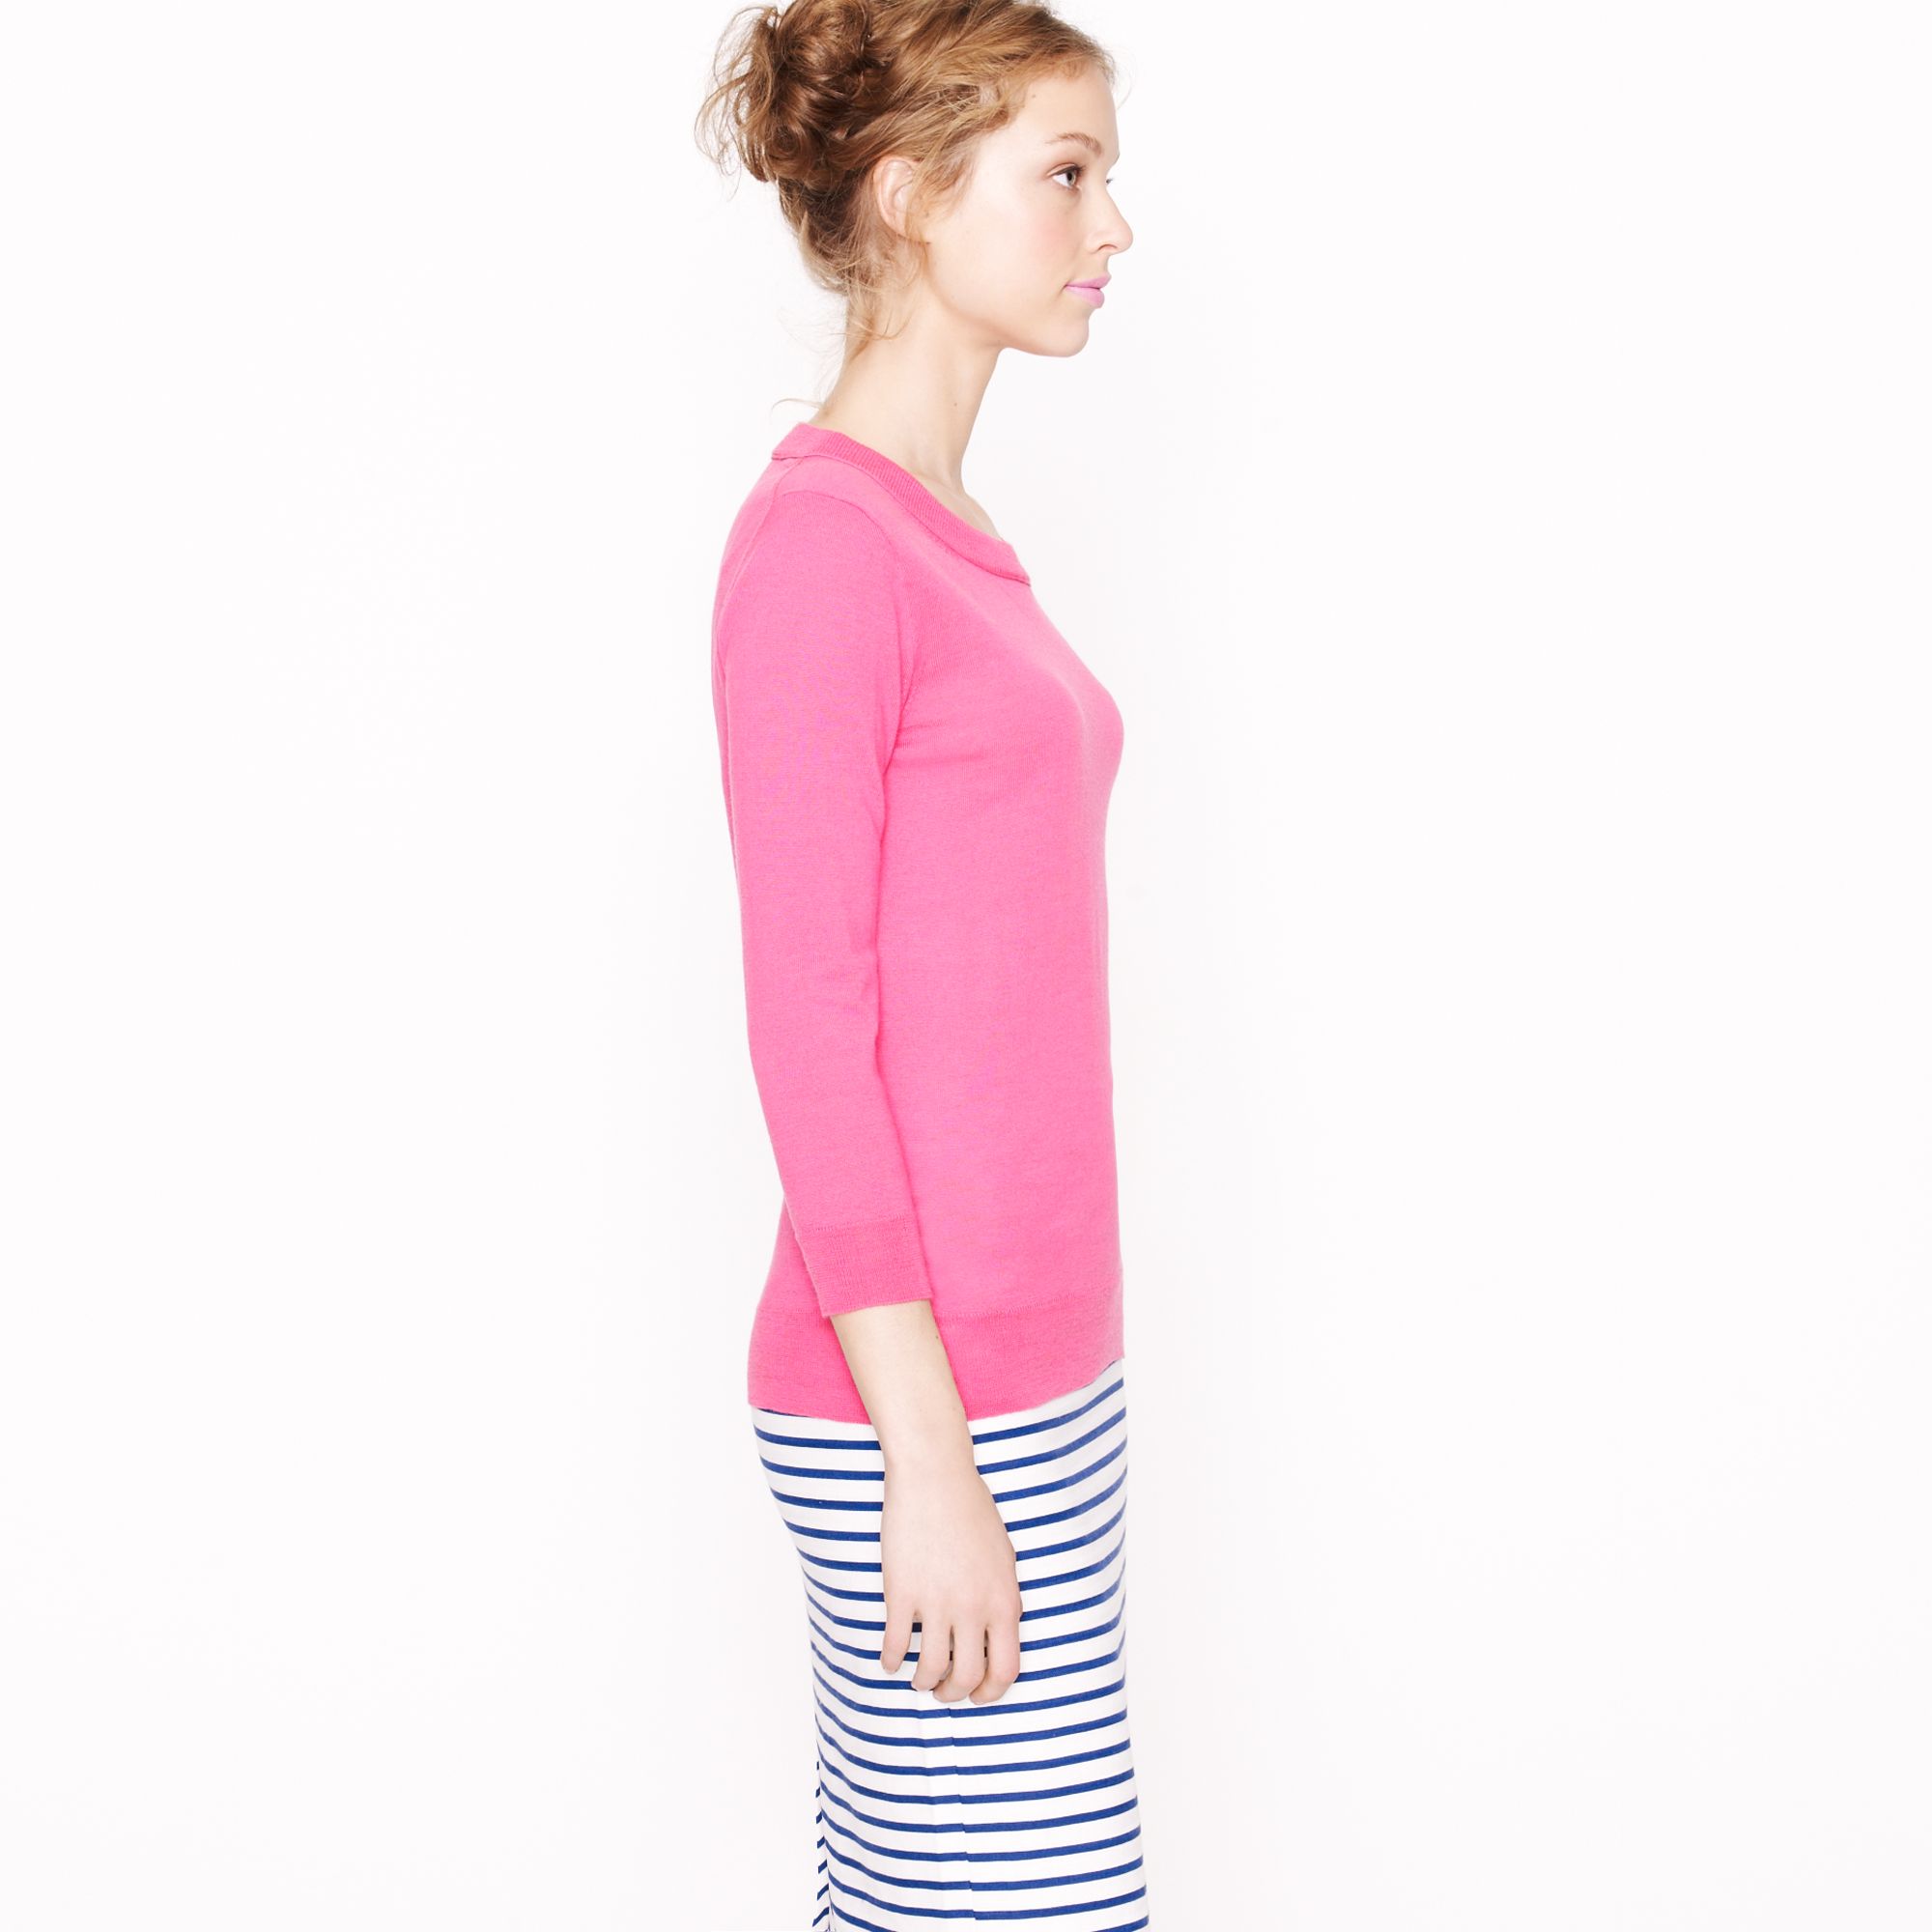
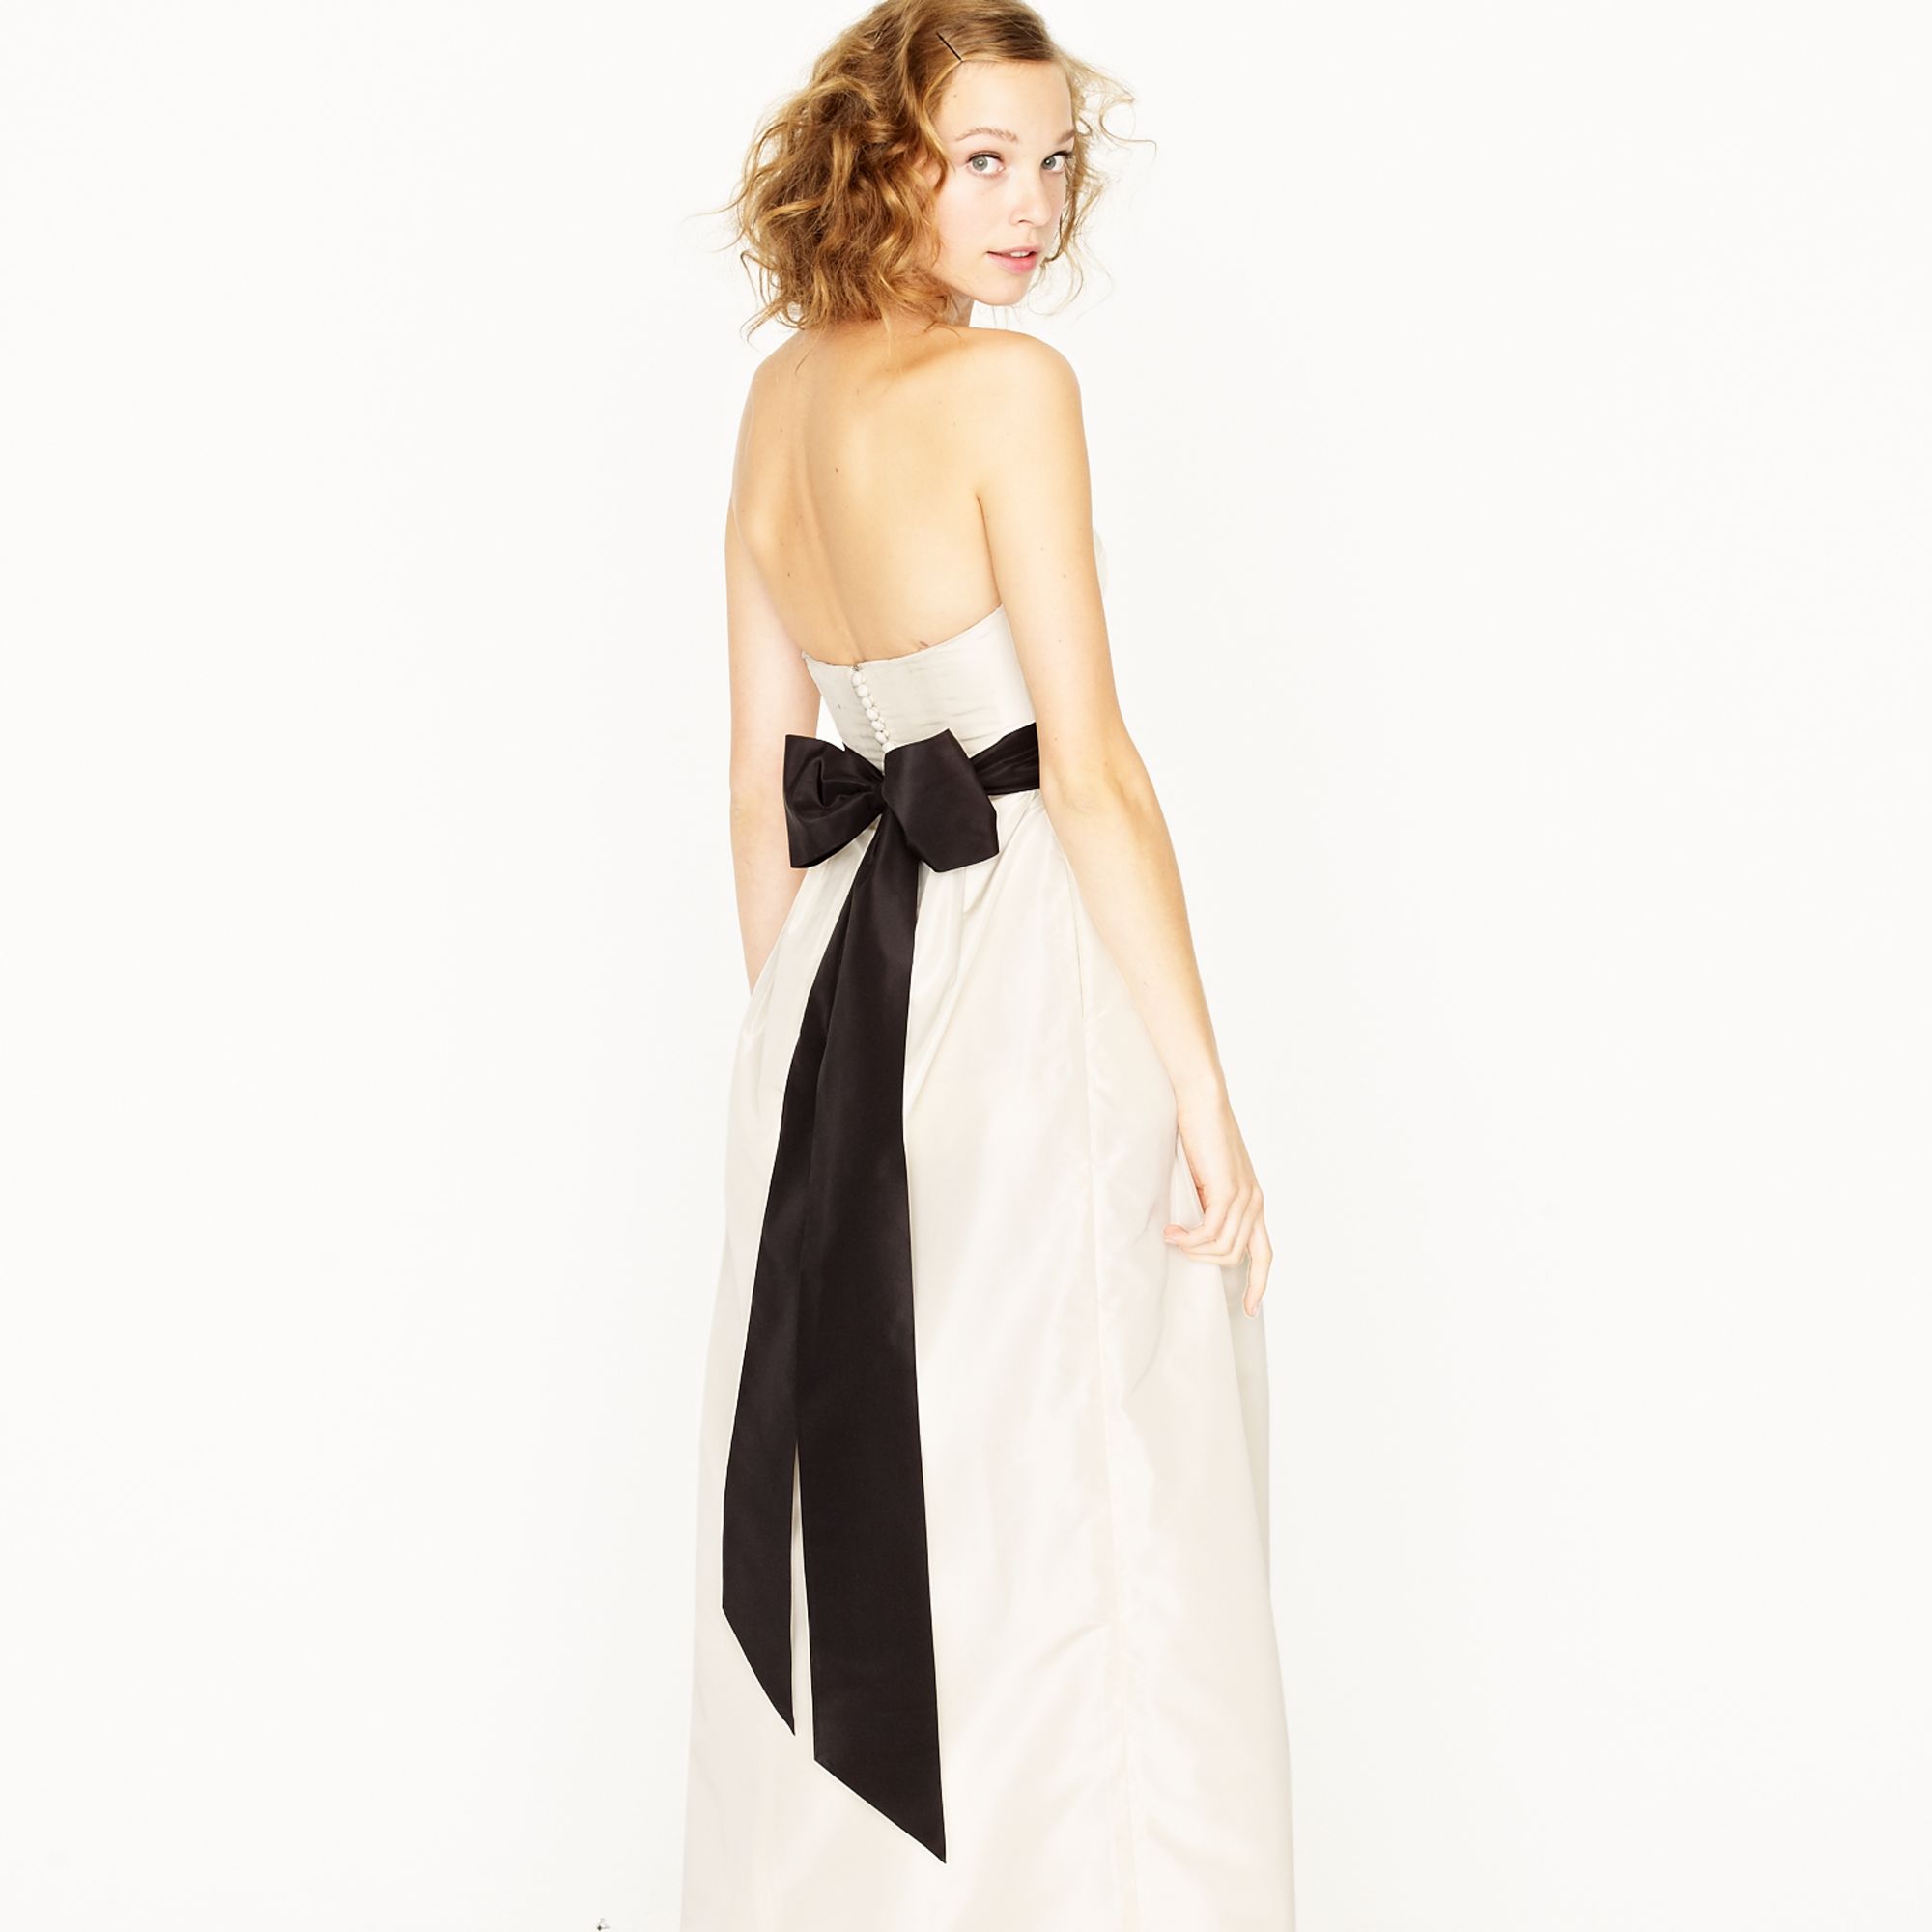
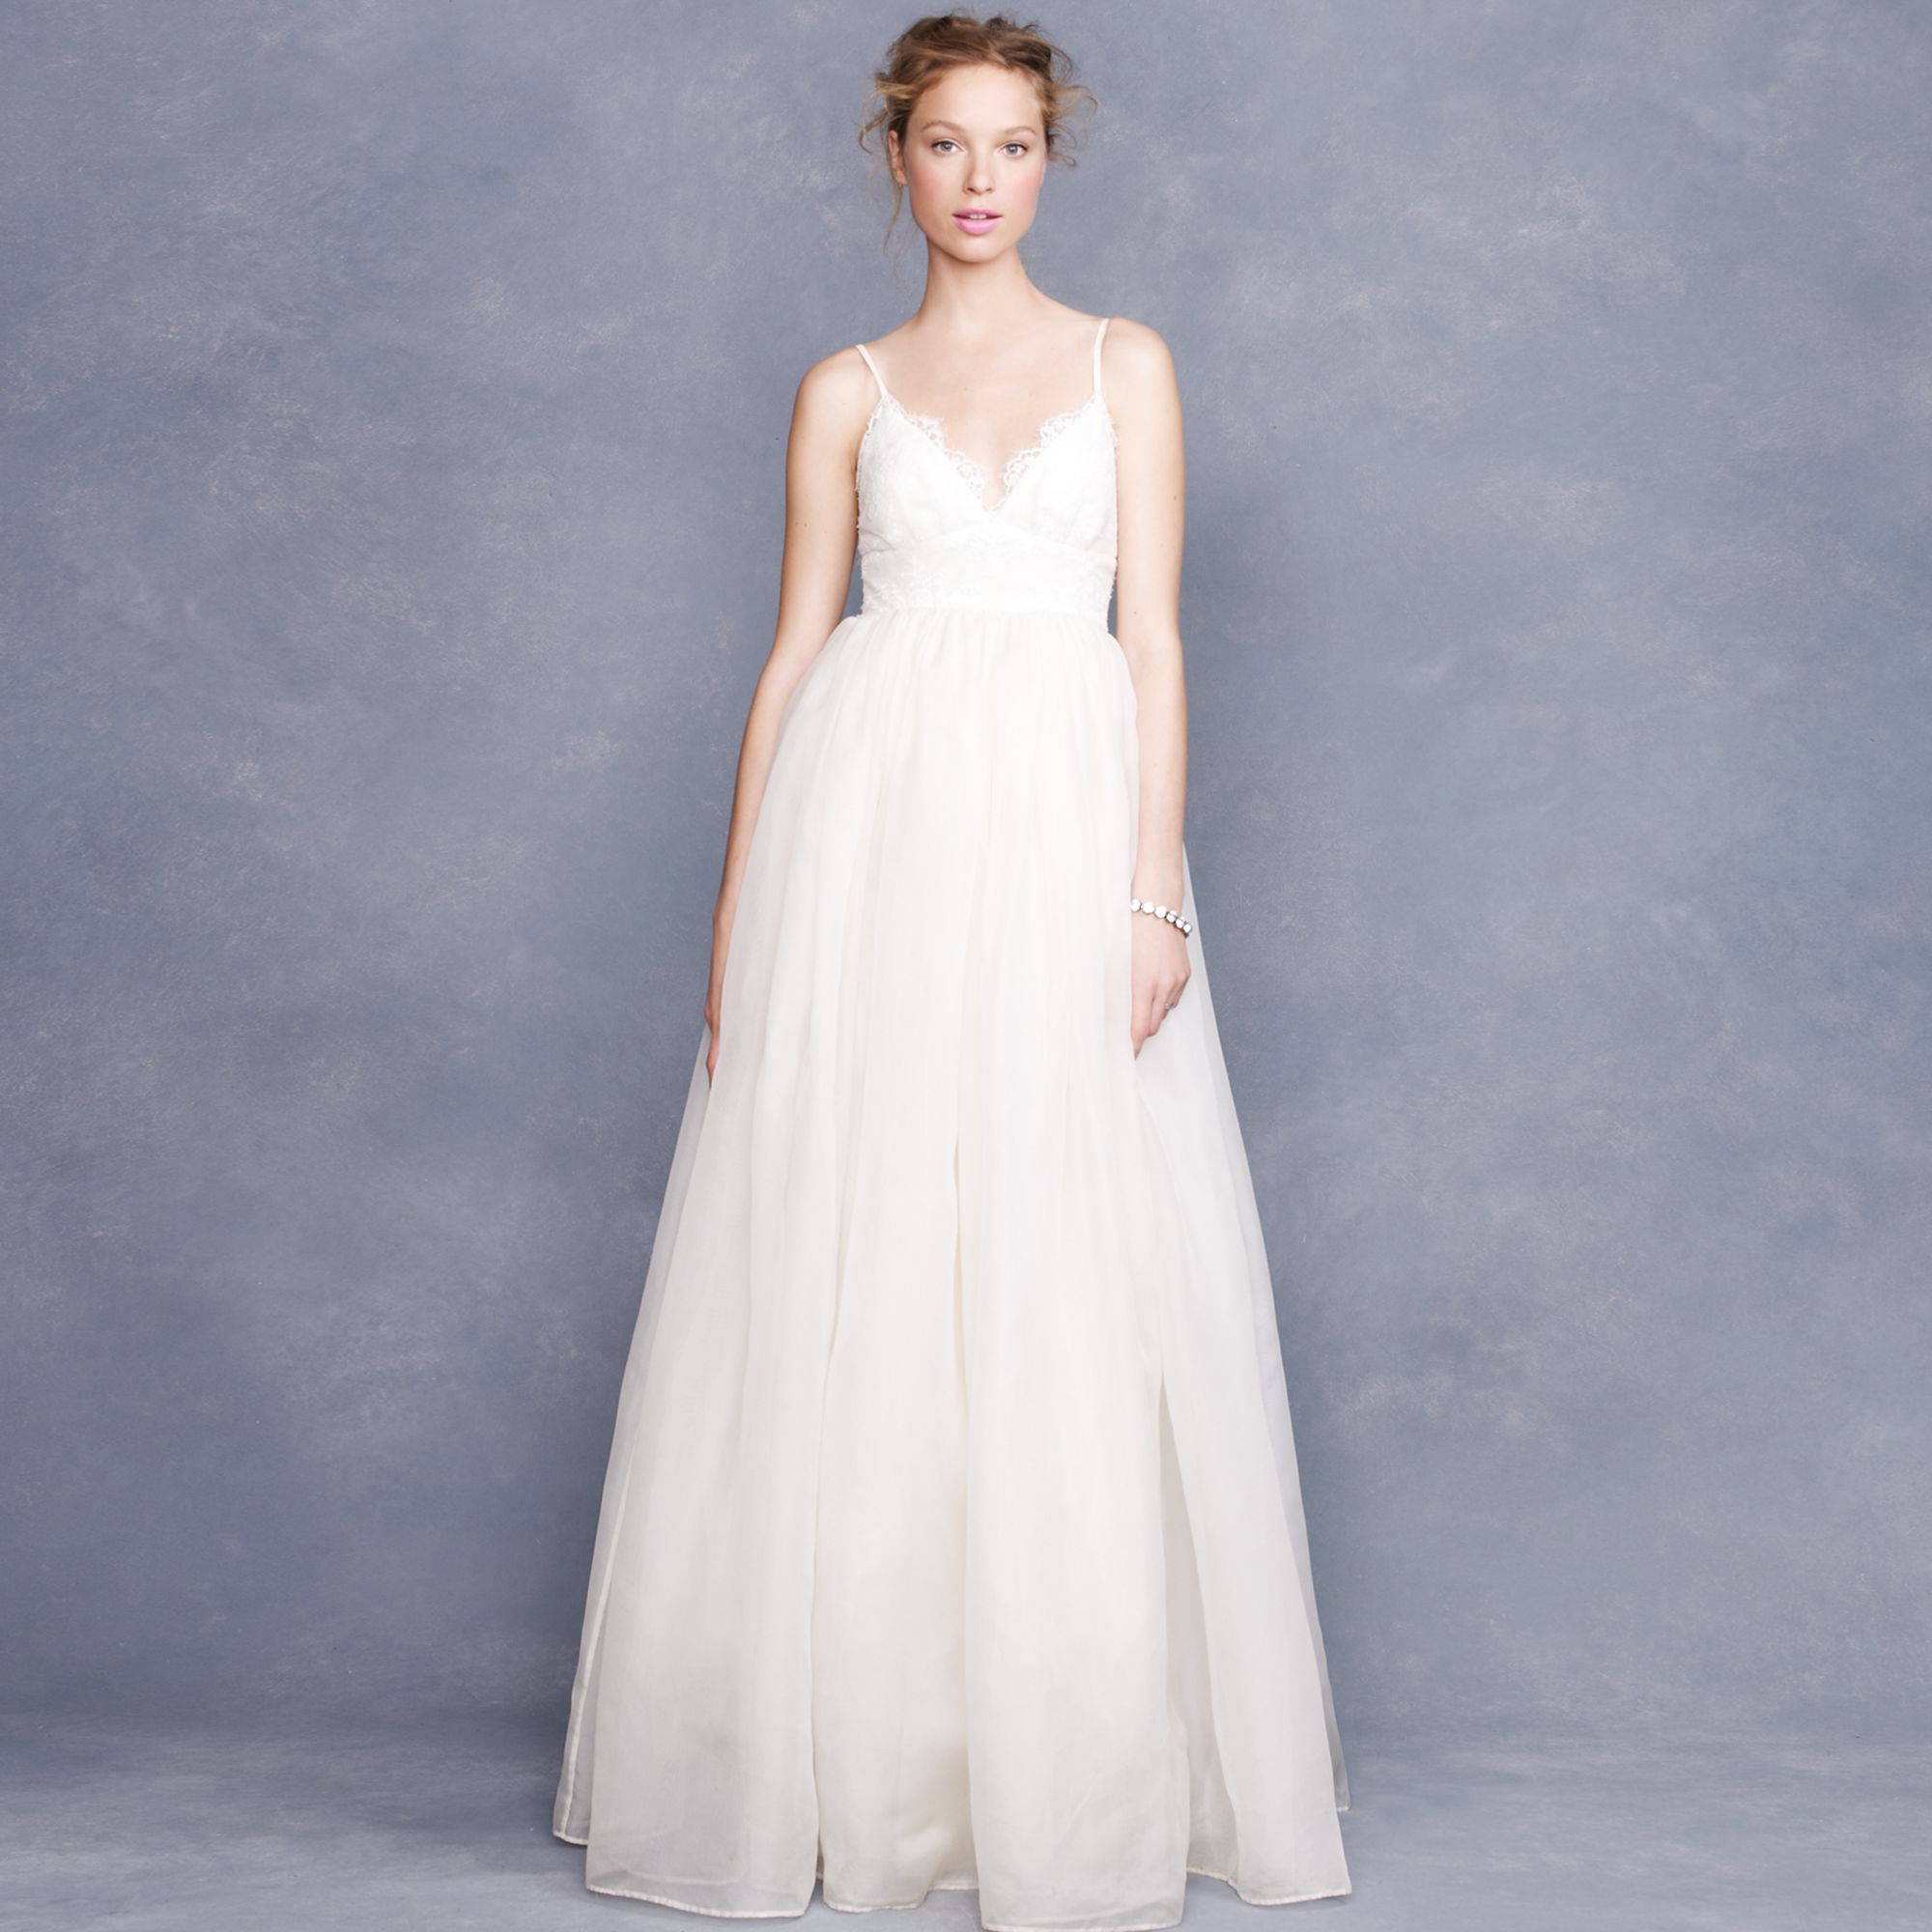
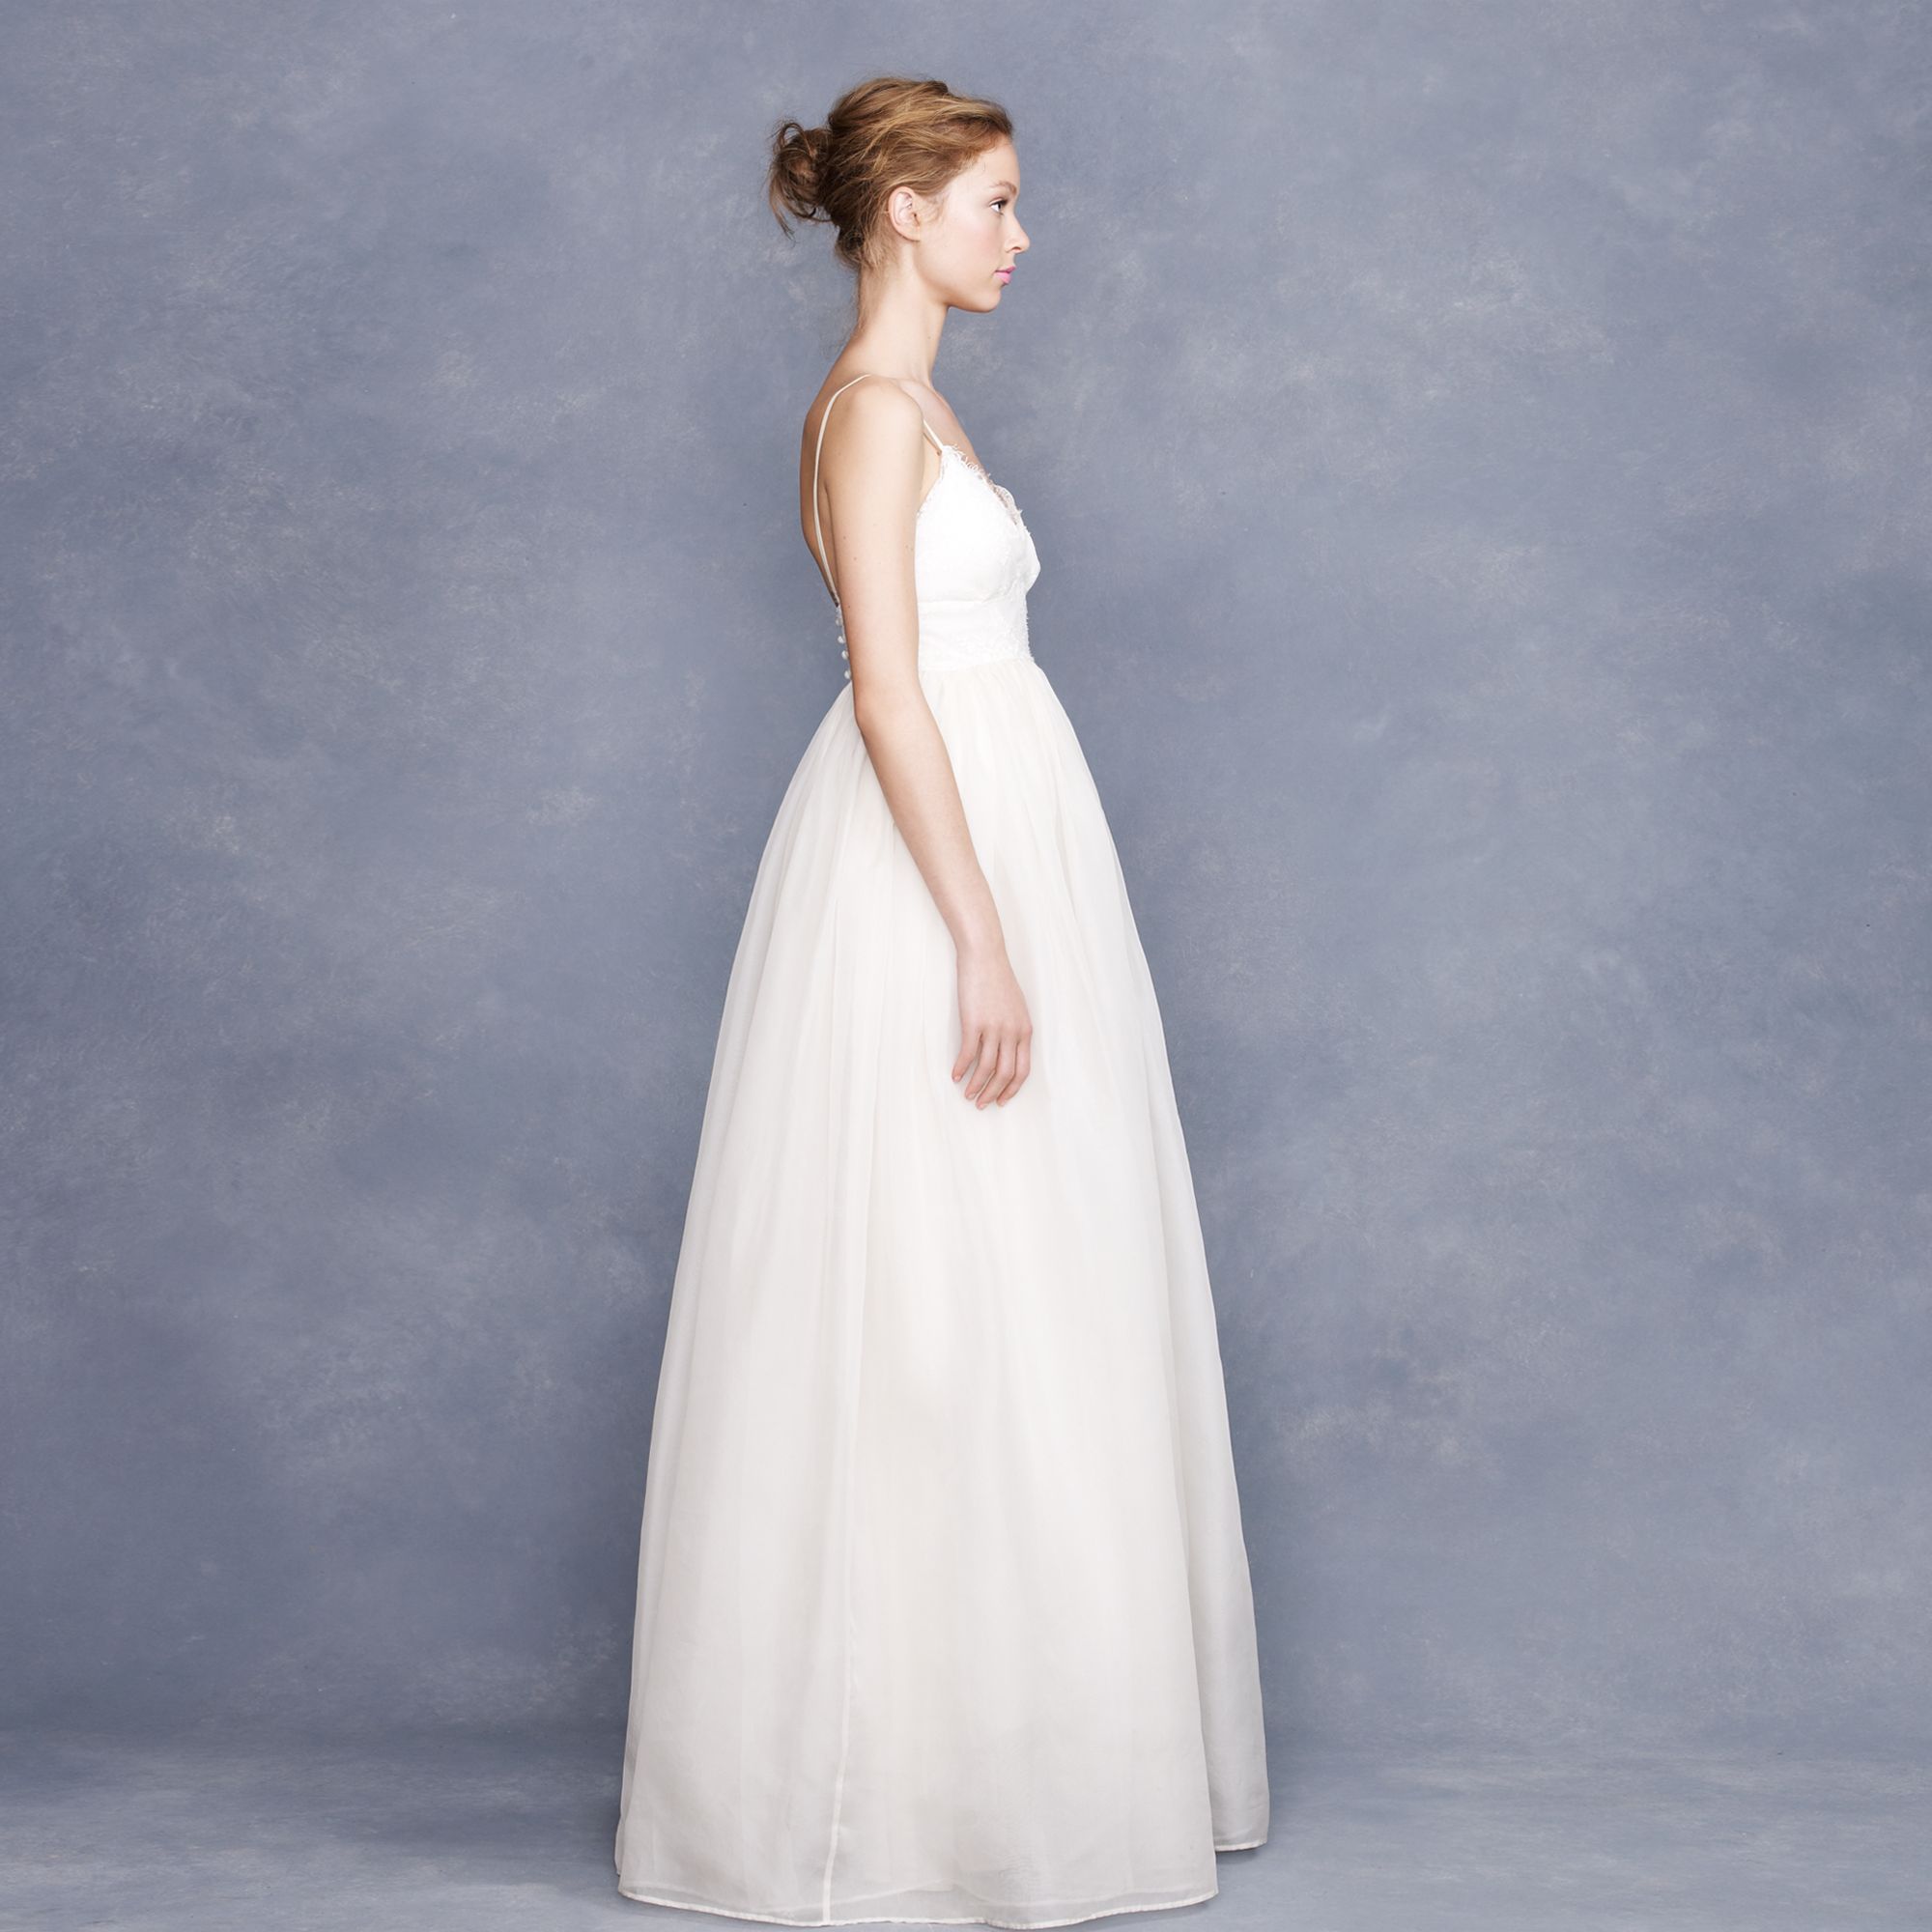
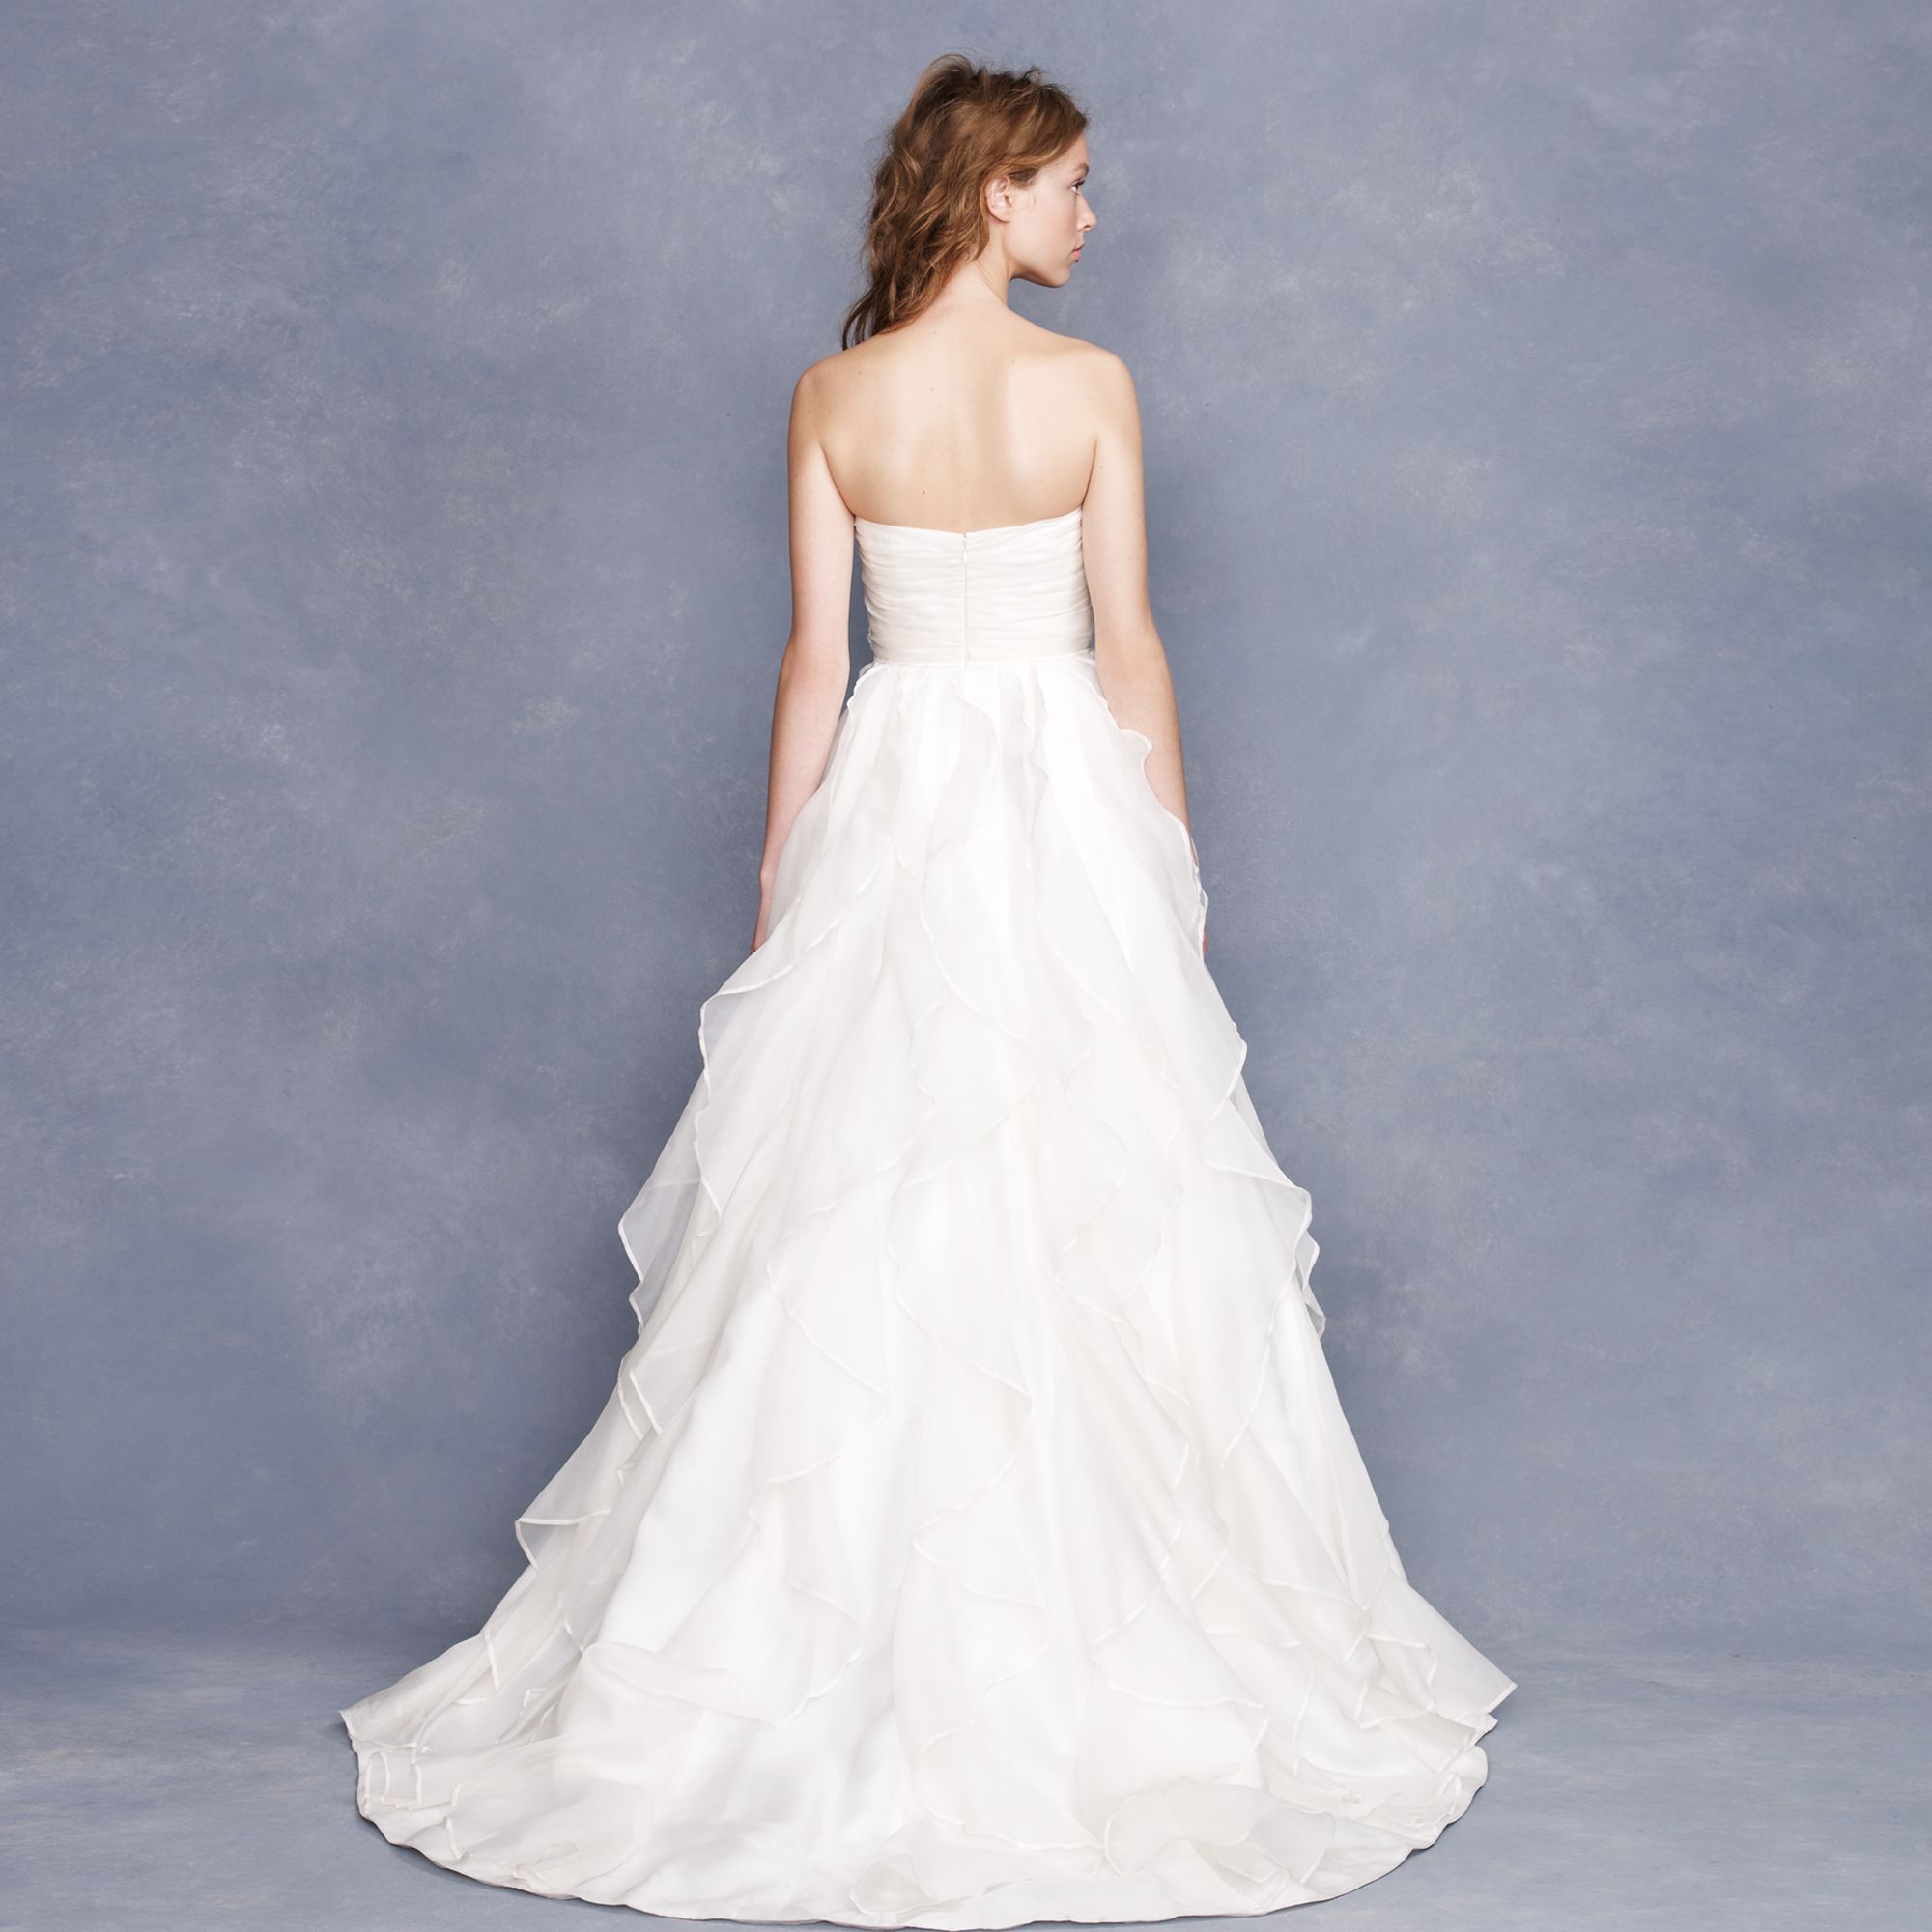
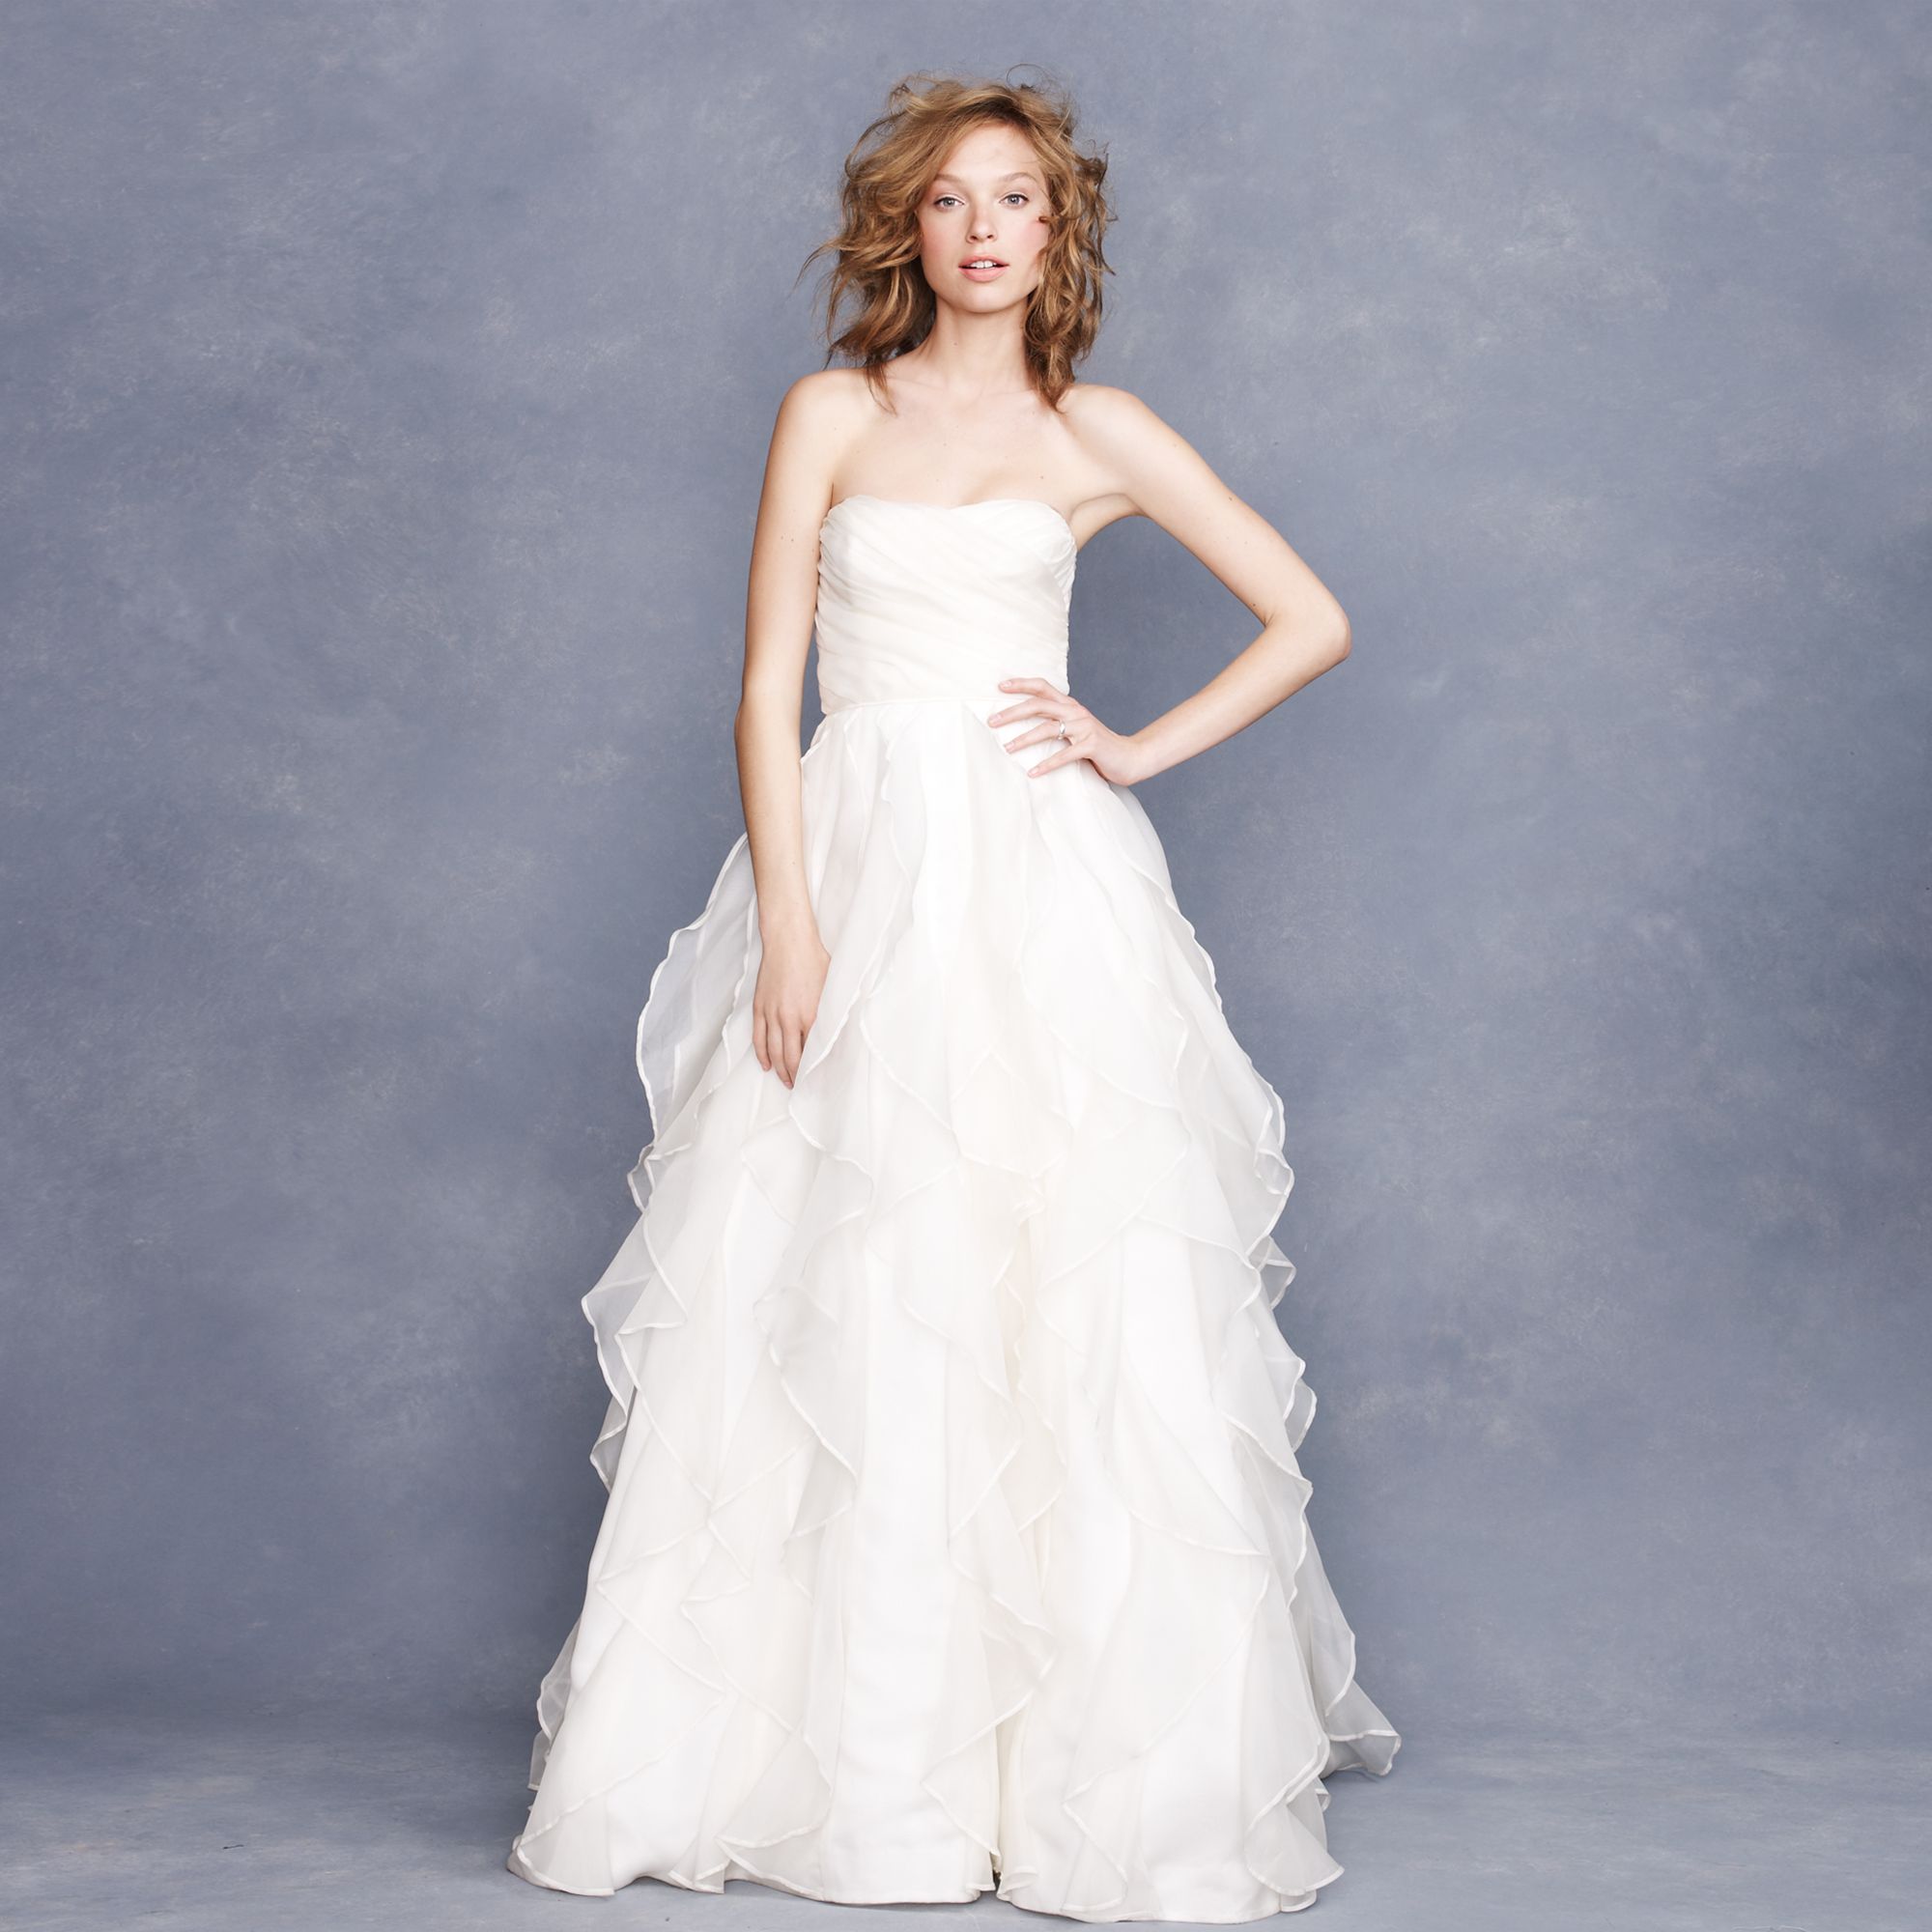
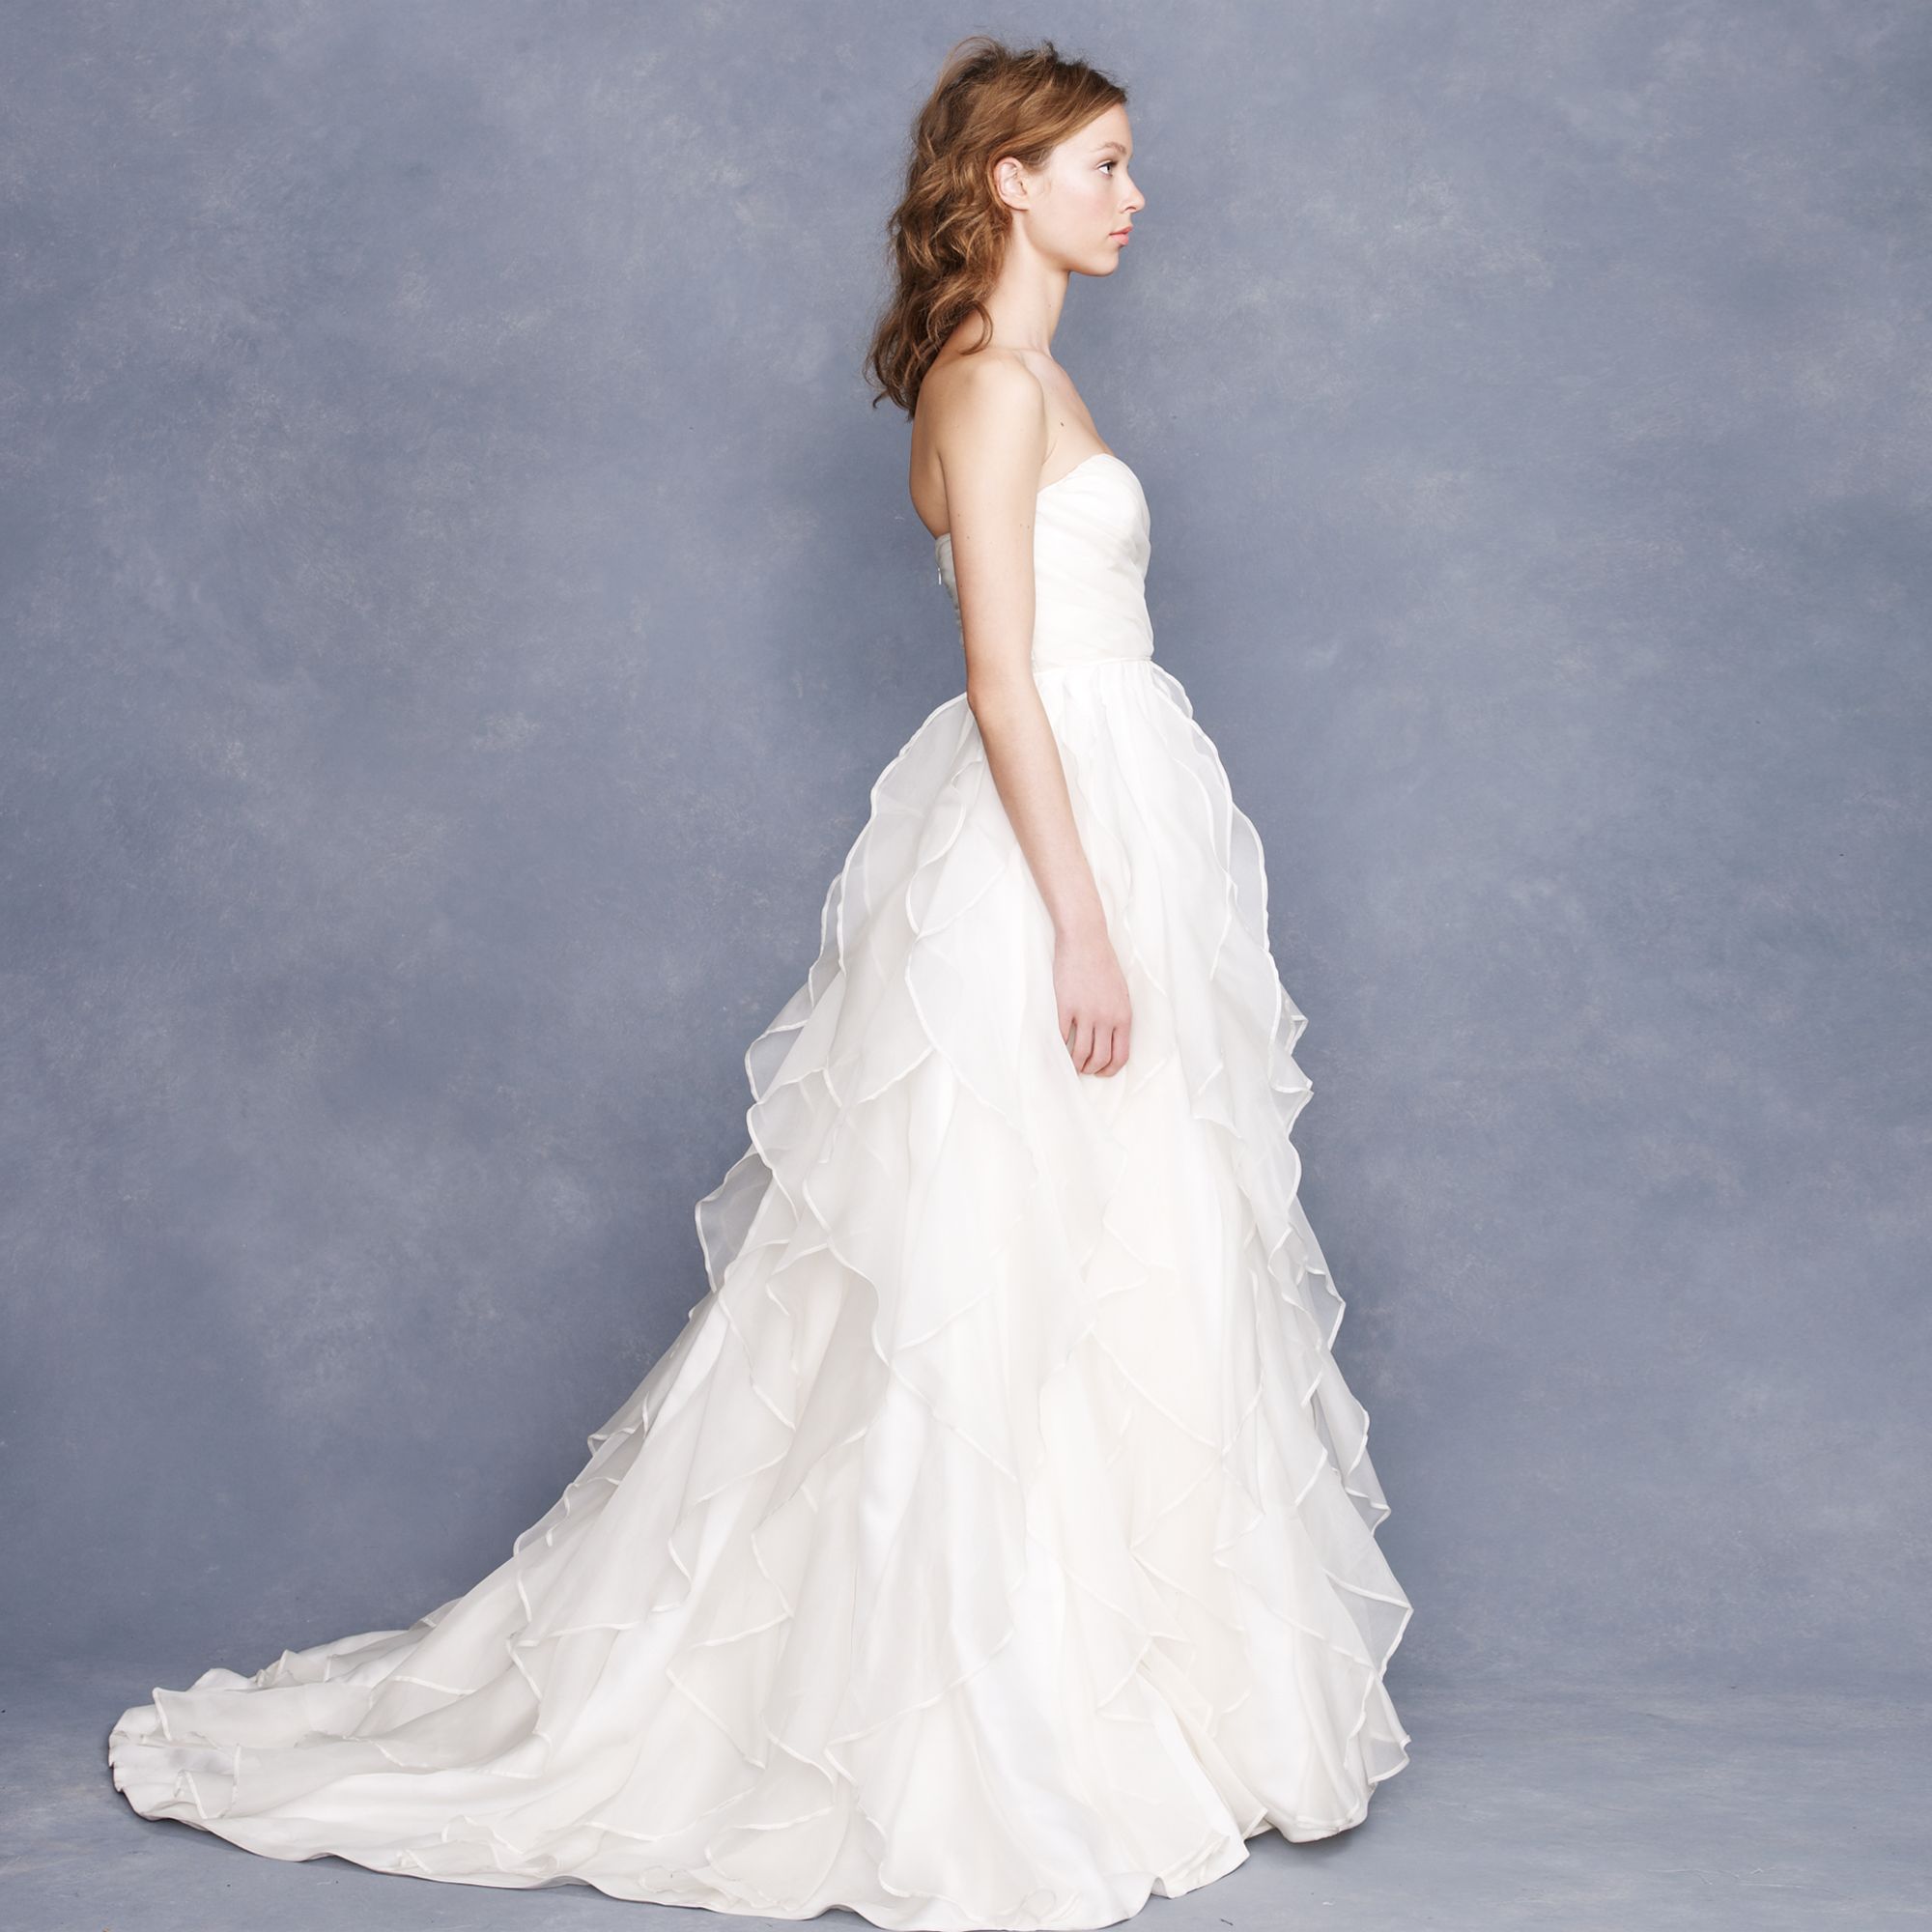
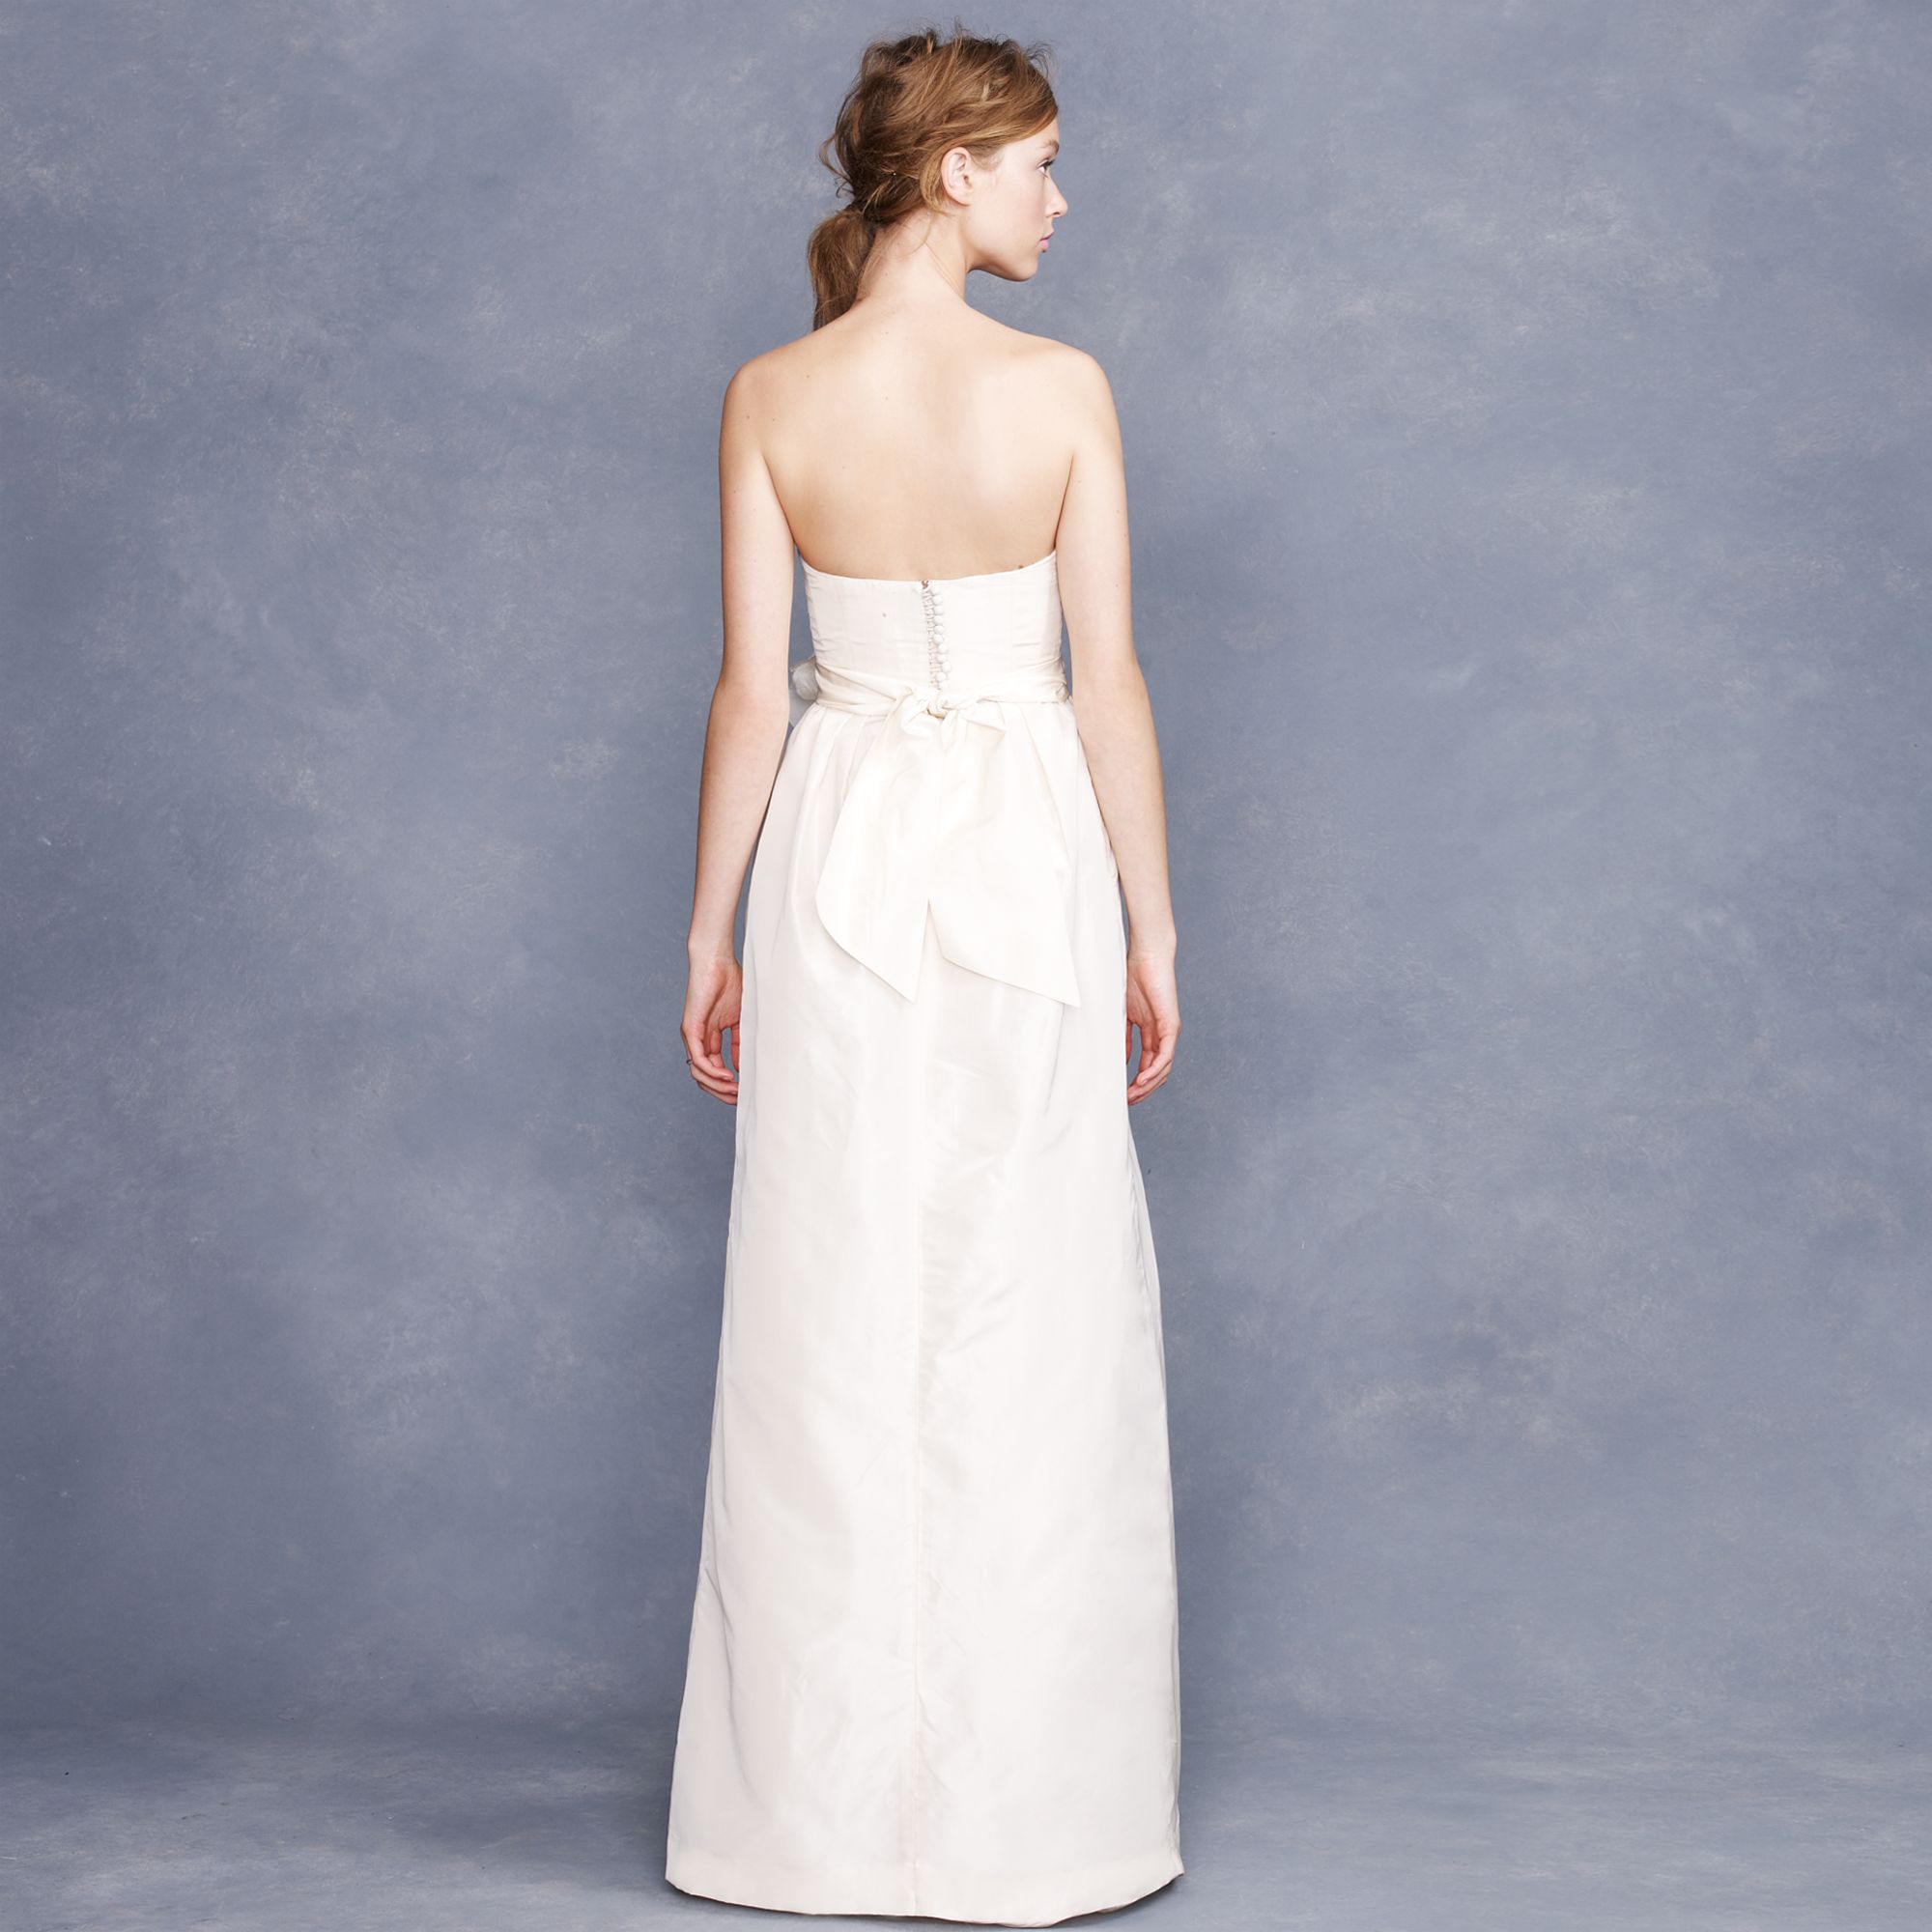
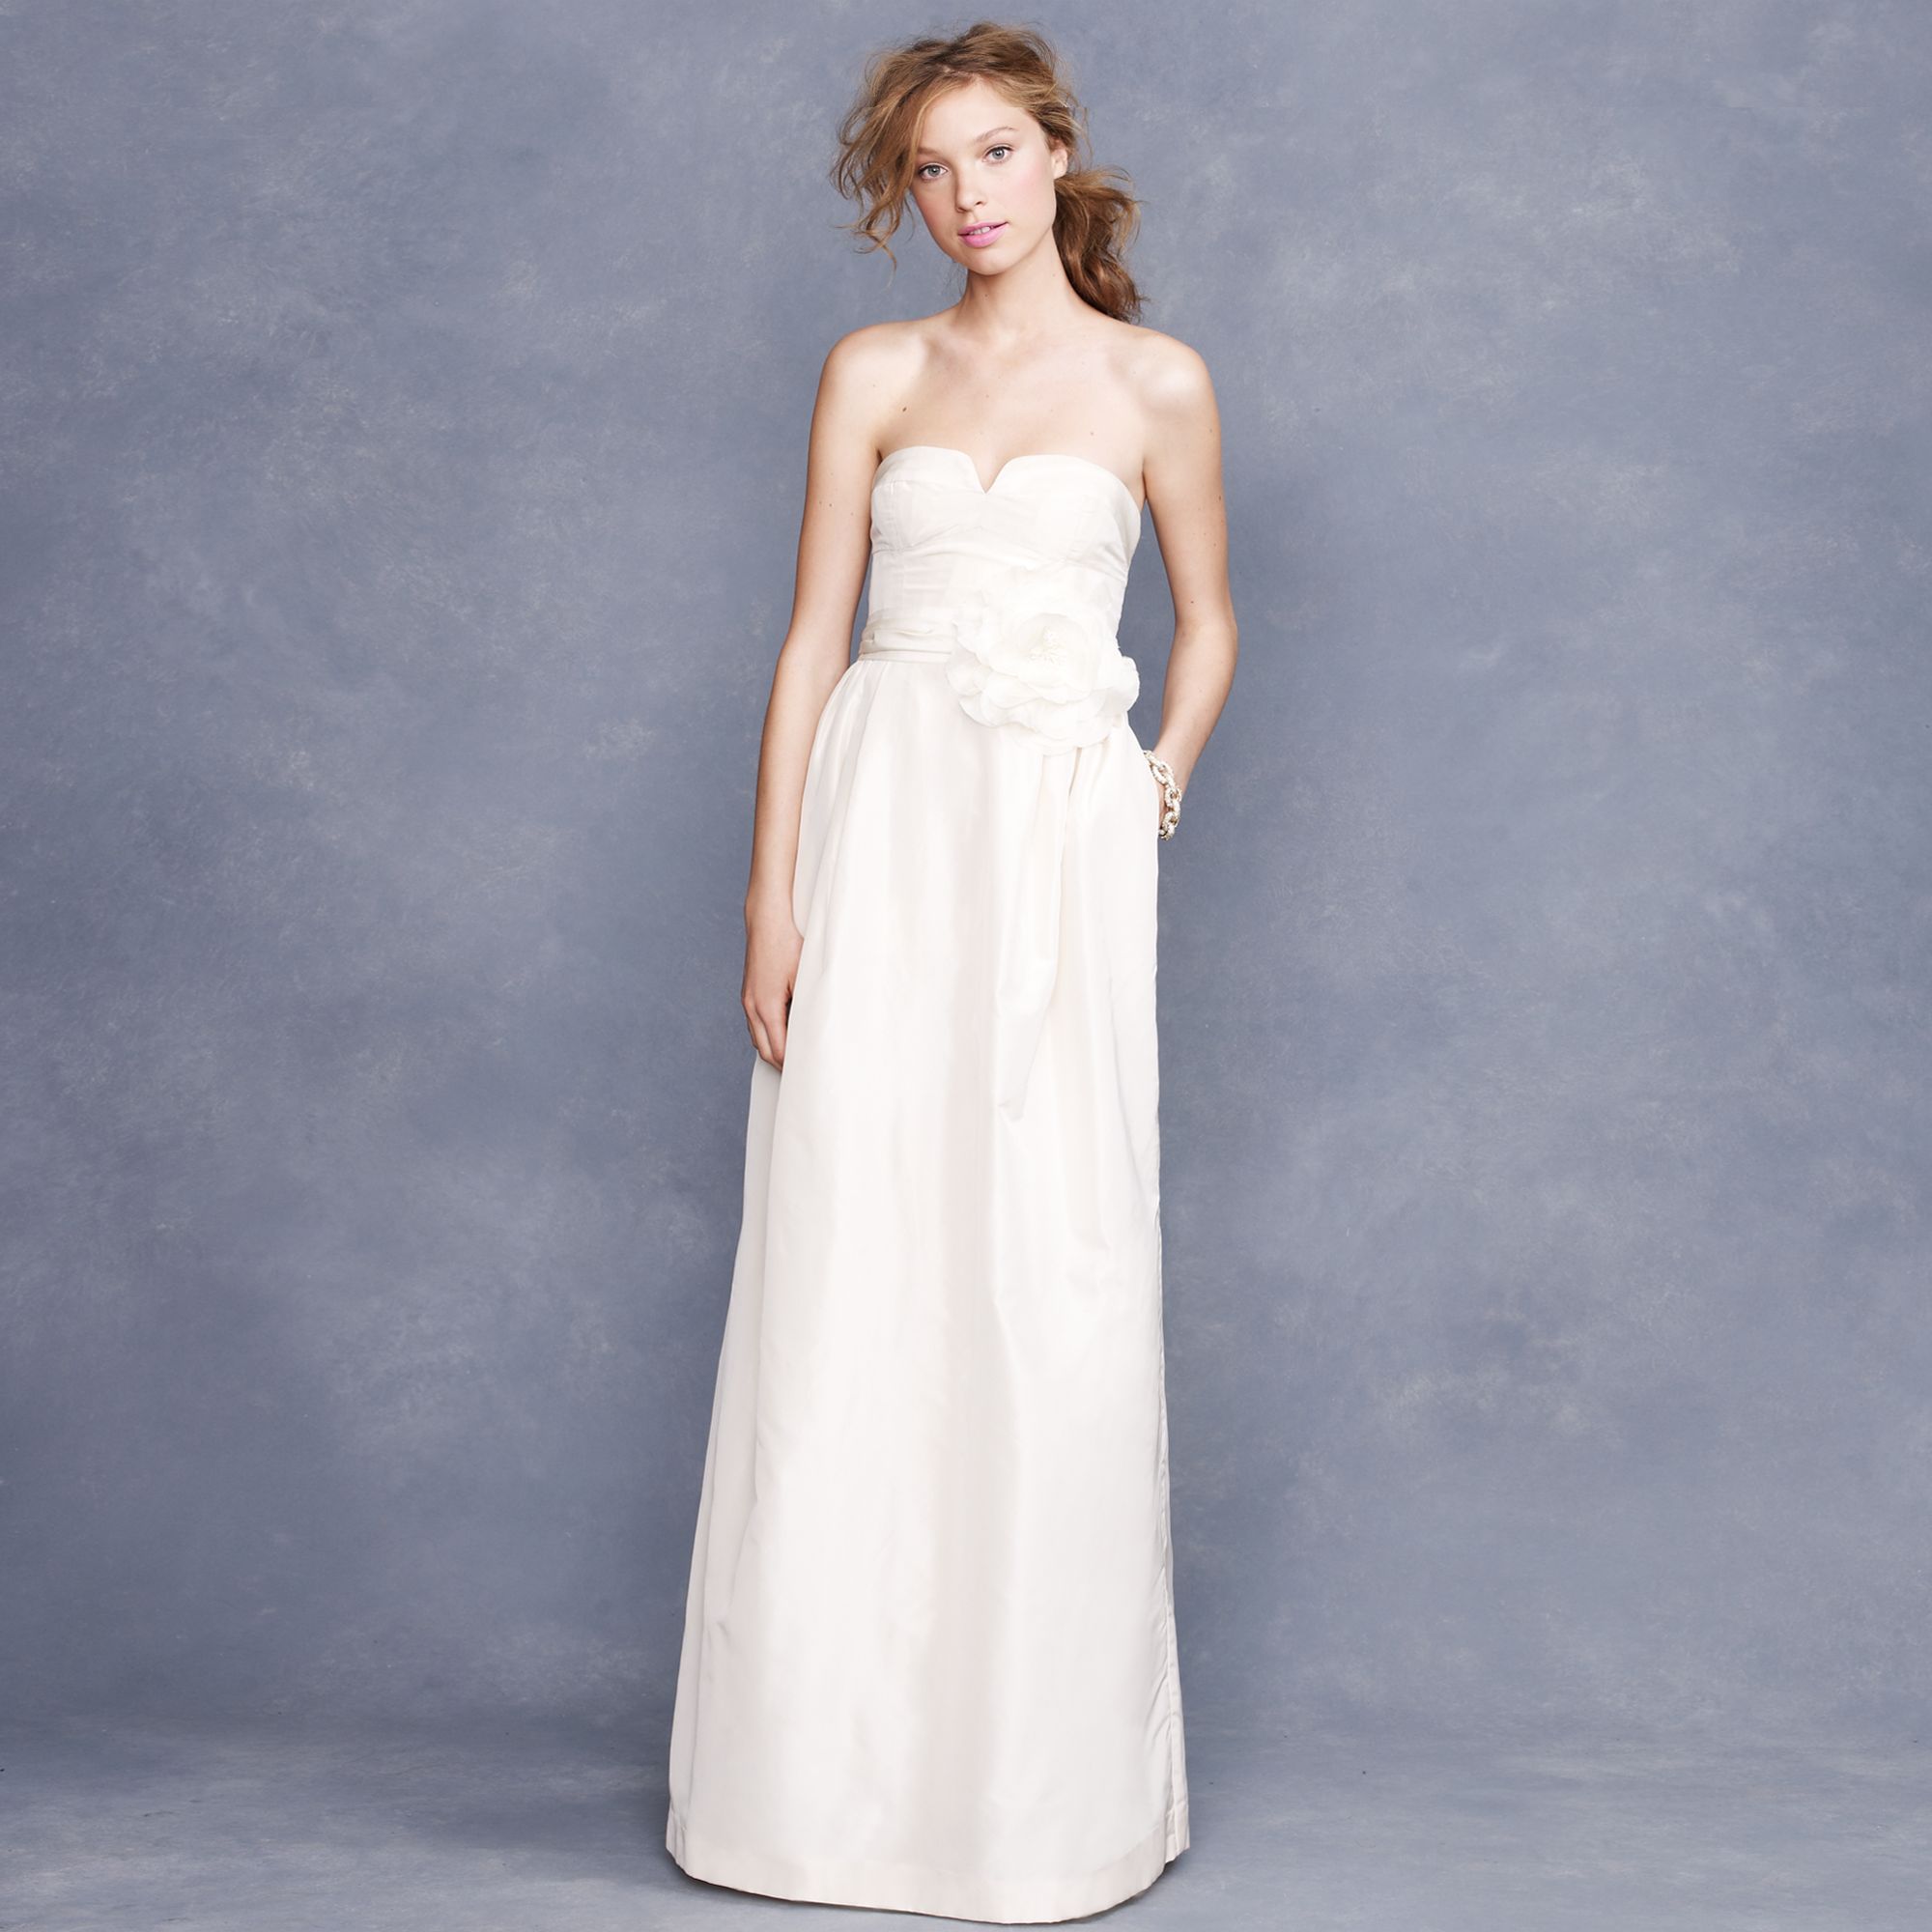
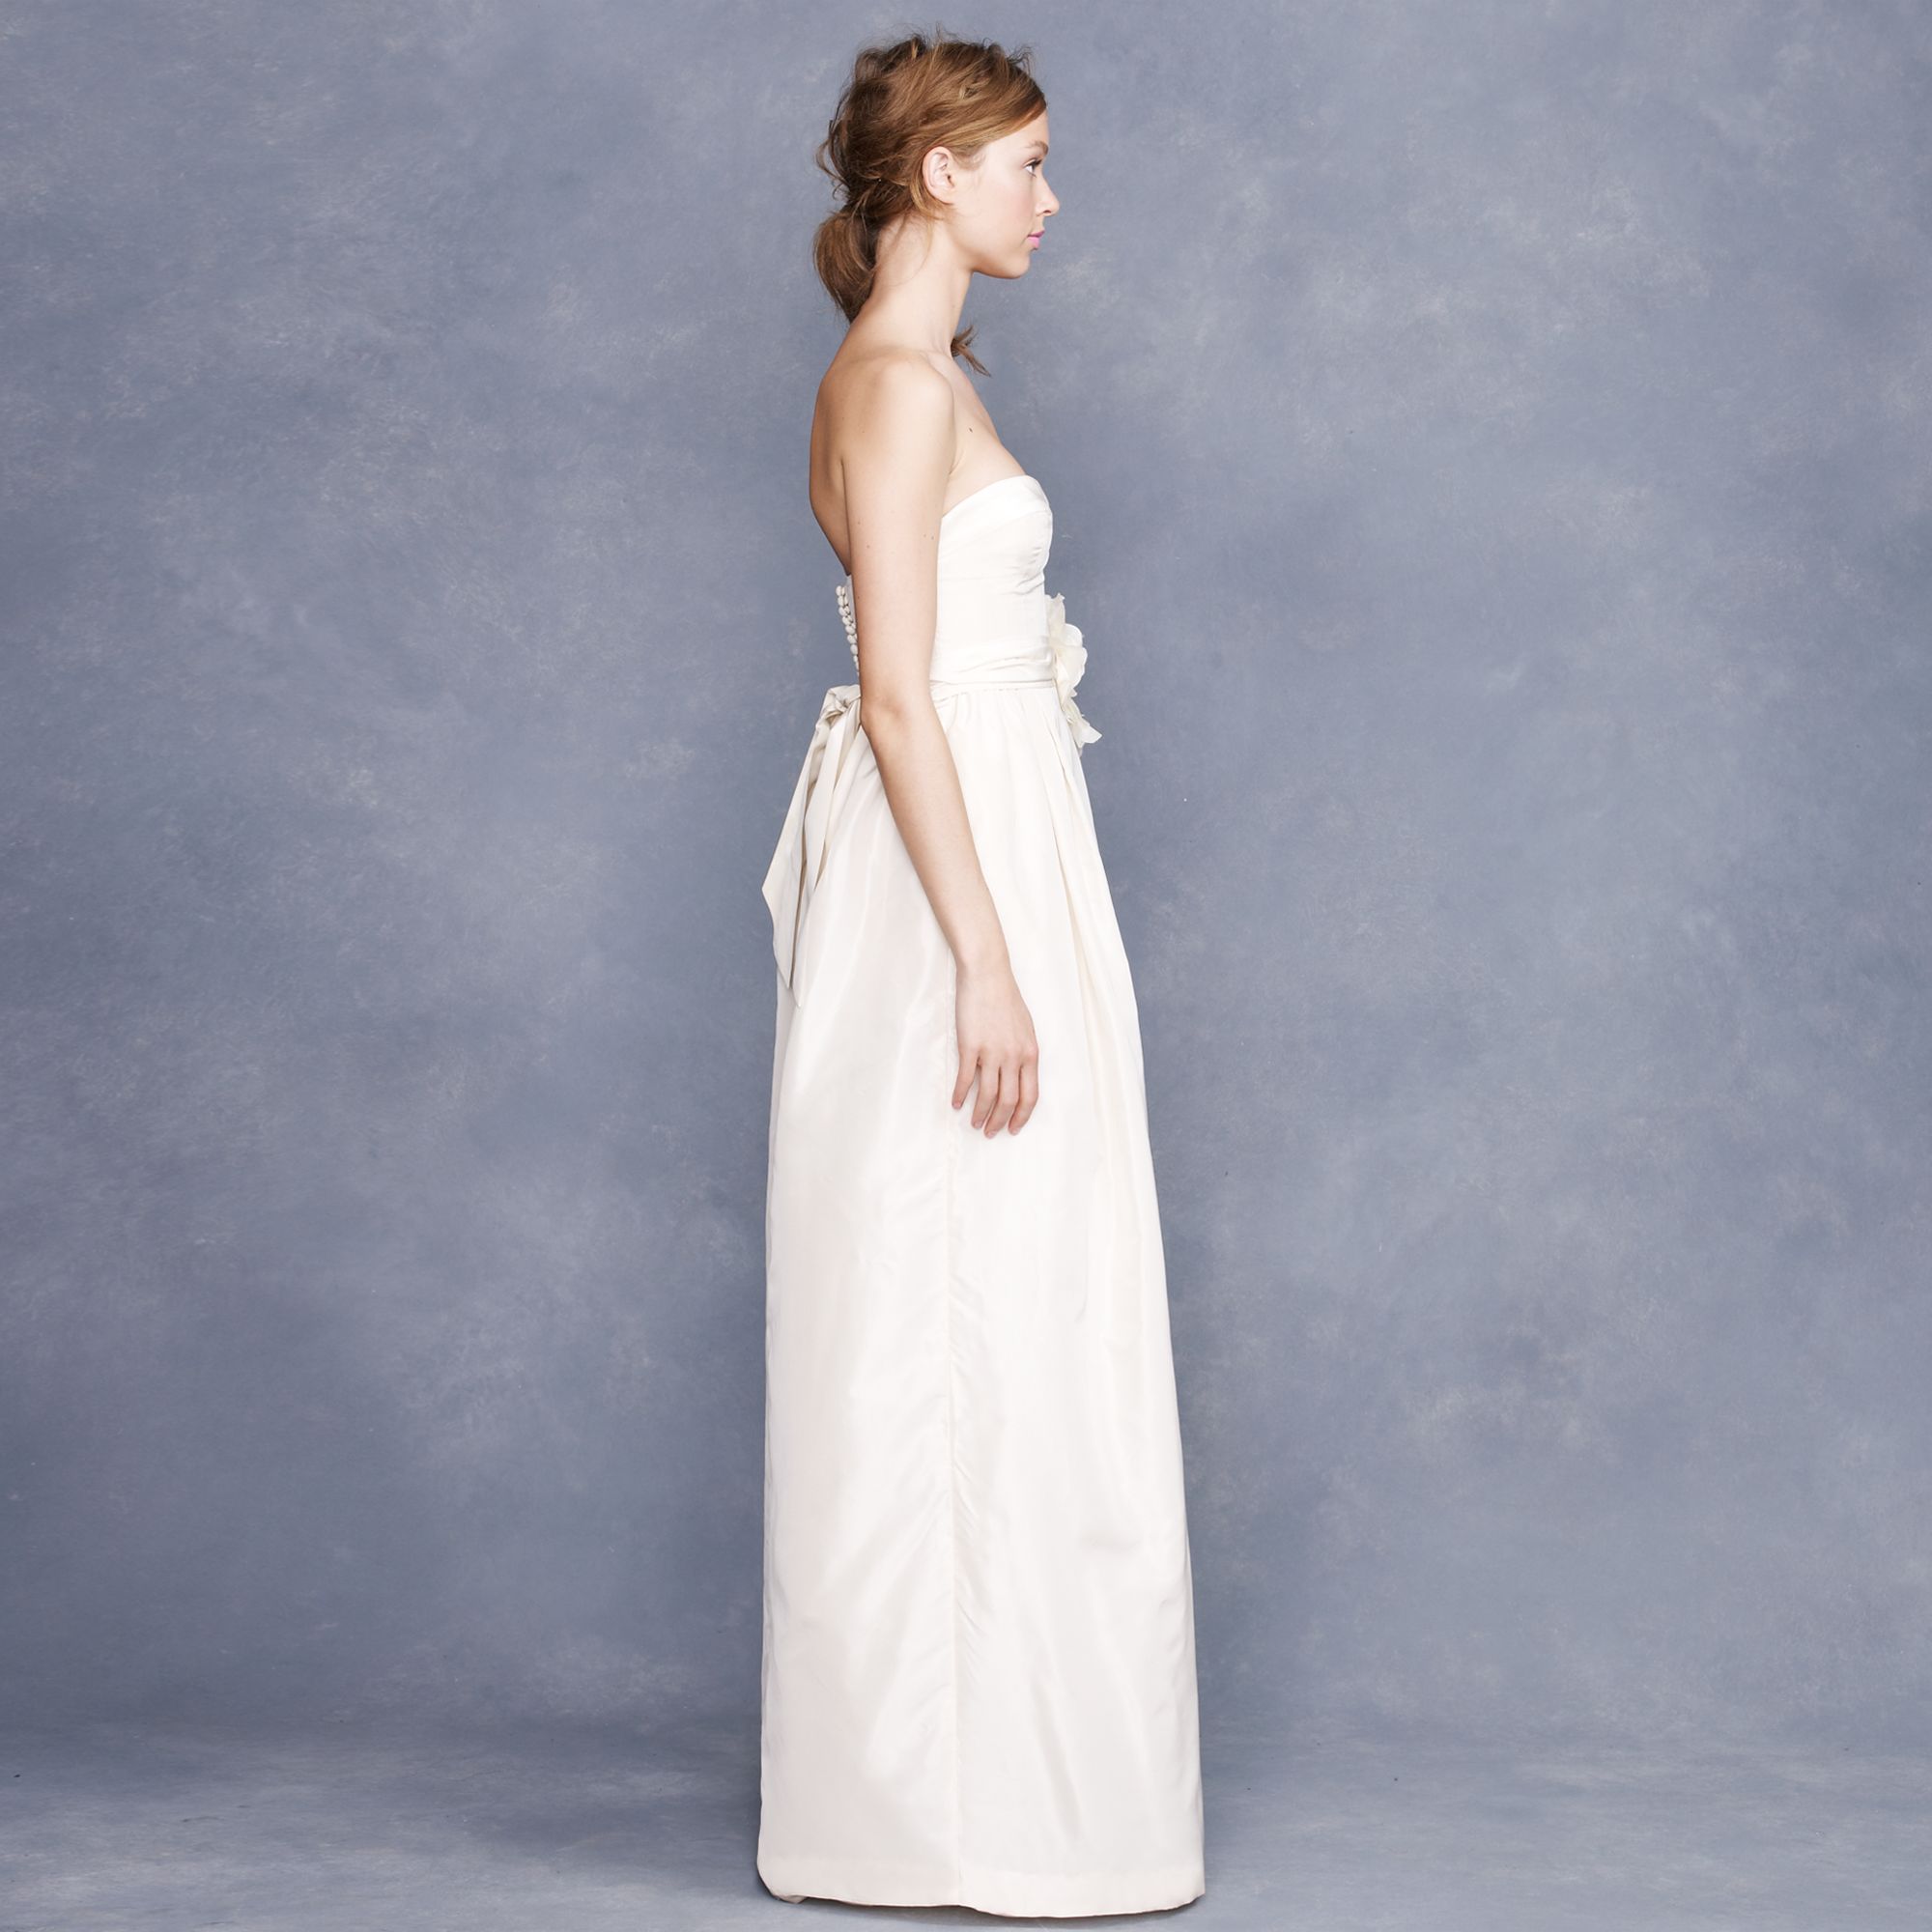
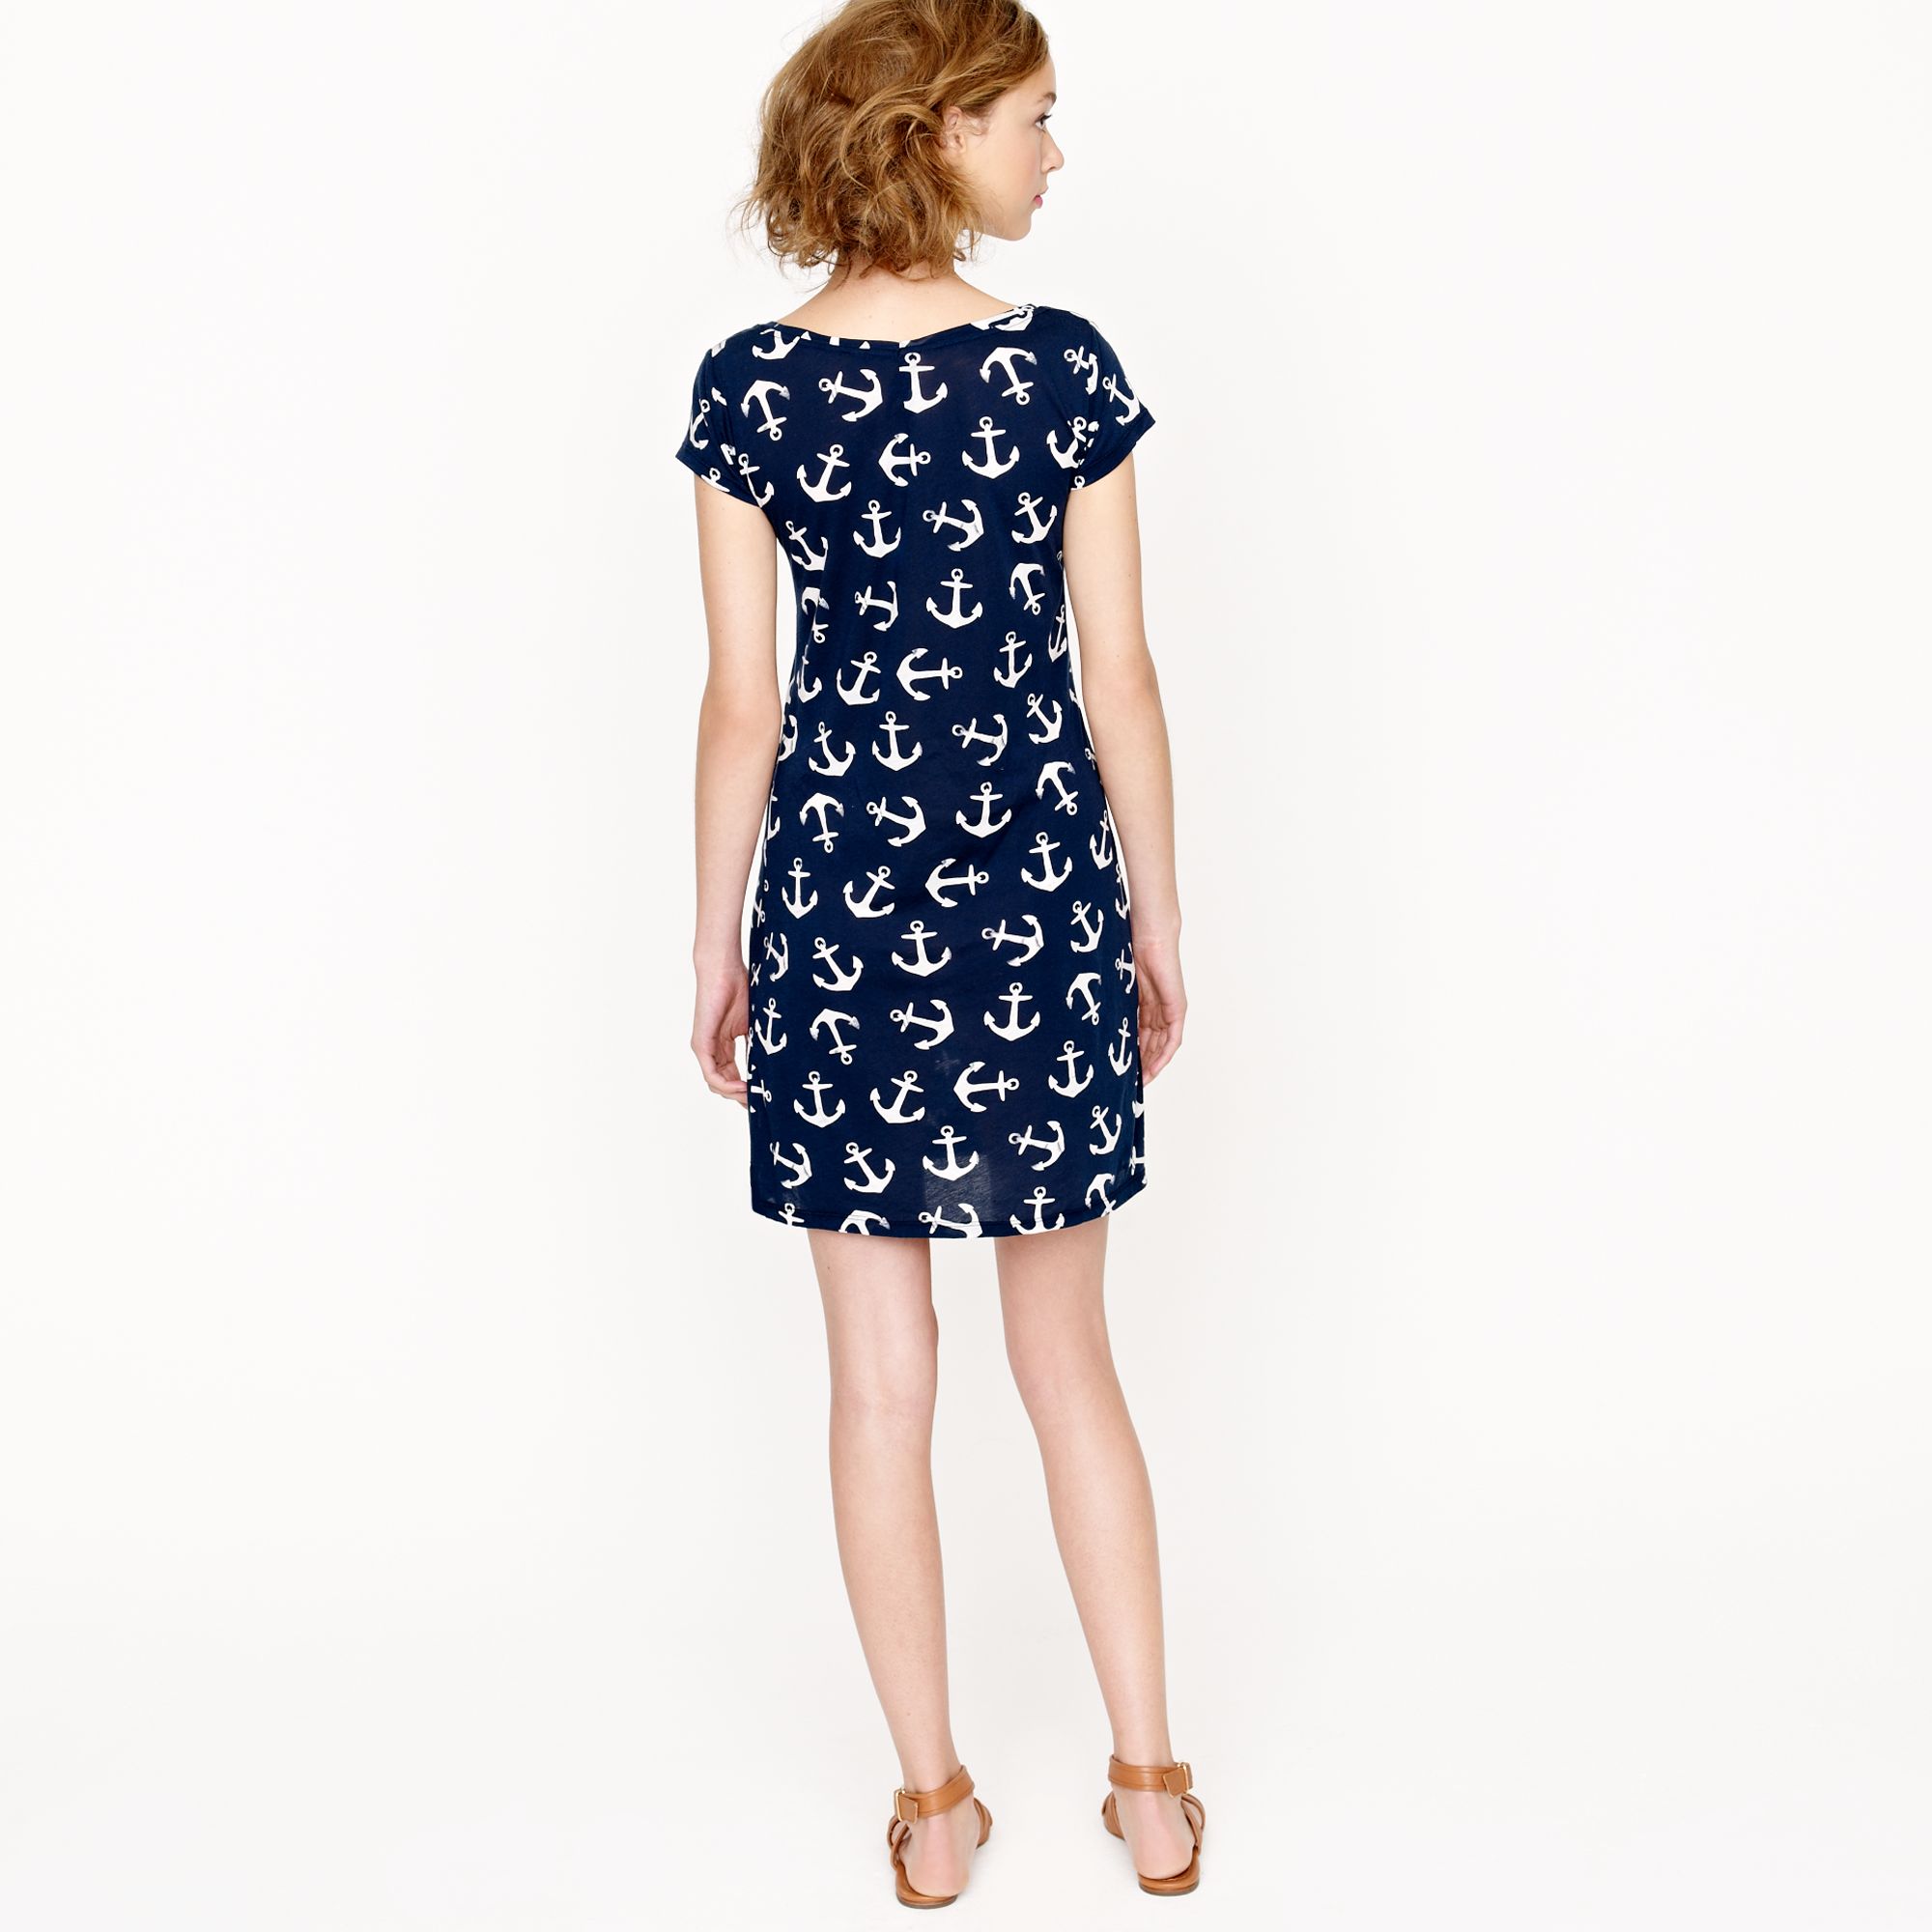
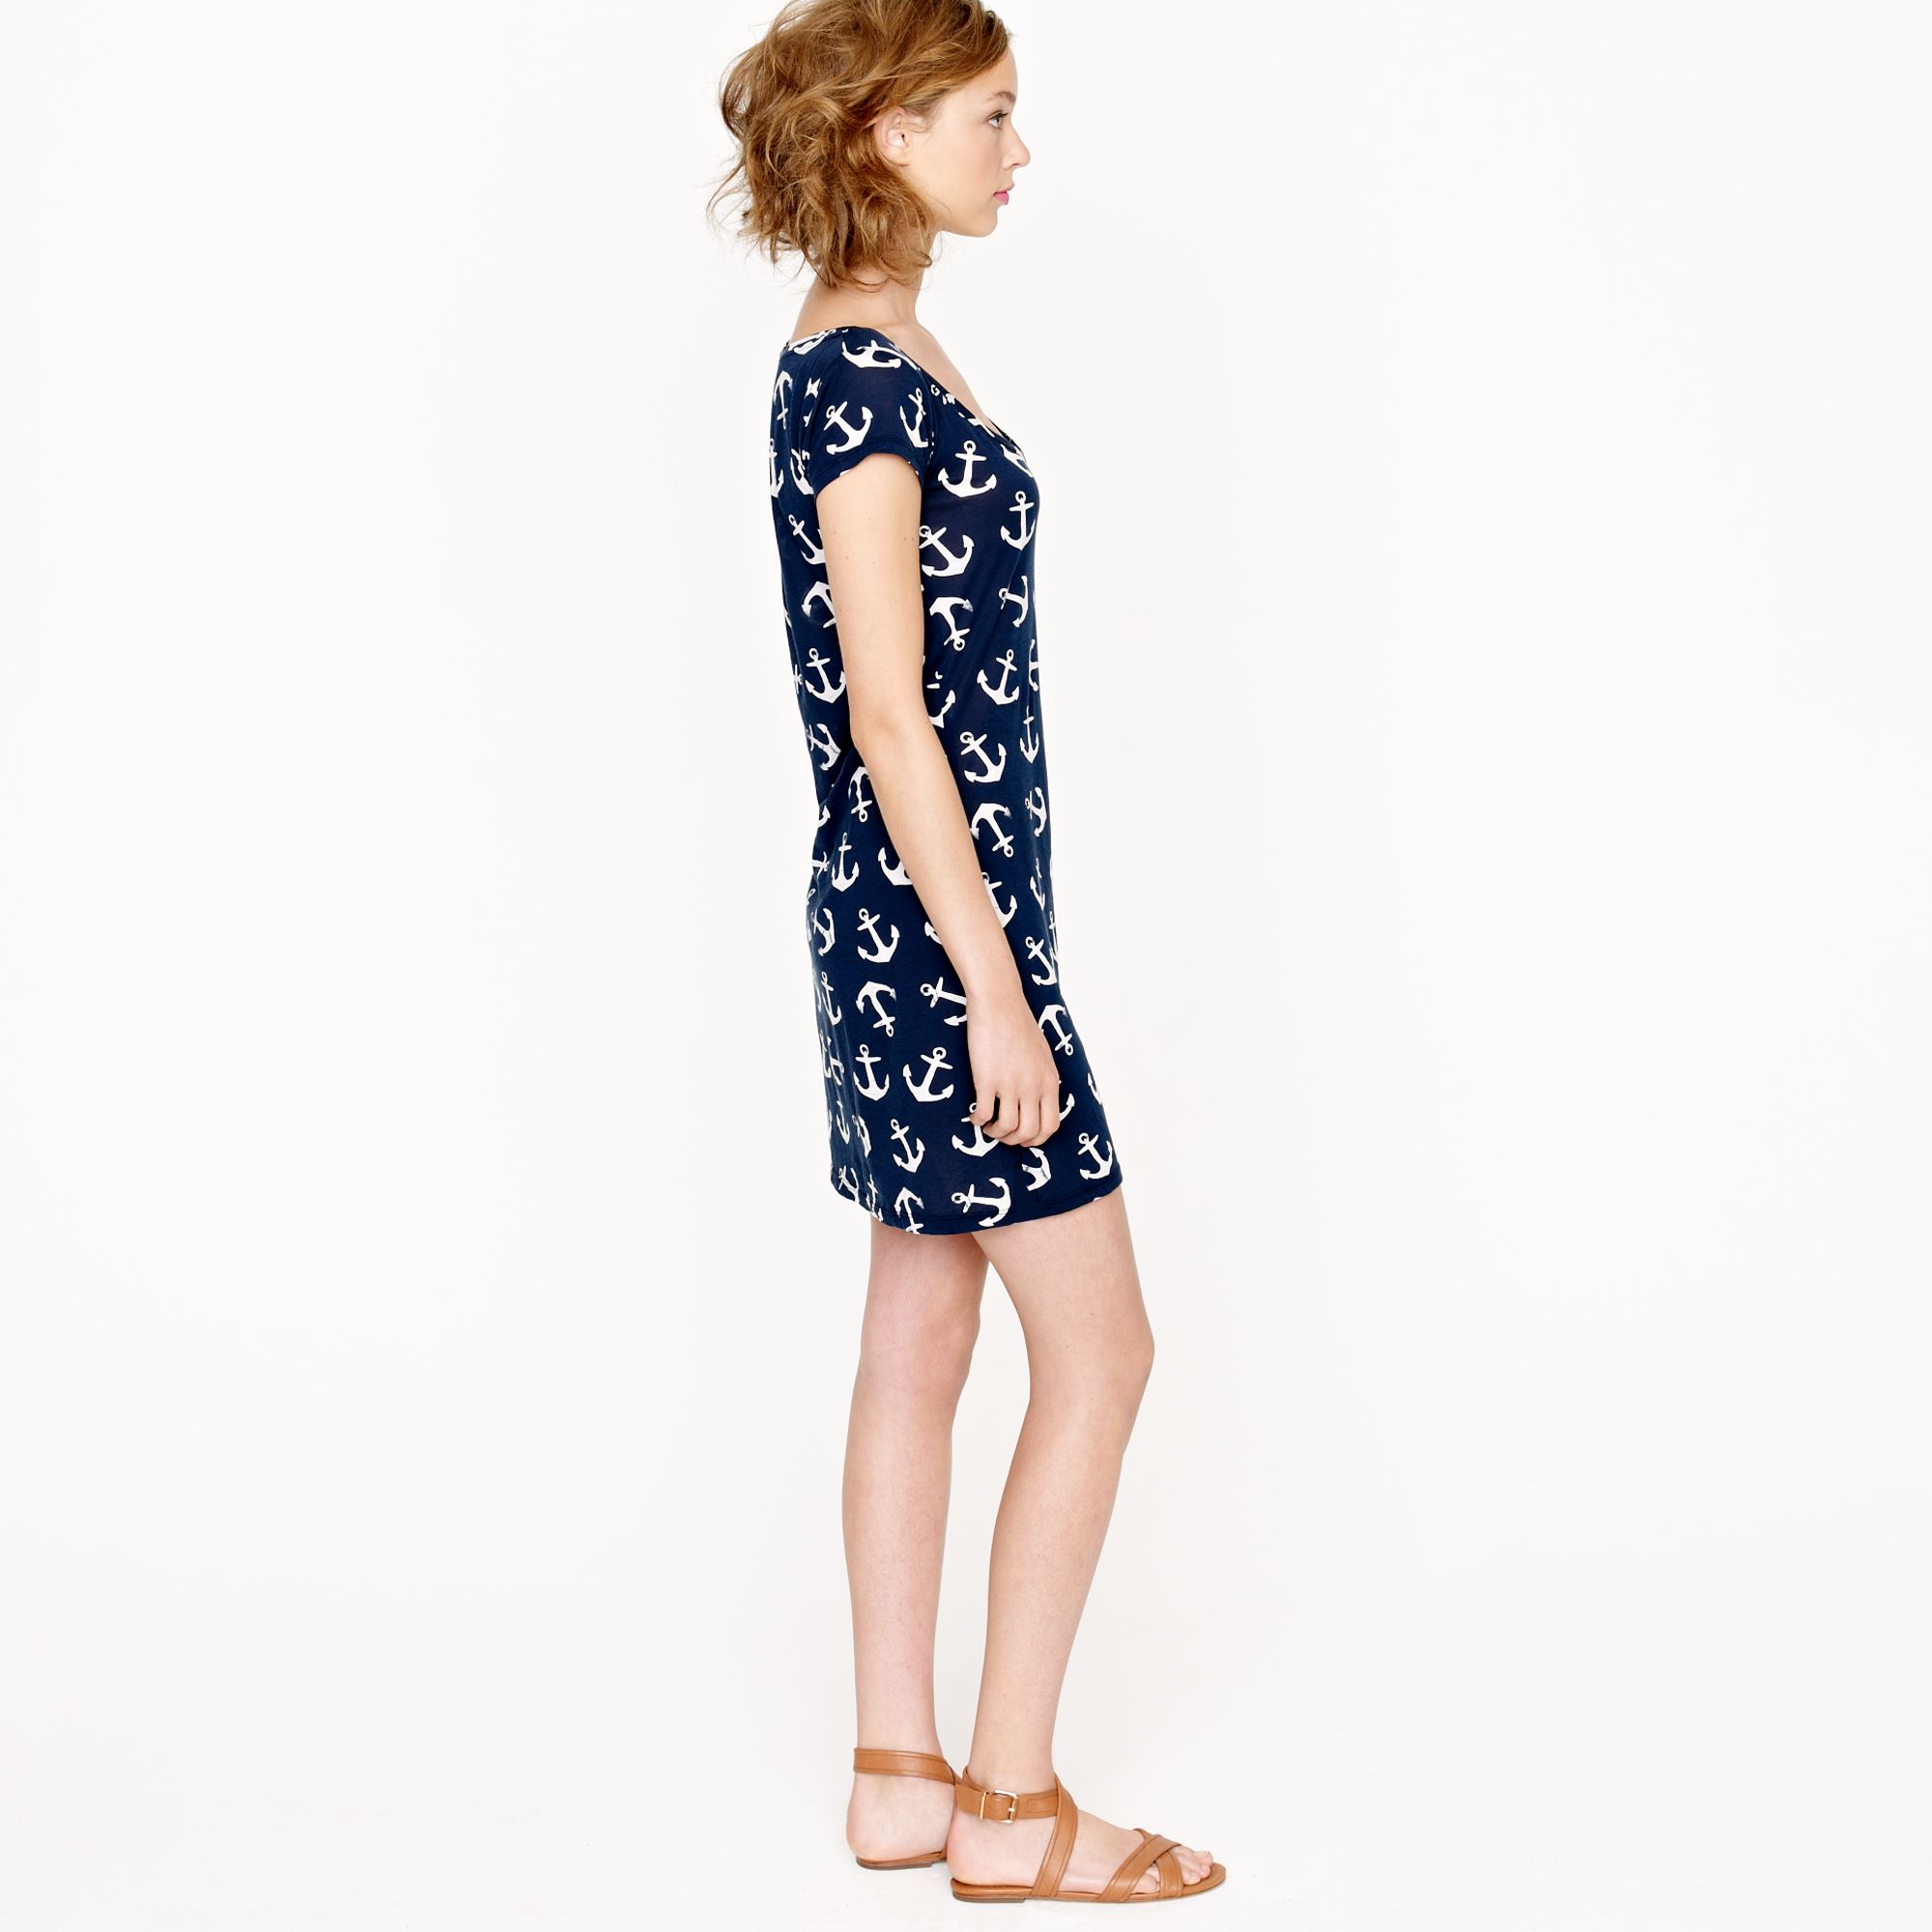
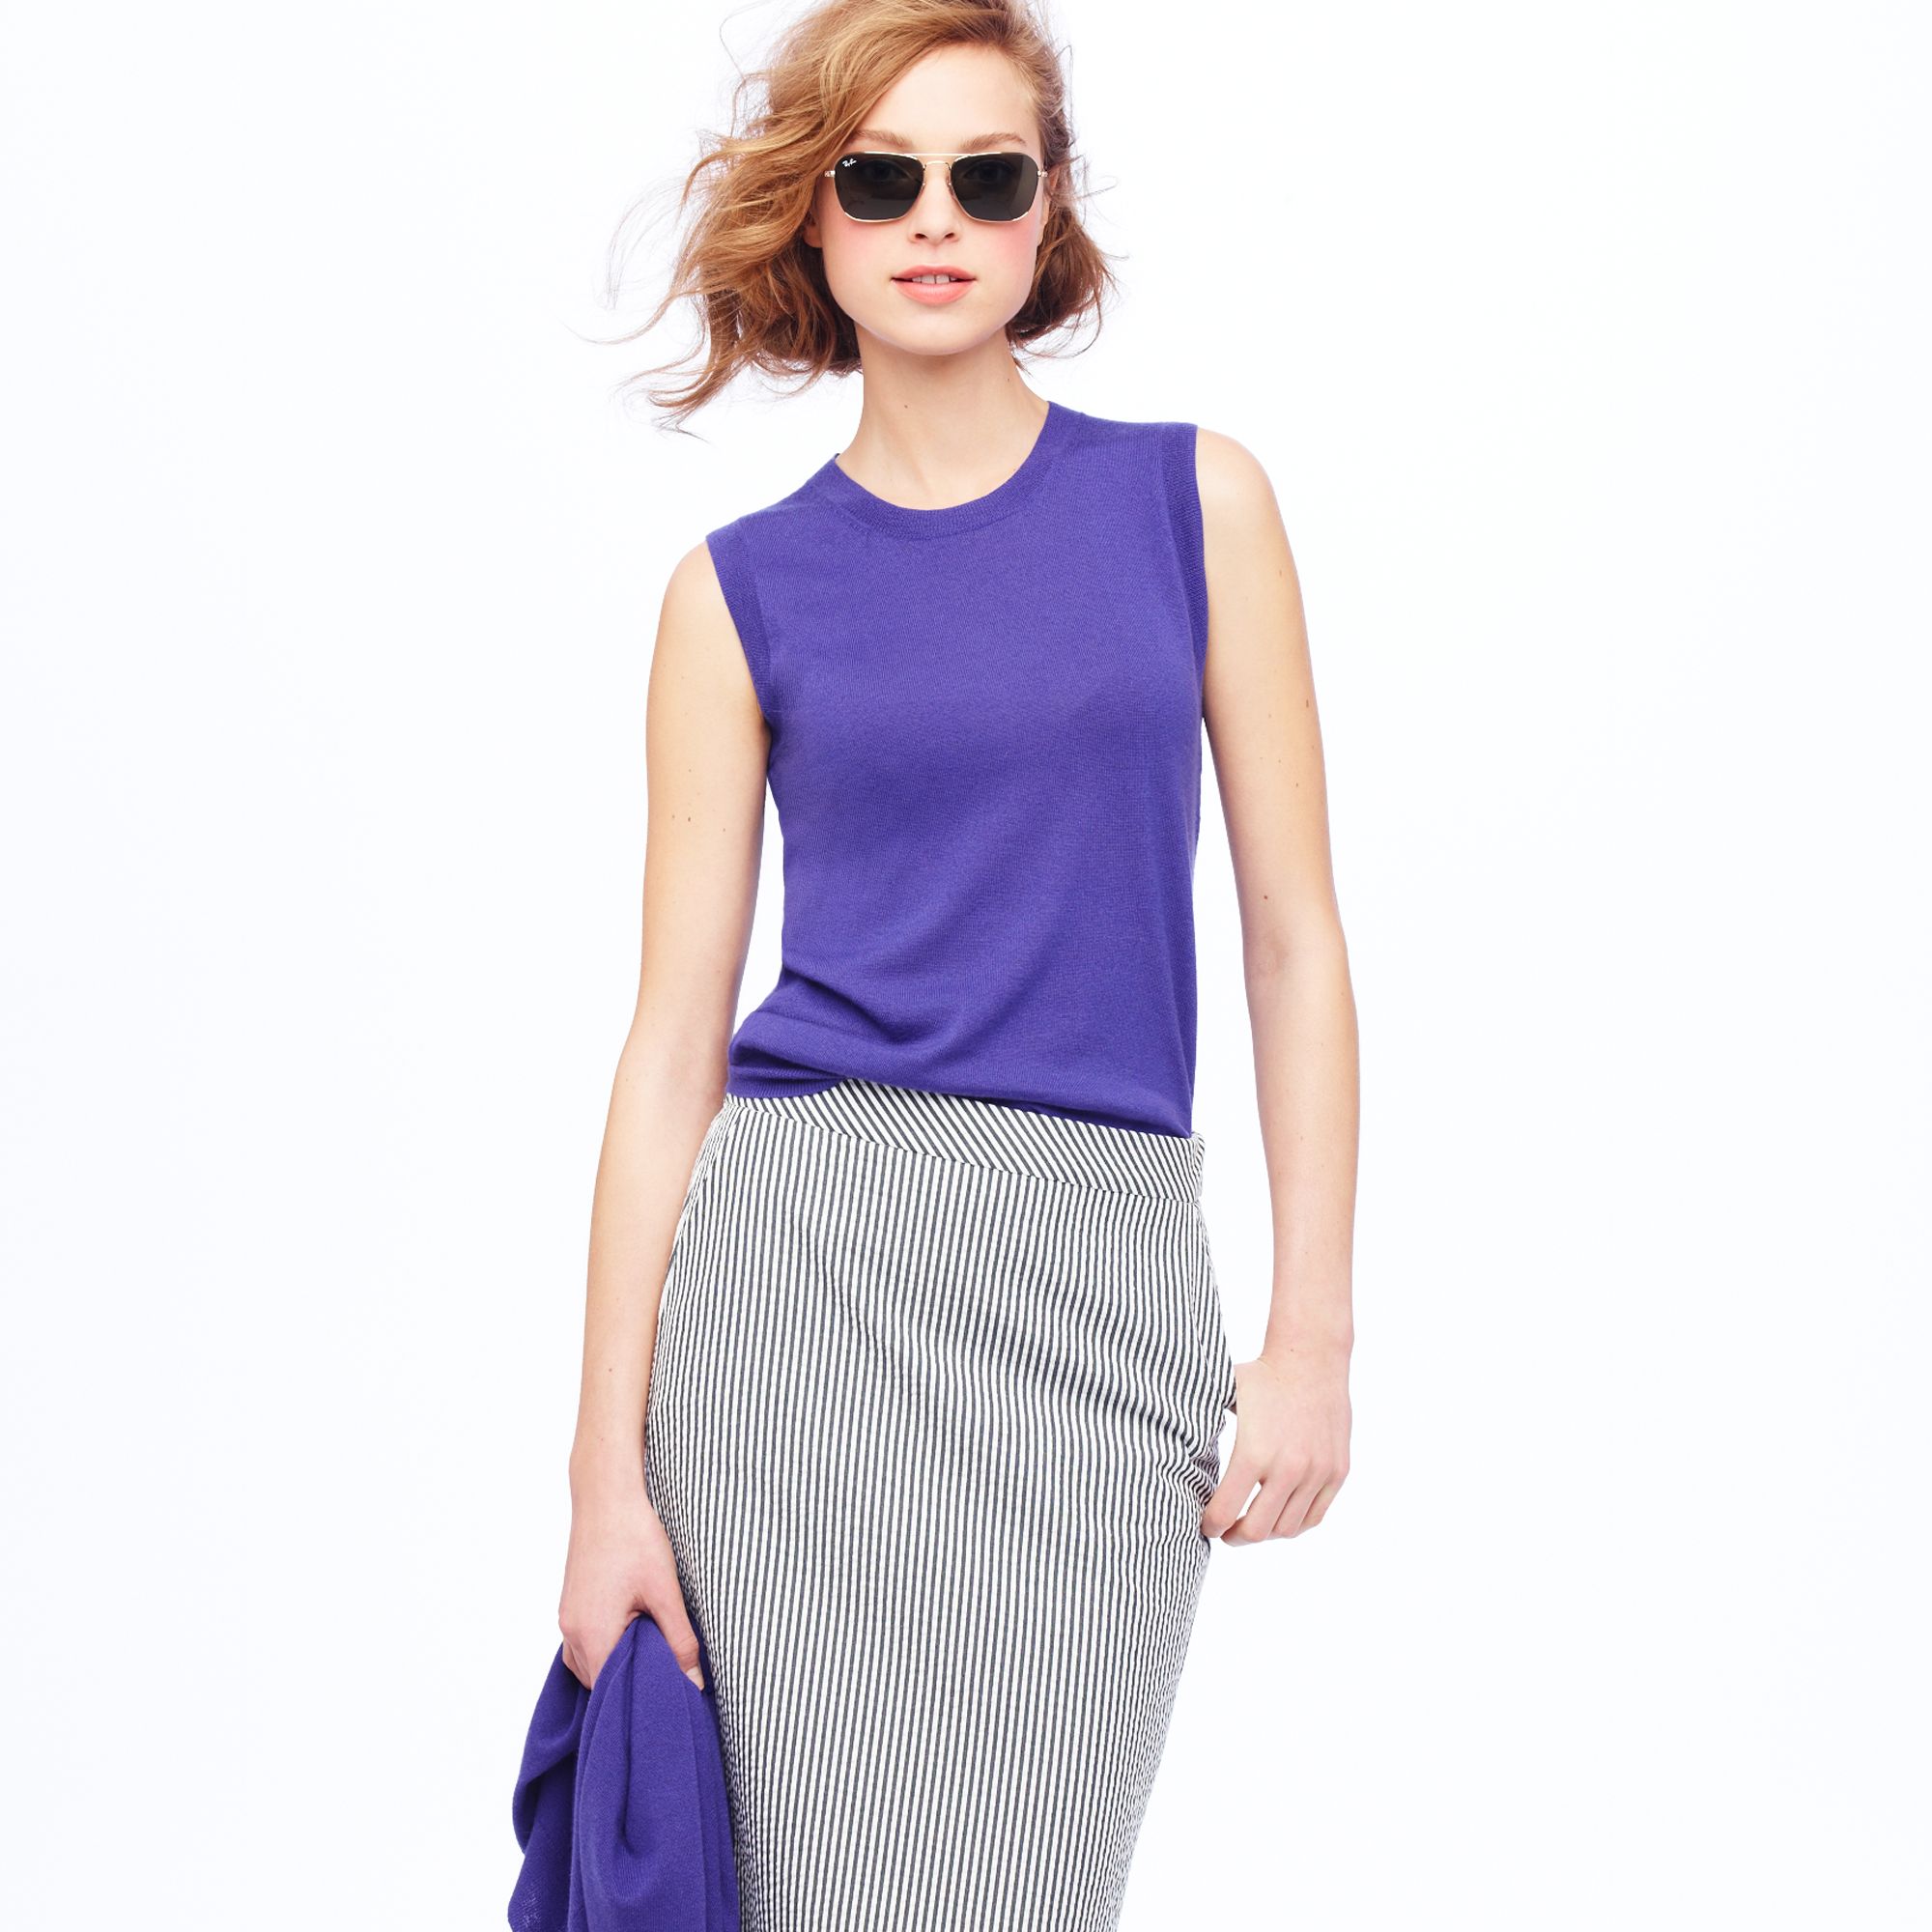
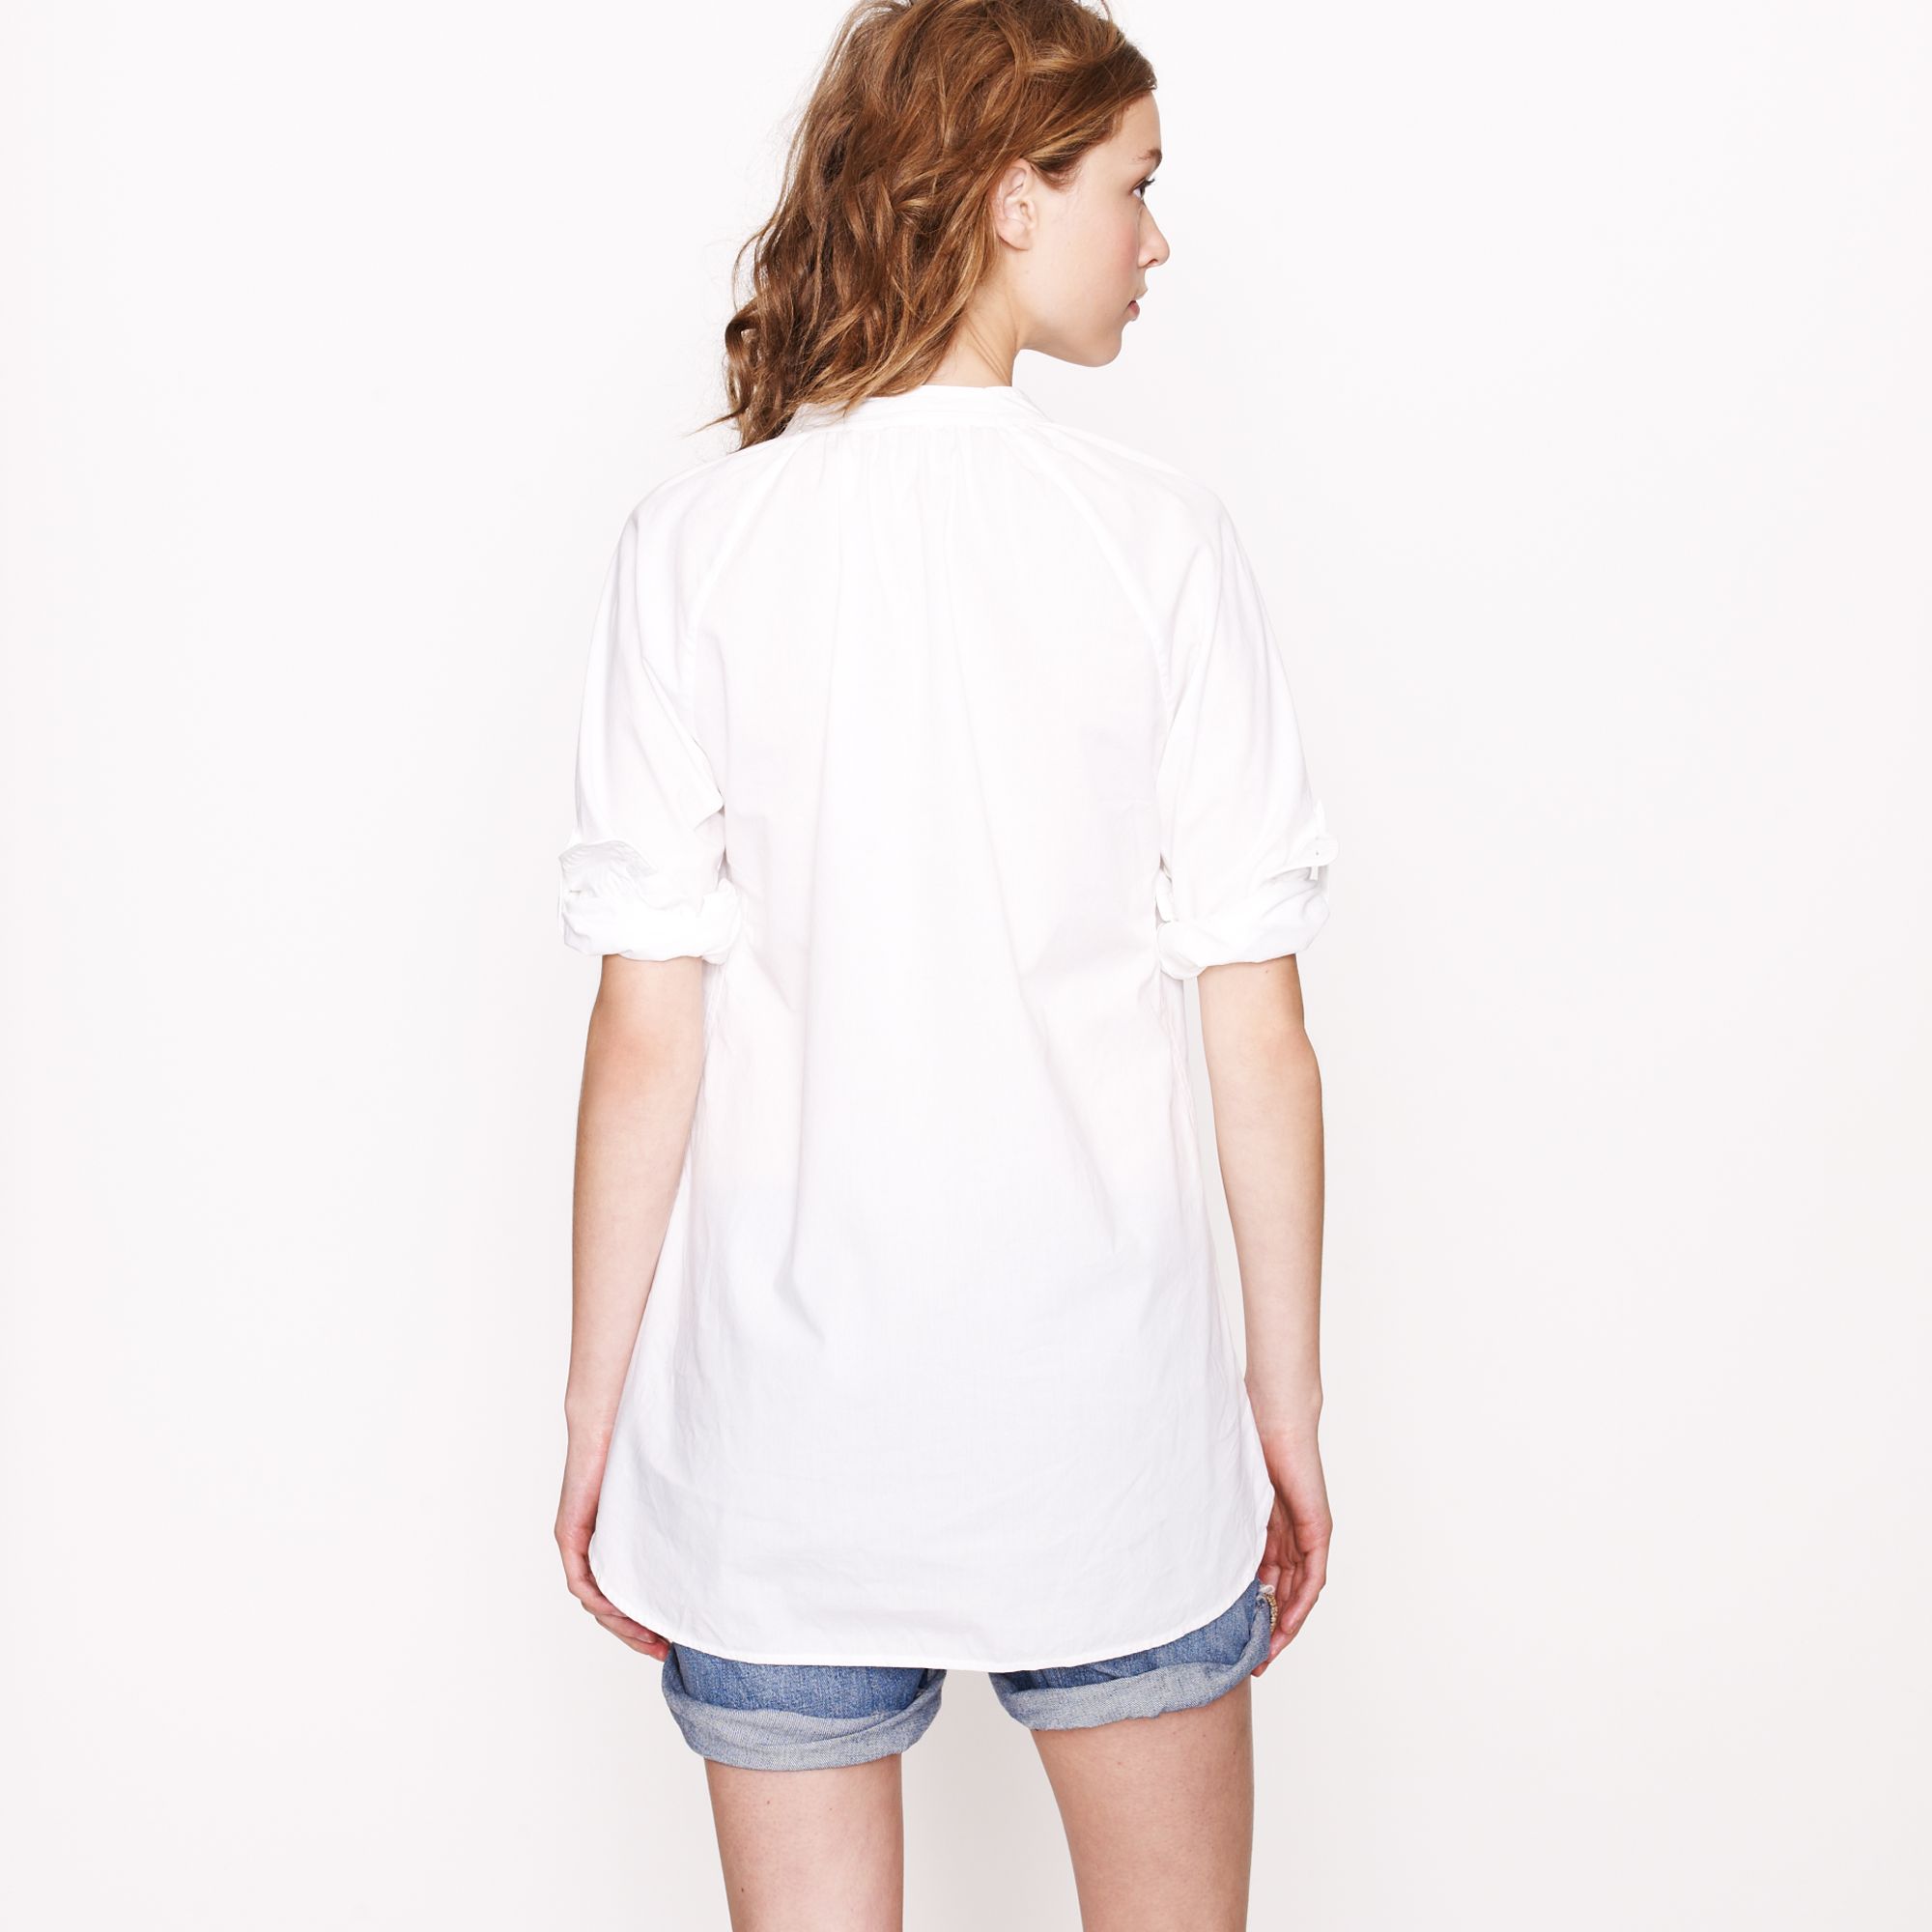
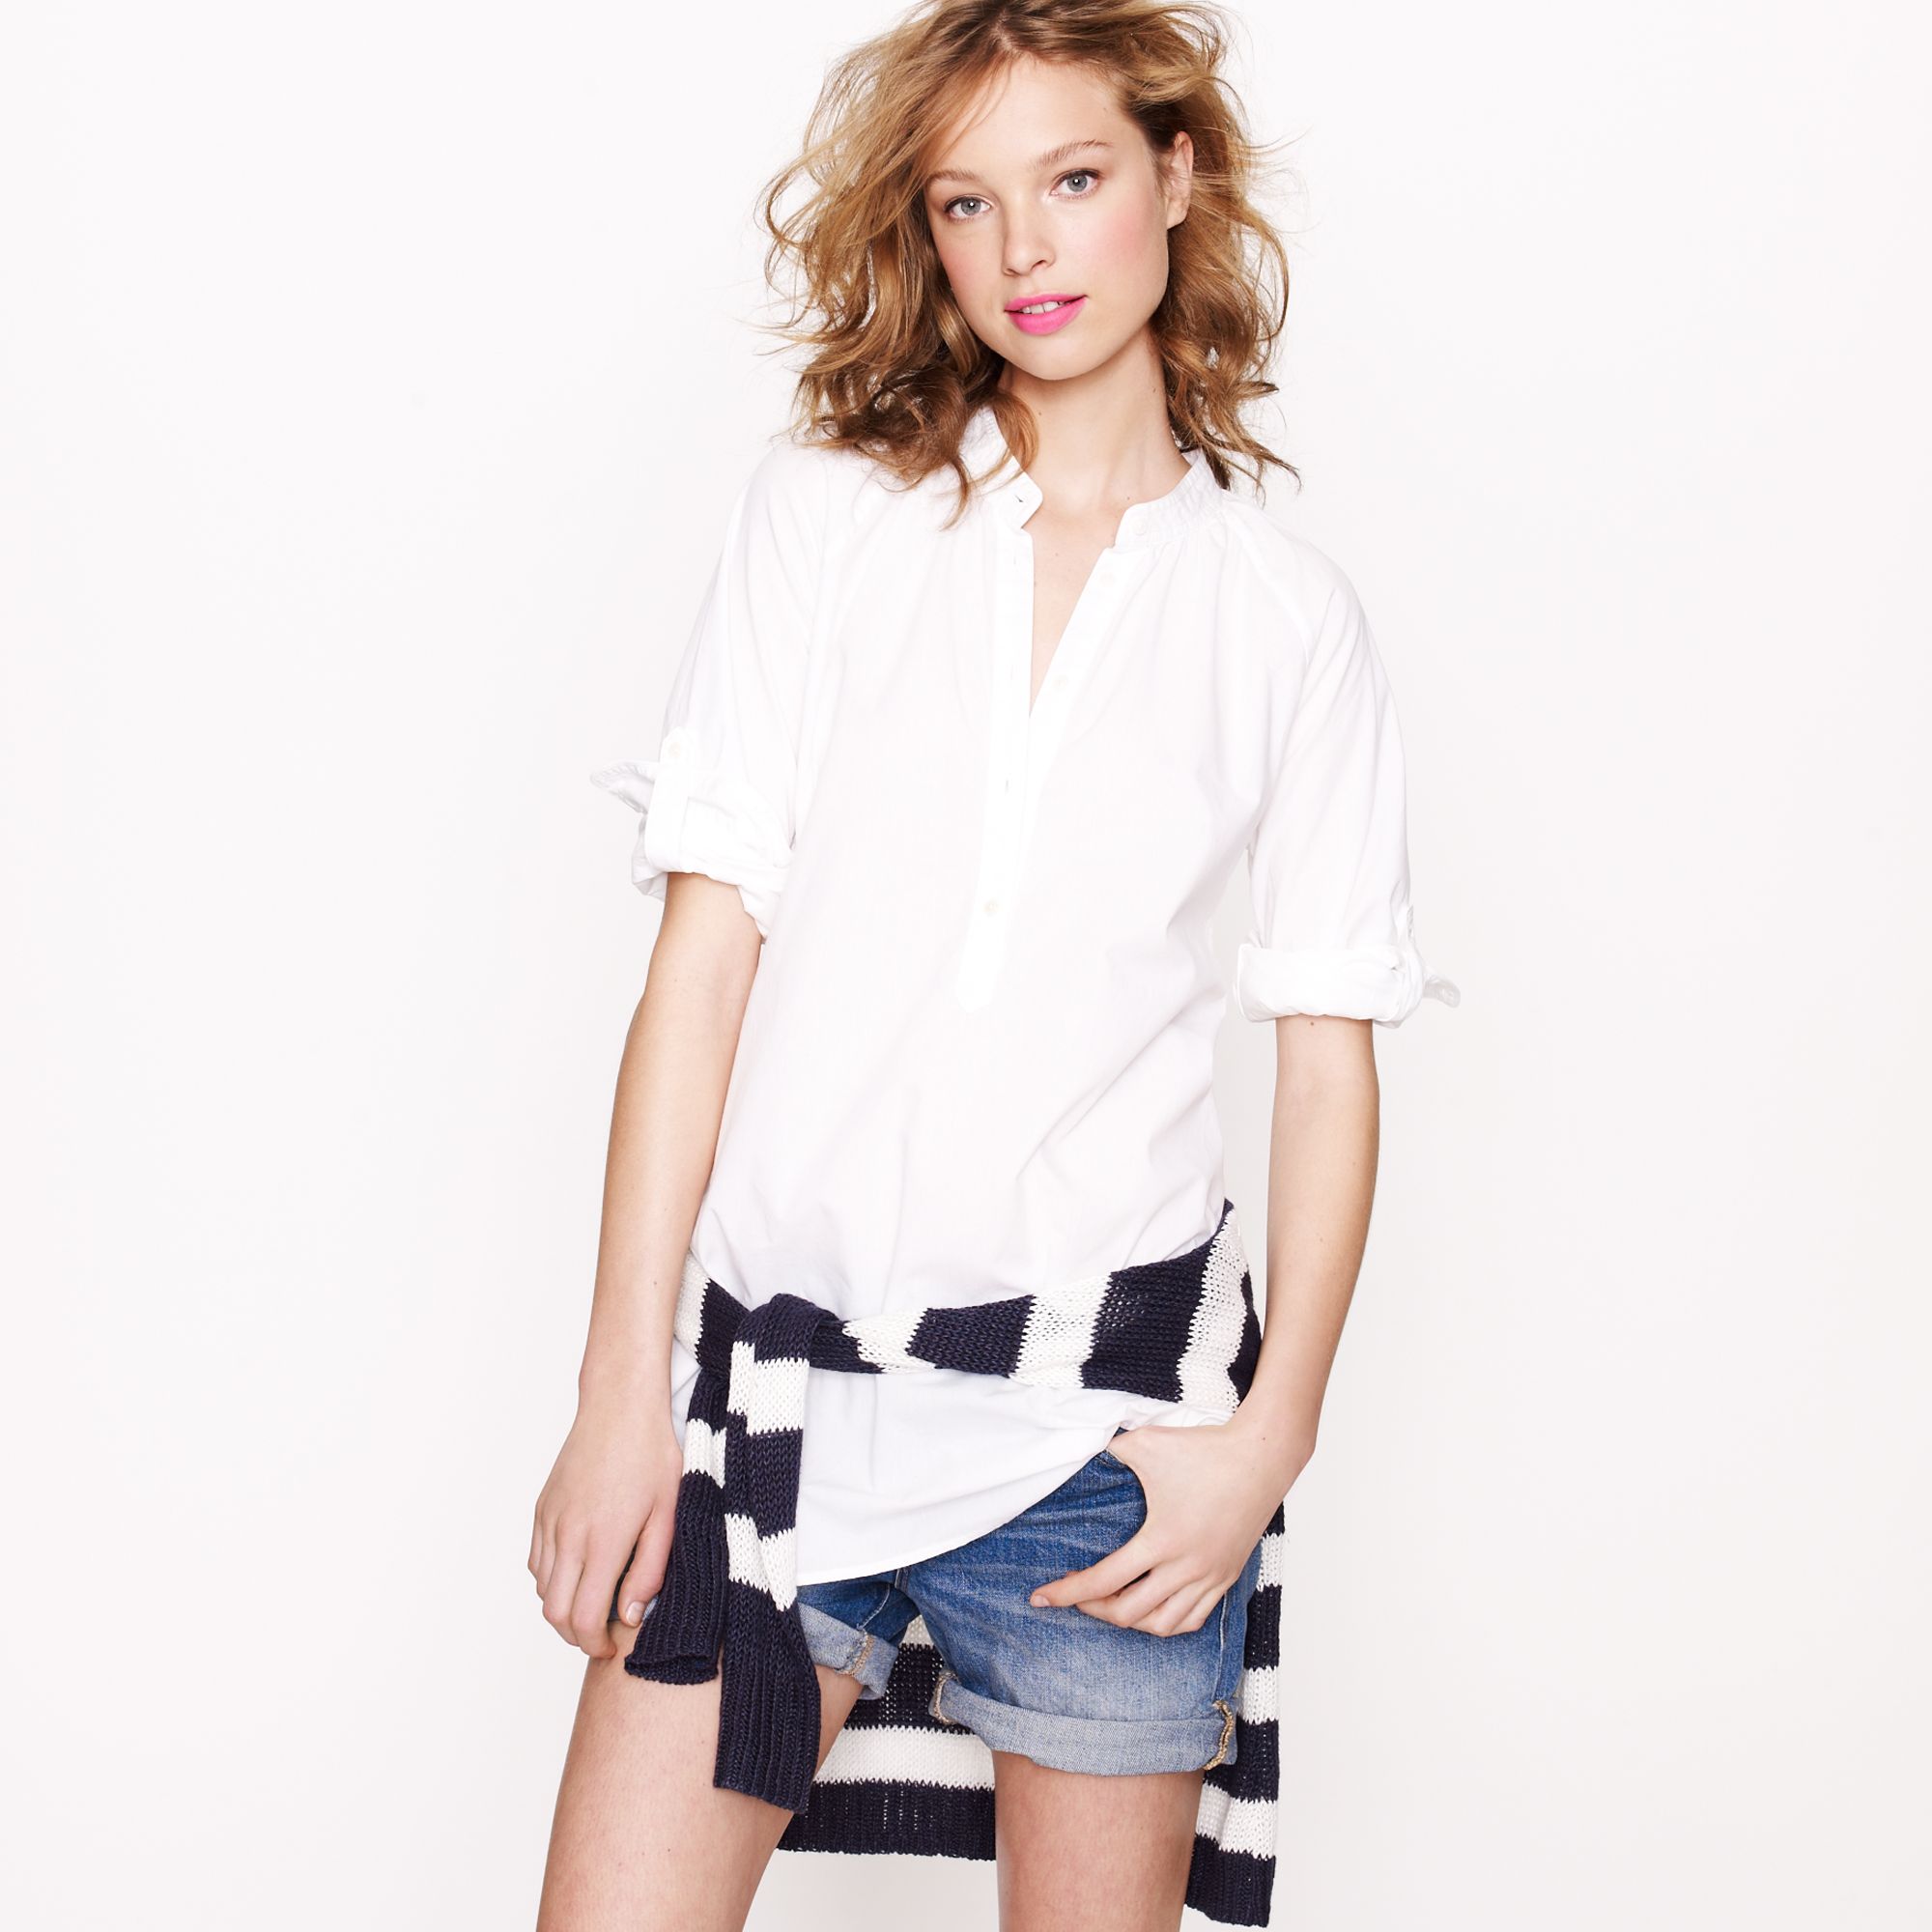
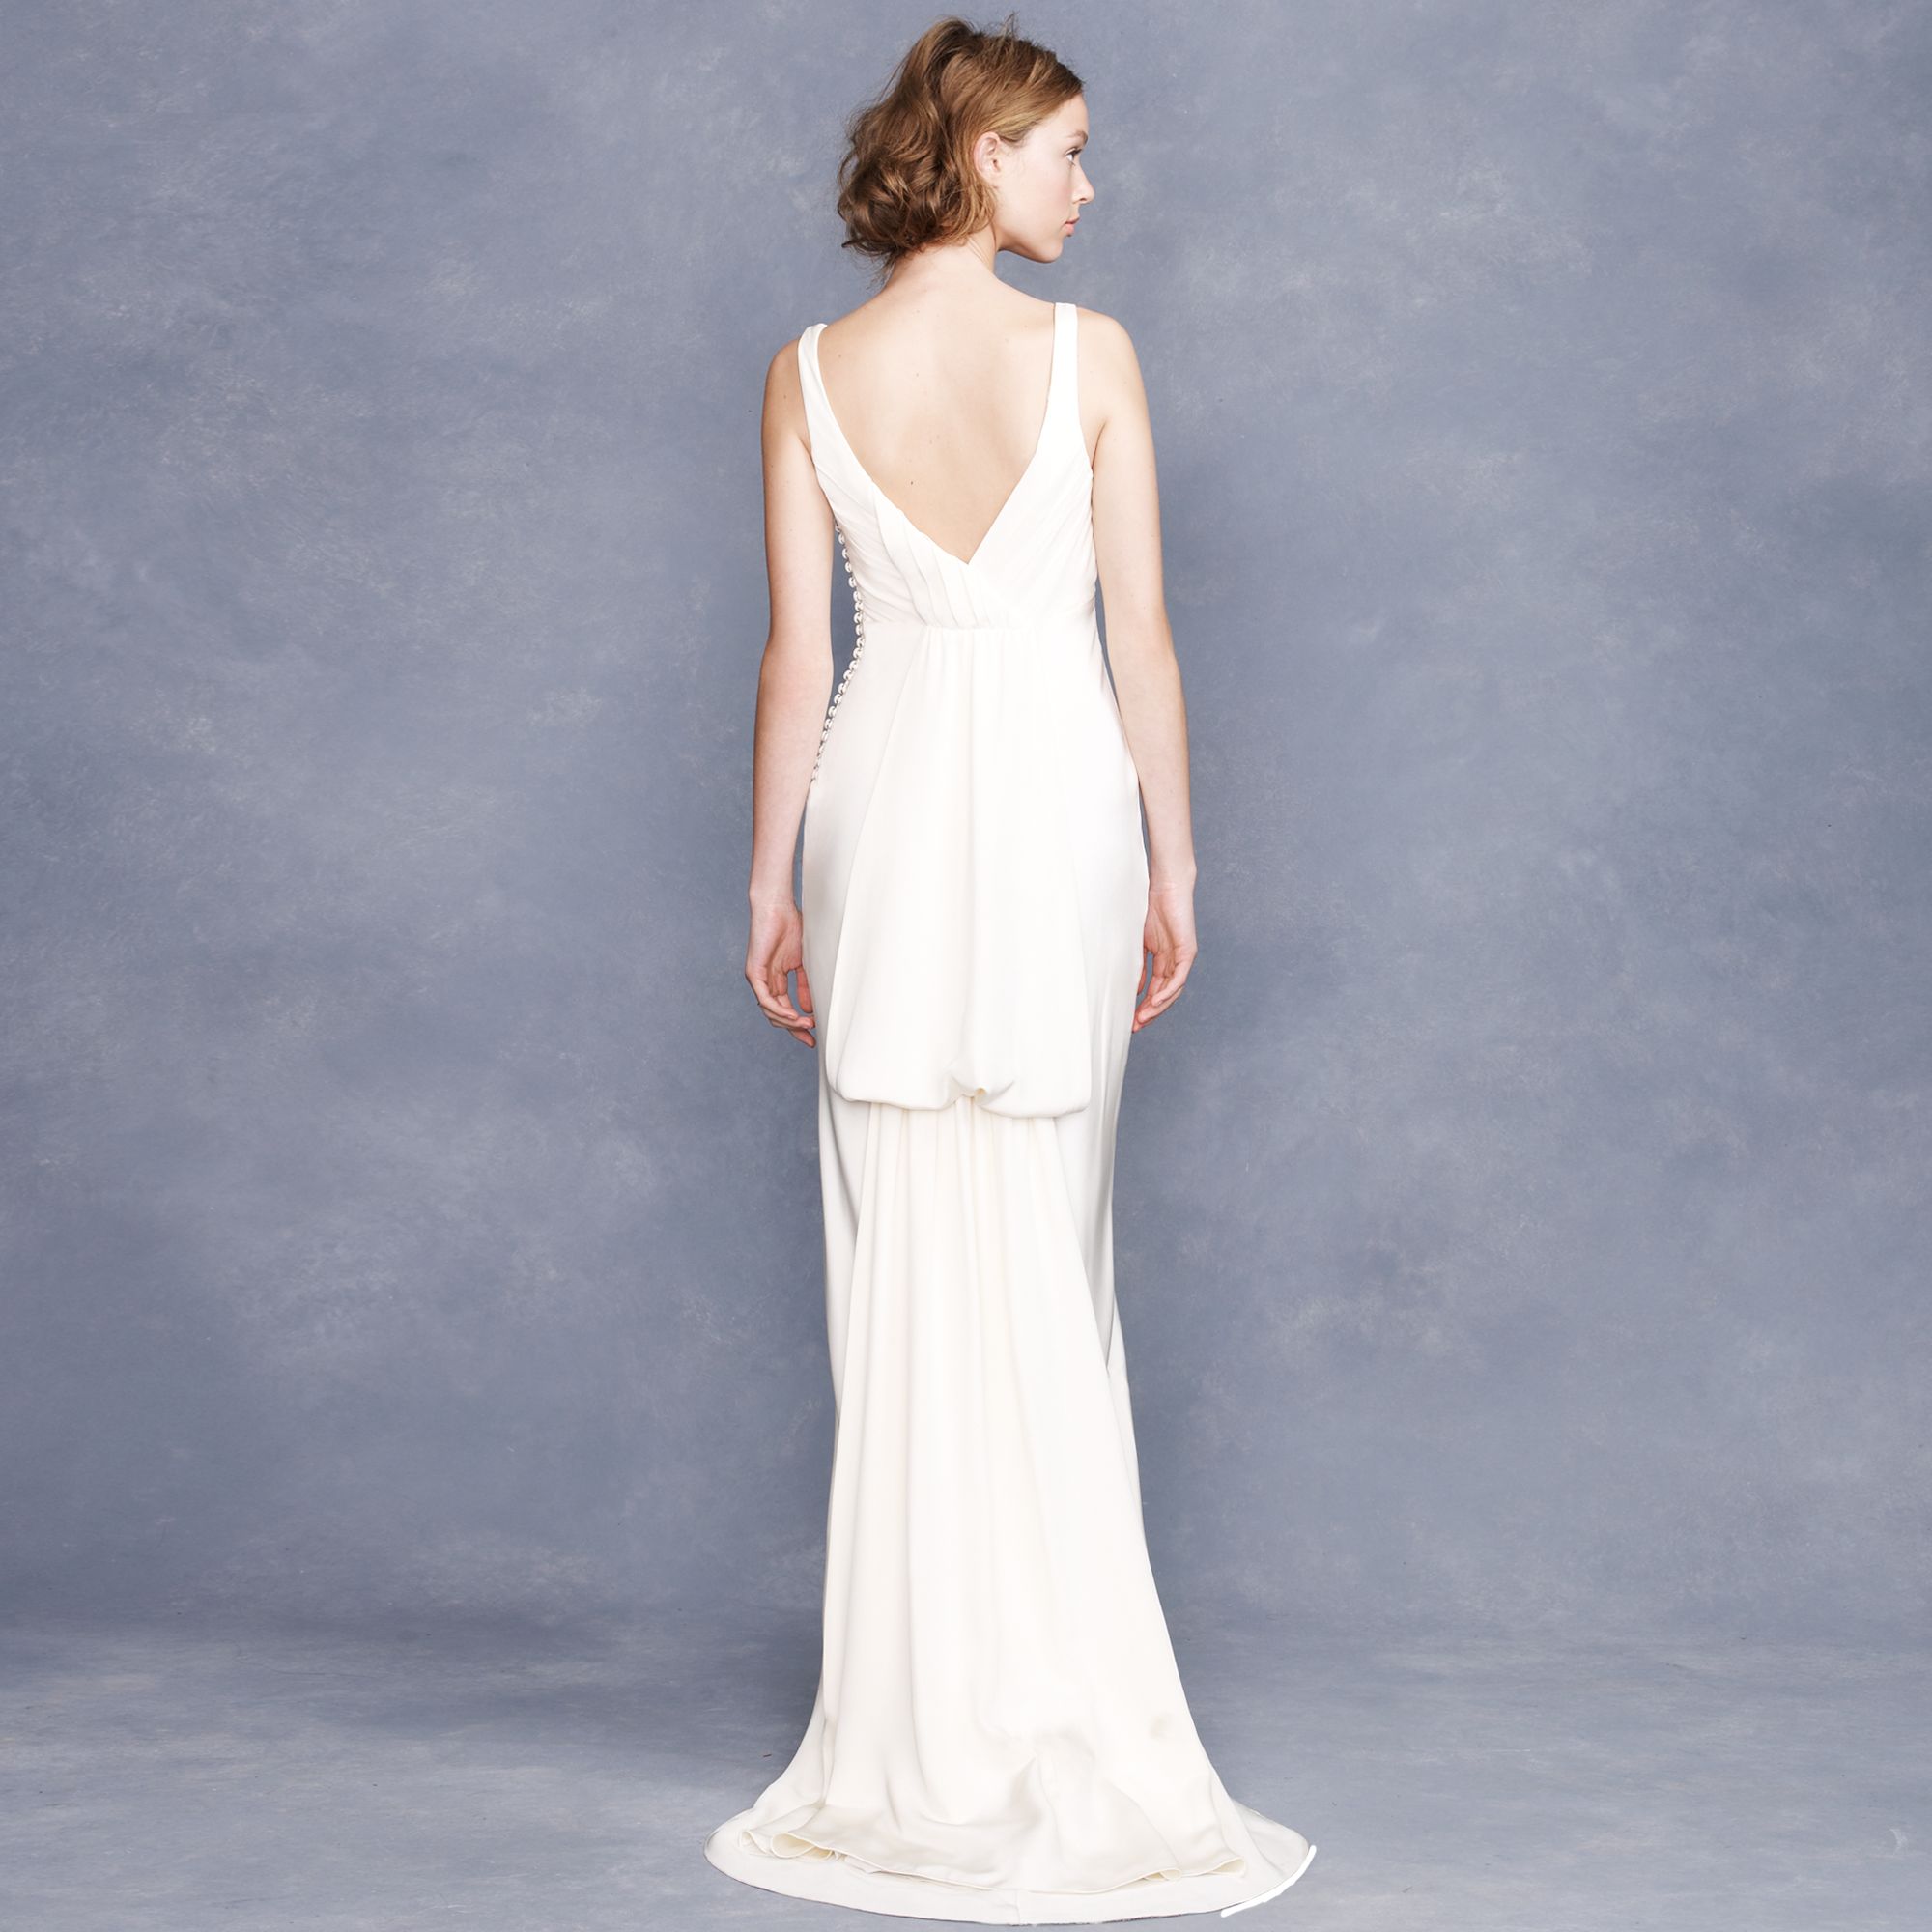
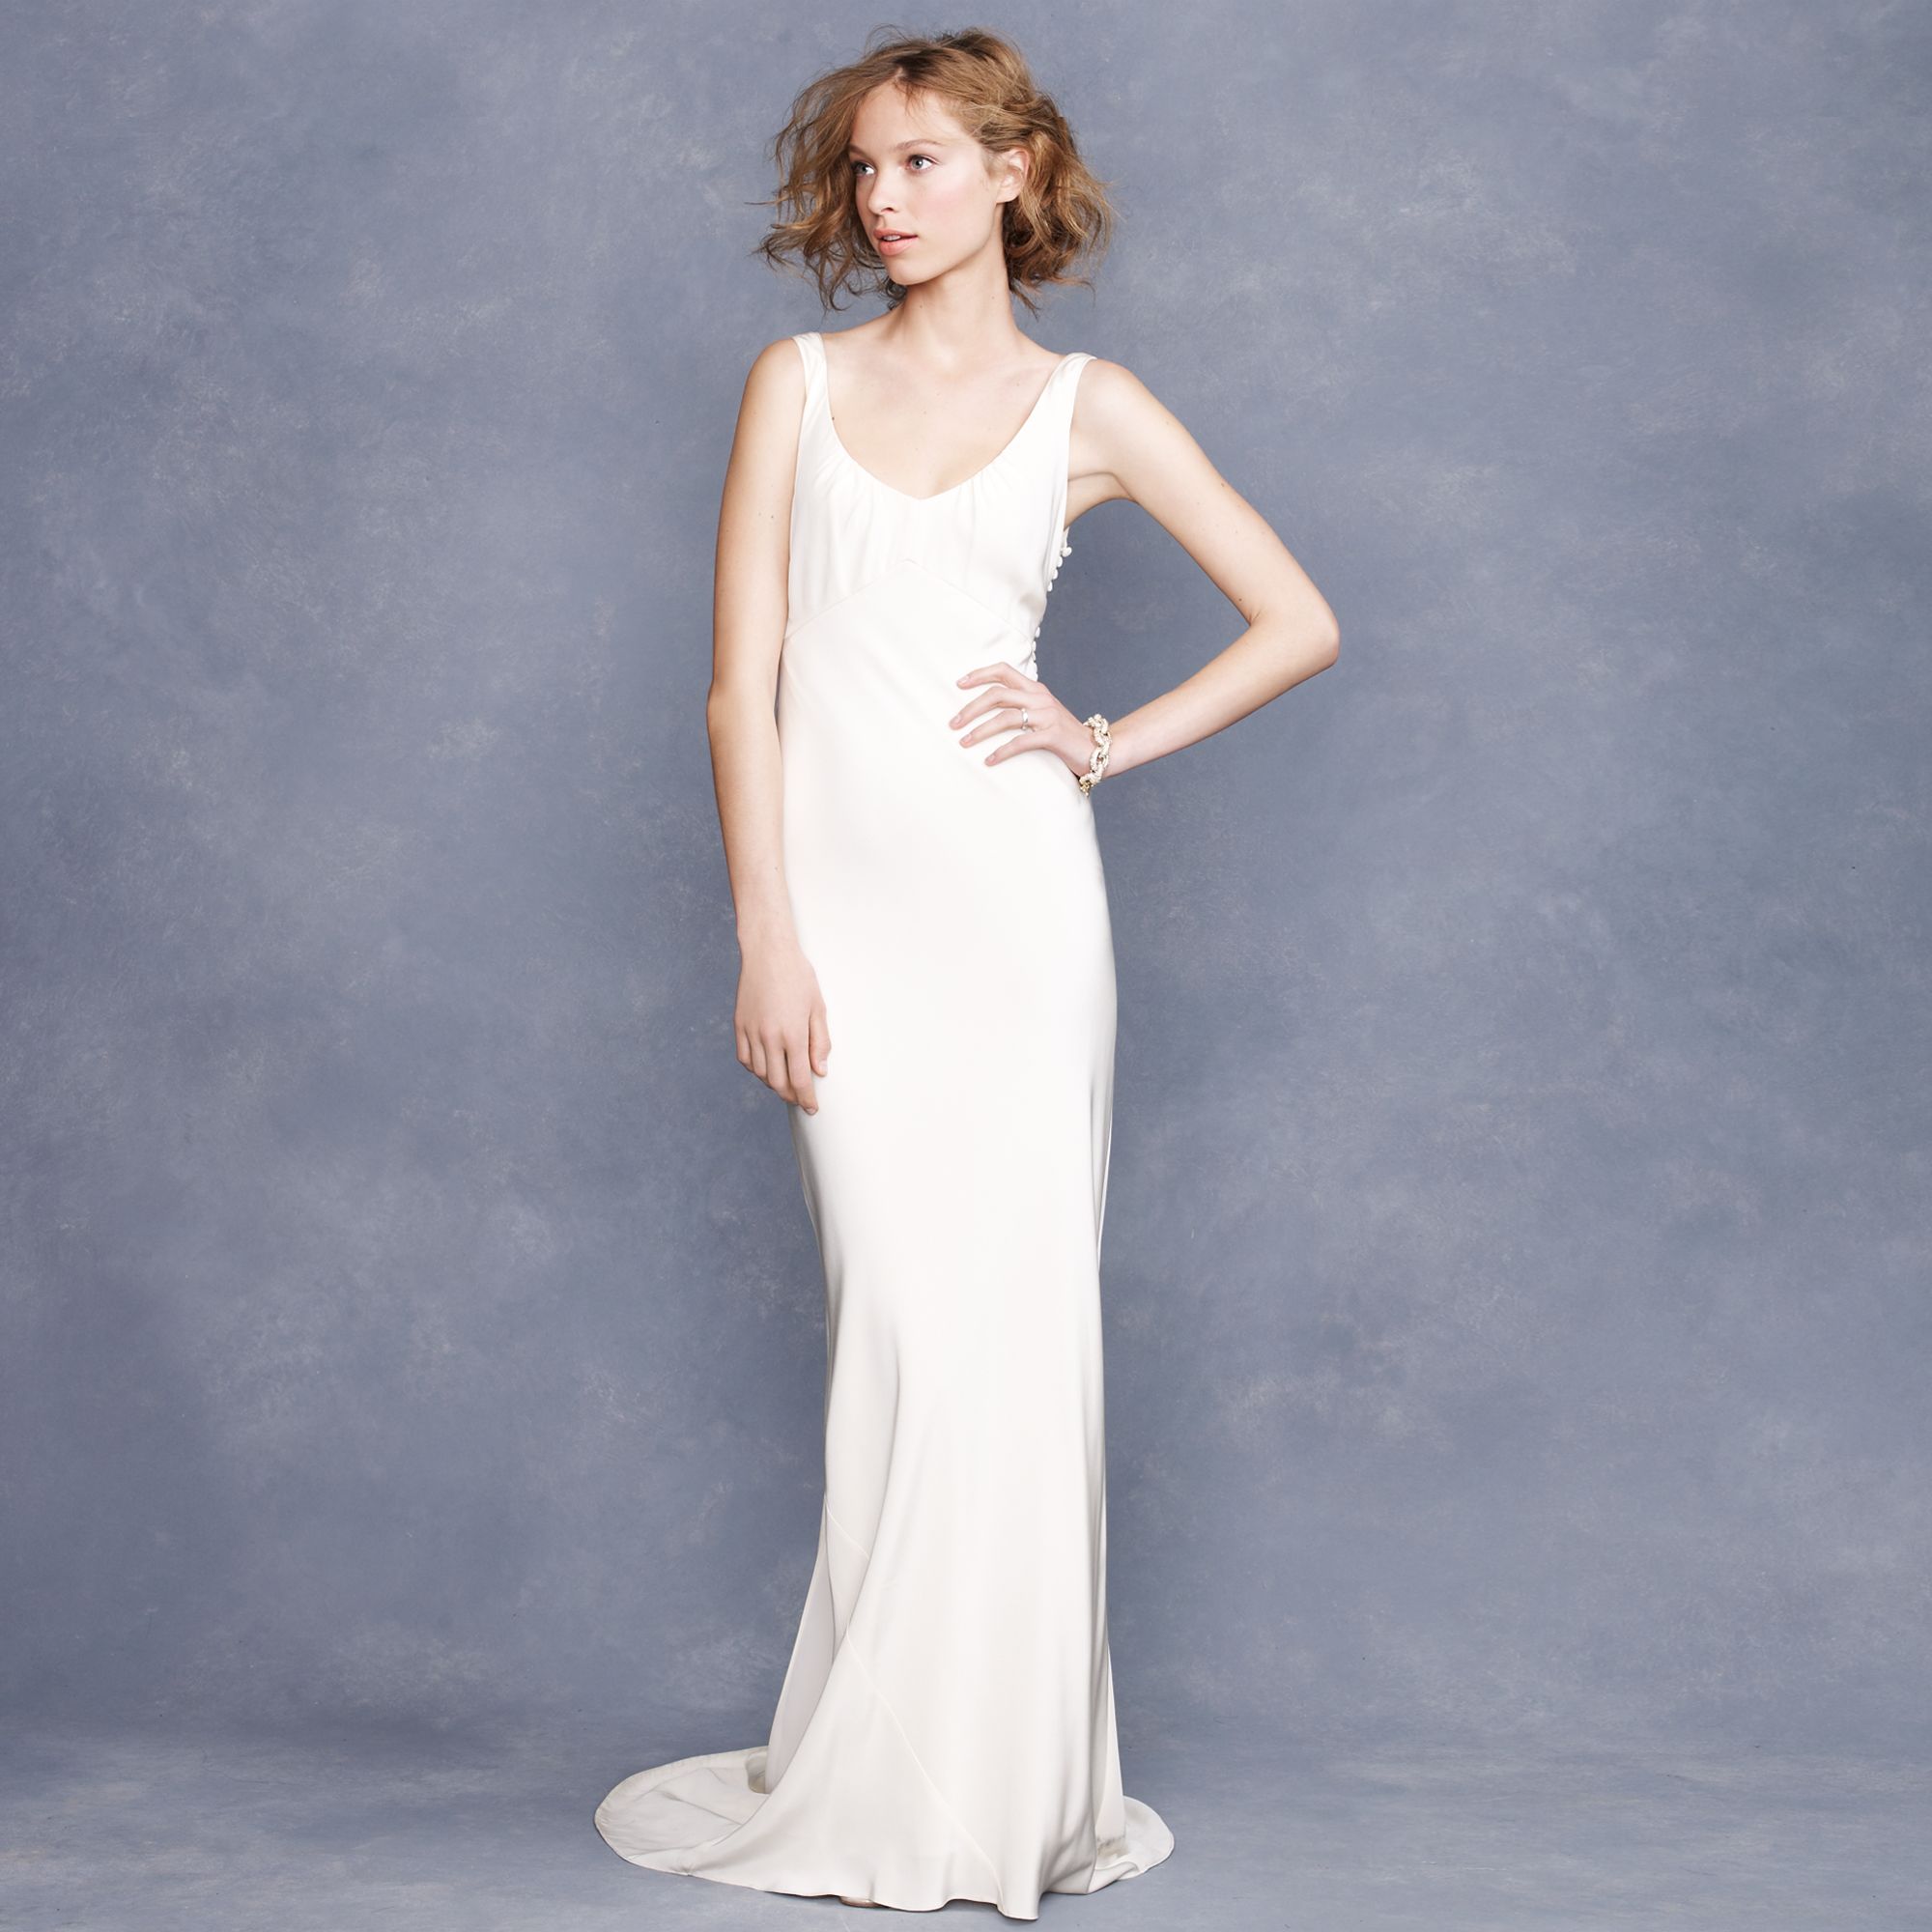
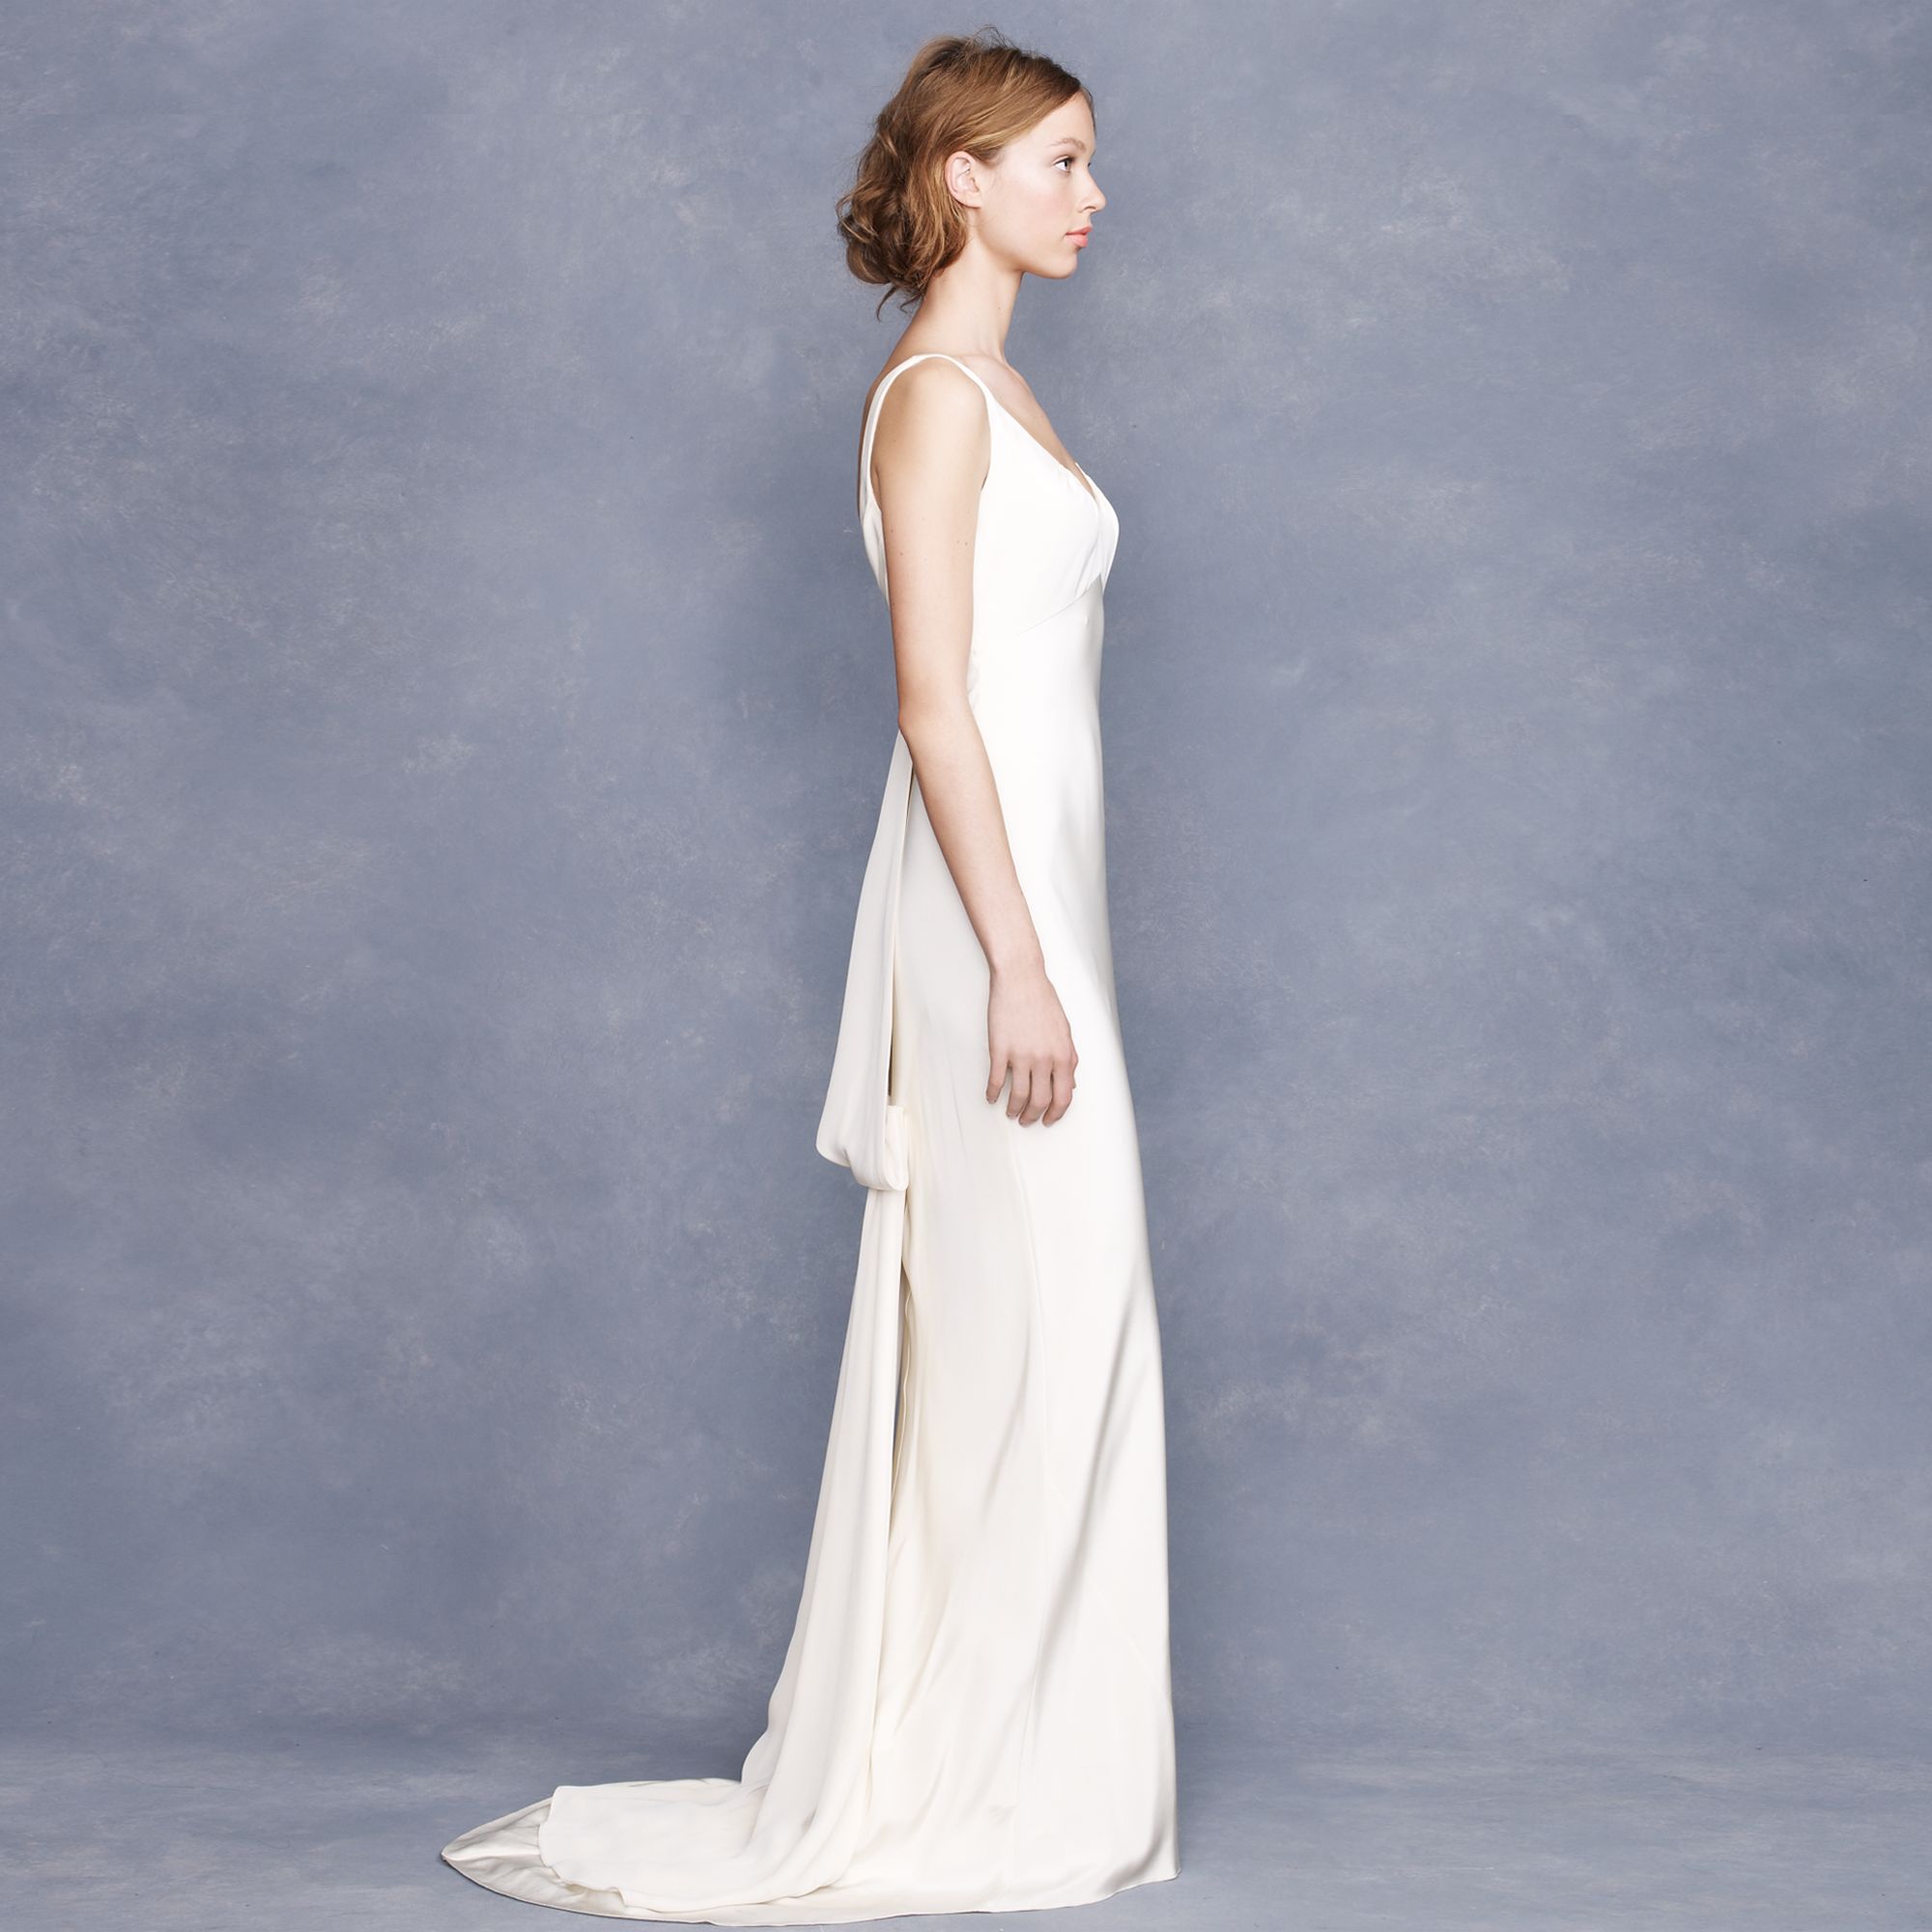
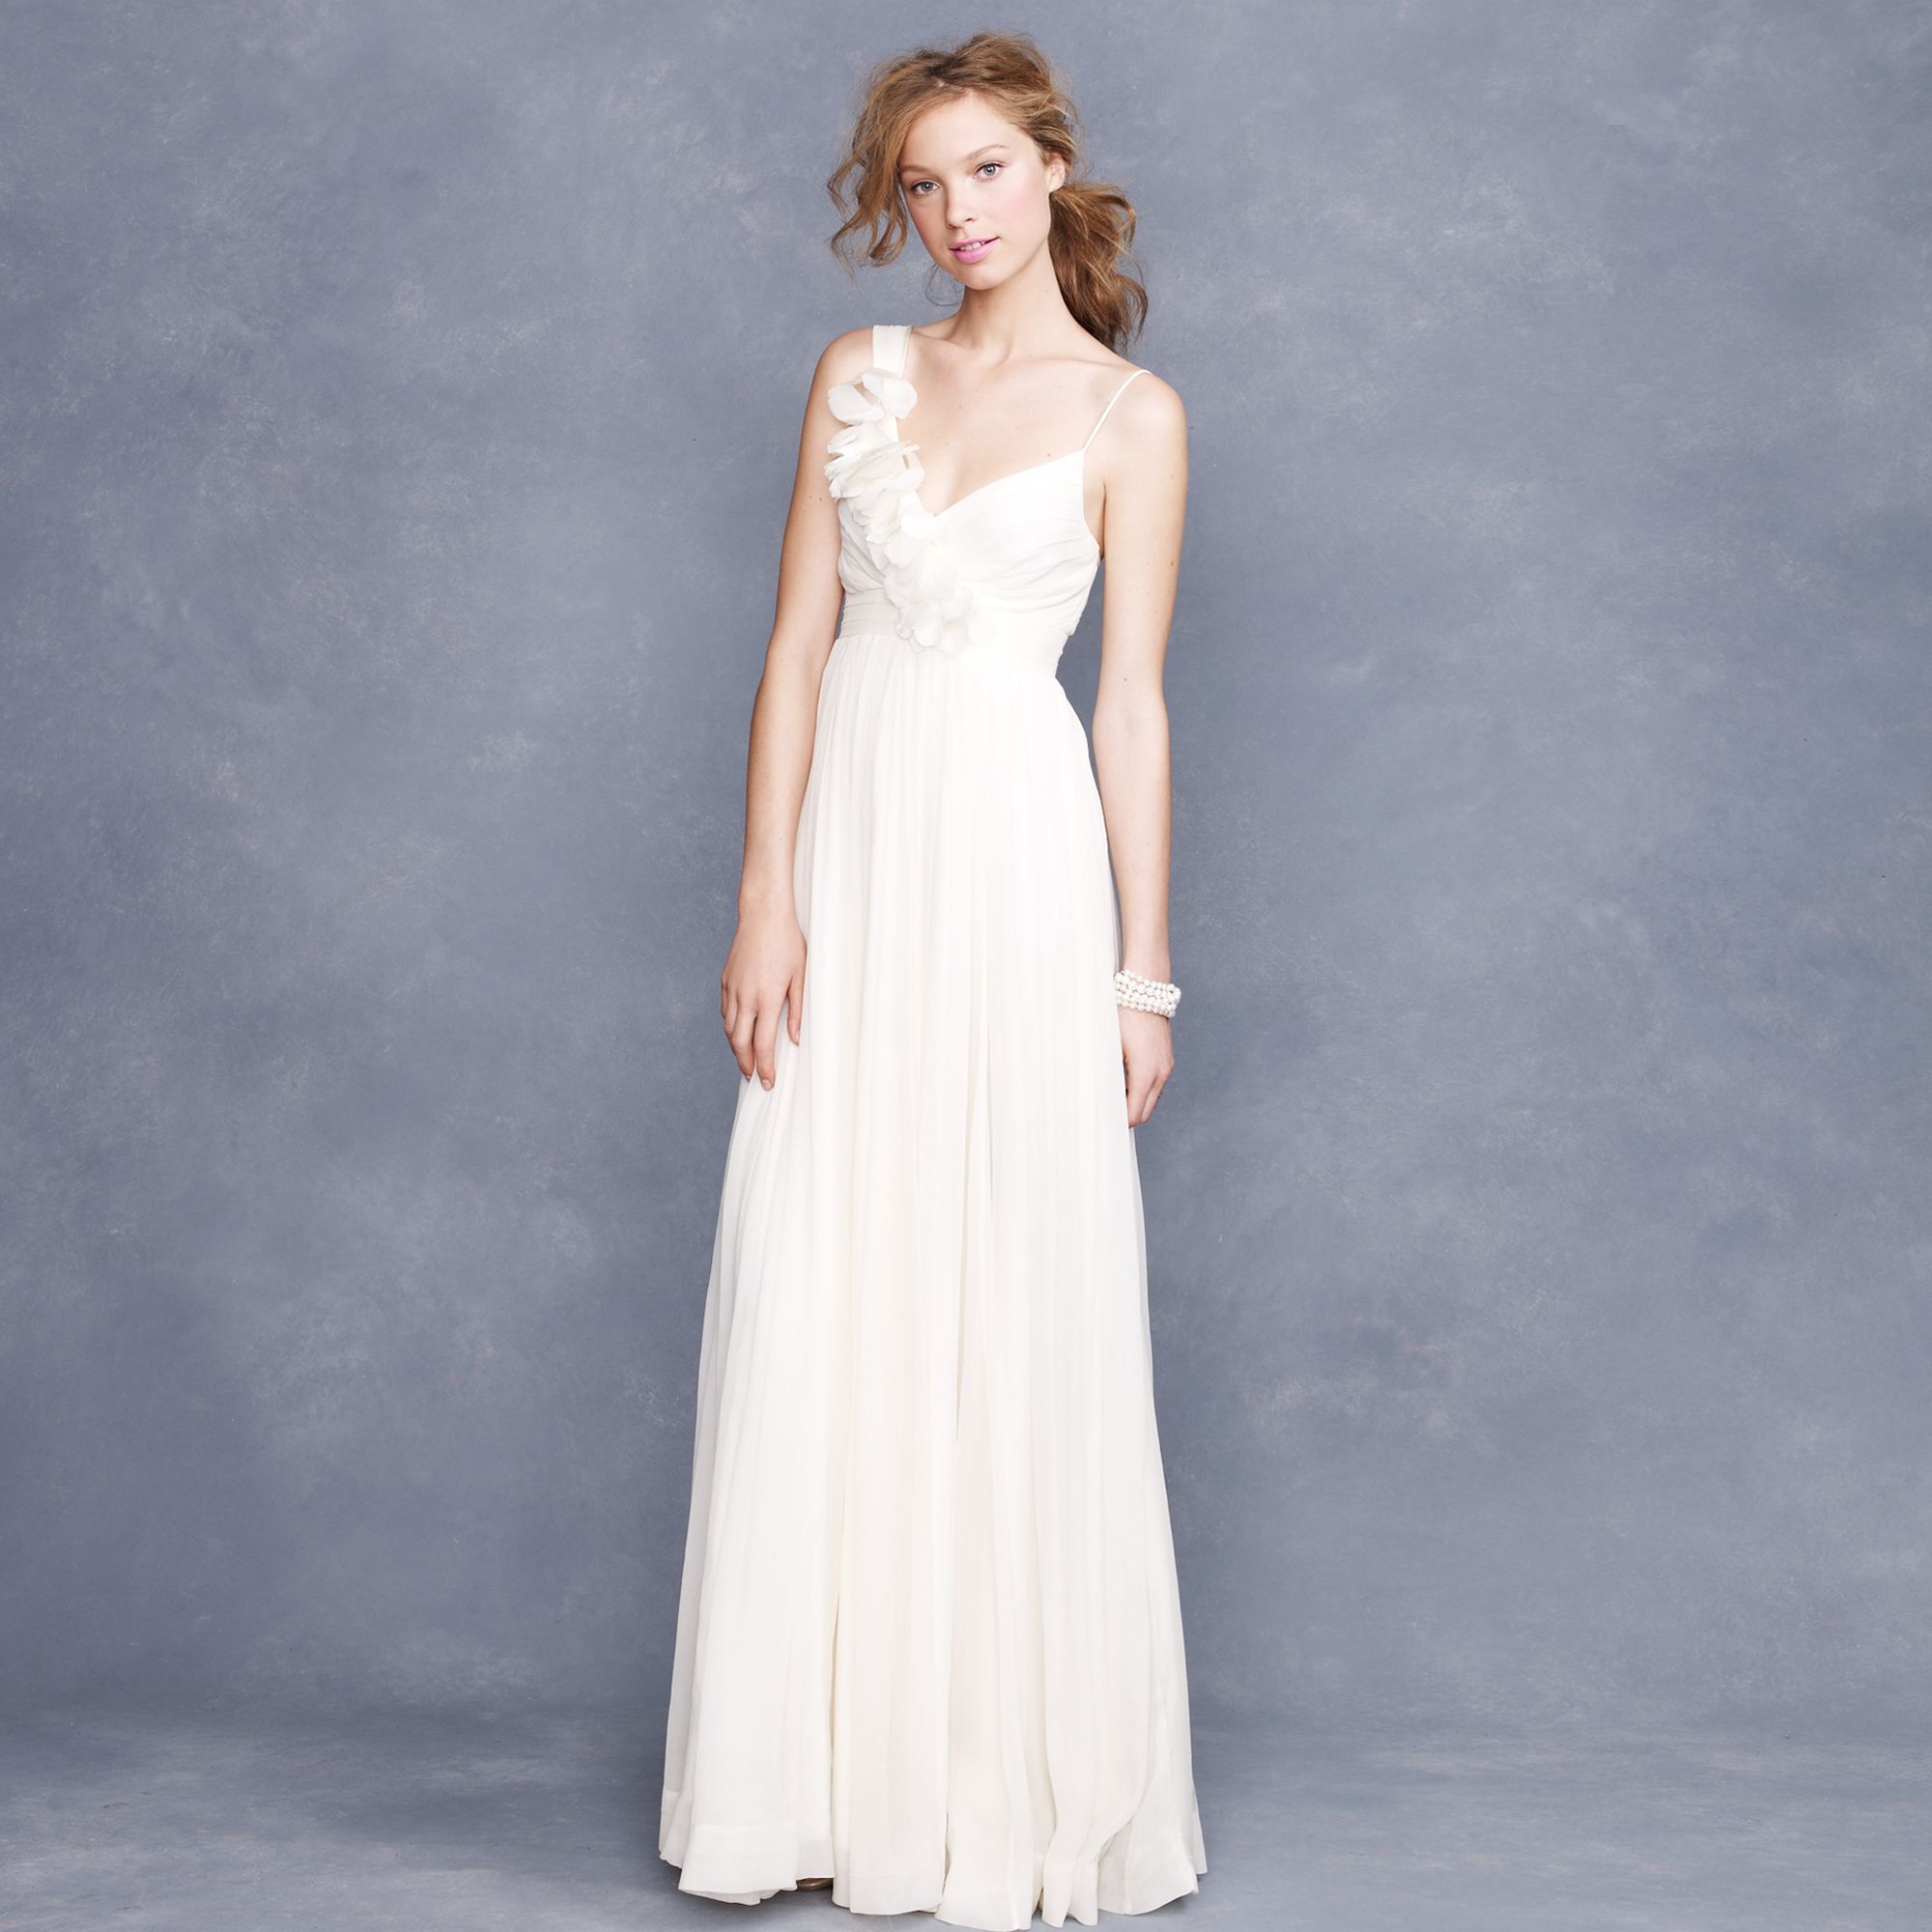
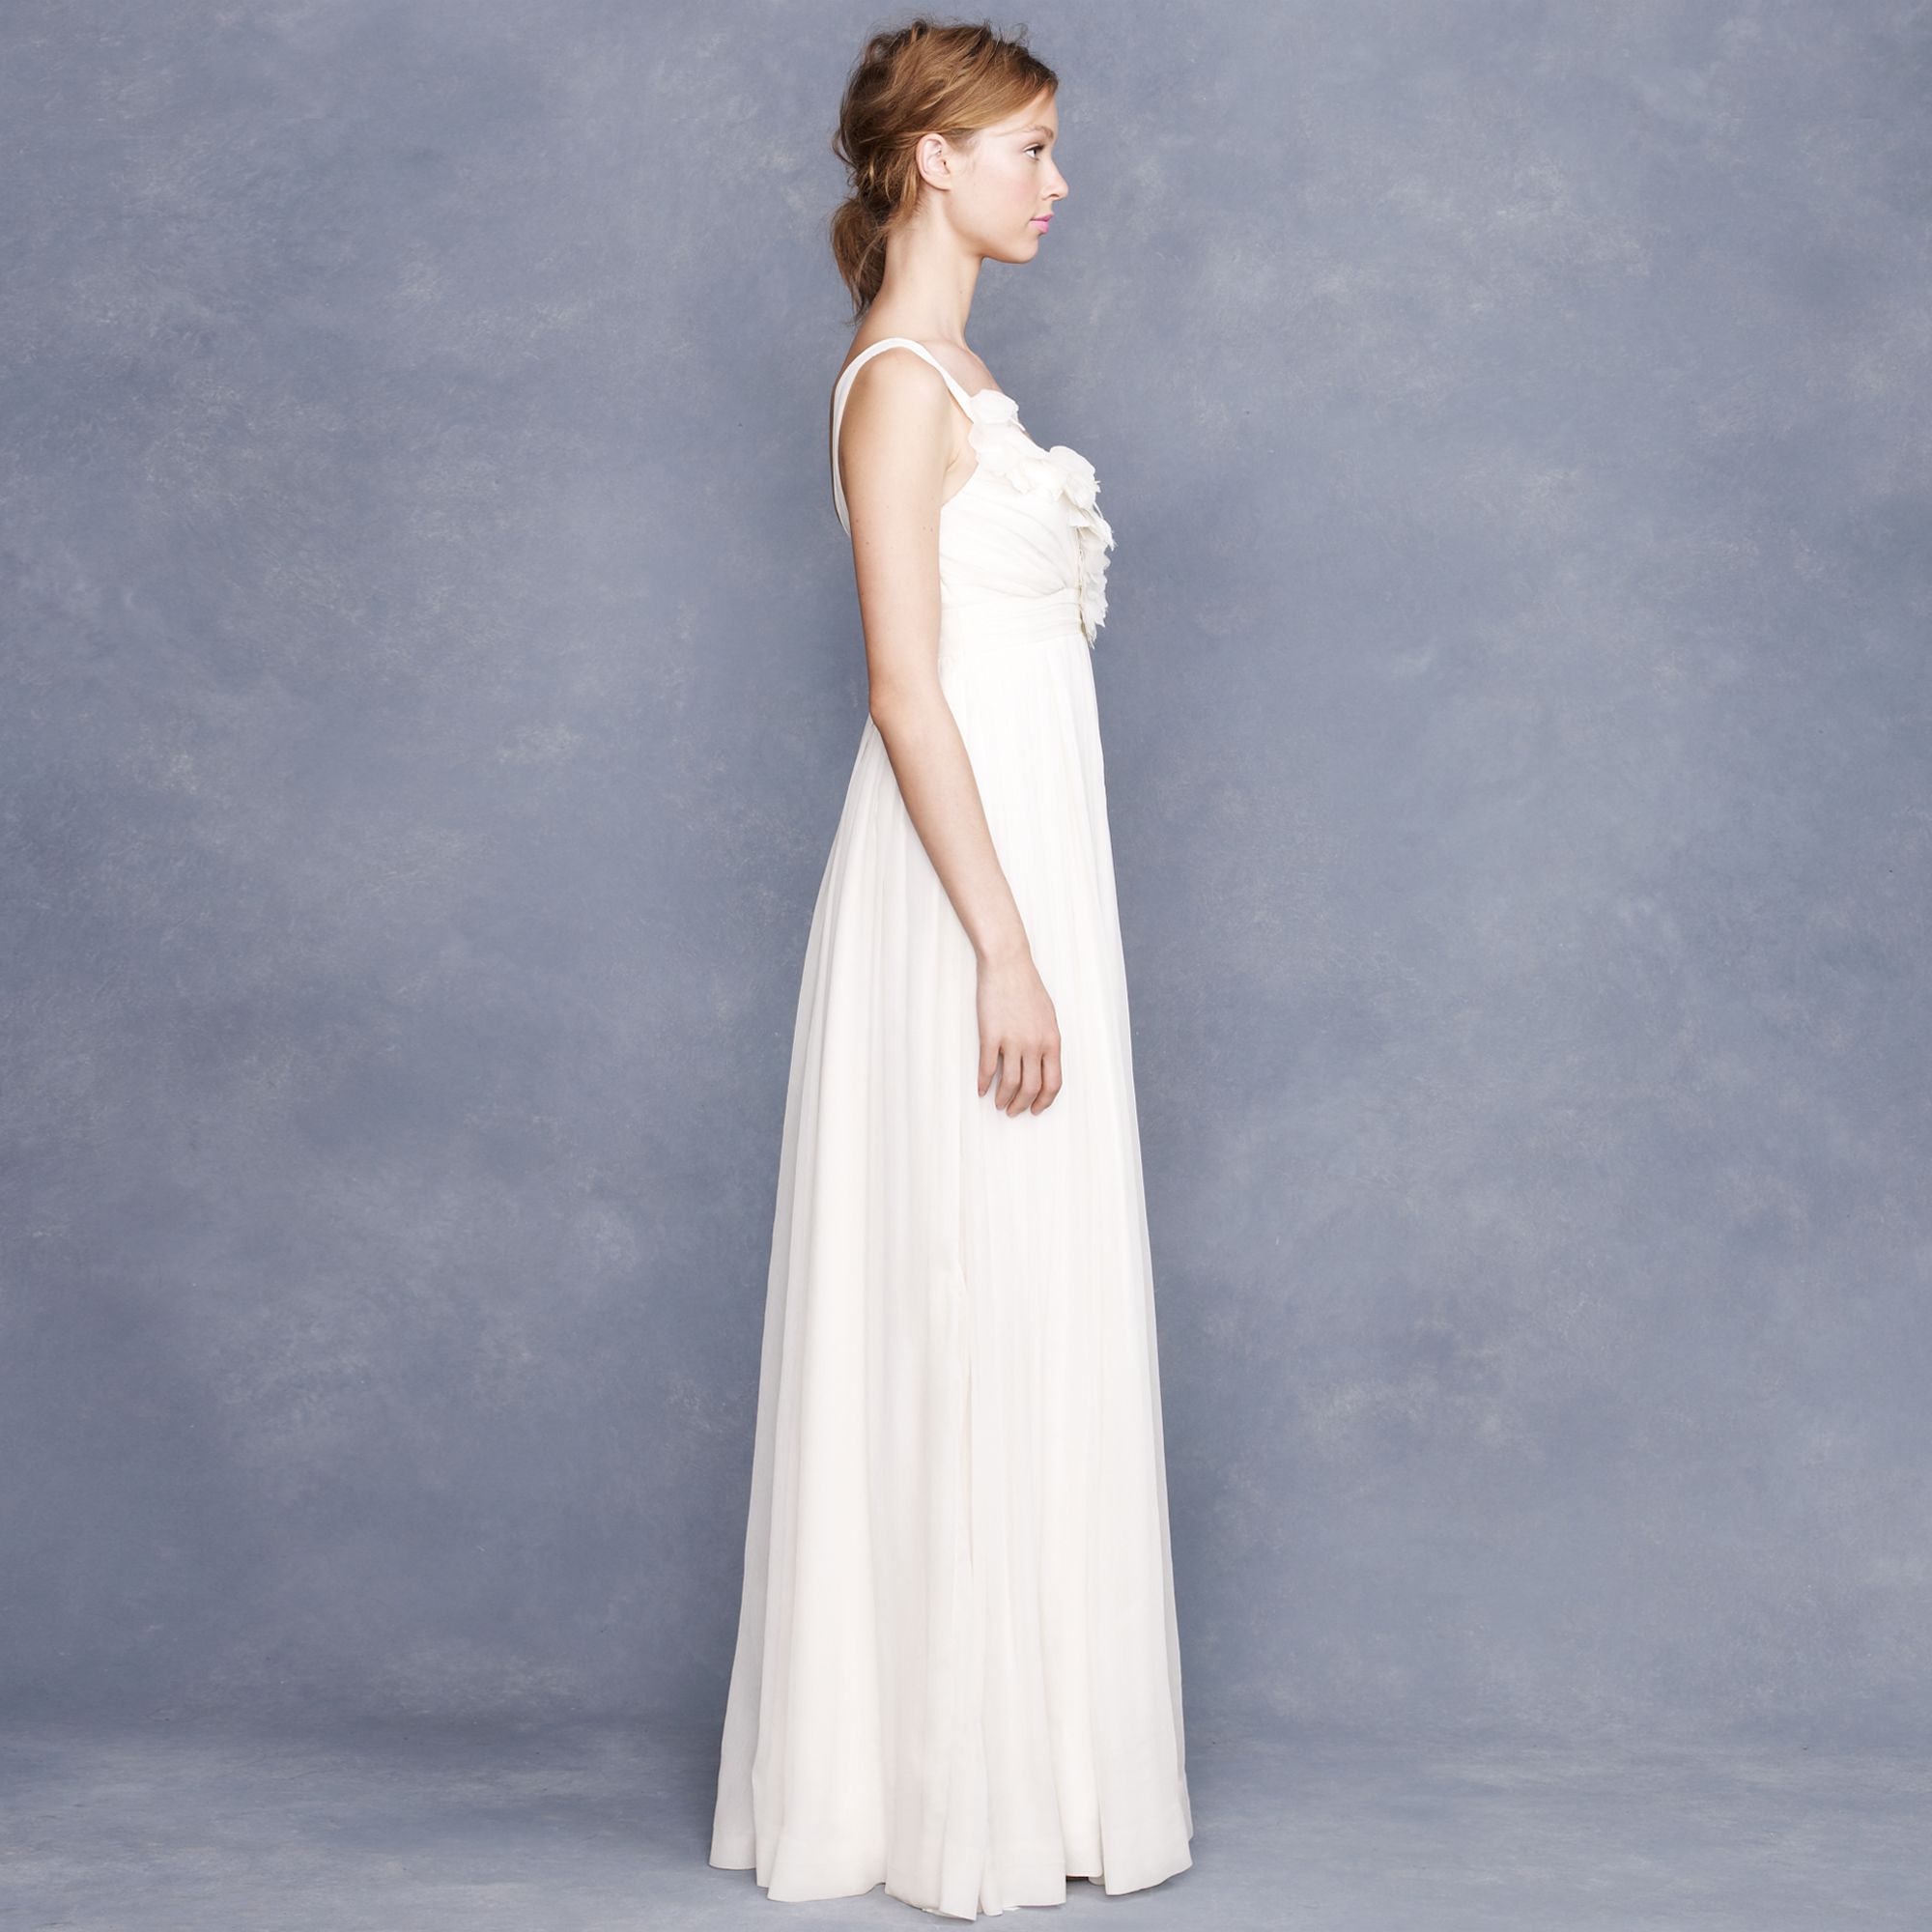
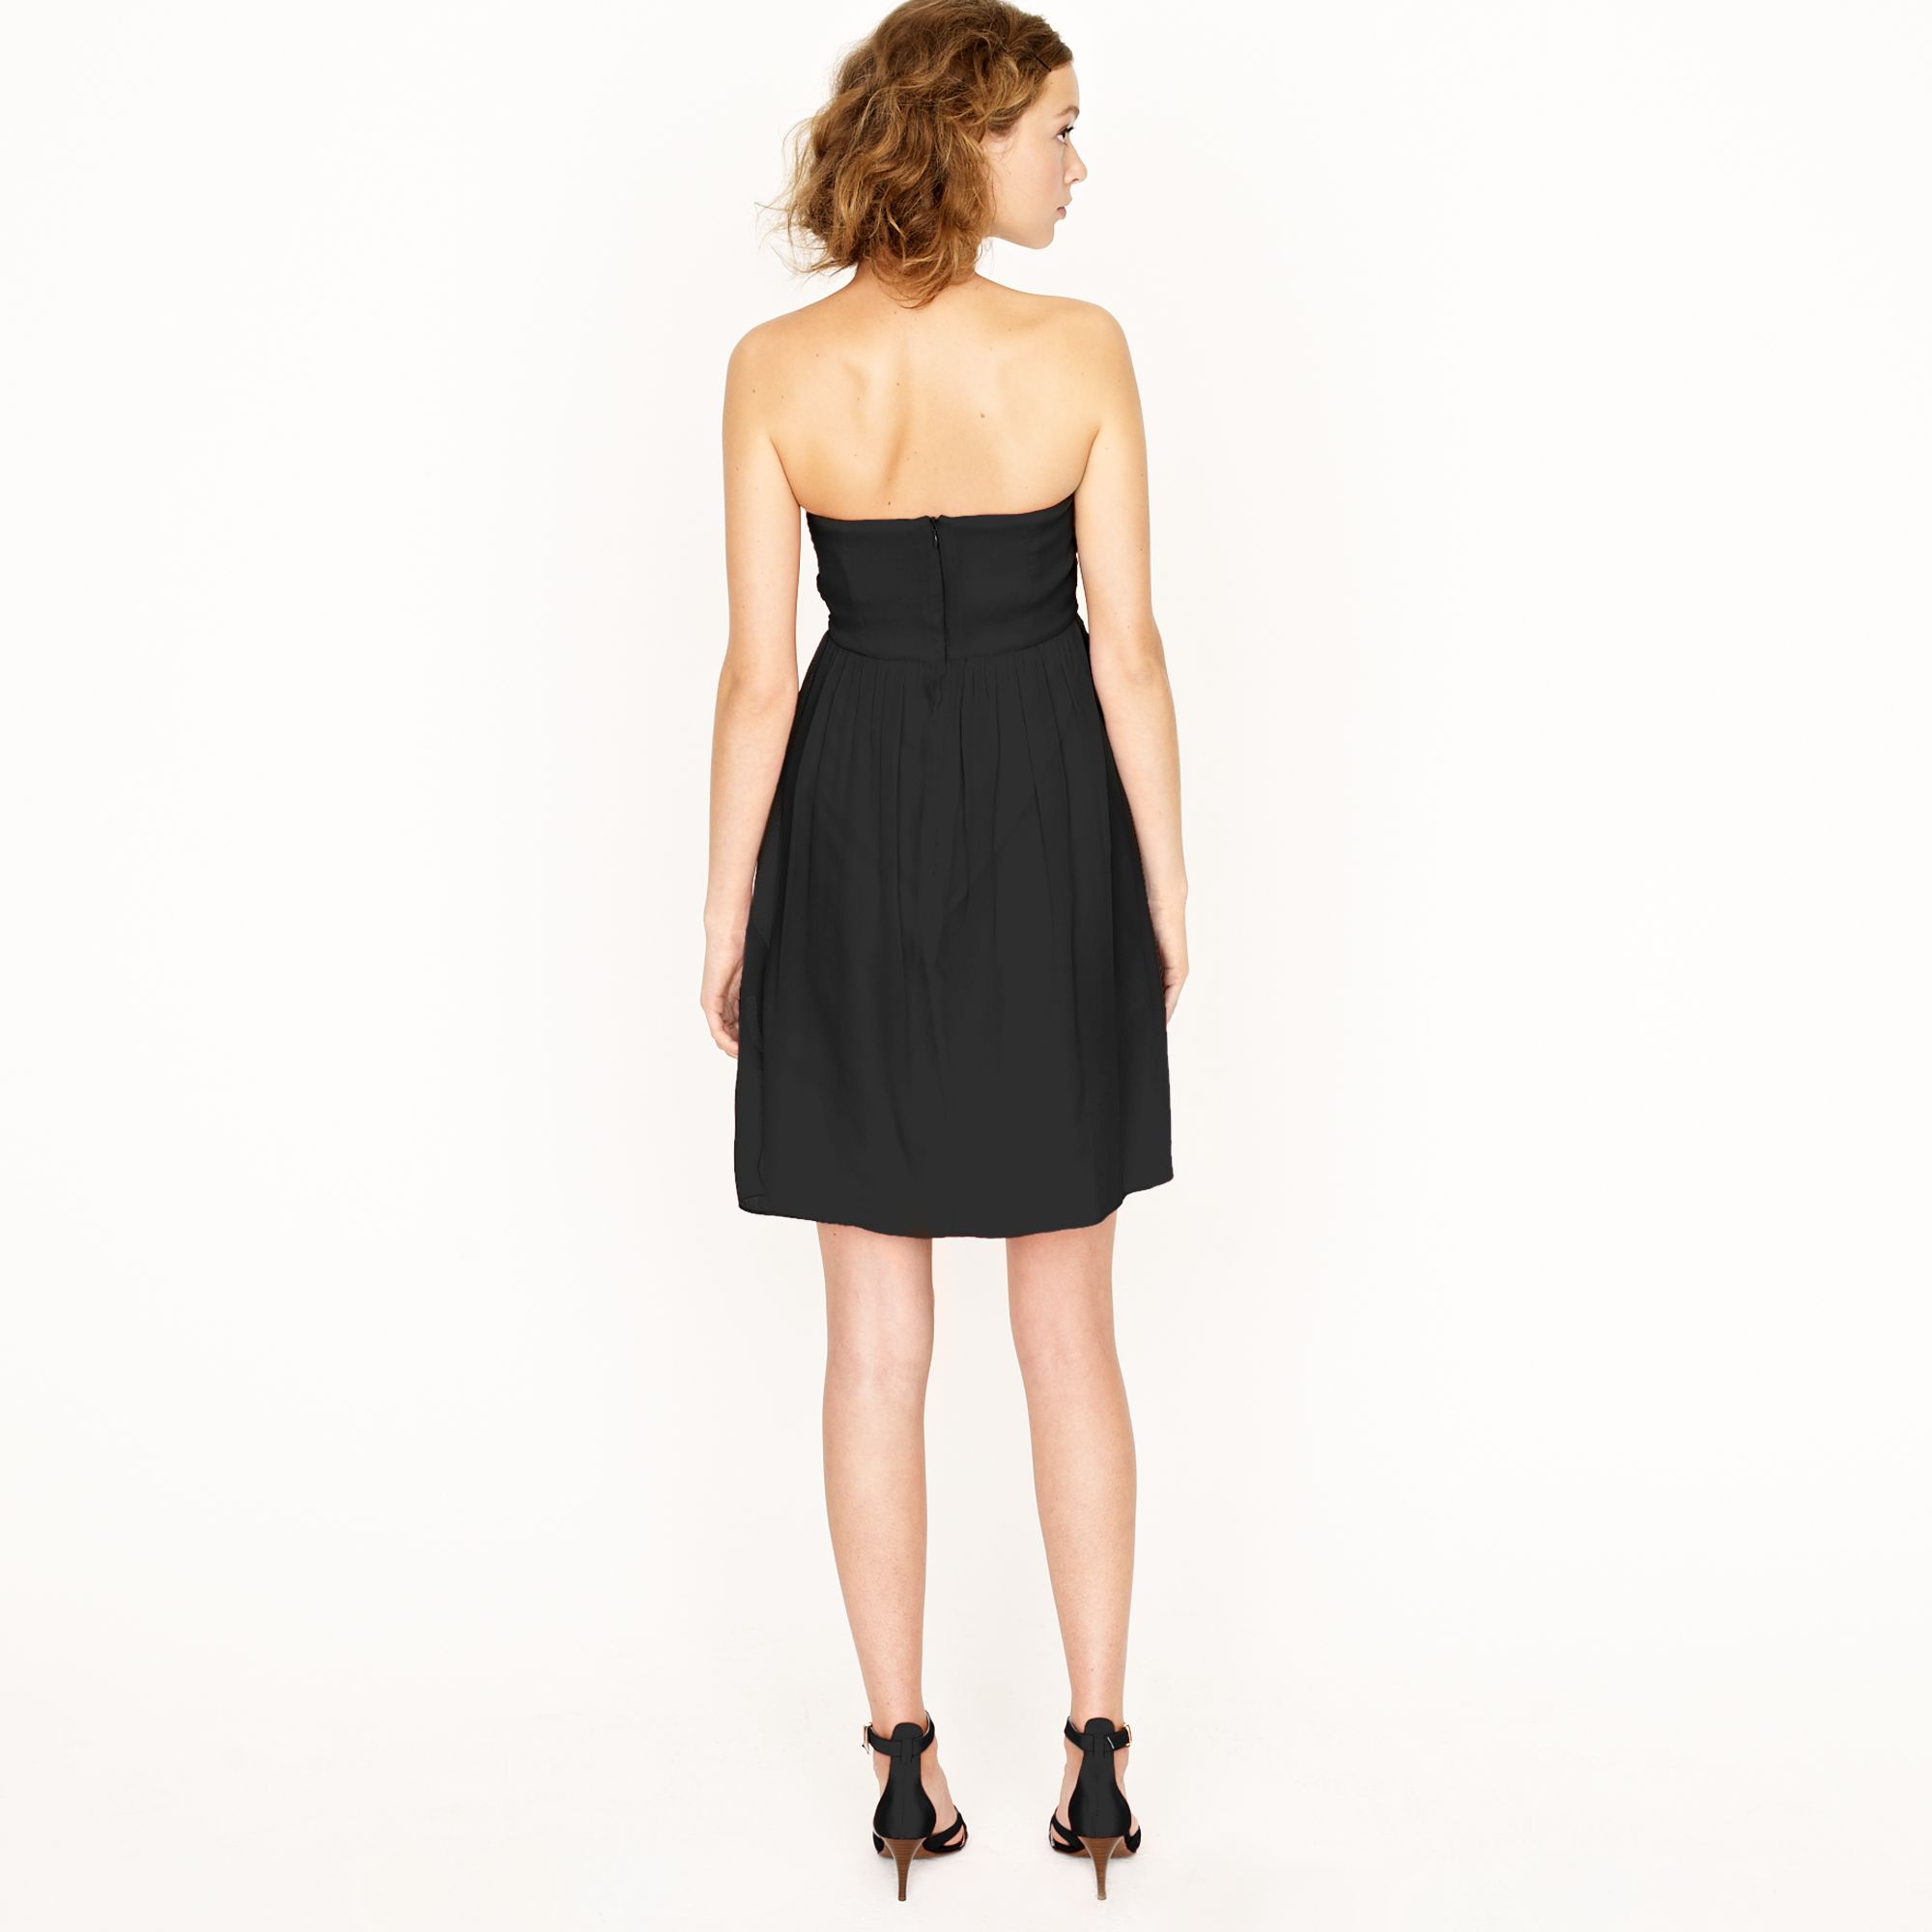
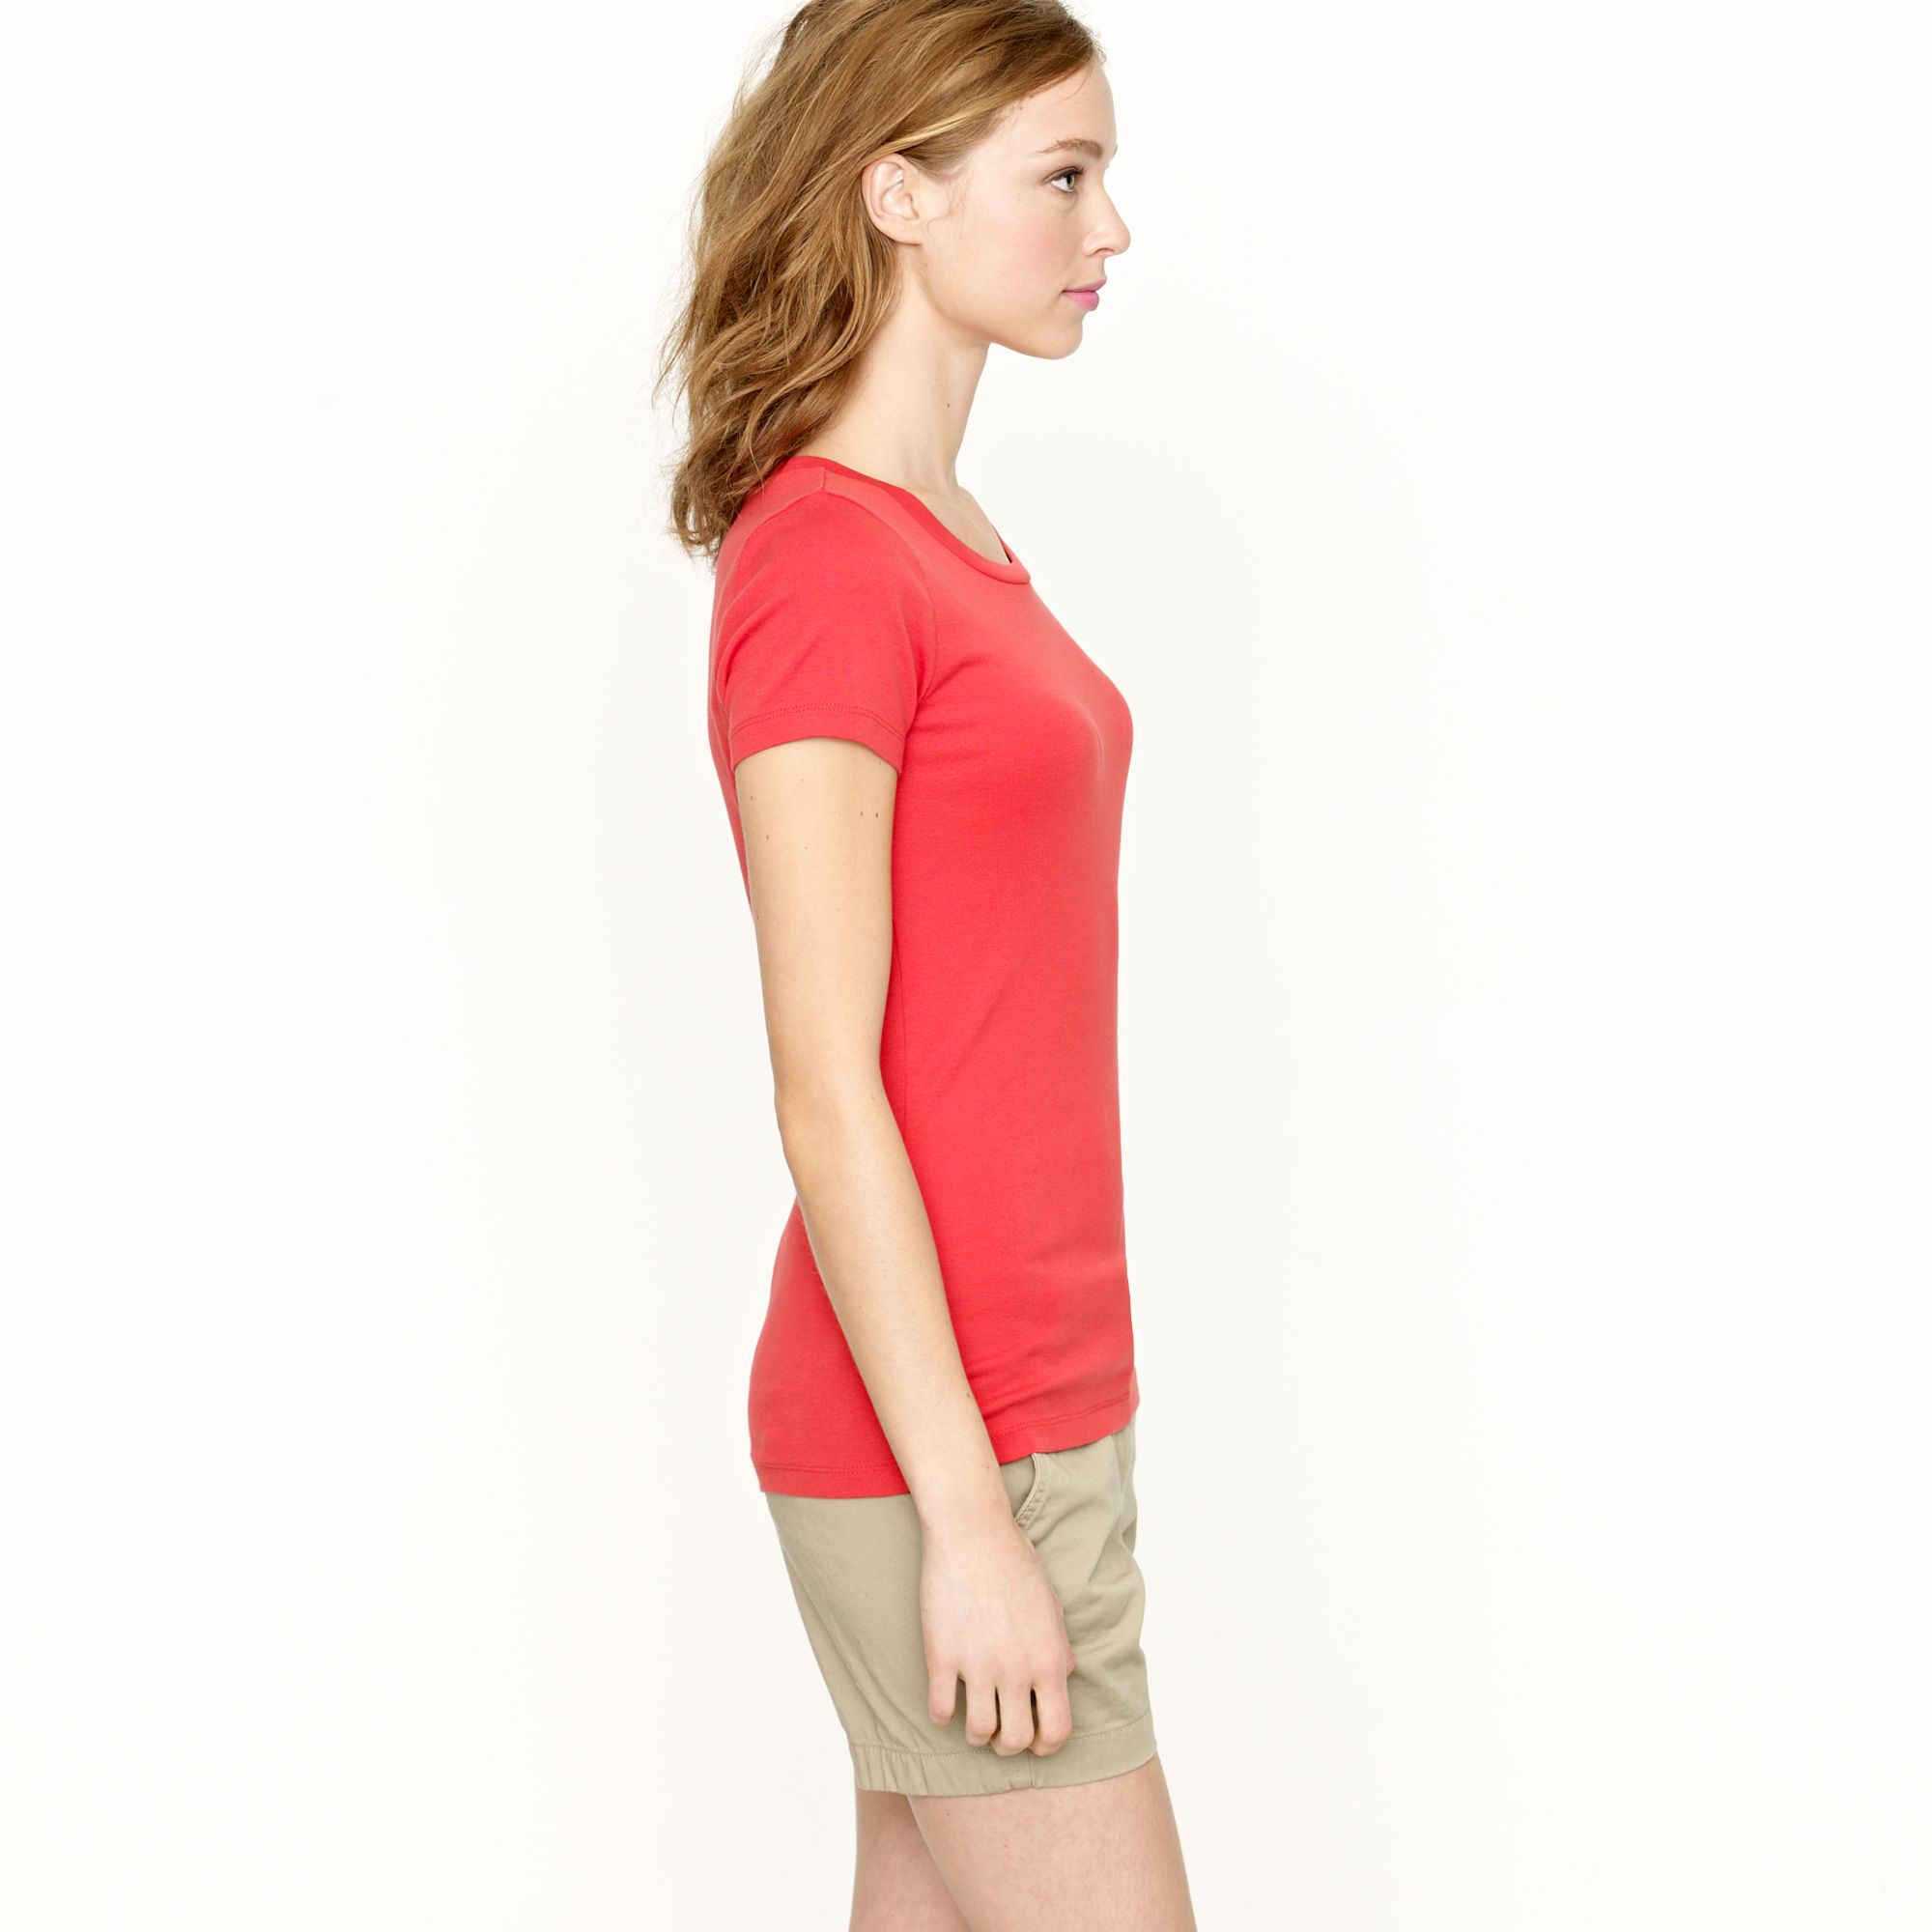
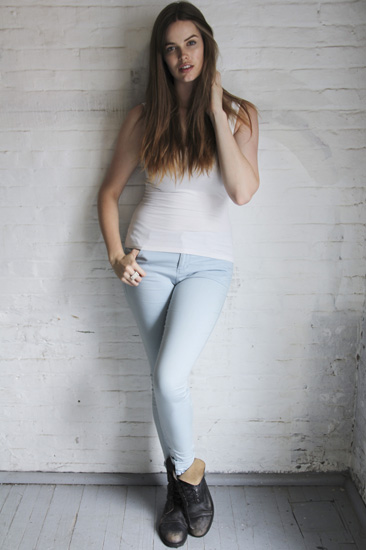
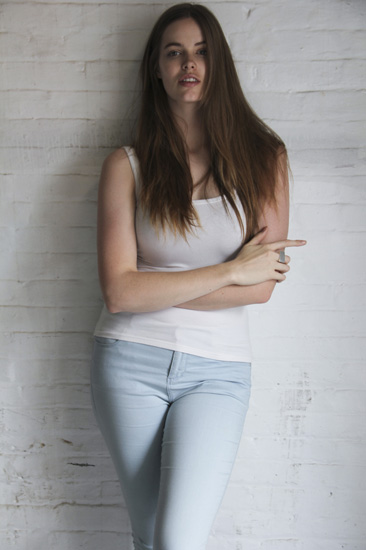
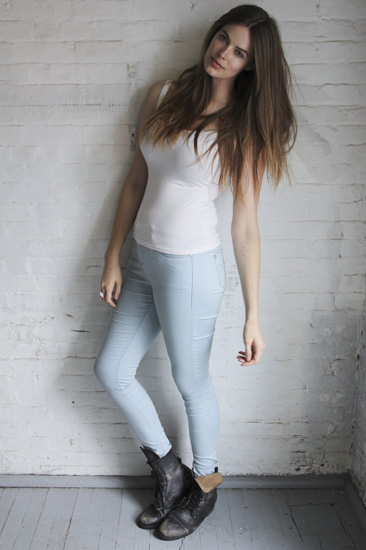
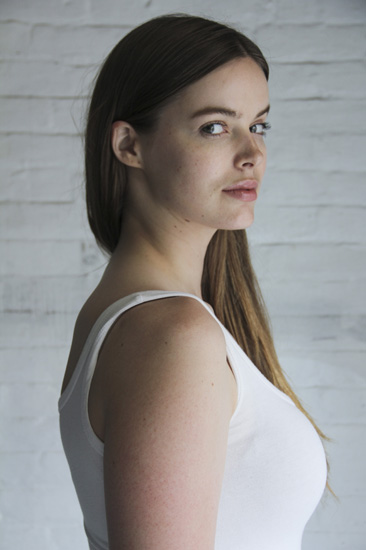
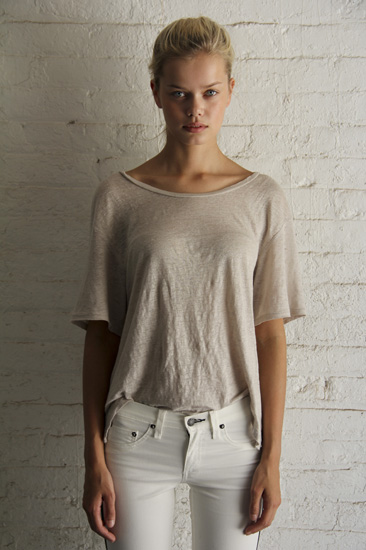
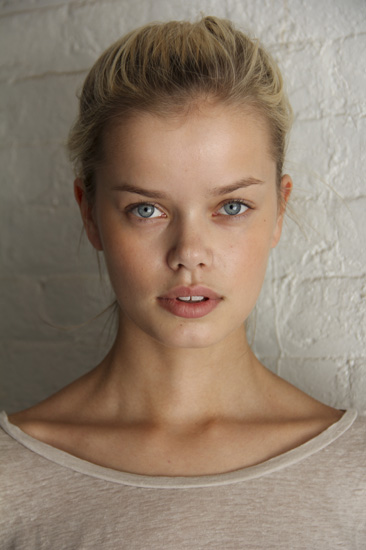
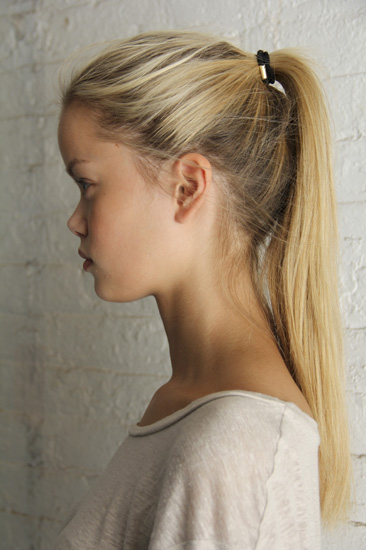
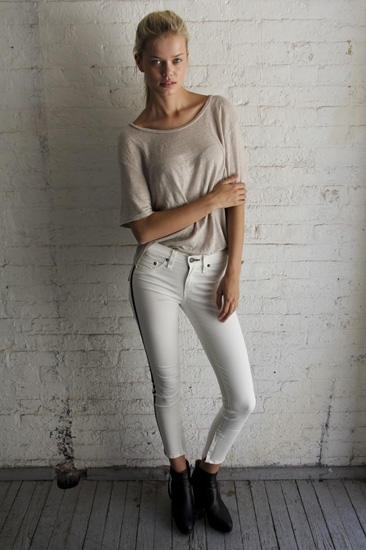
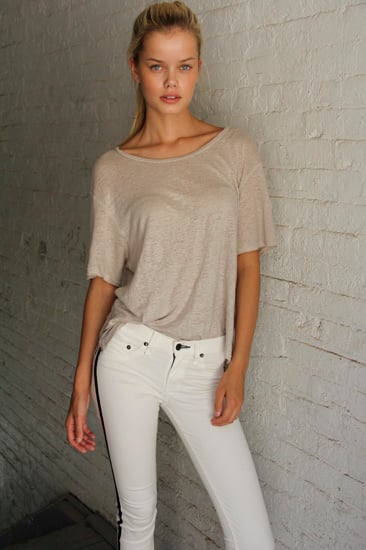
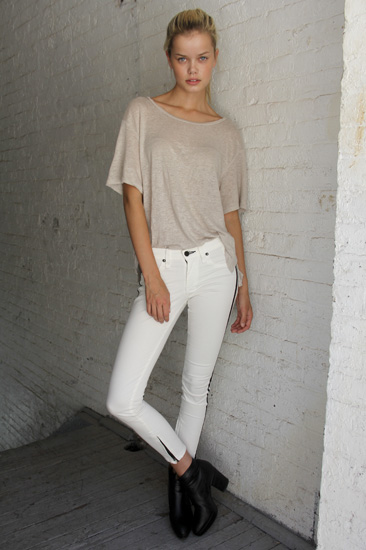
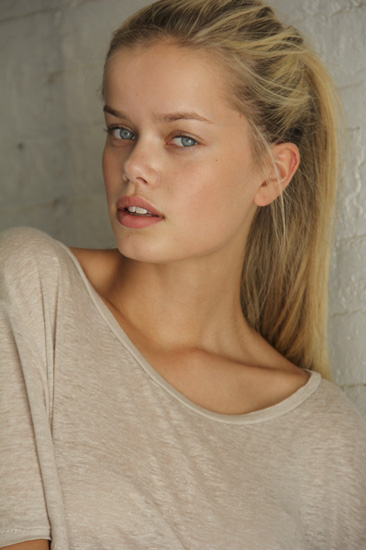
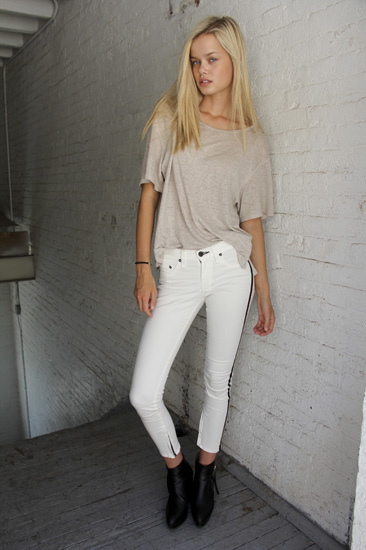
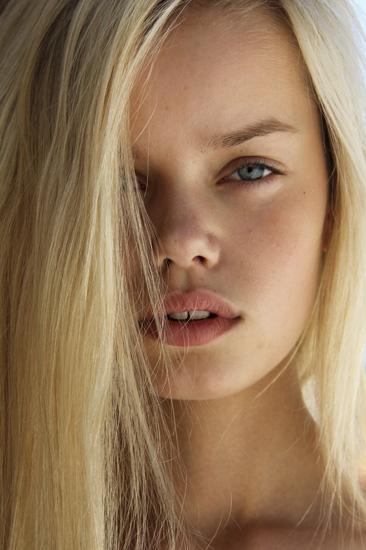
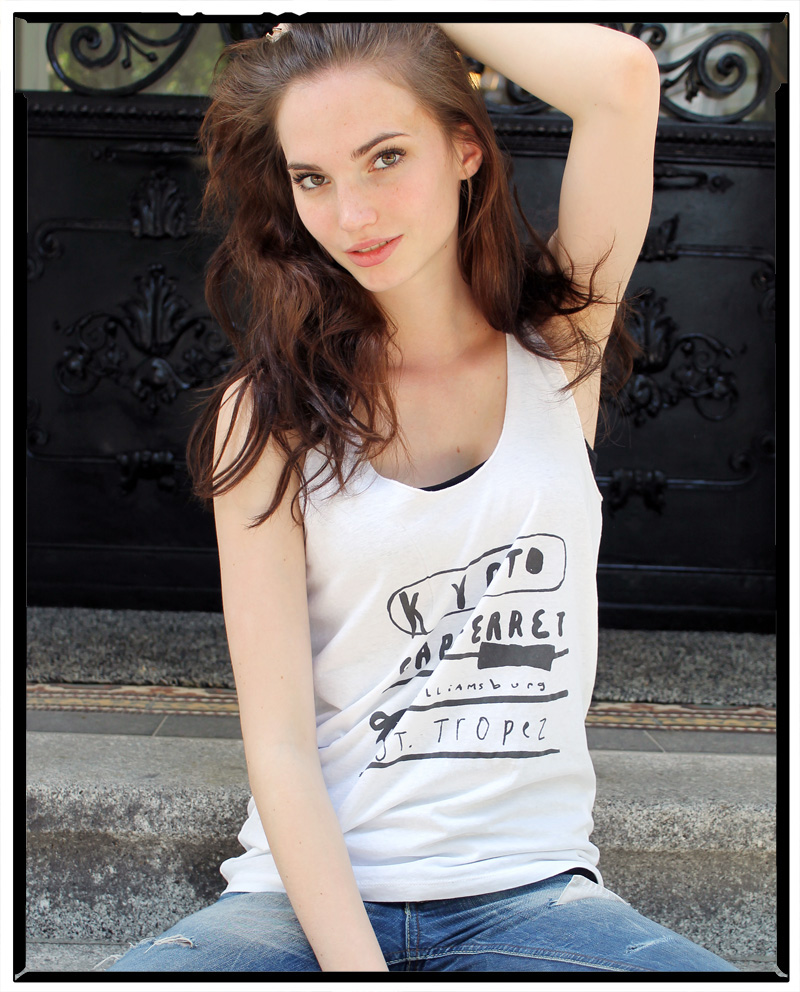
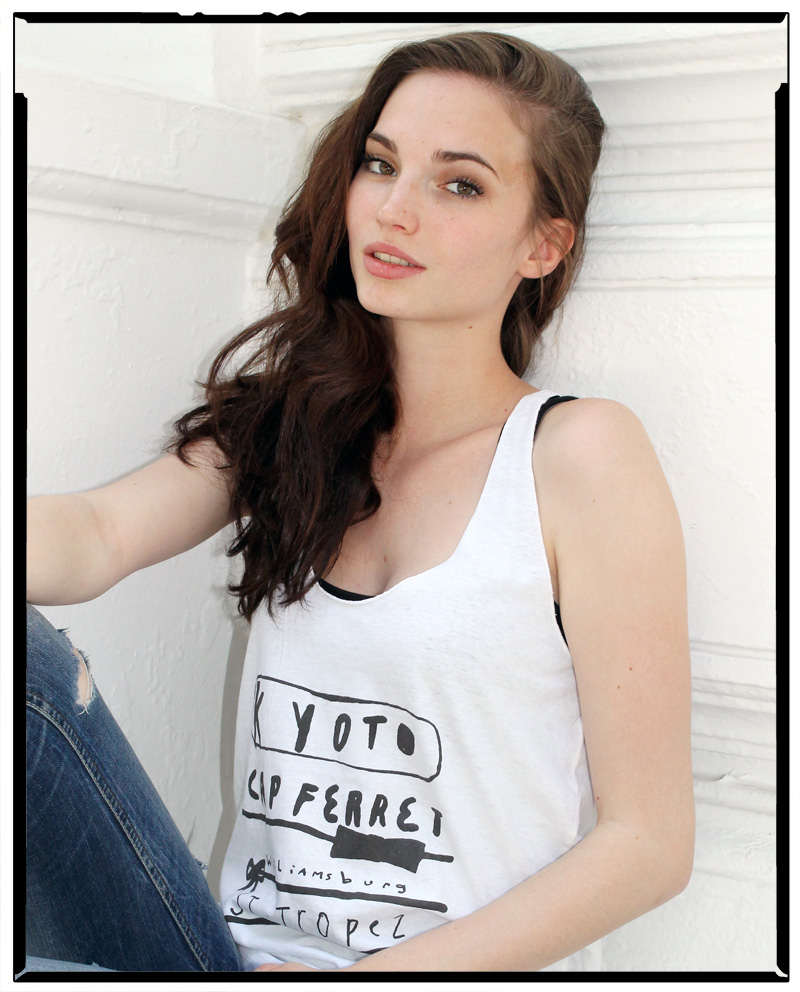
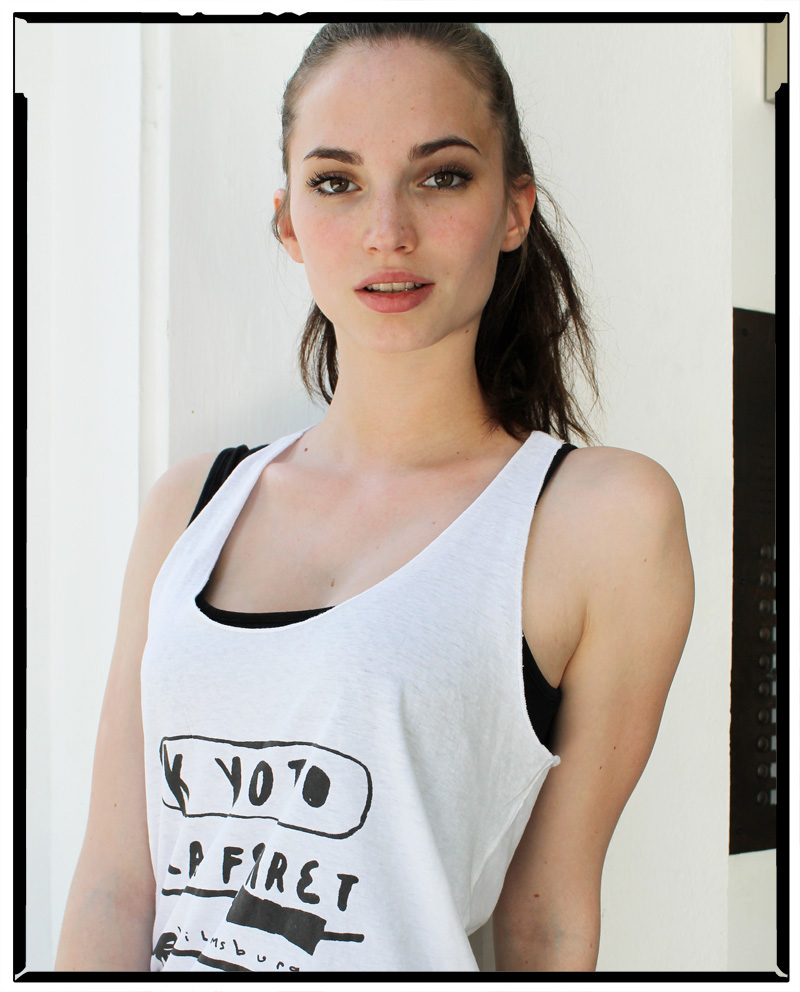
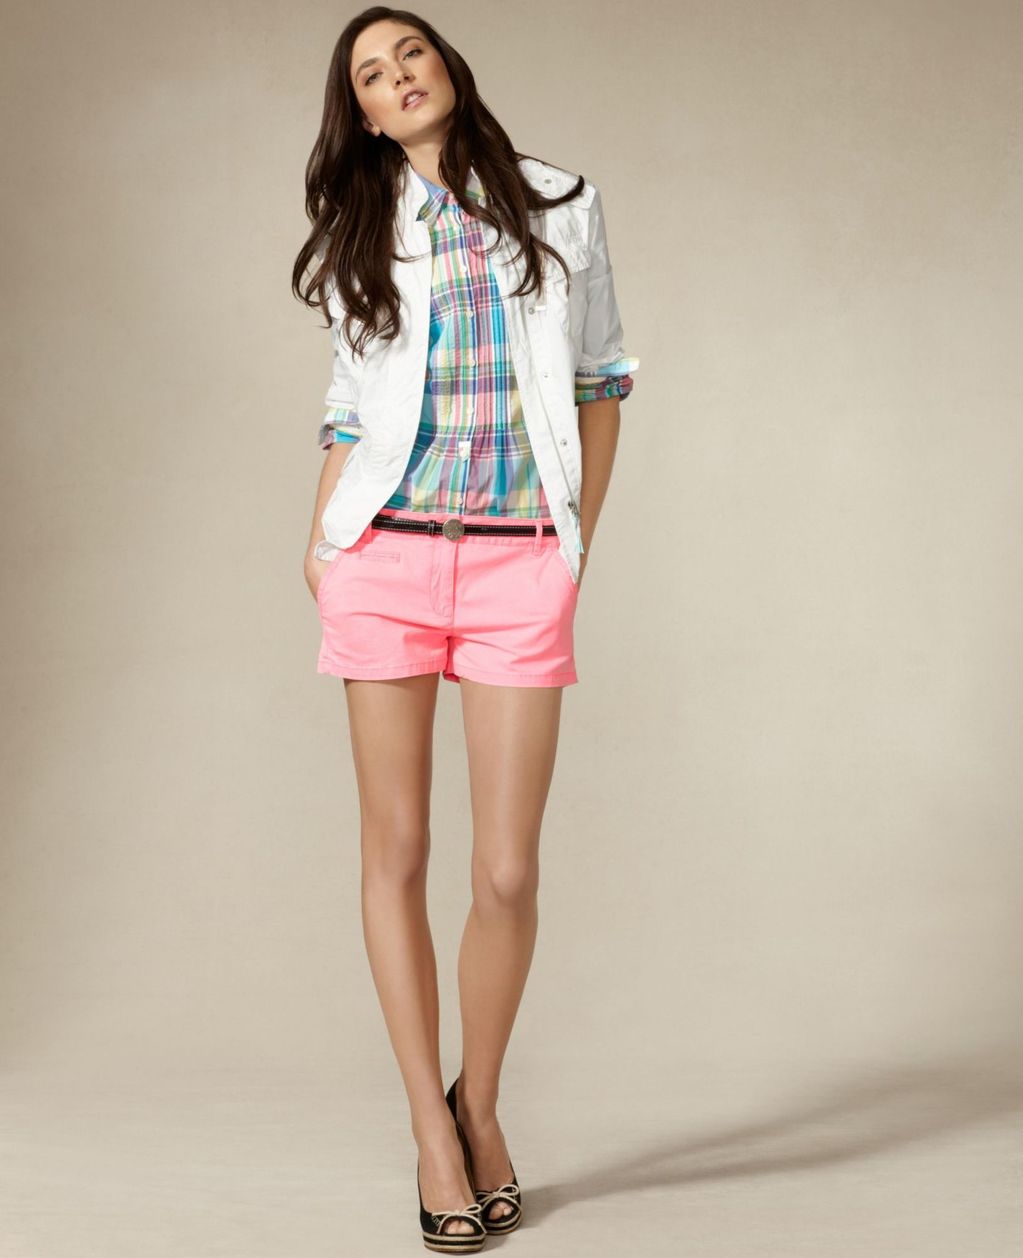
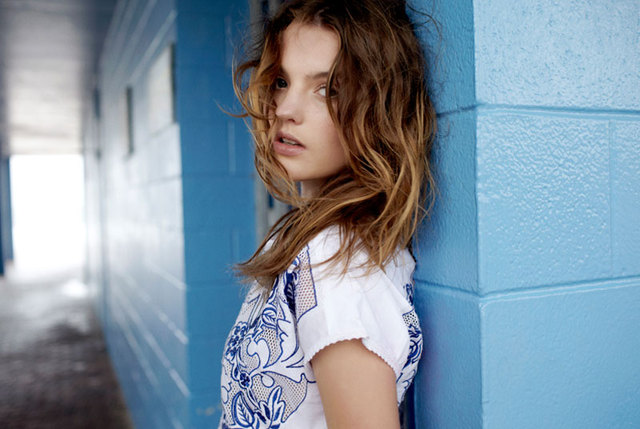
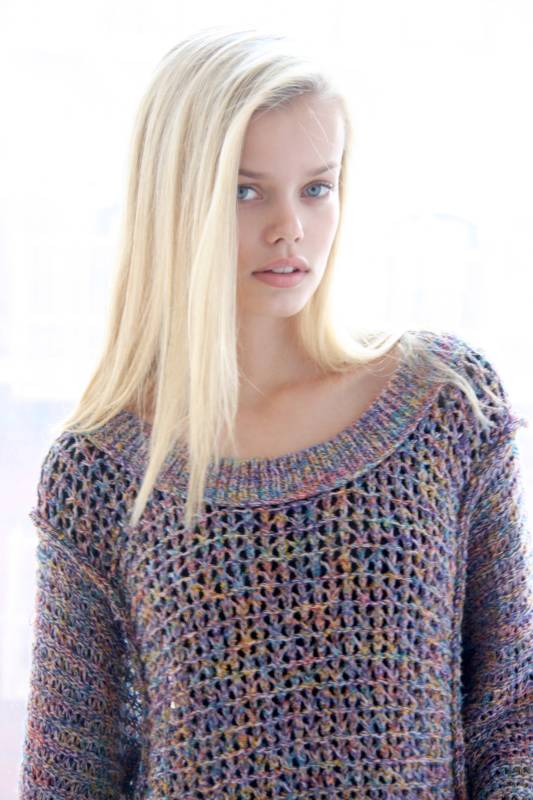
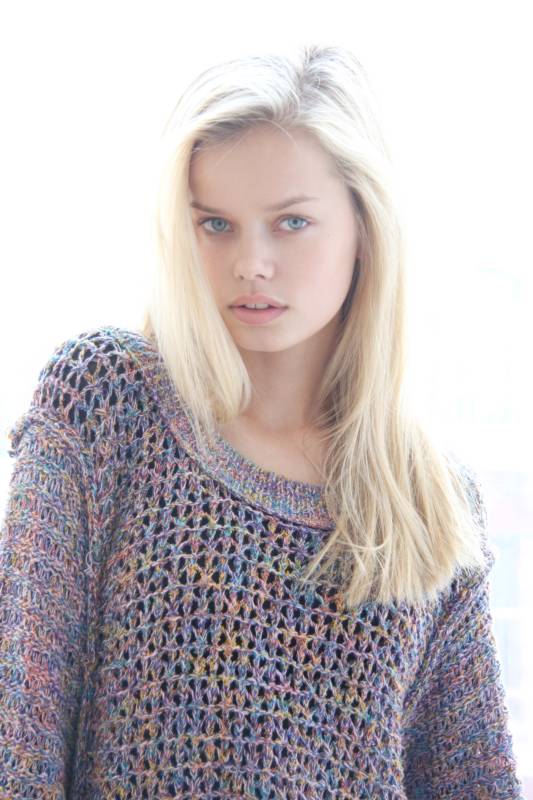
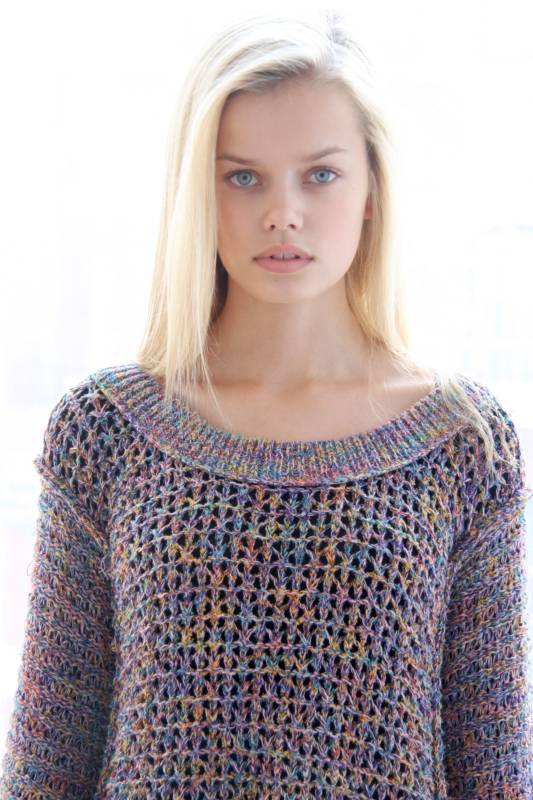
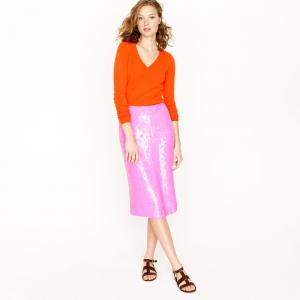
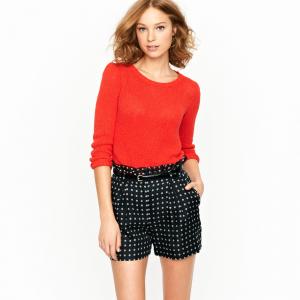
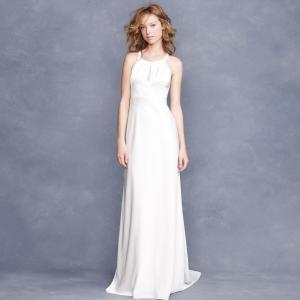
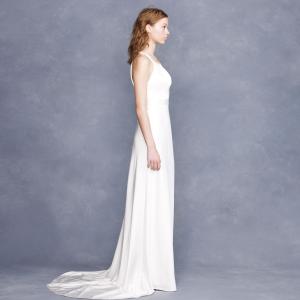
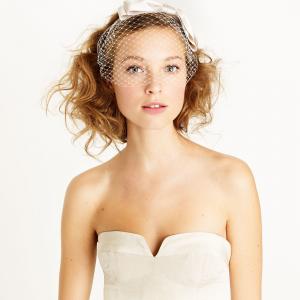
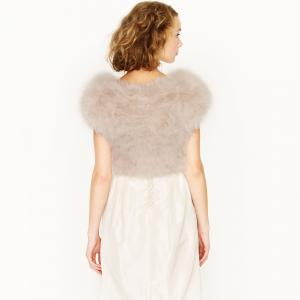
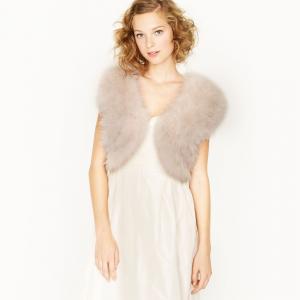
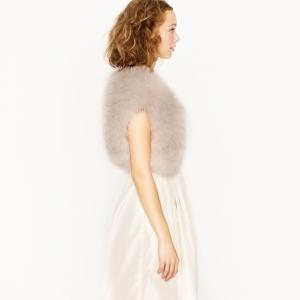
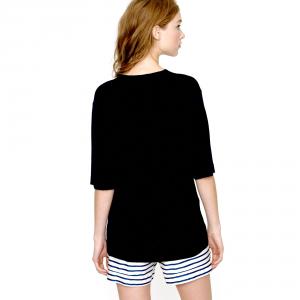
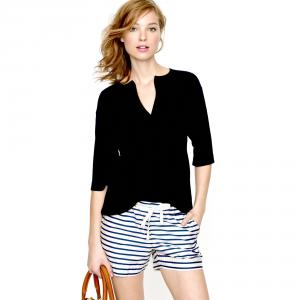
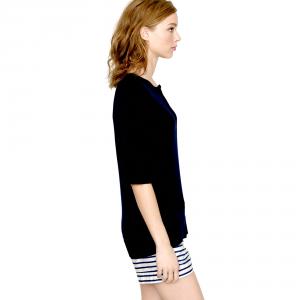
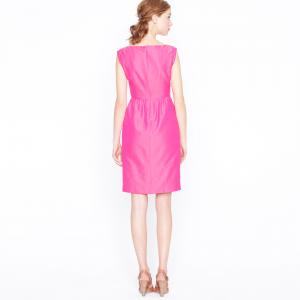
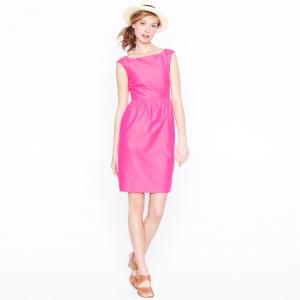
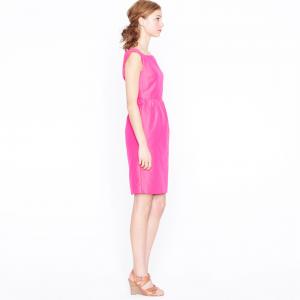
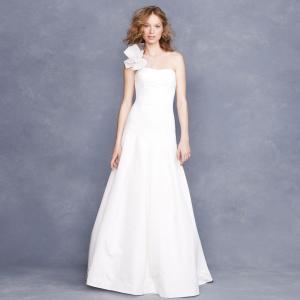
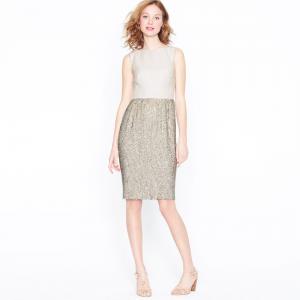
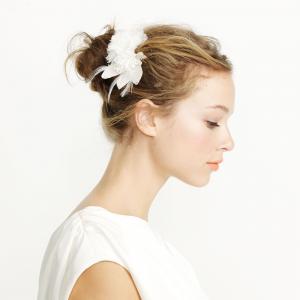
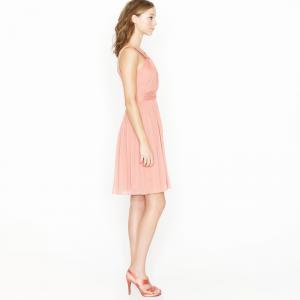
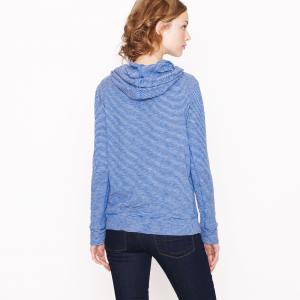
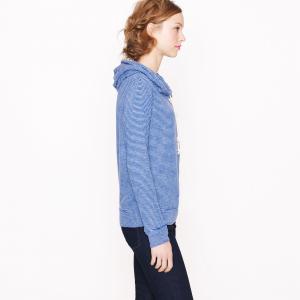
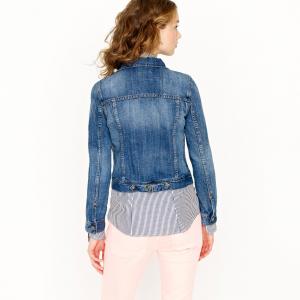
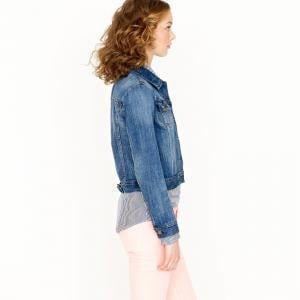
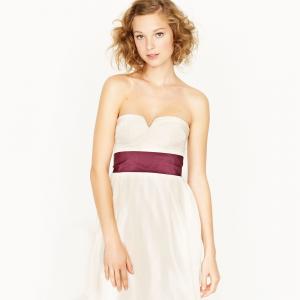
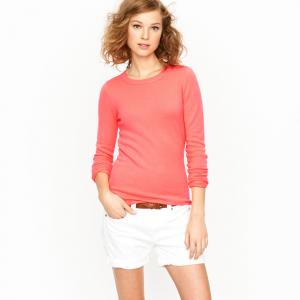
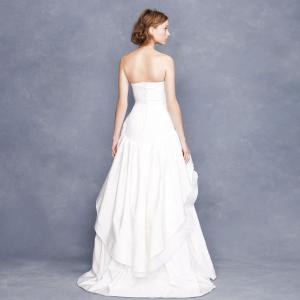
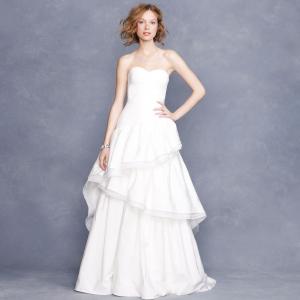
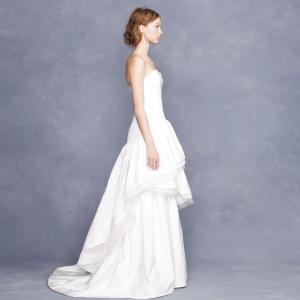
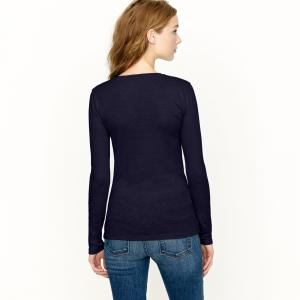
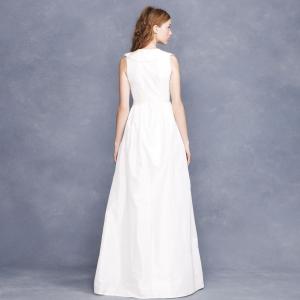
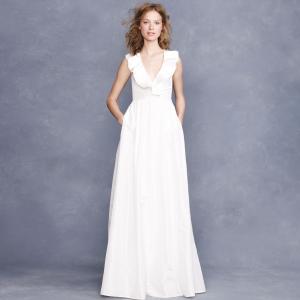
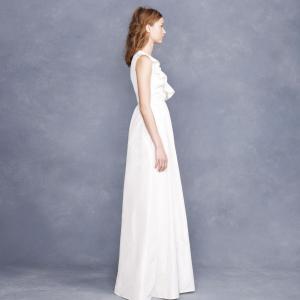
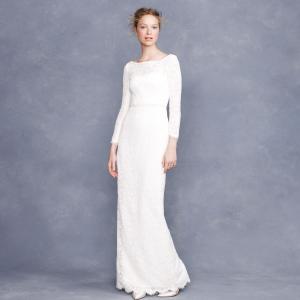
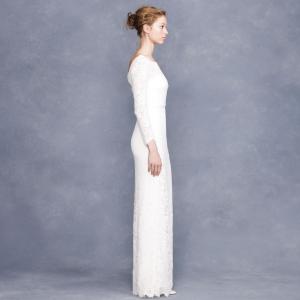
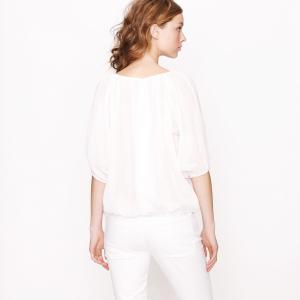
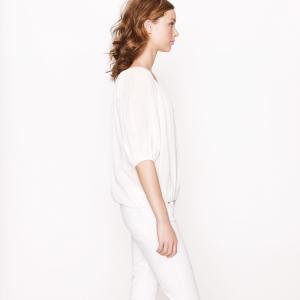
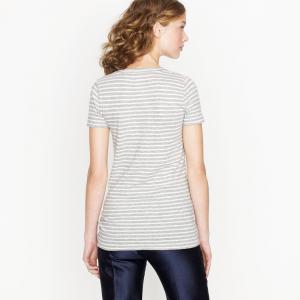
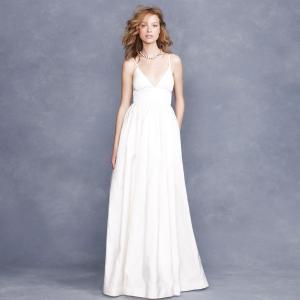
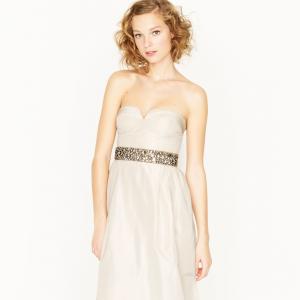
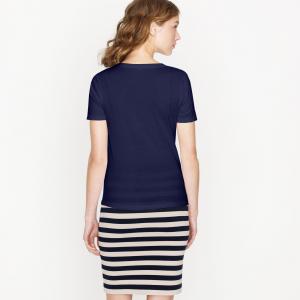
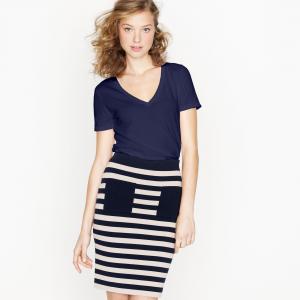
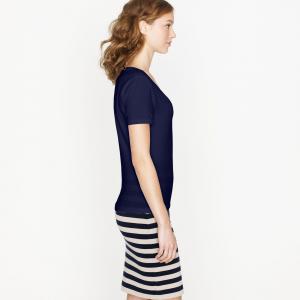
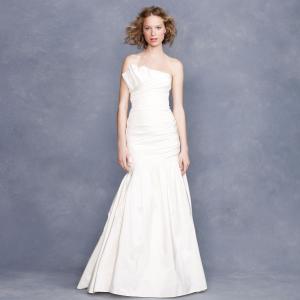
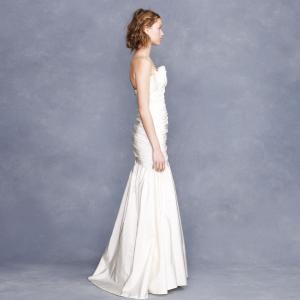
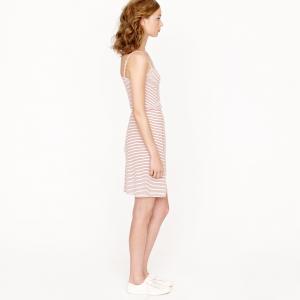
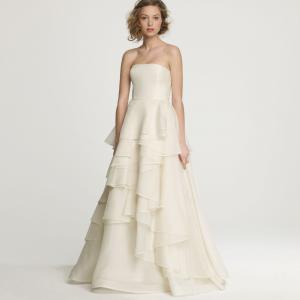
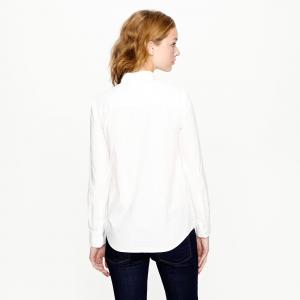
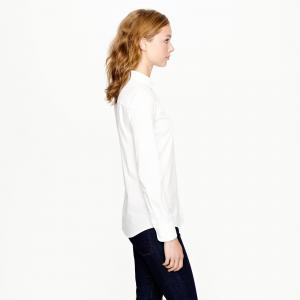
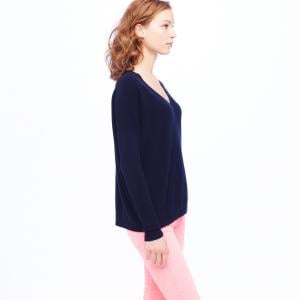
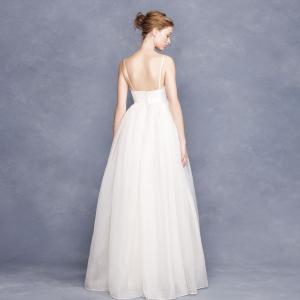
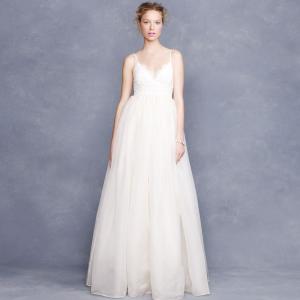
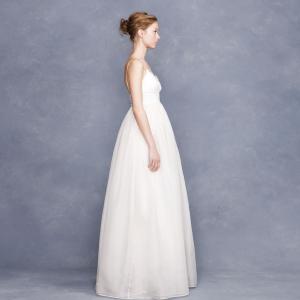
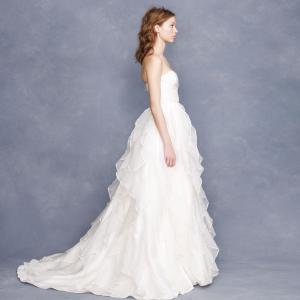
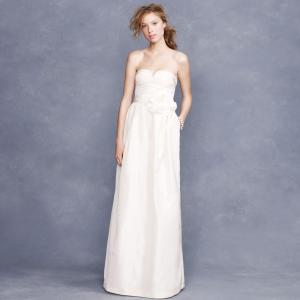
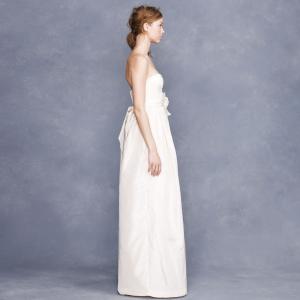
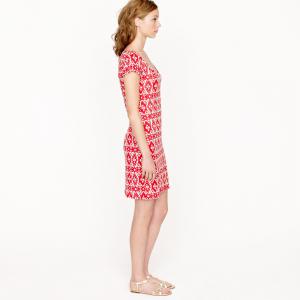
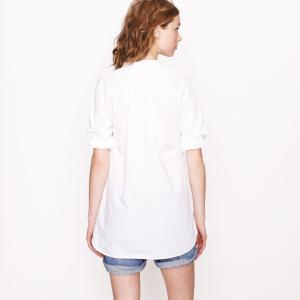
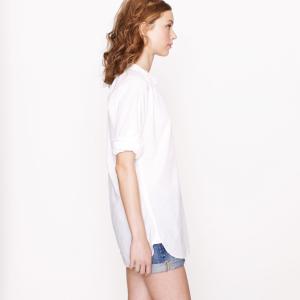
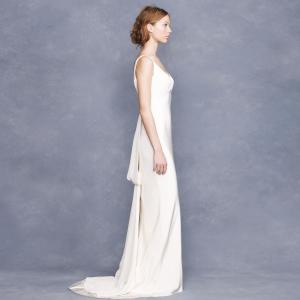
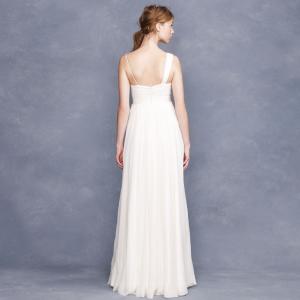
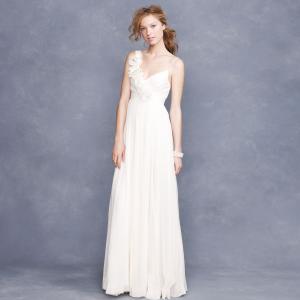
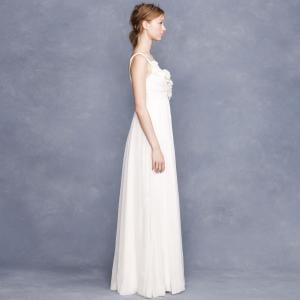
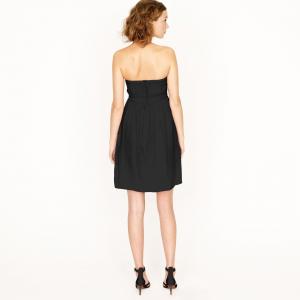
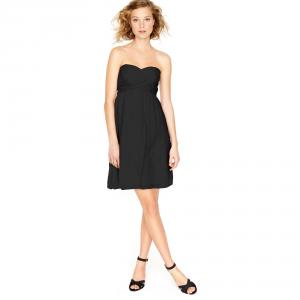
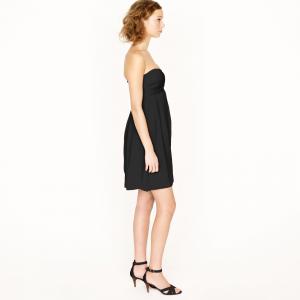
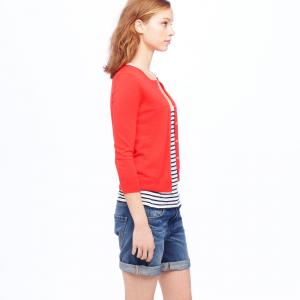
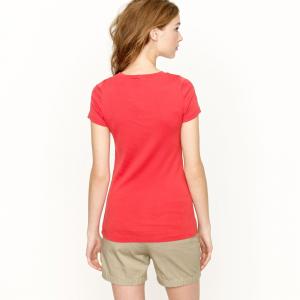
J Crew (1/6) - Apologies in advance about any reposts; however, considering the fact that the last J Crew post was made over a year ago, I doubt there will be any double, and, if any, very few. Also, as the title suggests, there are A LOT of pictures, so be prepared and enjoy! jcrew


-
-
-
-
^ Another post in that topic is also of the "other" Reka Nagy: http://www.bellazon....y/#entry2925995 I moved the post. I also posted a suggestion in the Reka thread you originally started ~PC
-
Turns out there are 2 models named Reka Nagy, and that the one I have pictures of doesn't have a topic here: http://www.bellazon....y/#entry2933238 Done. Thanks! ~PC
artandcommerceproduction


 artandcommerceproduction


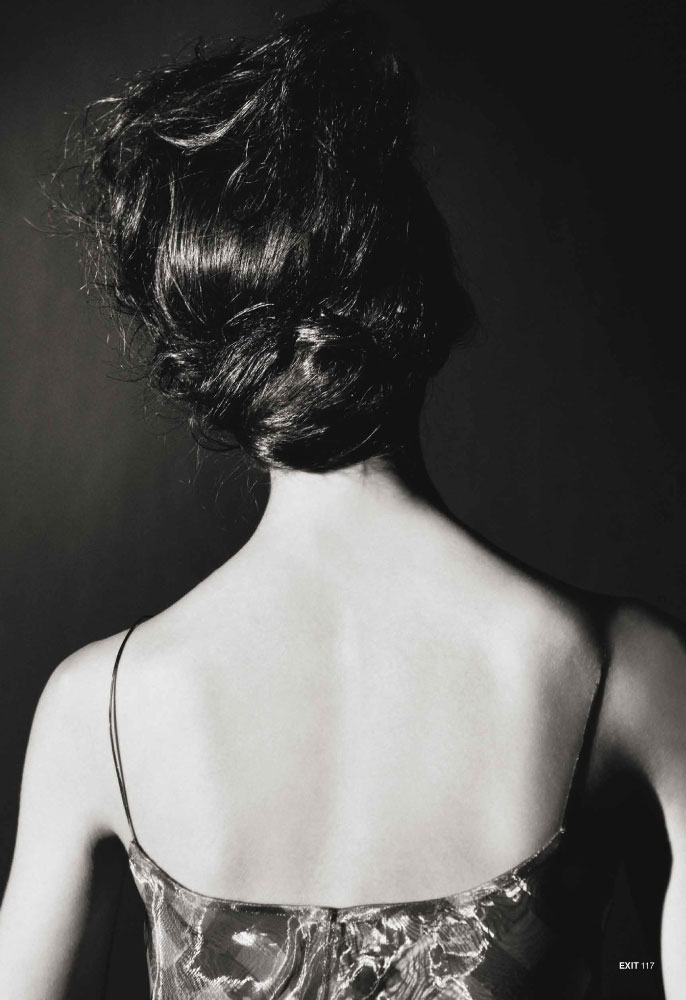
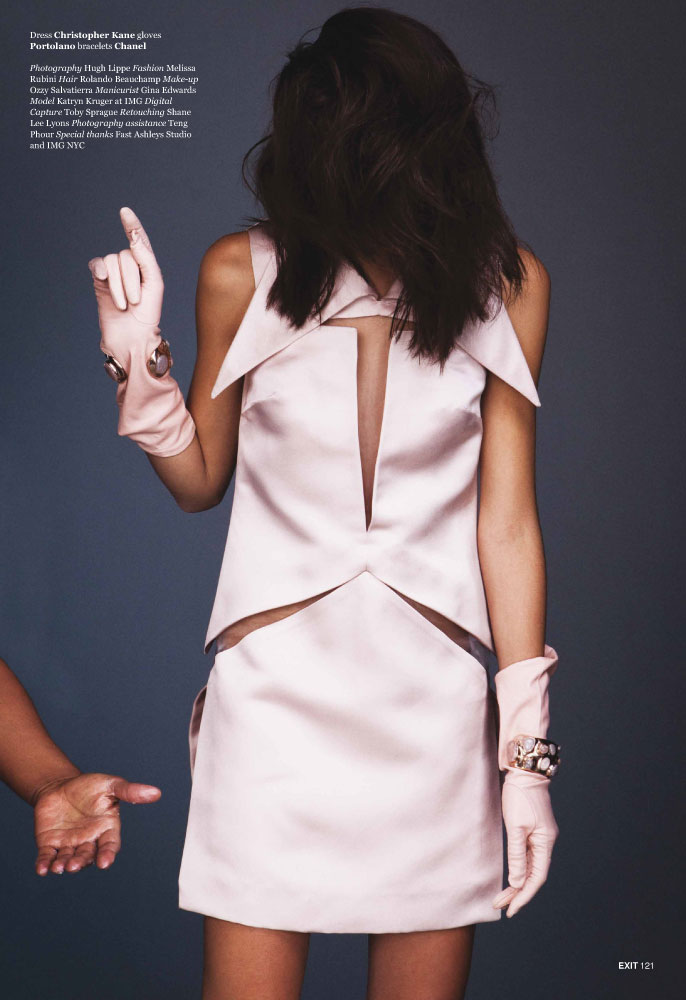
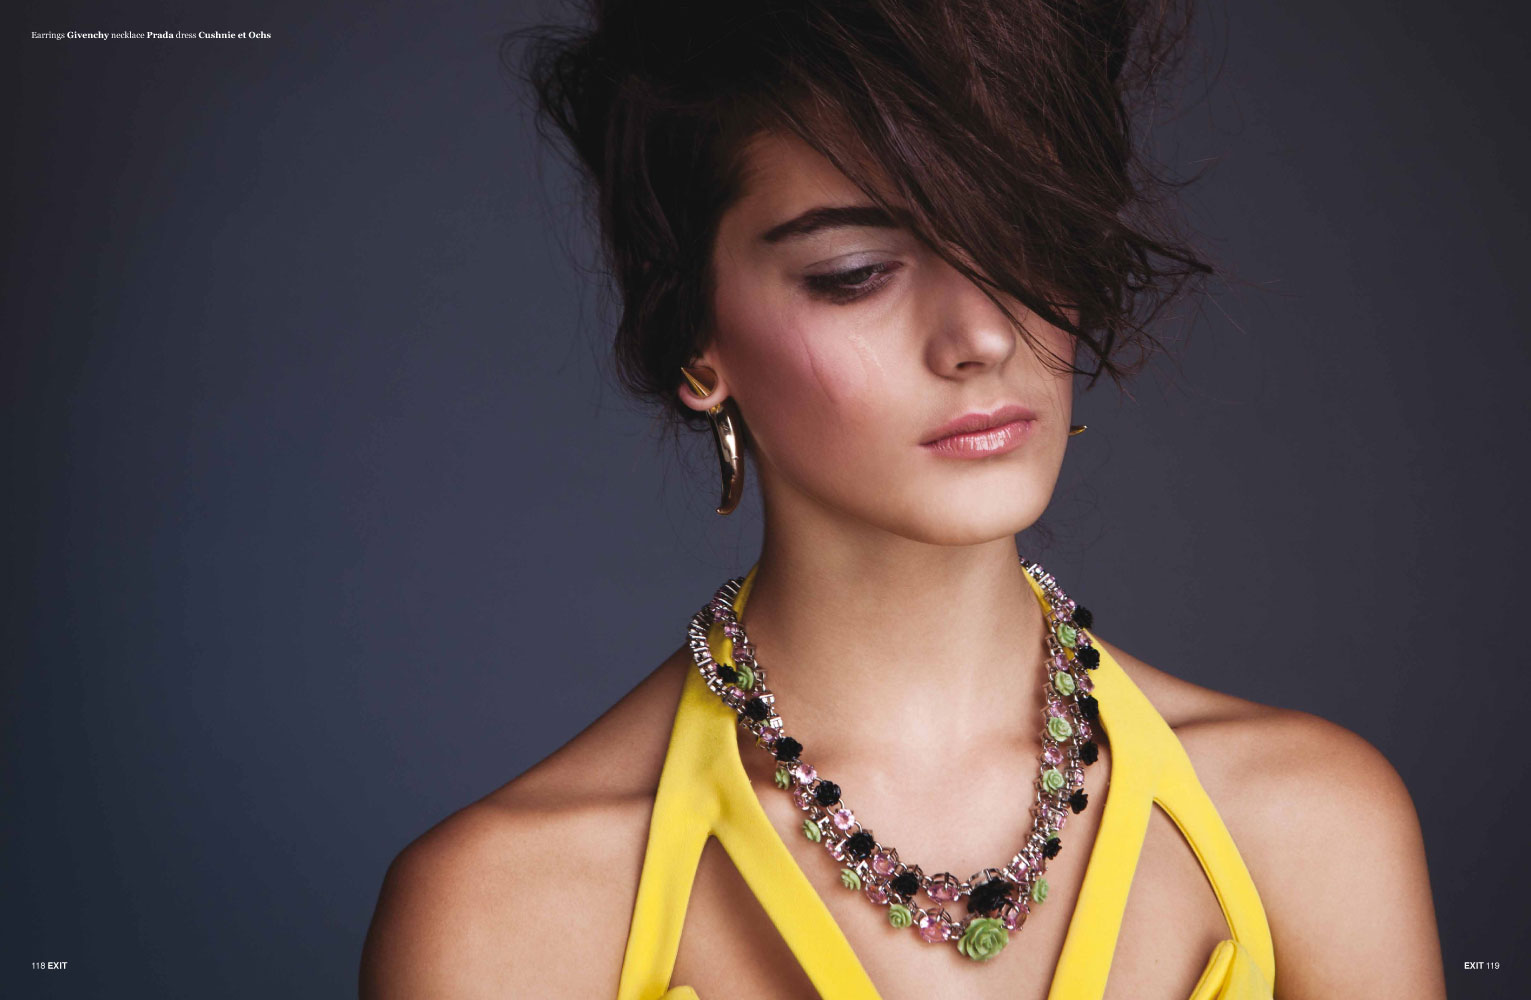
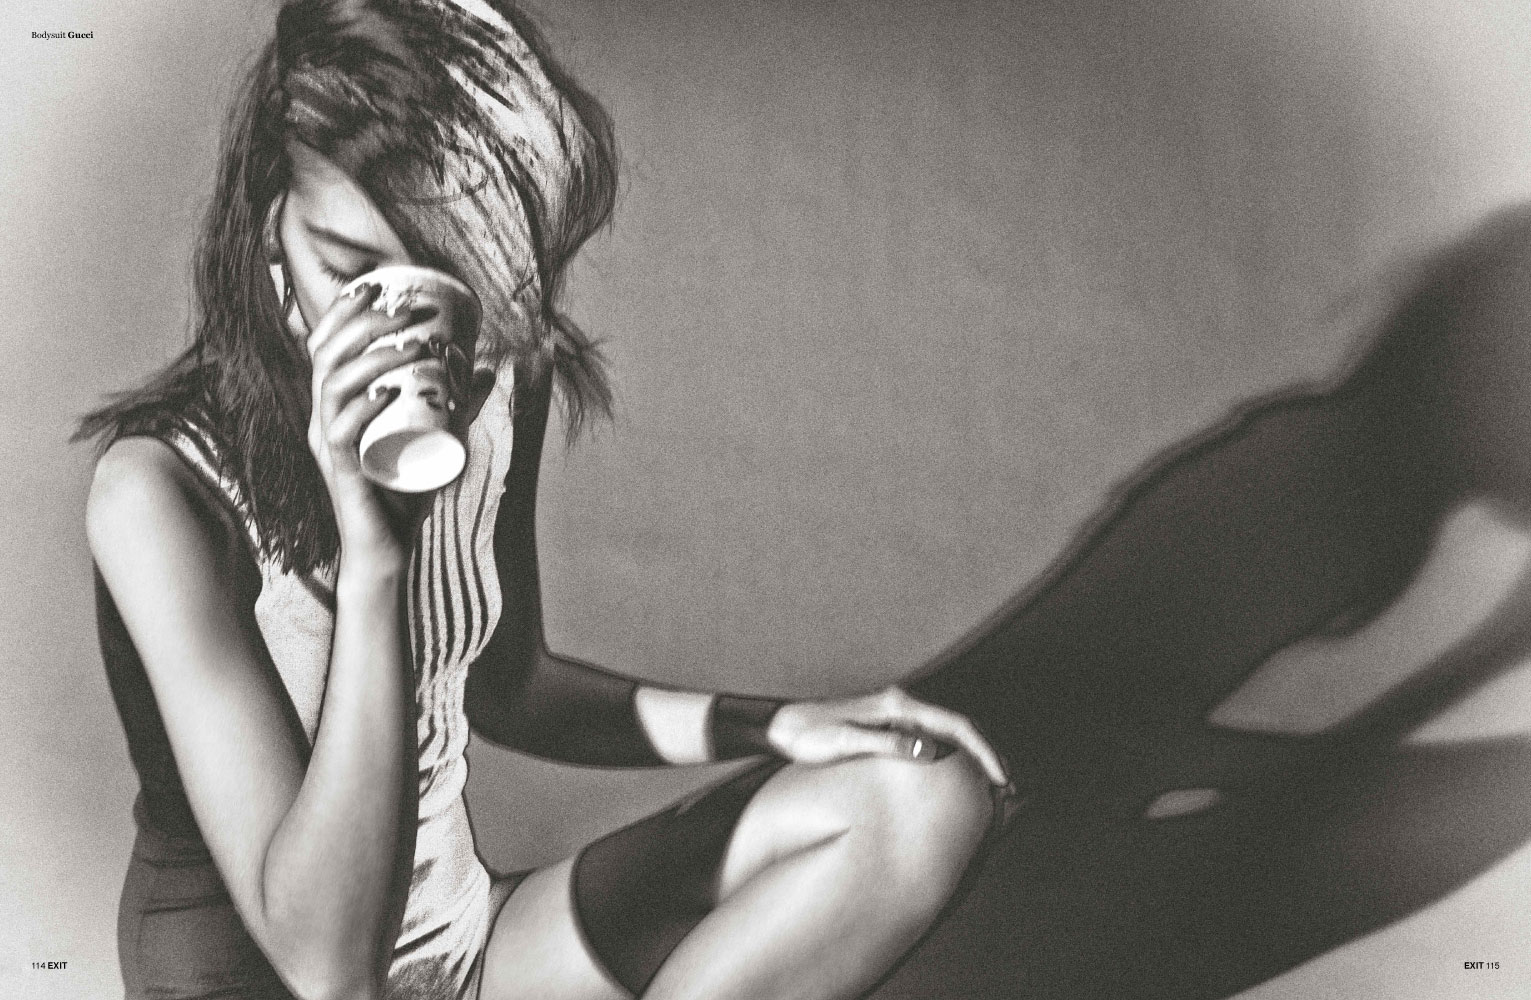
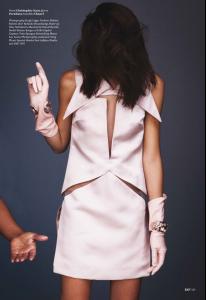
 Exit SS 2012 - "I See Who You Are" Ph: Hugh Lippe / St: Melissa Rubini Hair: Rolando Beauchamp / Make-up: Ozzy Salvatierra streeters


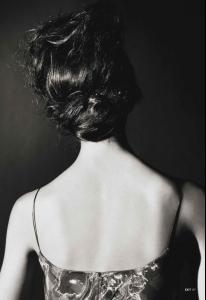

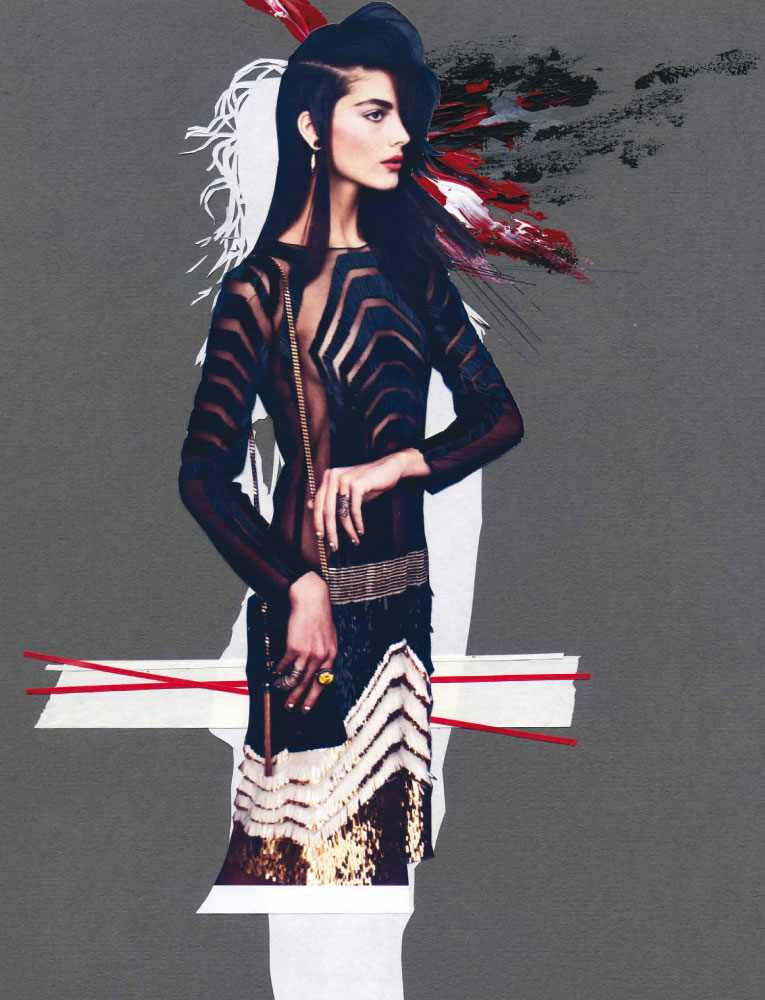
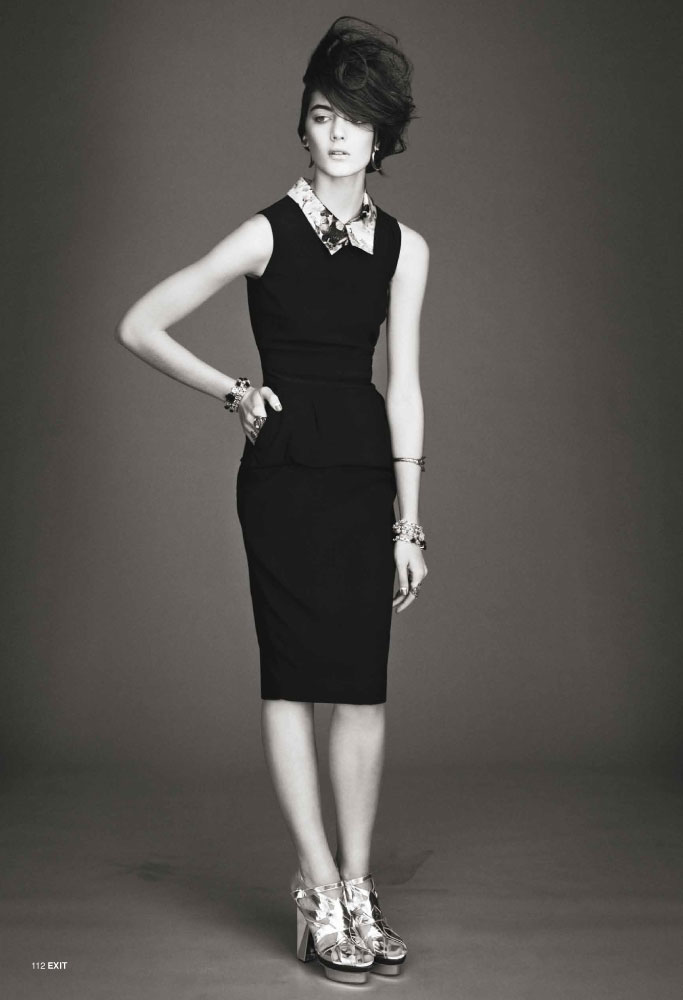
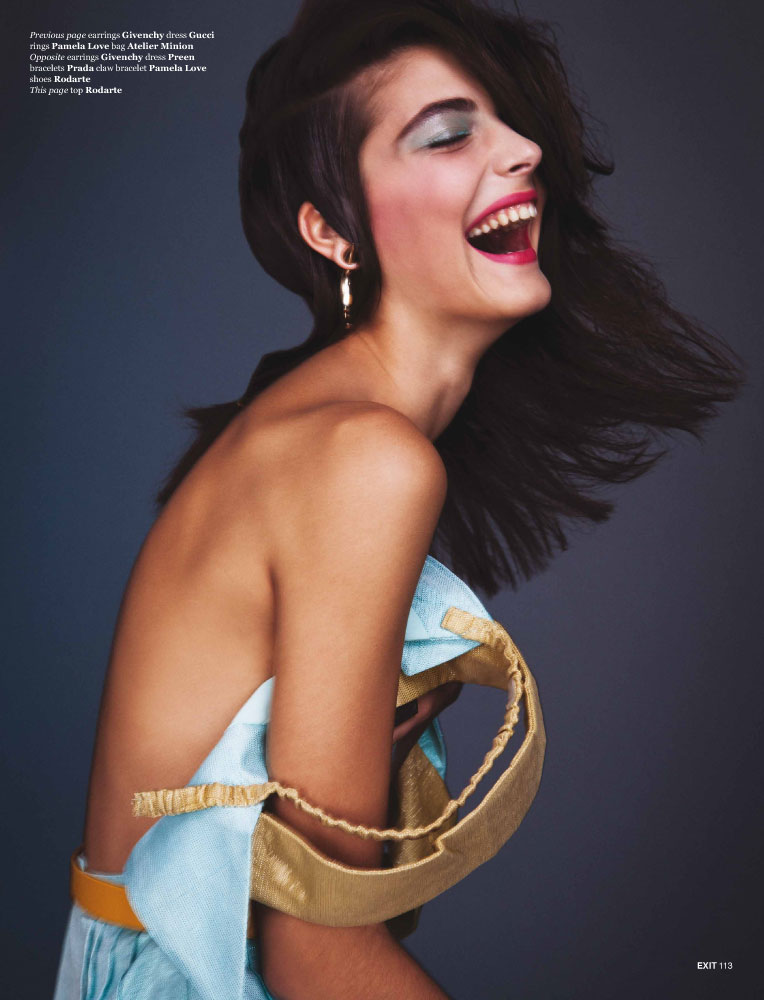
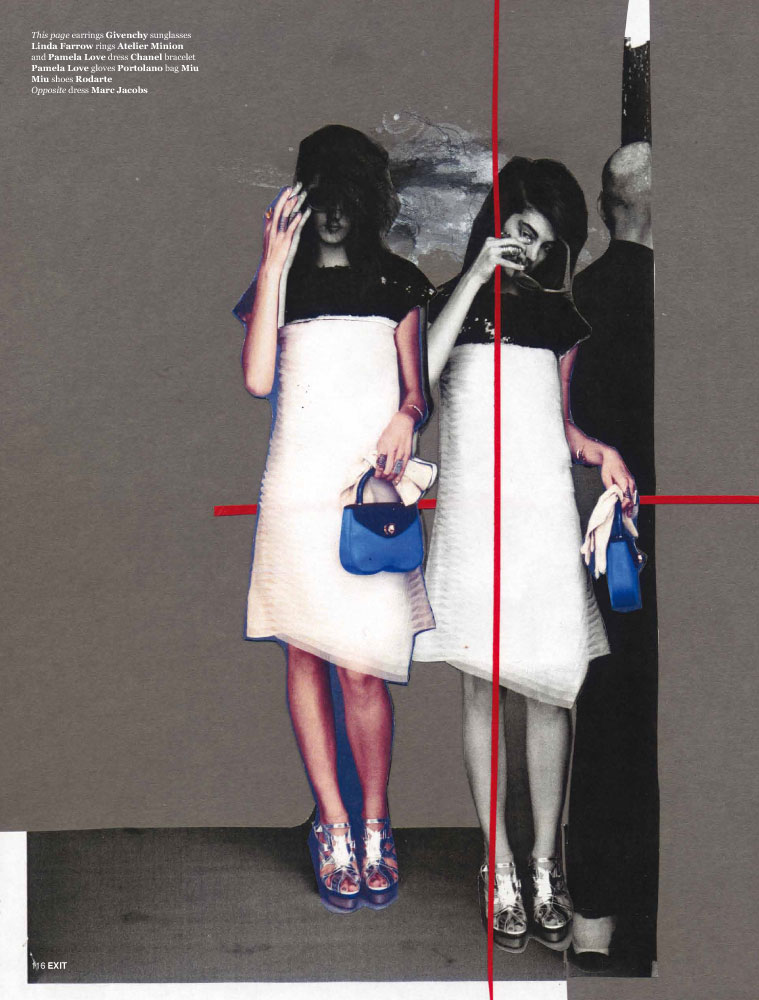
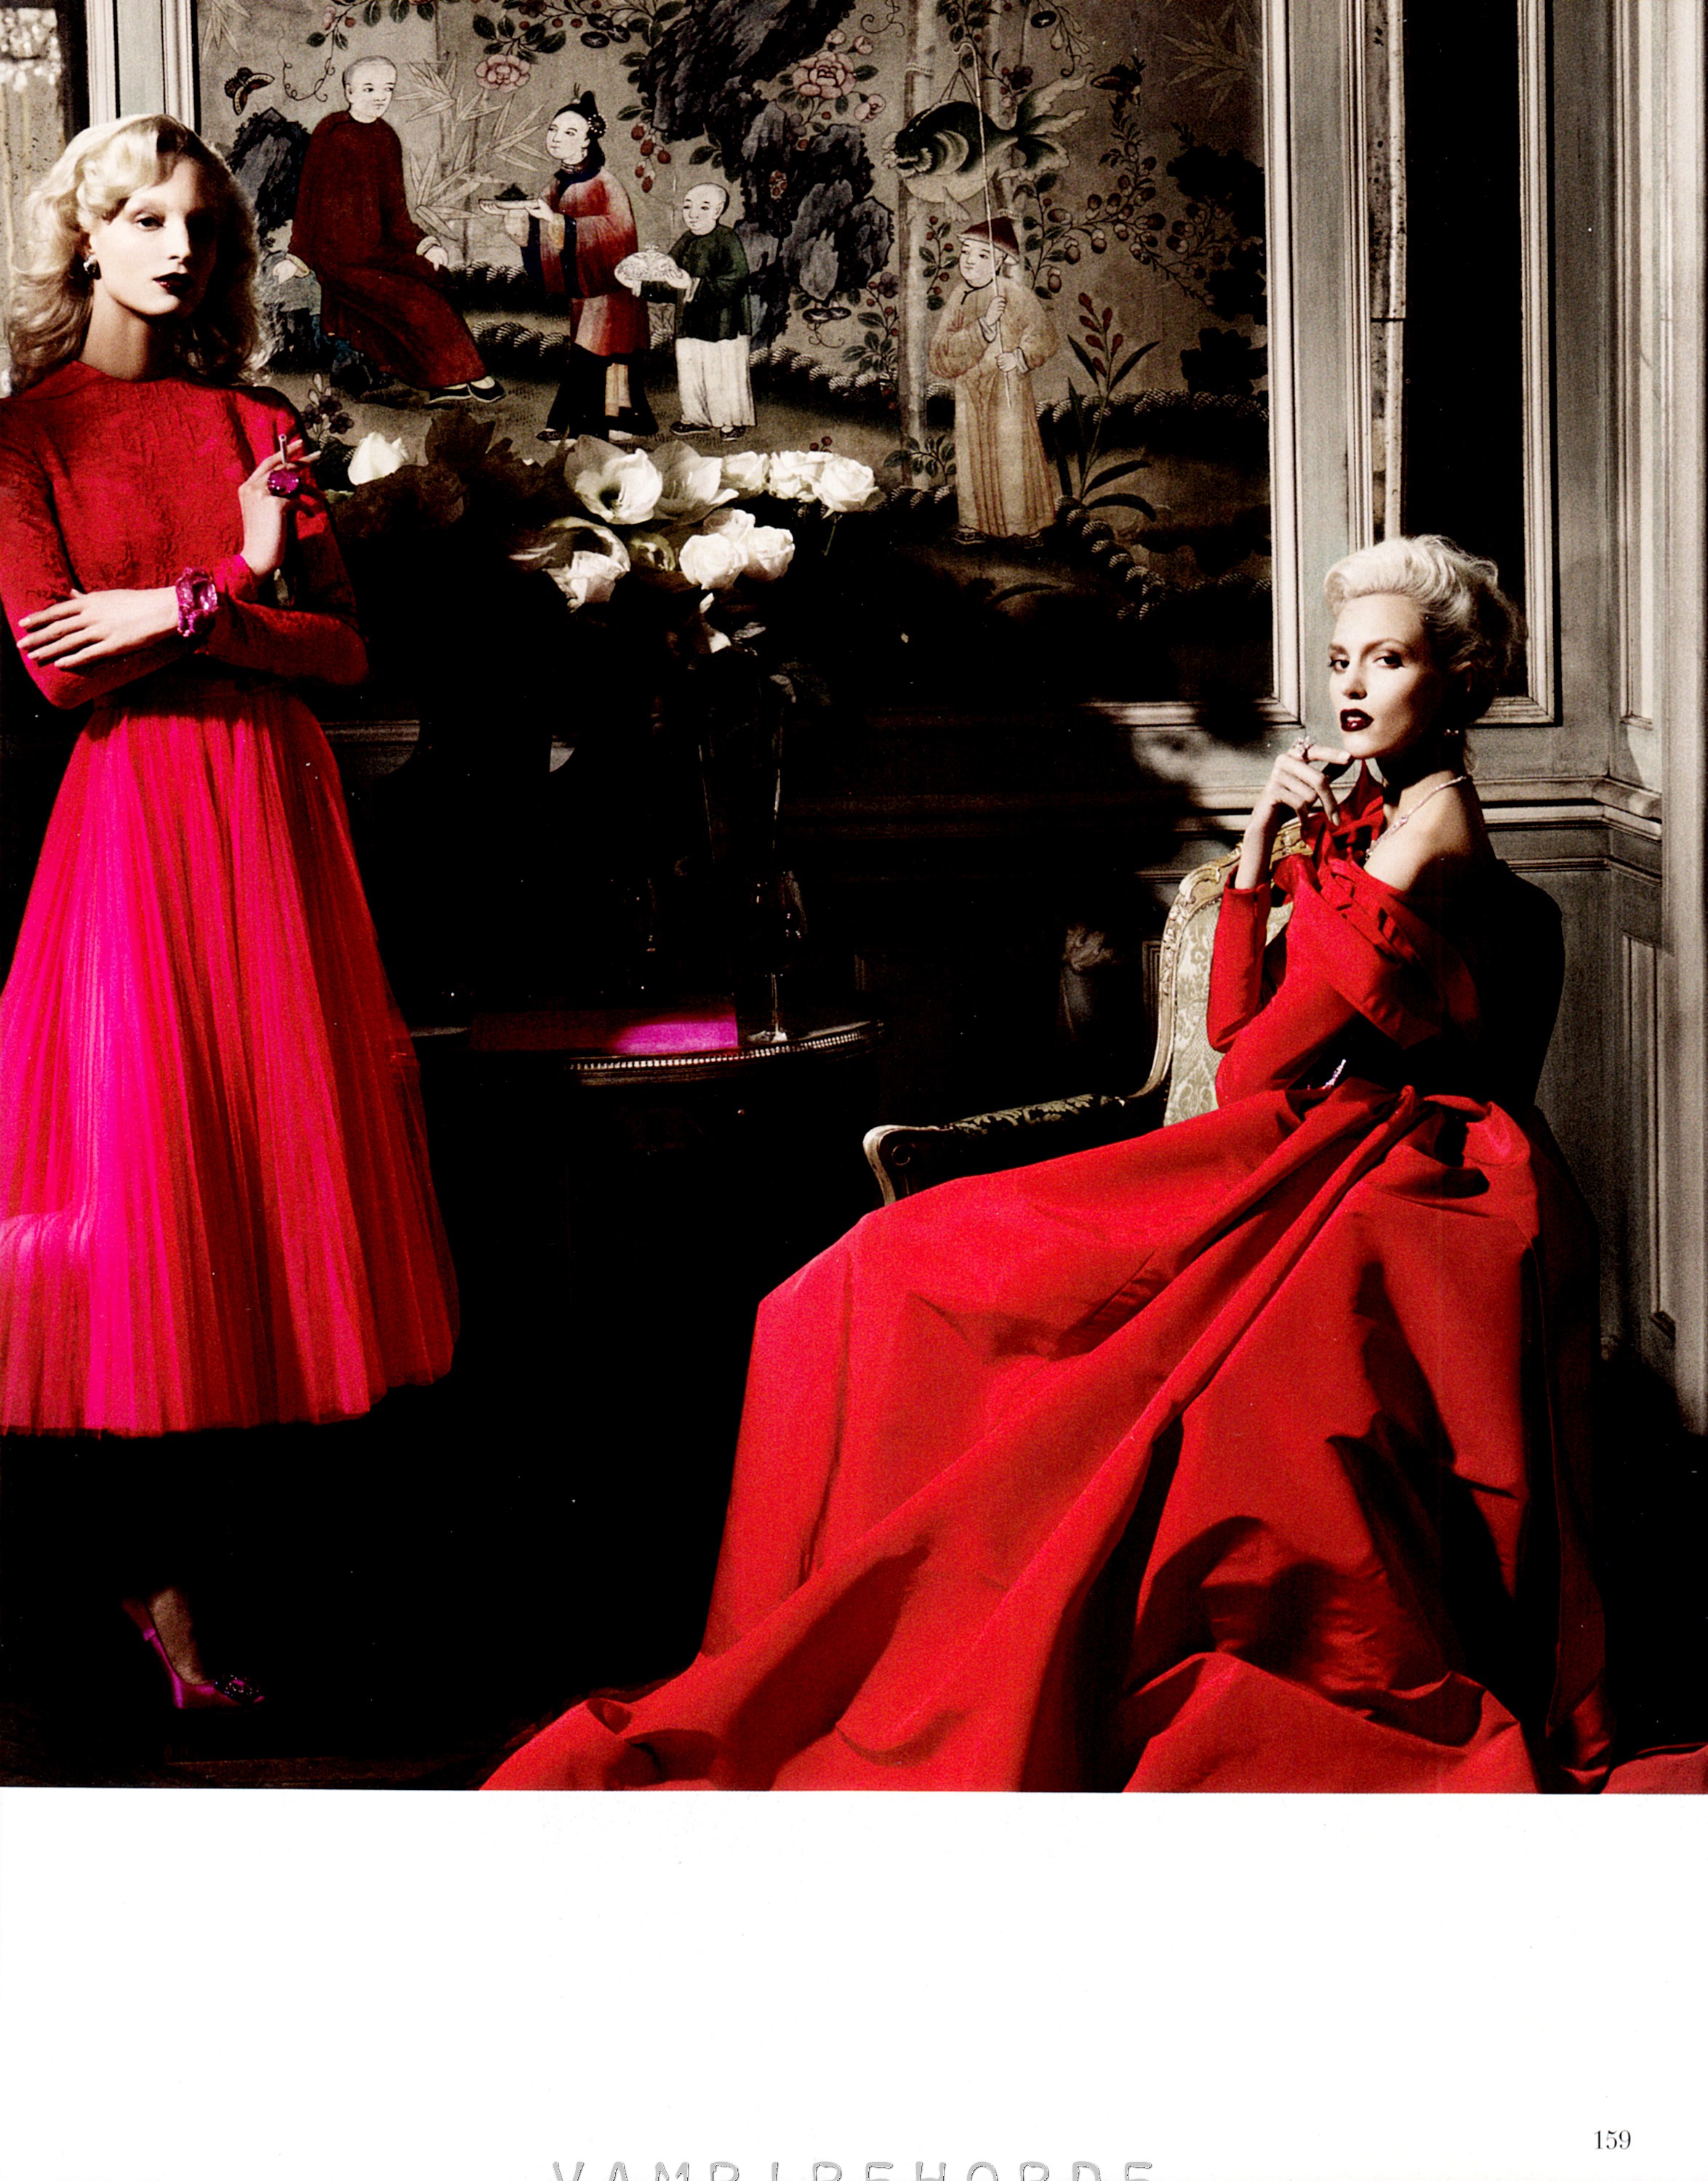
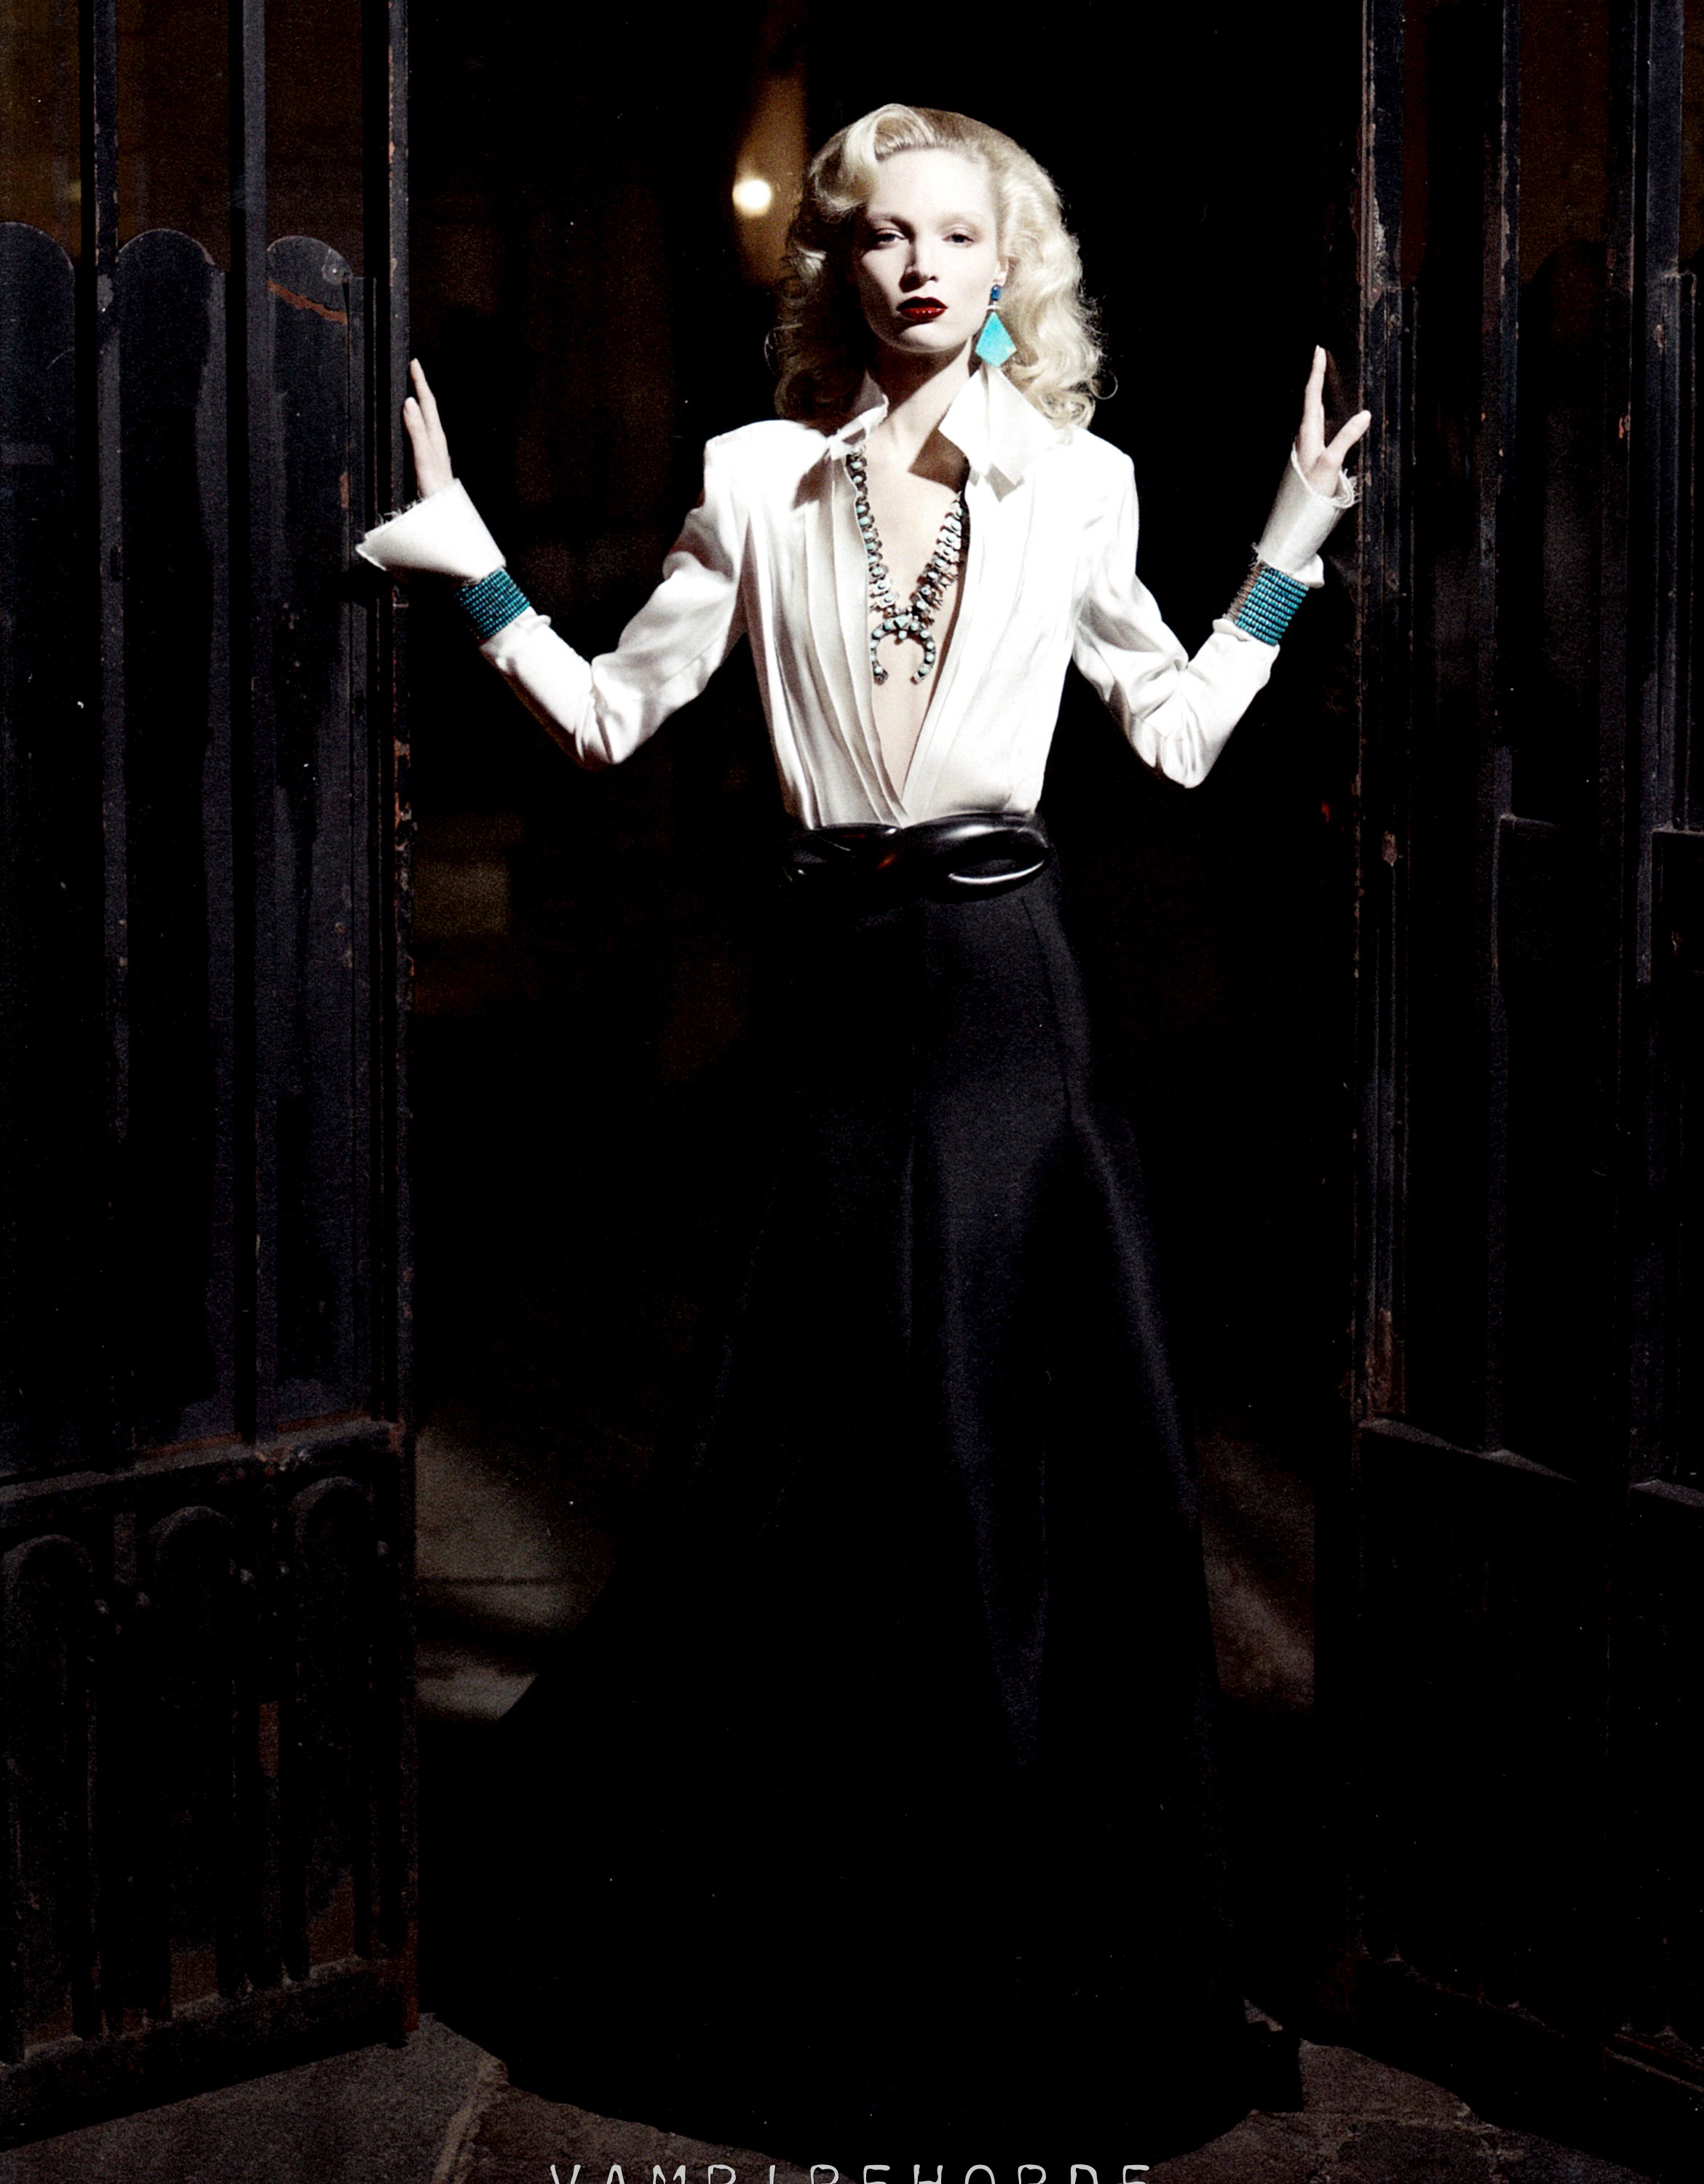
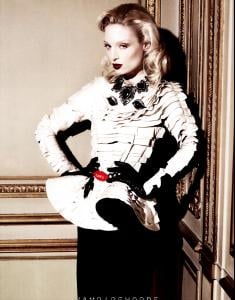
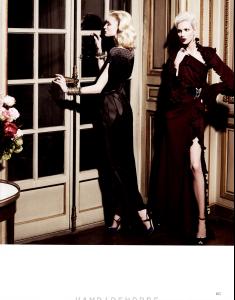
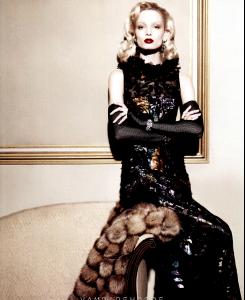
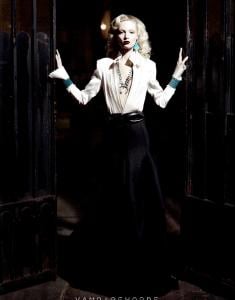
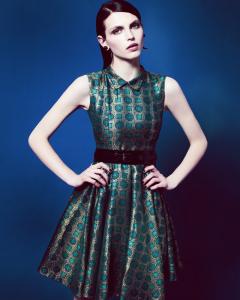
 Harpers Bazaar USA August 2012 - "High Society" Ph: Karl Lagerfeld VampireHorde @ fashionscansremastered
 Nominations are closed! Also, any nomination stated in the topic but that I did not receive pictures for is invalid. The nomination list should be listed shortly and the competition should begin by the end of the week. Thanks so much to everyone who nominated!
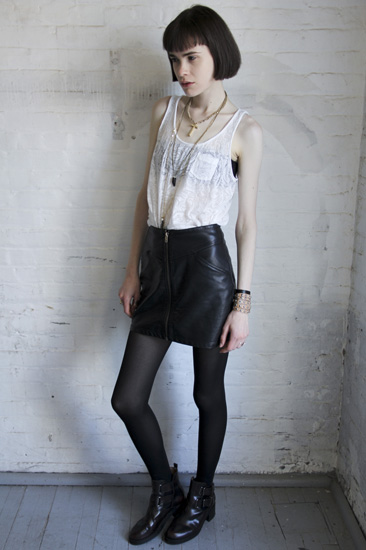
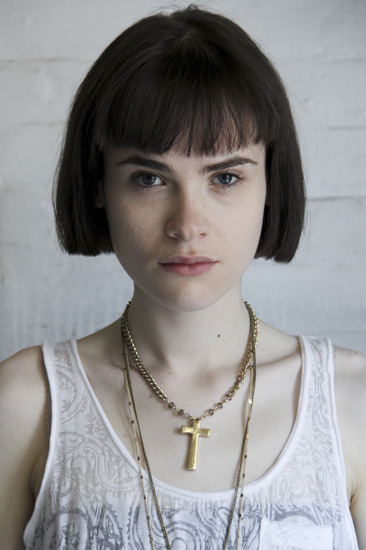
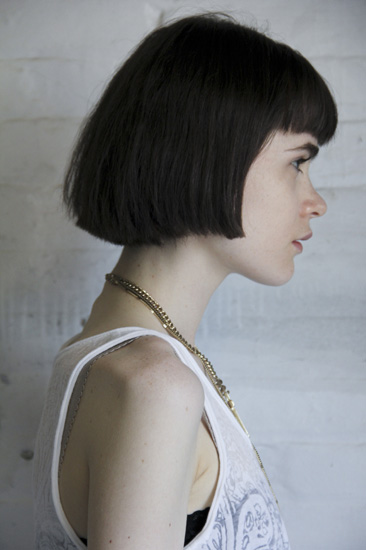
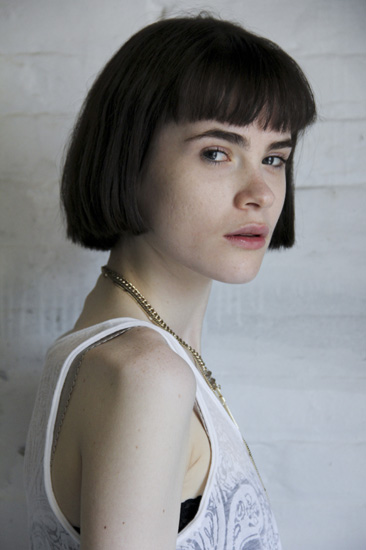
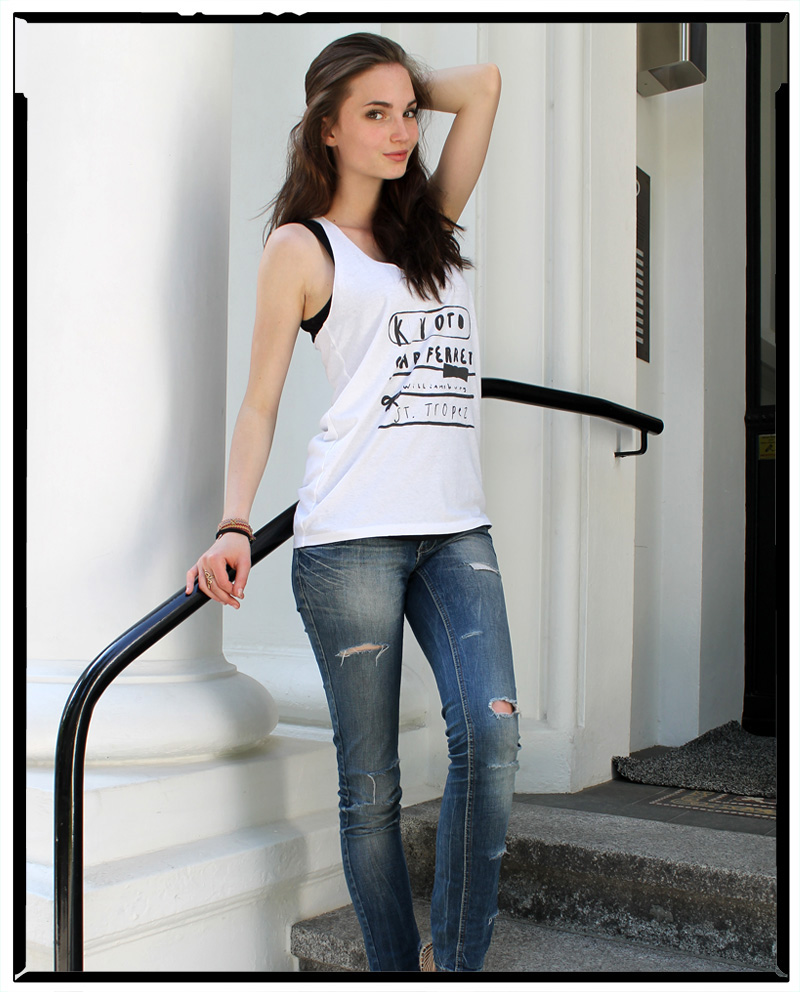
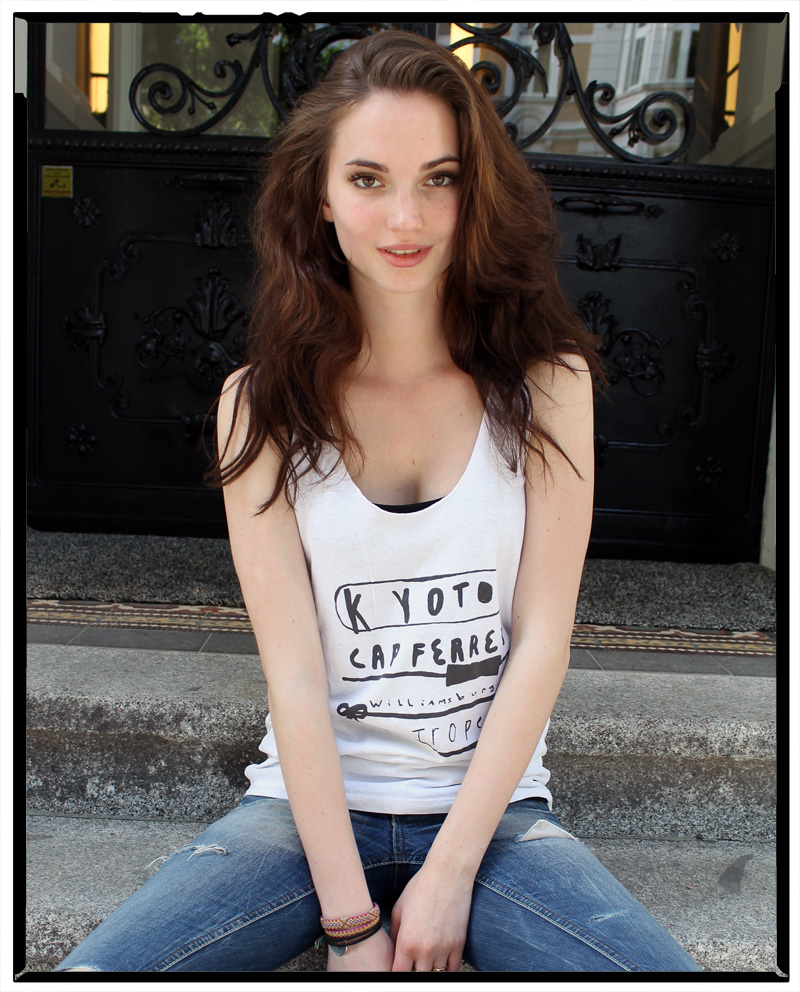
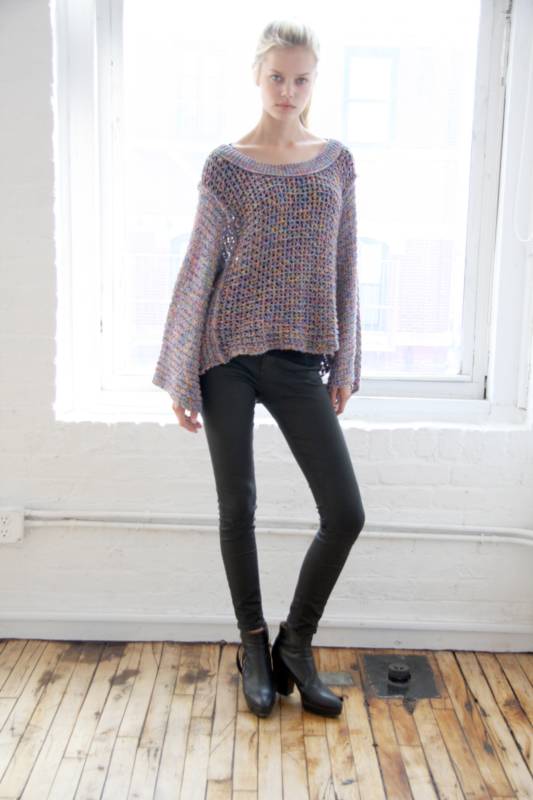
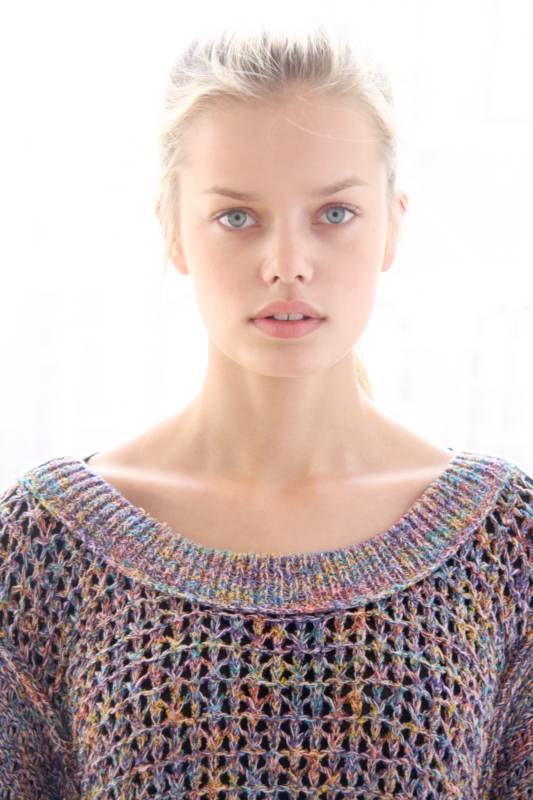
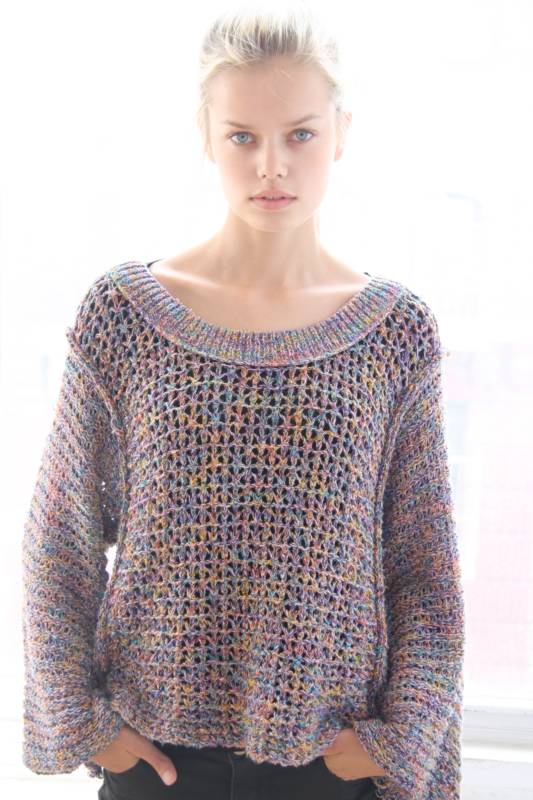
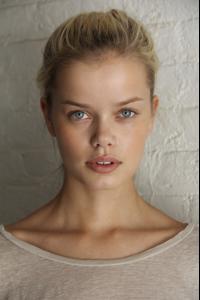
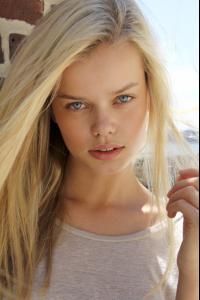
She's stunning! Model of the Week - June 12th Agency: Model Management Age: 17 Height: 177cm (5’9.5″) Place of Origin: Hamburg Ethnic Origin: German Birthsign: Cancer How discovered: A friend of mine sent images via email of me to Model Management. Favorite things: My bracelets and rings. Favorite music, band: Ed Sheeran Hobbies: Football and music Favorite piece of clothing: Everything that’s comfortable What’s something uncool that you love anyway? Baby food Favorite modeling experience so far? Wearing a wedding dress at fashion week What’s the best thing about your hometown/country? My family Favorite artist (any kind): Audrey Hepburn Place you would love to visit: Maldives Currently you’re obsessed with/about: The fact that I can work as a full time model in the near future models
Nominations are closed! Also, any nomination stated in the topic but that I did not receive pictures for is invalid. The nomination list should be listed shortly and the competition should begin by the end of the week. Thanks so much to everyone who nominated!
She's stunning! Model of the Week - June 12th Agency: Model Management Age: 17 Height: 177cm (5’9.5″) Place of Origin: Hamburg Ethnic Origin: German Birthsign: Cancer How discovered: A friend of mine sent images via email of me to Model Management. Favorite things: My bracelets and rings. Favorite music, band: Ed Sheeran Hobbies: Football and music Favorite piece of clothing: Everything that’s comfortable What’s something uncool that you love anyway? Baby food Favorite modeling experience so far? Wearing a wedding dress at fashion week What’s the best thing about your hometown/country? My family Favorite artist (any kind): Audrey Hepburn Place you would love to visit: Maldives Currently you’re obsessed with/about: The fact that I can work as a full time model in the near future models
 ^ Jesus Christ, this is hard, but I'll try my best: (Also, just for reference, in this tutorial I'm using Photoshop CS5, but all version of Photoshop from CS3 and should work just the same) 1. Get the screencaps from the video you want to you use for your gif. For downloading videos, I use the Complete Youtube Saver Firefox add-on, but any basic youtube downloader or video downloader you can find or already have should work. For screencapping, I use the KMPLayer and I find it works great! But, once again, anything should work just fine. I'm going to use these screencaps of Daphne Groeneveld from this video because I already have them saved on my computer: 2. Gif making time! For those of you who aren't well versed in gif making in Photoshop, here's a Photoshop Action I created that basically makes the gif for you and also helps you save LOTS of time in the process. For downloading and using the action in Photoshop, this tutorial should be helpful. Also, when making your gif, make sure your Photoshop is in the "Motion" workspace or it won't work right and that in the animation window of Photoshop it says "Frames and not "Timeline" or else it also won't work right. Anyway, we made our gif, yay! Mine has 17 frames, but any frame length should work just fine: 3. Edit the gif to your liking for your signature. This means coloring, cropping, resizing, etc. etc. Do this all to your own liking but just keep in mind that your might have to change these things later on. After I edit my gif, this is what it looks like: 4. Time to make your non-moving signature base! Once again, do this to your liking. This is mine: *Note: The white area in the middle is where my gif will go. MAKE SURE YOU HAVE THIS! Leave space open somewhere in your signature for your gif! I made the white box by taking the Rectangle Tool set to "Fill Pixels" and making a box in a DIFFERENT LAYER FROM MY BASE (Must be a different layer!). It doesn't necessarily have to be white or even a box, just a solid colored area where you want your gif to go. 5. I (Like avadakedavra in his original tutorial), choose to put a polaroid frame around my white space where my gif will go. THIS STEP IS NOT NECESSARY, it is only for effect if you want it. It's very easy to find polaroid frames; I get most of mine from deviantart, but you could just look them up on google if you'd like. When I paste my polaroid frame around my white space, I find I can't see the frame as much as I'd like, so I link the layers and move them so I can see the frame first. DO NOT COMBINE THE TWO LAYERS. The white space is very important for when we add our gif frames. 6. Now it's time we move our gif frames to our signature. Go back to your gif and follow step 2-4 of my tutorial here (I'm sorry but it's just so much easier to redirect to that tutorial than explaining it ALL OVER AGAIN). Now all your frames are copied and almost ready to be pasted into your signature. 7. Go back to your signature and make sure that all the layers you want on your final signature are visable. Go to the animation window and click on what should be the only frame there, a frame with all your layers on it. Make sure it is selected in blue. On the bottom of the animation window you will see a button that sort of looks like a post-it note with the bottom left hand corner flipped up. This button will duplicate the selected frame. Click on this button until you have the number of frames in the animation window as the number of frames in your gif; In my case, 17 frames. 8. Go back to this tutorial and repeat steps 2-3 on your signature. 8. Once again, go to my tutorial here and do steps 5-6 so that your gif frames are now pasted on your signature. 9. Uh-oh! That's not where I wanted my gif frames to be! 10. Go to your layers window in Photoshop and select all your gif frame layers To select multiple layers, to go the first layer and click on it, then go to the last layer and click on it while also holding down the "Shift" button your keyboard. You know they'll be selected because they'll be higlighted in blue. Also, make sure that the layer directly below your gif frame layers is your white box. In my case, this means moving my gif frames in between the white box layer and the polaroid frame layer. Once the layer under your gif frame layers is the white box and all your gif frame layers are selected and highlighted in blue, right click and then click on the option that says "Create Clipping Mask".This makes it so that your gif frames are only visible within your white box. 11. Uh-oh! I still can't see my gif frames. Click on the frames and move them to your liking so you can see them using the transform tool. Since the layers are linked, they will all move together, so you won't have worry about moving all of them. 12. Done! Click the play button in the animation window to make sure it looks just the way you want it too. Mine was moving a little fast, so I slowed the frame delay .15 seconds, but this is all personal preference. Also, make sure looping options are set to "Forever" and not "Once". Once it looks just the way you want it to, go "File" > "Save for Web and Devices" and save your gif. Remeber that the quality might not be as good as it looked on Photoshop because gifs can't be saved in that good of quality. Here's my finished gif: Hope this helped! Please let me know if this was helpful and if anything needs clarification.
Working on it as we speak. NOBODY ELSE DO IT! I'M PUTTING A LOT OF EFFORT INTO IT!
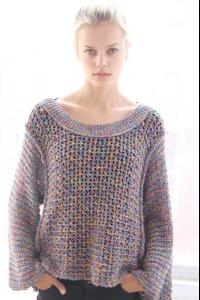
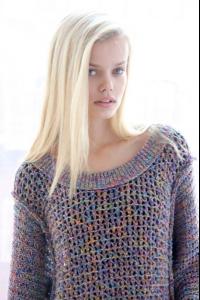
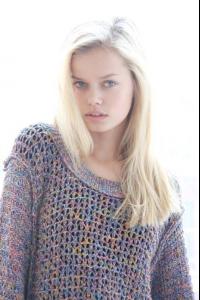
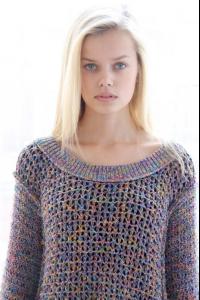
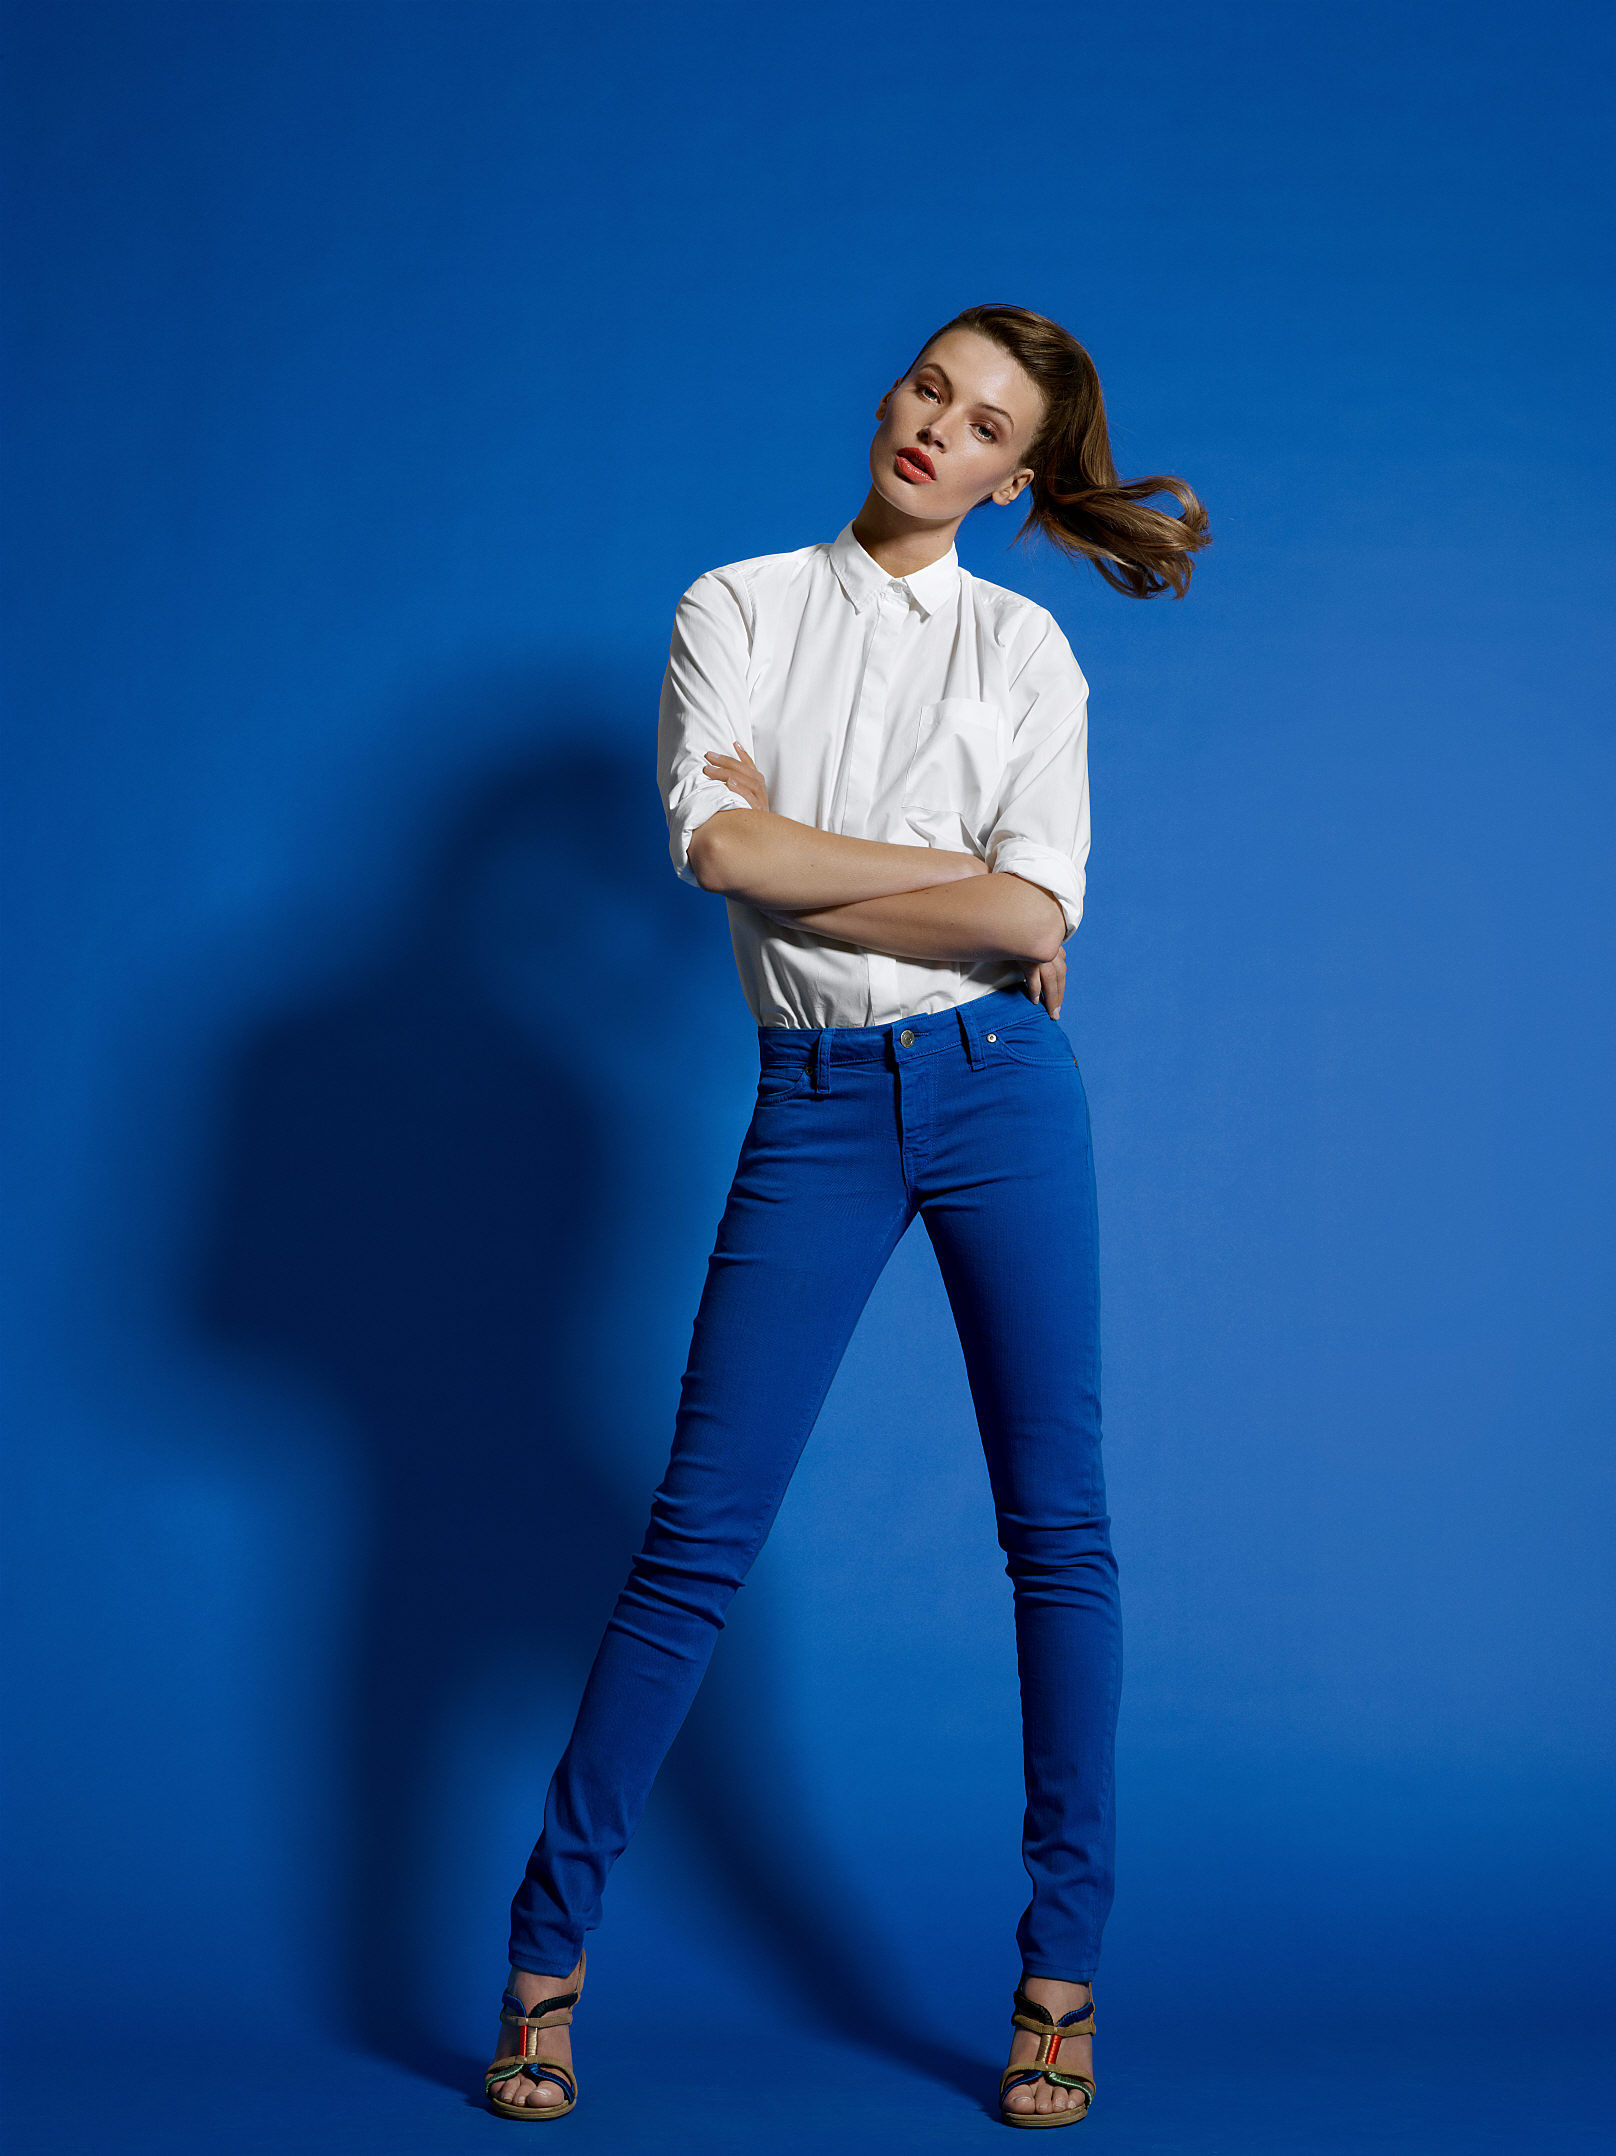
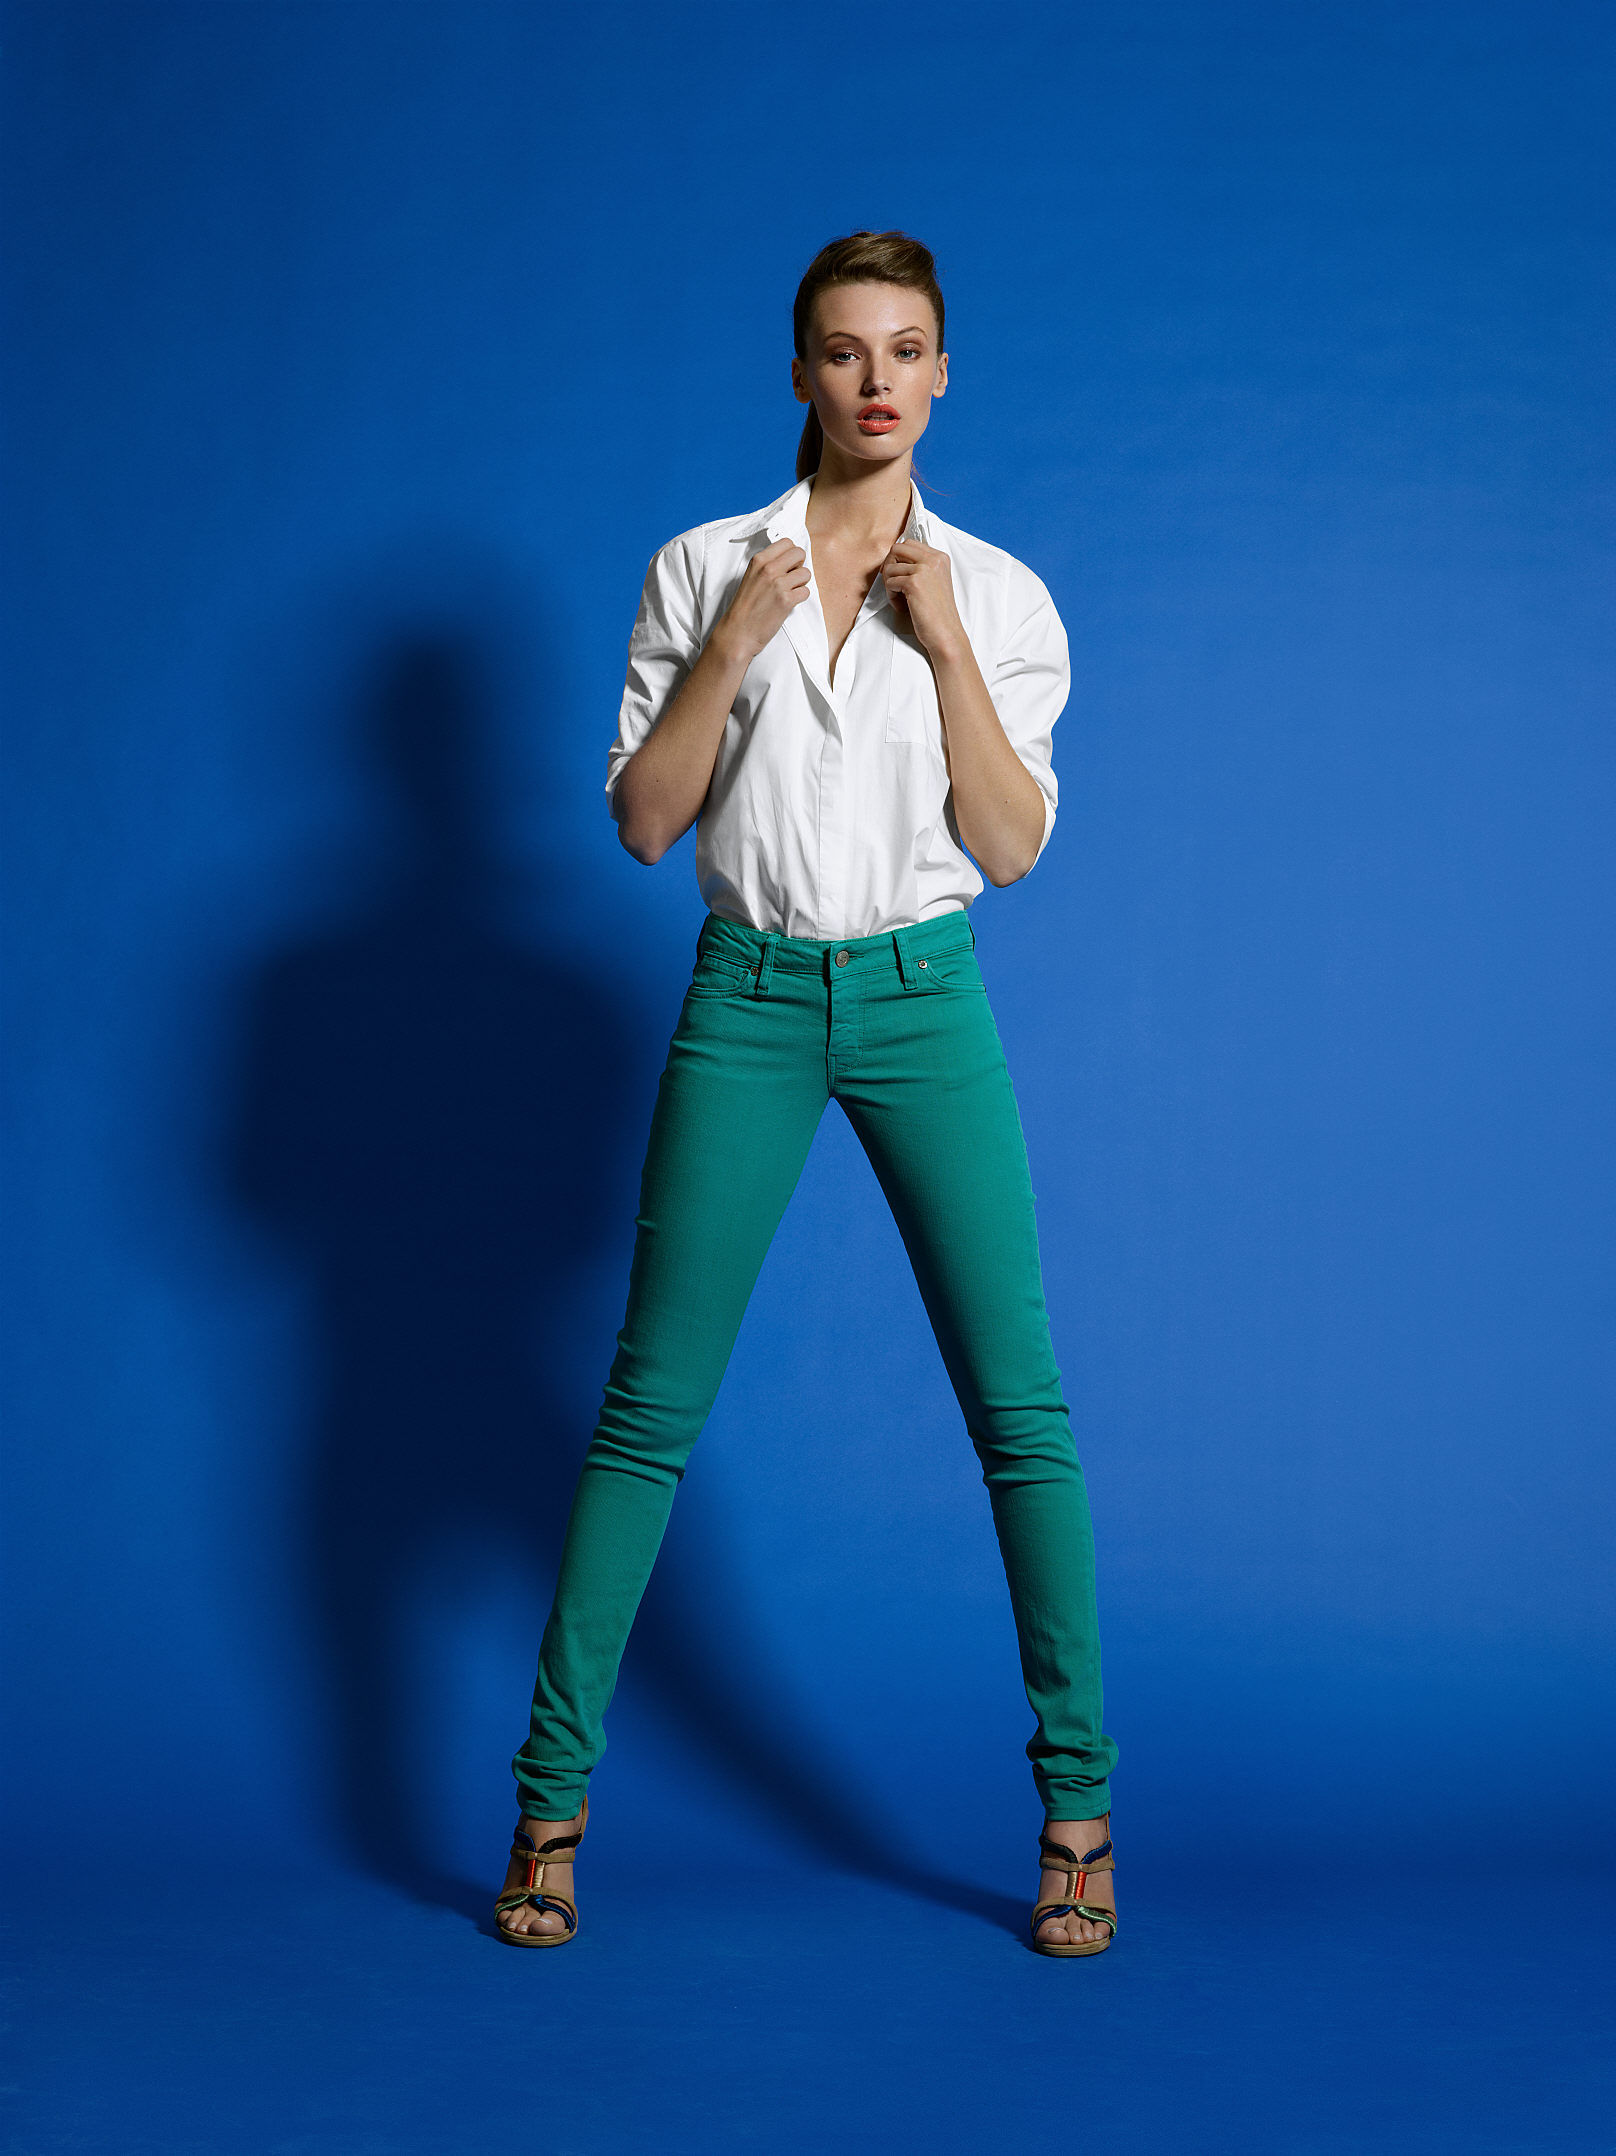
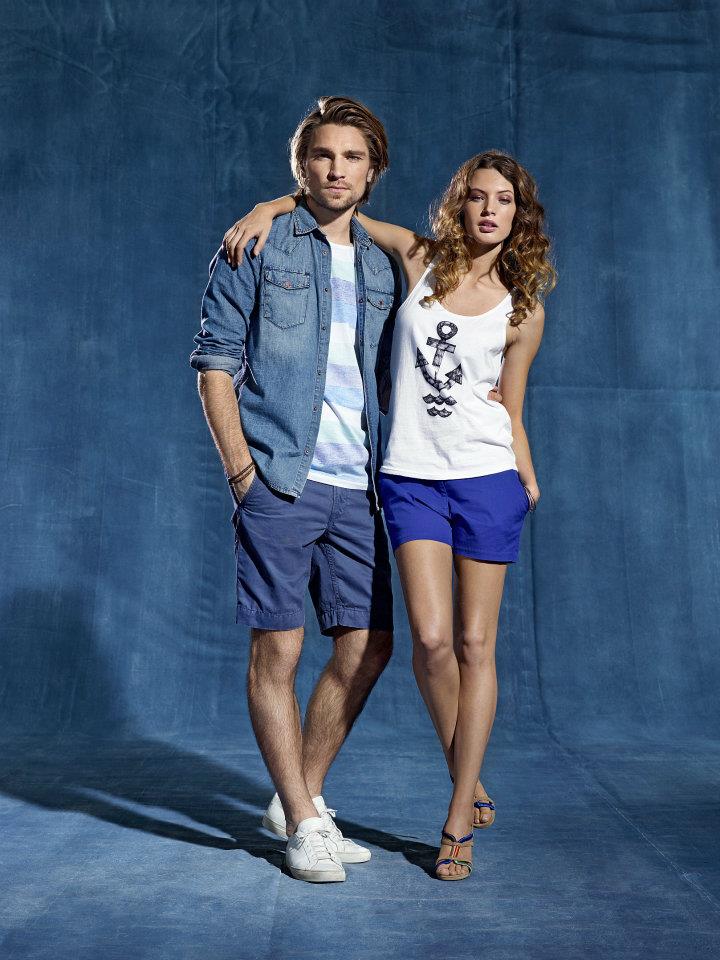
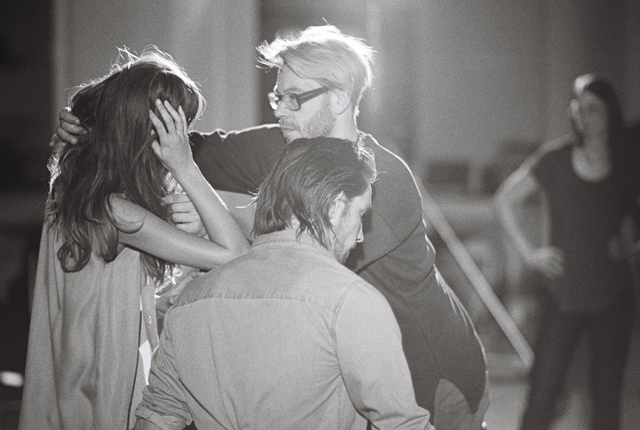
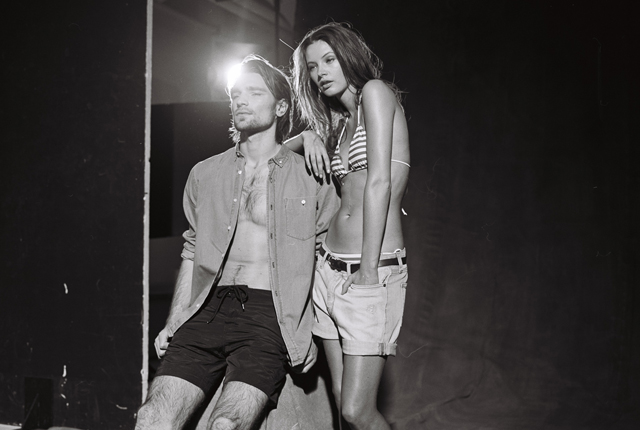
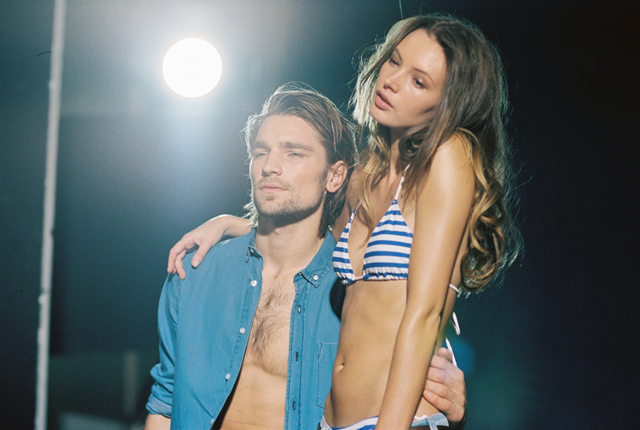
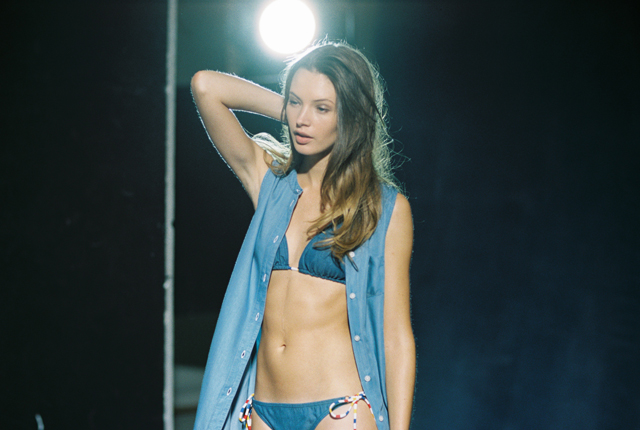
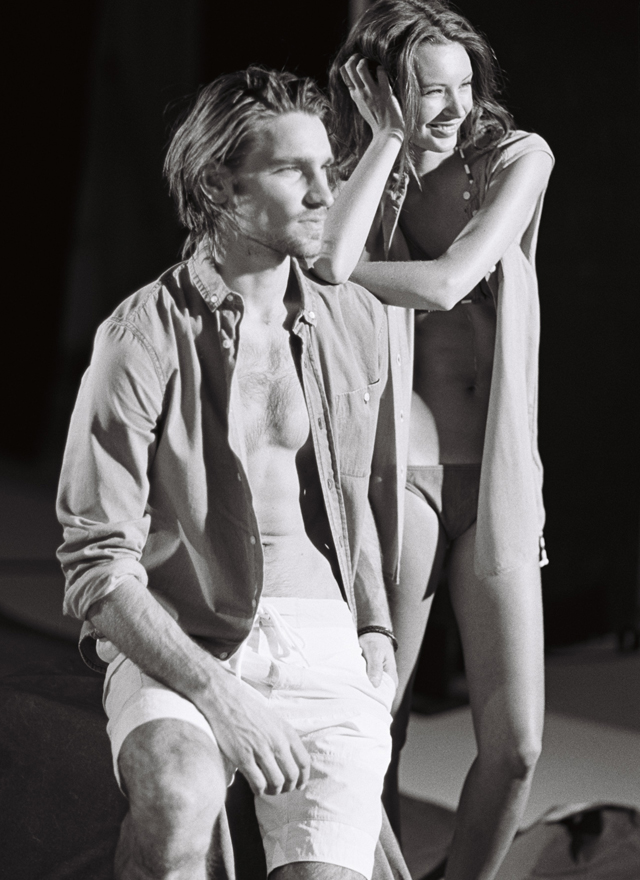
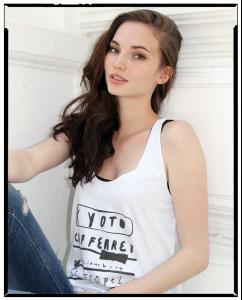
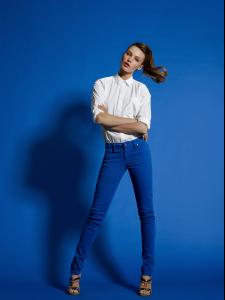
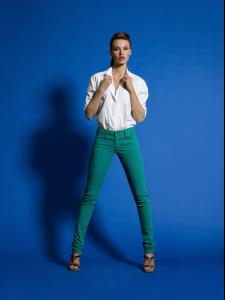
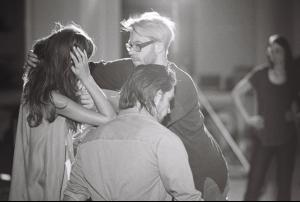
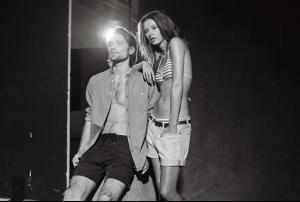
JC Jeans and Clothes True Colors HQ JC Jeans and Clothes May 2012 JC Jeans and Clothes Behind-the-Scenes mynewsdesk / JC Facebook / jc.se
^ Jesus Christ, this is hard, but I'll try my best: (Also, just for reference, in this tutorial I'm using Photoshop CS5, but all version of Photoshop from CS3 and should work just the same) 1. Get the screencaps from the video you want to you use for your gif. For downloading videos, I use the Complete Youtube Saver Firefox add-on, but any basic youtube downloader or video downloader you can find or already have should work. For screencapping, I use the KMPLayer and I find it works great! But, once again, anything should work just fine. I'm going to use these screencaps of Daphne Groeneveld from this video because I already have them saved on my computer: 2. Gif making time! For those of you who aren't well versed in gif making in Photoshop, here's a Photoshop Action I created that basically makes the gif for you and also helps you save LOTS of time in the process. For downloading and using the action in Photoshop, this tutorial should be helpful. Also, when making your gif, make sure your Photoshop is in the "Motion" workspace or it won't work right and that in the animation window of Photoshop it says "Frames and not "Timeline" or else it also won't work right. Anyway, we made our gif, yay! Mine has 17 frames, but any frame length should work just fine: 3. Edit the gif to your liking for your signature. This means coloring, cropping, resizing, etc. etc. Do this all to your own liking but just keep in mind that your might have to change these things later on. After I edit my gif, this is what it looks like: 4. Time to make your non-moving signature base! Once again, do this to your liking. This is mine: *Note: The white area in the middle is where my gif will go. MAKE SURE YOU HAVE THIS! Leave space open somewhere in your signature for your gif! I made the white box by taking the Rectangle Tool set to "Fill Pixels" and making a box in a DIFFERENT LAYER FROM MY BASE (Must be a different layer!). It doesn't necessarily have to be white or even a box, just a solid colored area where you want your gif to go. 5. I (Like avadakedavra in his original tutorial), choose to put a polaroid frame around my white space where my gif will go. THIS STEP IS NOT NECESSARY, it is only for effect if you want it. It's very easy to find polaroid frames; I get most of mine from deviantart, but you could just look them up on google if you'd like. When I paste my polaroid frame around my white space, I find I can't see the frame as much as I'd like, so I link the layers and move them so I can see the frame first. DO NOT COMBINE THE TWO LAYERS. The white space is very important for when we add our gif frames. 6. Now it's time we move our gif frames to our signature. Go back to your gif and follow step 2-4 of my tutorial here (I'm sorry but it's just so much easier to redirect to that tutorial than explaining it ALL OVER AGAIN). Now all your frames are copied and almost ready to be pasted into your signature. 7. Go back to your signature and make sure that all the layers you want on your final signature are visable. Go to the animation window and click on what should be the only frame there, a frame with all your layers on it. Make sure it is selected in blue. On the bottom of the animation window you will see a button that sort of looks like a post-it note with the bottom left hand corner flipped up. This button will duplicate the selected frame. Click on this button until you have the number of frames in the animation window as the number of frames in your gif; In my case, 17 frames. 8. Go back to this tutorial and repeat steps 2-3 on your signature. 8. Once again, go to my tutorial here and do steps 5-6 so that your gif frames are now pasted on your signature. 9. Uh-oh! That's not where I wanted my gif frames to be! 10. Go to your layers window in Photoshop and select all your gif frame layers To select multiple layers, to go the first layer and click on it, then go to the last layer and click on it while also holding down the "Shift" button your keyboard. You know they'll be selected because they'll be higlighted in blue. Also, make sure that the layer directly below your gif frame layers is your white box. In my case, this means moving my gif frames in between the white box layer and the polaroid frame layer. Once the layer under your gif frame layers is the white box and all your gif frame layers are selected and highlighted in blue, right click and then click on the option that says "Create Clipping Mask".This makes it so that your gif frames are only visible within your white box. 11. Uh-oh! I still can't see my gif frames. Click on the frames and move them to your liking so you can see them using the transform tool. Since the layers are linked, they will all move together, so you won't have worry about moving all of them. 12. Done! Click the play button in the animation window to make sure it looks just the way you want it too. Mine was moving a little fast, so I slowed the frame delay .15 seconds, but this is all personal preference. Also, make sure looping options are set to "Forever" and not "Once". Once it looks just the way you want it to, go "File" > "Save for Web and Devices" and save your gif. Remeber that the quality might not be as good as it looked on Photoshop because gifs can't be saved in that good of quality. Here's my finished gif: Hope this helped! Please let me know if this was helpful and if anything needs clarification.
Working on it as we speak. NOBODY ELSE DO IT! I'M PUTTING A LOT OF EFFORT INTO IT!
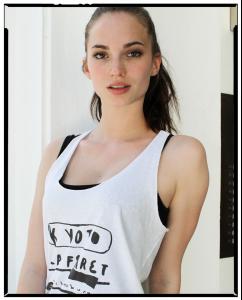
JC Jeans and Clothes True Colors HQ JC Jeans and Clothes May 2012 JC Jeans and Clothes Behind-the-Scenes mynewsdesk / JC Facebook / jc.se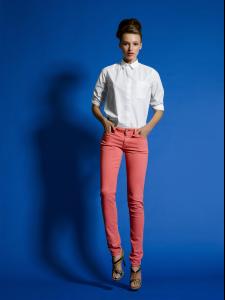


 Thanks so much for the fantastic updates, Jamie!
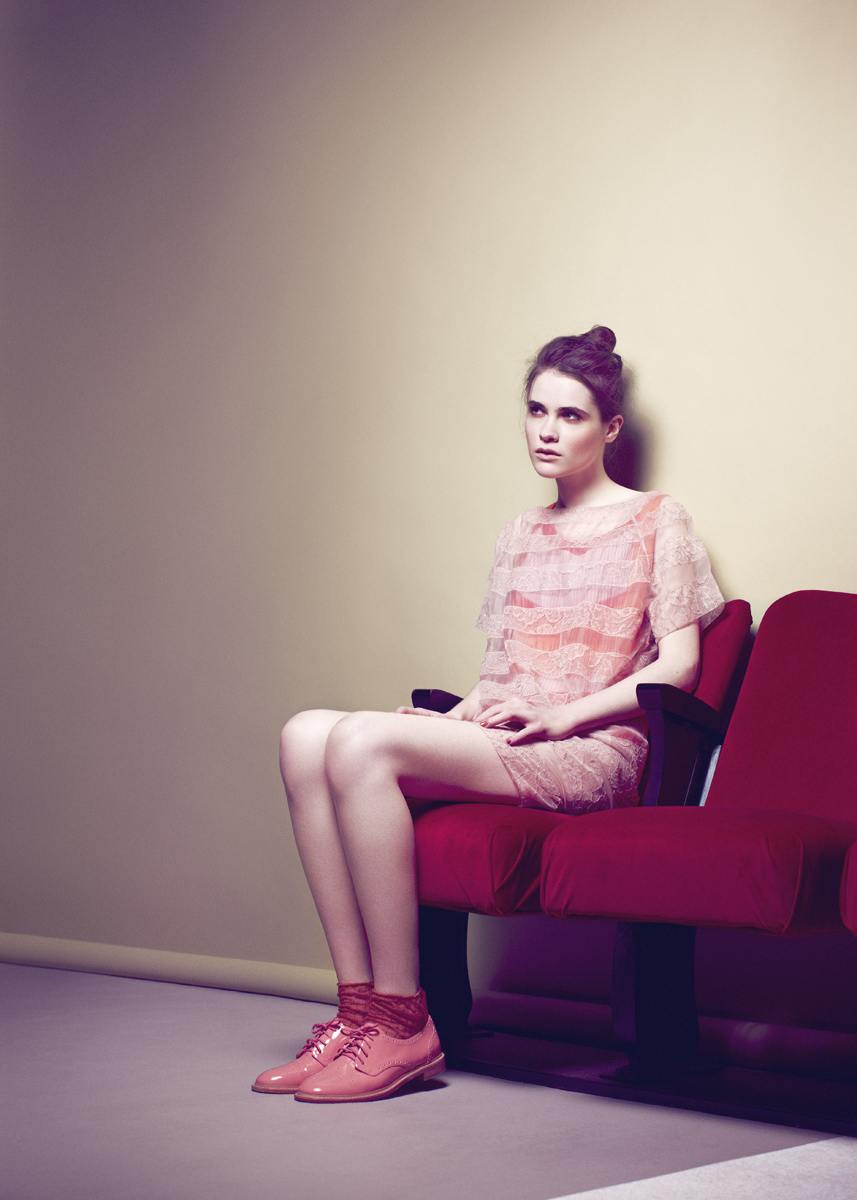
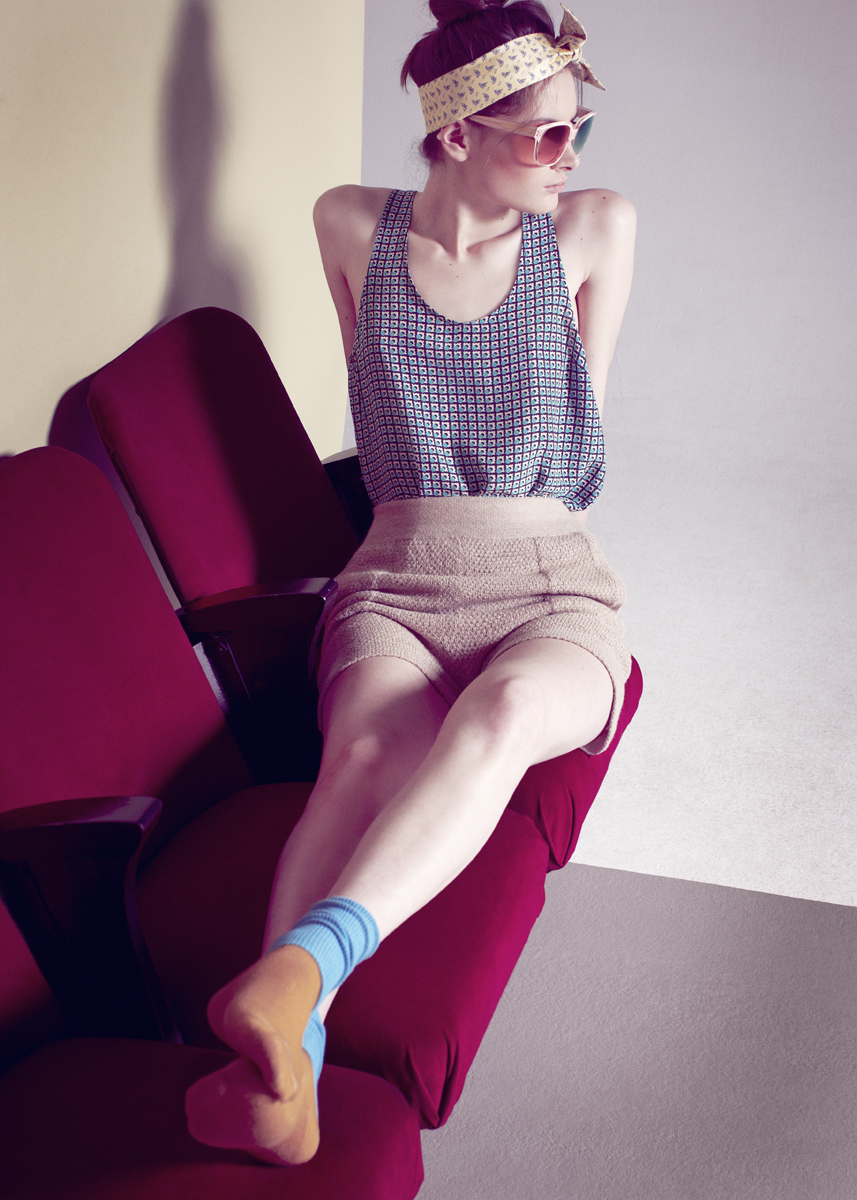
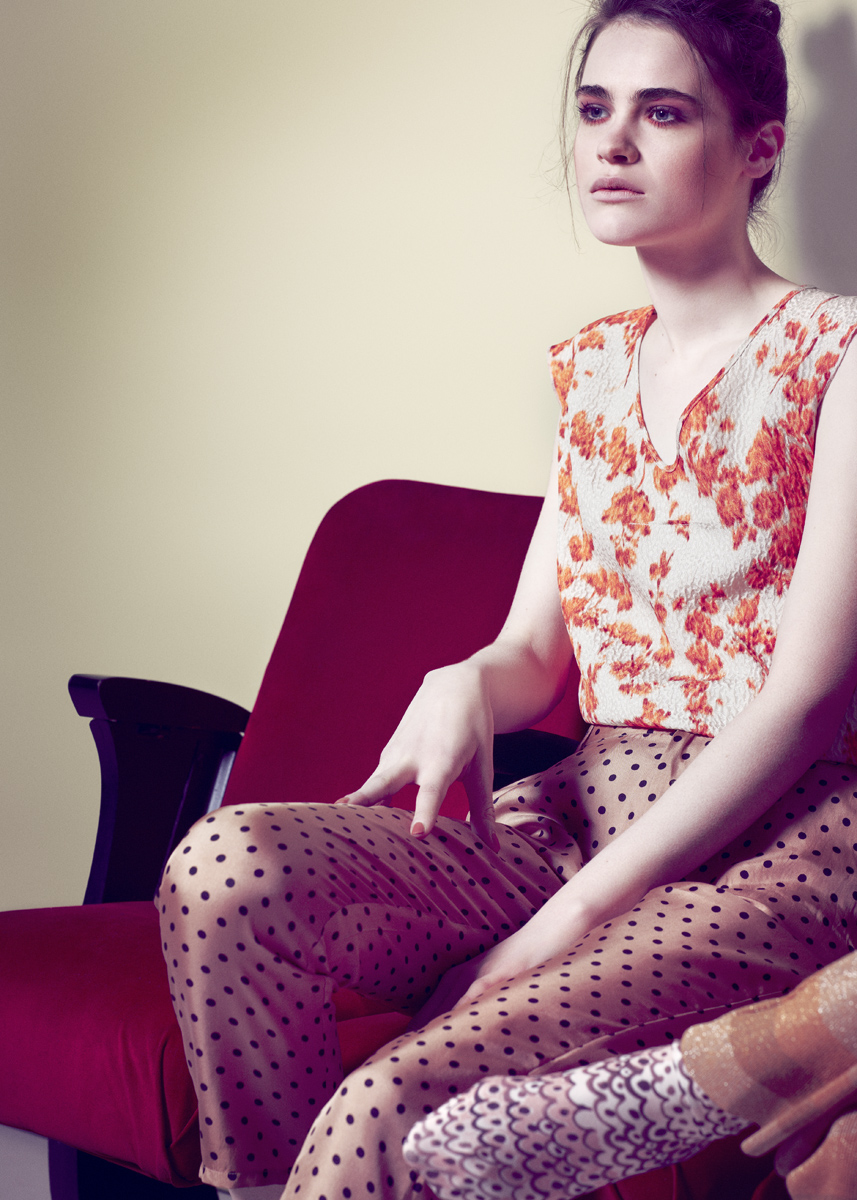
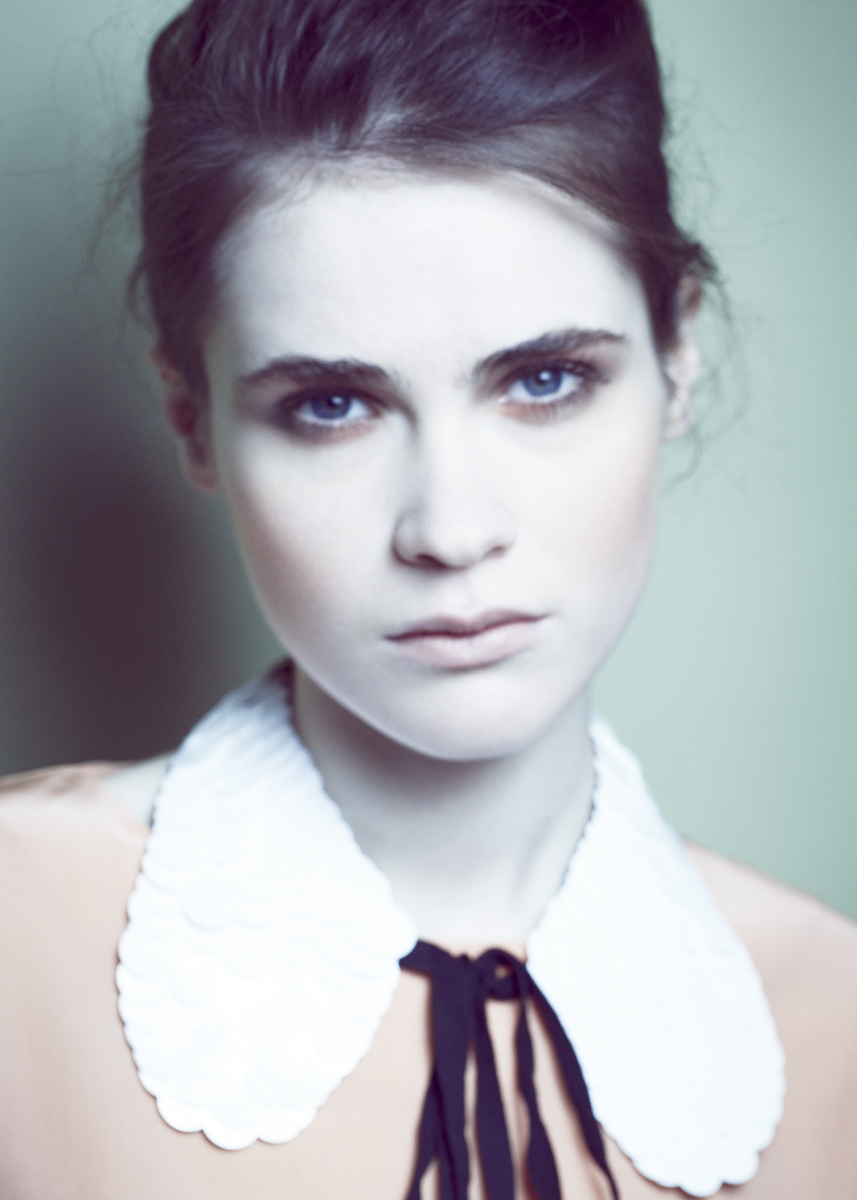
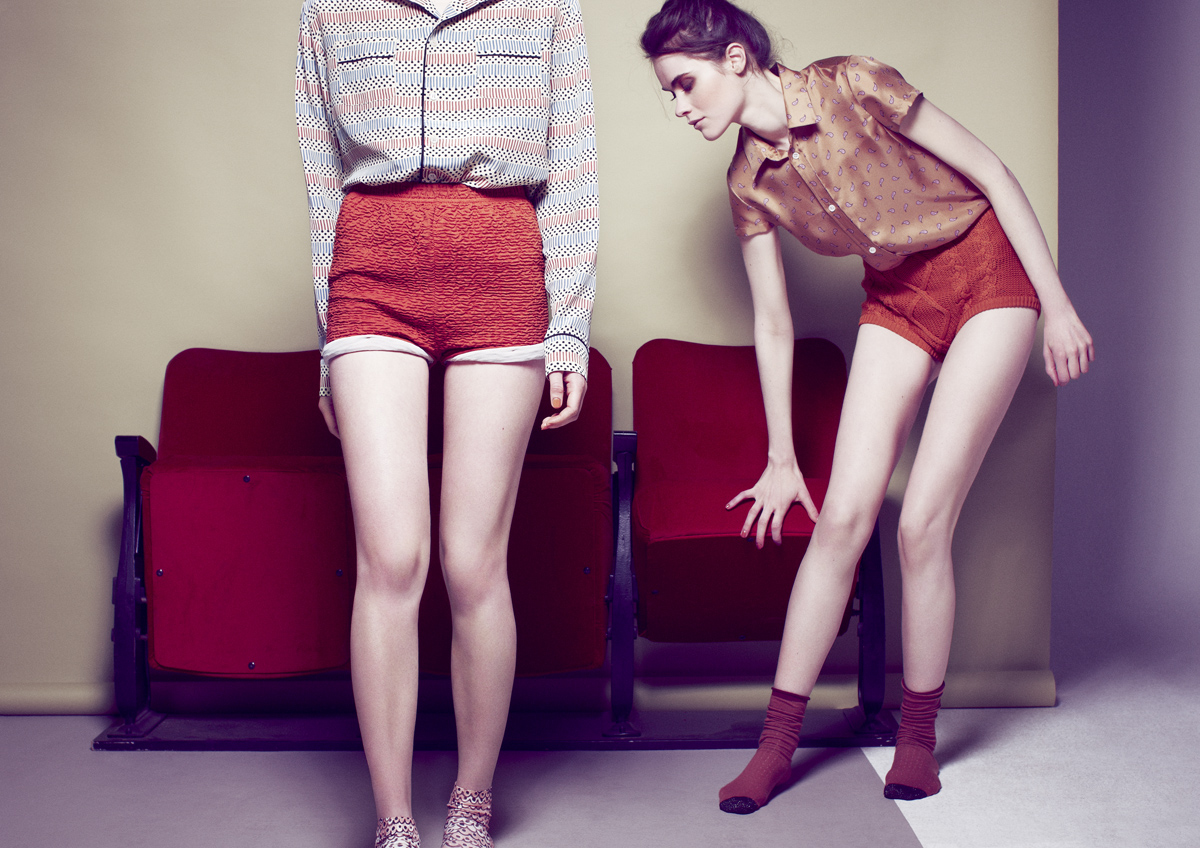
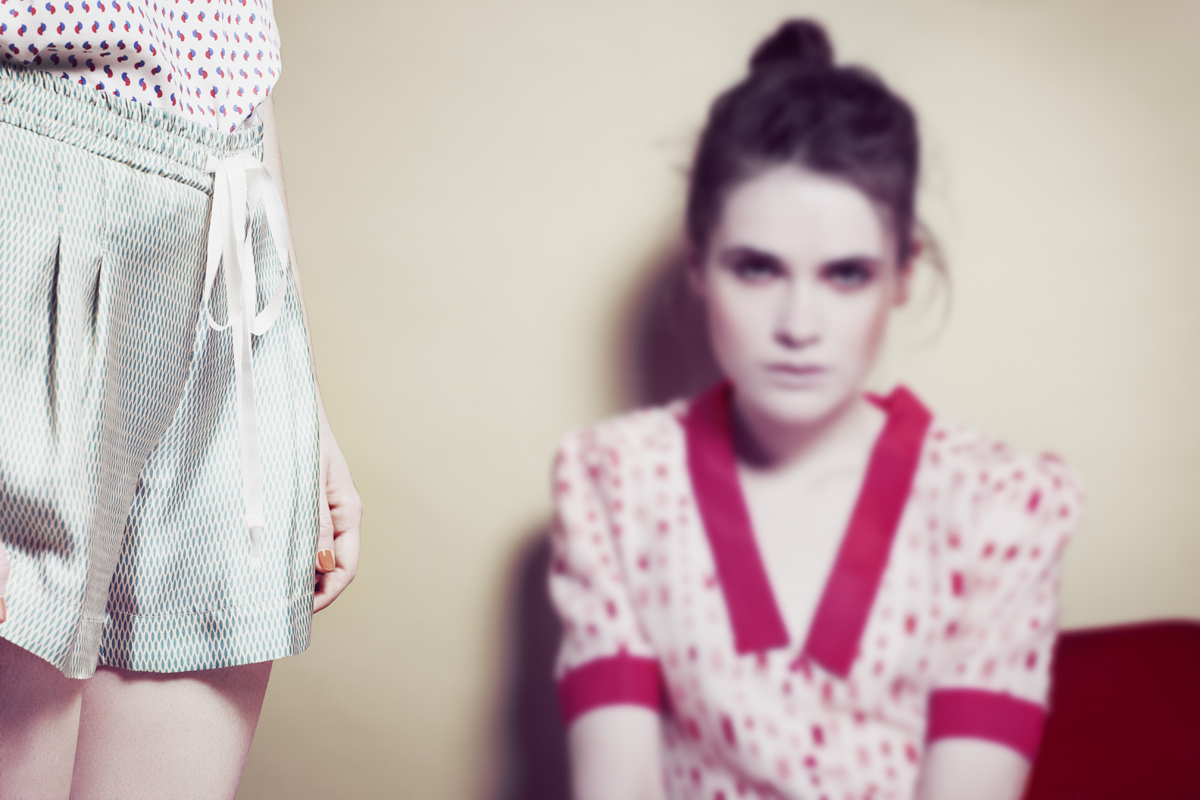
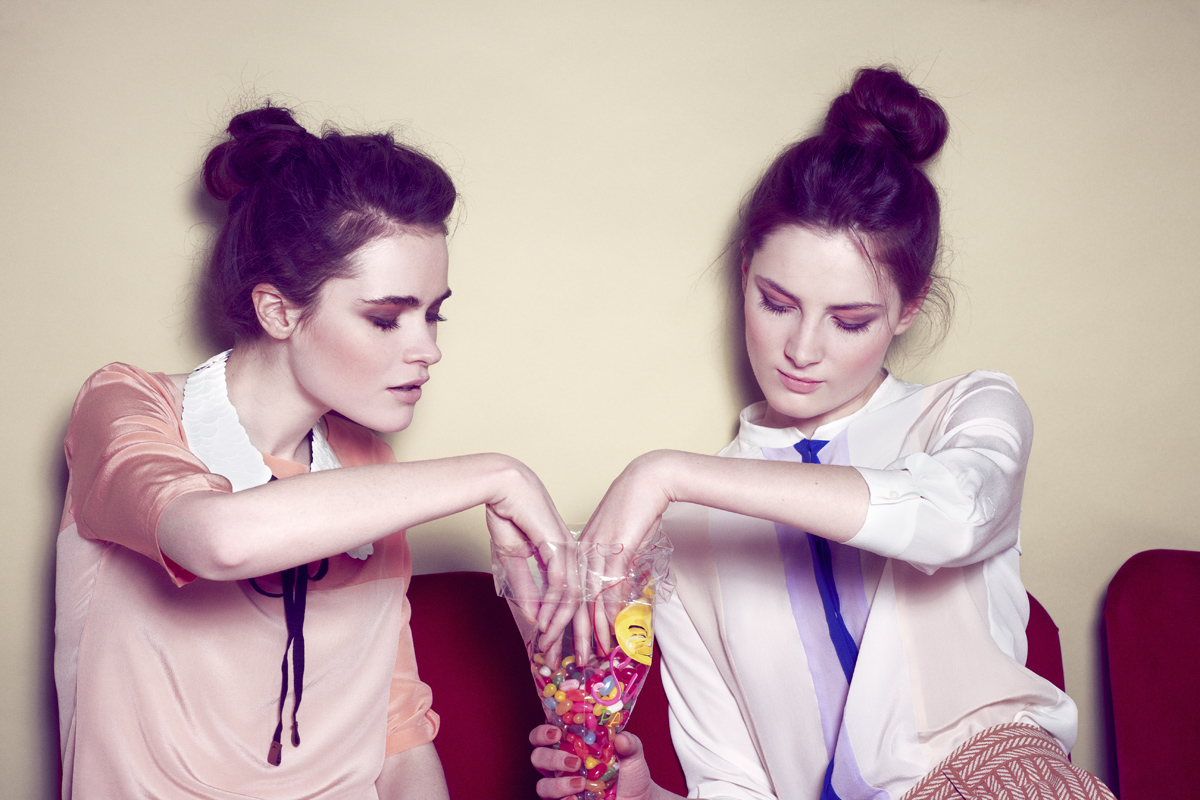
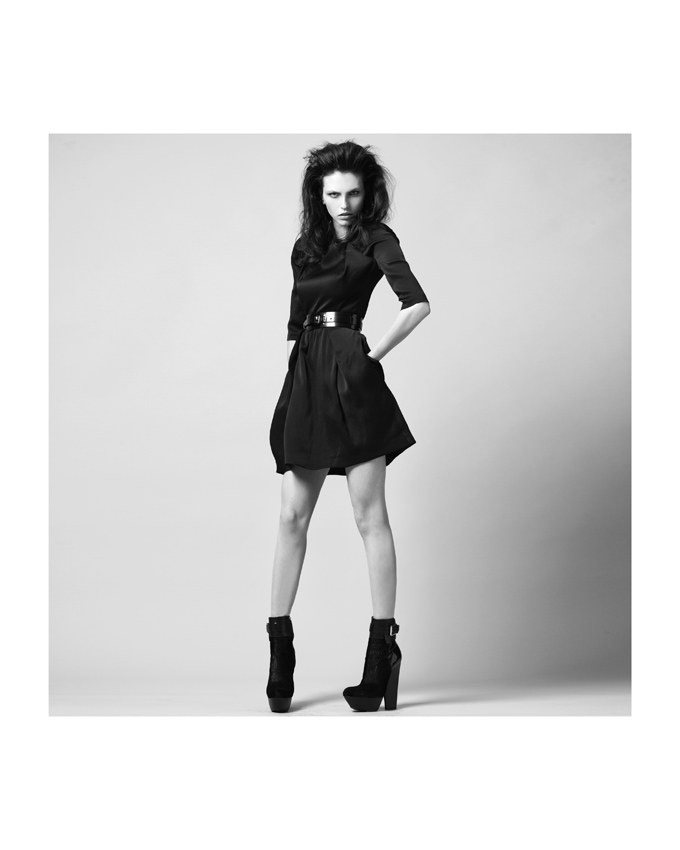
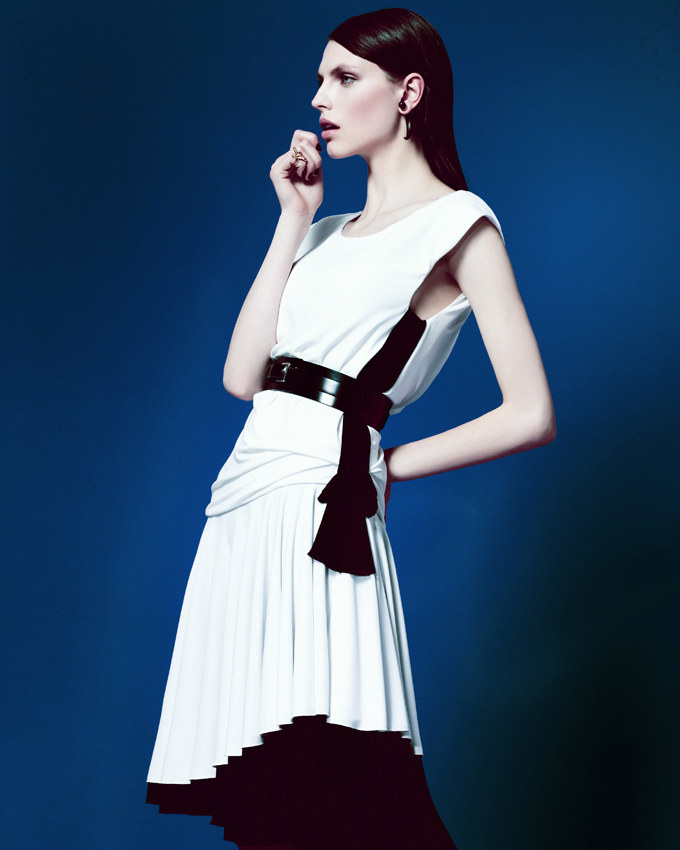
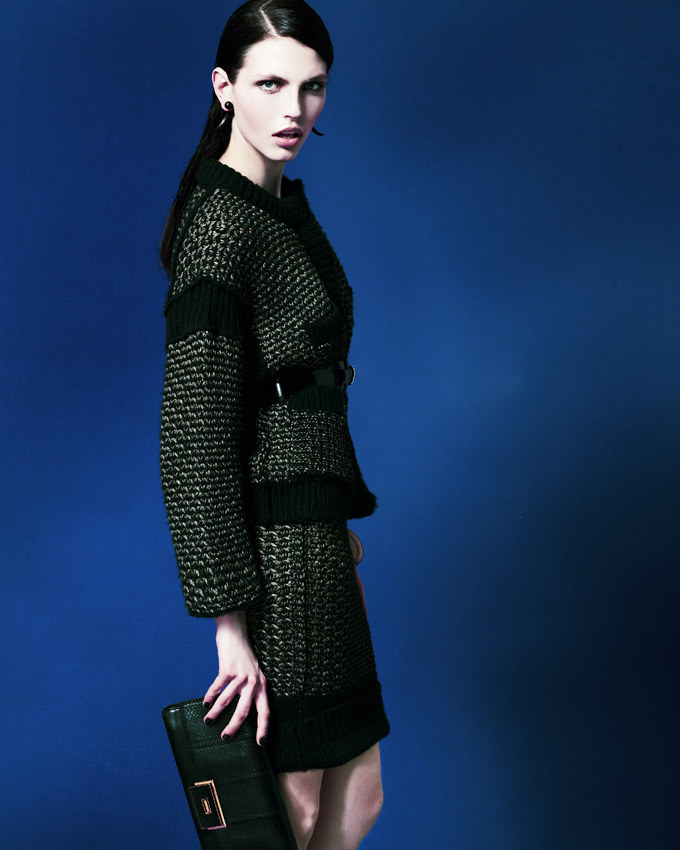
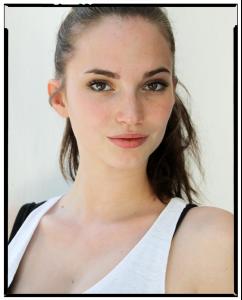
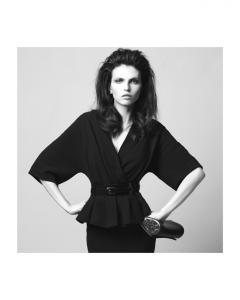
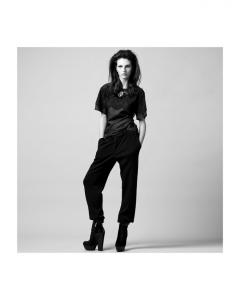
BMM Magazine #40 Photography: Enric Galceran /Styling: Lidia Aguilera Makeup: Manuela Pan / Hair: Carol Guzman / Manicure: Junior Queiros fgr
Thanks so much for the fantastic updates, Jamie!
BMM Magazine #40 Photography: Enric Galceran /Styling: Lidia Aguilera Makeup: Manuela Pan / Hair: Carol Guzman / Manicure: Junior Queiros fgr


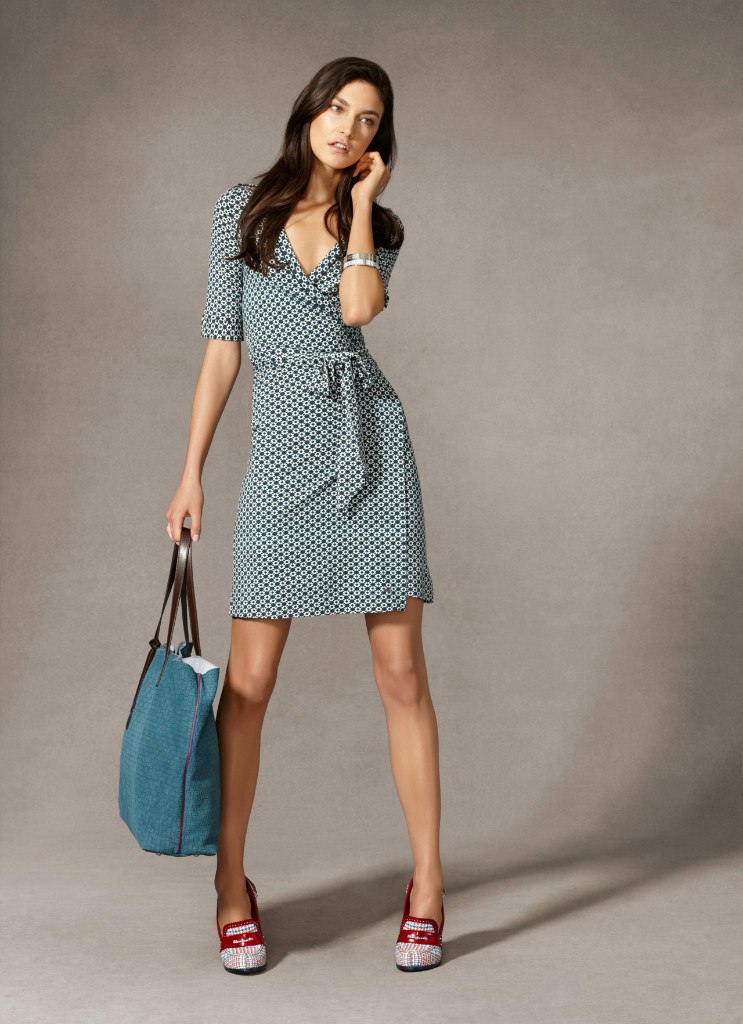
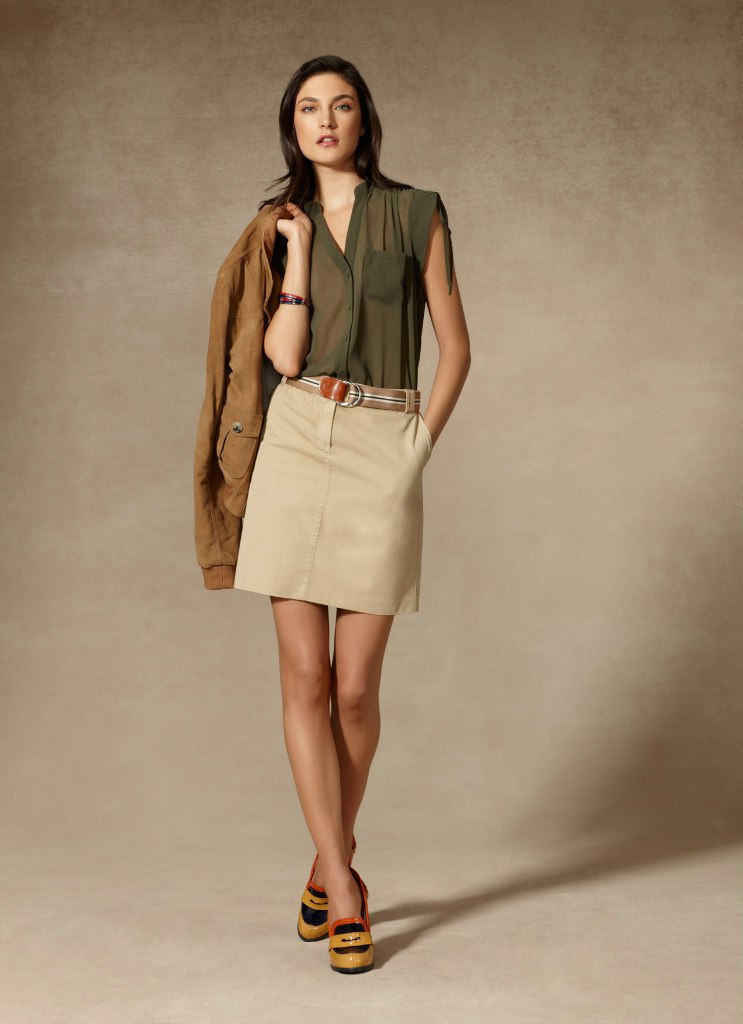
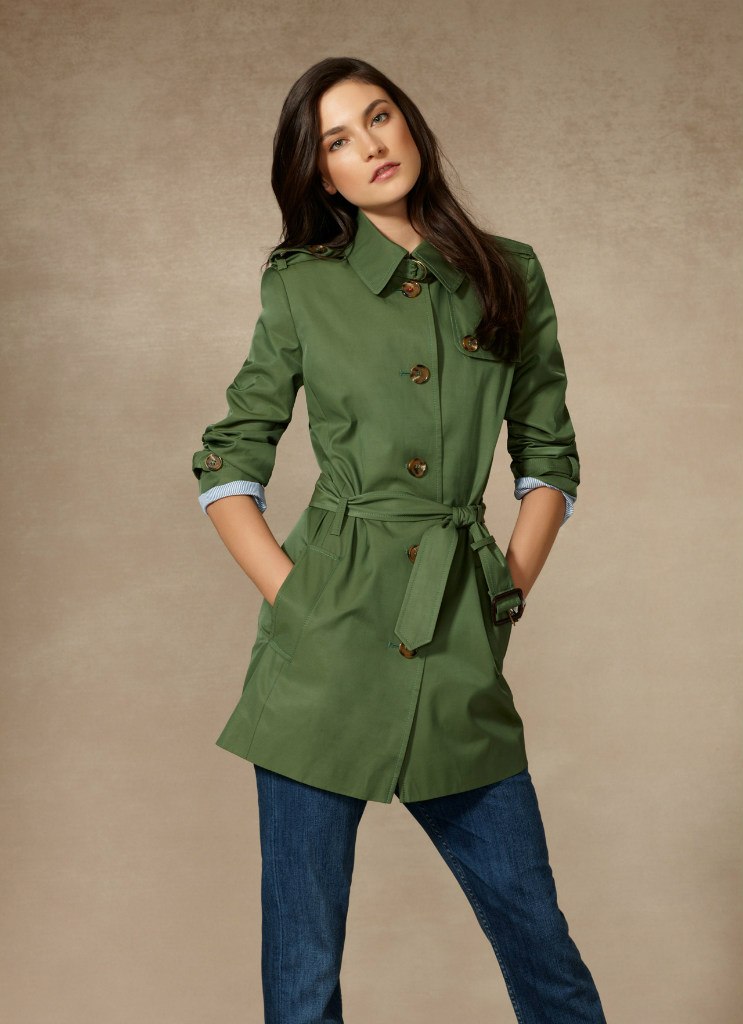
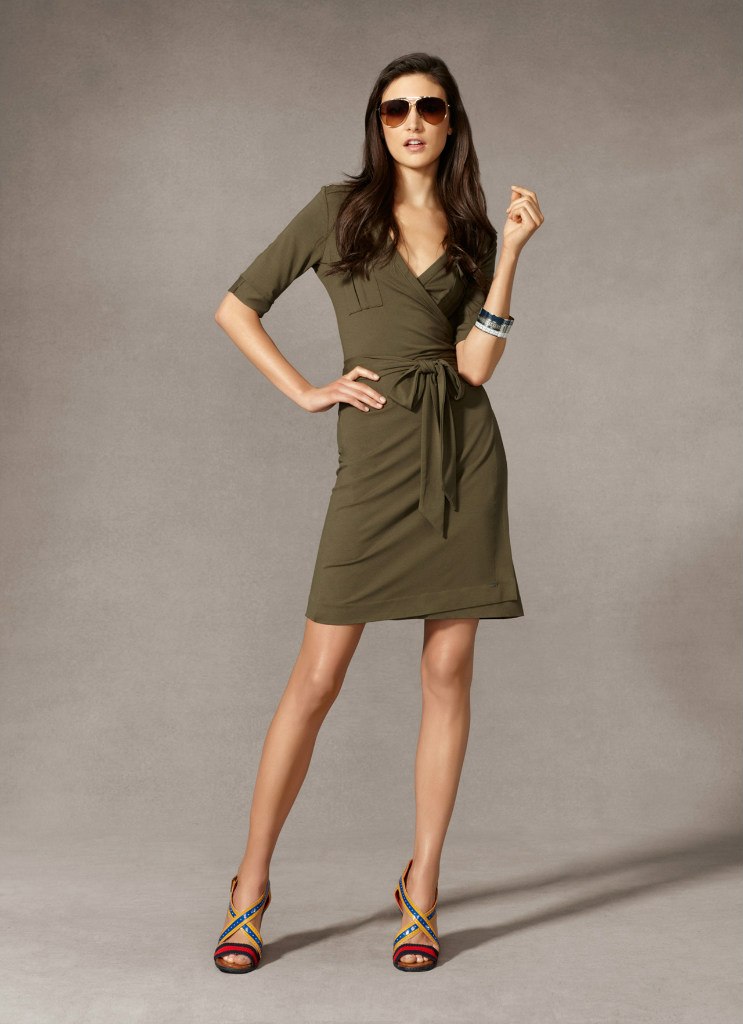
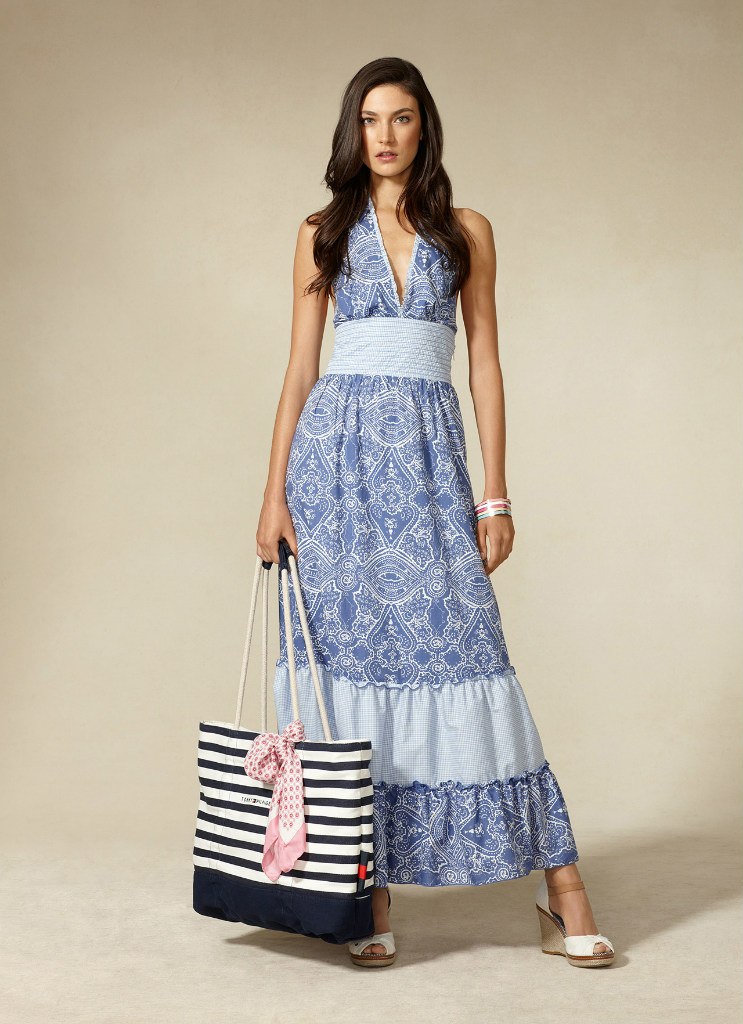
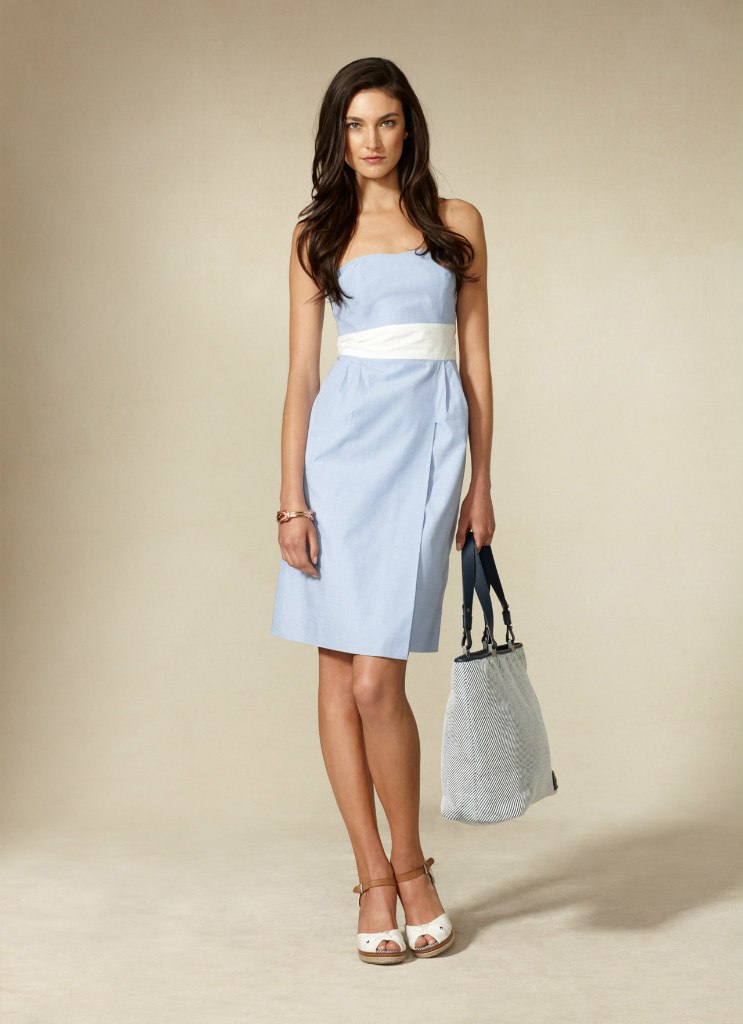
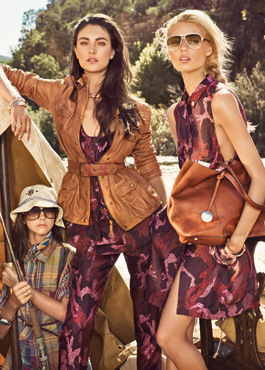
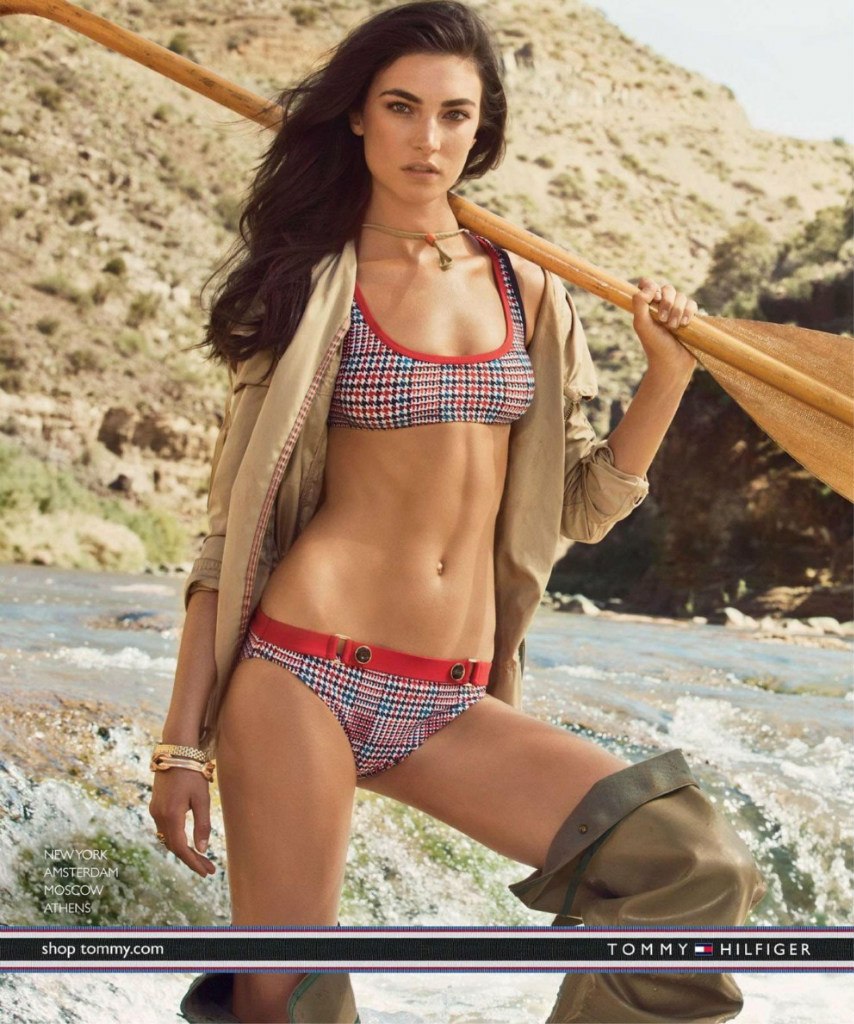
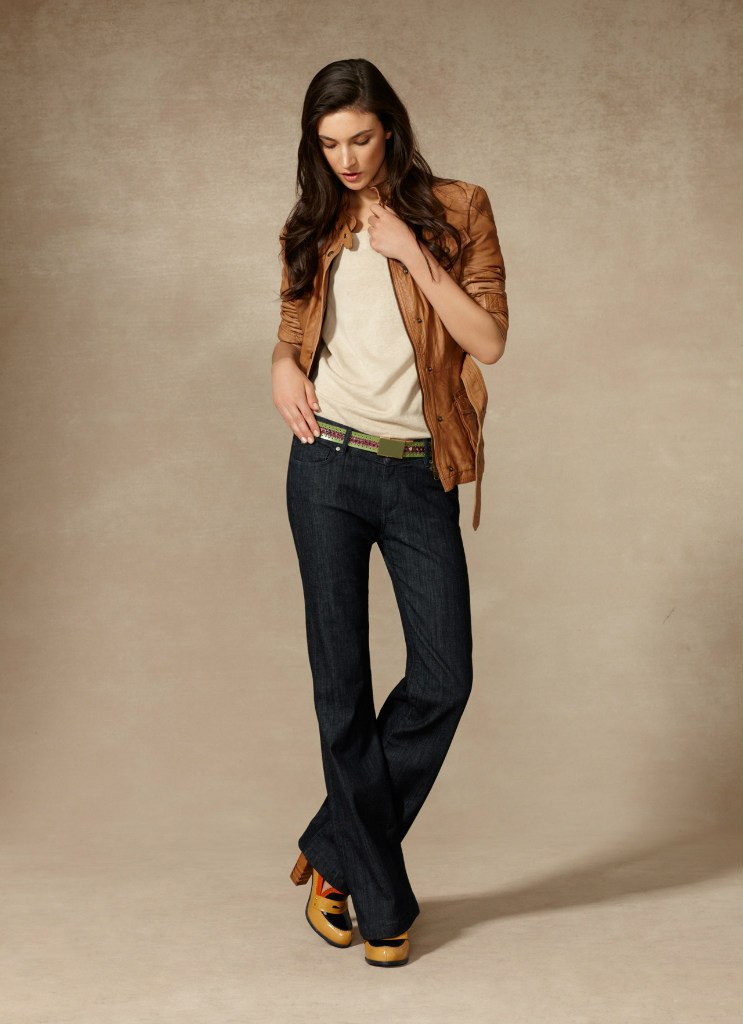
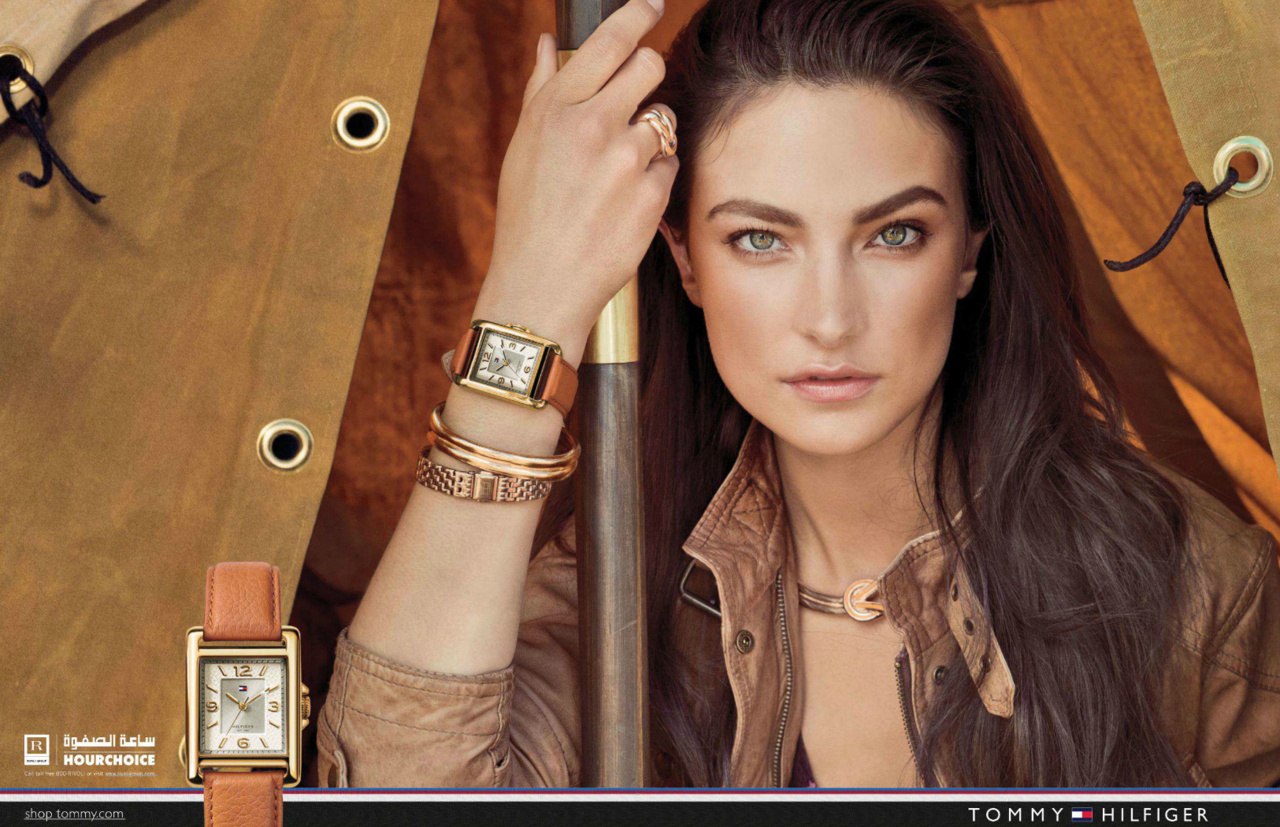
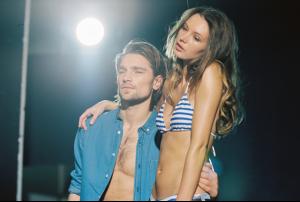
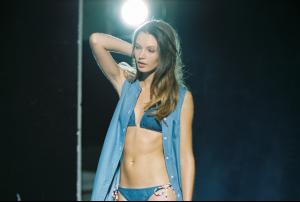
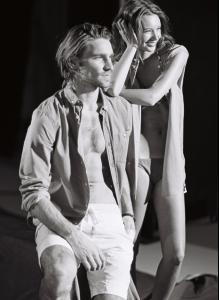
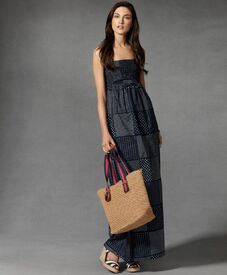
 + A bunch of unposteds from the Tommy Hilfiger Spring/Summer 2012 Campaign & Lookbook: global.tommy.com via DariaDeva @ tFS


 ^^ Still working on getting the video, but here are some pictures to go along with it: russhmagazine
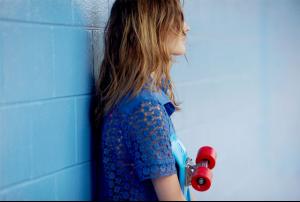

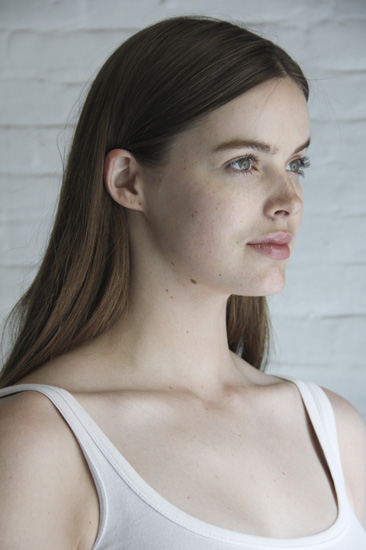
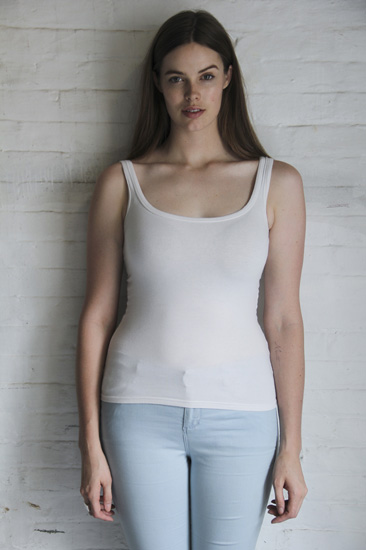
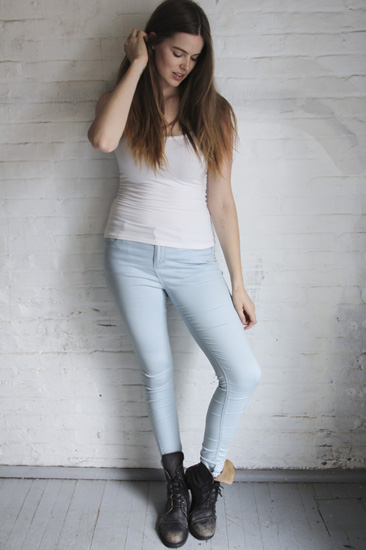
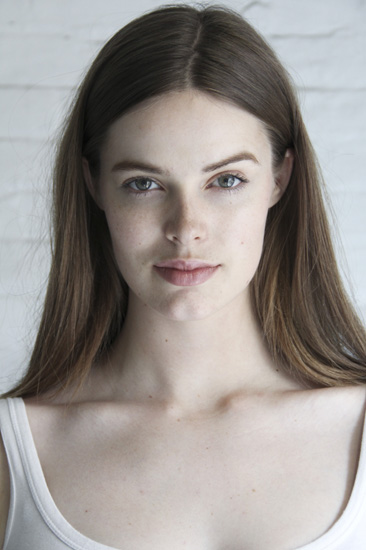
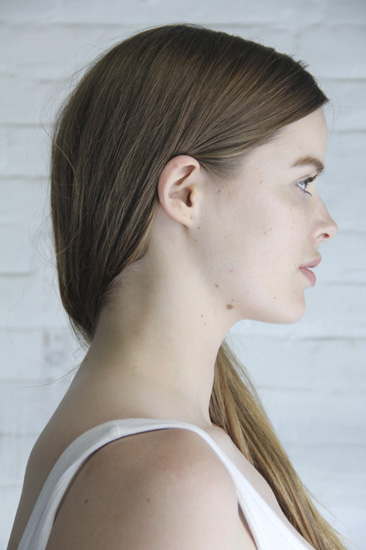
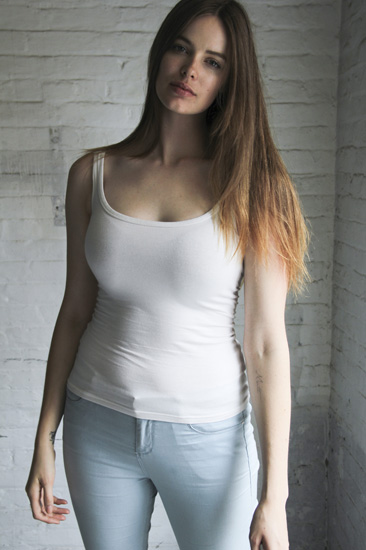
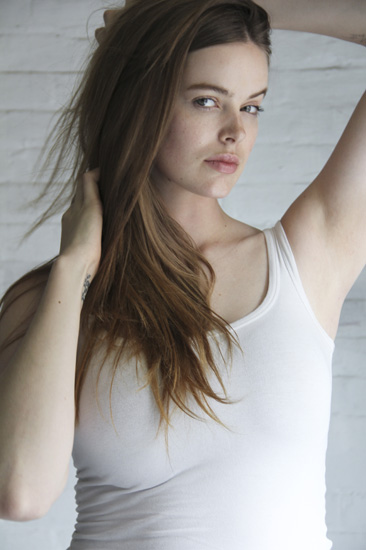
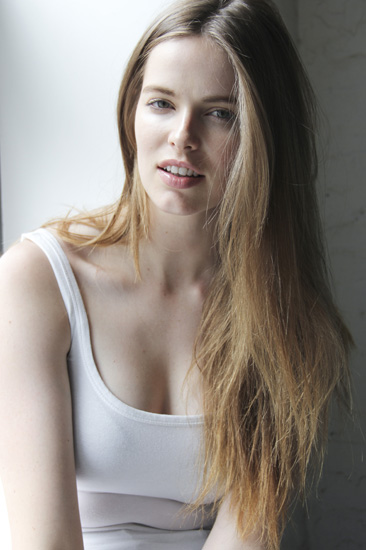
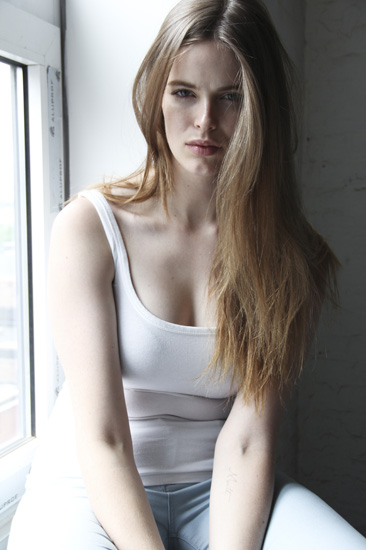
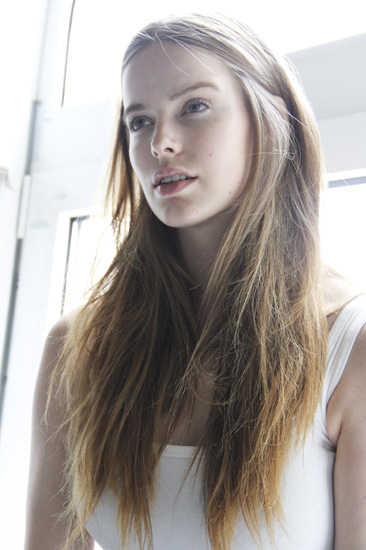
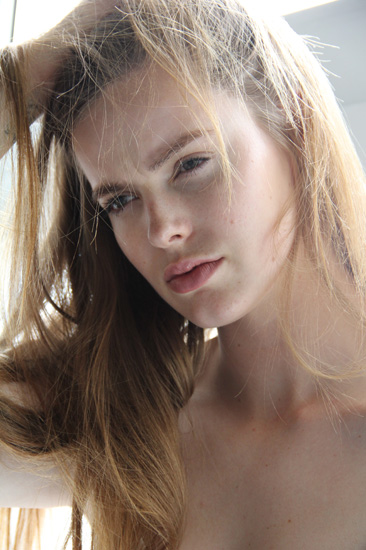
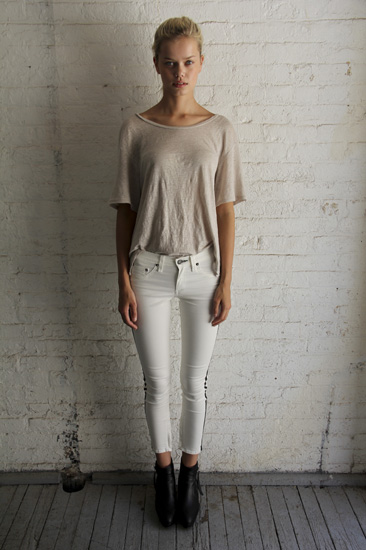
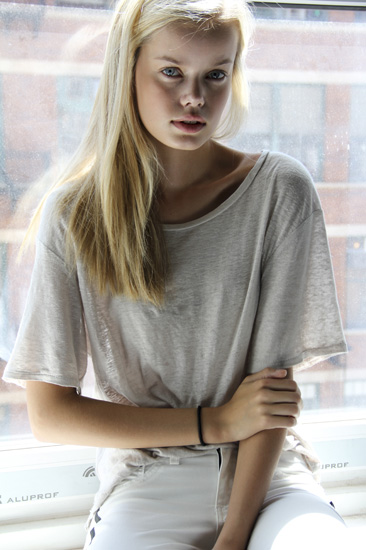
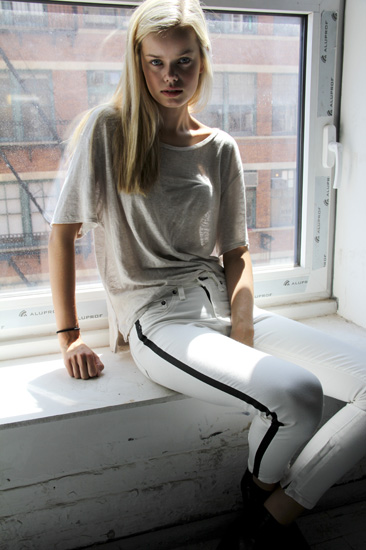
 New Polas womenmanagement via minus1 @ tFS