Baby.Jude9
Members
-
Joined
-
Last visited
Everything posted by Baby.Jude9
-
Can somebody please remove posts #94-#97? They clearly don't contribute anything to the topic/have no relevance what-so-ever.
-
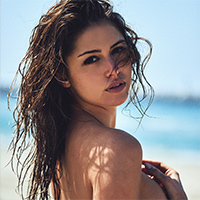
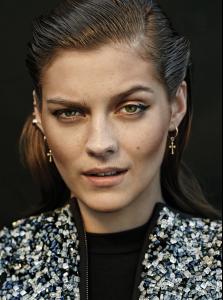
Ph: Jeffrey Engelstad jeffengelstad

-
No problem! Glad I could help
-
Snow over Gif 1. Find your falling snow gif and open it up on Photoshop. I will be using this gif in this tutorial. Also, make sure that you're in the 'Motion' workspace on Photoshop or your gif won't work. To change your workspace go to Window > Workspace > Motion. I'm using CS5 in this tutorial, and I think some older versions of PS have the Motion workspace listed as Motion/Animation. They should all work the same way. 2. Make the gif that the falling snow will go over in PS. If you don't know how to make gifs, simply googling 'how to make a gif in photoshop' should get more than enough results or here's a Photoshop Action I created that basically makes the gif for you and also helps you save LOTS of time in the process. For this example, I will use this gif. Note: this is my gif post-resizing; the original image size was waaaaaay too big to post here. (I was making gifs for my Originals tumblr blog yesterday and still had the screencaps saved on my computer so this is just a gif of convenience. Also, look at how cute he is; don't you just wanna touch his face? ) 3. This is the time for you to make any wanted changes to your still image, i.e. cropping and coloring. After I am done editing my still image, it looks like this: omg he's still so cute My gif is 500px wide (largest width for tumblr gifs). Luckily, my snow gif is also 500px wide but both gifs have different height dimensions. I cropped both to 250px height so that it is 1) easier for me to copy and paste later on the tutorial and 2) large enough for me to get my point across in the tutorial, but 500 x 250 px gifs are pretty big, so I doubt that you'll be making ones that big unless you want gifs 8 frames long. But, long story short, having your snow gif and gif gif at the same dimensions makes your life a whole lot easier down the road. 4. Ok, now comes the fun part when you put the snowy effect over the picture. Like I said above, make sure you are in the Motion workspace. Now, make sure you have the animation window open. It should look like this: If you're not sure if you have it open go to Window > Animation. If there is a check mark next to it, it is open. If there is no check mark, it is not open so click it to open it. Also, make sure you are in the Frame Animation workspace and not the Timeline Animation workspace. The Frame Animation workspace looks like mine above. If yours does look like that, you're probably in Timeline. To change this, find this button on the top right hand side of your animation space: Click on that button, find where it say 'Convert to Frame Animation' and click on that. 5. Ok so that was really long and I'm gonna leave that to be a step in itself. Now, to do the snowy effect, first figure out how many frames are in your original snow gif. You can do that just by counting the number of frames in the animation workspace or layers of the gif. For example, my gif has 19 frames/19 layers: Now this is where it starts to get complicated. Like before, you want your snow gif and you gif gif to have the same number of frames. However, you now have more than one frame to work with. In fact, my gif gif has 27 frames: But, I don't want to delete 8 frames so that both my gifs have the same frame count. You might have to get a bit inventive here to get your frame counts to match. What I did in this example is I deleted one frame from my gif gif so that it has 26 frames and then I deleted 6 frames from my snow gif so that it has 13 frames and then copied those 13 frames for a total of 26 frames. To do this, go back to the top right hand animation button, click it and then click on where it says 'Select All Frames'. Now all your frames should be highlighted blue. Click on the button I circled in red and this double all your selected frames. Voila! Matching frame count! 6. Still on your snow gif, click 'Select All Frames' again. Your snow frames should now be highlighted in blue. If they are not, hit 'Select All Frames' again. Once they are all highlighted, go back the the top right hand button and click it again, then find where it says 'Copy Frames' and click that: 7. Go to your still image and repeat the 'Select All Frames' step so that all these frames are now highlighted. Go back to your best friend top right hand button and find 'Paste Frames...' click it: A small window will pop up with different paste options. MAKE SURE YOU CLICK 'PASTE OVER SELECTION' AND 'LINK ADDED LAYERS' like mine: 8. If you are using the same snow gif as me (which I highly recommend because it actually a great gif) you will notice at this point you can't see your gif gif underneath! Uh-oh! This is because this snow gif is not transparent, but, thankfully it has a sold background, so we can easily work around this dilemma. We are going to create a group out of our snow gif layers. Go to your layers window; mine if typically a bar on the side of my screen. If your layers window isn't open, go to Window > Layers to open it. Now select all of your snow gif layers by clicking and higlighting the very first snow gif layer and then clicking on the last snow gif layer while holding down the 'Shift' button. Now, you will hopefully notice that the first snow gif layer, the last snow gif layer, and all the layer in between are highlighted, like so: Now go to Layer > Group Layers or simply hit 'Ctrl + G' and now all of your snow gif layers have been consolidated into a single folder in your layers bar. I titled mine 'Snow gif' just for the sake of the tutorial. Now, make sure that the folder (not all the layers within the folder, just the folder itself, like in the image above) and all of your frames in the animation bar are highlighted blue. Find the blending mode selector at the top of your layers bar. It should be set to 'Pass Through' for the snow gif folder. Change this to 'Screen.' In this tutorial I am changing it to Screen, because I find that option to work the best, however, experiment with the blending option. 'Lighten' also works well, I just preferred Screen. 9. Almost there! At this point, you may just have to change your time delay and repetition settings, but those are quick fixes. VOILA! omg look he's still so cute and now it's snowing i'm gonna explode If you really want to get inventive, you could add like a santa hat or whatever, just remember that the more tinkering you do and more layers you add, it's likely the image size will also increase. Most image hosters have an upload limit and on tumblr the gif upload limit is 1 MB, so, in the case of my gif, I had to make it black and white and tinker around with it a bit more in order to get it below 1 MB so I could post it on tumblr. damn son look at that santa hat come down my shimney and bring me presents any time honey Enjoy, happy holidays, and feel free to ask any still unanswered questions!
 That's odd. Are you using the same snow gif that I used in my tutorial or a different one? If you're using a different one, could you please link it here so I could check it out?^ You have to save it to your computer and then open it on Photoshop. I typically just copy images off the internet and the paste them into PS, but this doesn't work with gifs as you will only copy the frame that you selected 'Copy Image' for. Maybe that's the problem?Alright, before you start doing anything, you need a gif of falling snow. Just googling 'falling snow gif' should do the trick. For this tutorial, I will be using this gif; however, you can choose a different gif if that's your preference. Snow gifs come in all shapes in sizes. I just like this one because: 1) the blank background makes it easy to work with, 2) it's a pretty big gif, and 3) it looks realistic, but if you want to use more of animated looking snow gif, be my guest. Still Image 1. Like I said above: find your falling snow gif and open it up on Photoshop. Also, make sure that you're in the 'Motion' workspace on Photoshop or your gif won't work. To change your workspace go to Window > Workspace > Motion. I'm using CS5 in this tutorial, and I think some older versions of PS have the Motion workspace listed as Motion/Animation. They should all work the same way. 2. Pick you still image that the falling snow will go over and open it up on Photoshop. For this example, I will use this image. 3. This is the time for you to make any wanted changes to your still image, i.e. cropping and coloring. After I am done editing my still image, it looks like this: I opted to keep my image to a 250 x 250 pixel square for the sake of the tutorial but your image can be whatever size you want. If your image is larger than your snow gif, don't worry because it is a transparent gif so expanded it probably won't pixelate it too much. Just as with anything, try not to make your image too big because then it's just difficult to work with. 4. Ok, now comes the fun part when you put the snowy effect over the picture. Like I said above, make sure you are in the Motion workspace. Now, make sure you have the animation window open. It should look like this: If you're not sure if you have it open go to Window > Animation. If there is a check mark next to it, it is open. If there is no check mark, it is not open so click it to open it. Also, make sure you are in the Frame Animation workspace and not the Timeline Animation workspace. The Frame Animation workspace looks like mine above. If yours does look like that, you're probably in Timeline. To change this, find this button on the top right hand side of your animation space: Click on that button, find where it say 'Convert to Frame Animation' and click on that. 5. Ok so that was really long and I'm gonna leave that to be a step in itself. Now, to do the snowy effect, first figure out how many frames are in your original snow gif. You can do that just by counting the number of frames in the animation workspace or layers of the gif. For example, my gif has 5 frames/5 layers: The number of frames on your snow gif MUST match the number of frames on your still image. This probably where a lot of you are going 'HUH?'. Ok, so go to your still image, make sure the animation timeline is open for your still image, and you should only see one frame. For example: But, Jude, you said I needed 5 frames? Click on your single frame and make sure it is highlighted in blue. Now, find the button I have circle in red and click on it until you have the number of frames that your snow gif has. In my example, I need 5 frames. If you click to play the animation, you will notice it's just the single unmoving image. Good job! It's supposed to be like that. 6. Go back to you snow gif. Find the top right hand animation button and click it, then find where it says 'Select All Frames' and click that: Your snow frames should now be highlighted in blue. If they are not, hit 'Select All Frames' again. Once they are all highlighted, go back the the top right hand button and click it again, then find where it says 'Copy Frames' and click that: 7. Go to your still image and repeat the 'Select All Frames' step so that all these frames are now highlighted. Go back to your best friend top right hand button and find 'Paste Frames...' click it: A small window will pop up with different paste options. MAKE SURE YOU CLICK 'PASTE OVER SELECTION' AND 'LINK ADDED LAYERS' like mine: THIS STEP IS VERY IMPORTANT AND IS ACTUALLY THE LAST STEP! DON'T MESS IT UP! 8. TA-DA! You're basically finished/nearly finished. You're probably going to have to select all your frames again and change the timing delay to between 0.1-0.2 seconds (those are typically the settings I use, but it's totally up to you) and change the repetition to forever, but those are easy fixes: VOILA! *Note: Once I finished, I realized that make original snow gif wasn't actually that great but I just didn't feel like going back and changing my whole tutorial. I will probably change the gif for my next tutorial. Also, you will notice the snow is most visible over the darker her areas on her face. Adding a snow effect works best on darker images/gifs because the snow itself is white and will stand out most clearly over a dark background. Enjoy and feel free to ask any still unanswered questions!^ I'll do it! I'll also do two tutorials: how to place it on a still image and how to put it on a moving gif. Be back real soon!HungerTV - "As Seasons Change" Directors: Anya Oderyakova & Yéssica Klein Photographer: Yéssica Klein Editor: Yéssica Klein Stylist: Anya Oderyakova Hair: Danielle Boschetti Make Up: Rebecca Rojas hungertvShe probably has an agency in London. TIA!


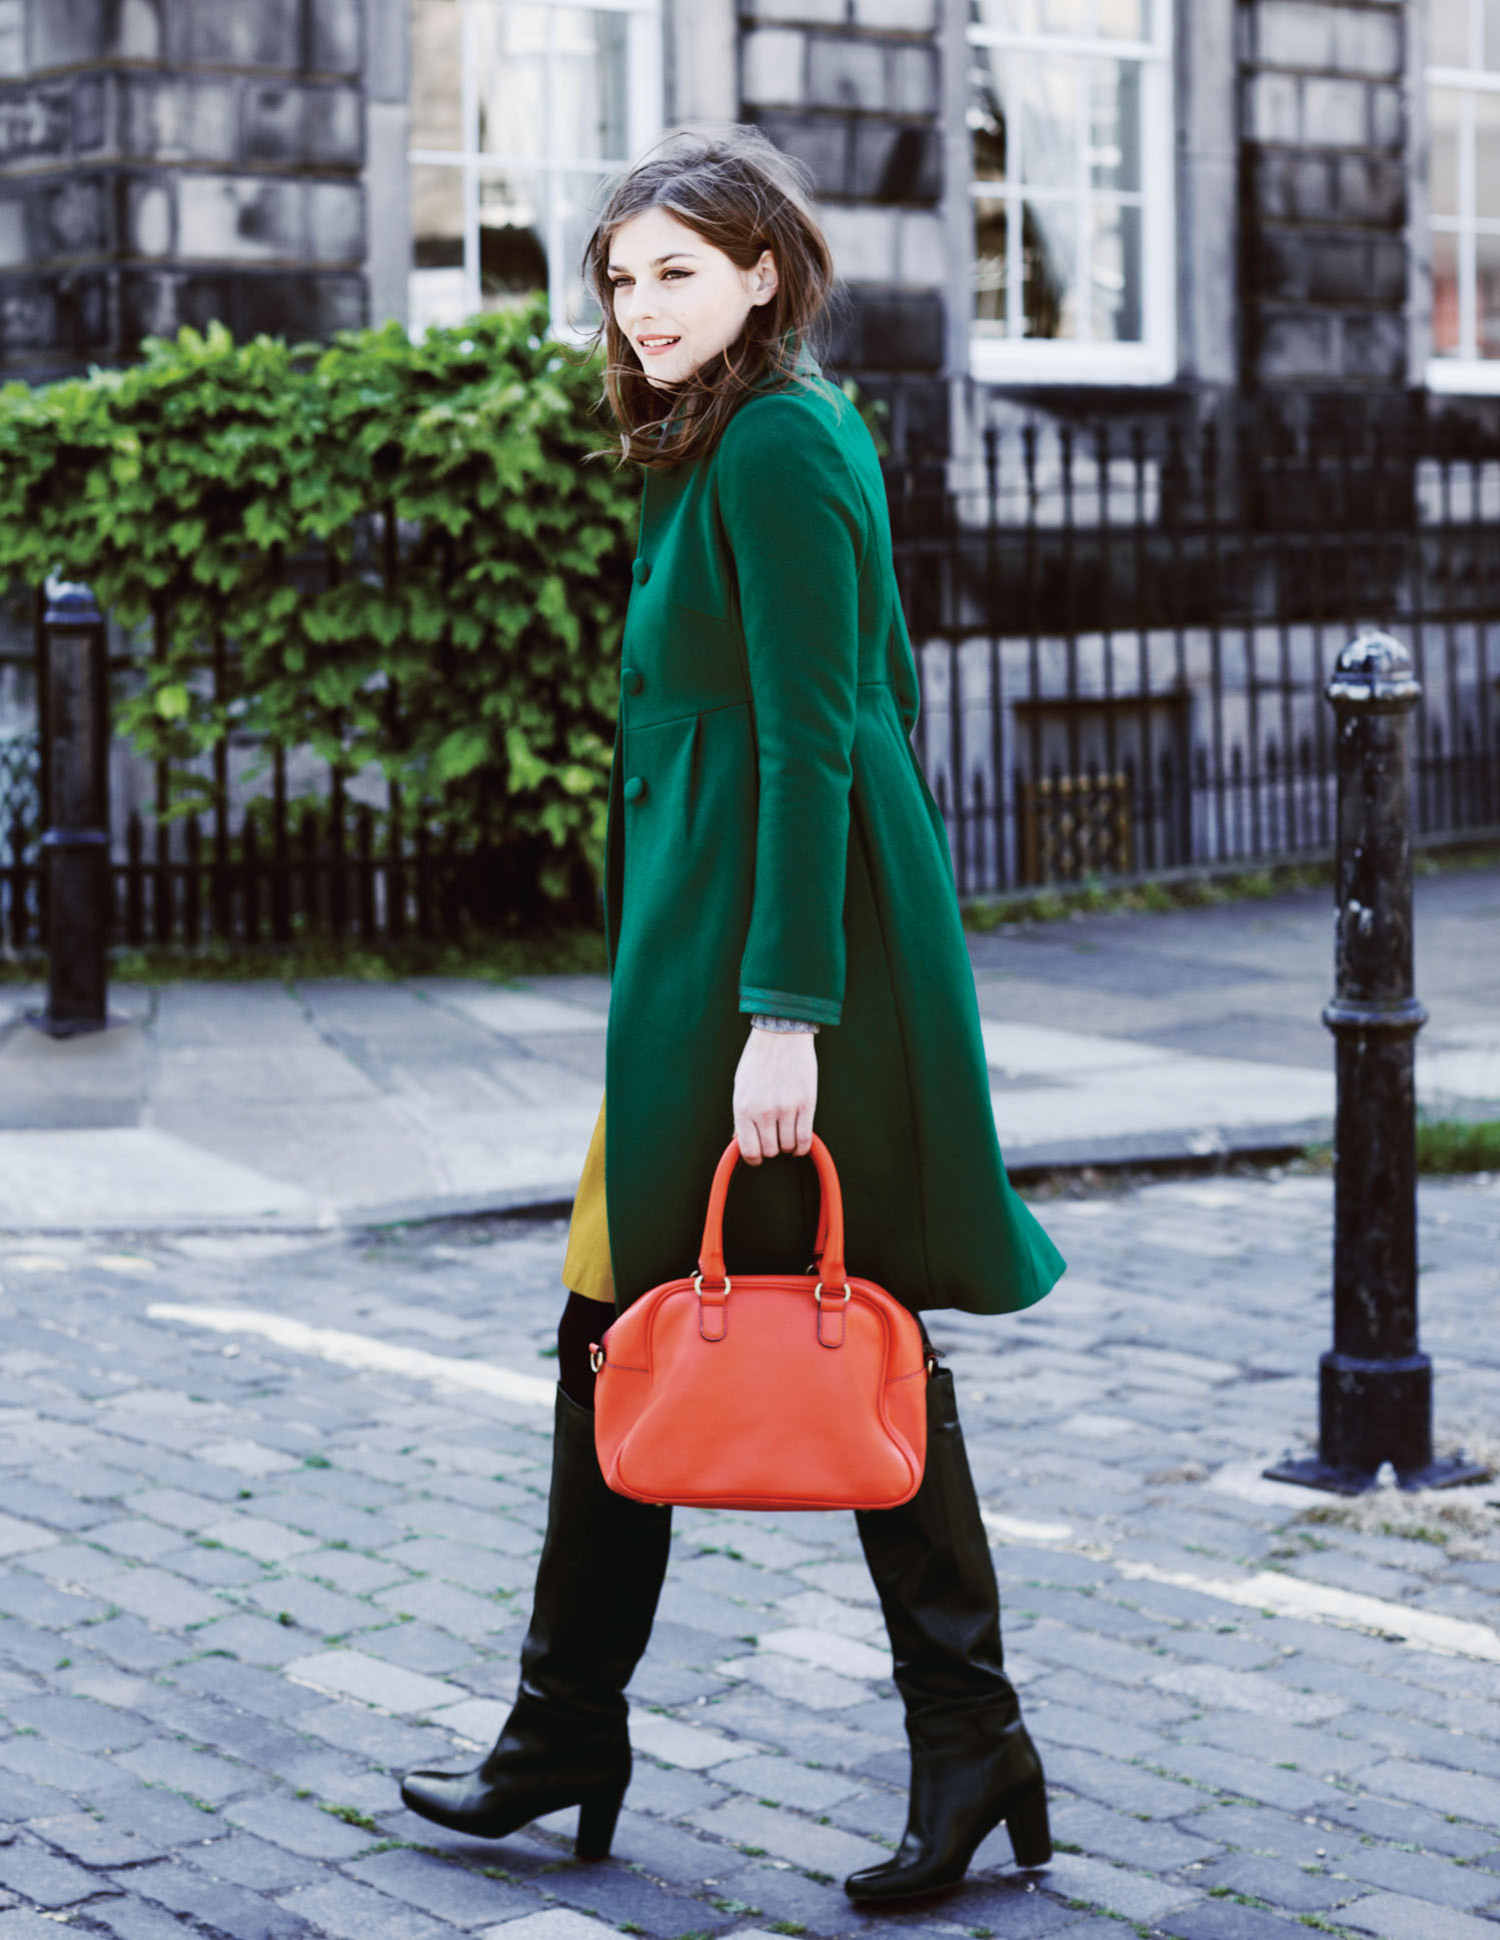
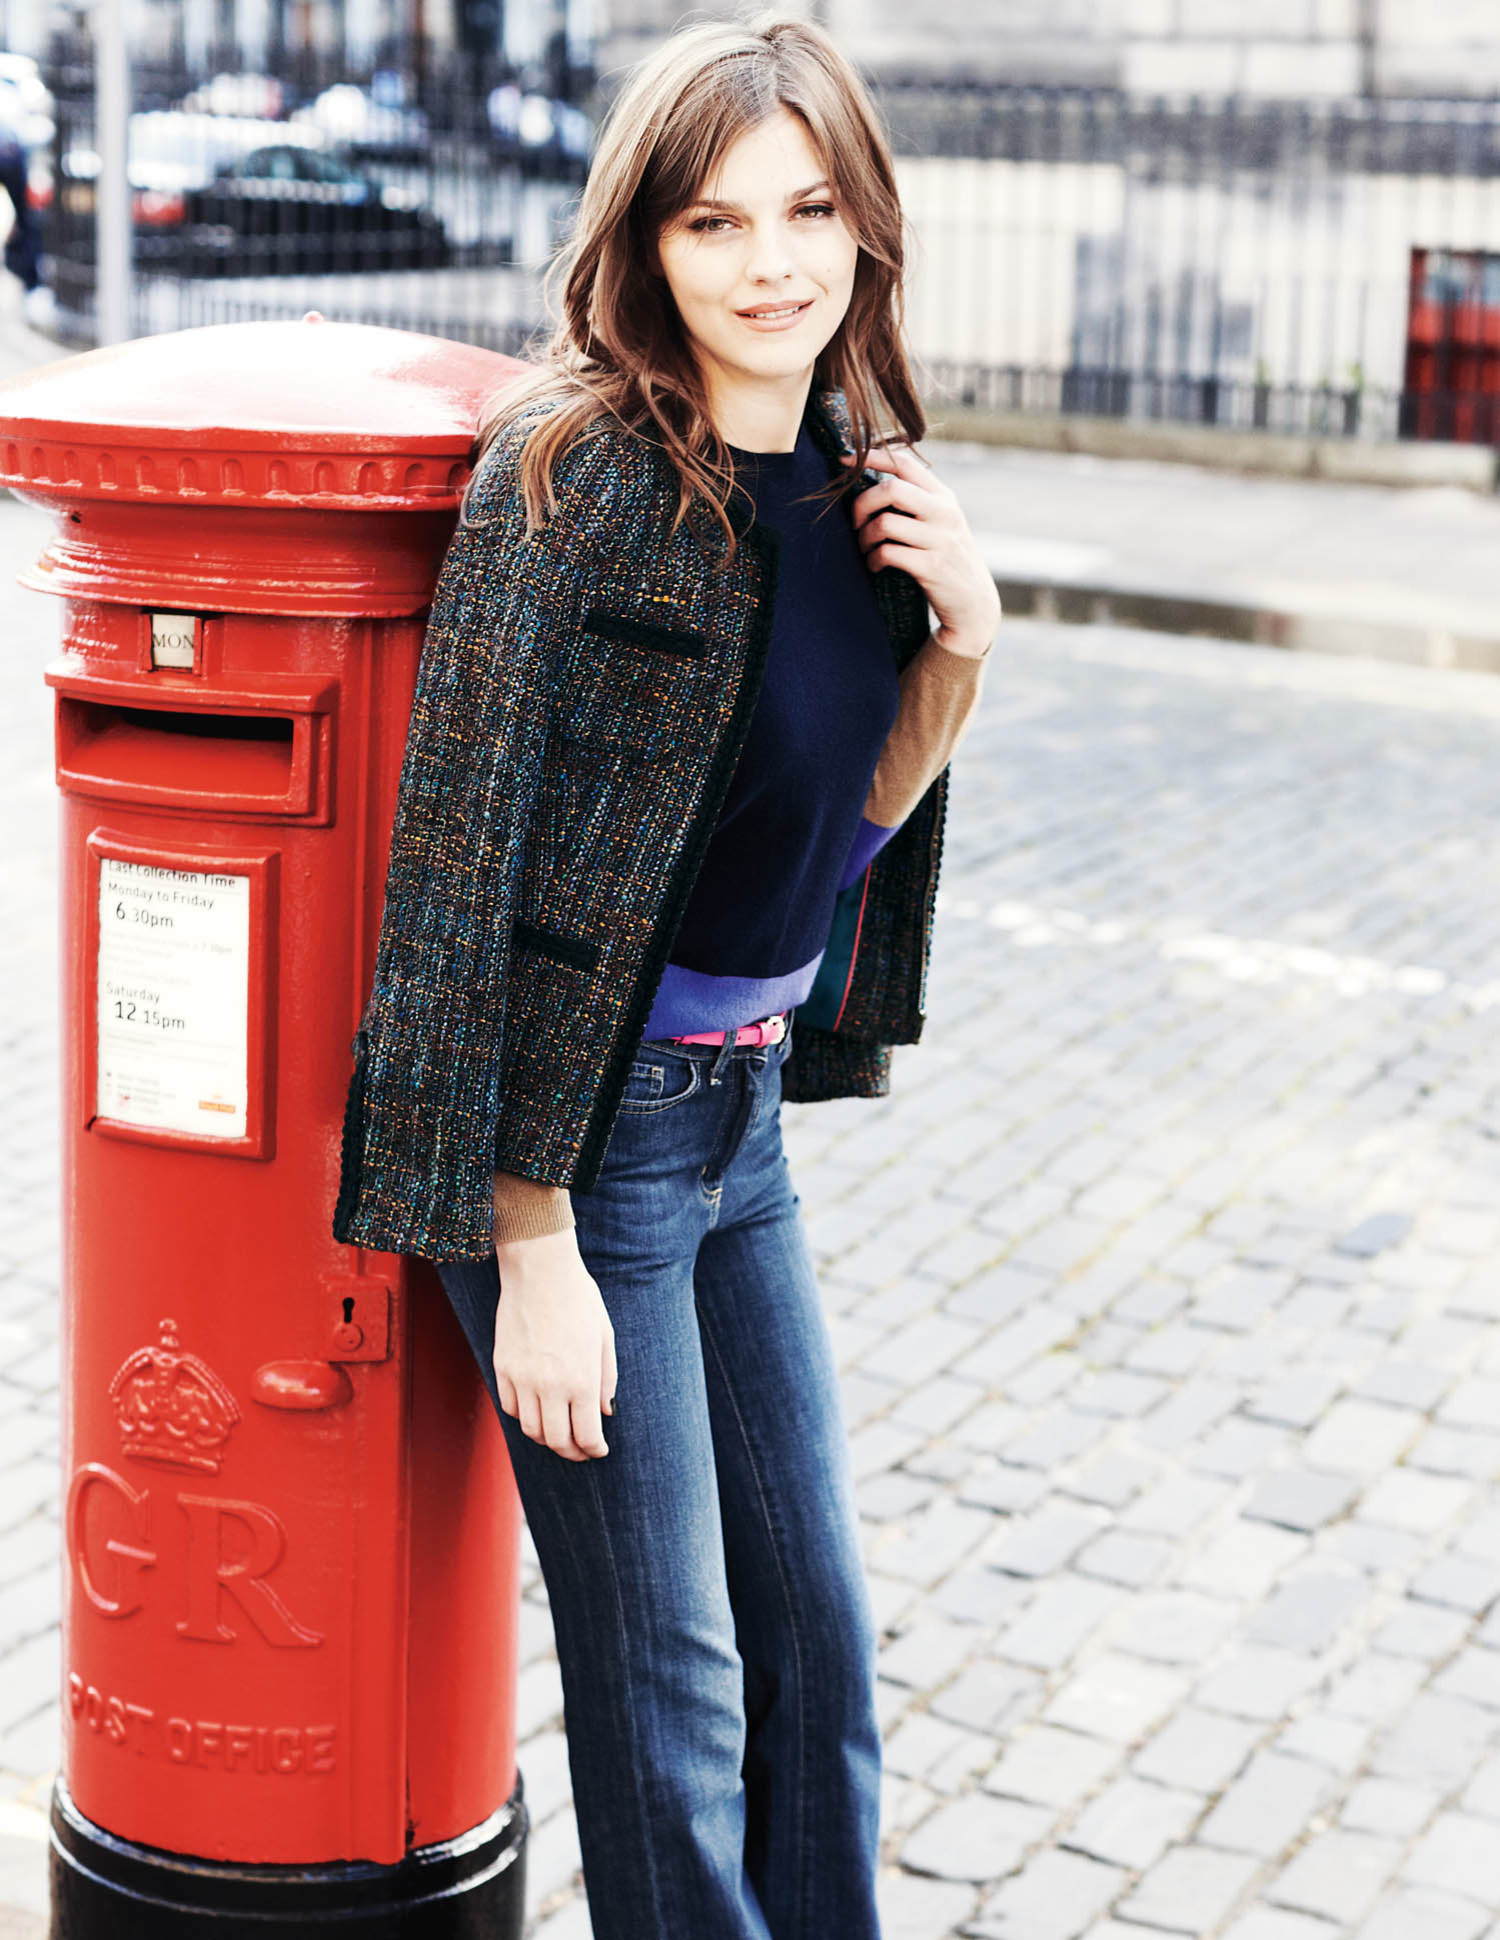
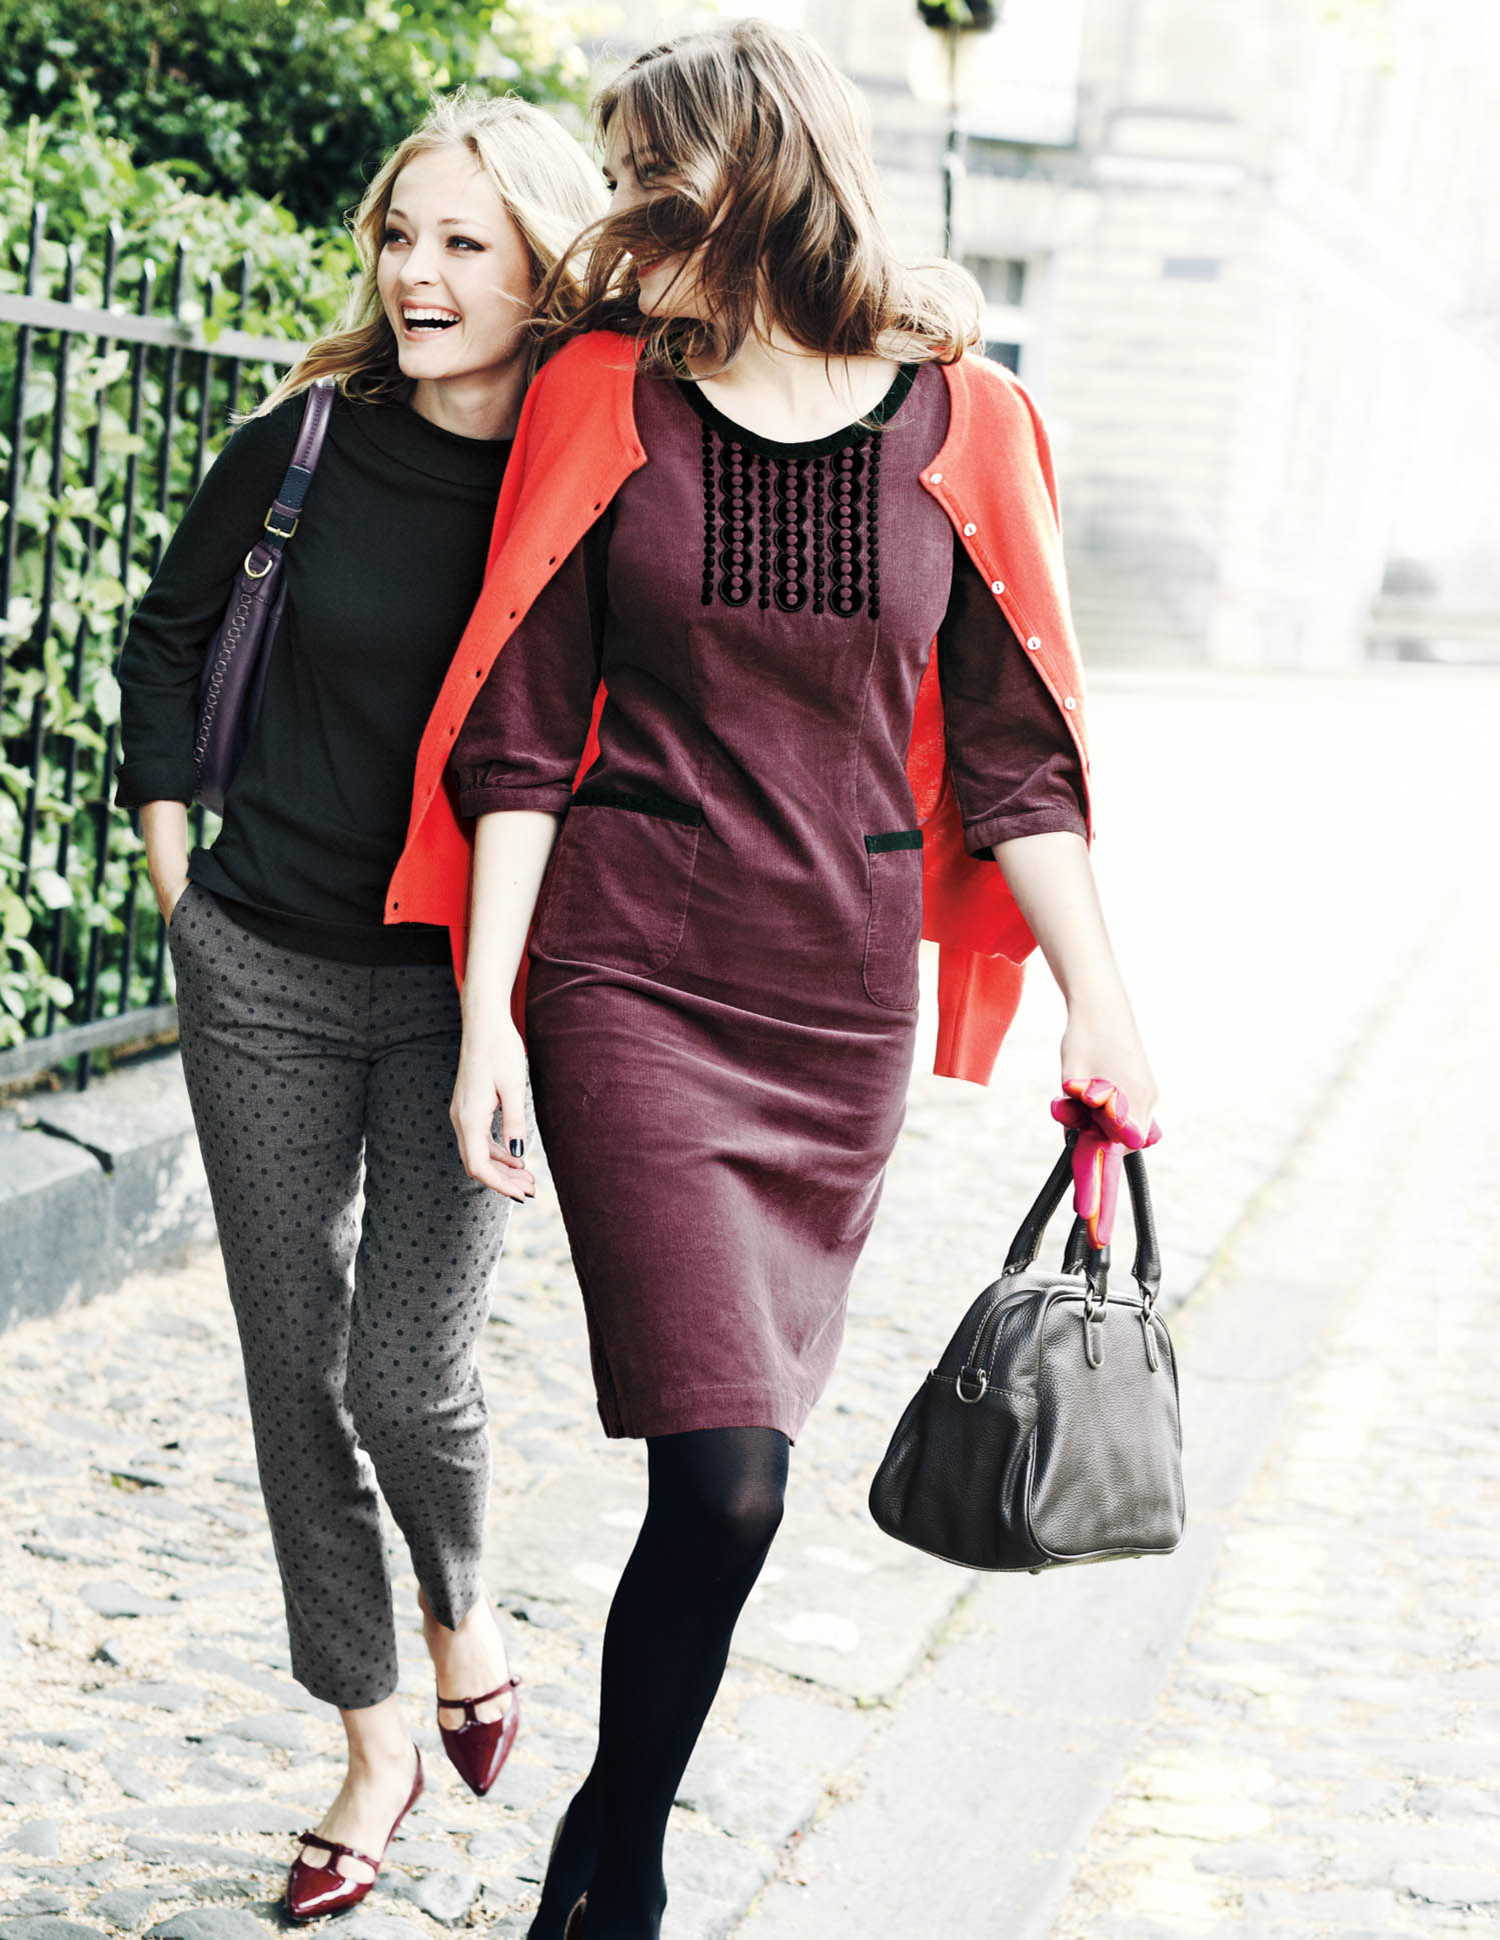
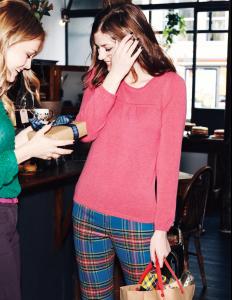
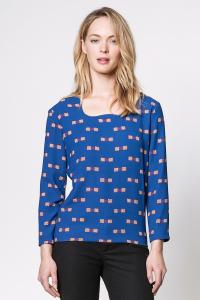
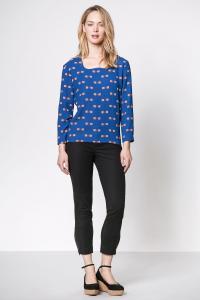
 Boden bodenusa
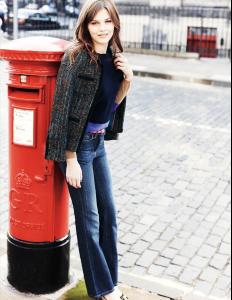


 ^ Also, if I recall either last year or the year before they didn't post any pictures of Cintia on social media during shooting because her hair made it too easy for us to identify her but she was still featured in the issue so at any rate I wouldn't say that her absence in MJ and Janine and Darcie's IGs is necessarily indicative that she won't be in the issue.Ph: Julie Khongsavanh juliemcmackin
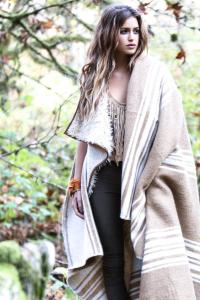


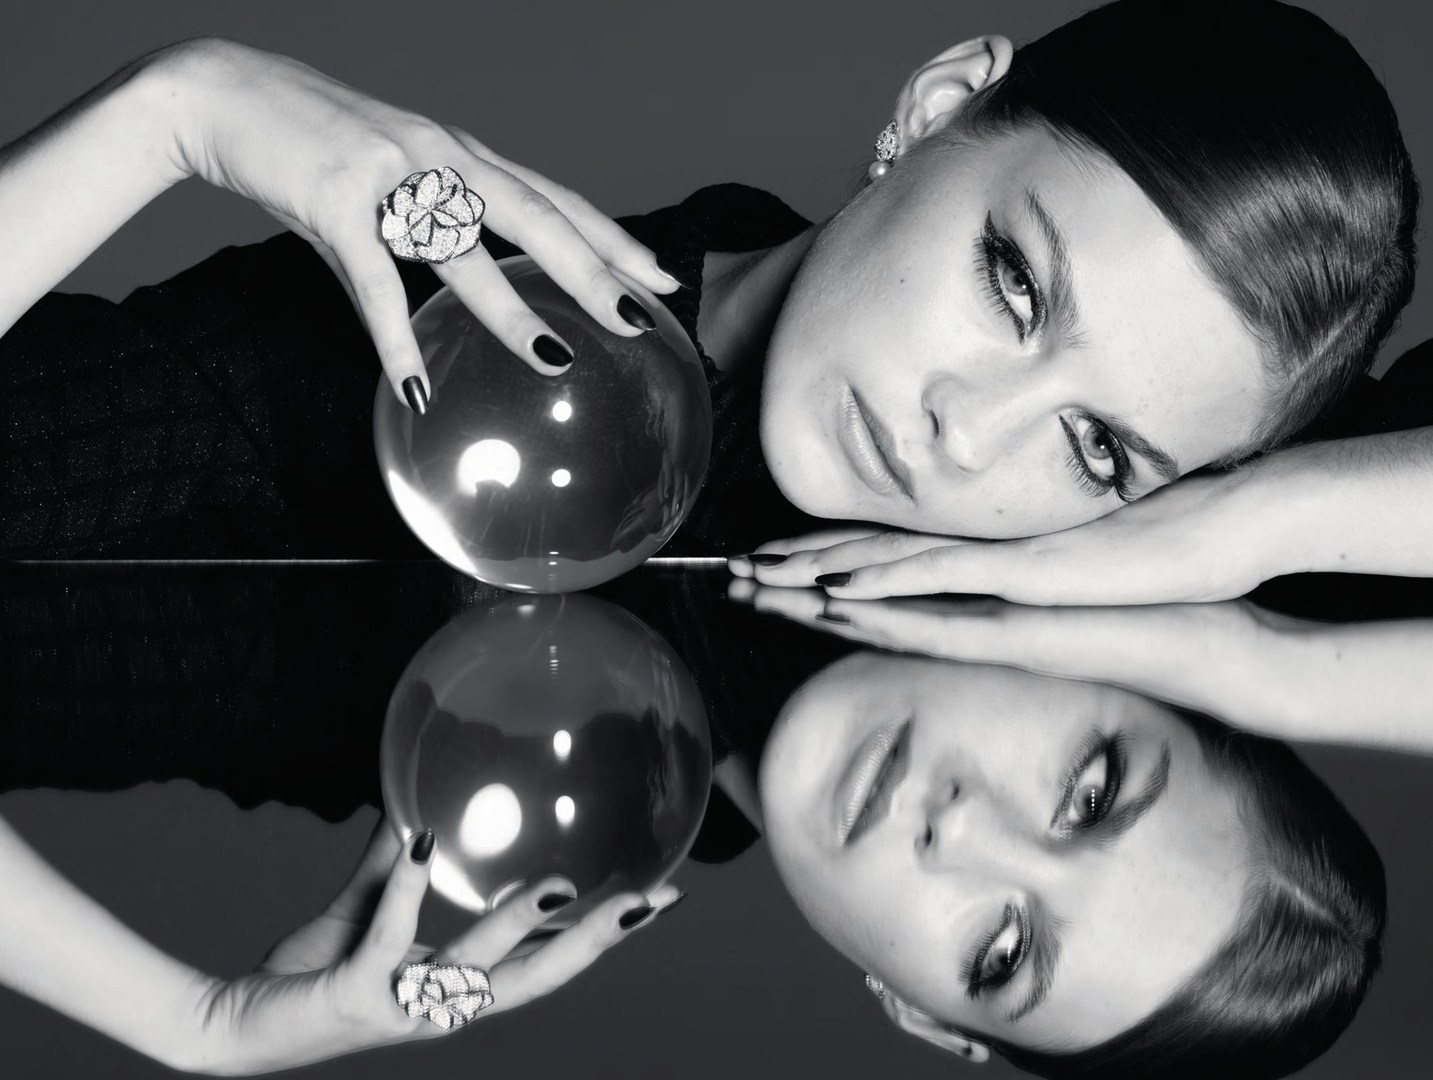
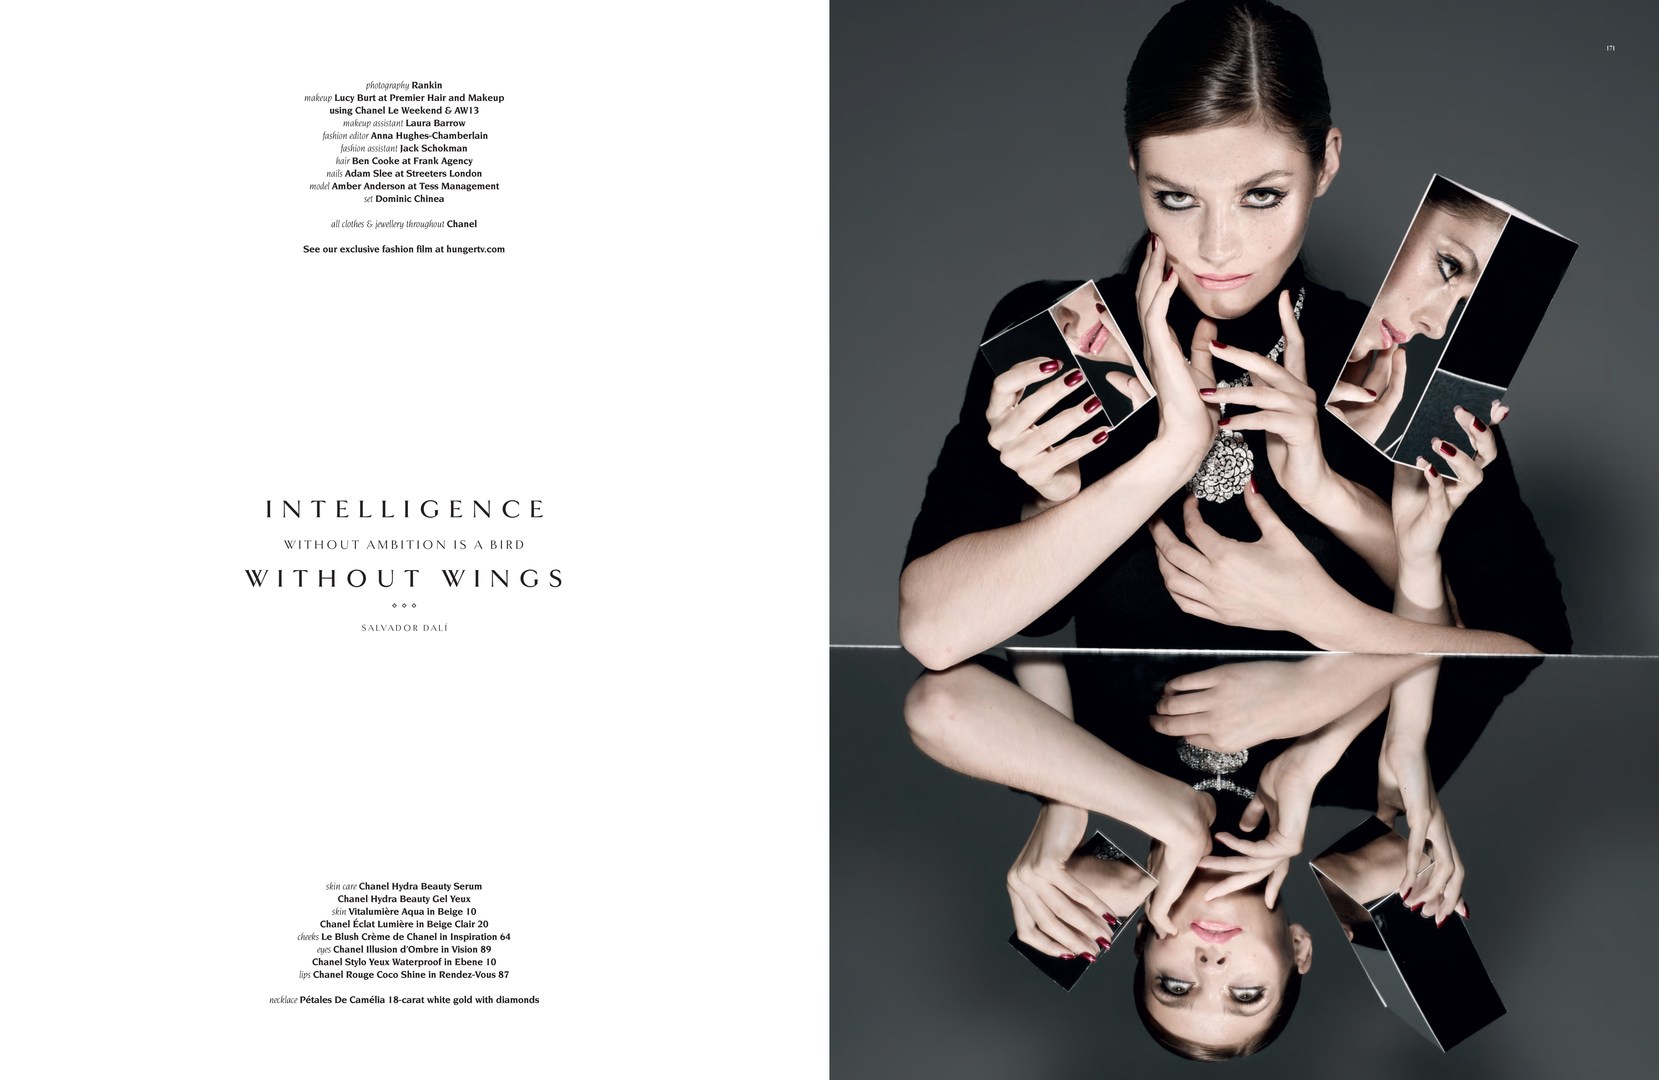
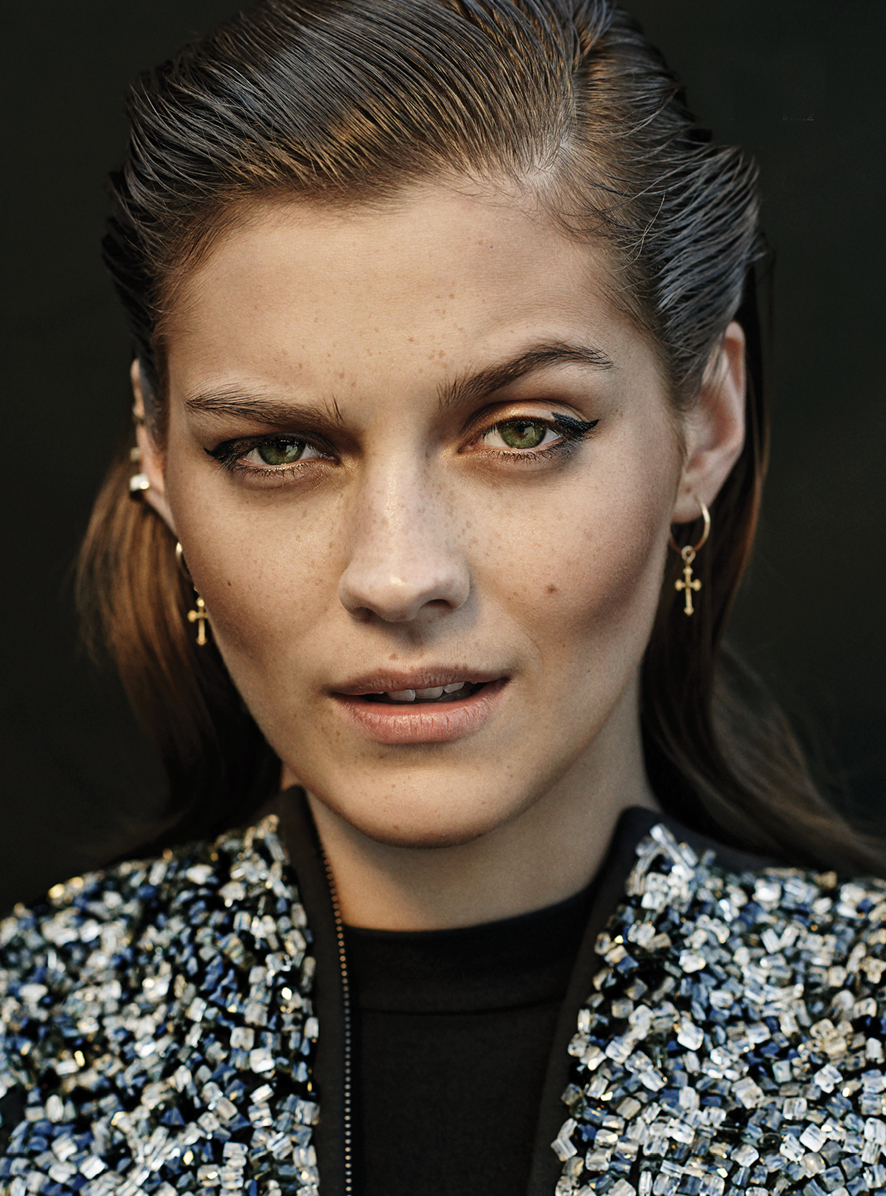
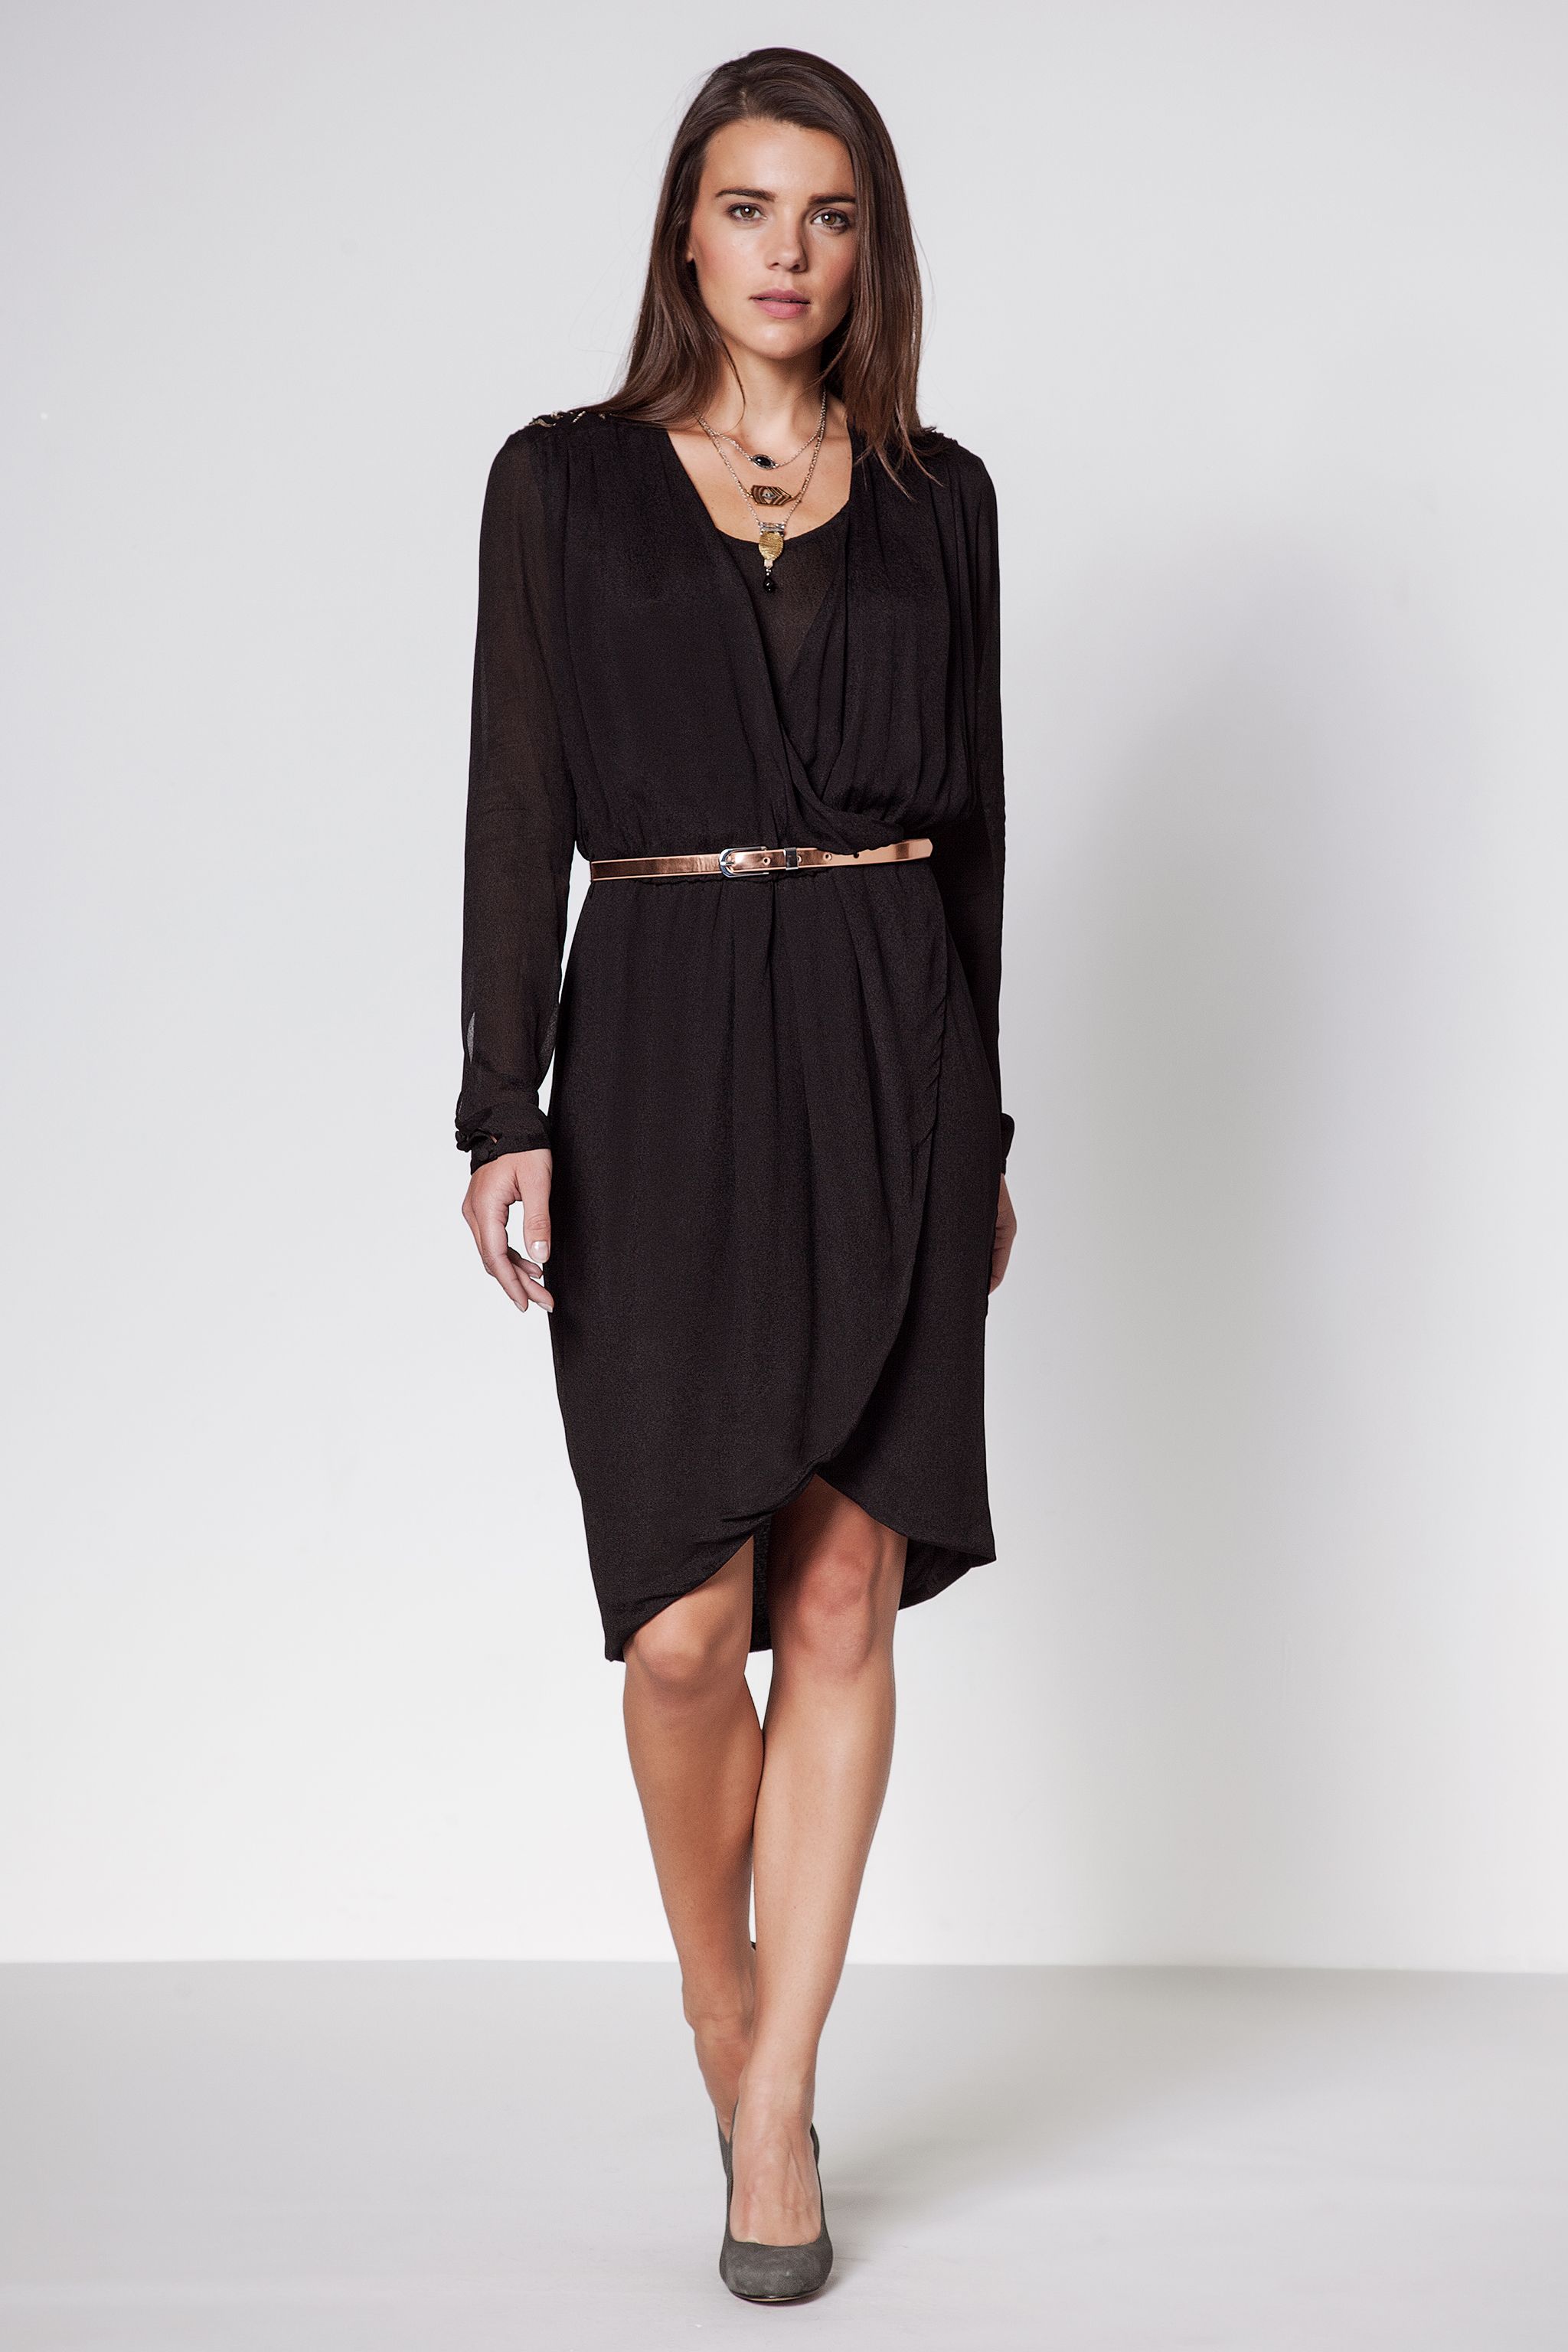
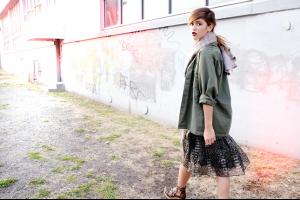
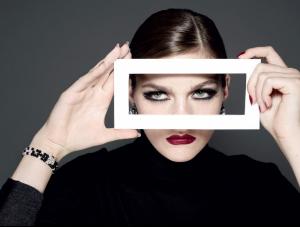
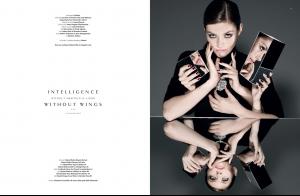
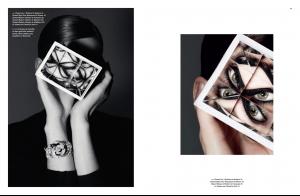
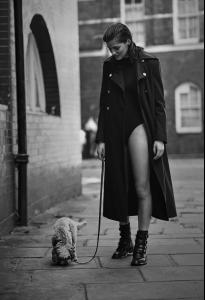
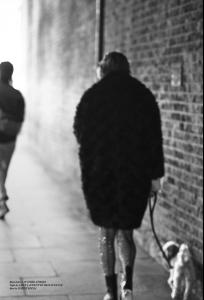
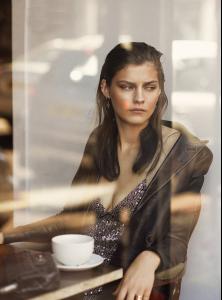
 Thanks everyone! She looked wonderful at the show, as always.Hunger F/W 13.14 - Intelligence Without Ambition is a Bird Without Wings Ph: Rankin St: Anna Hughes-Chamberlain streeters
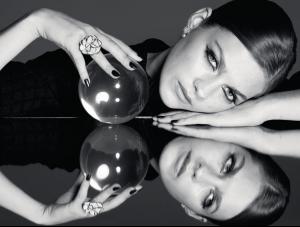
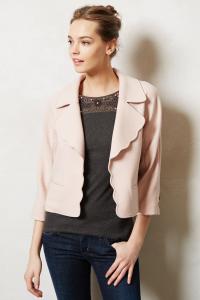
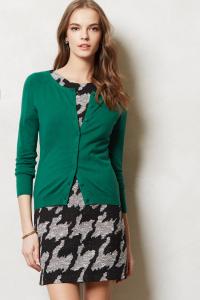
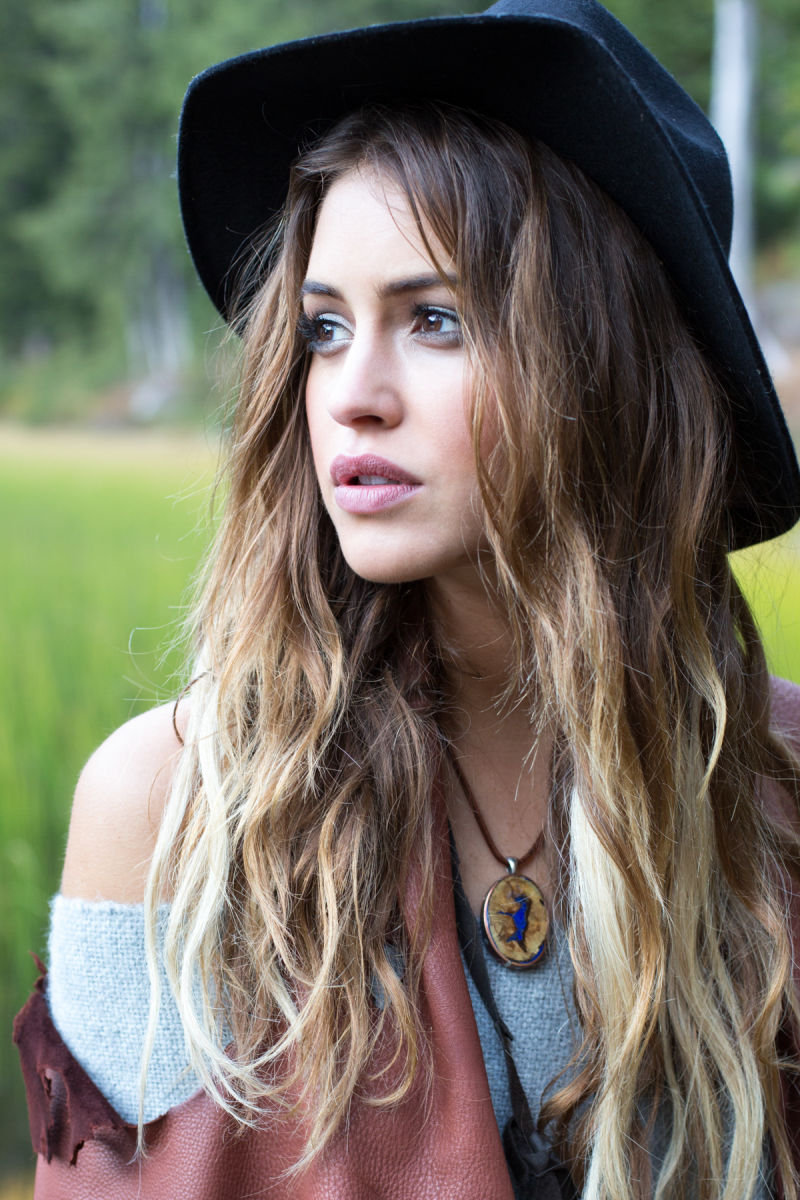
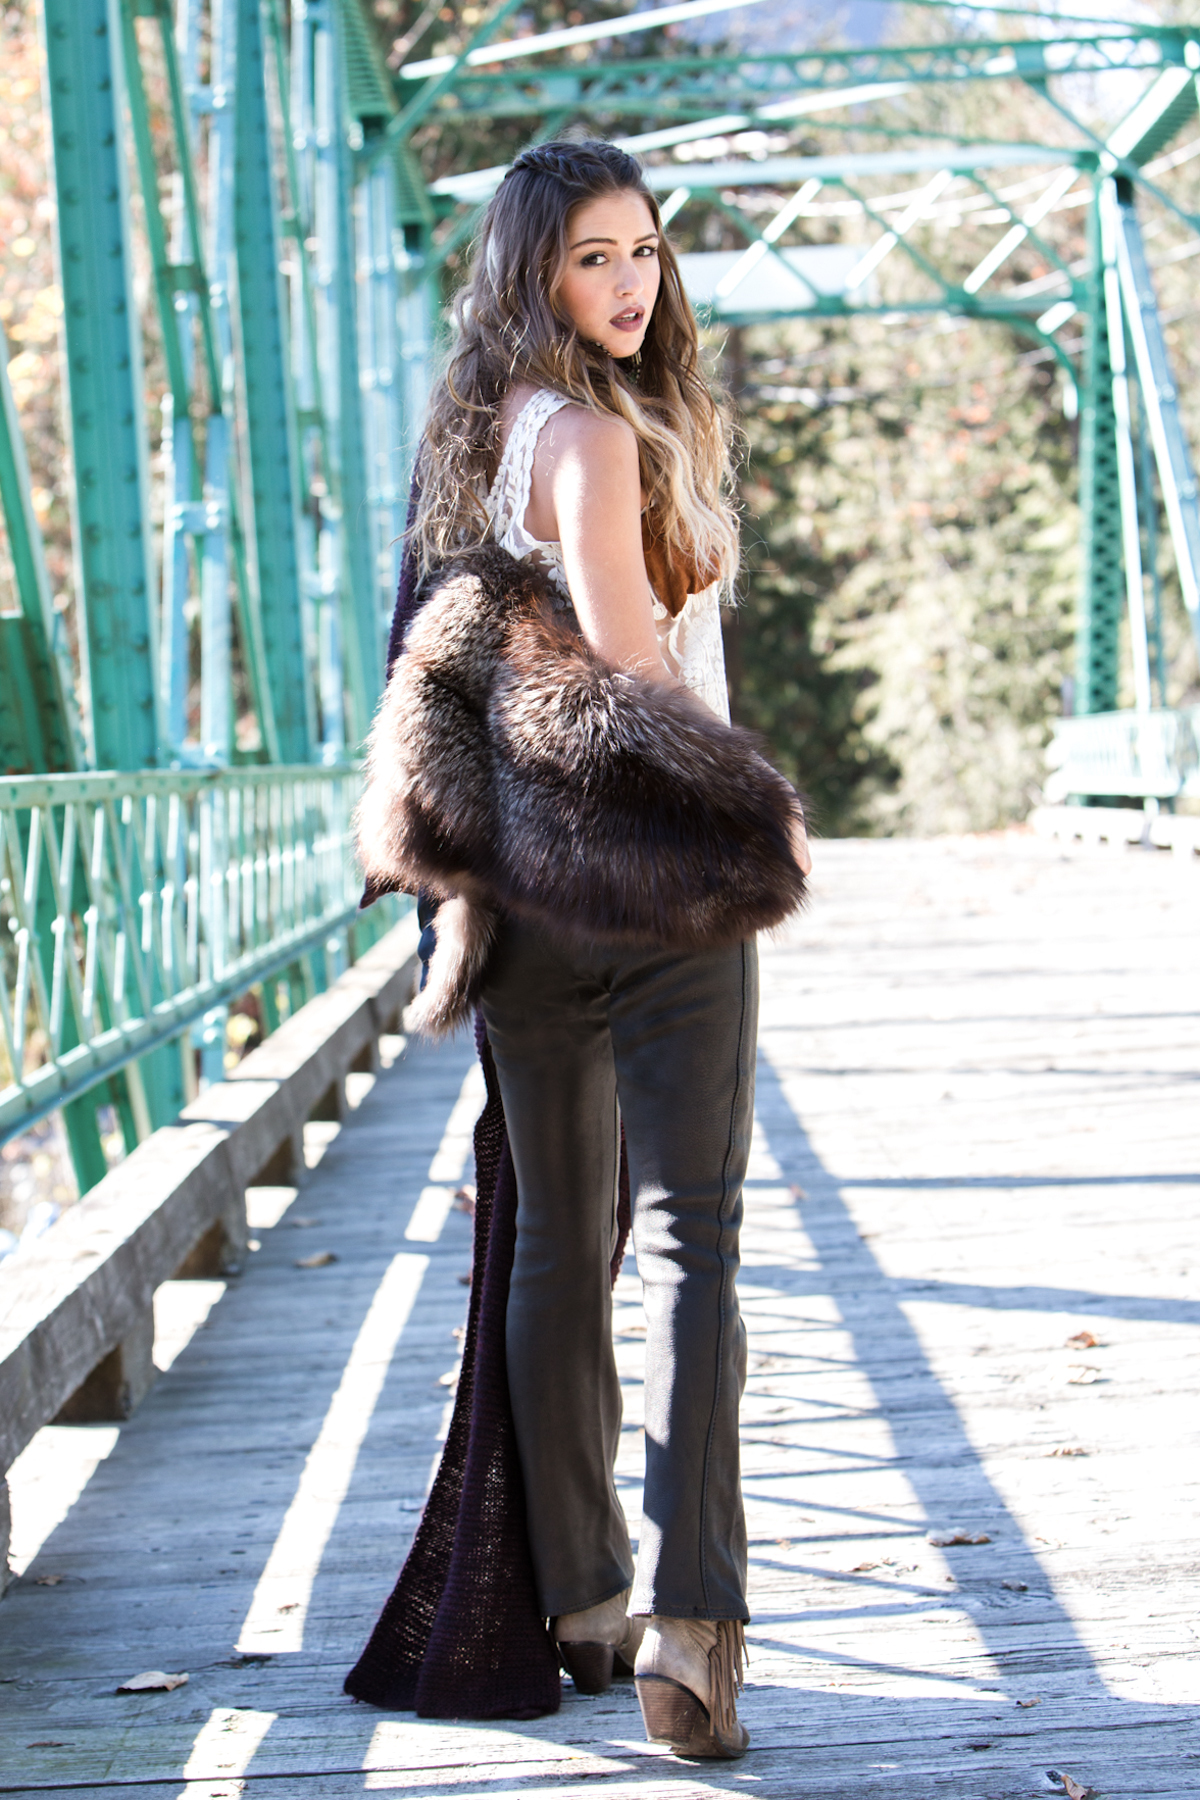
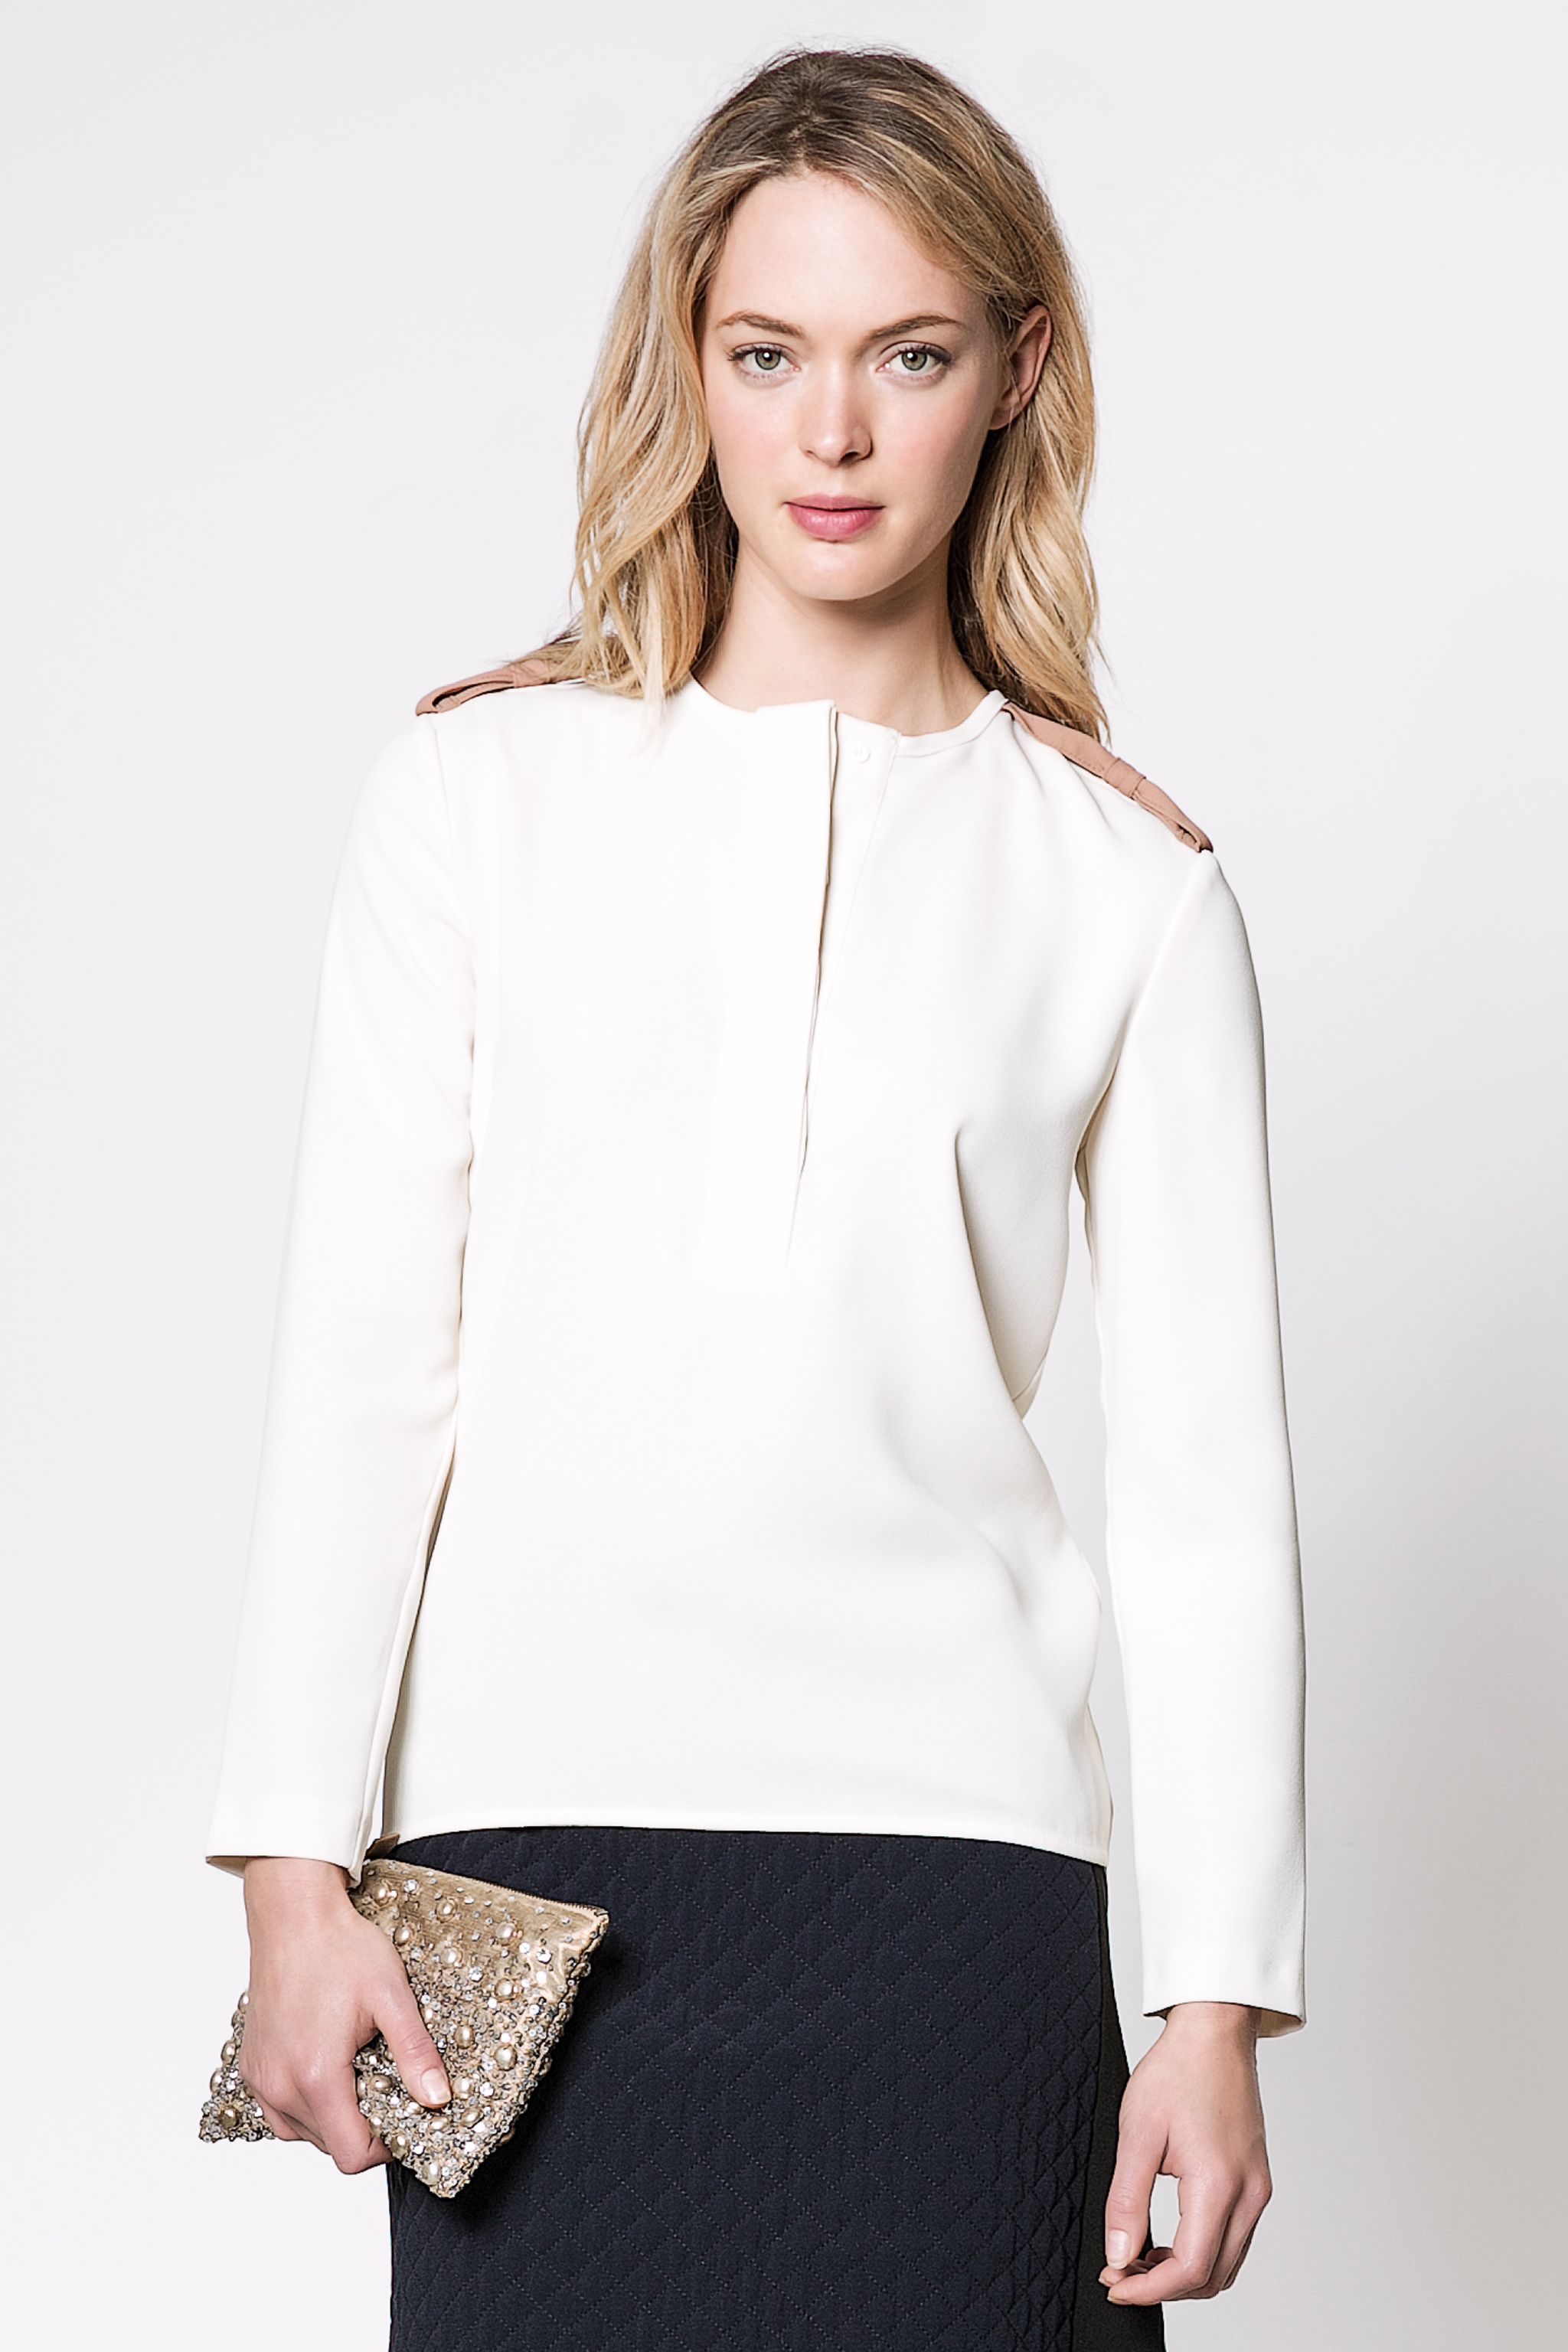
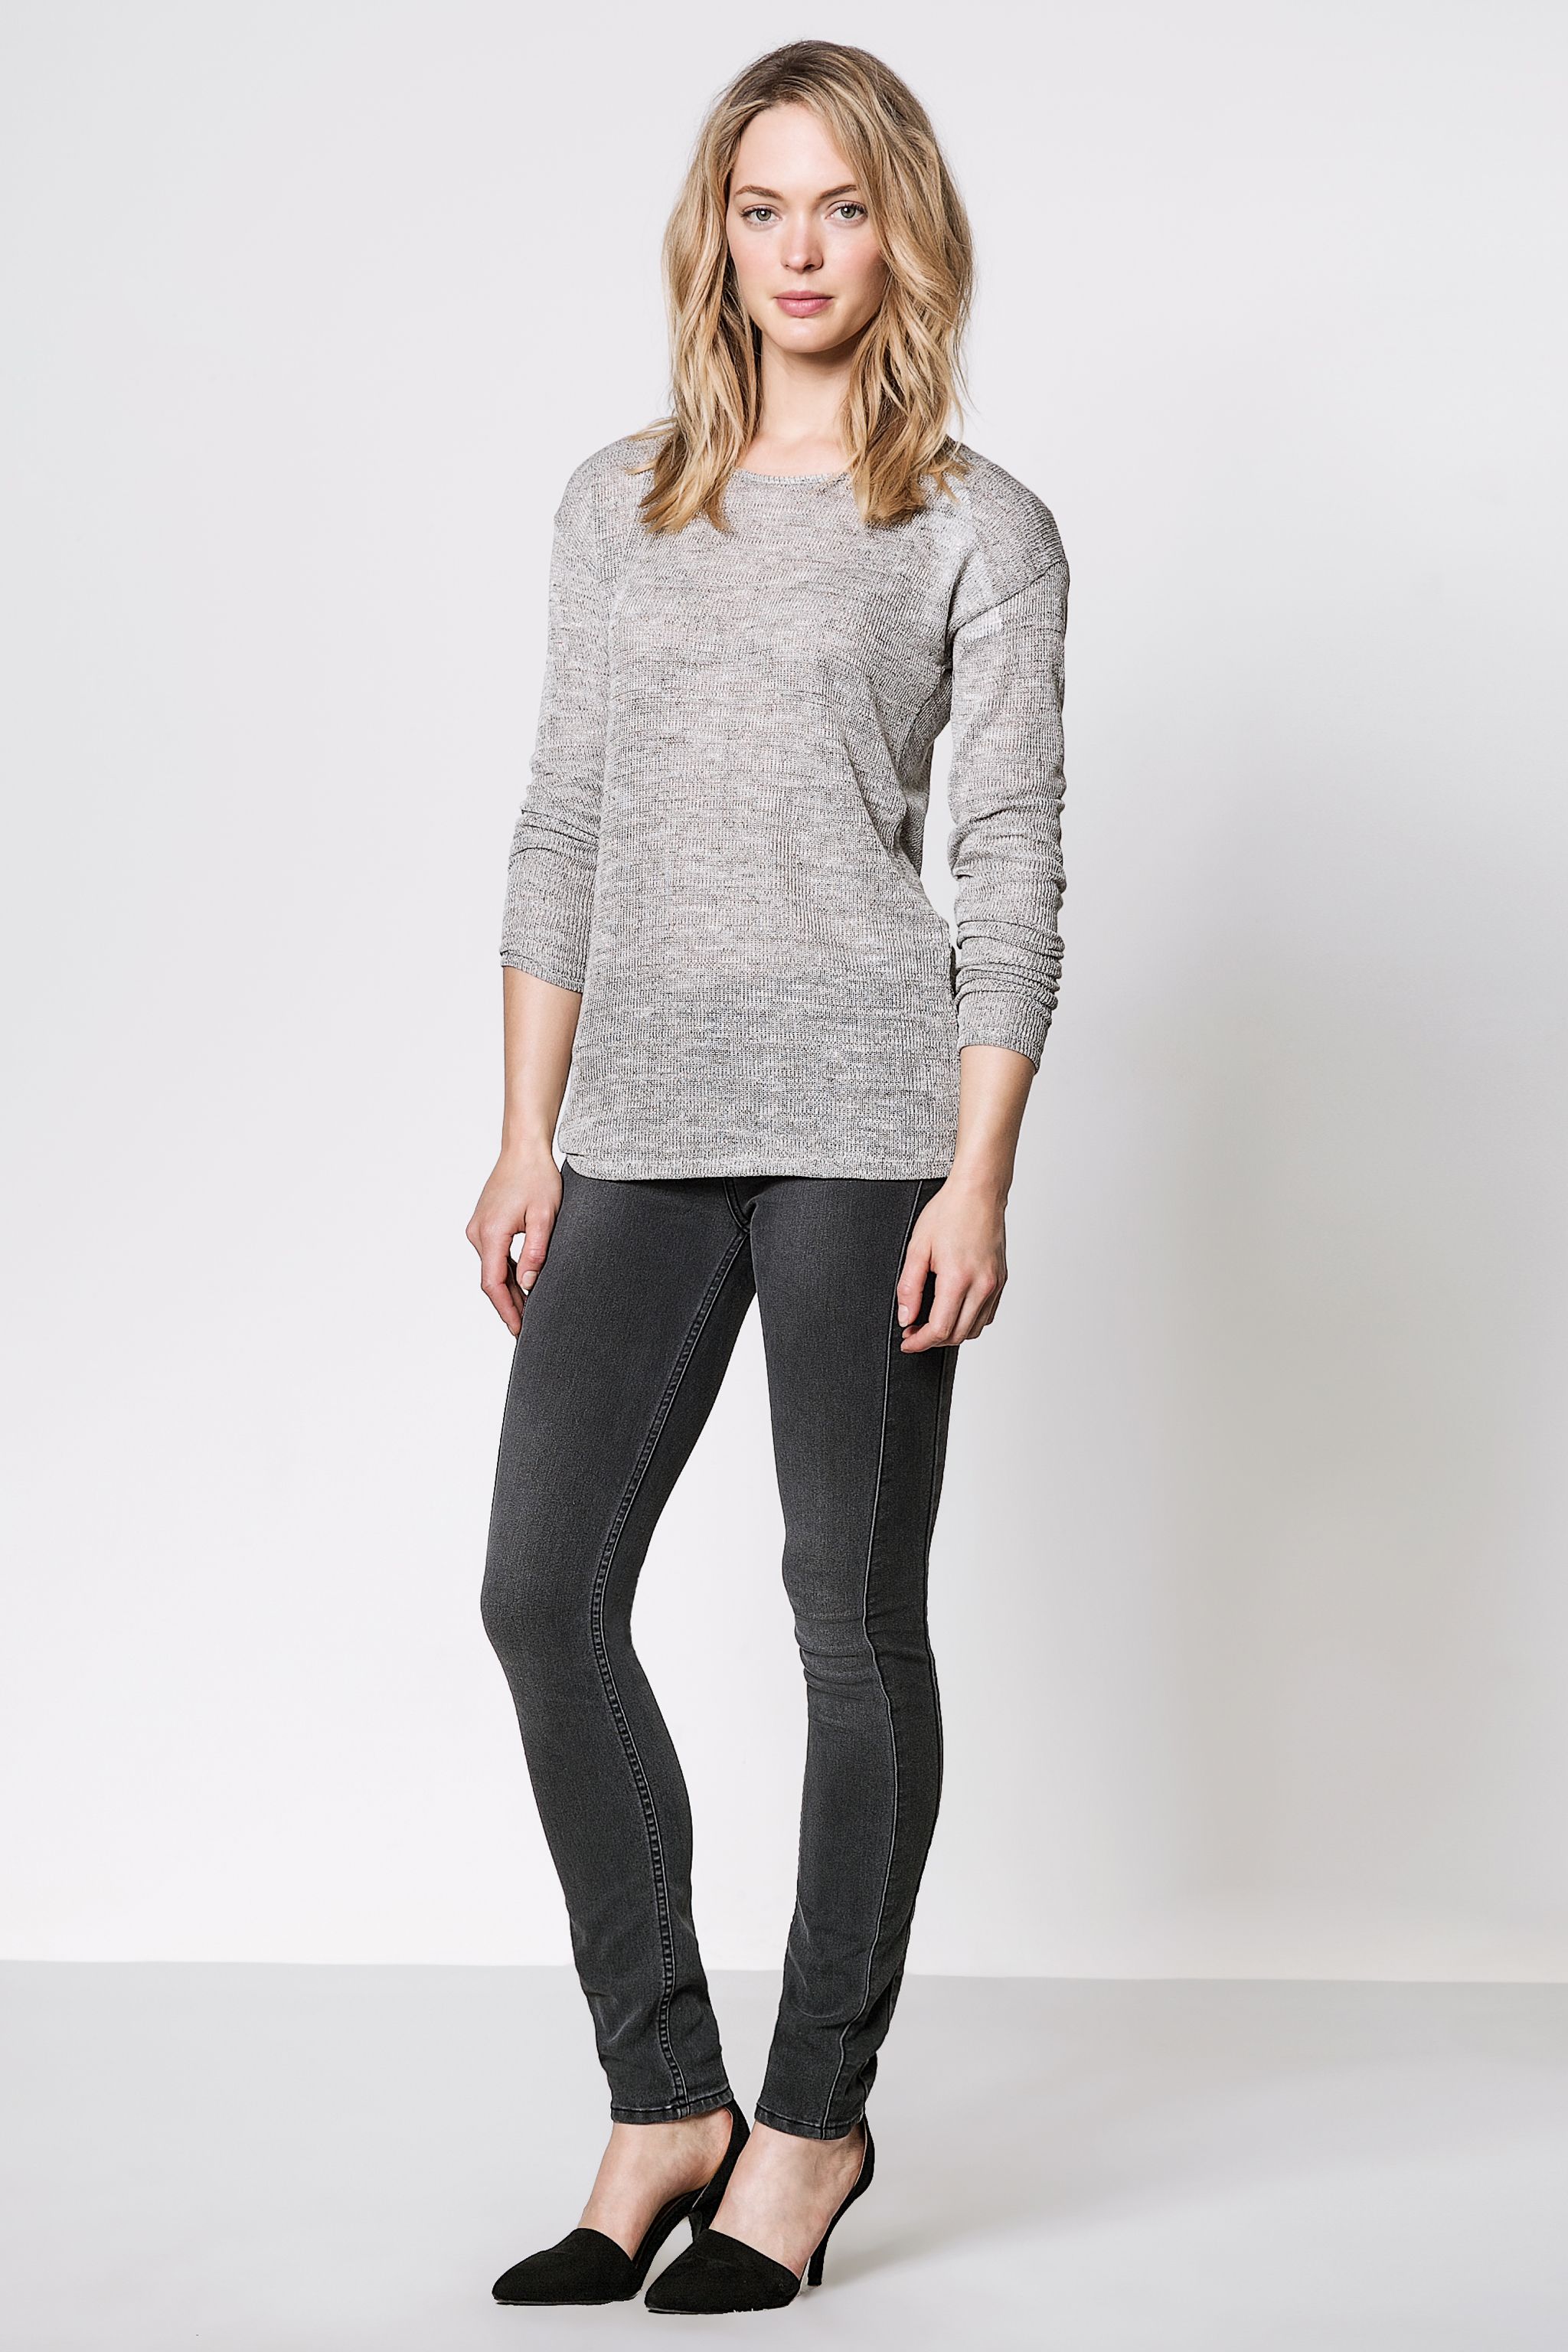
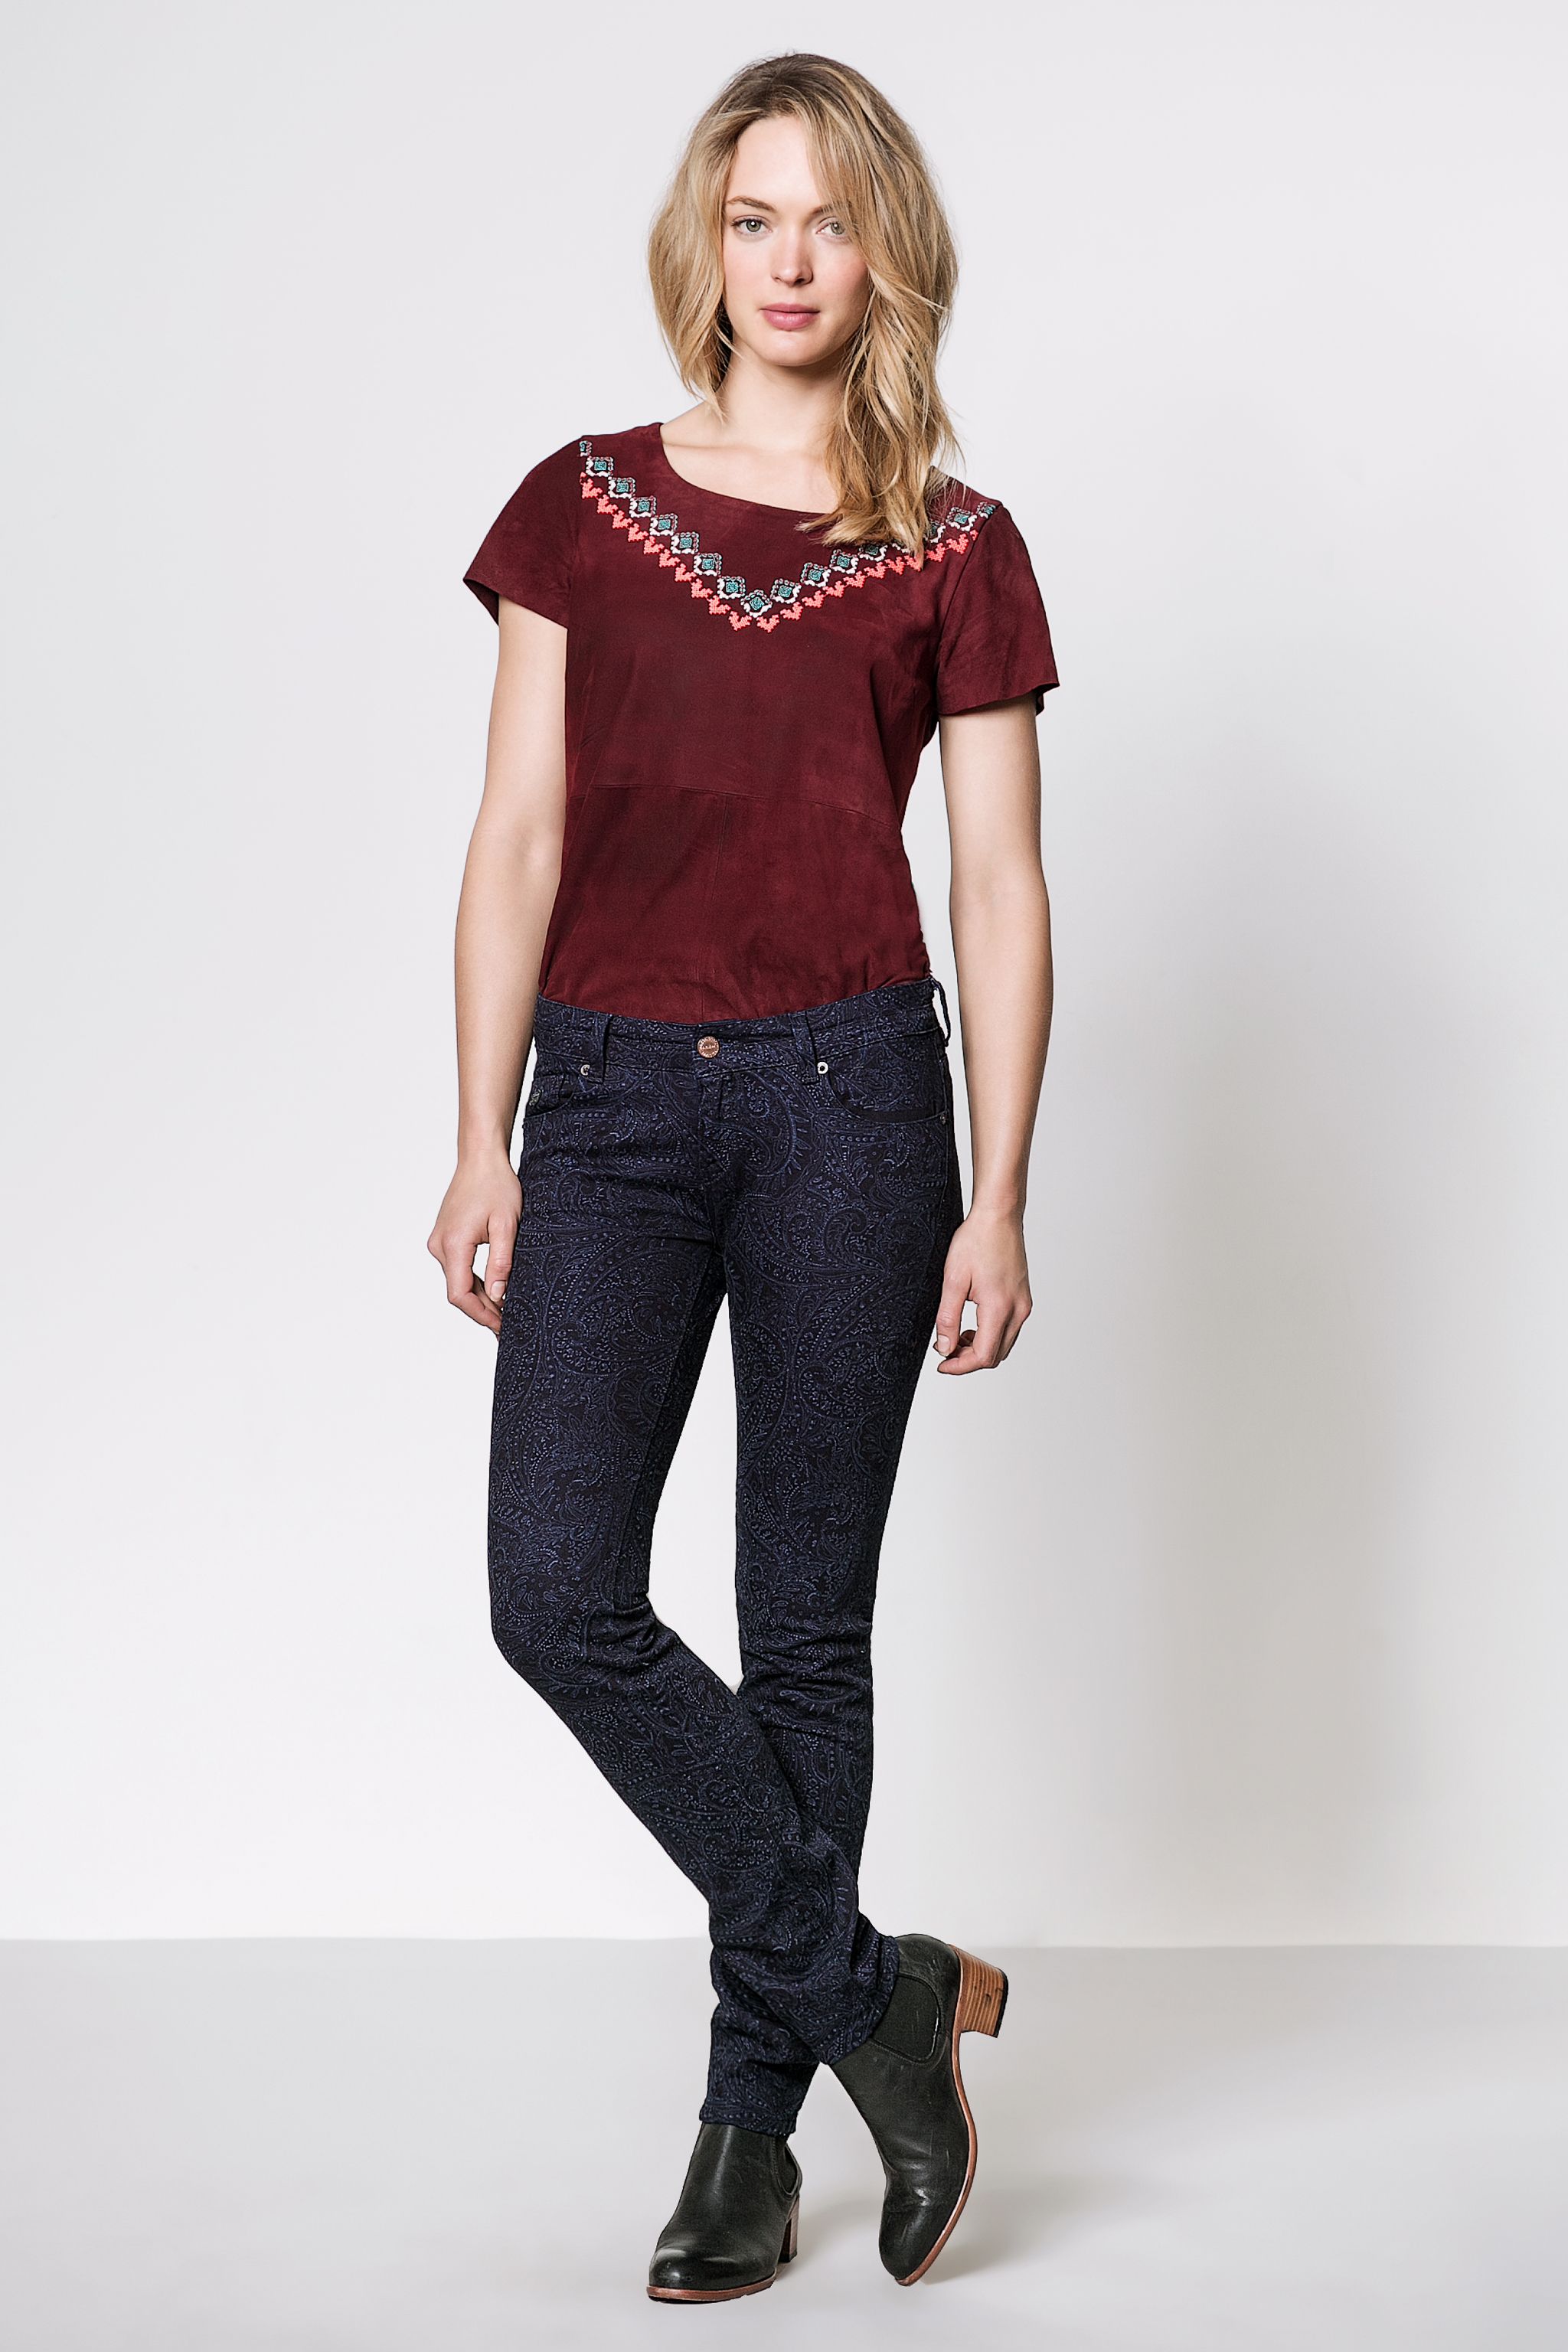
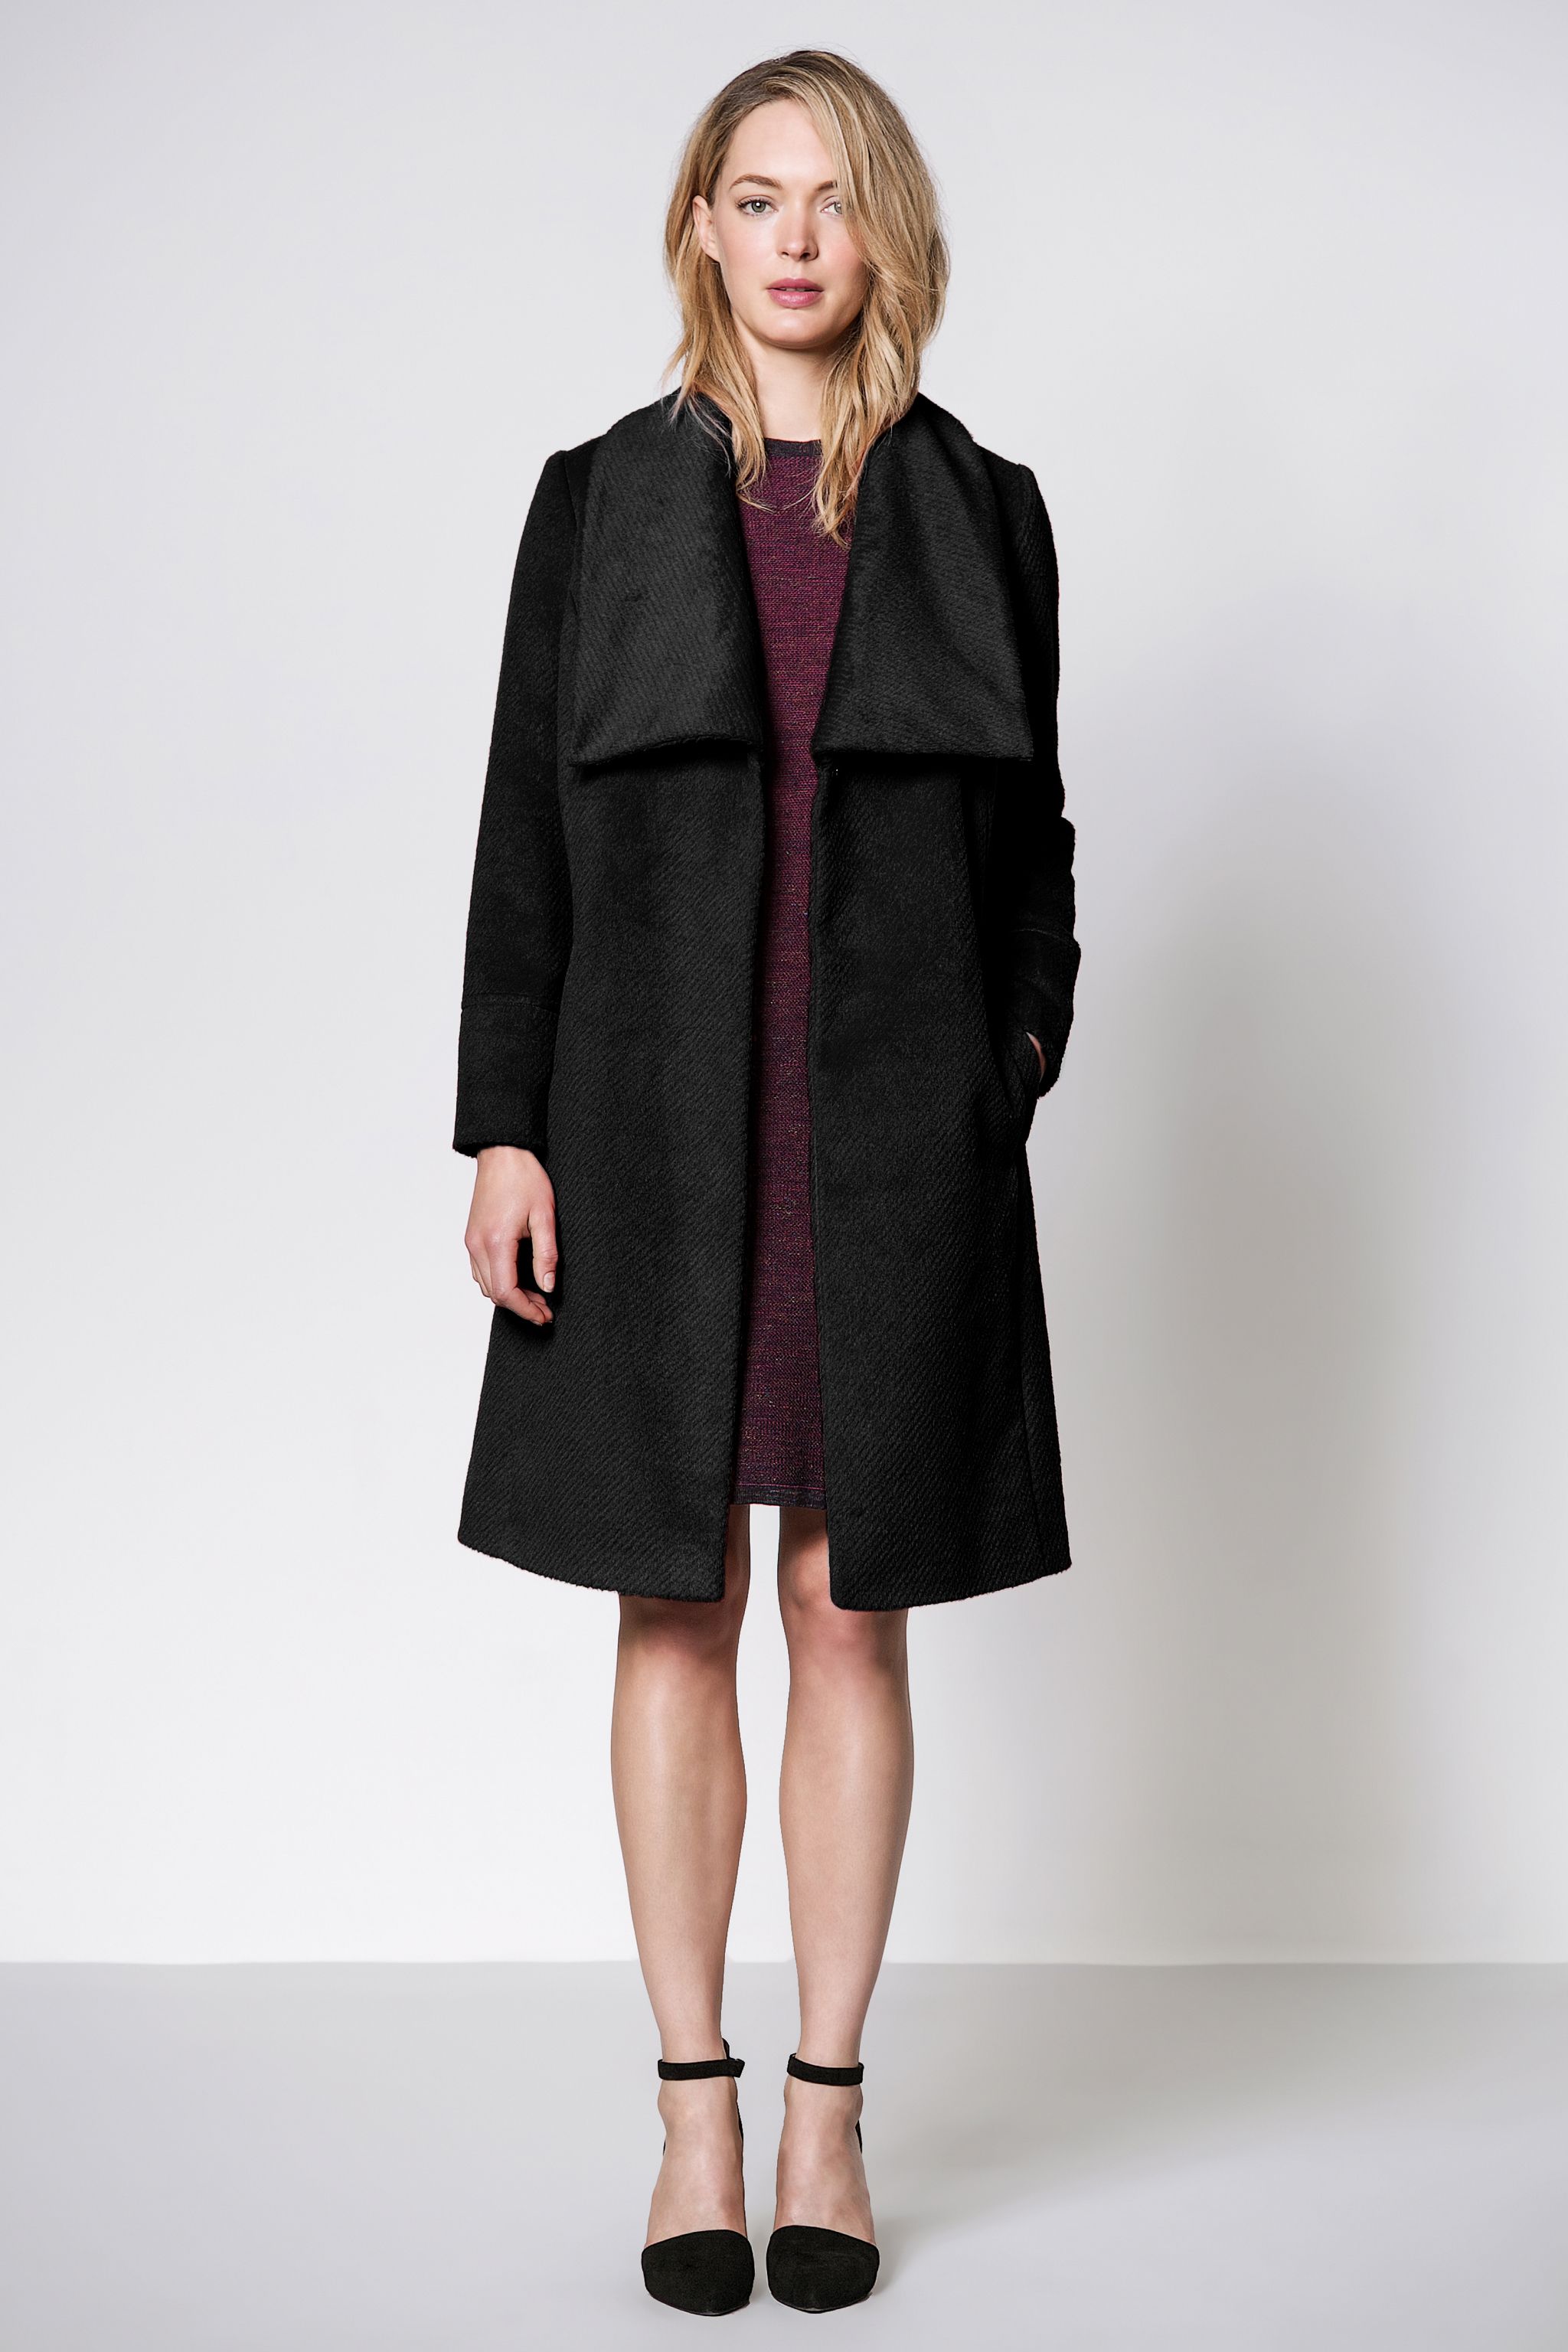
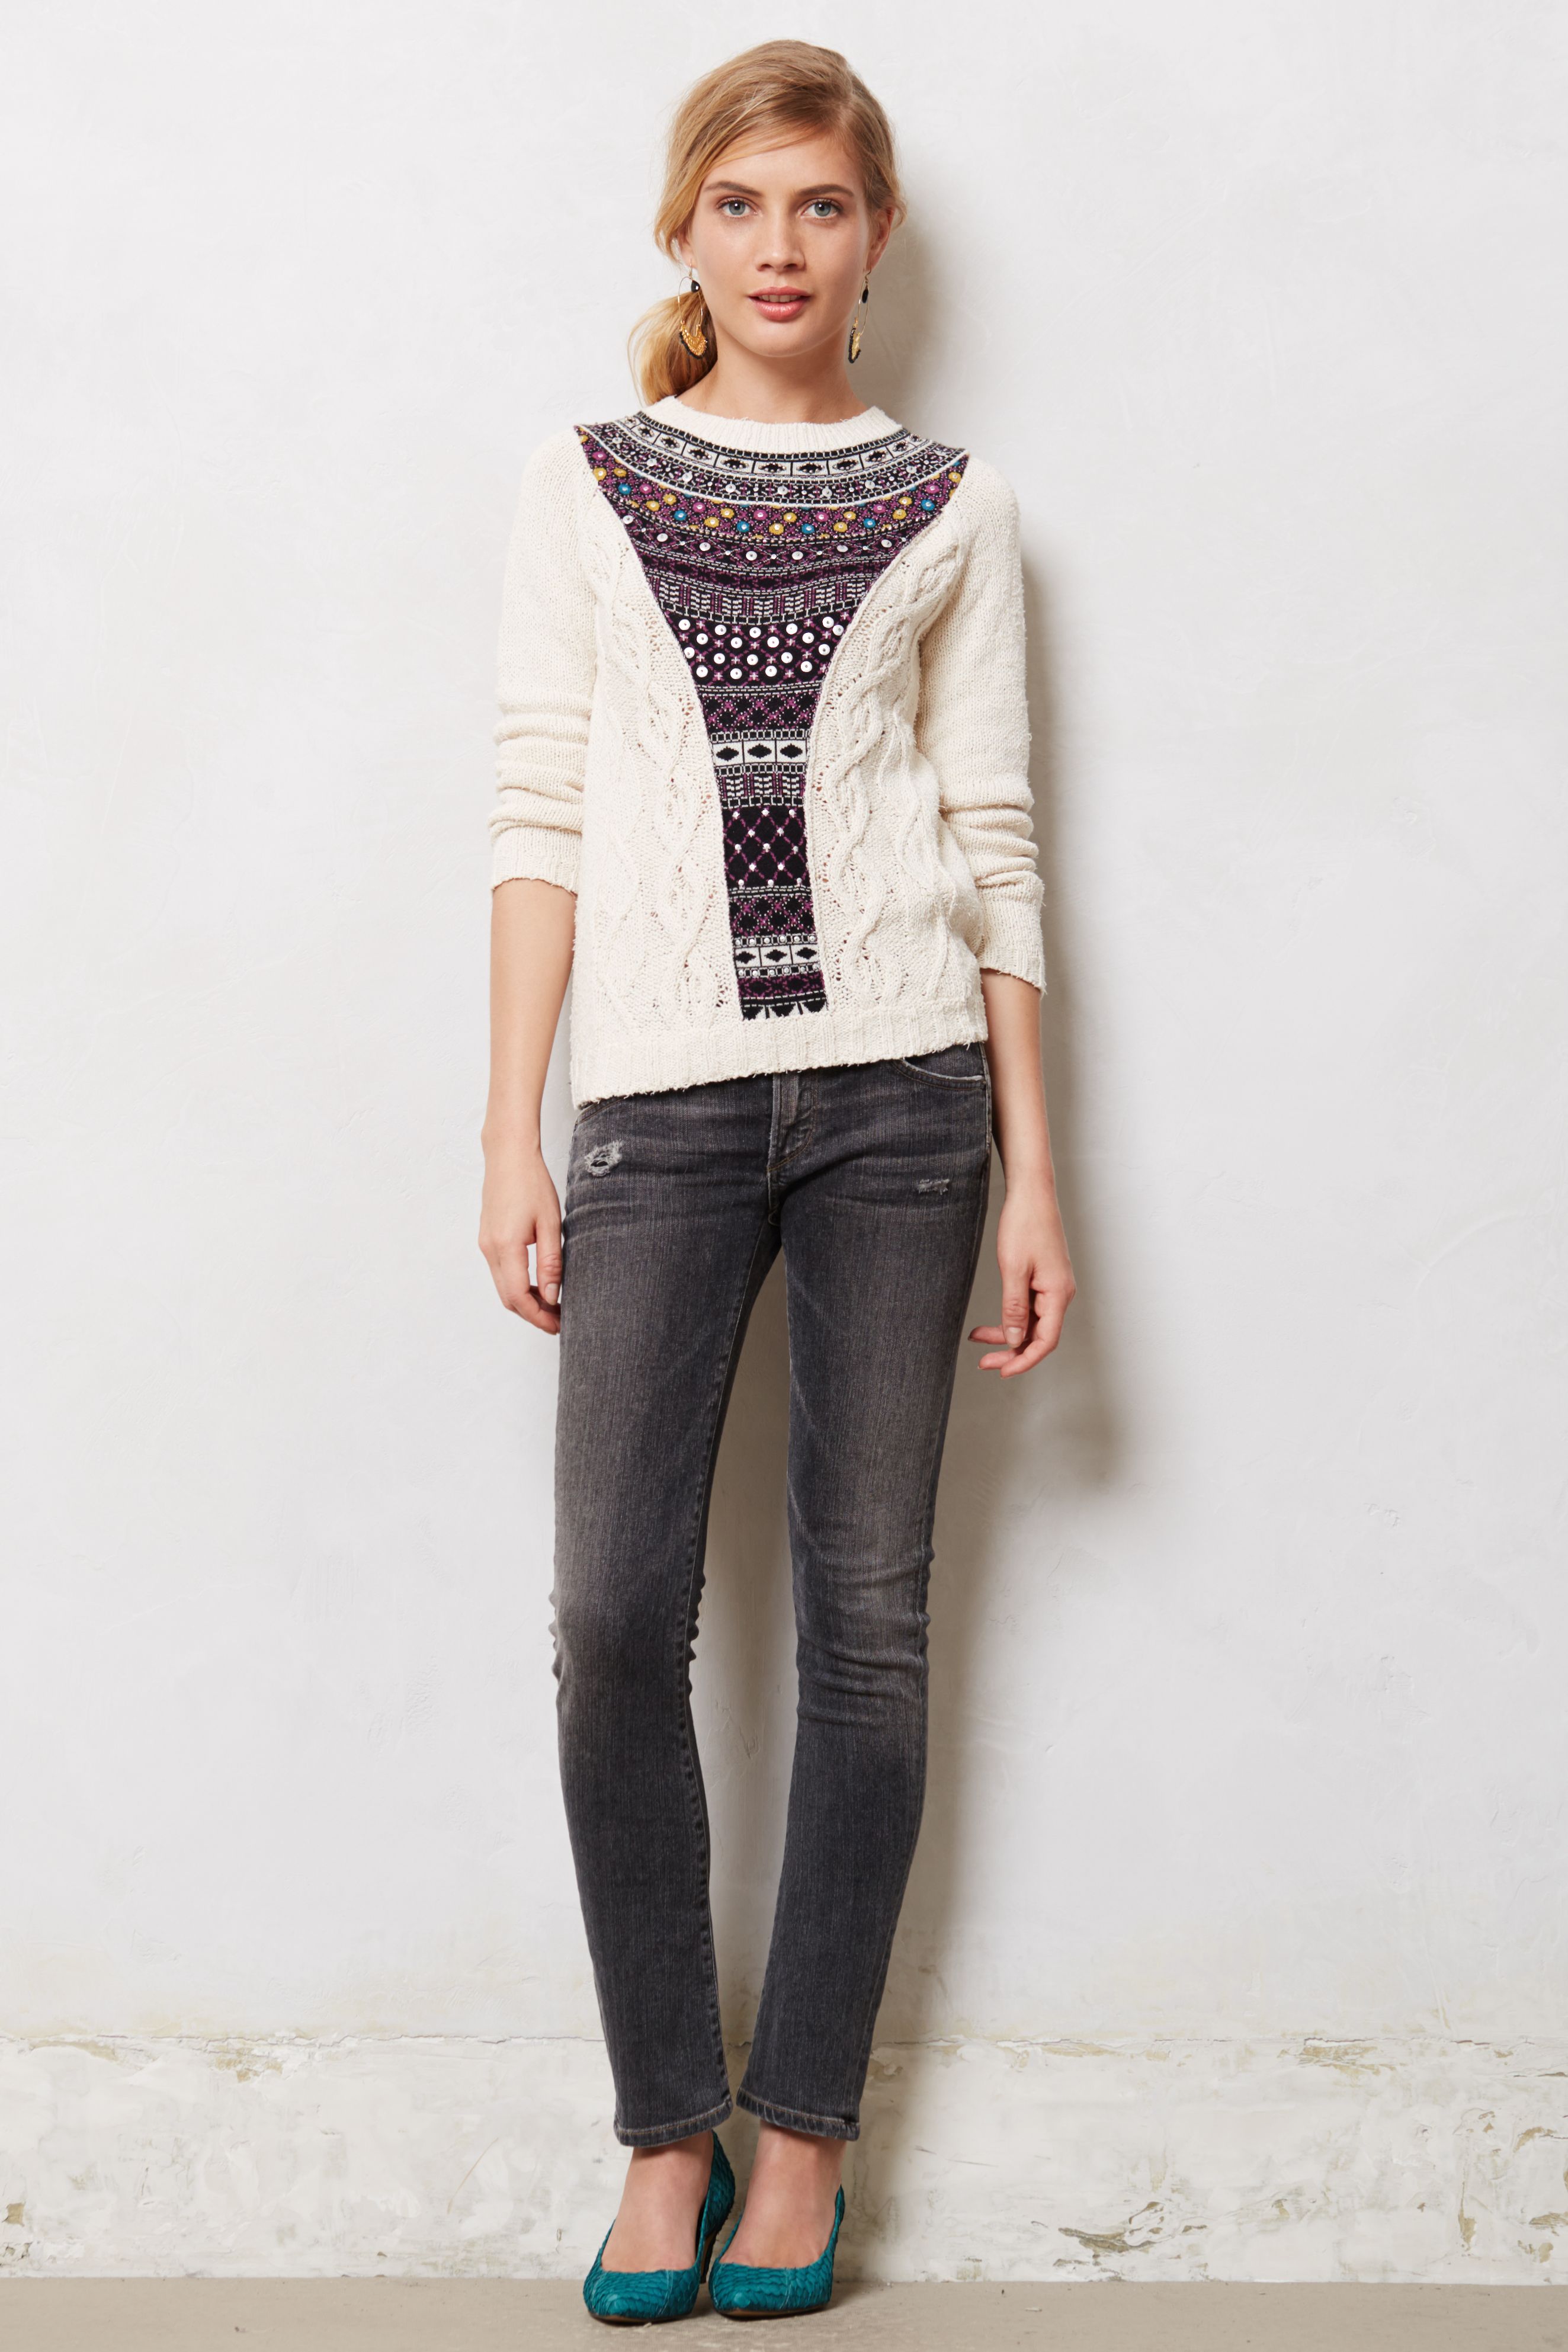
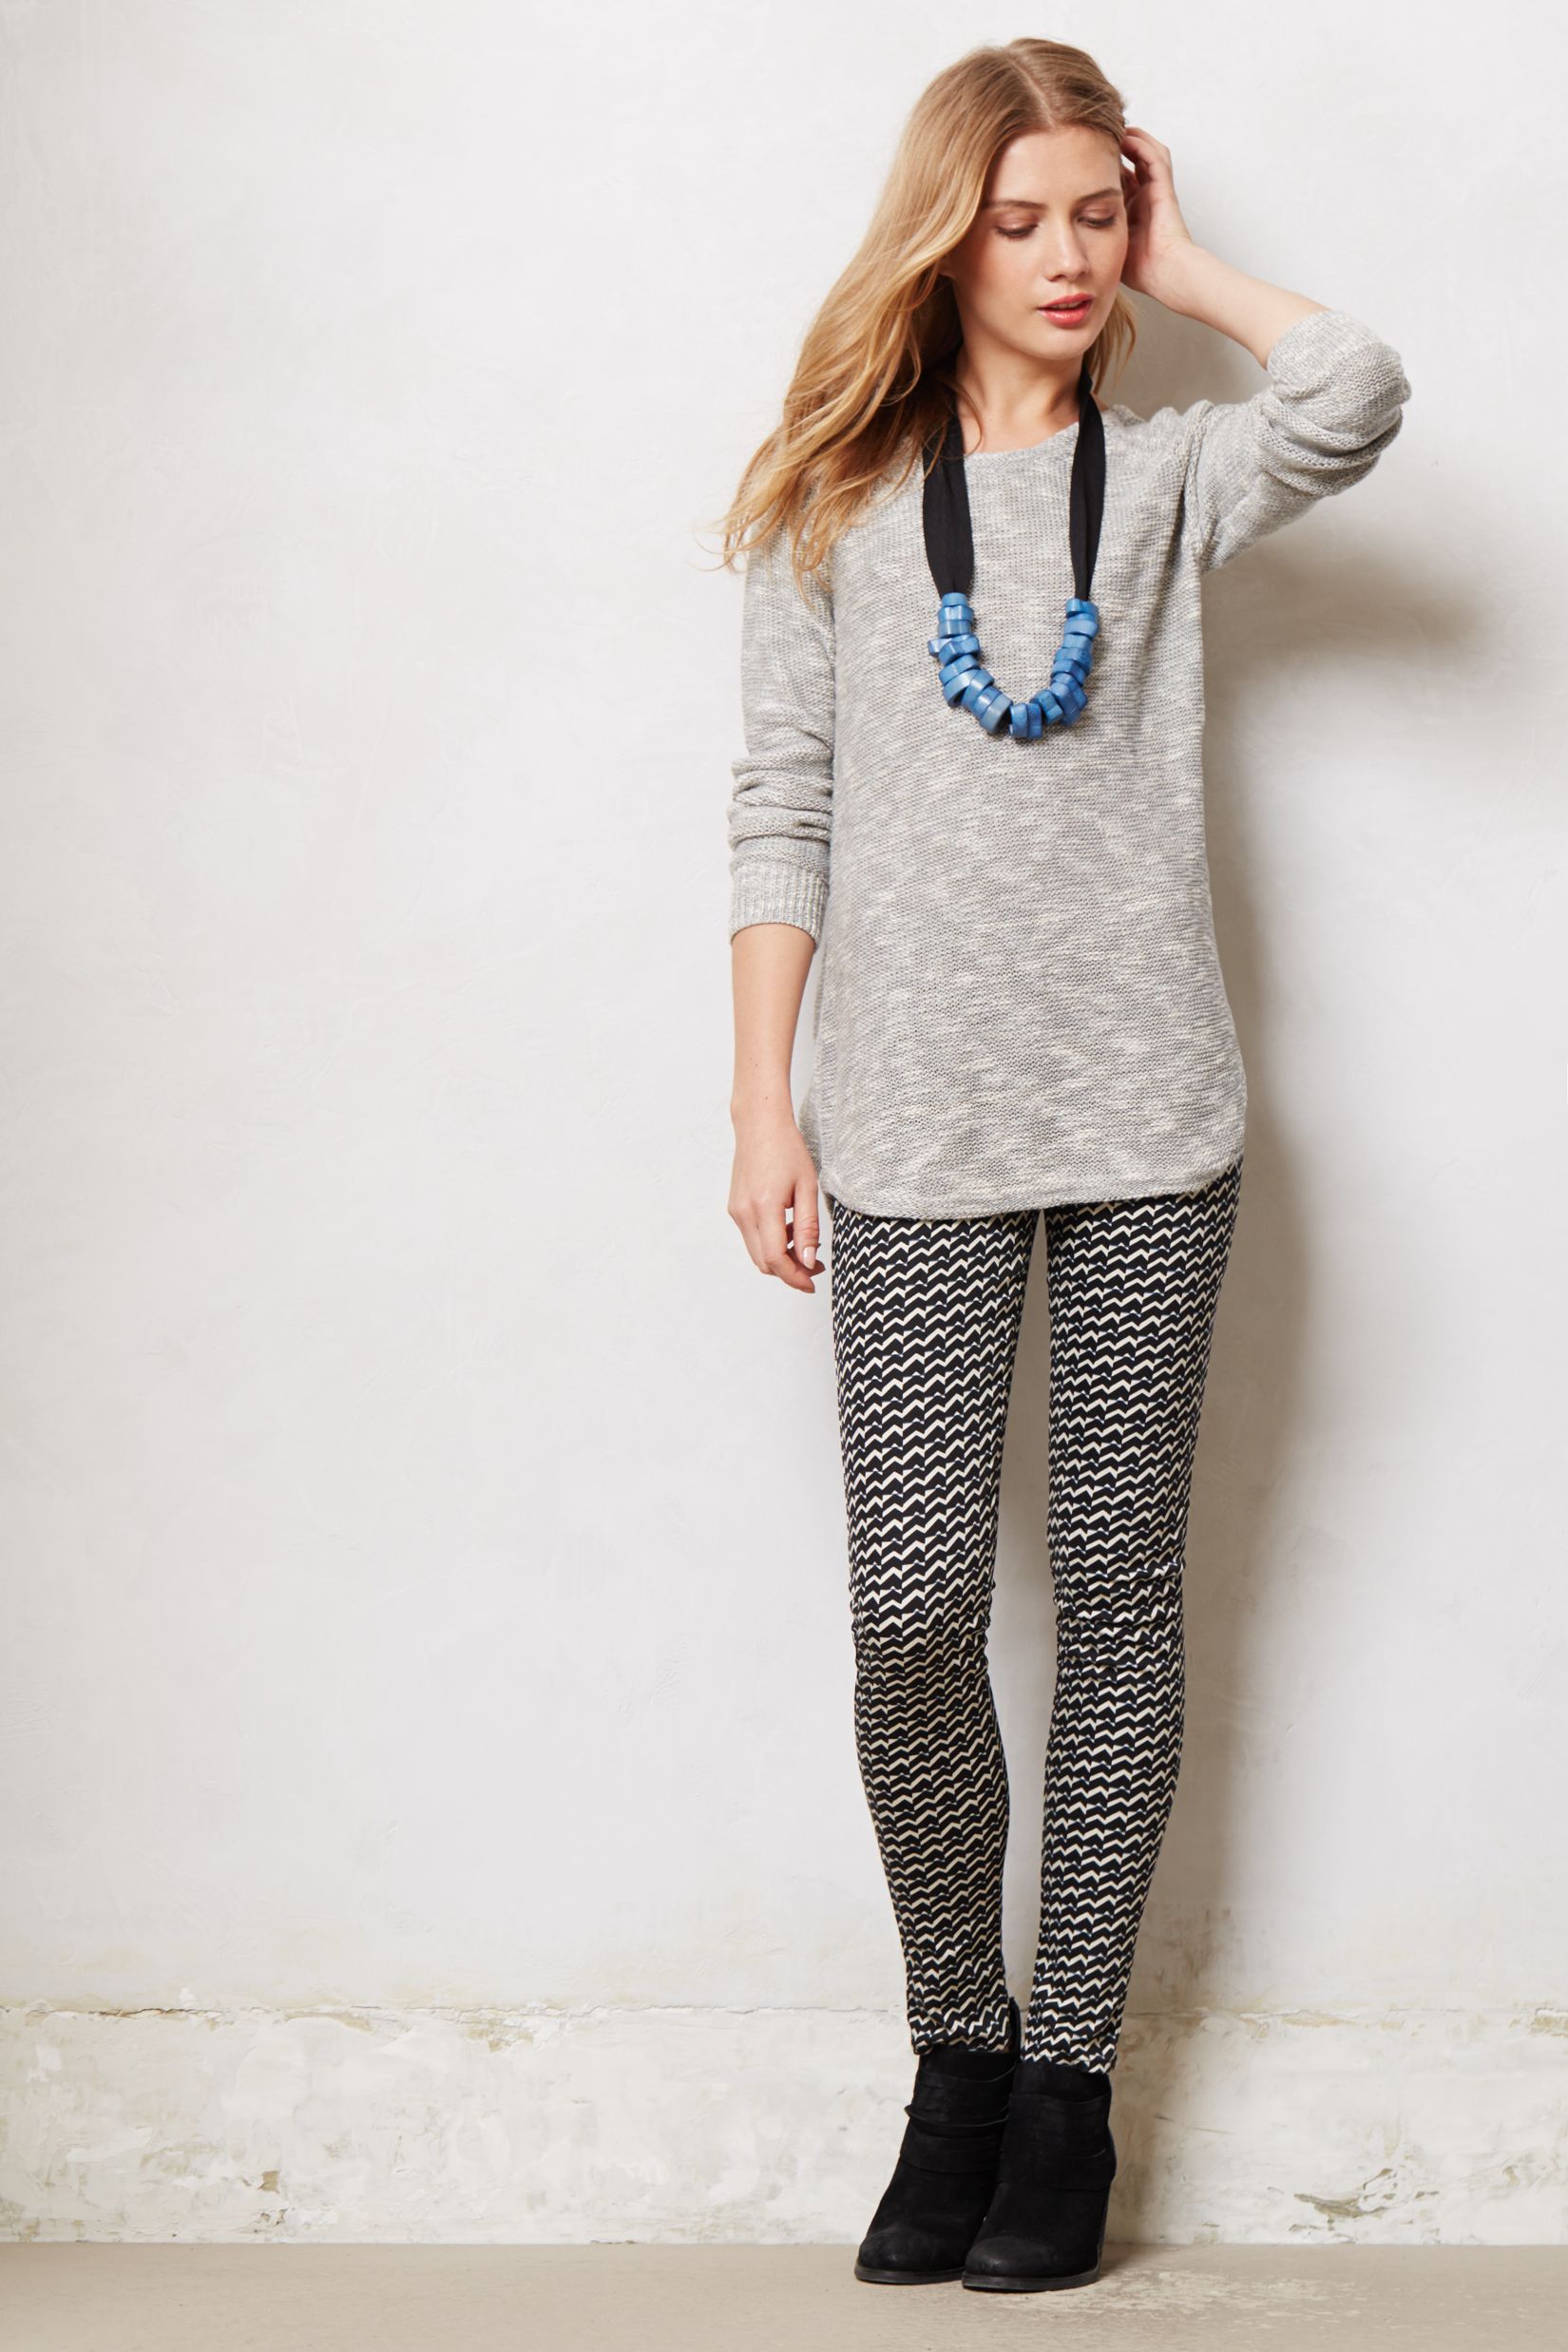
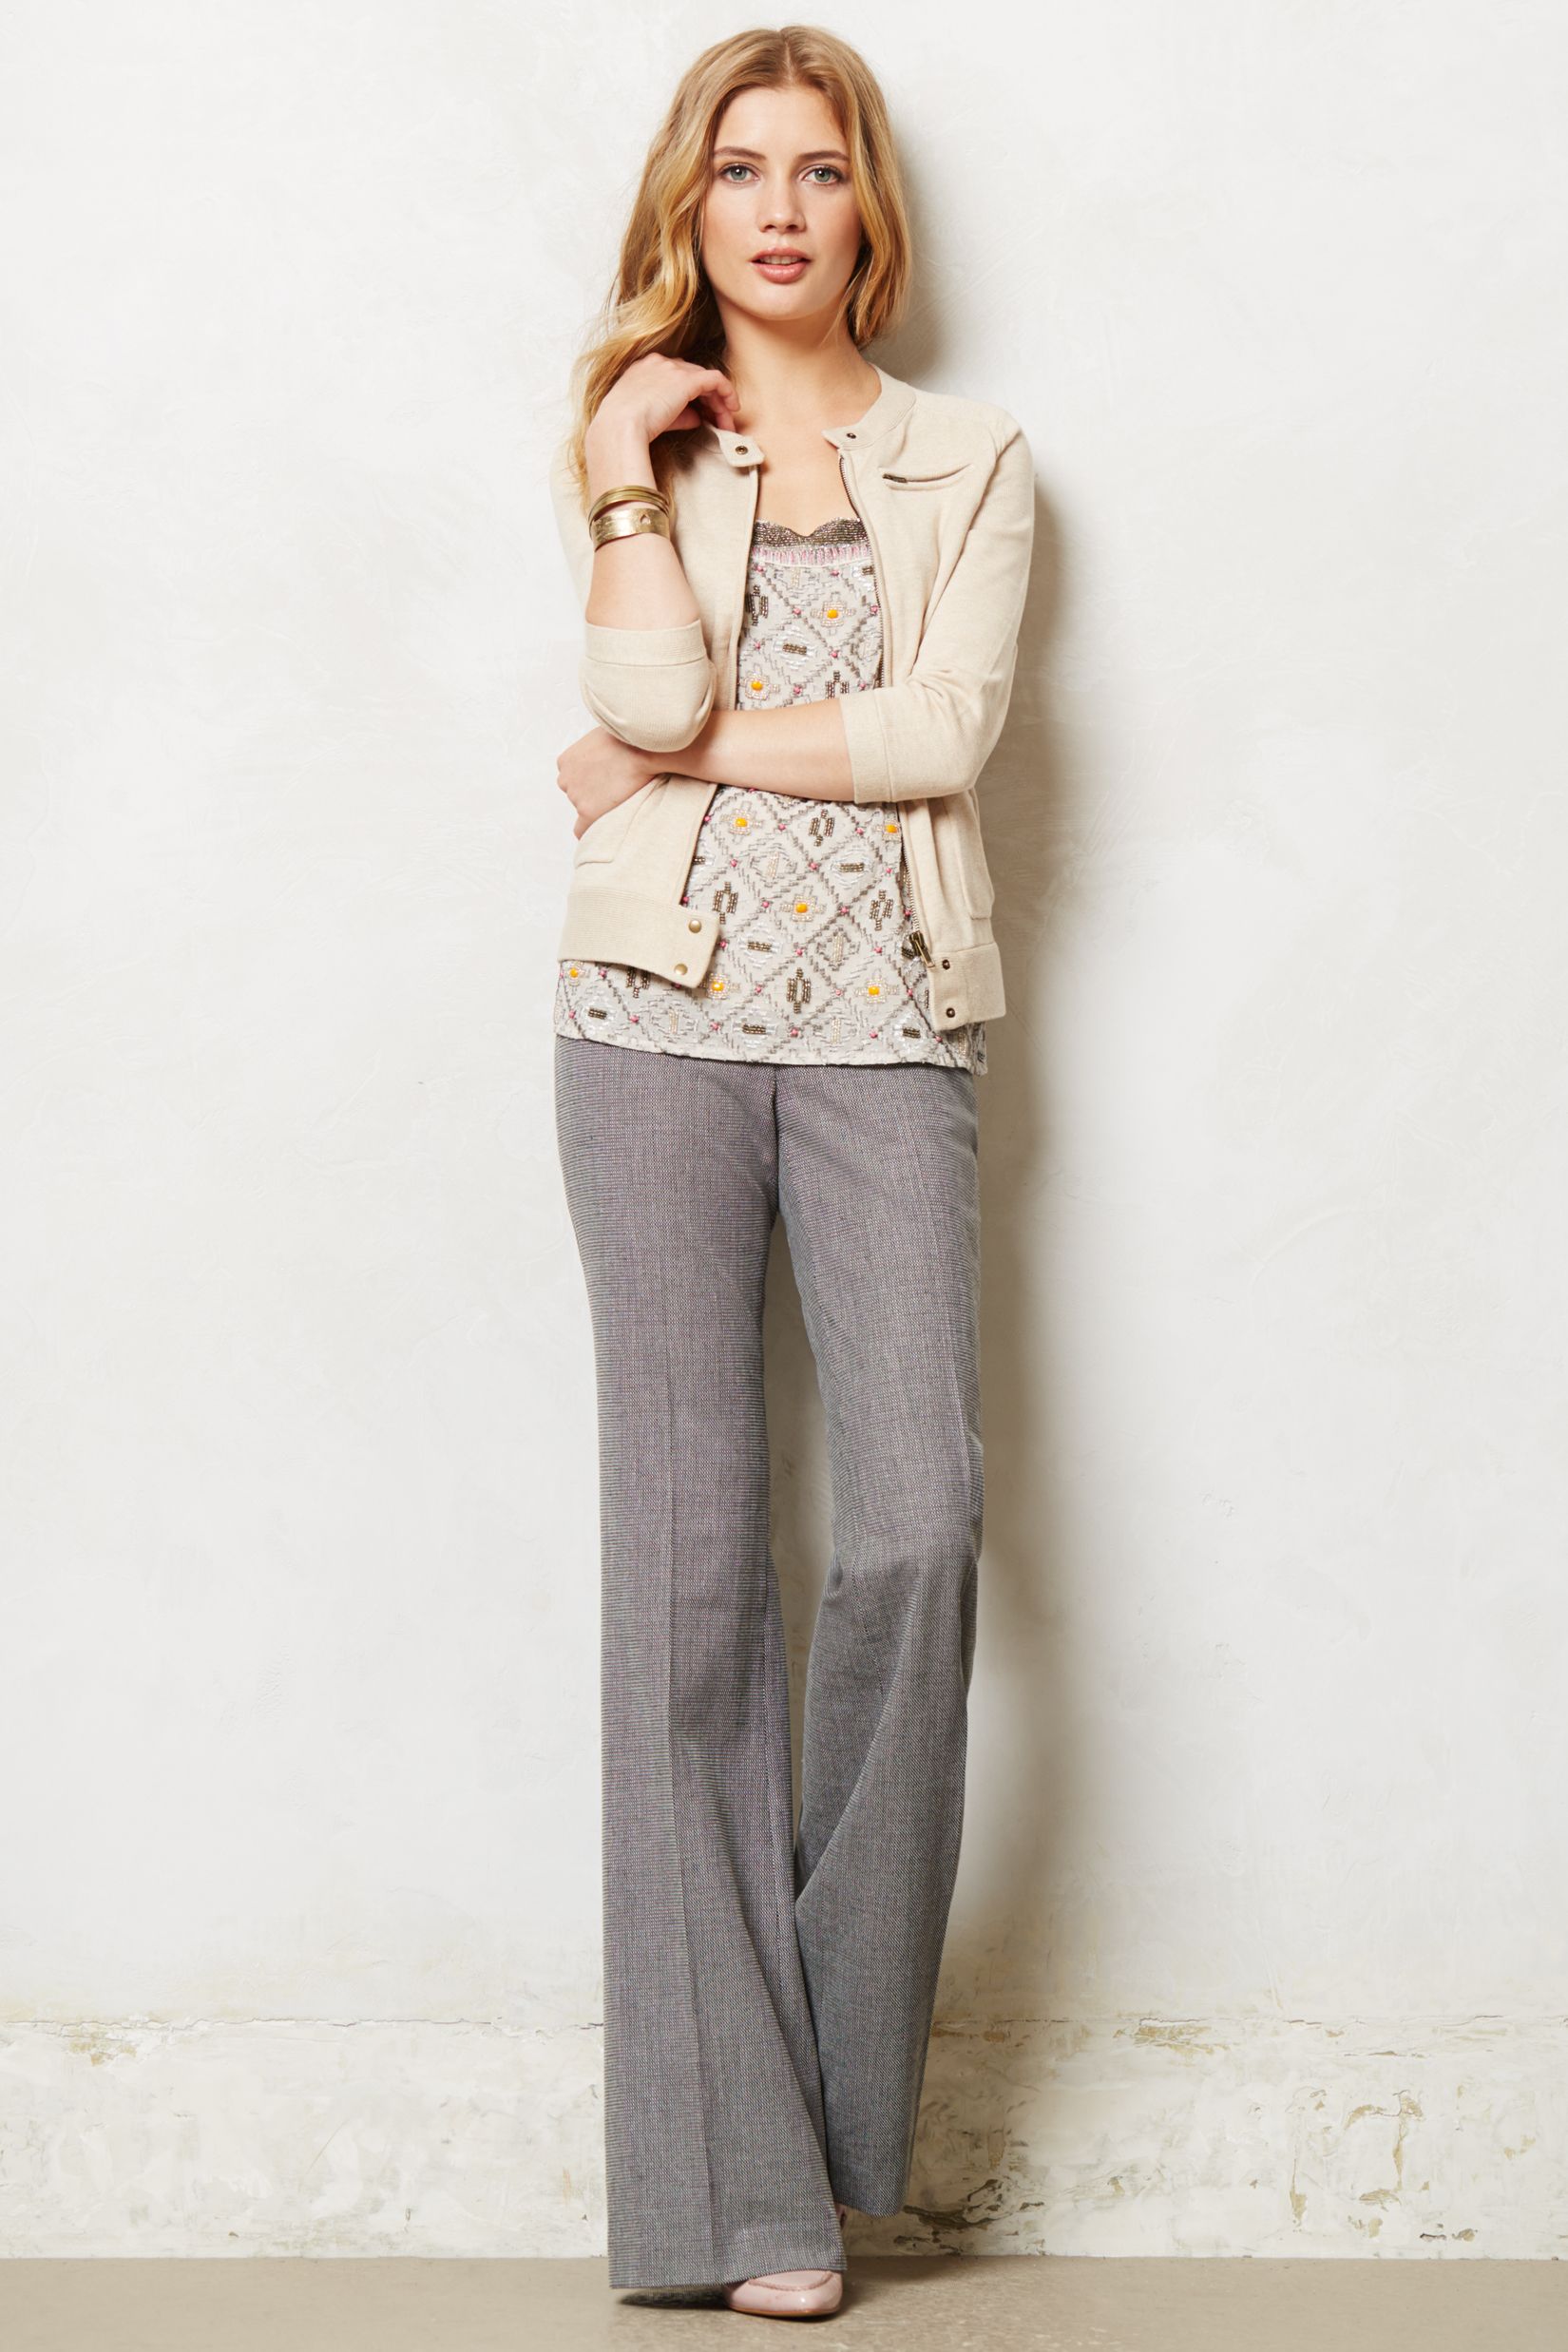
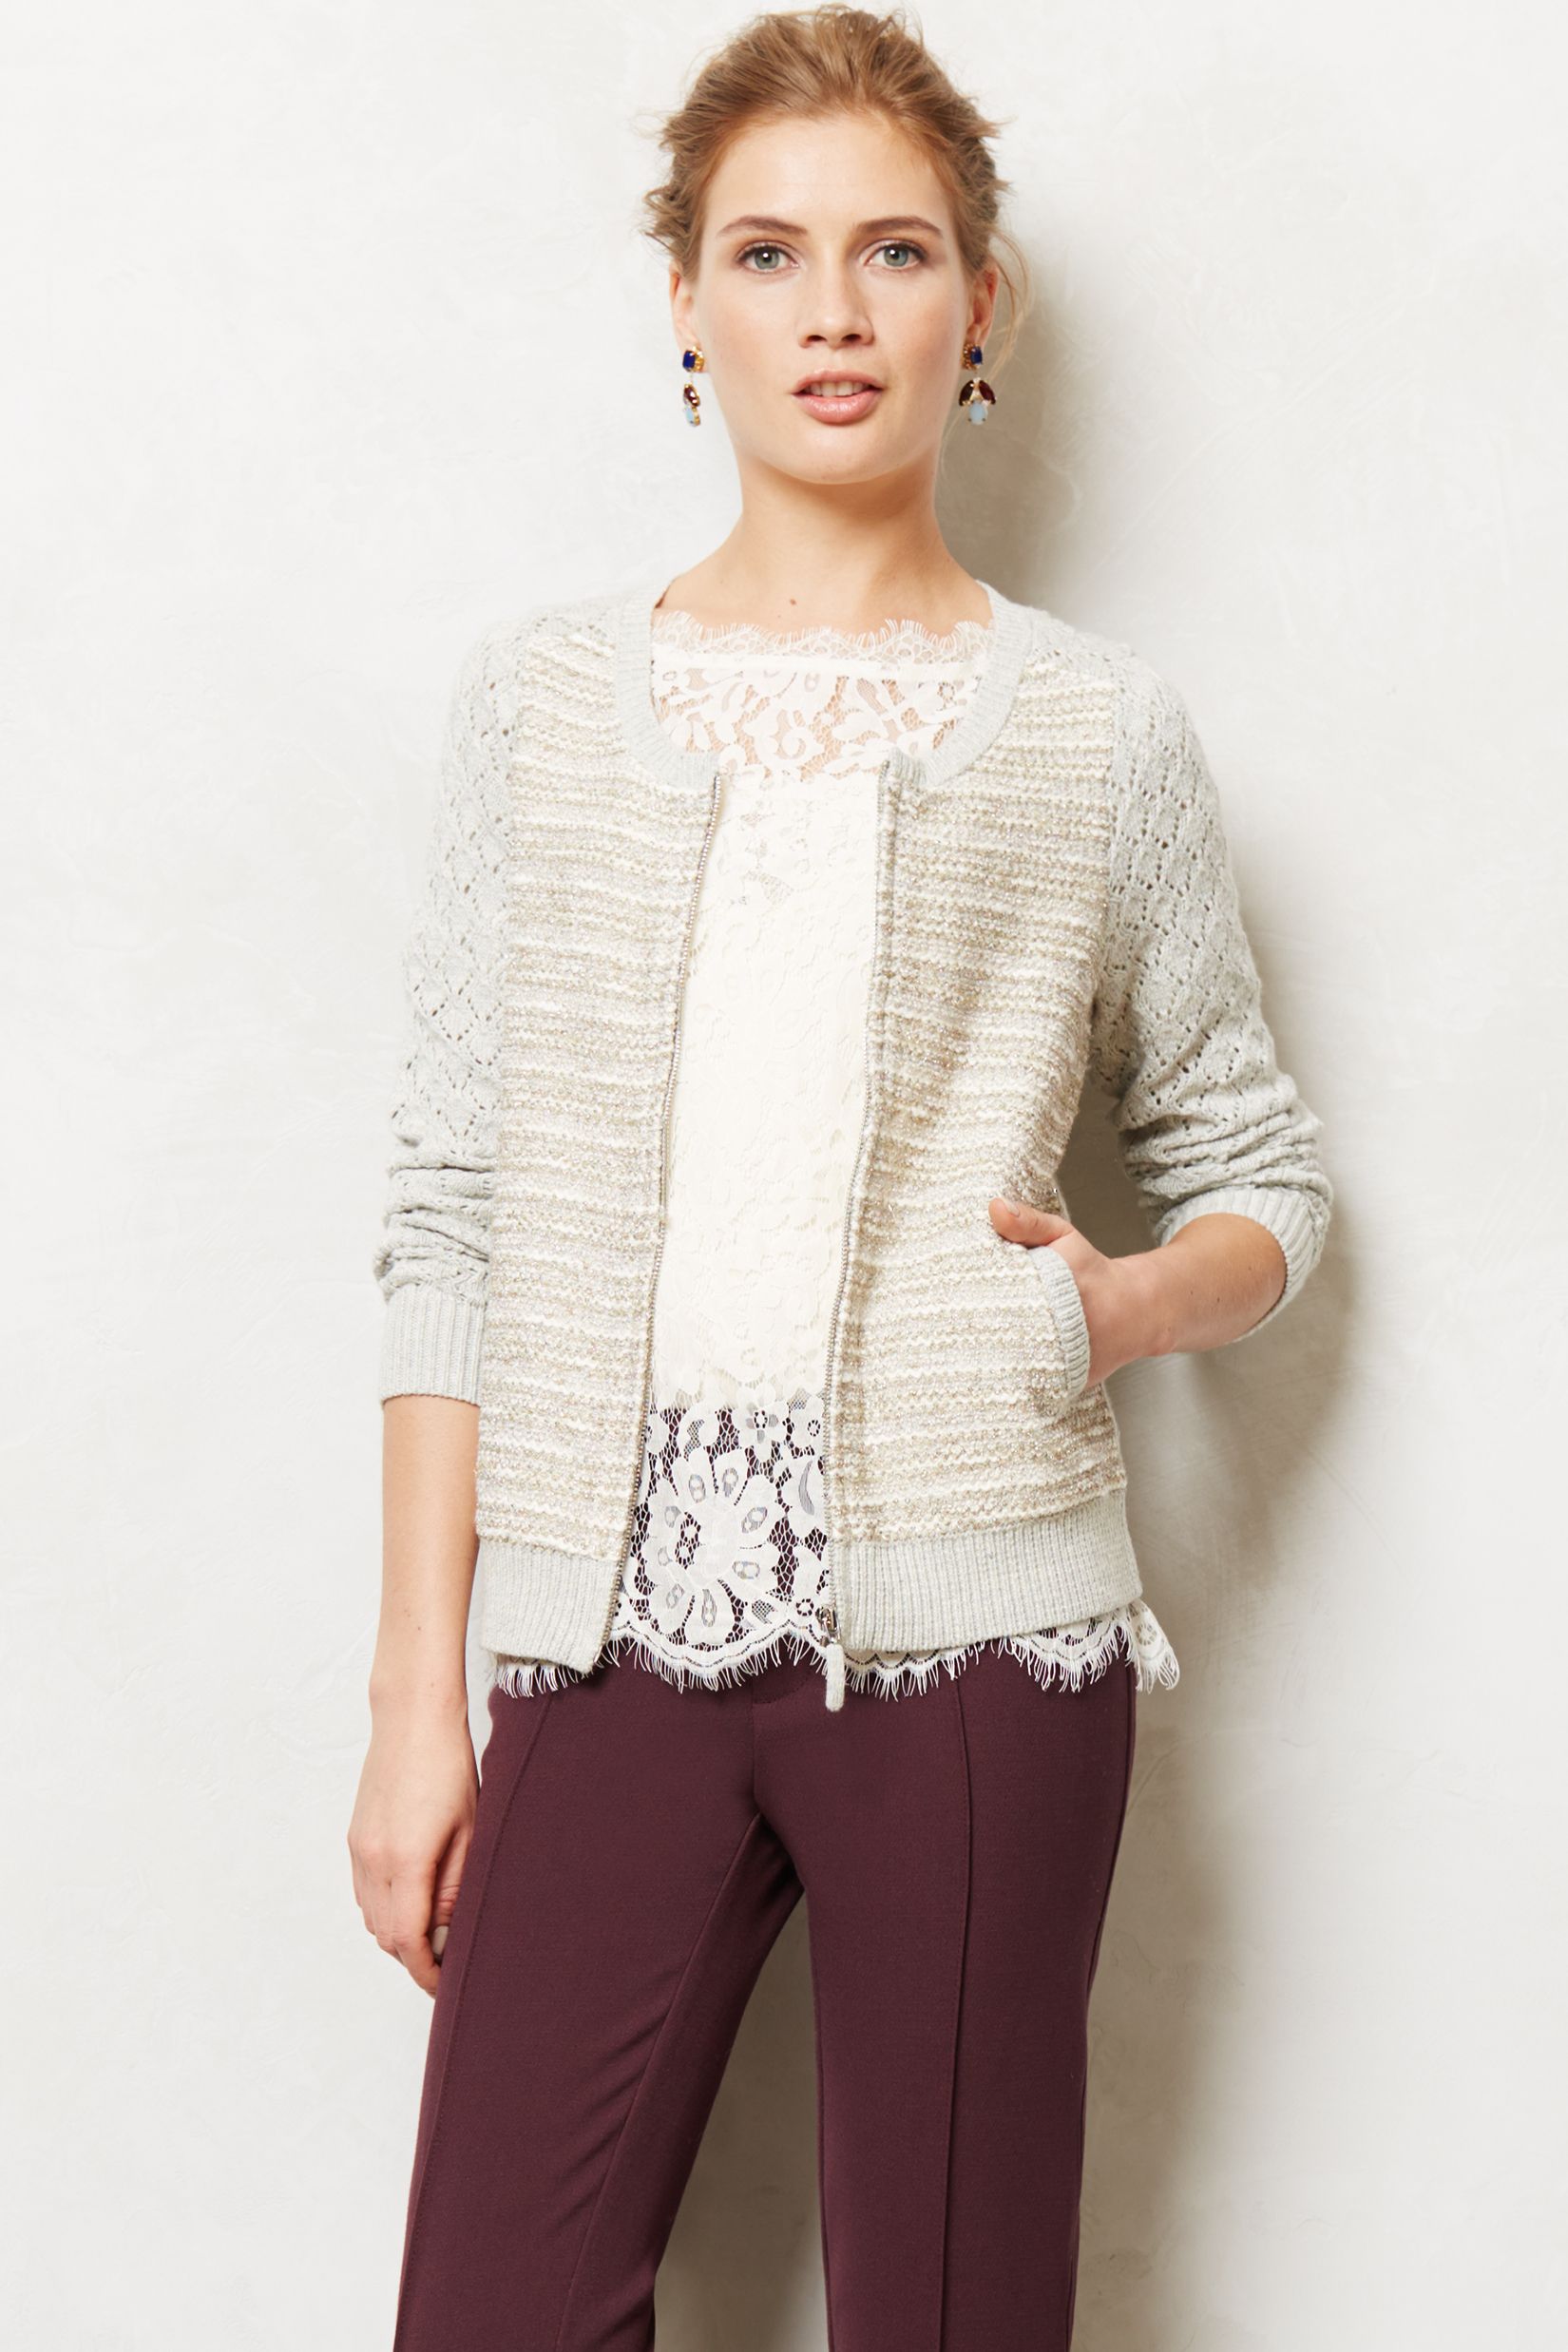
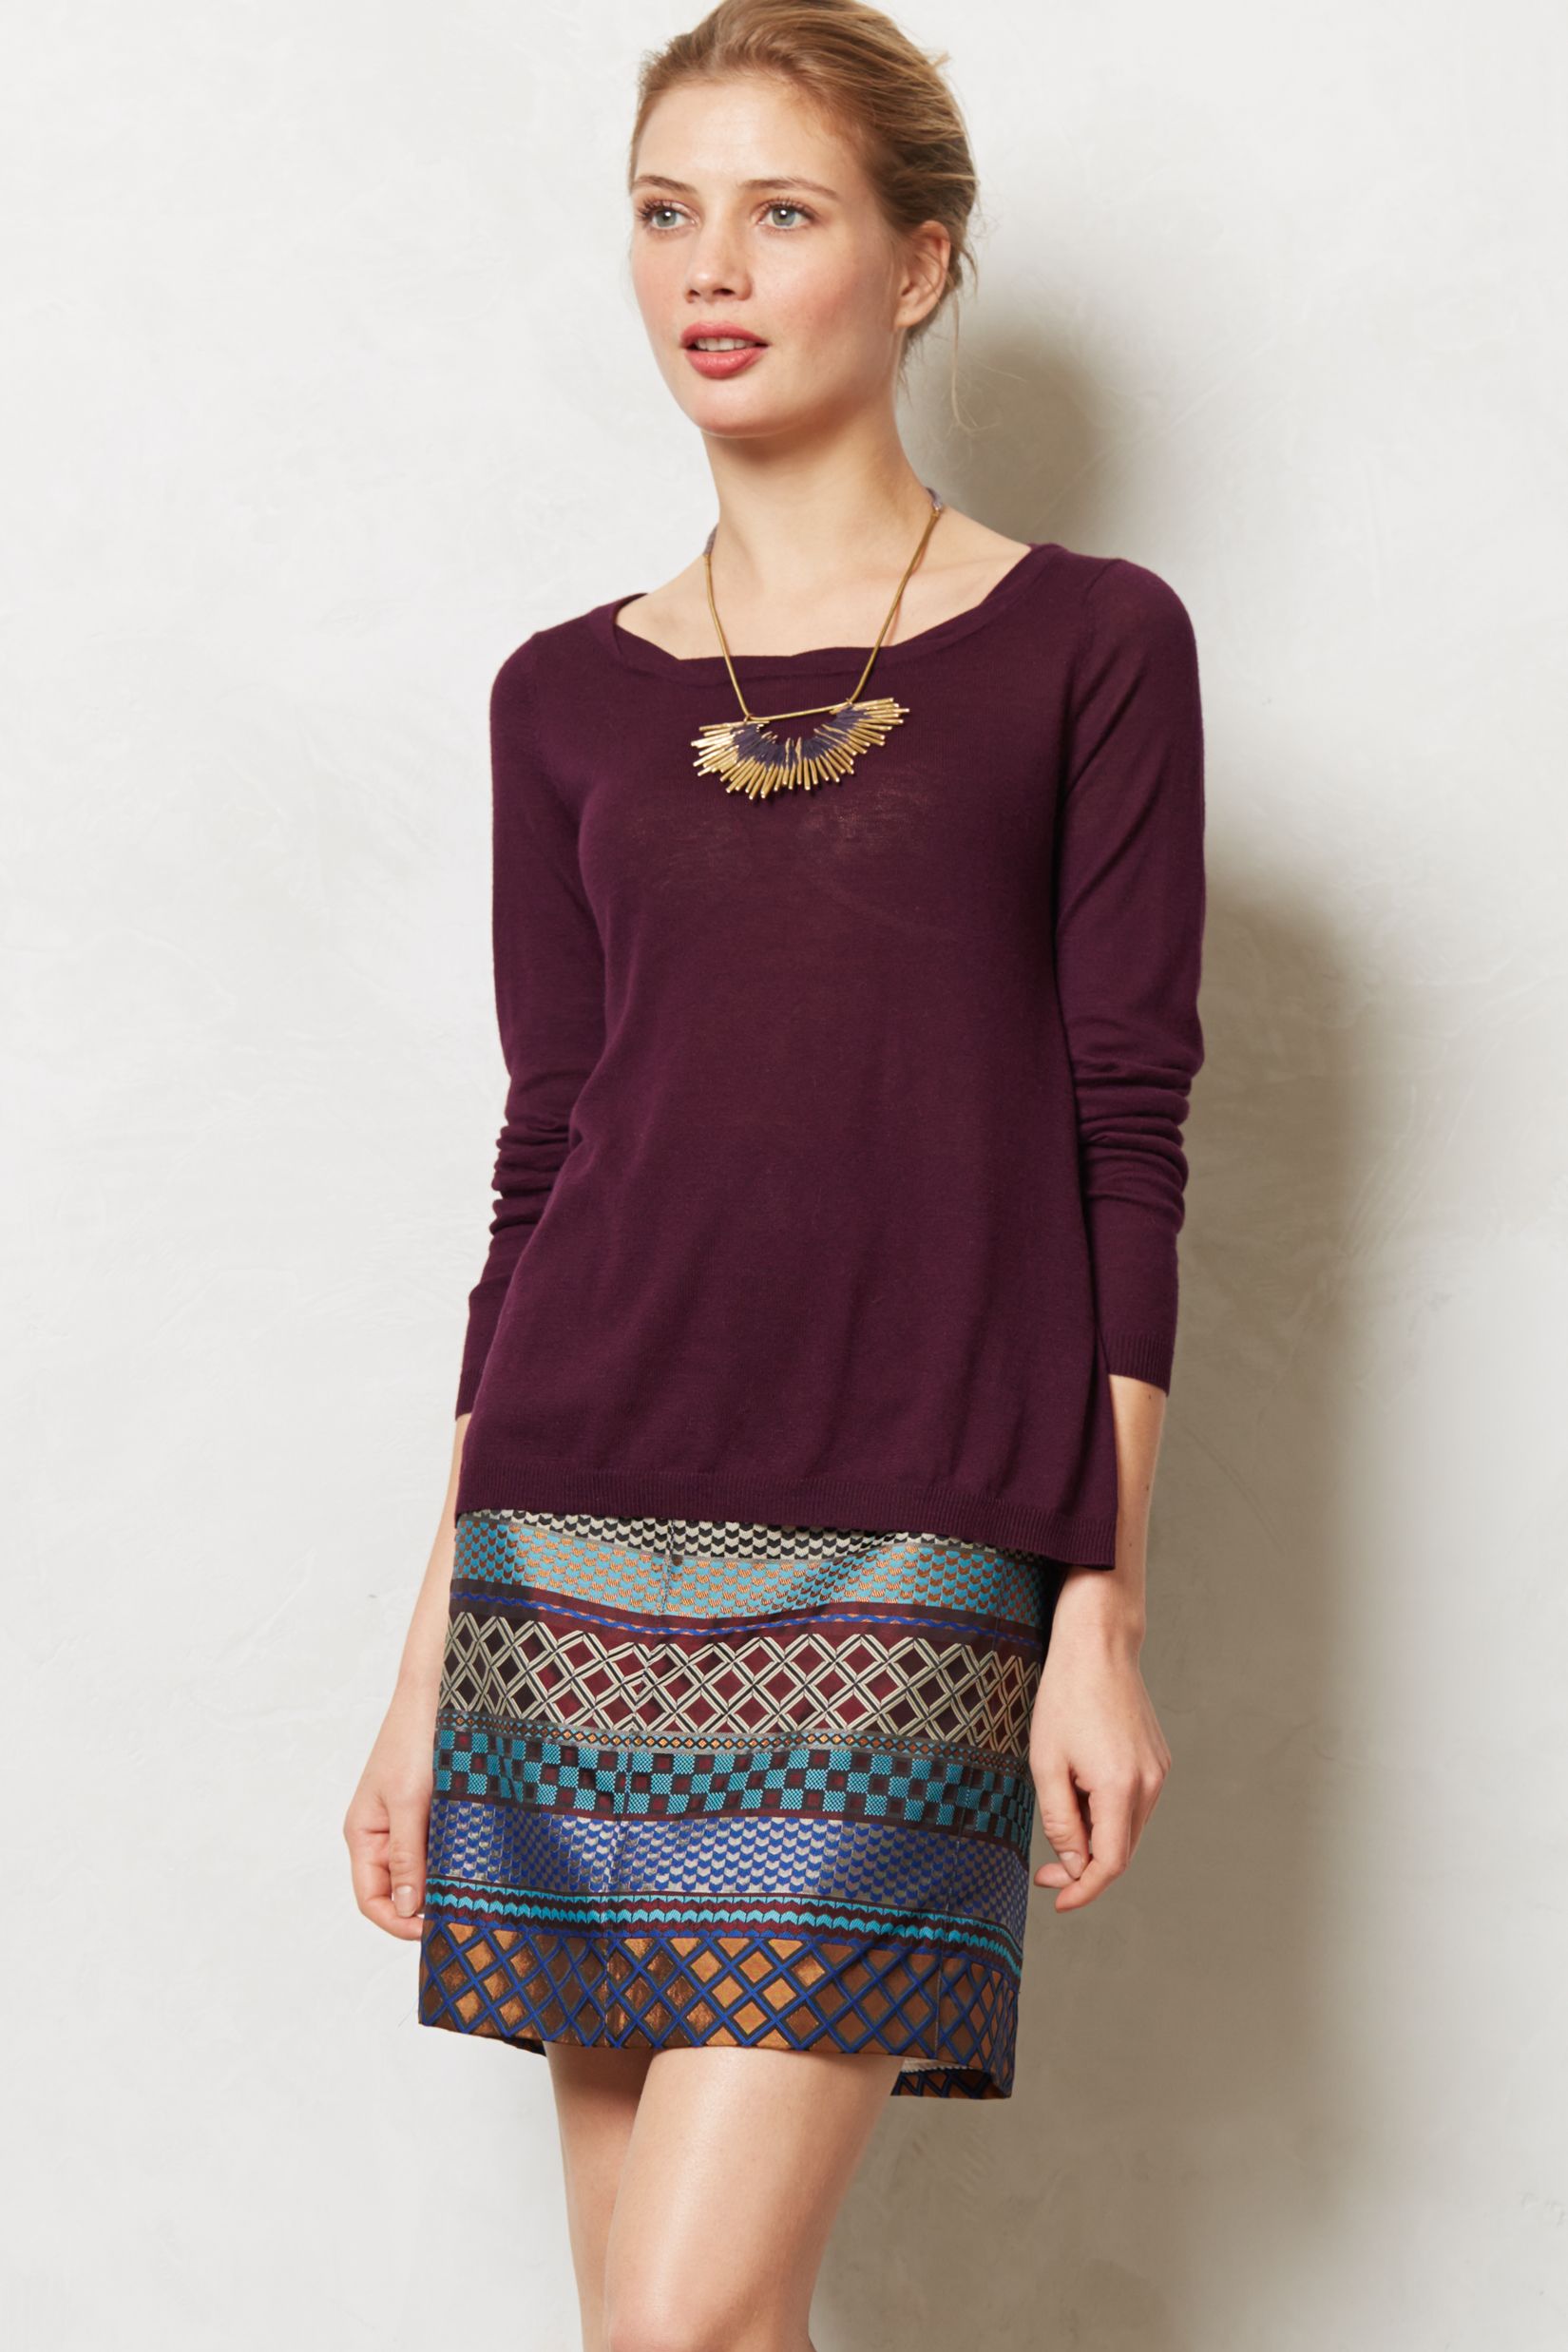
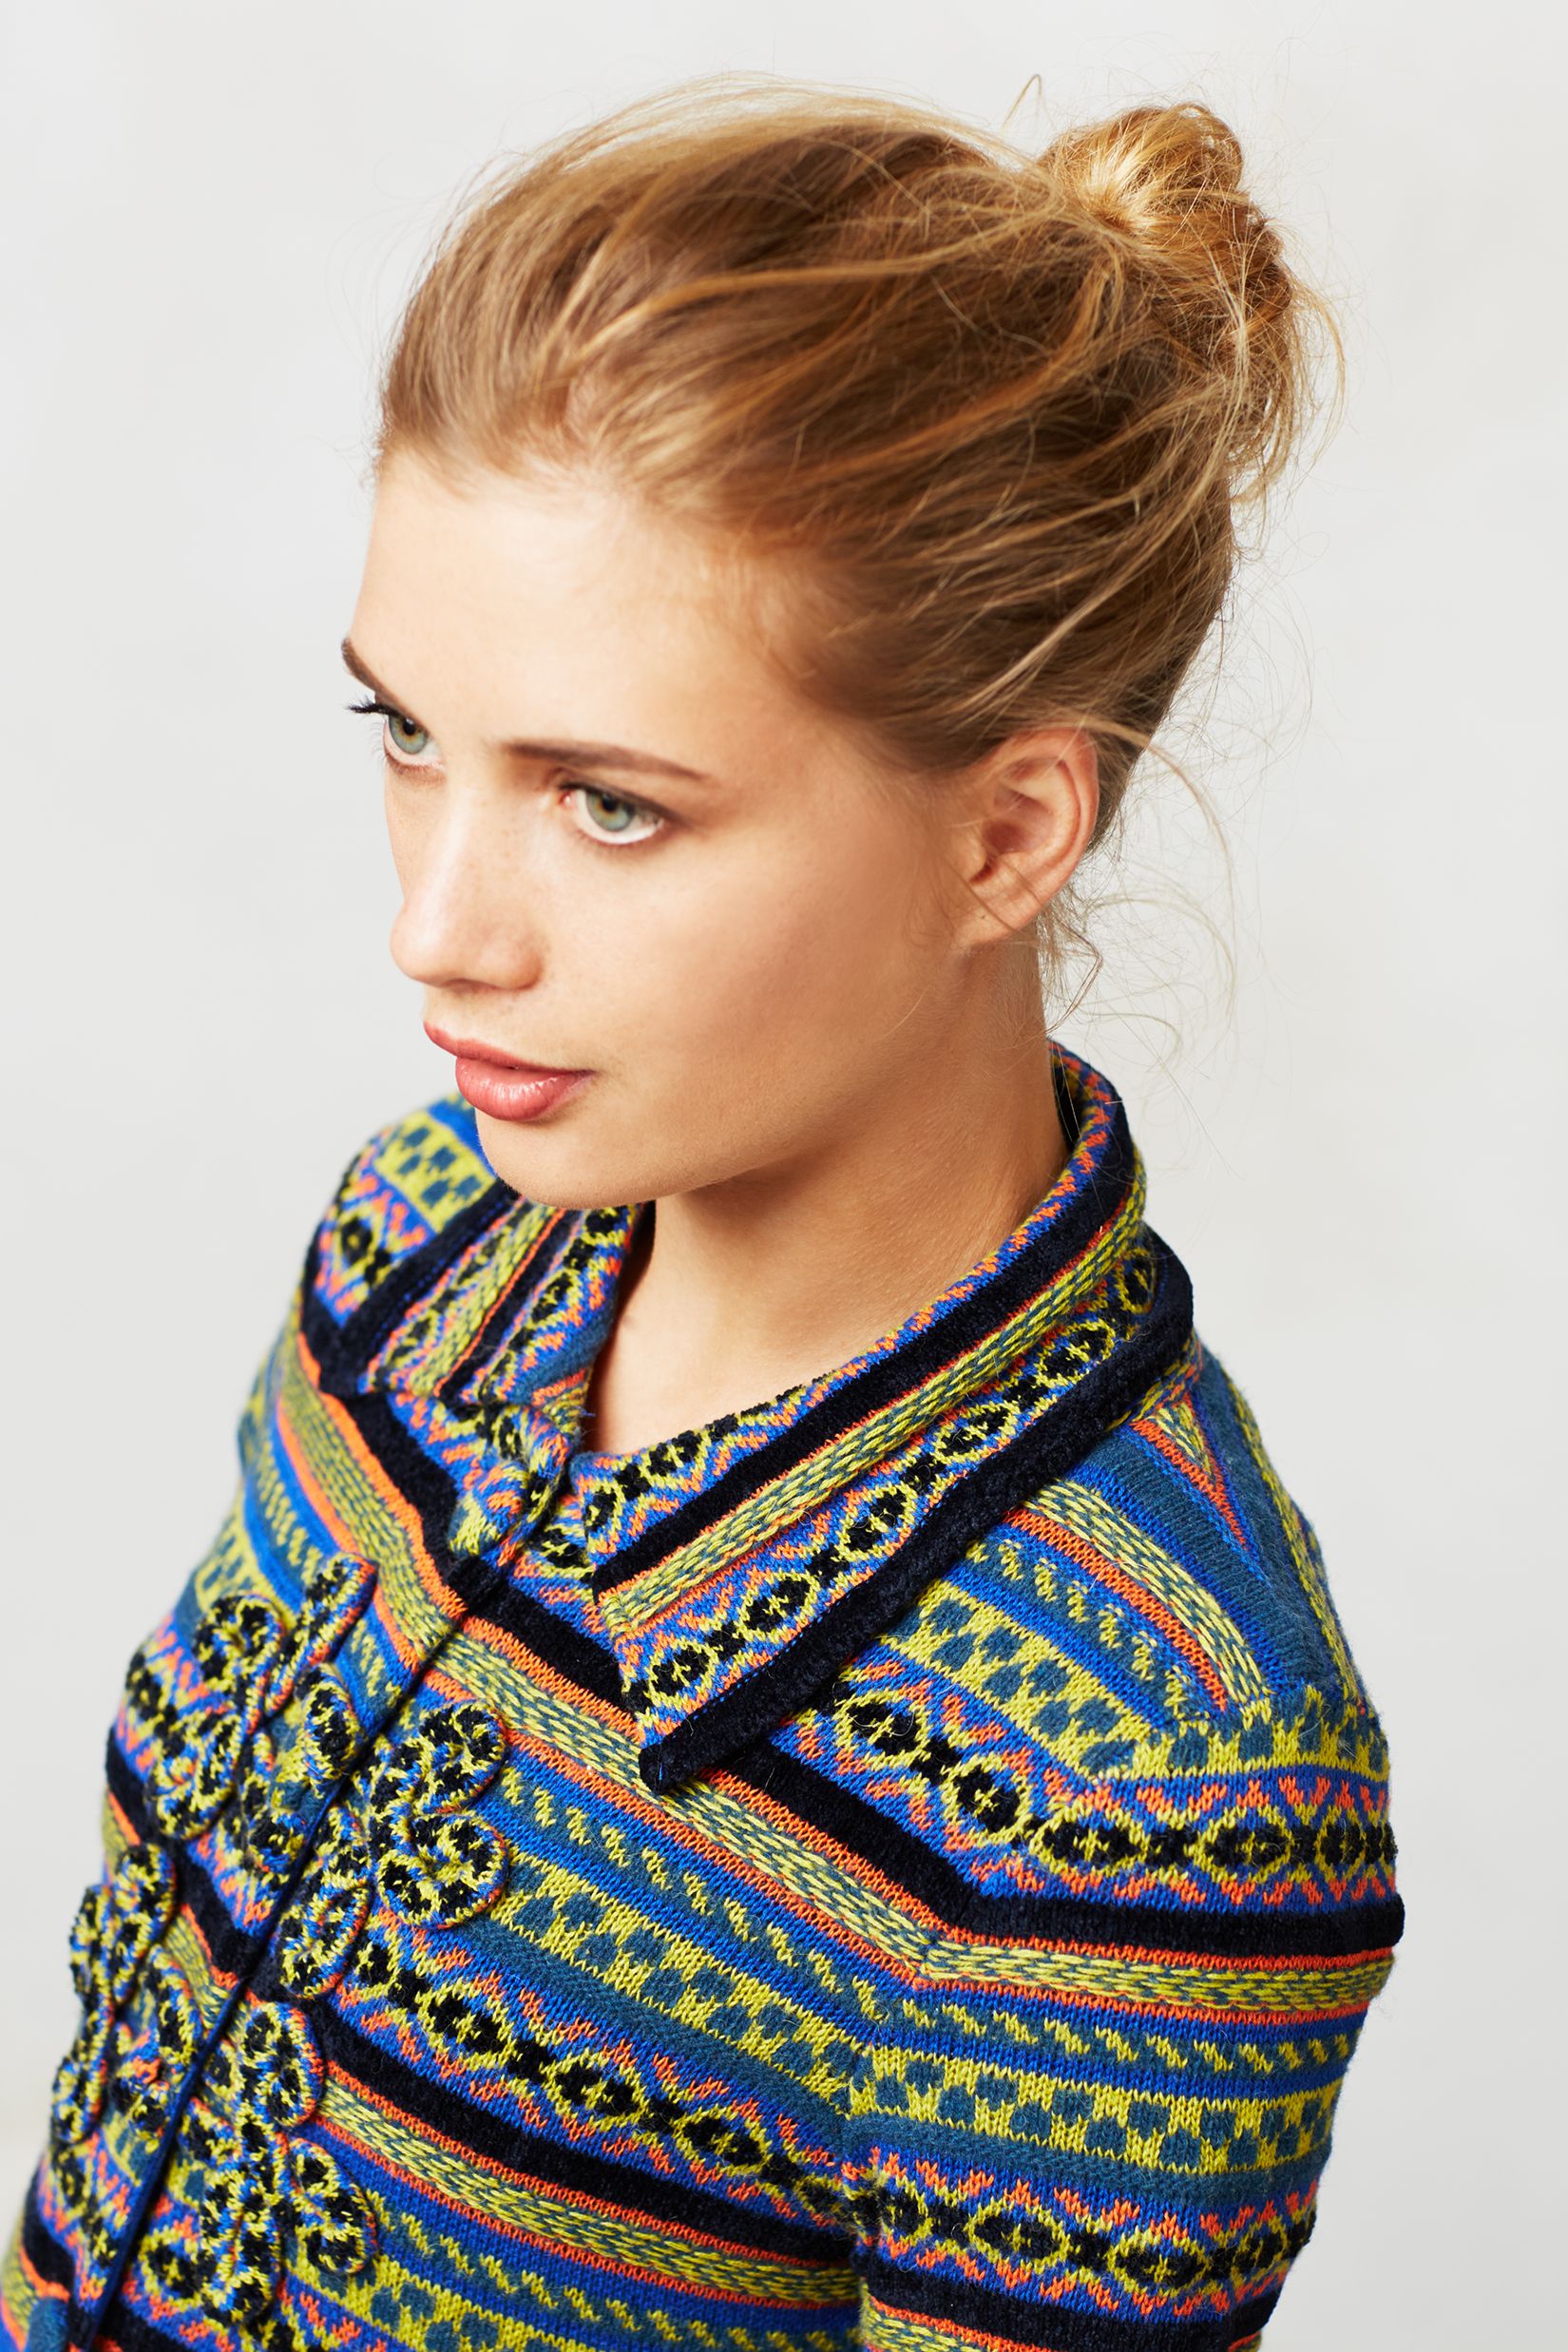
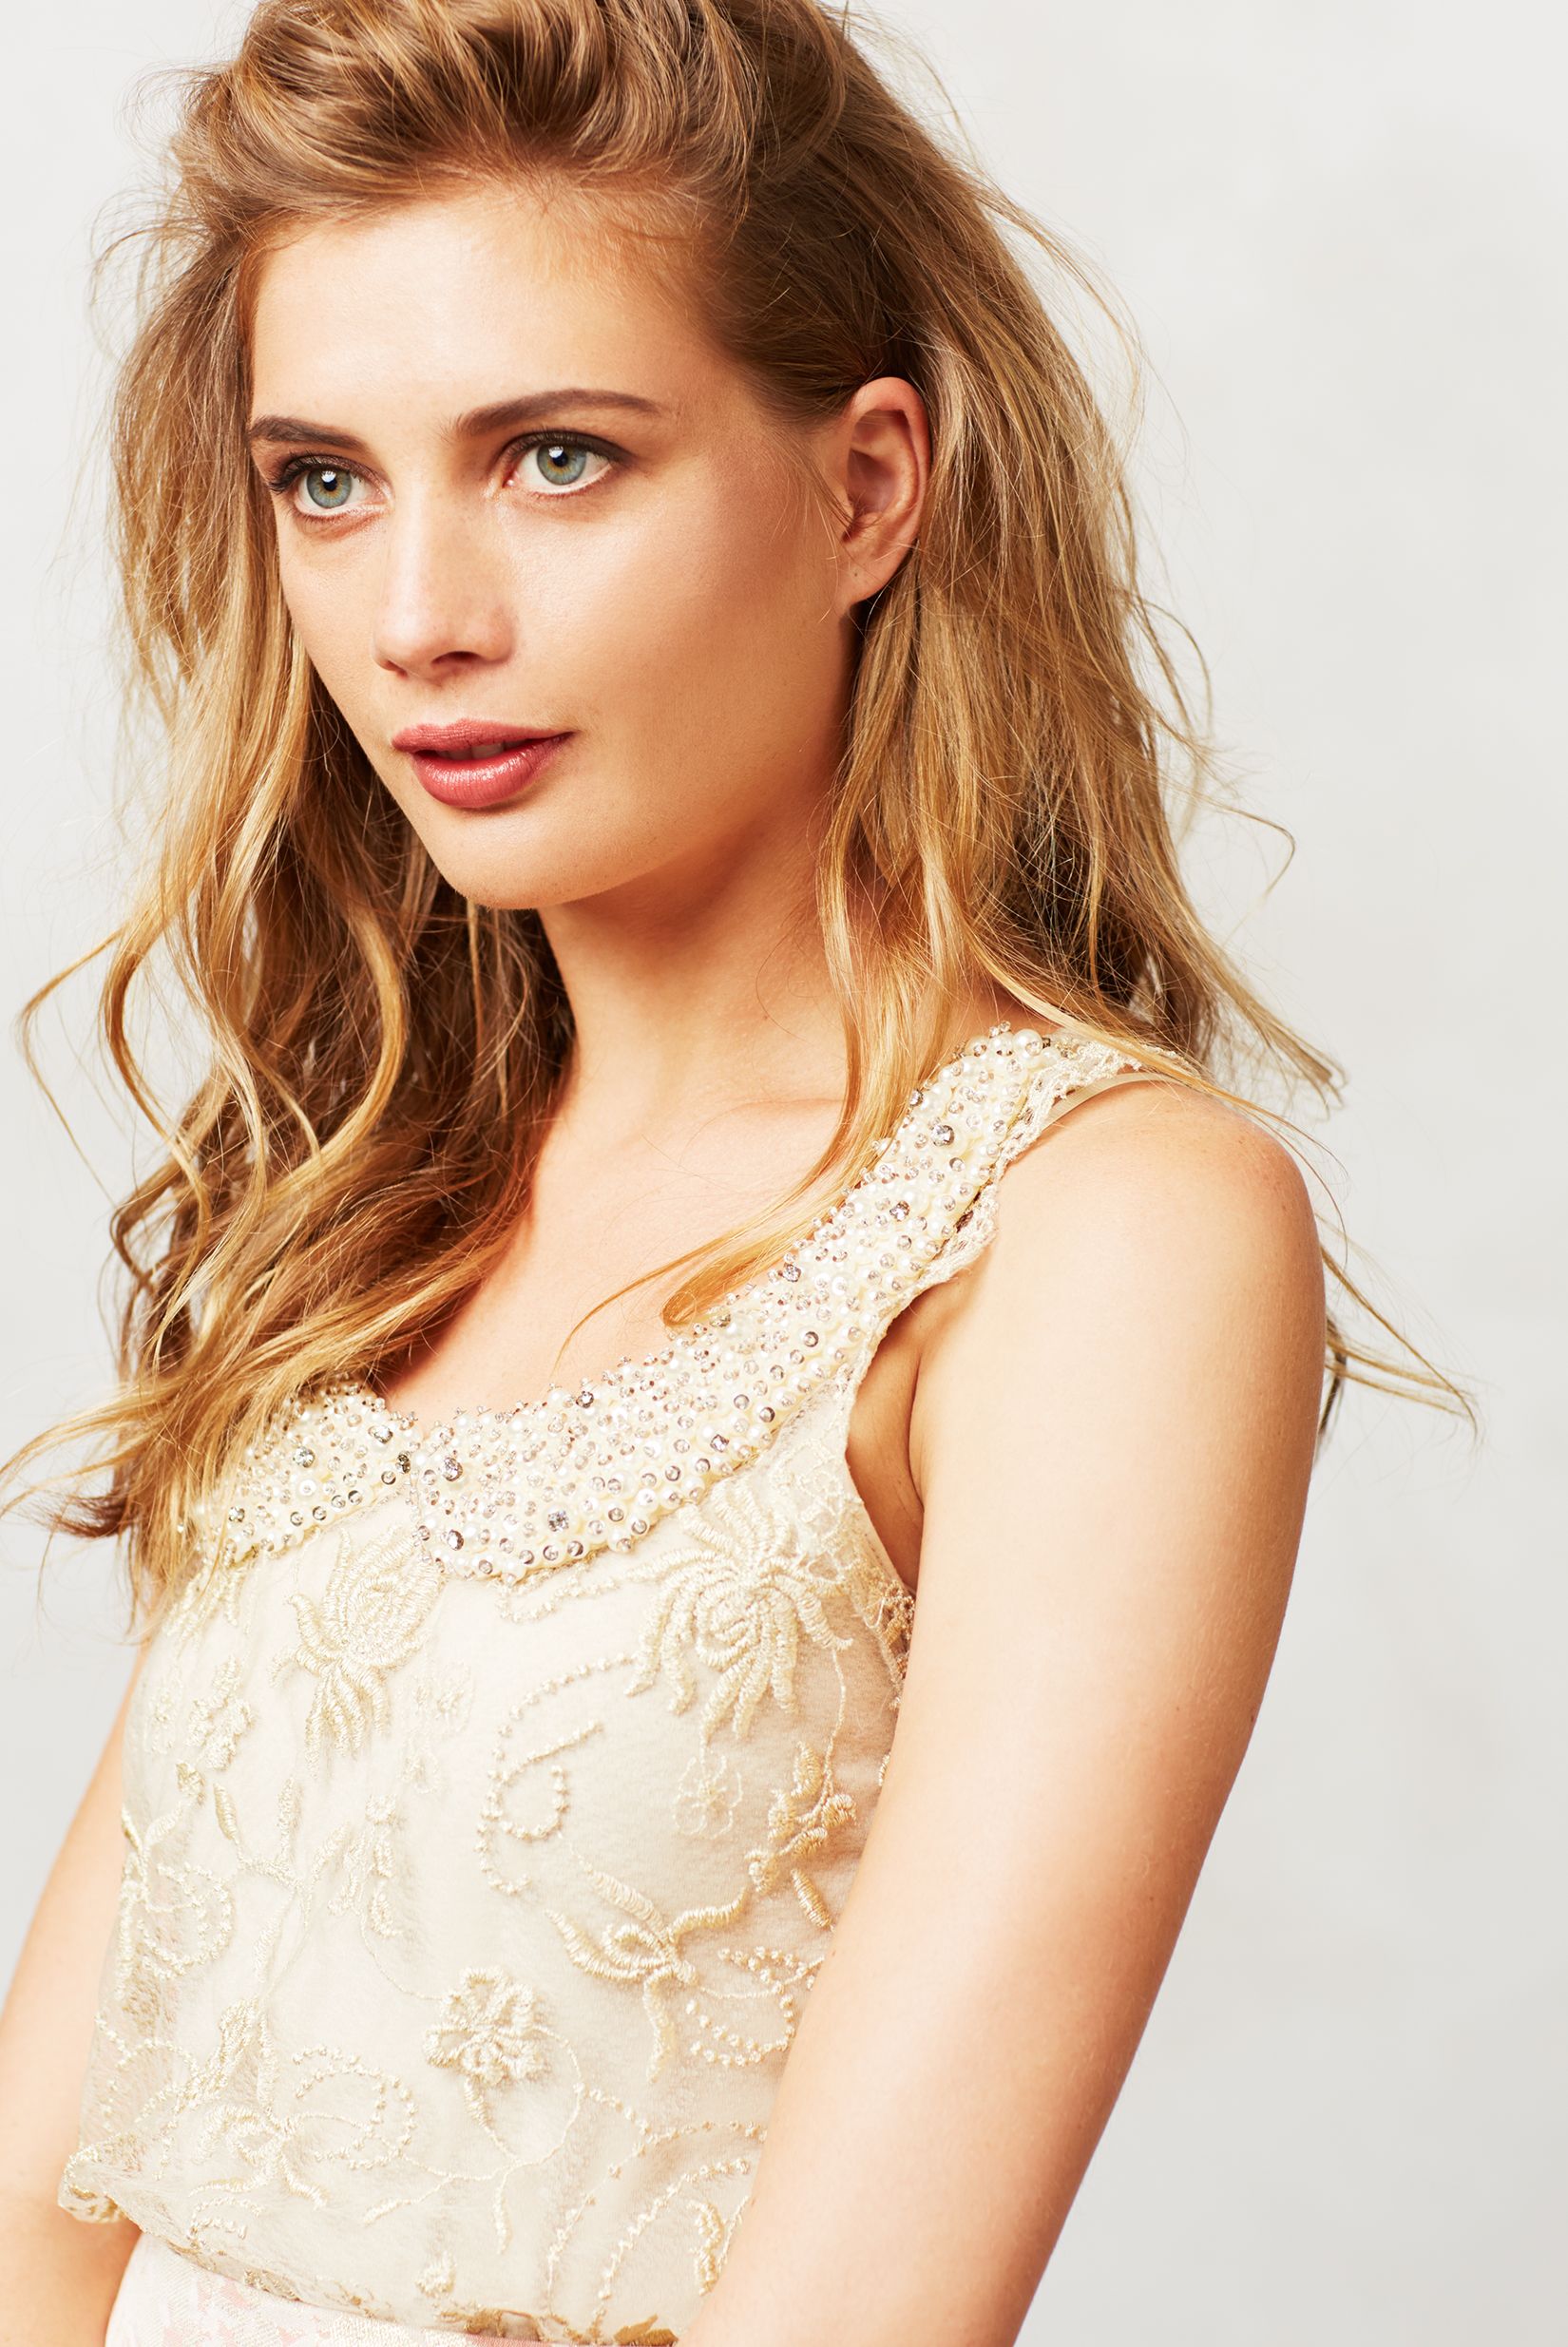
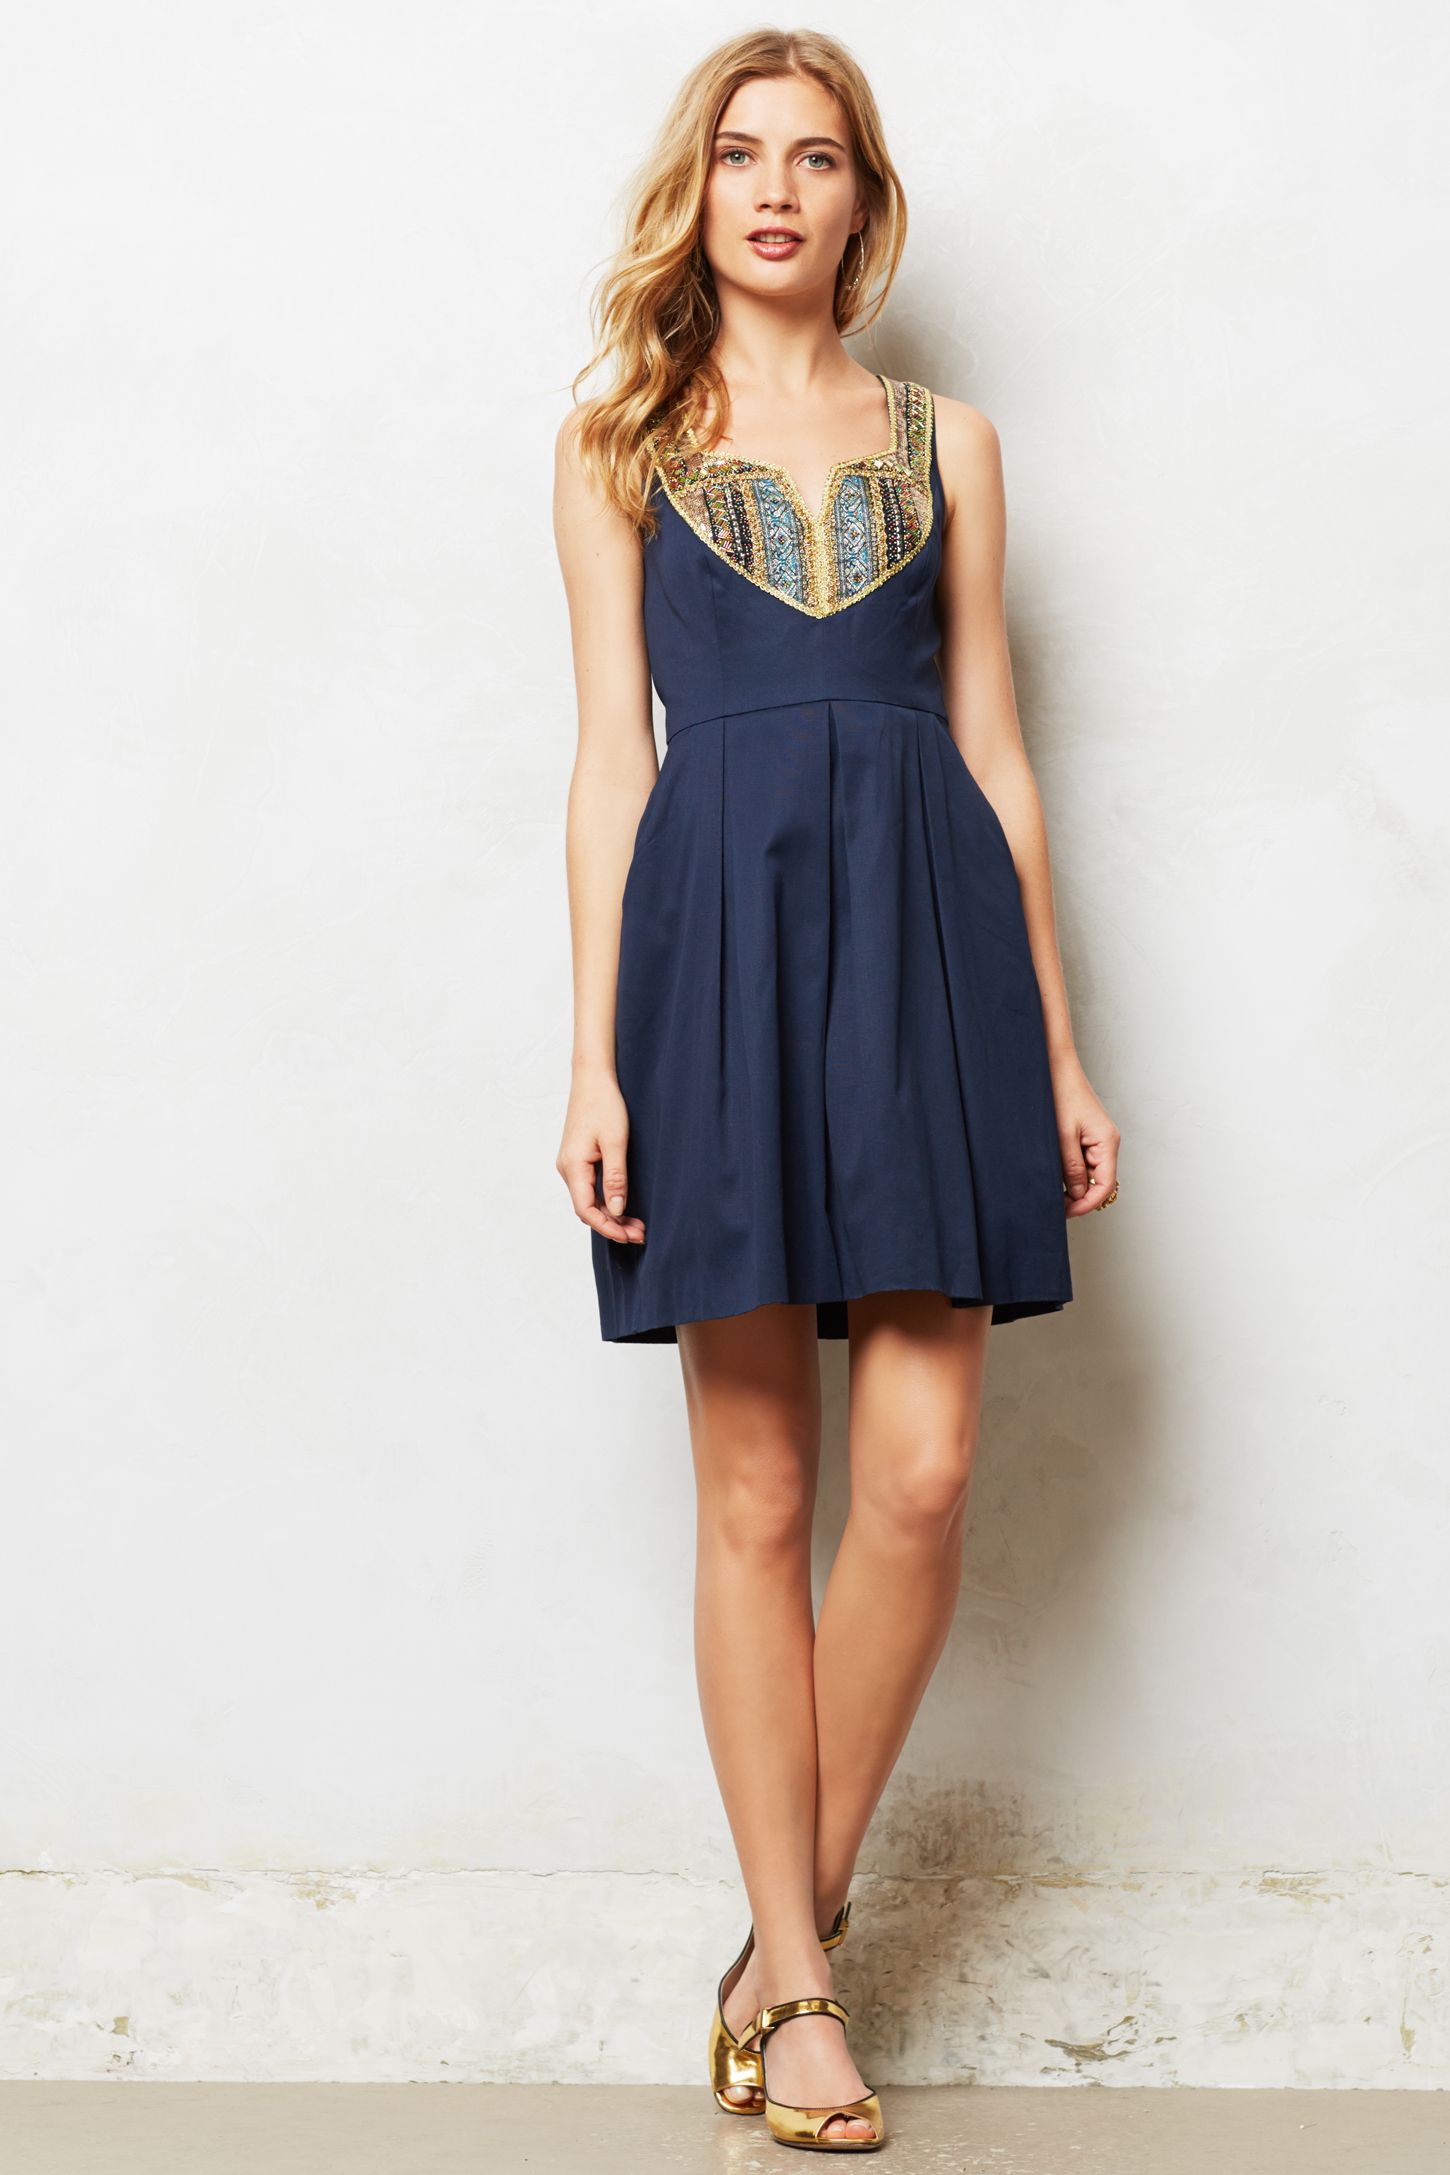
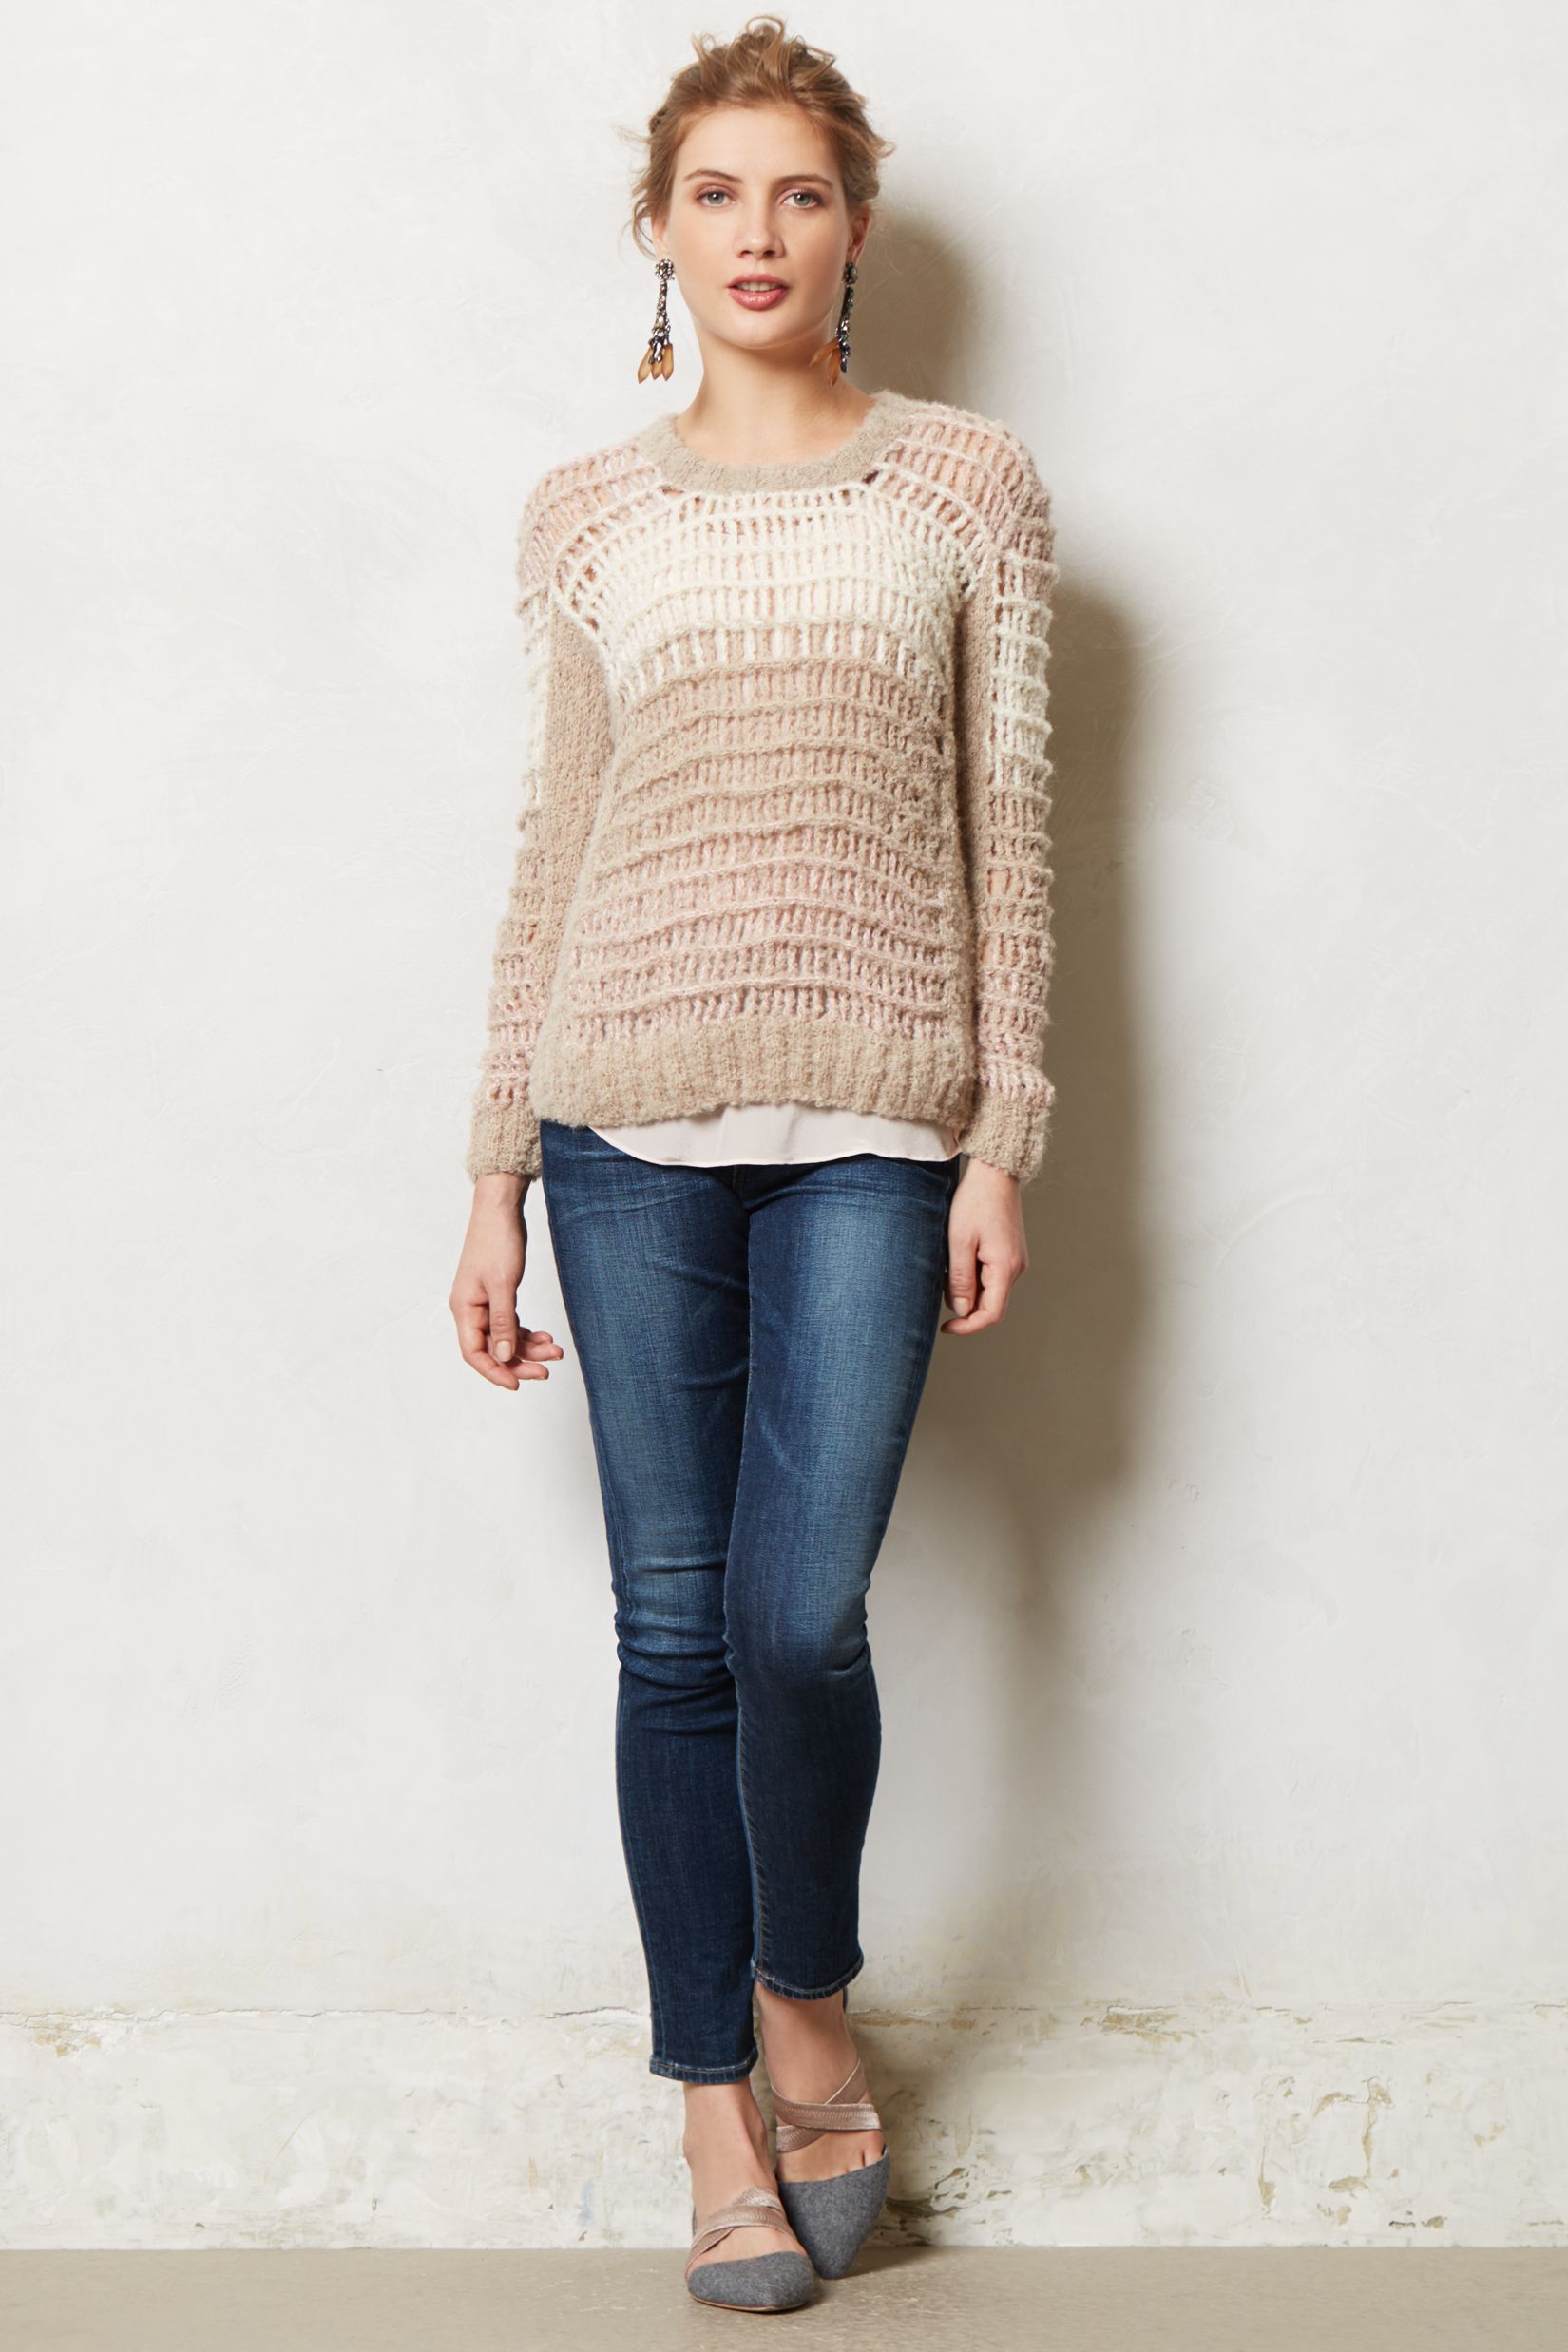
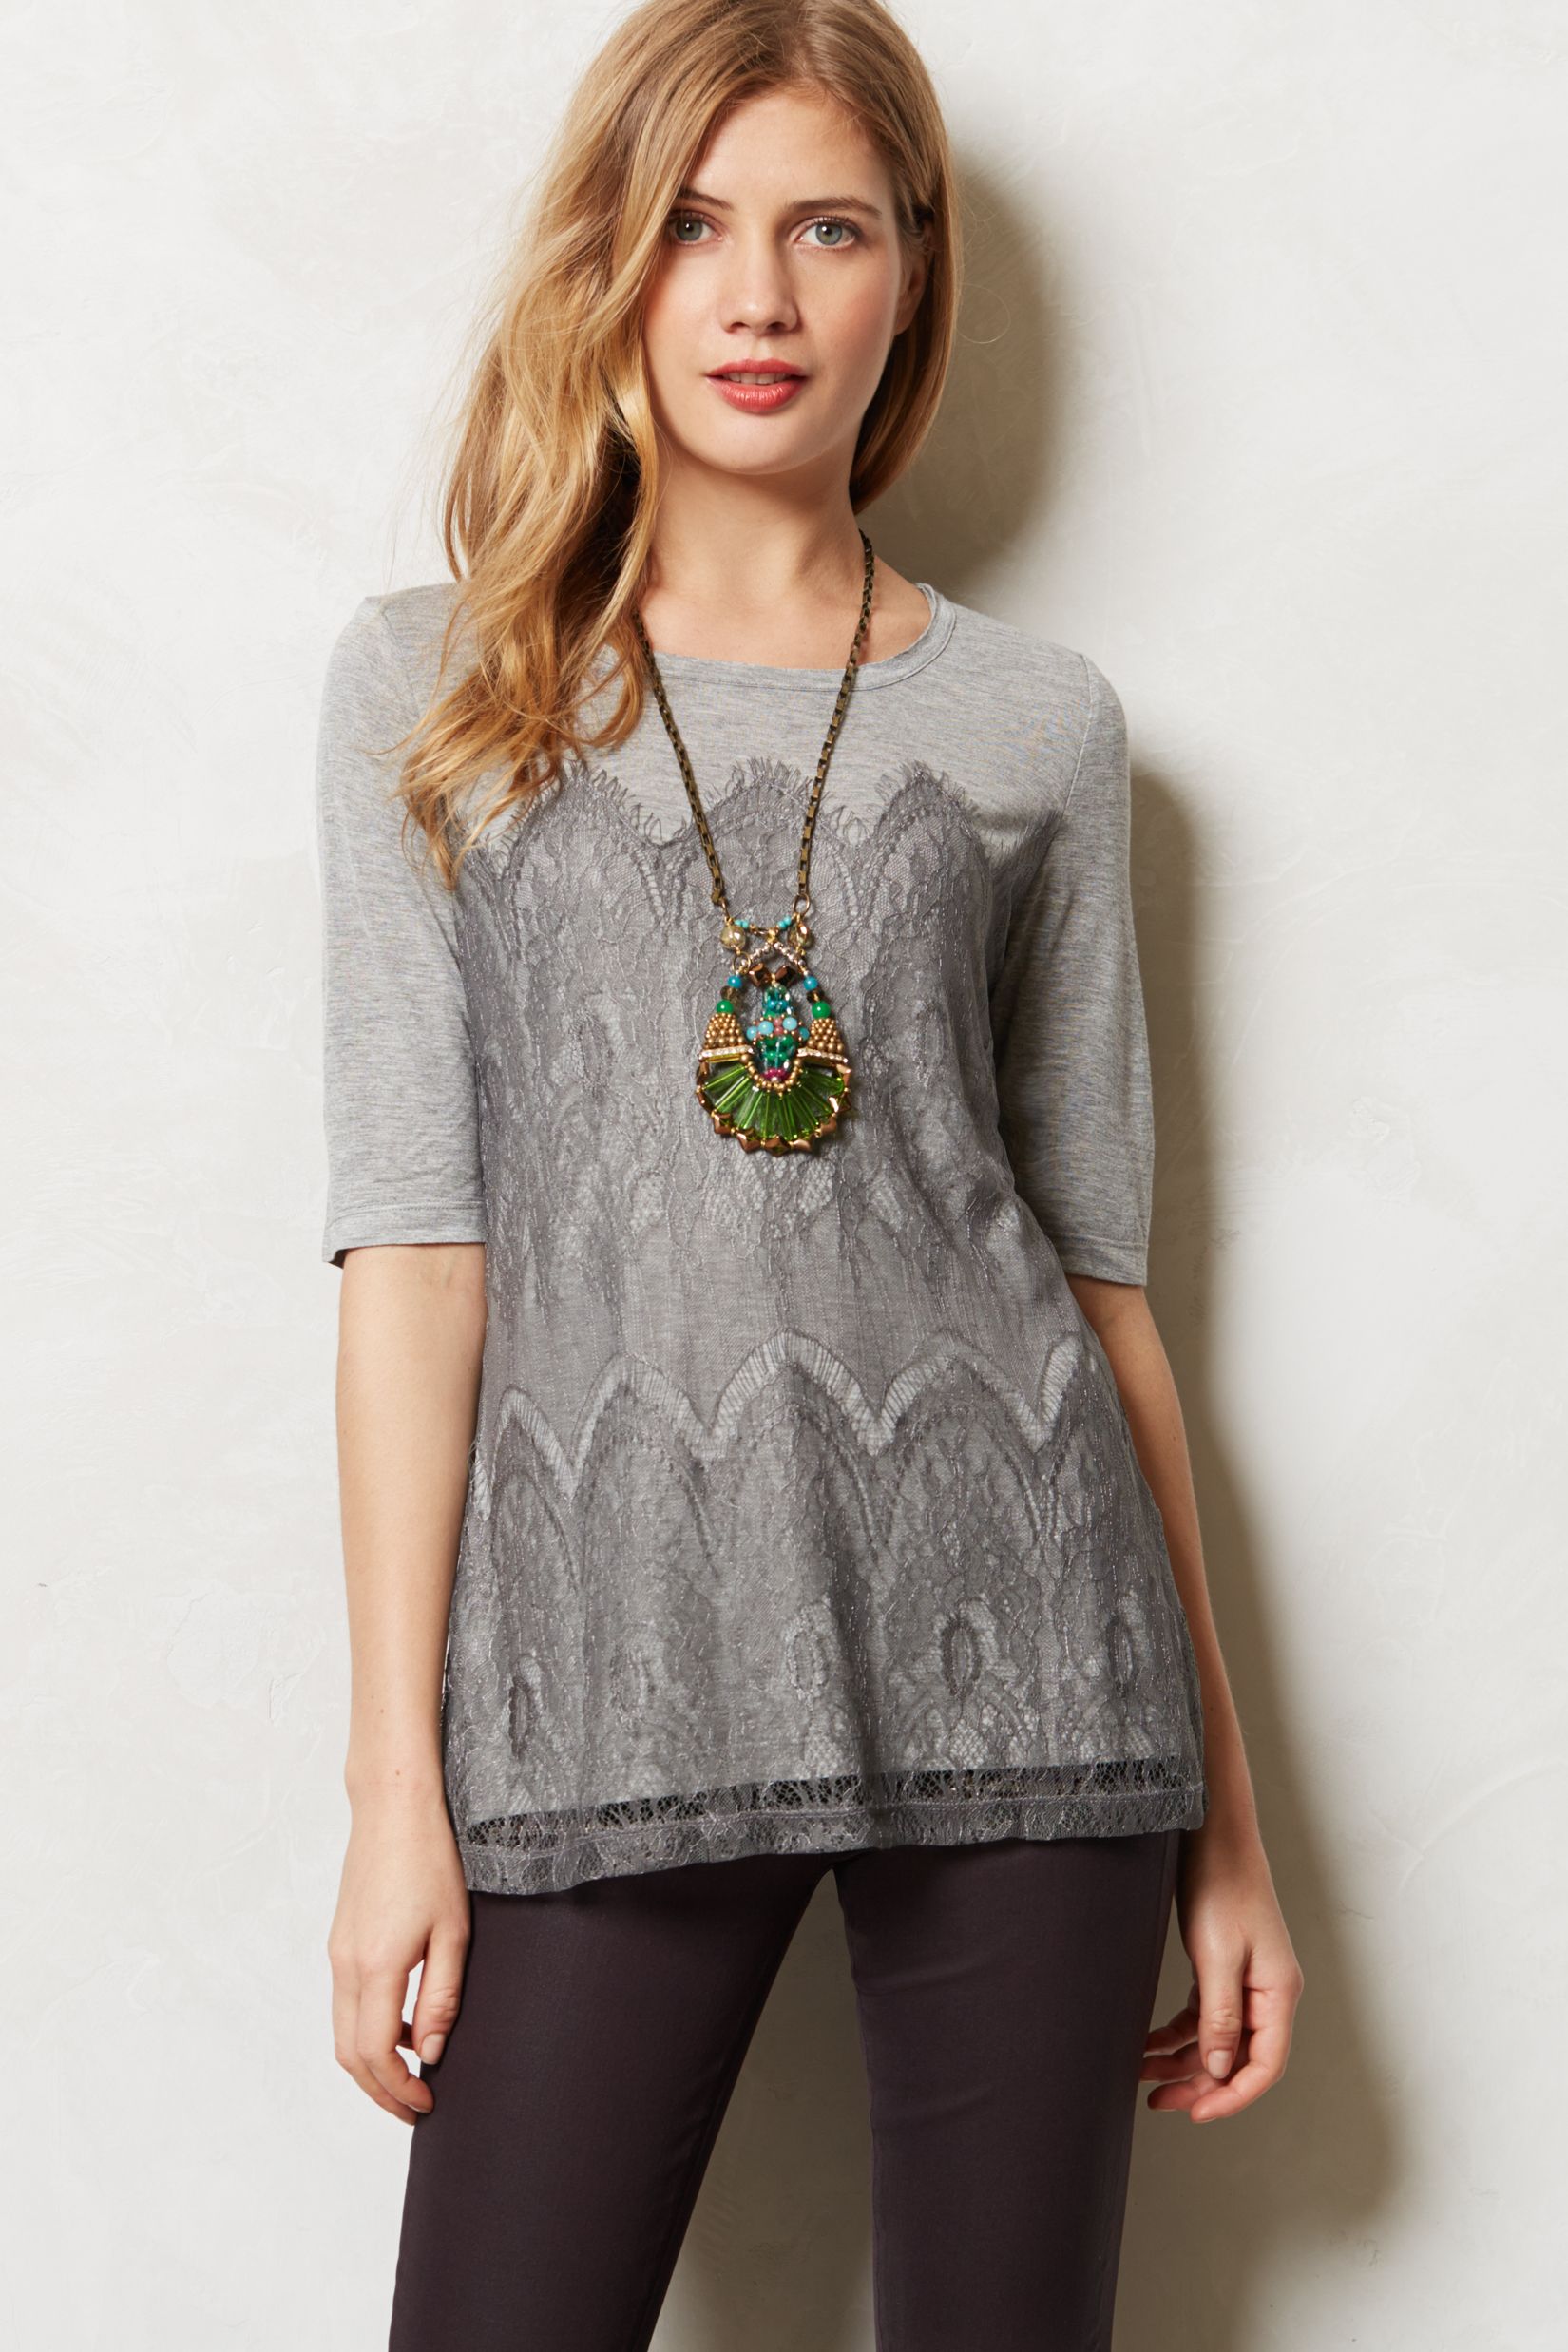
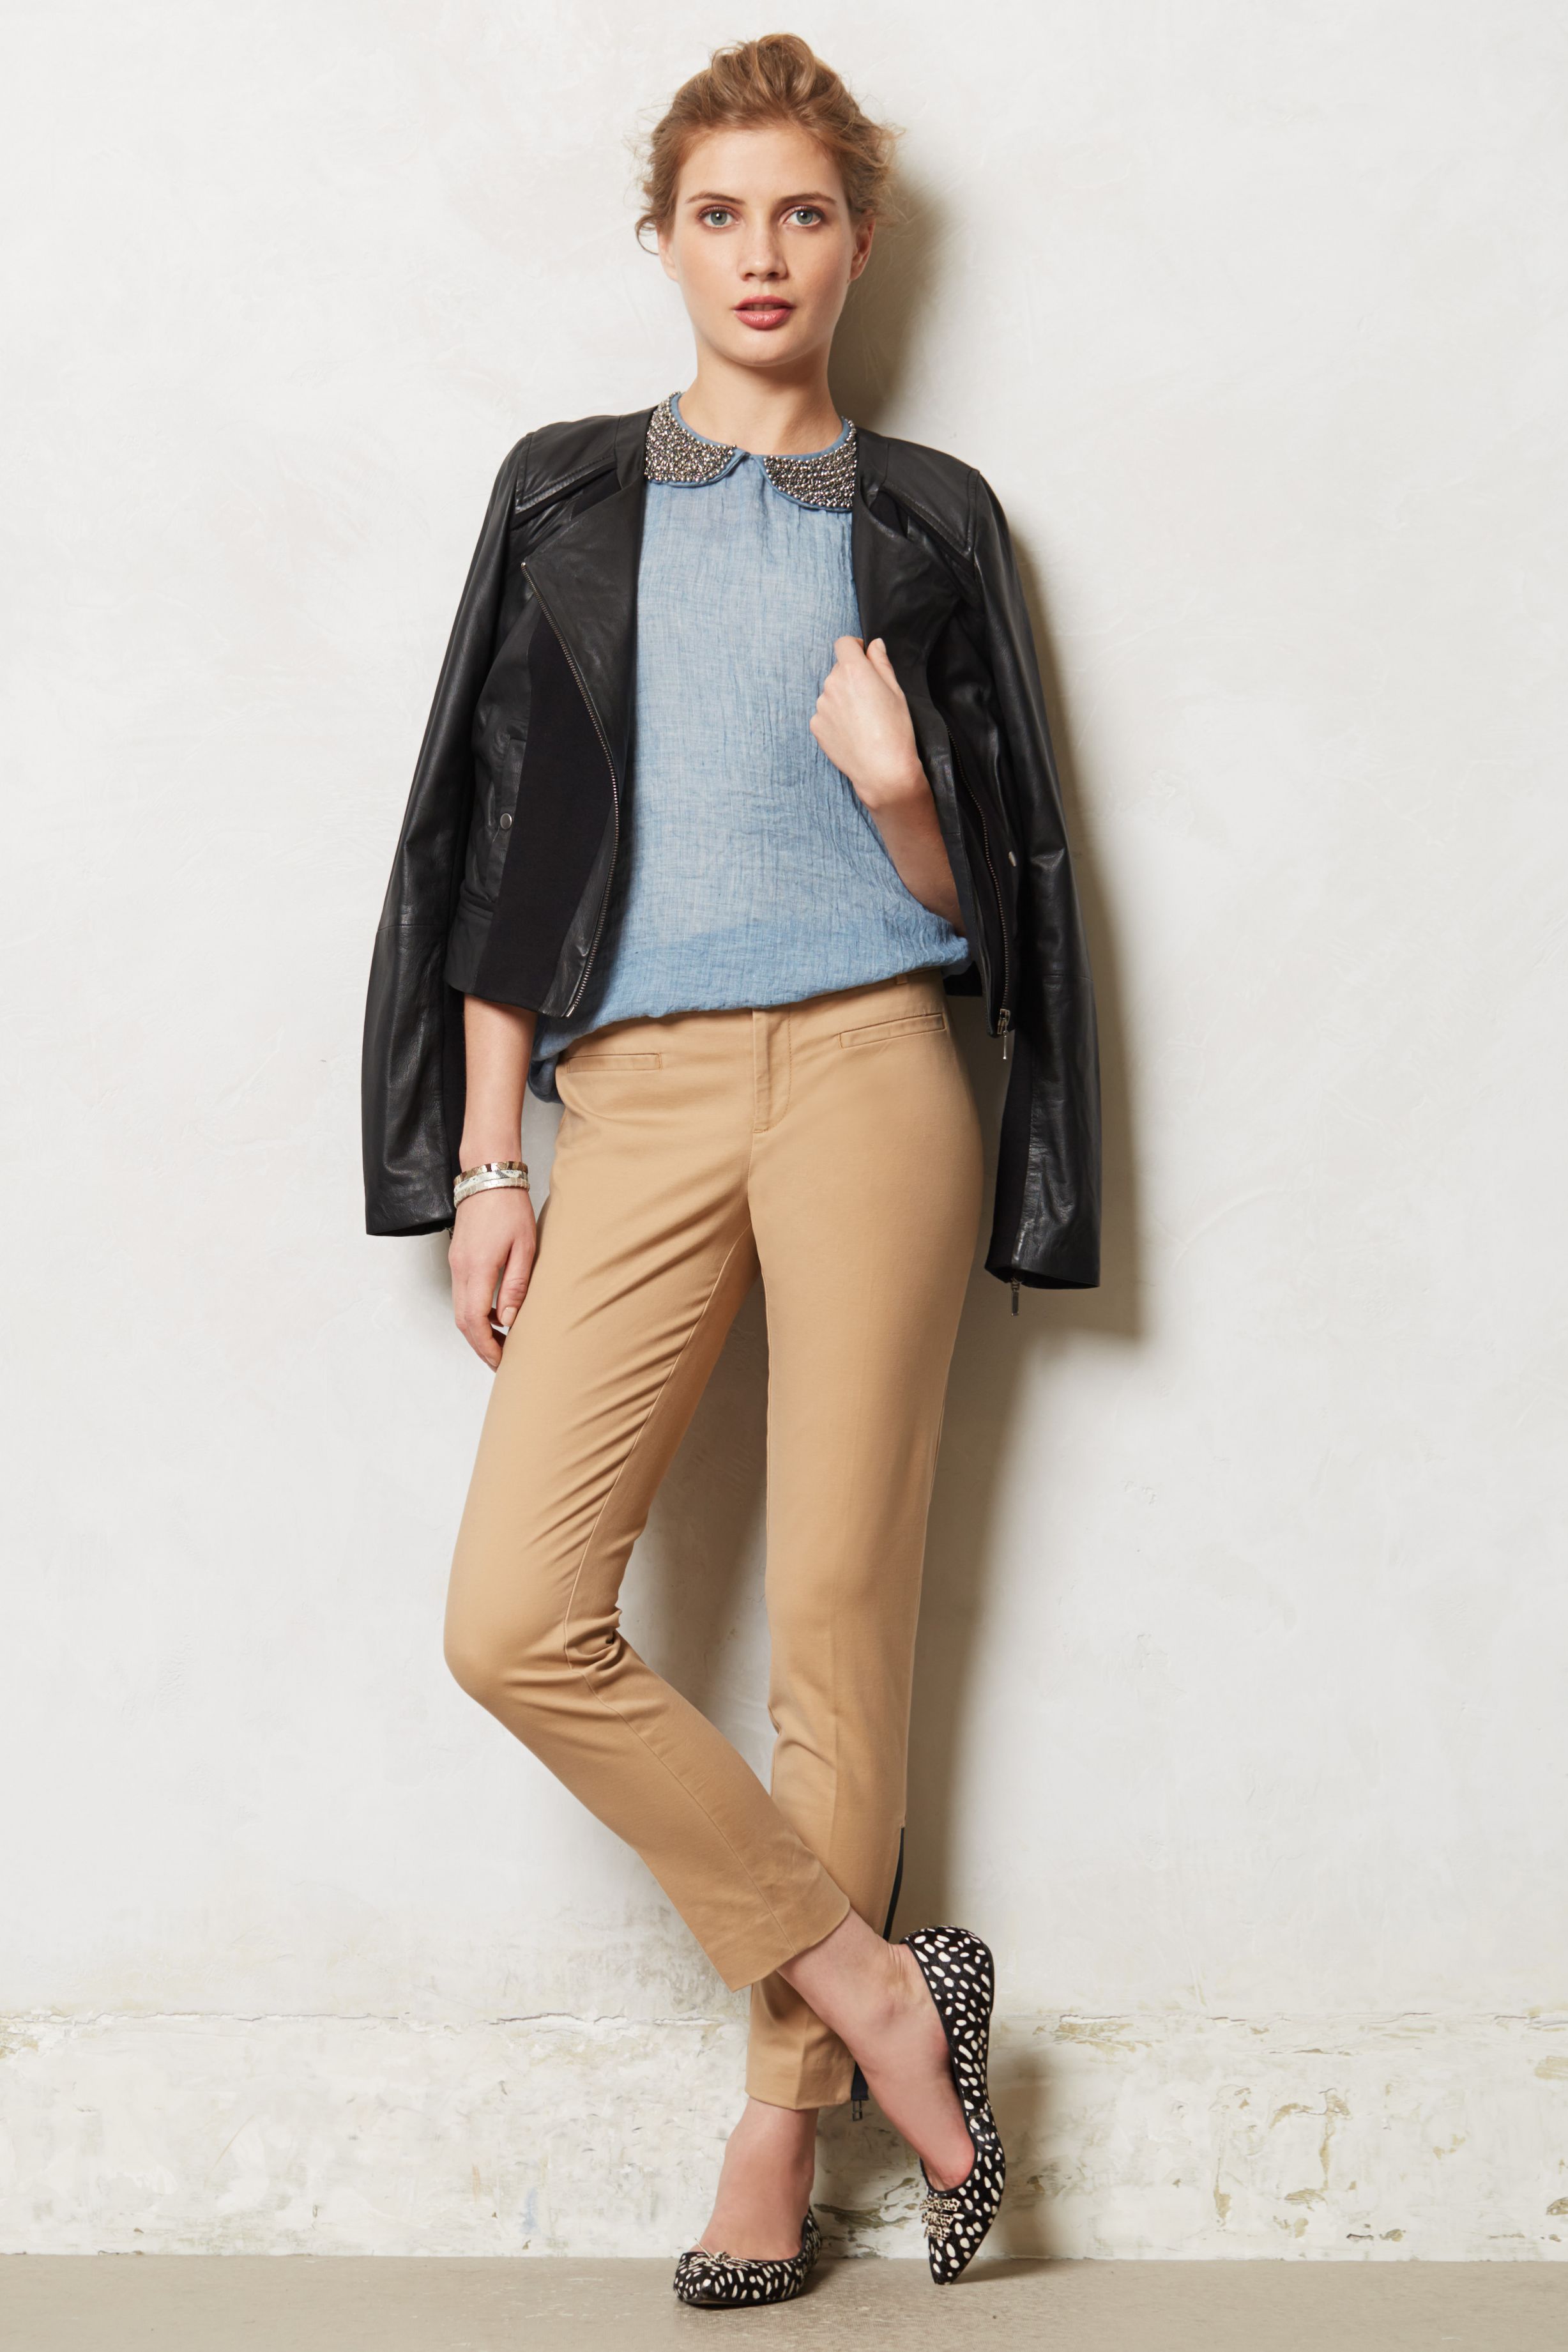
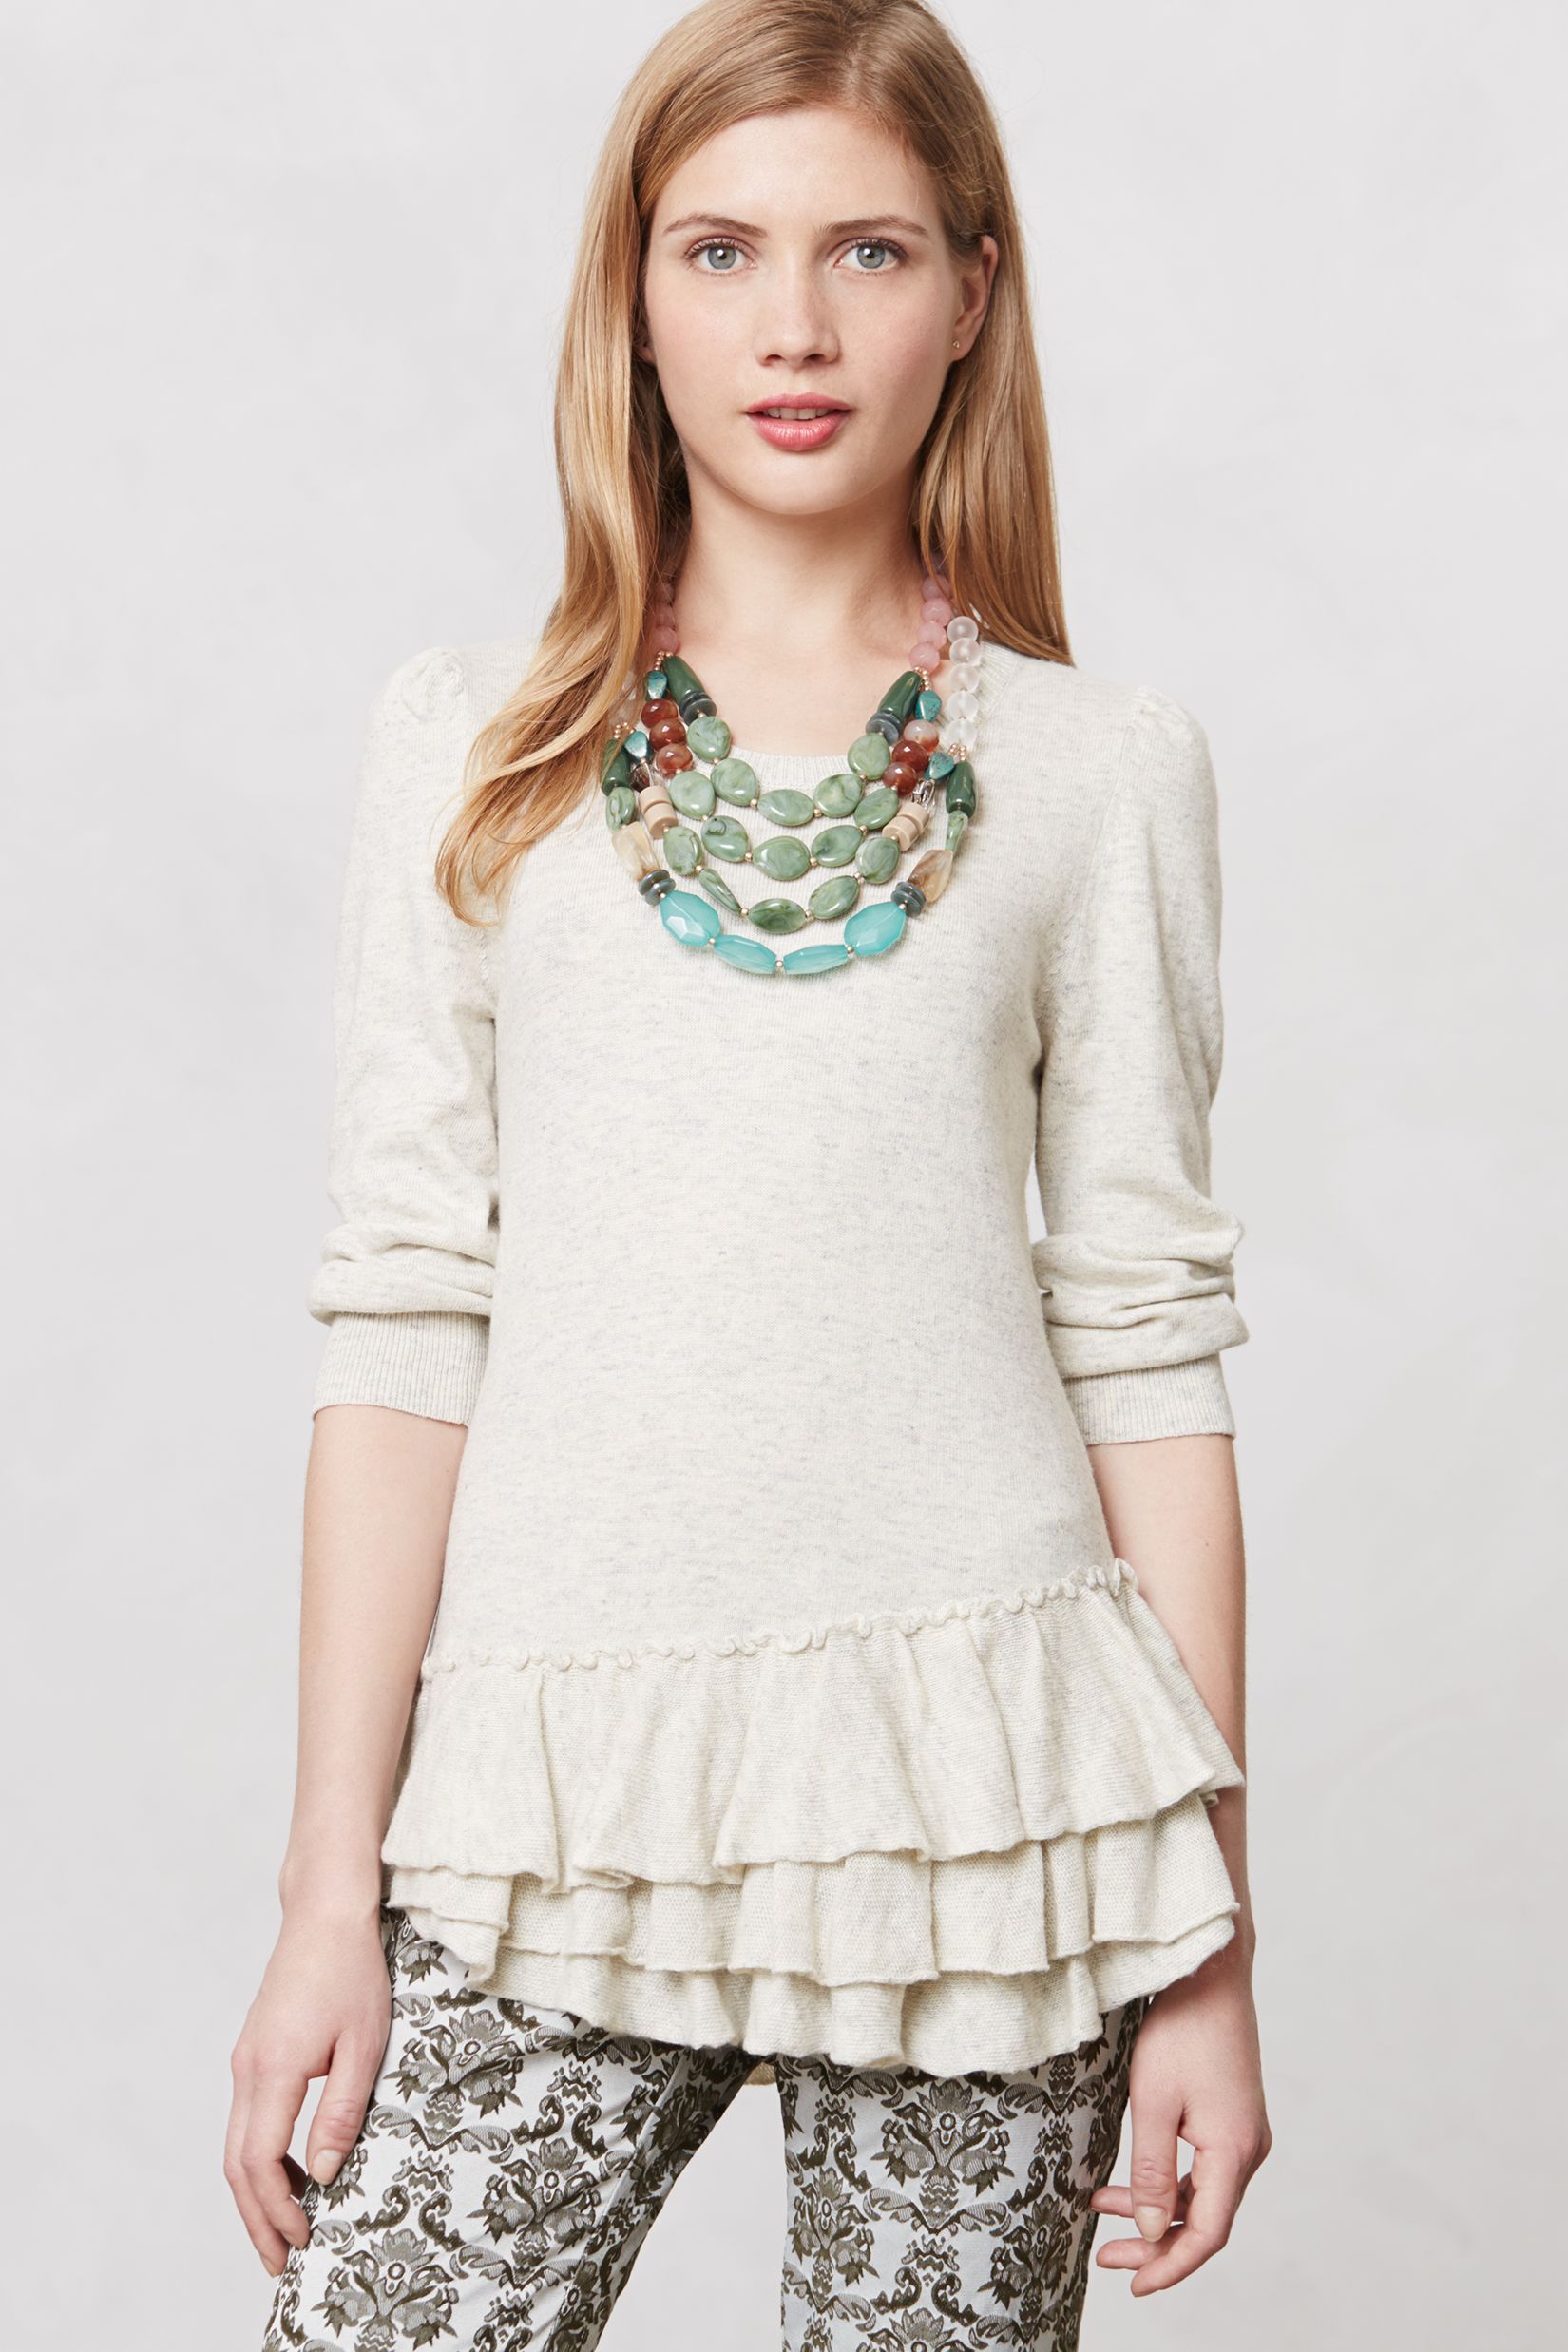
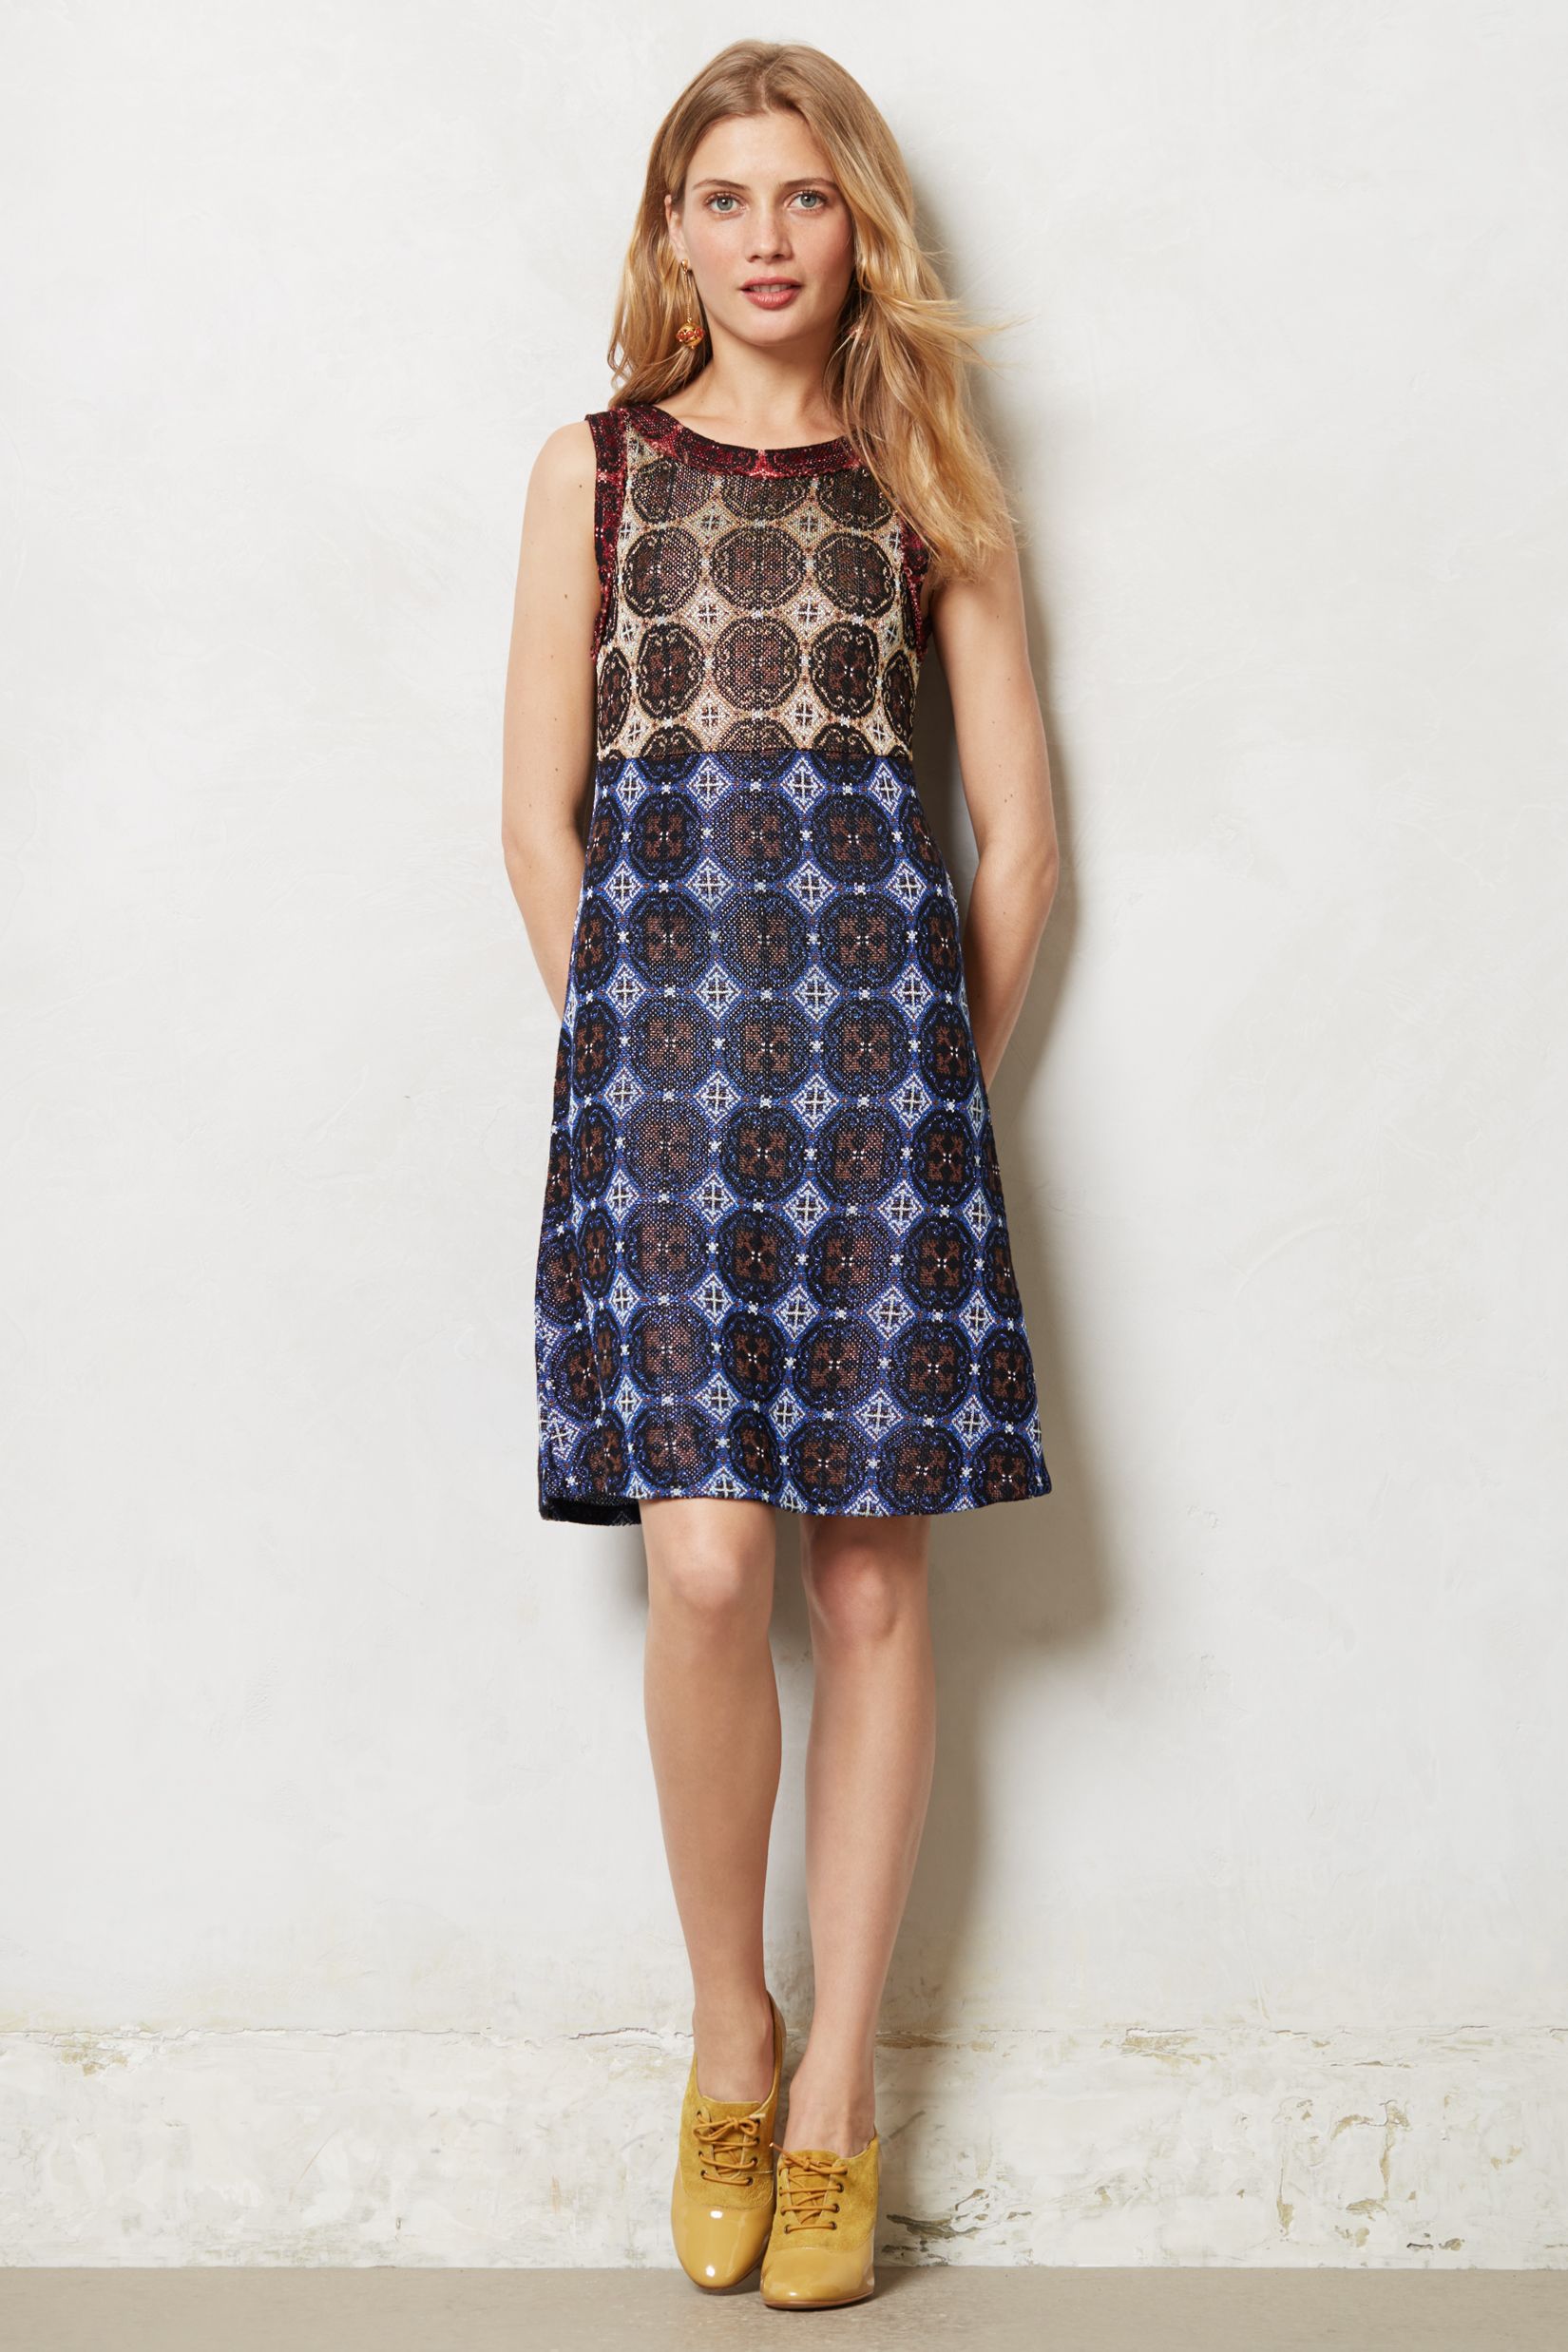
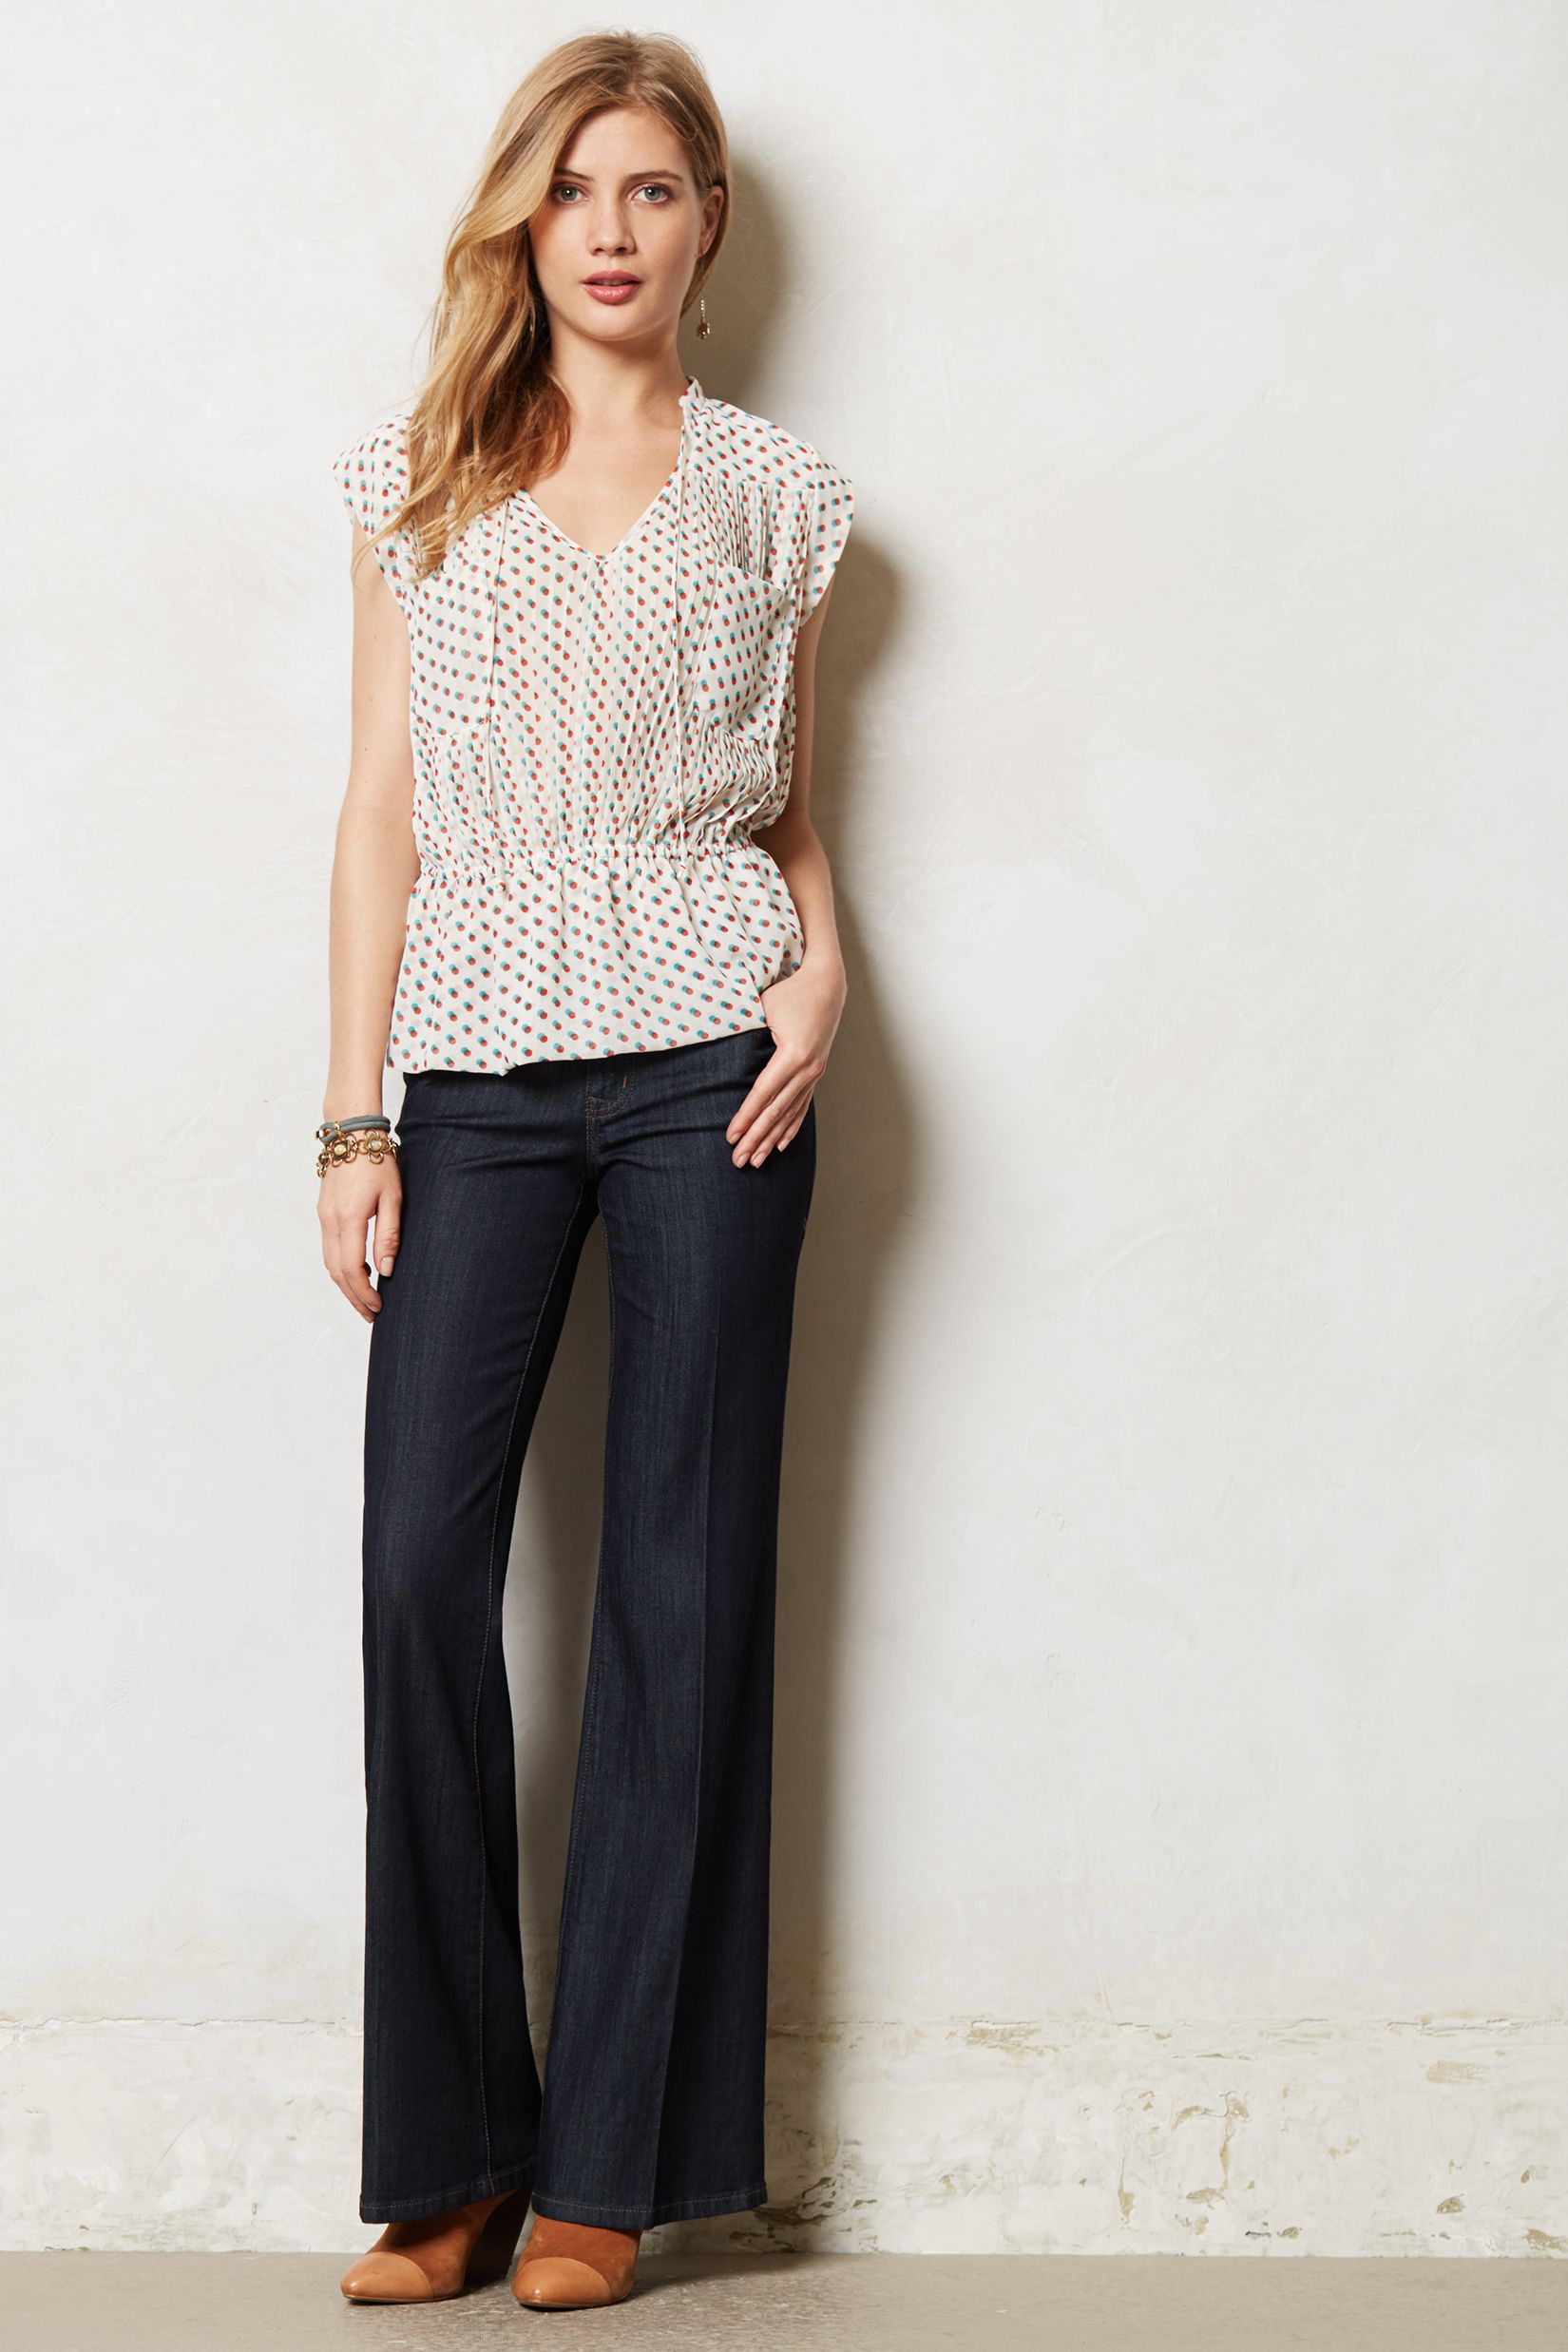
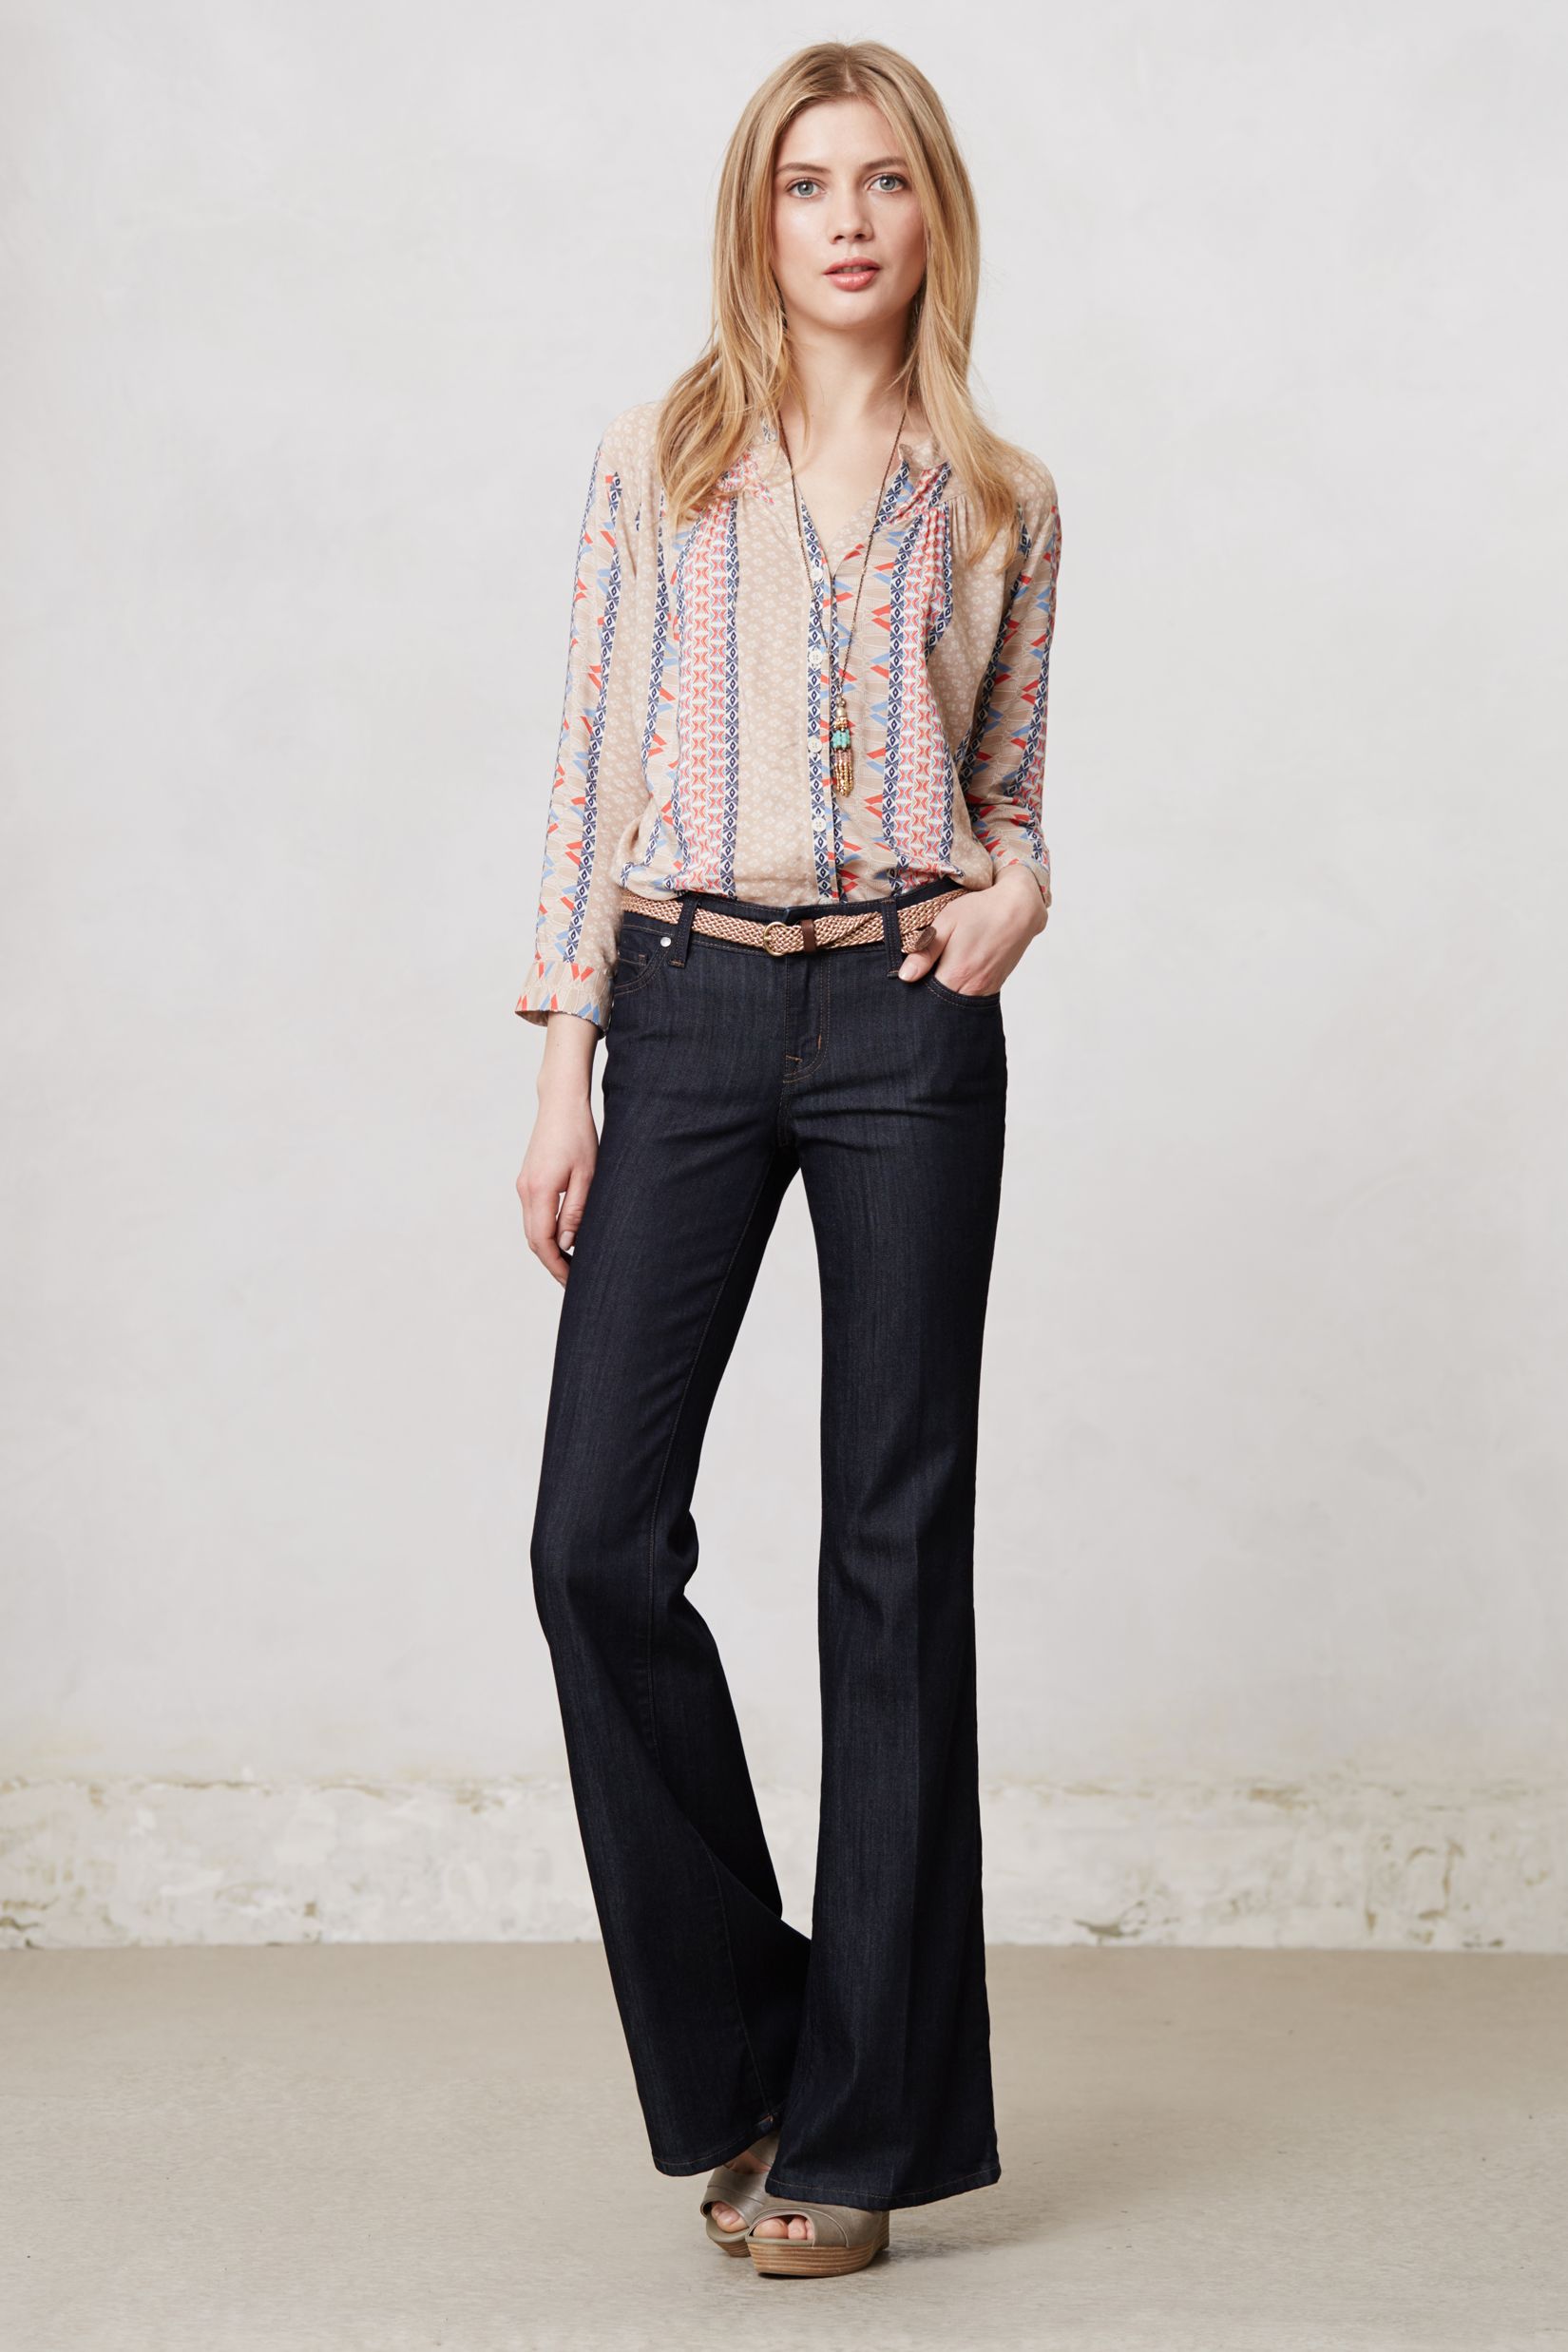
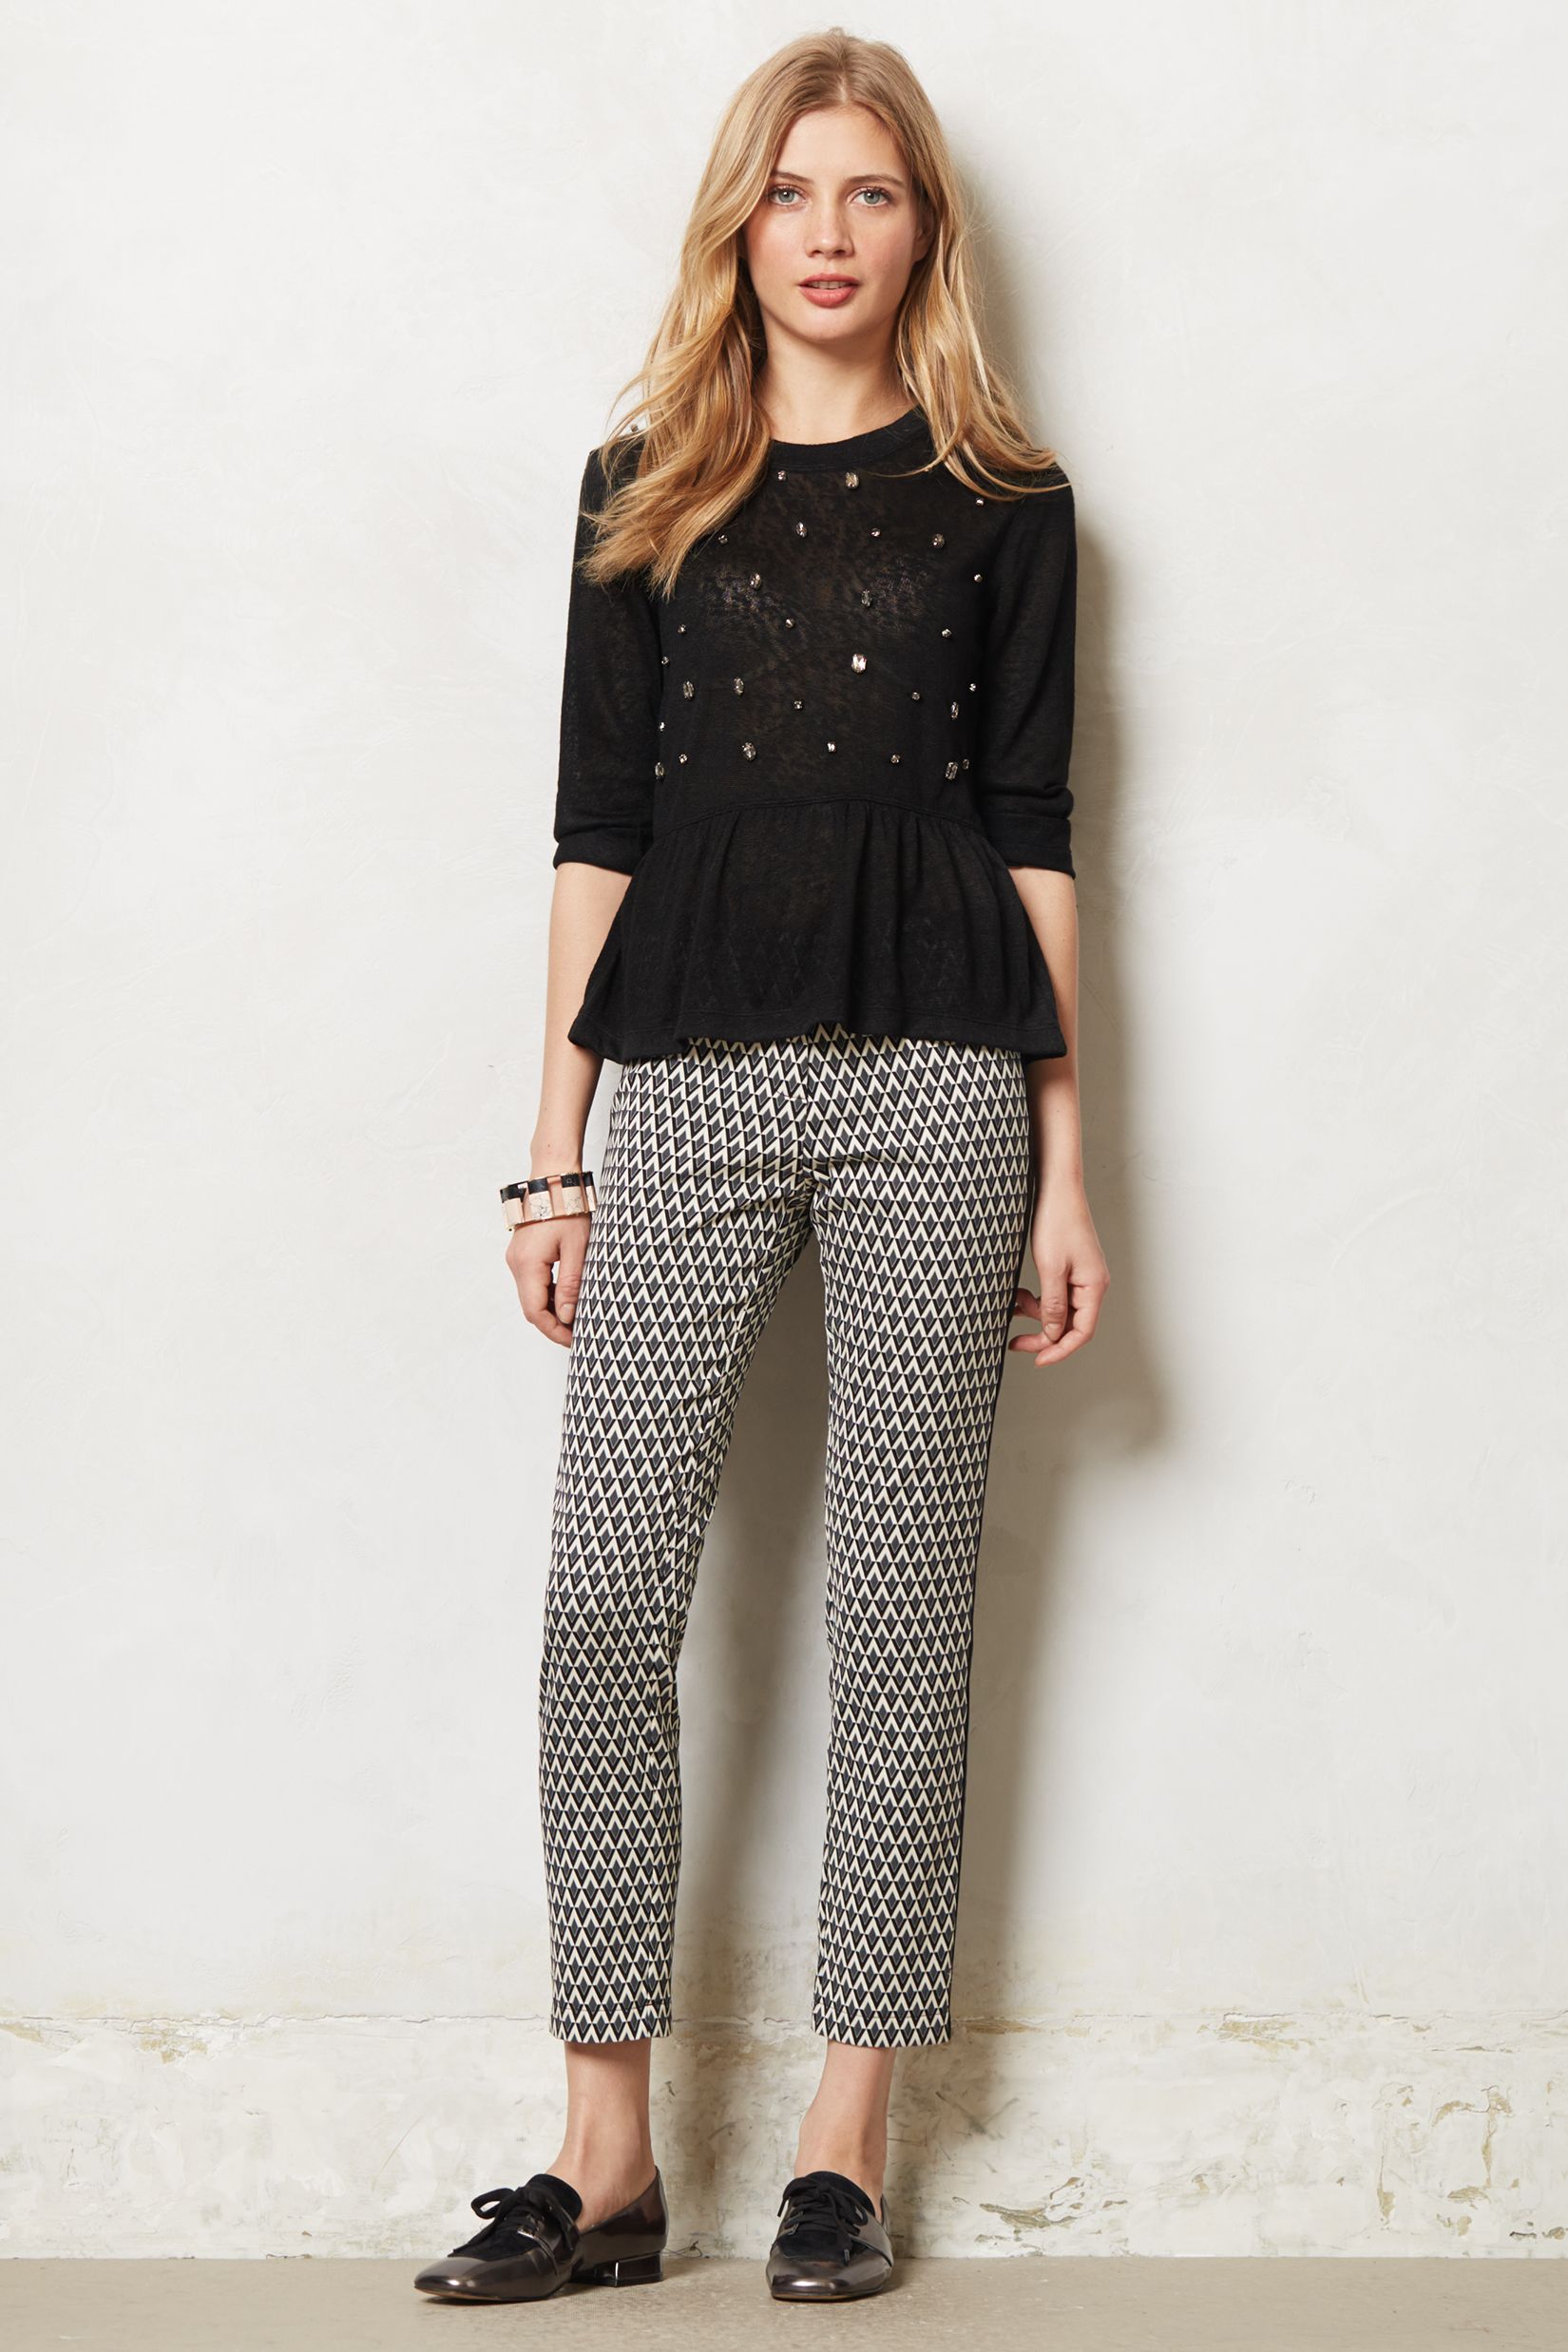
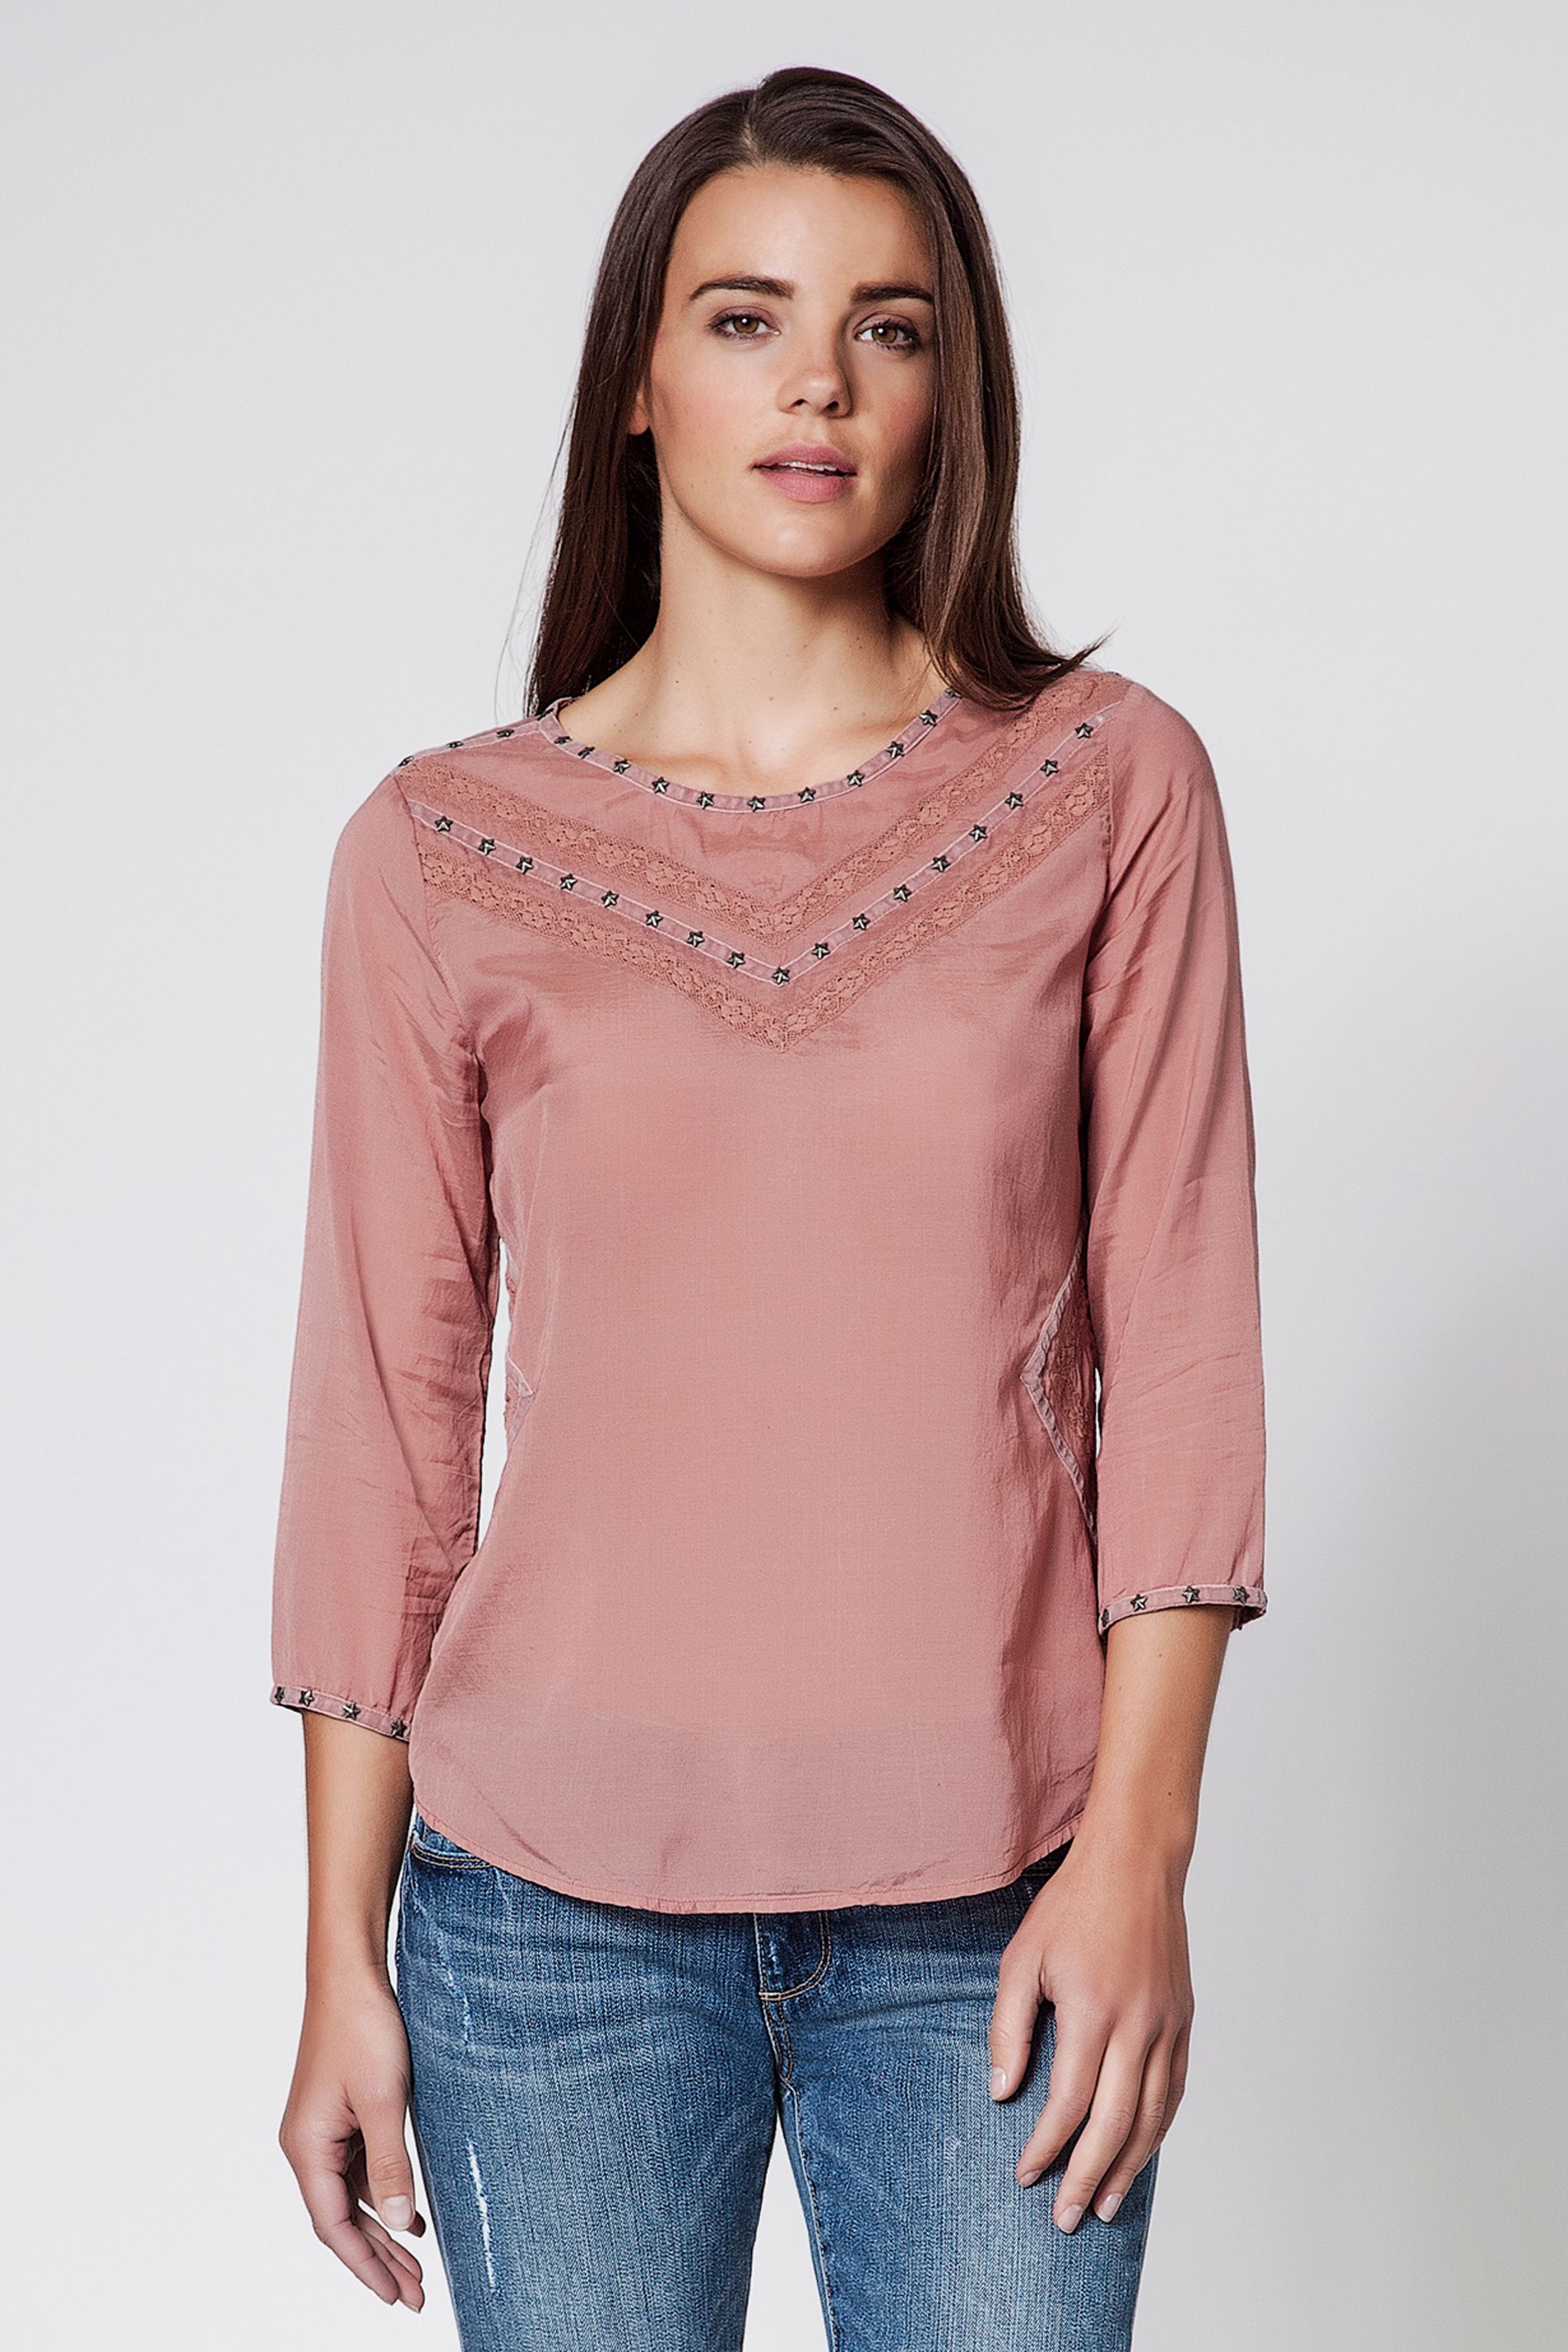
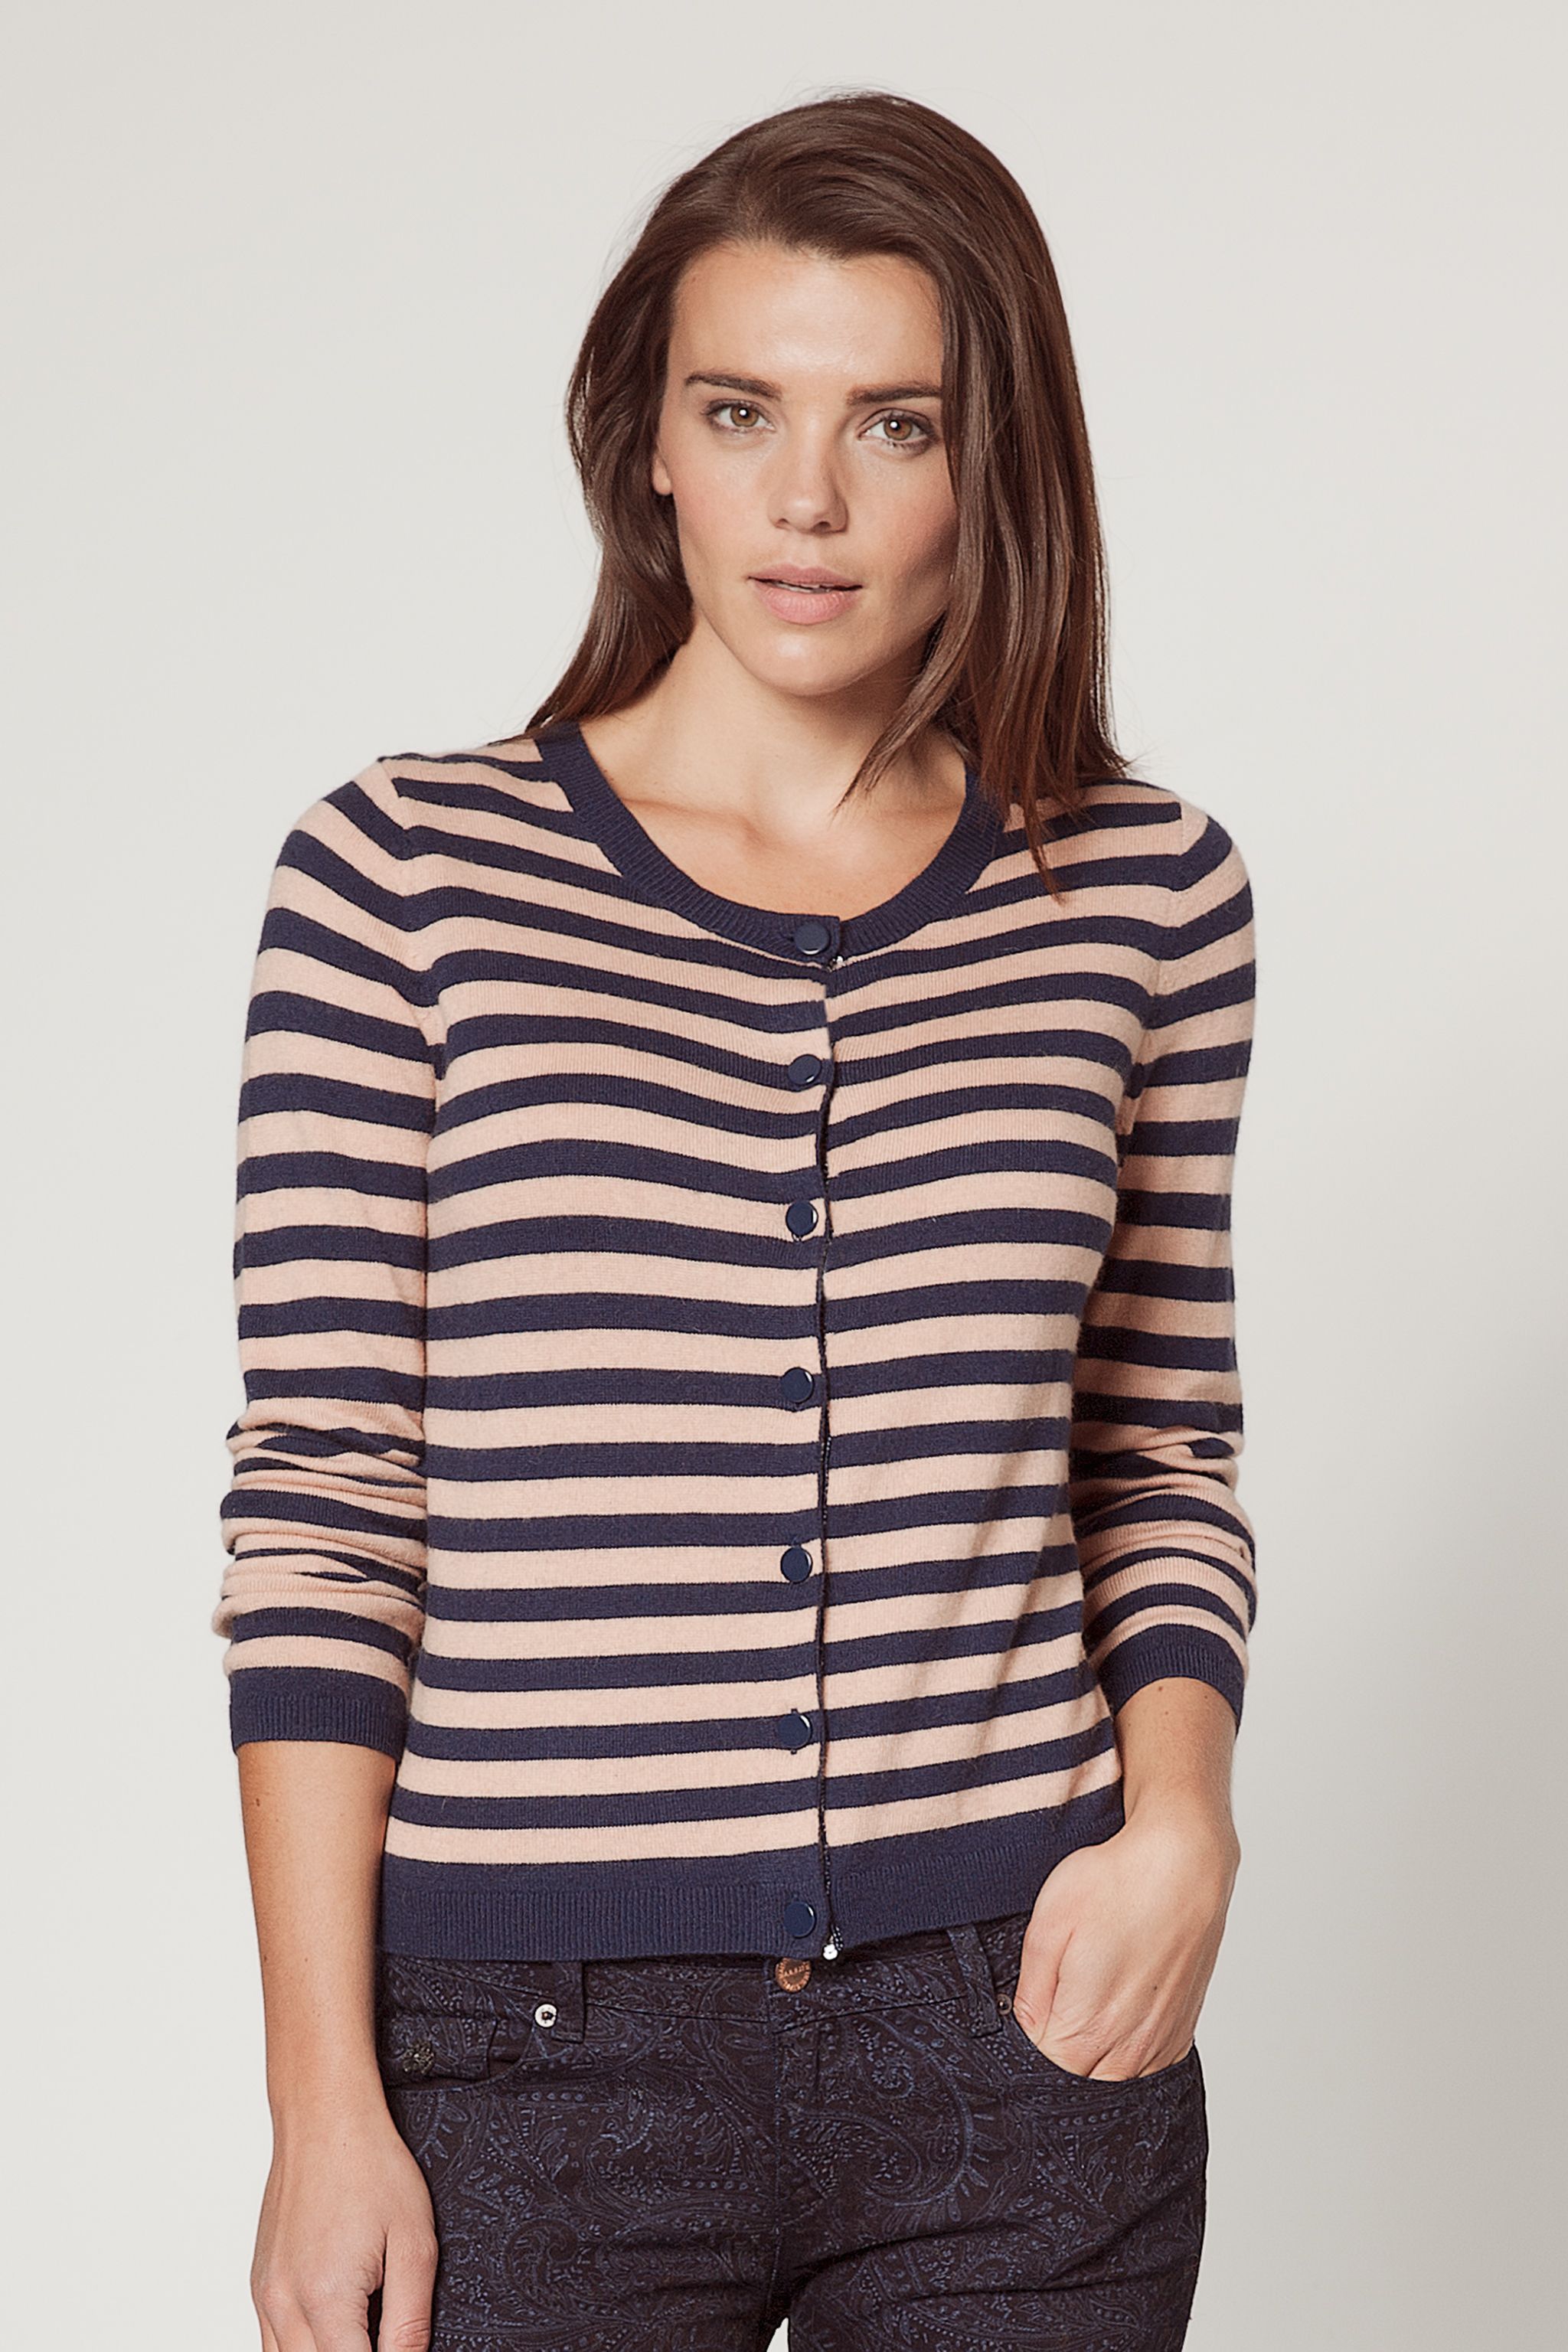
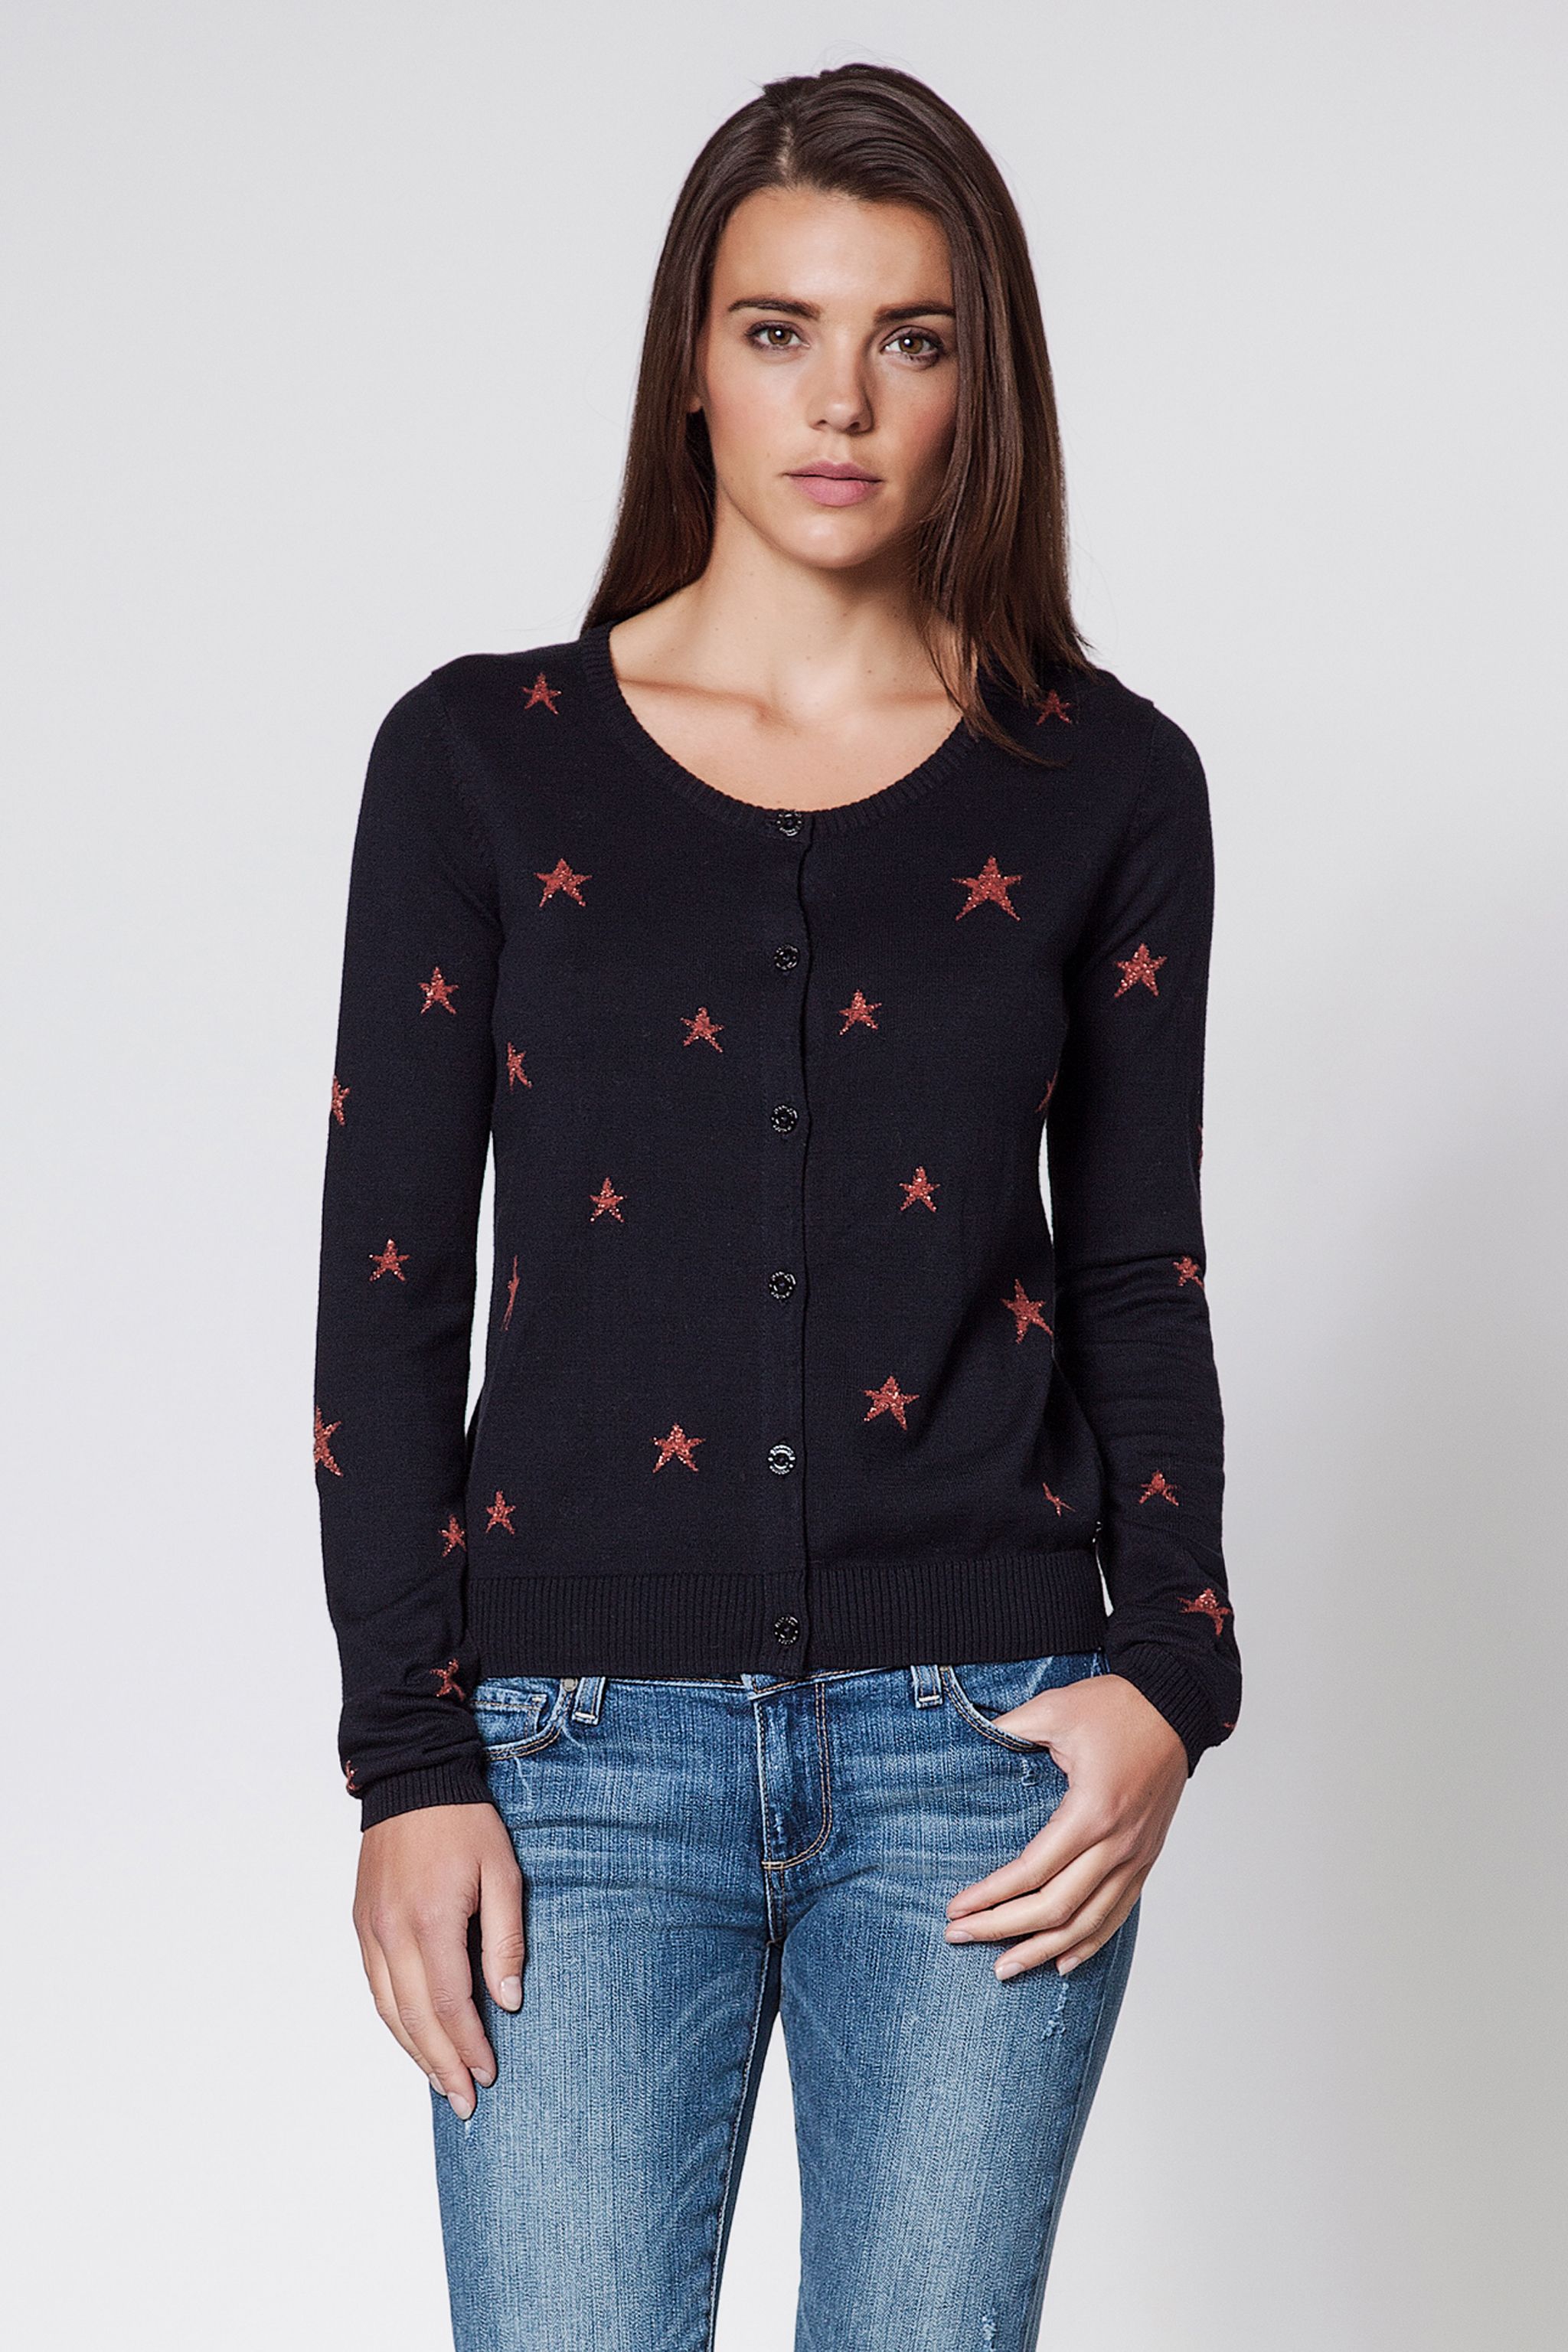
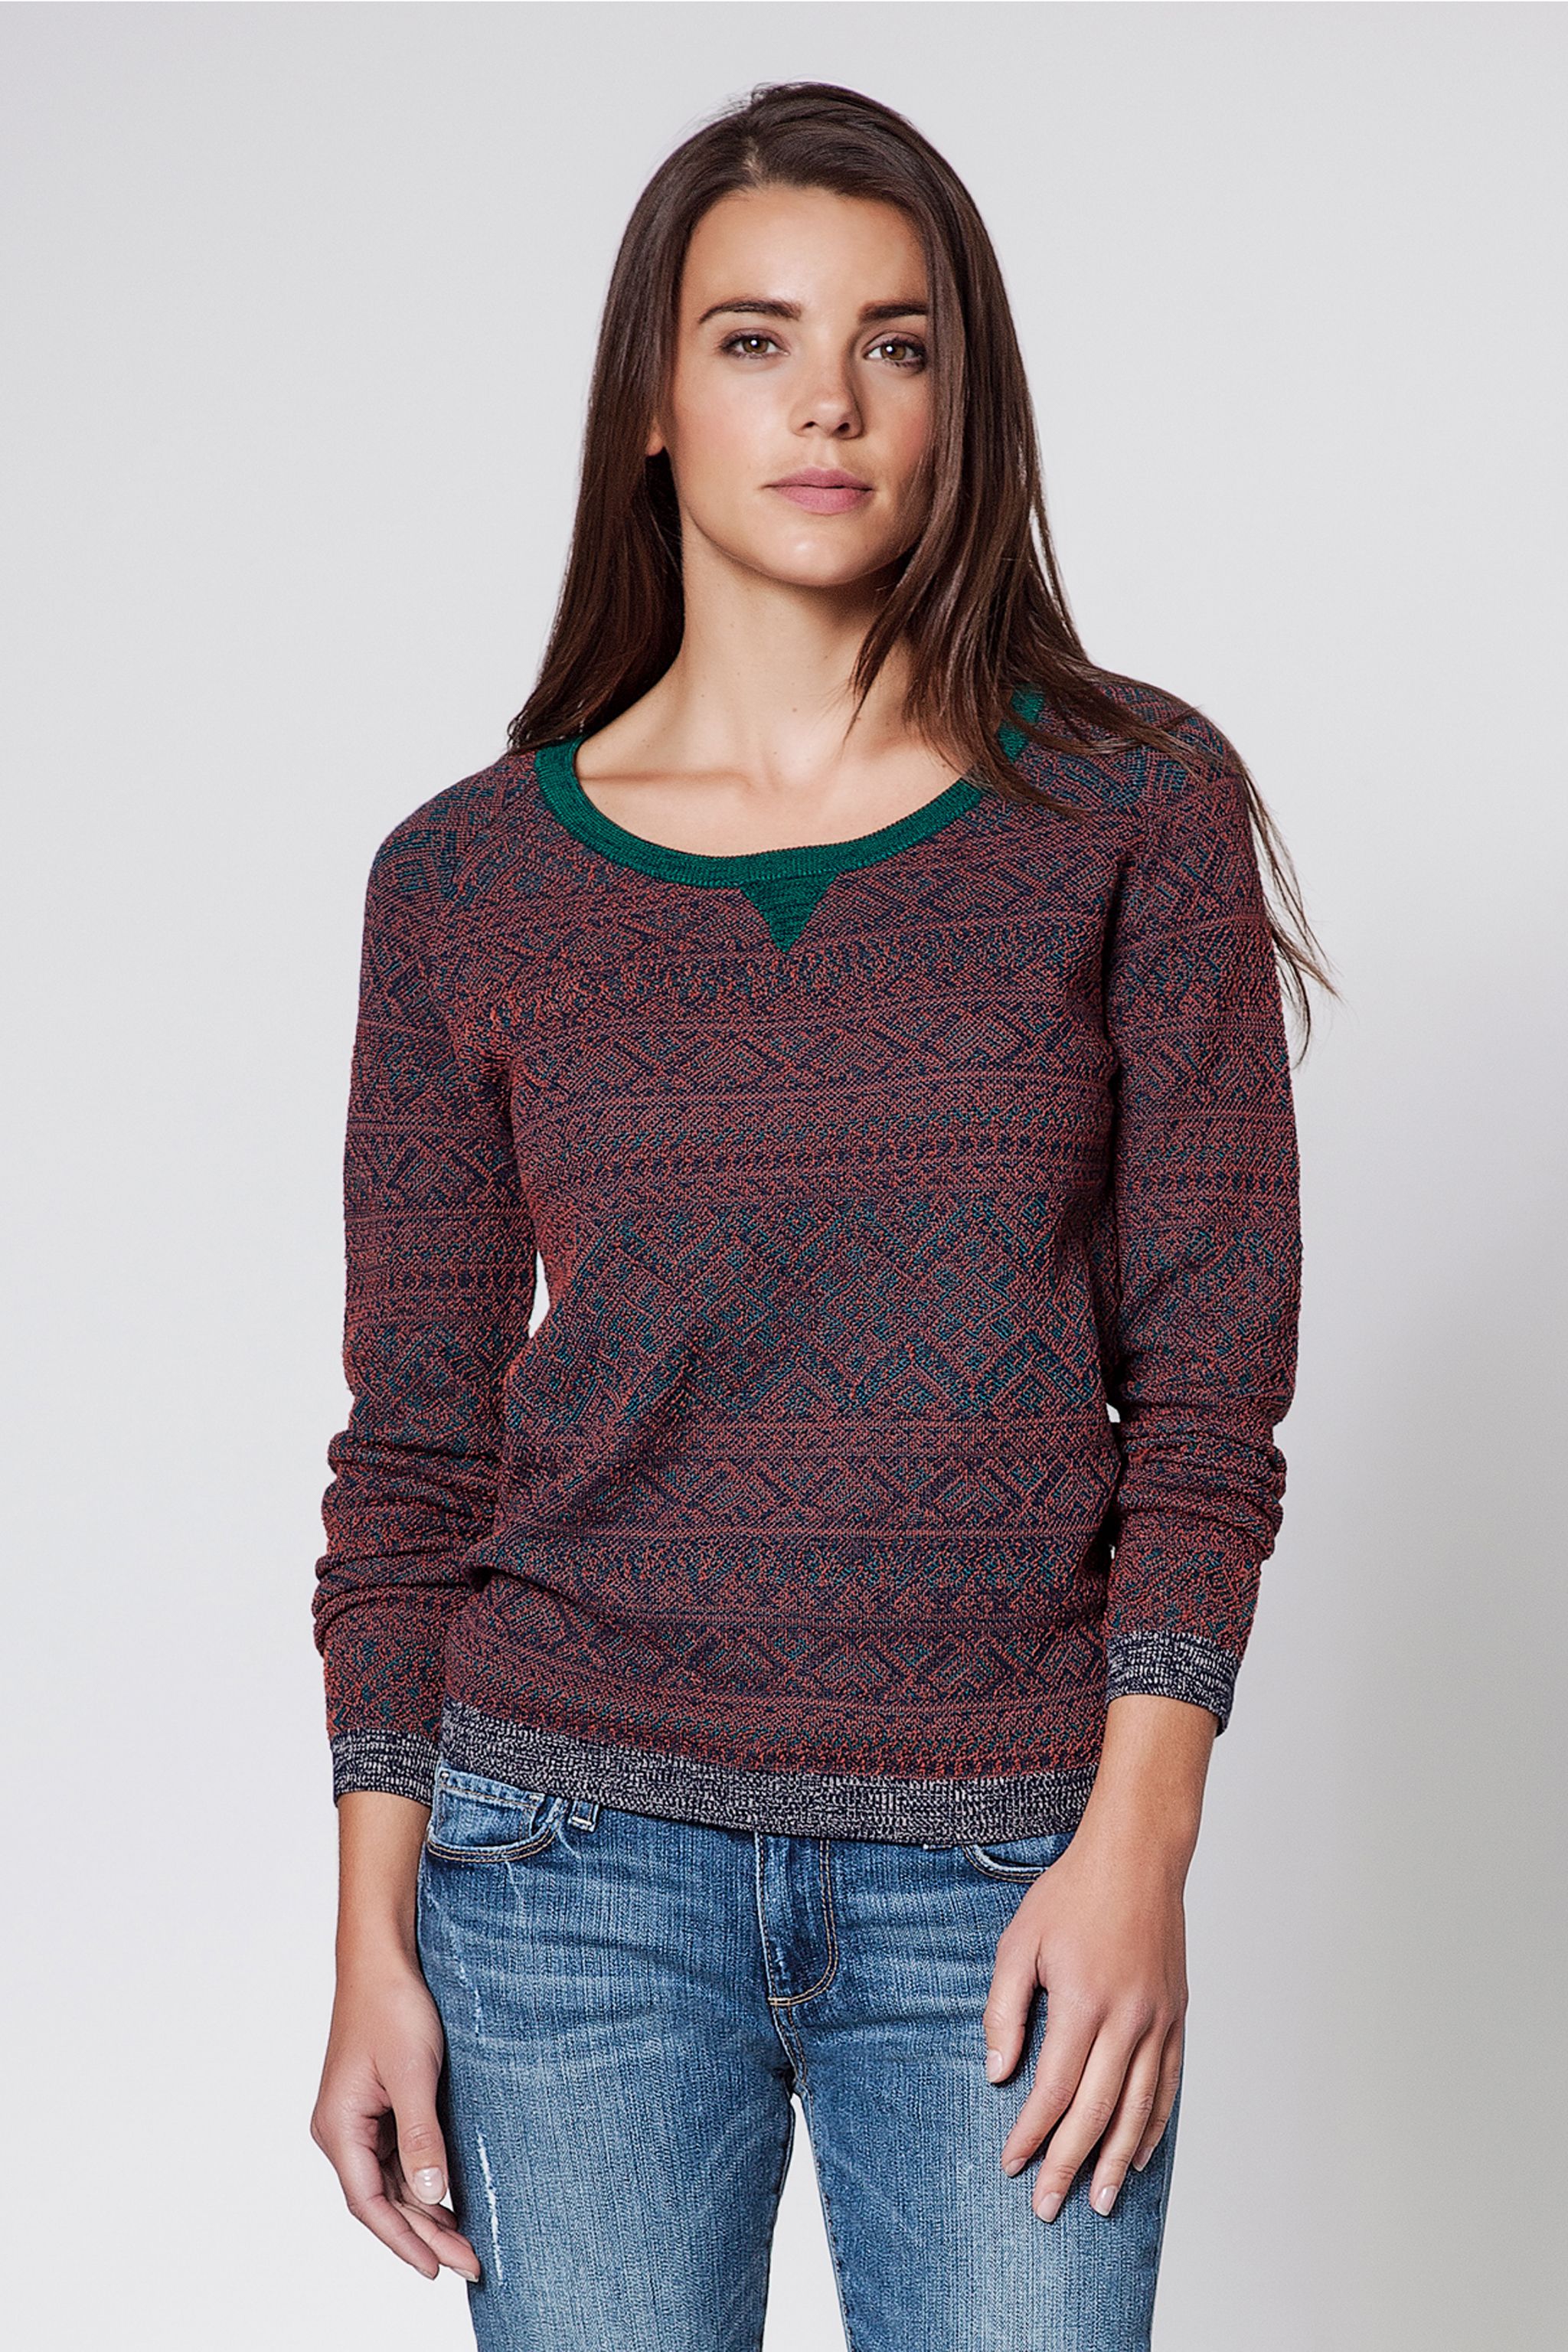
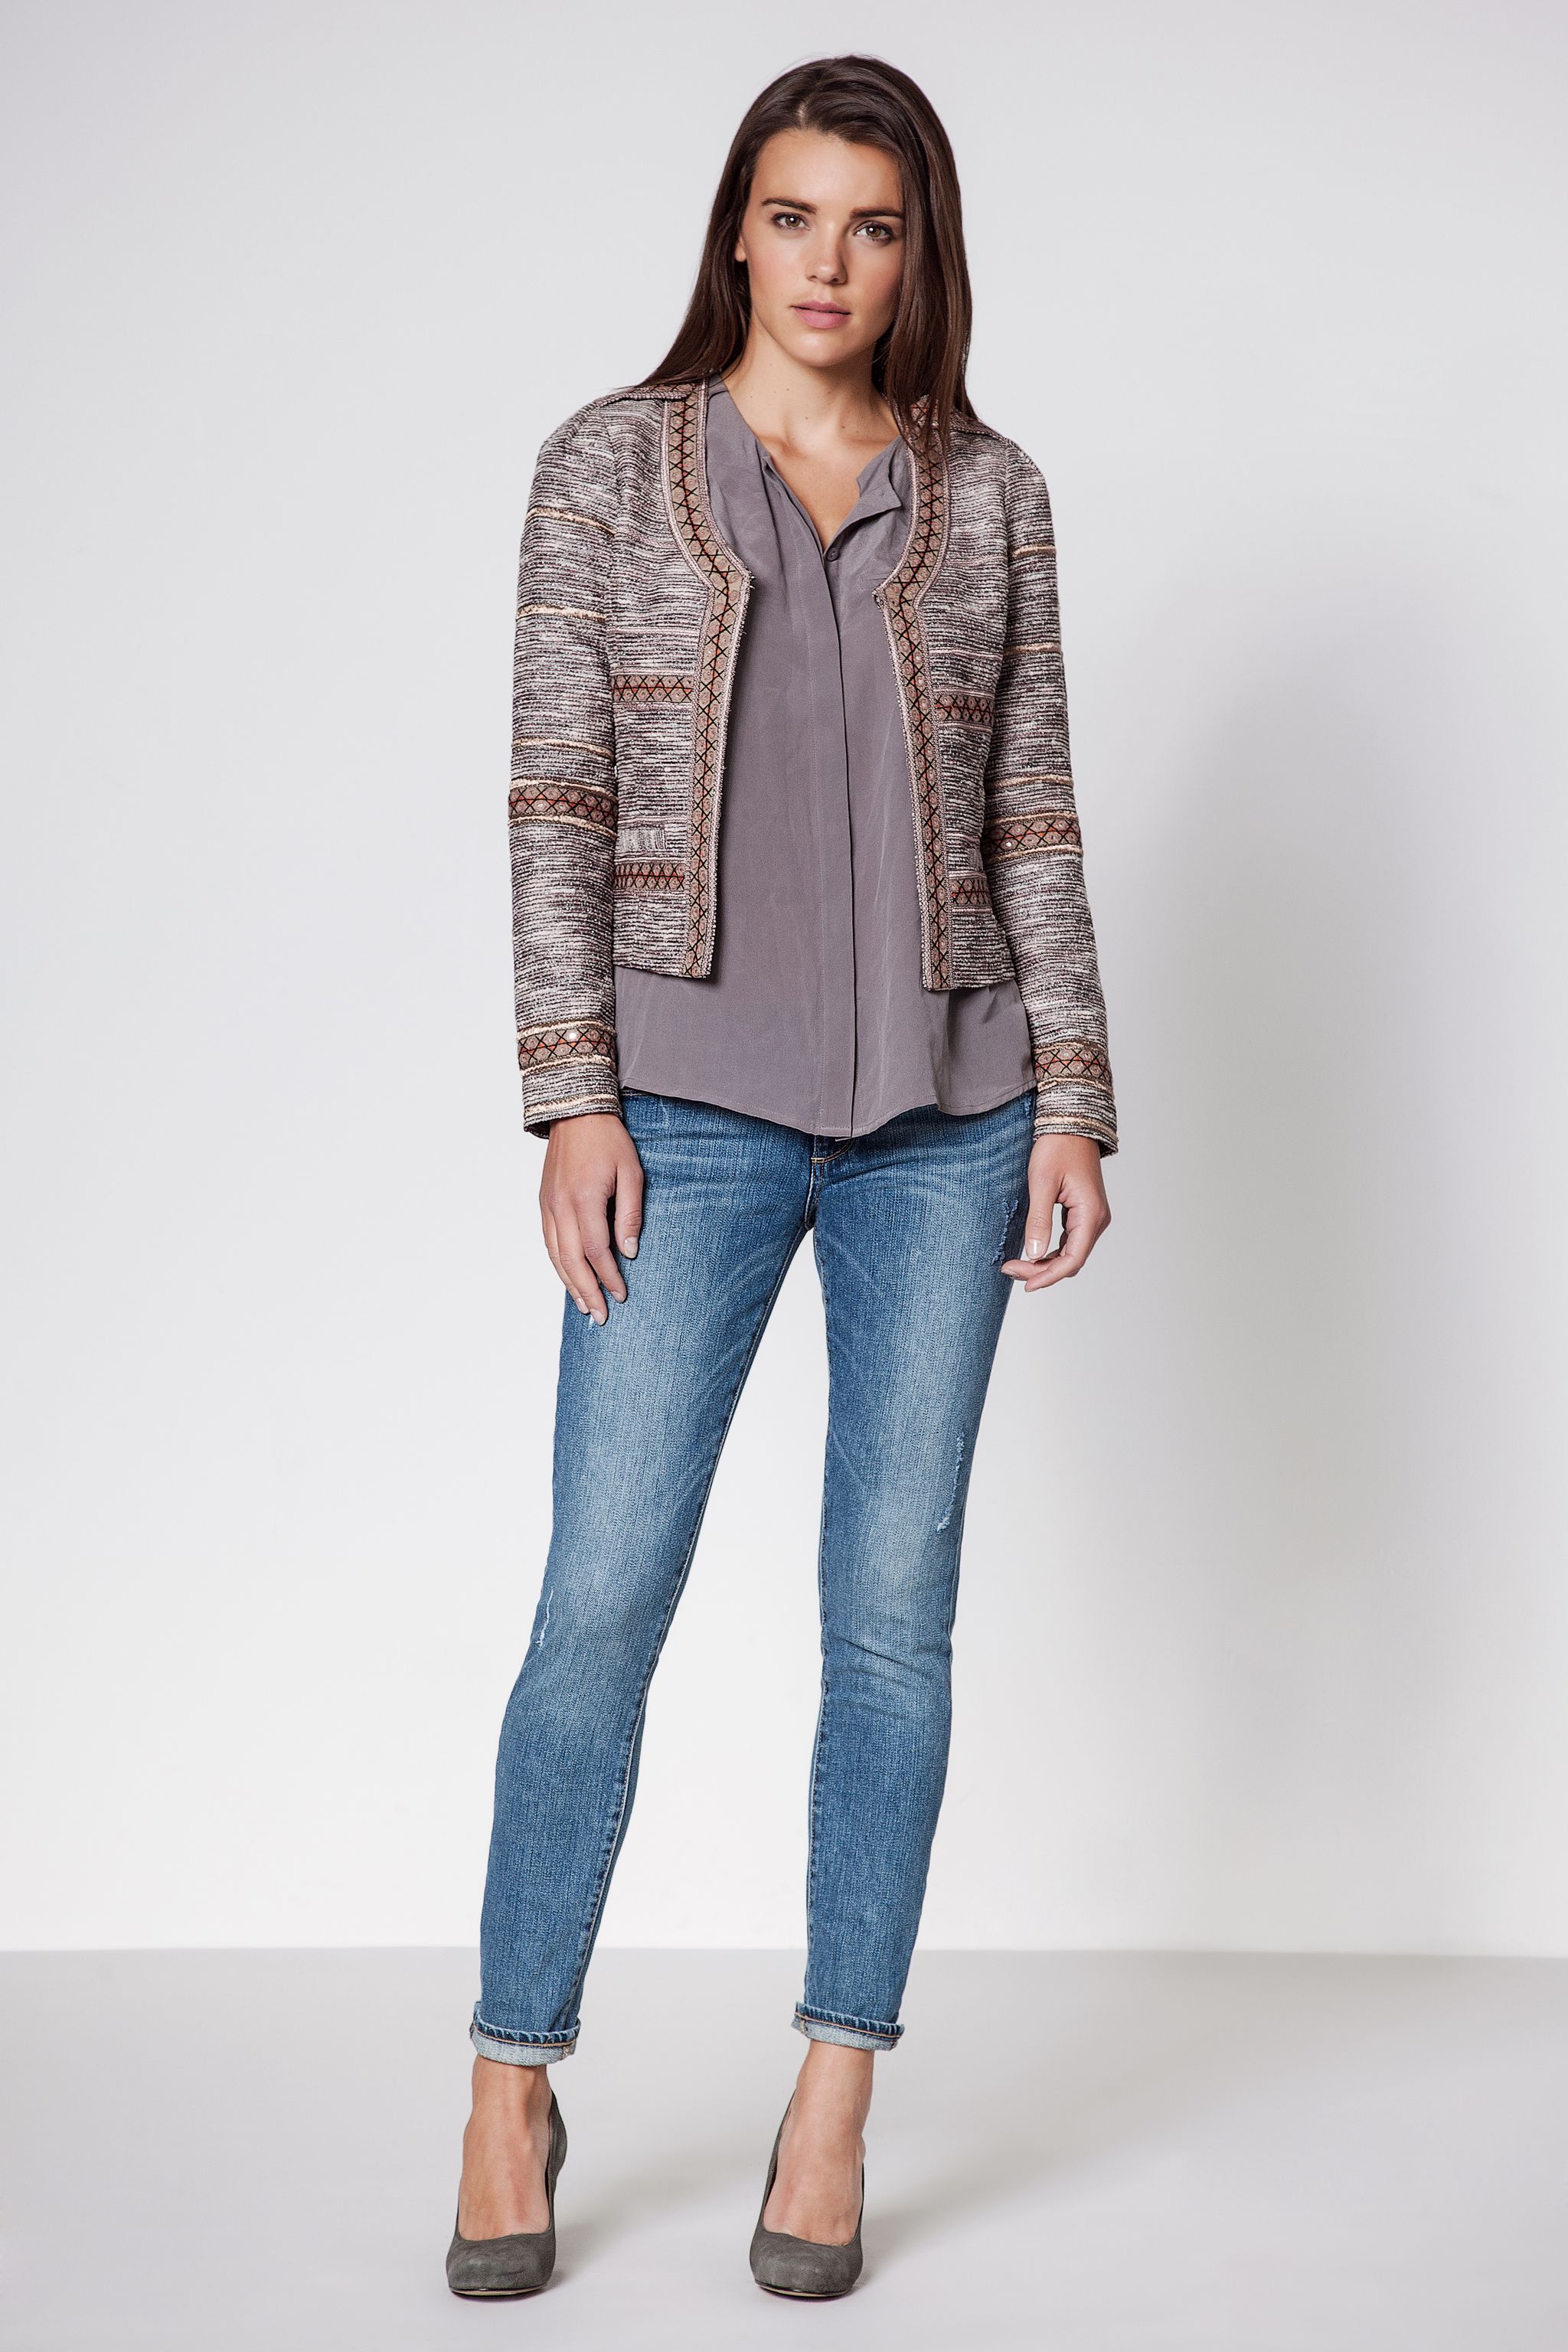
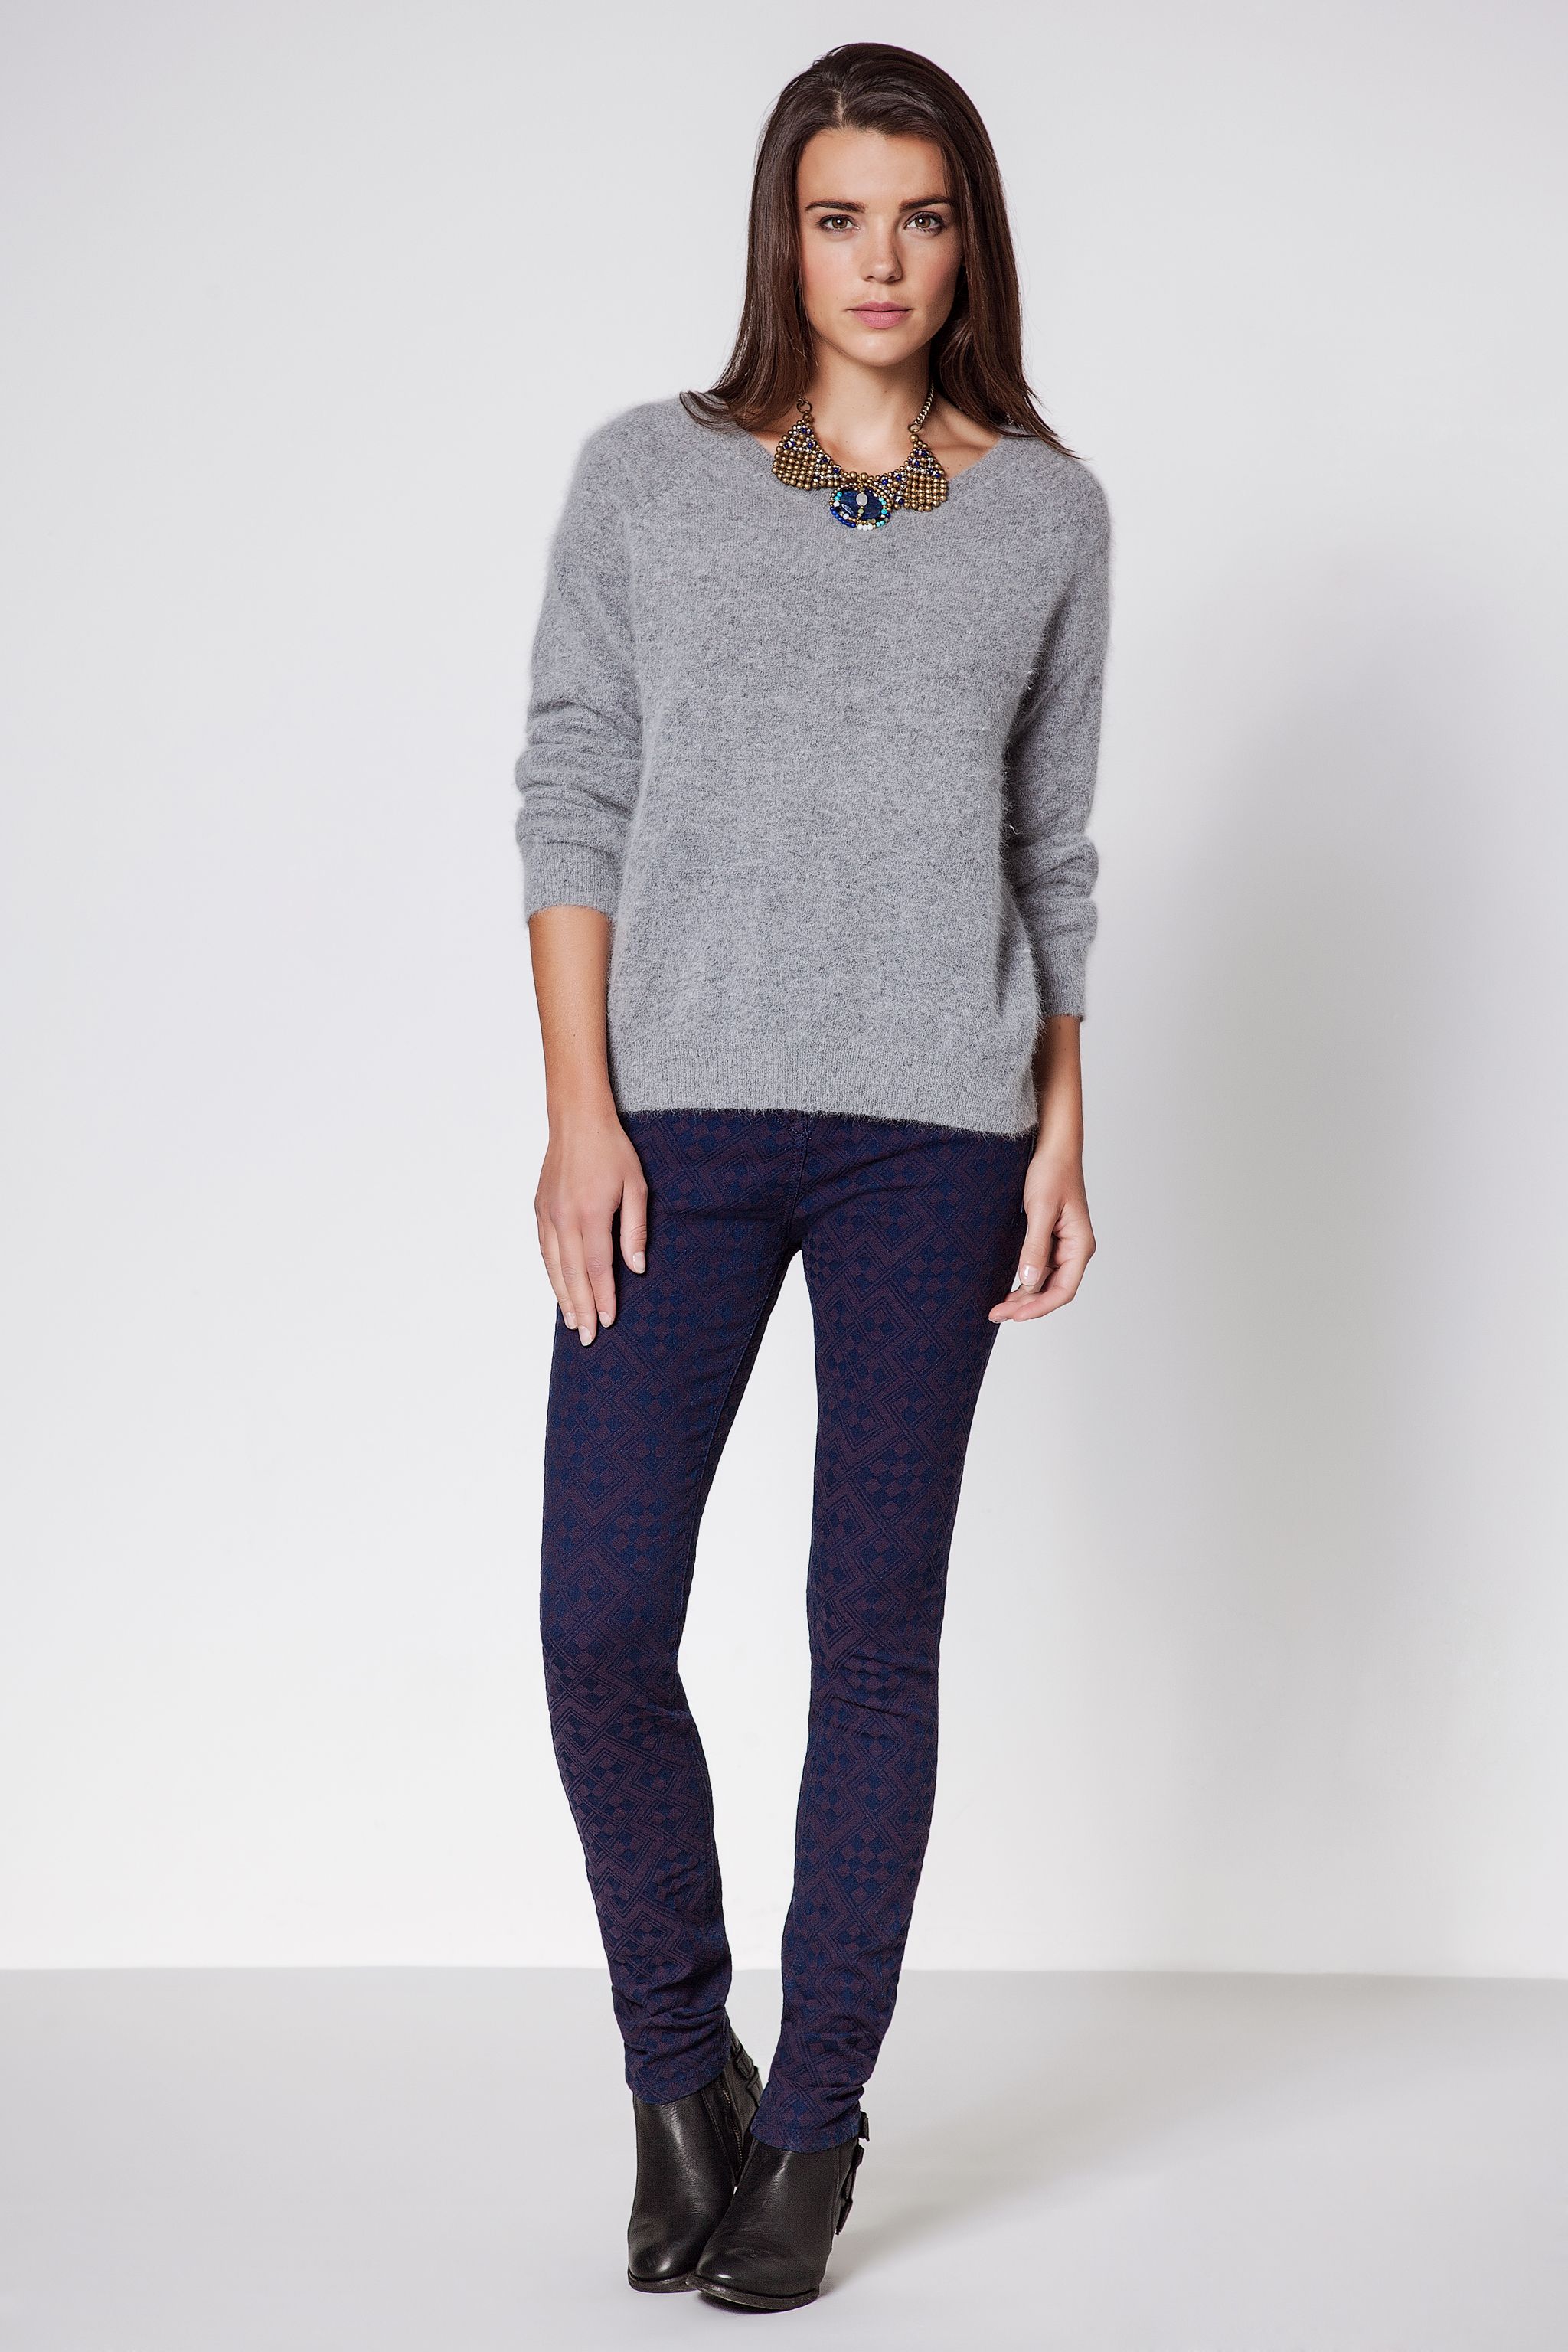
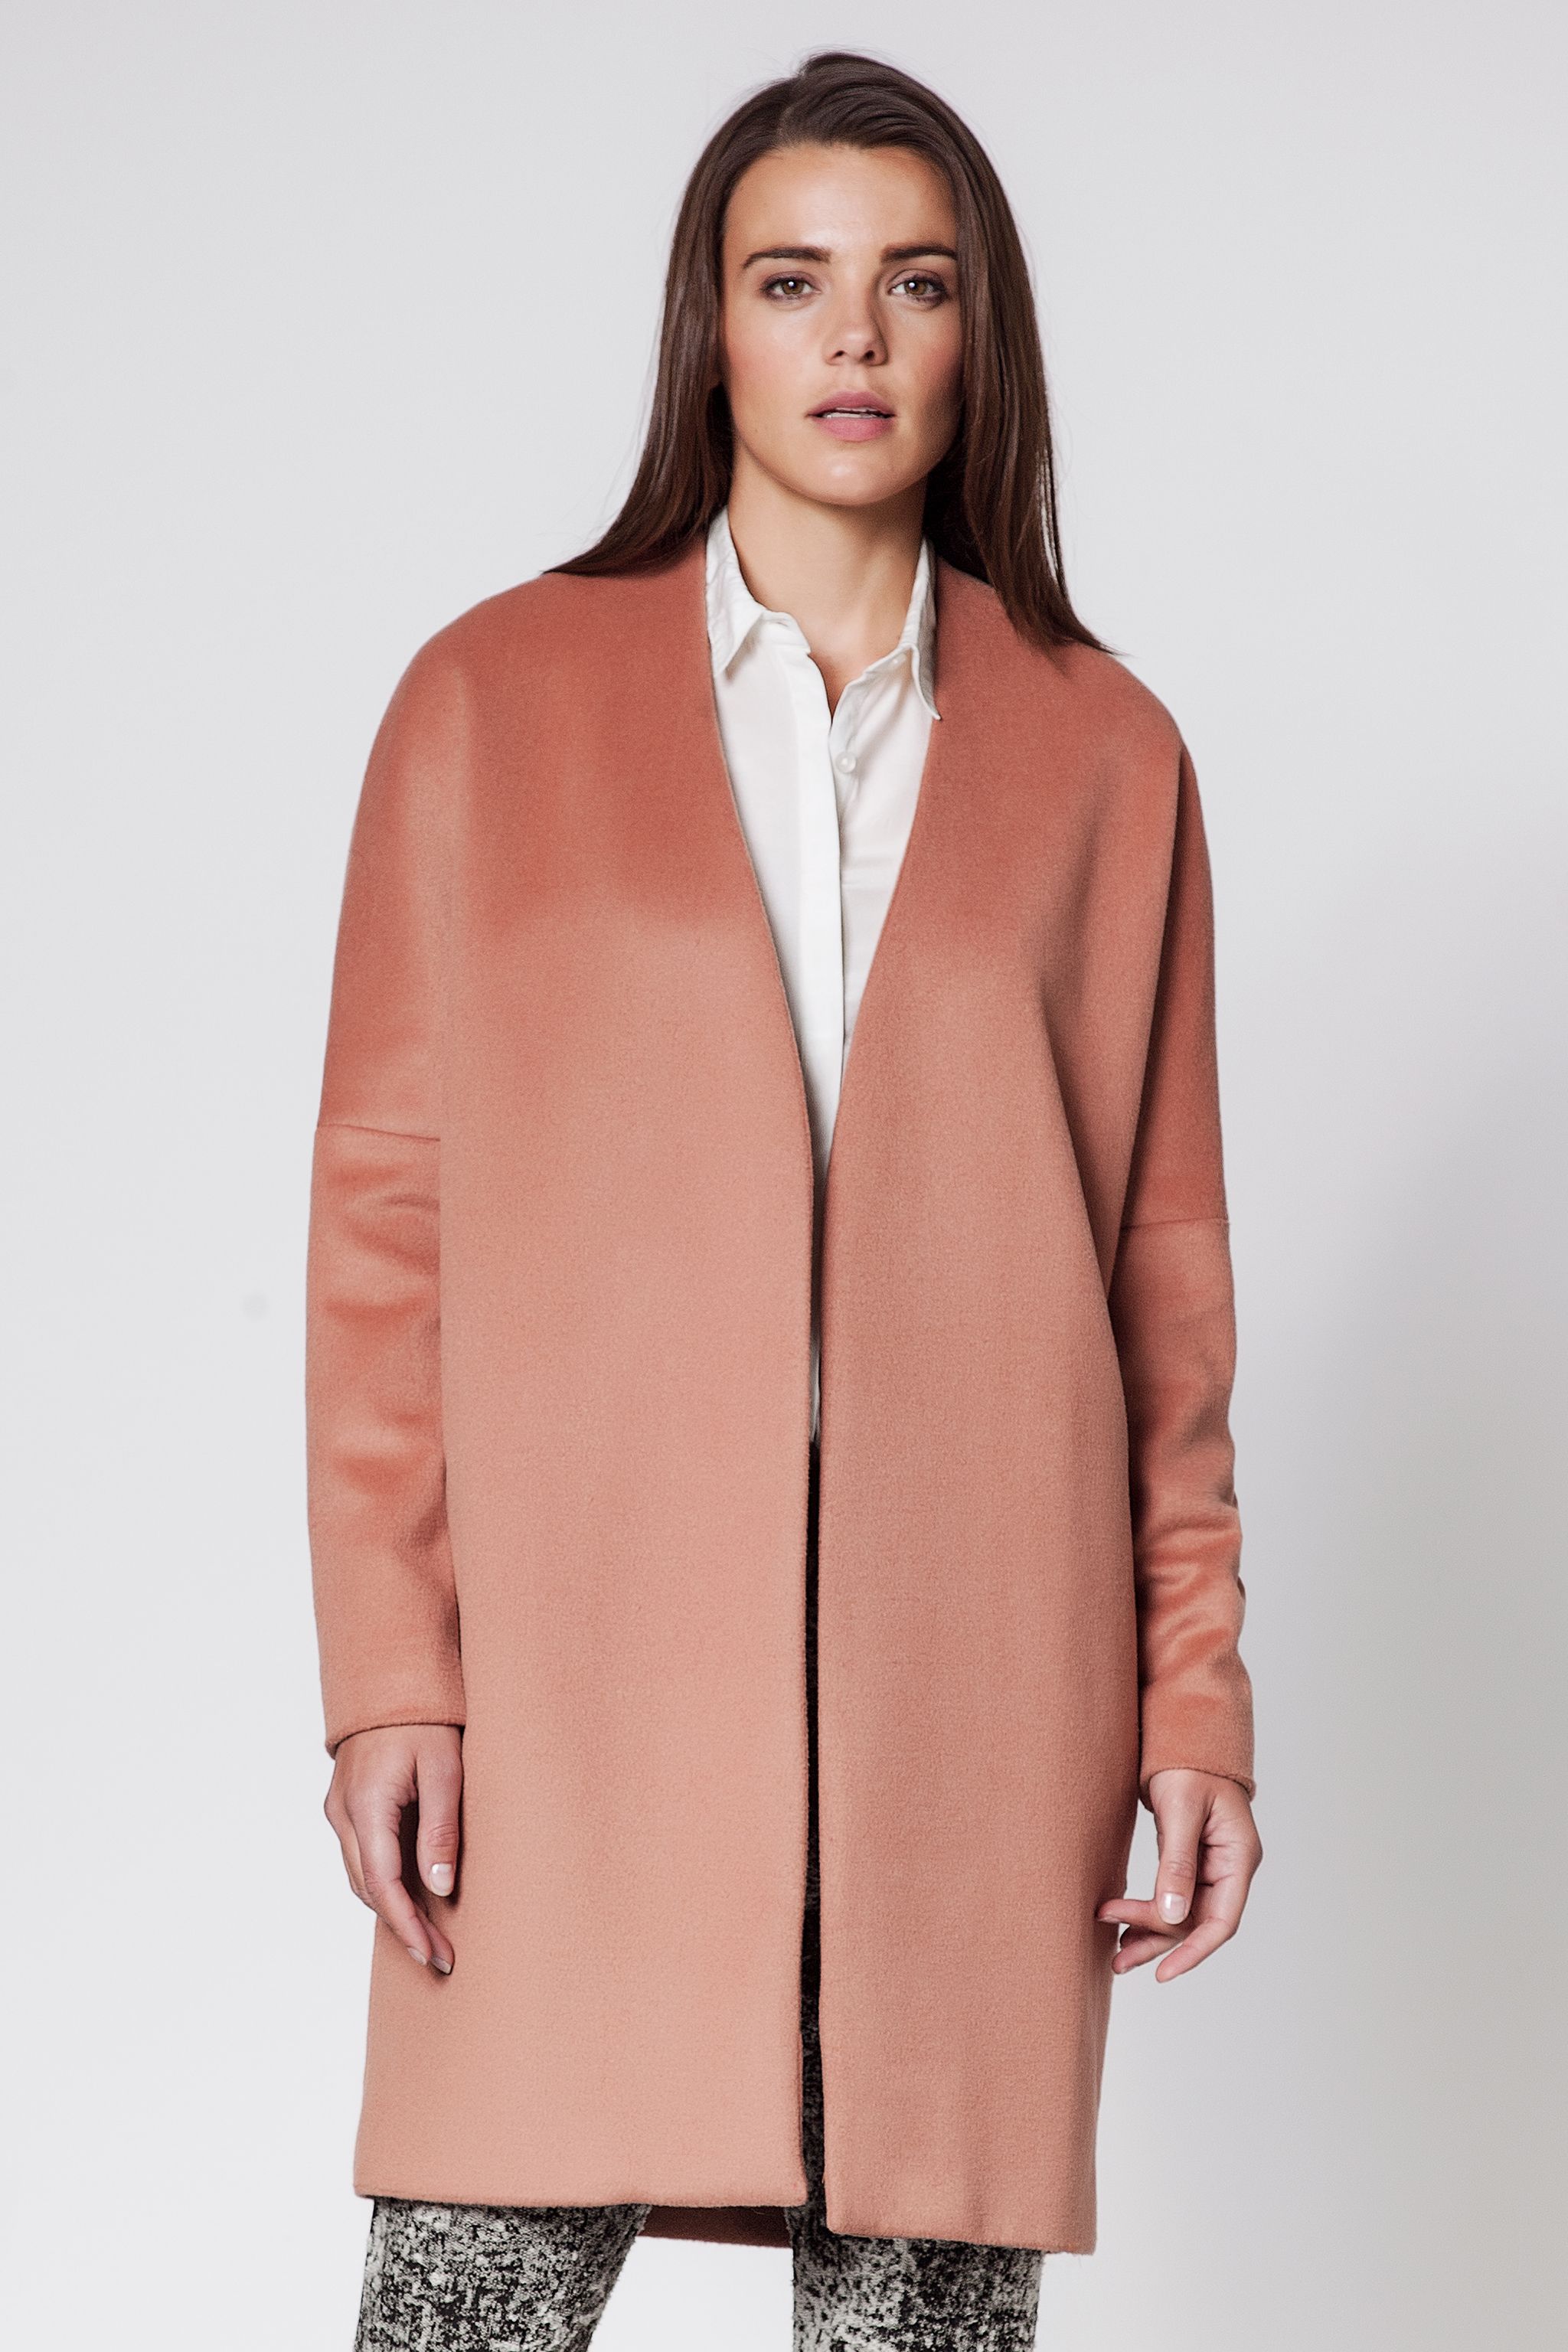
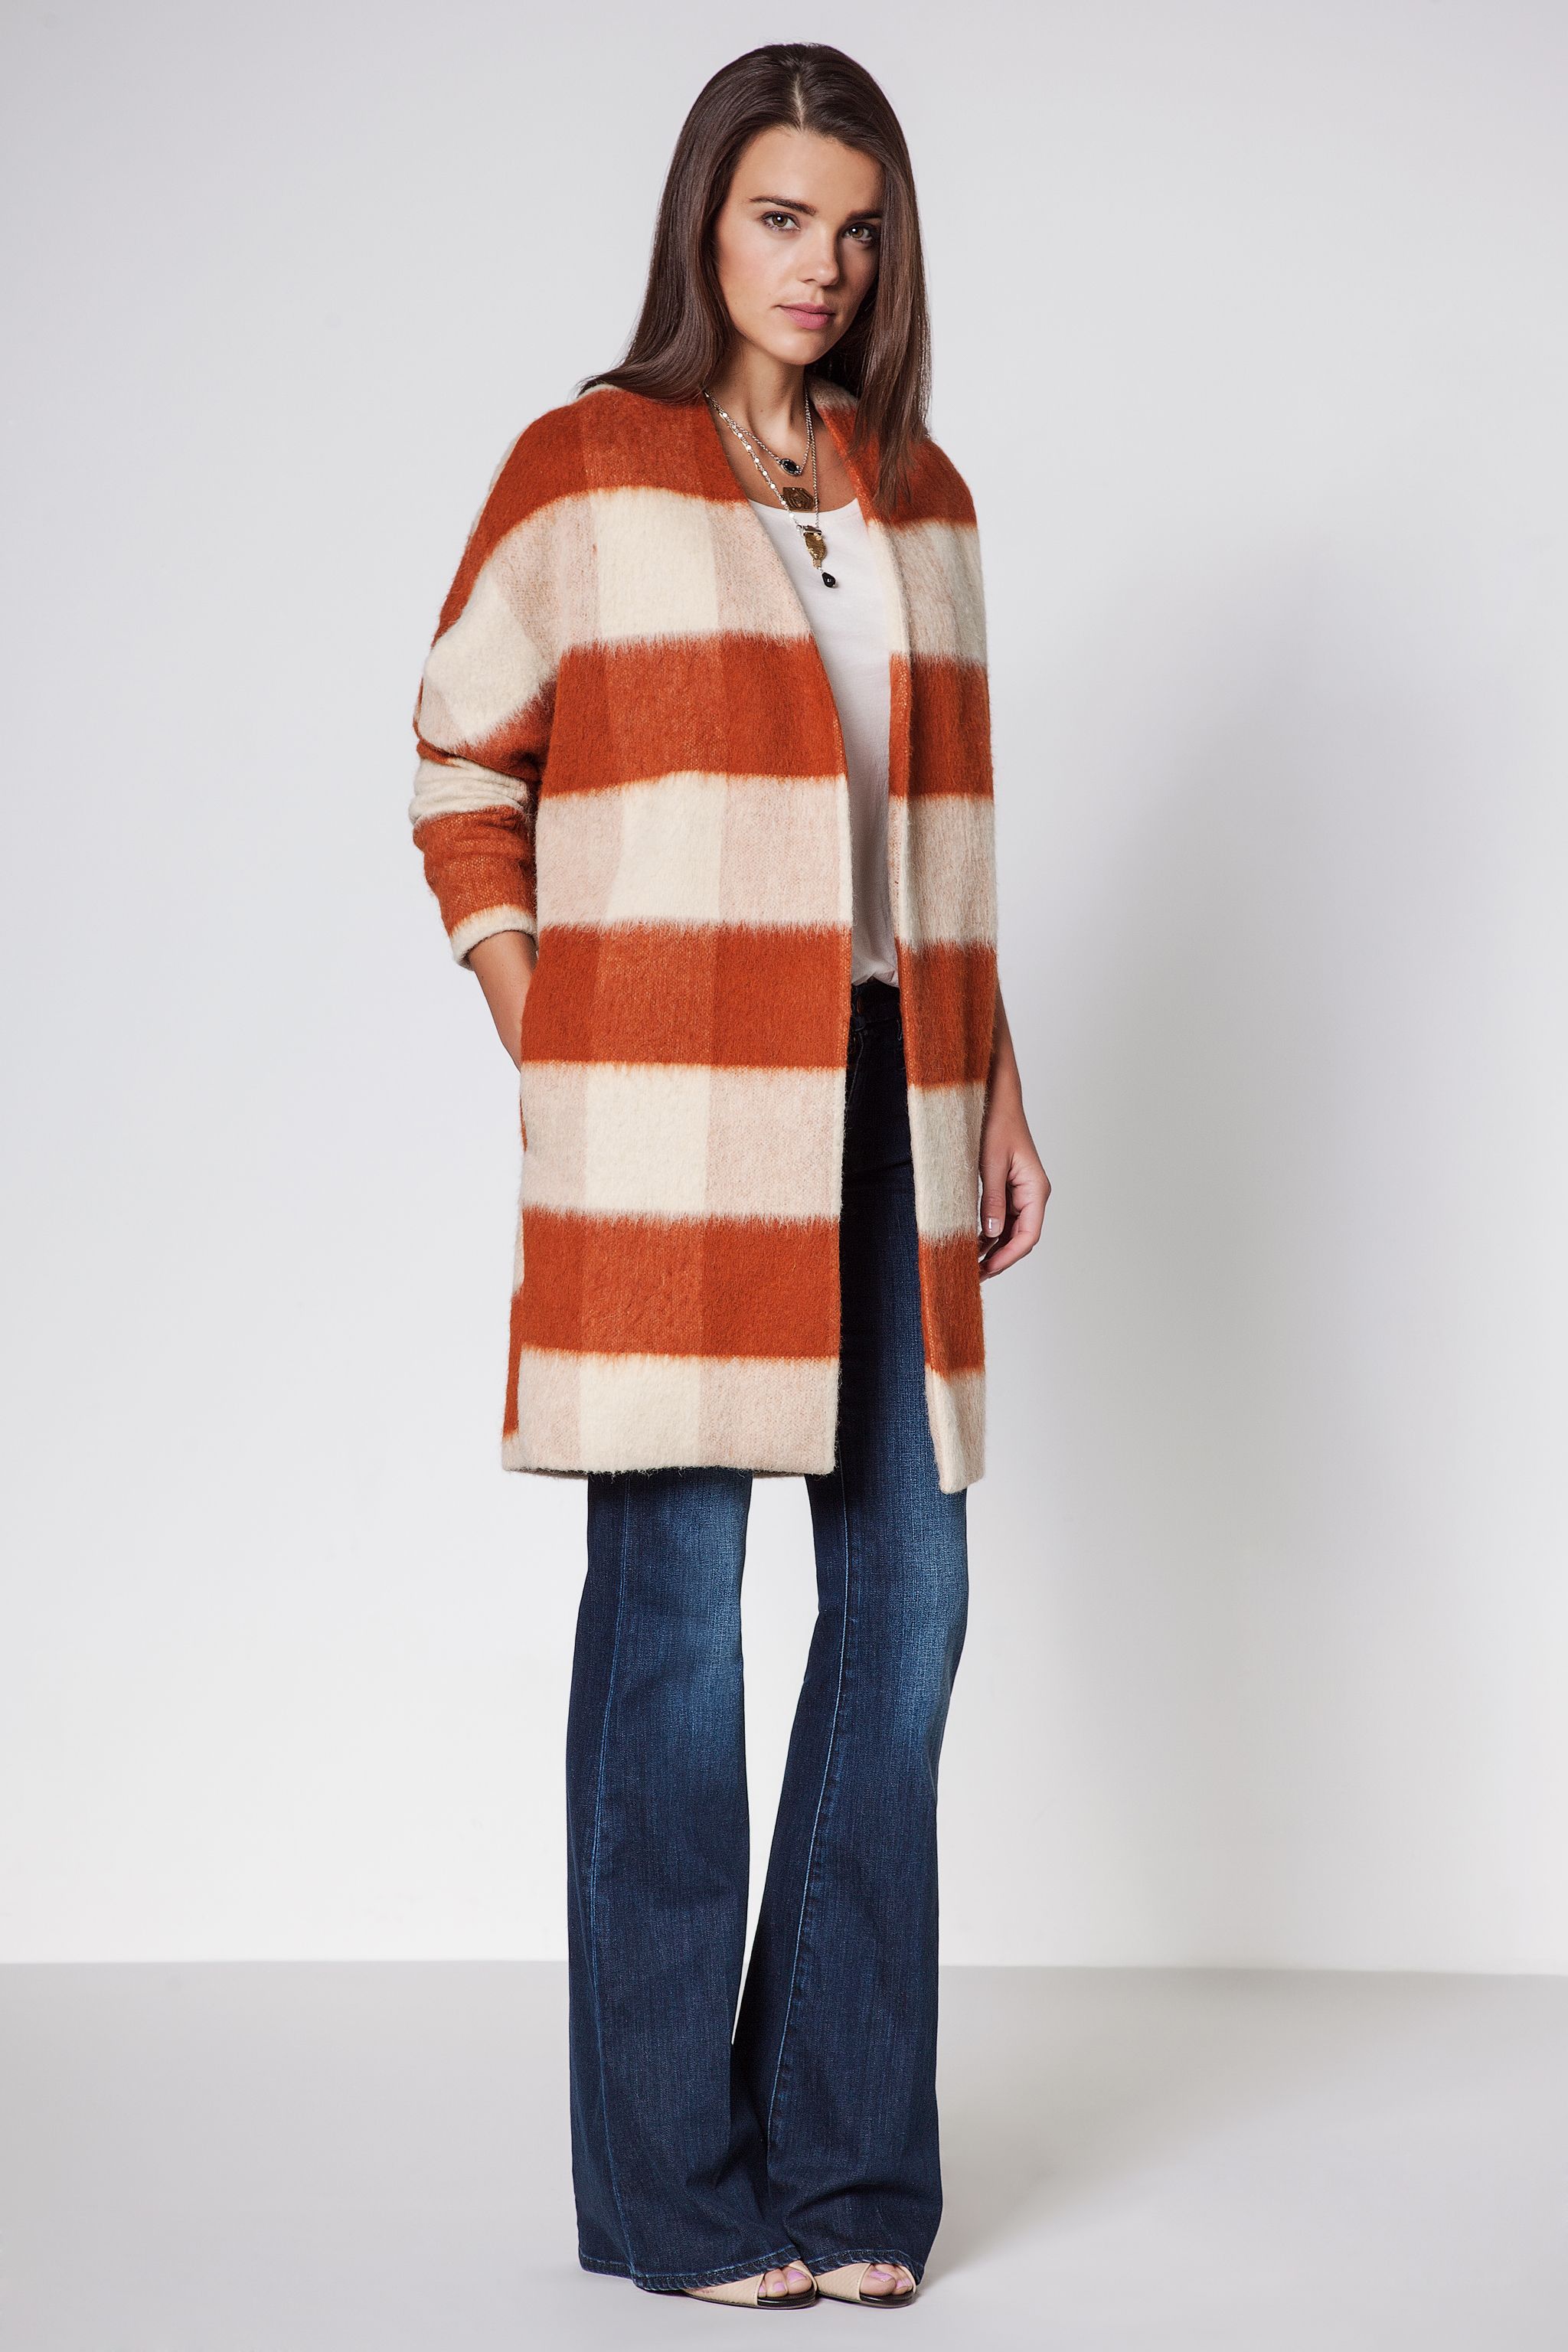
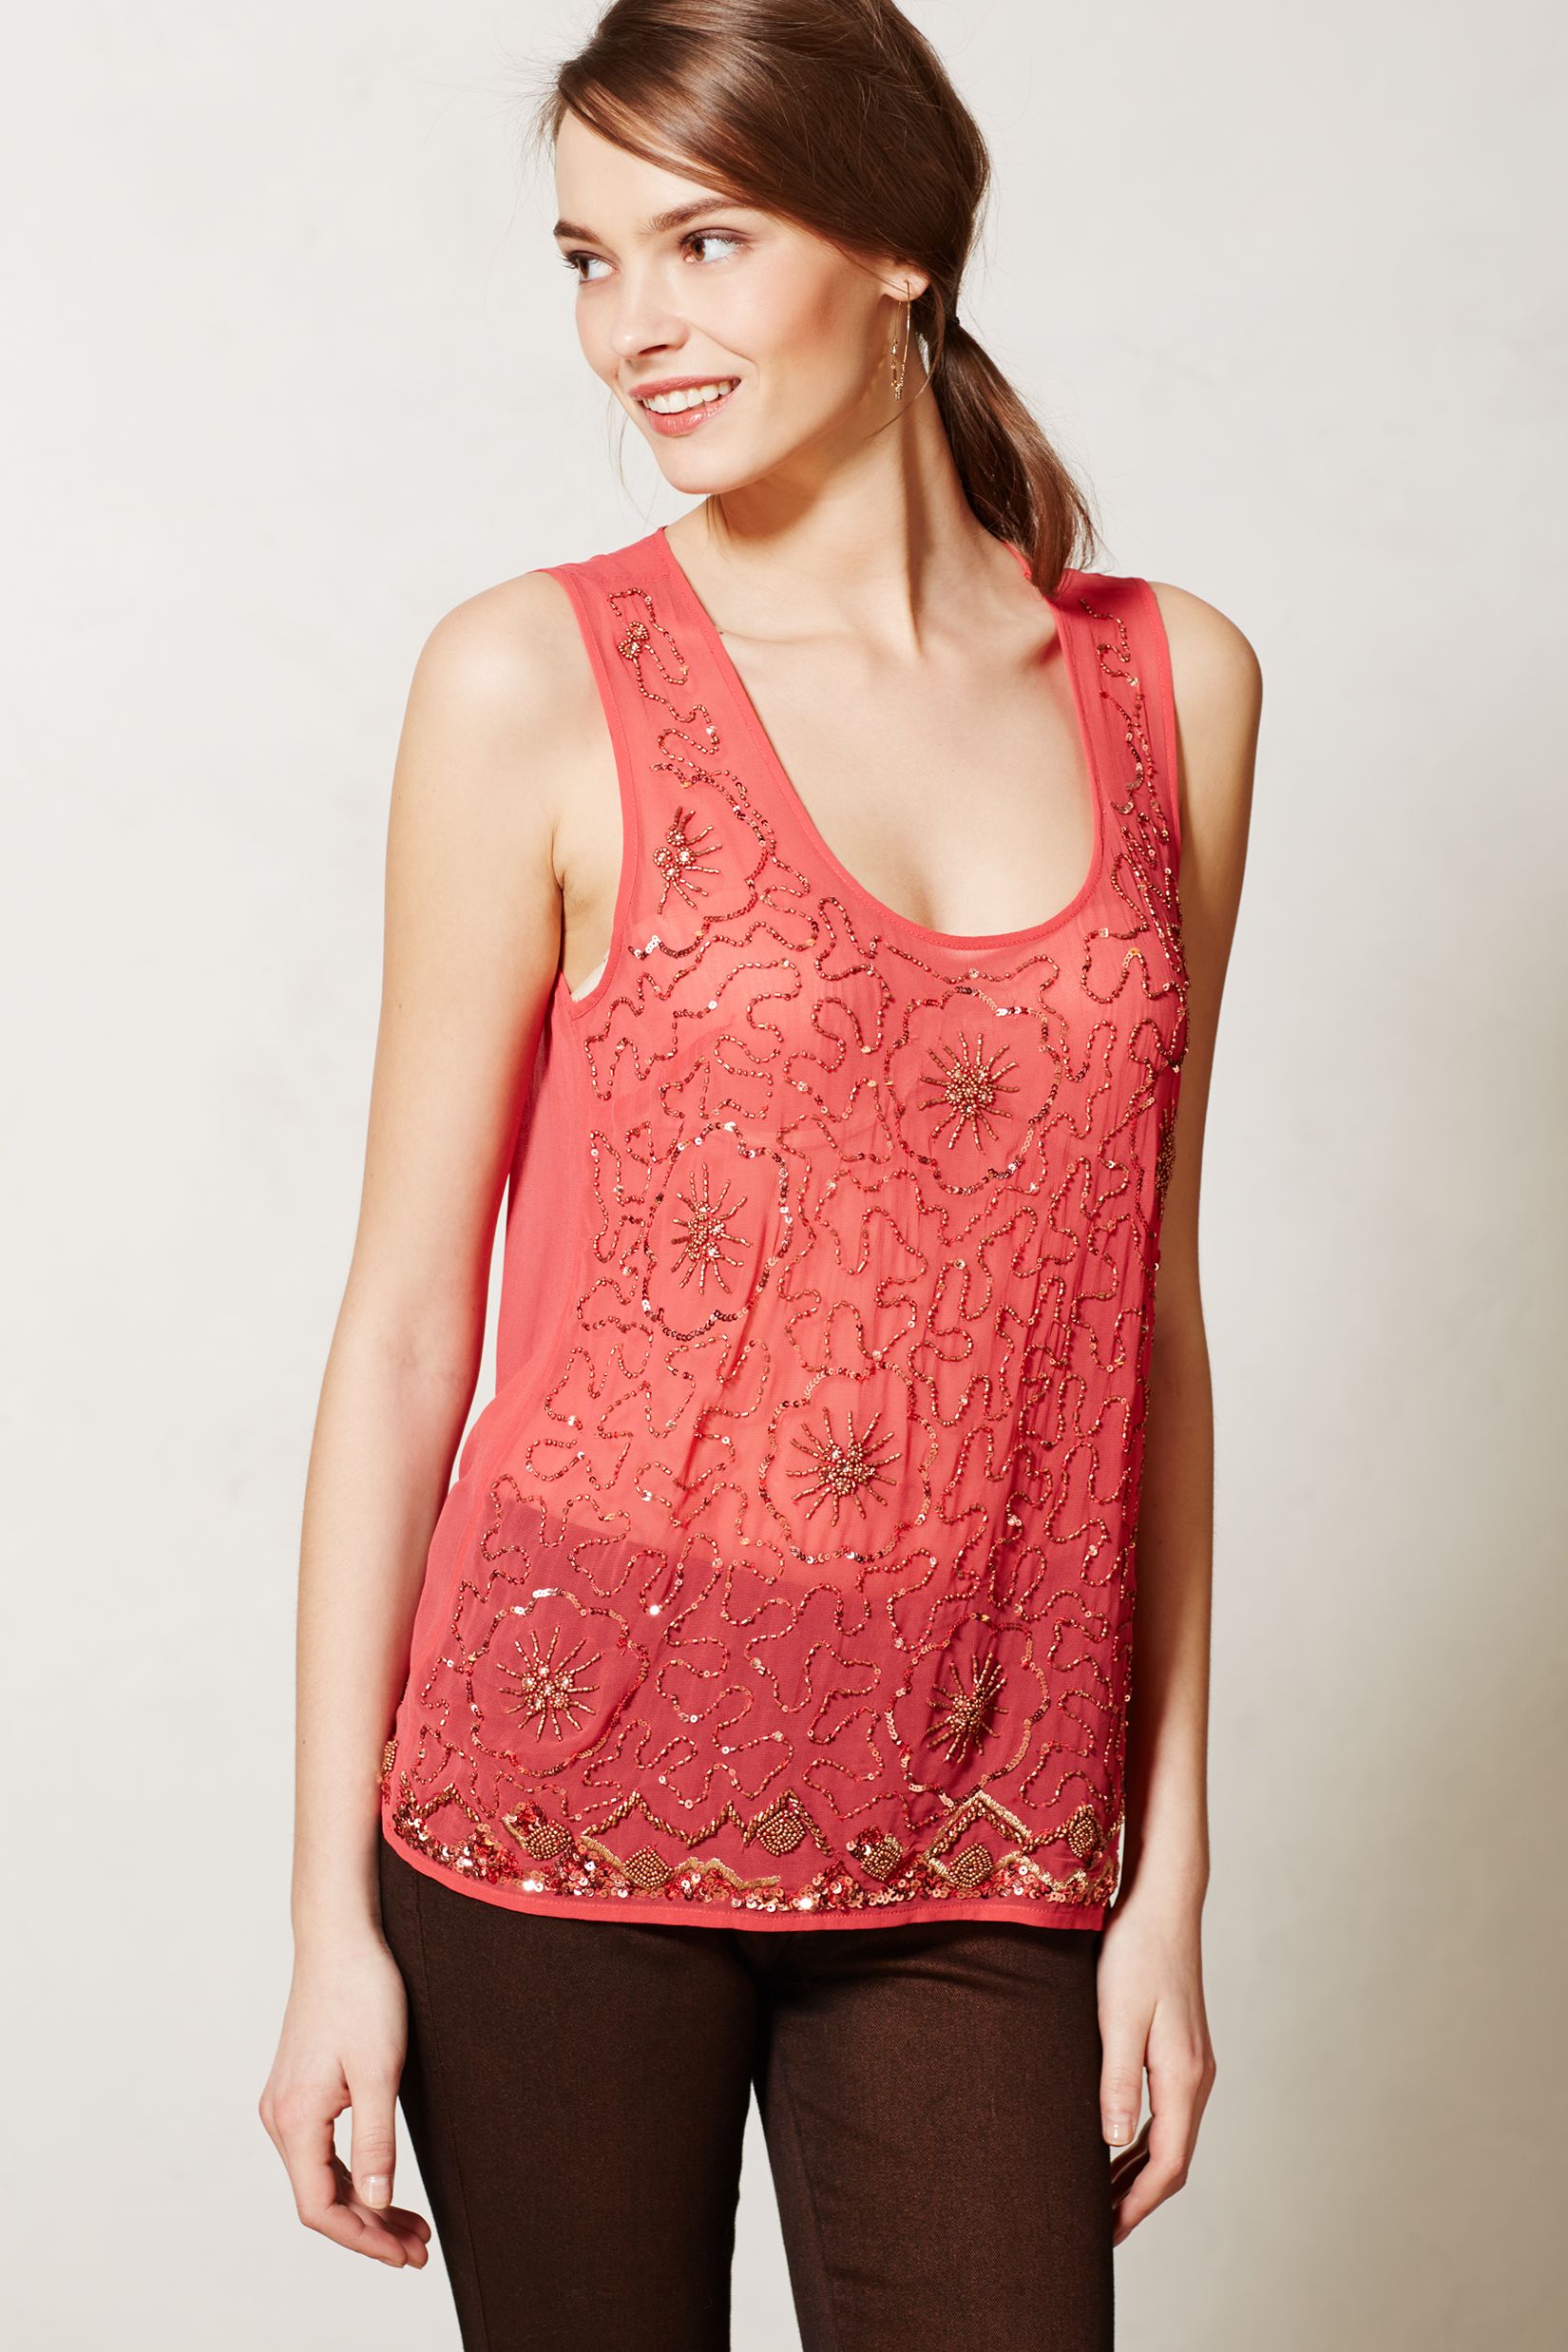
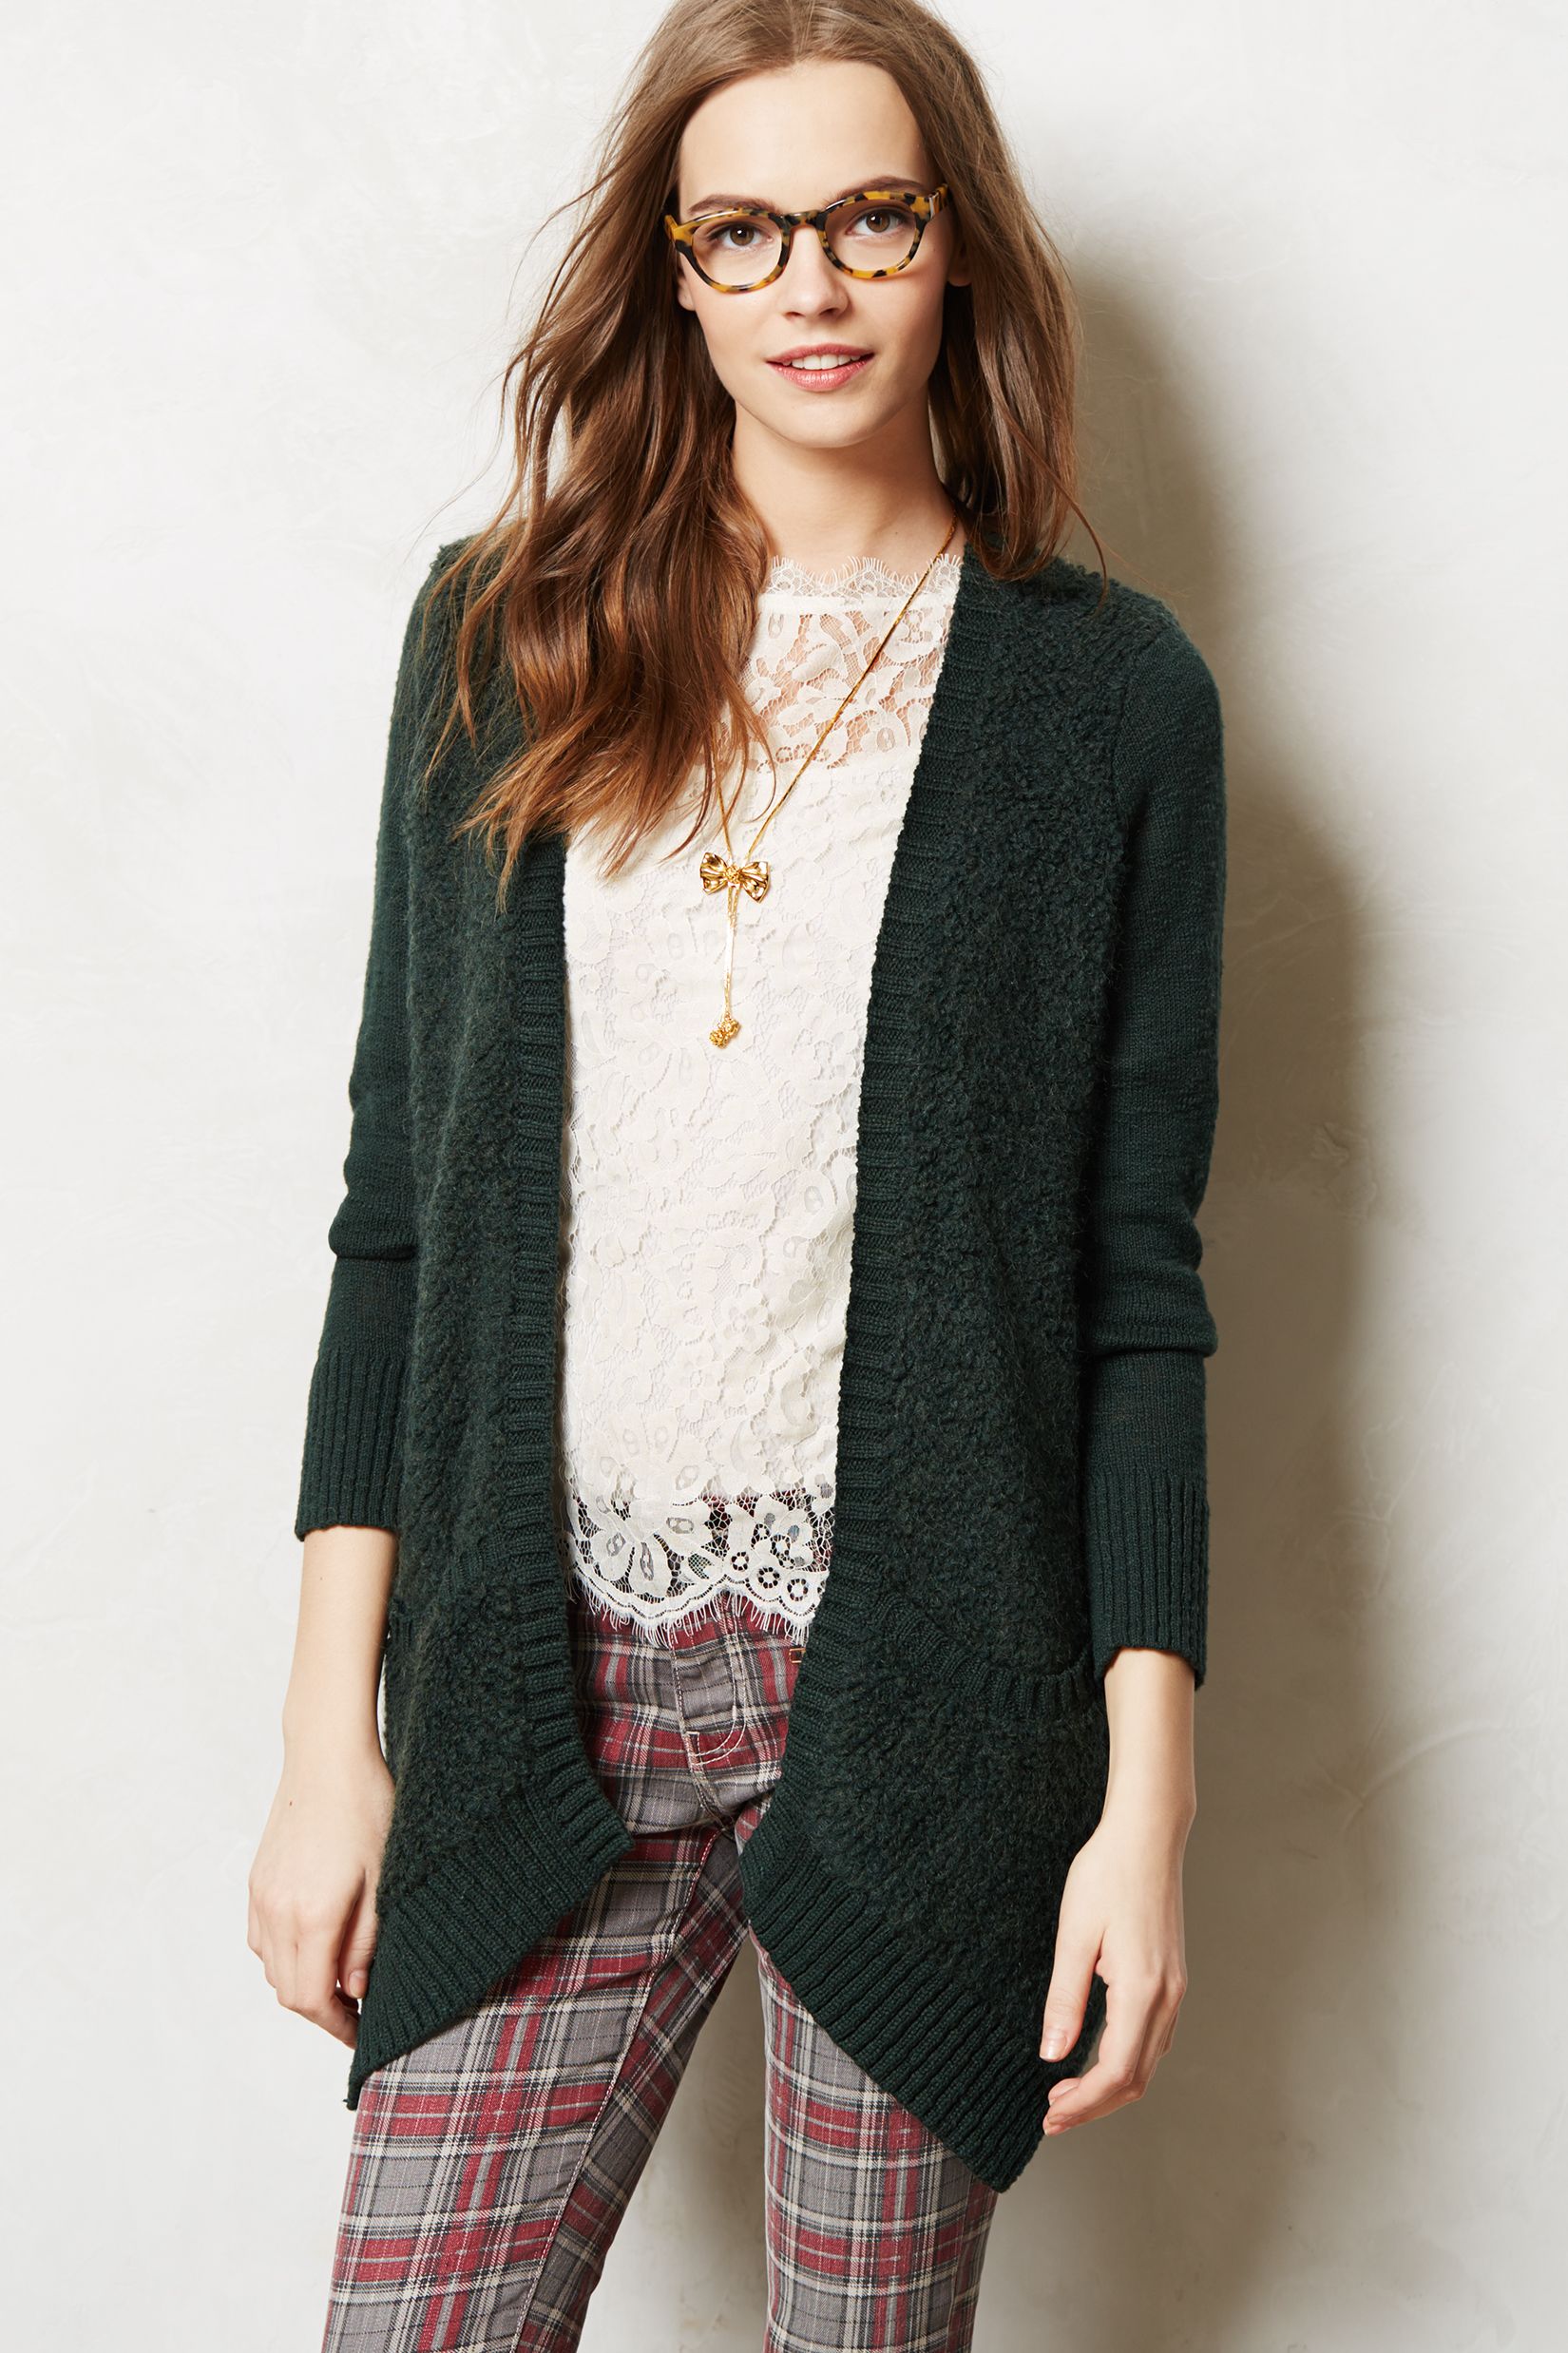
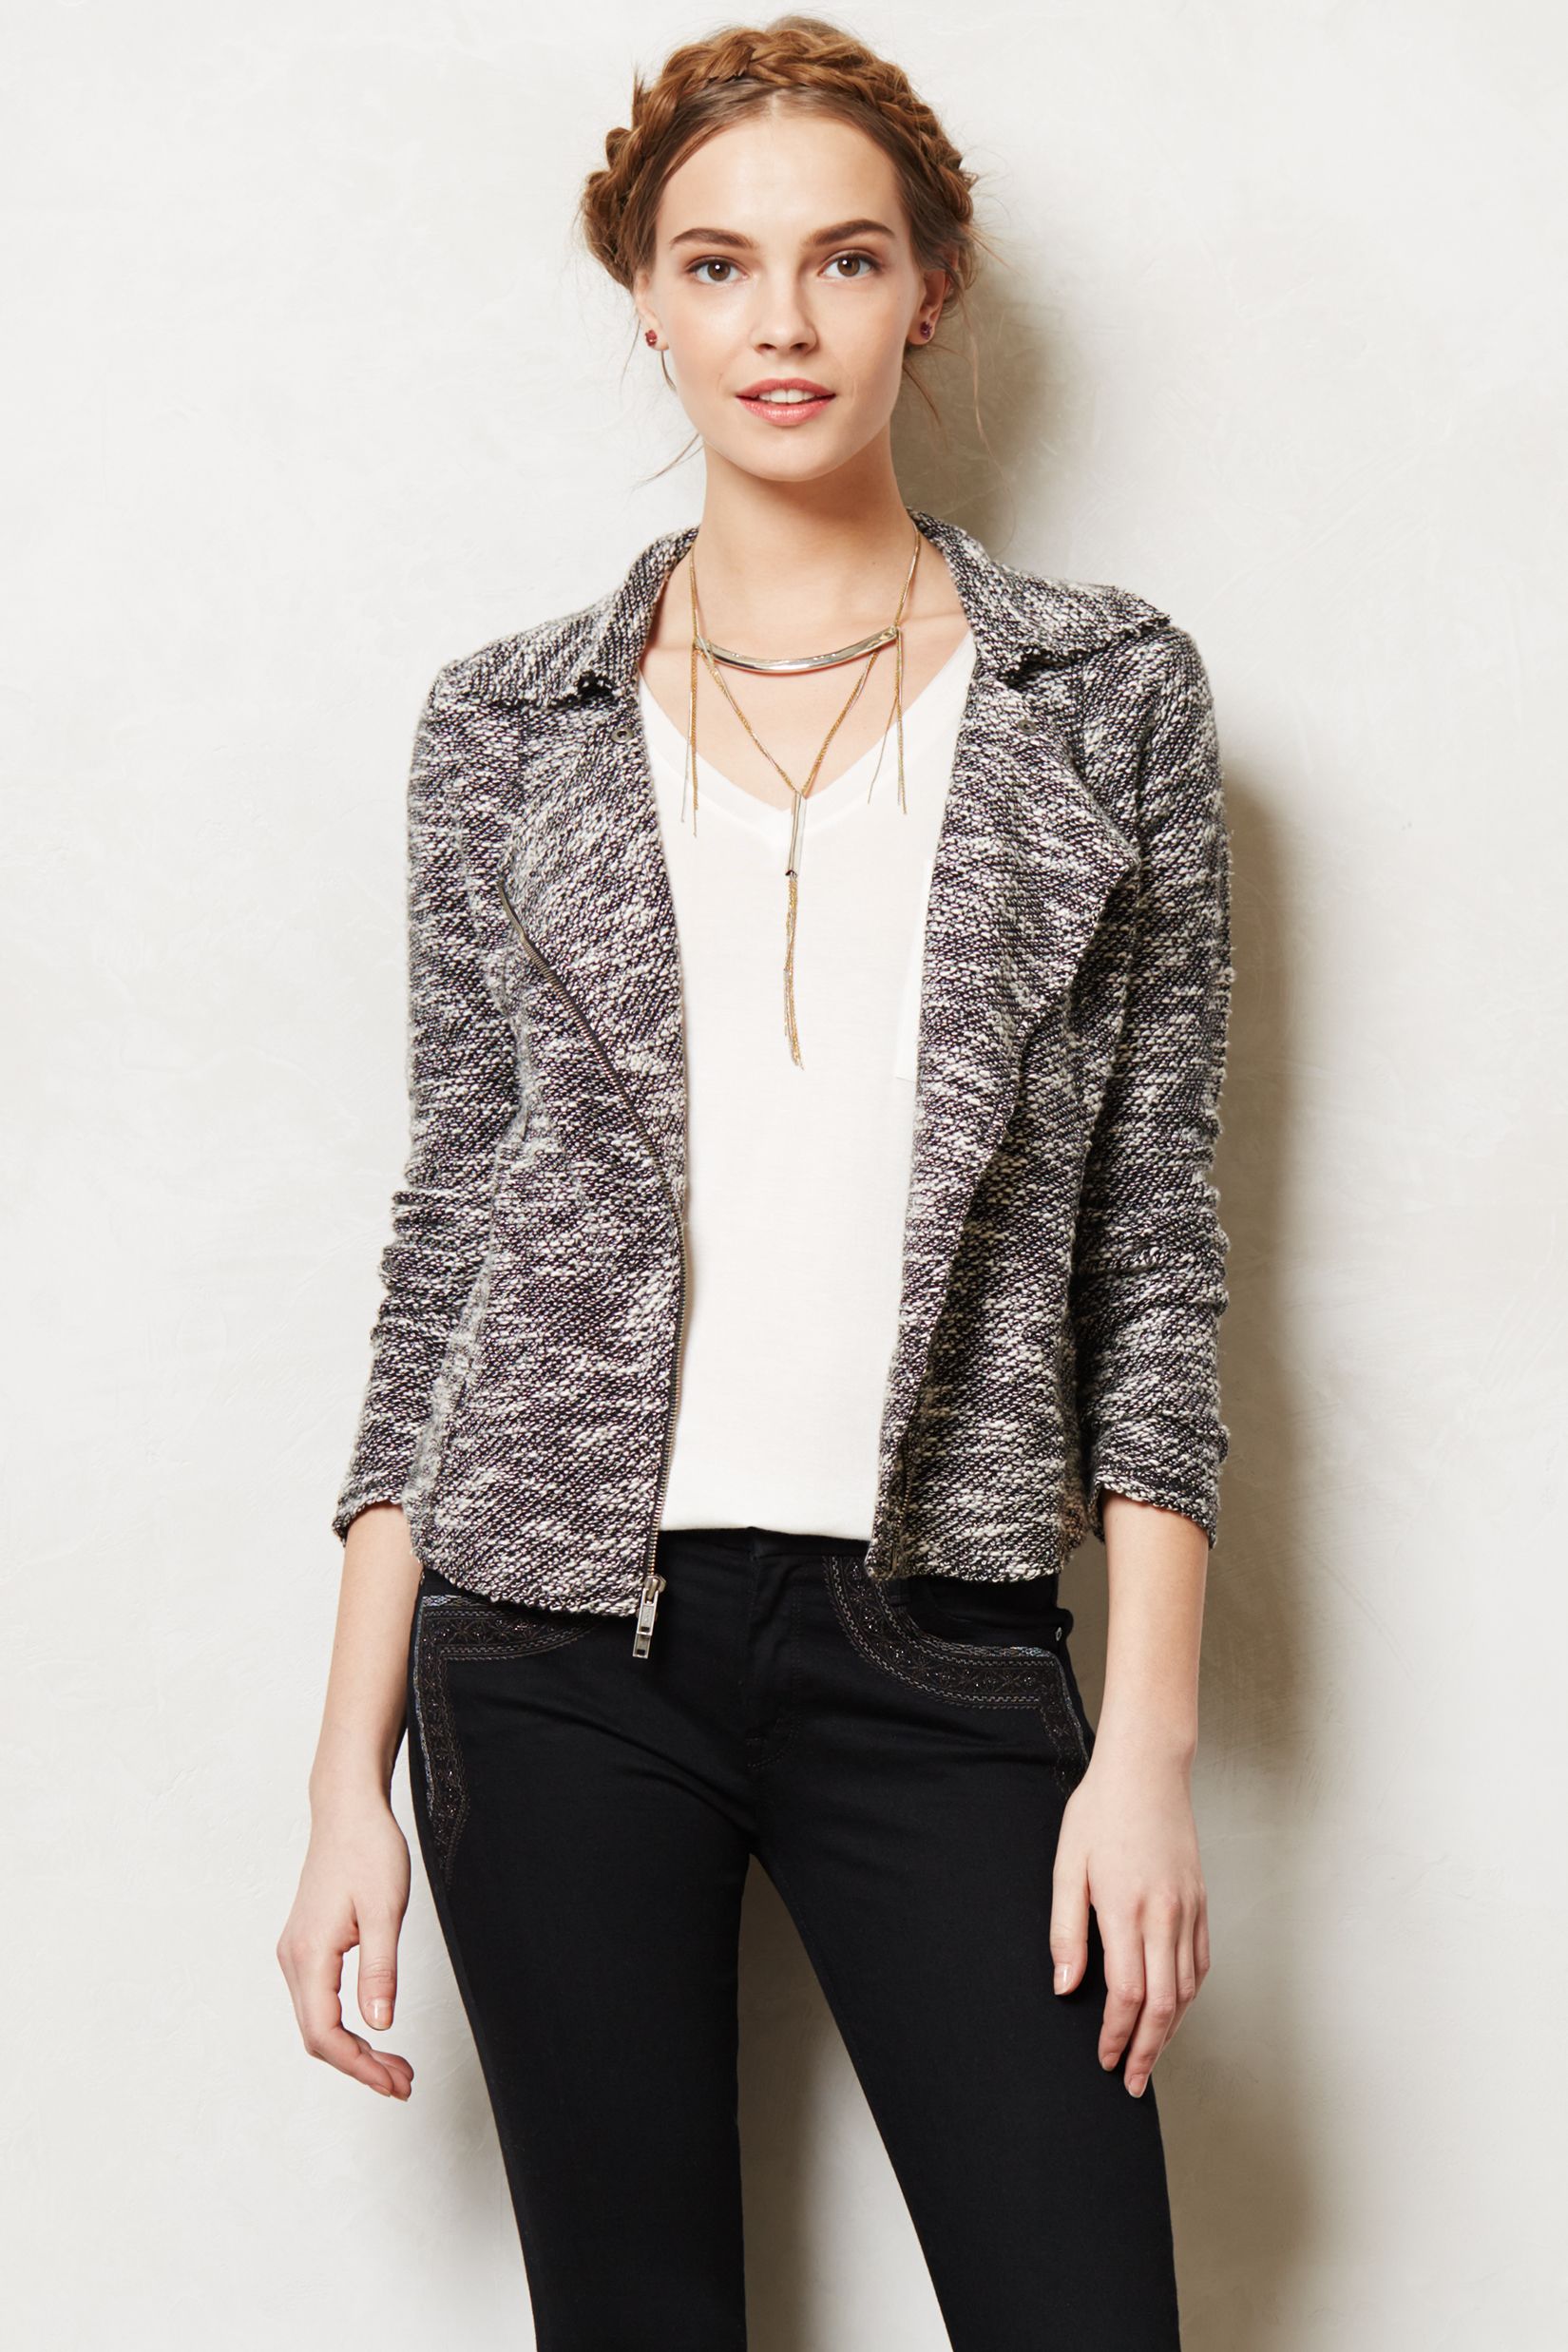
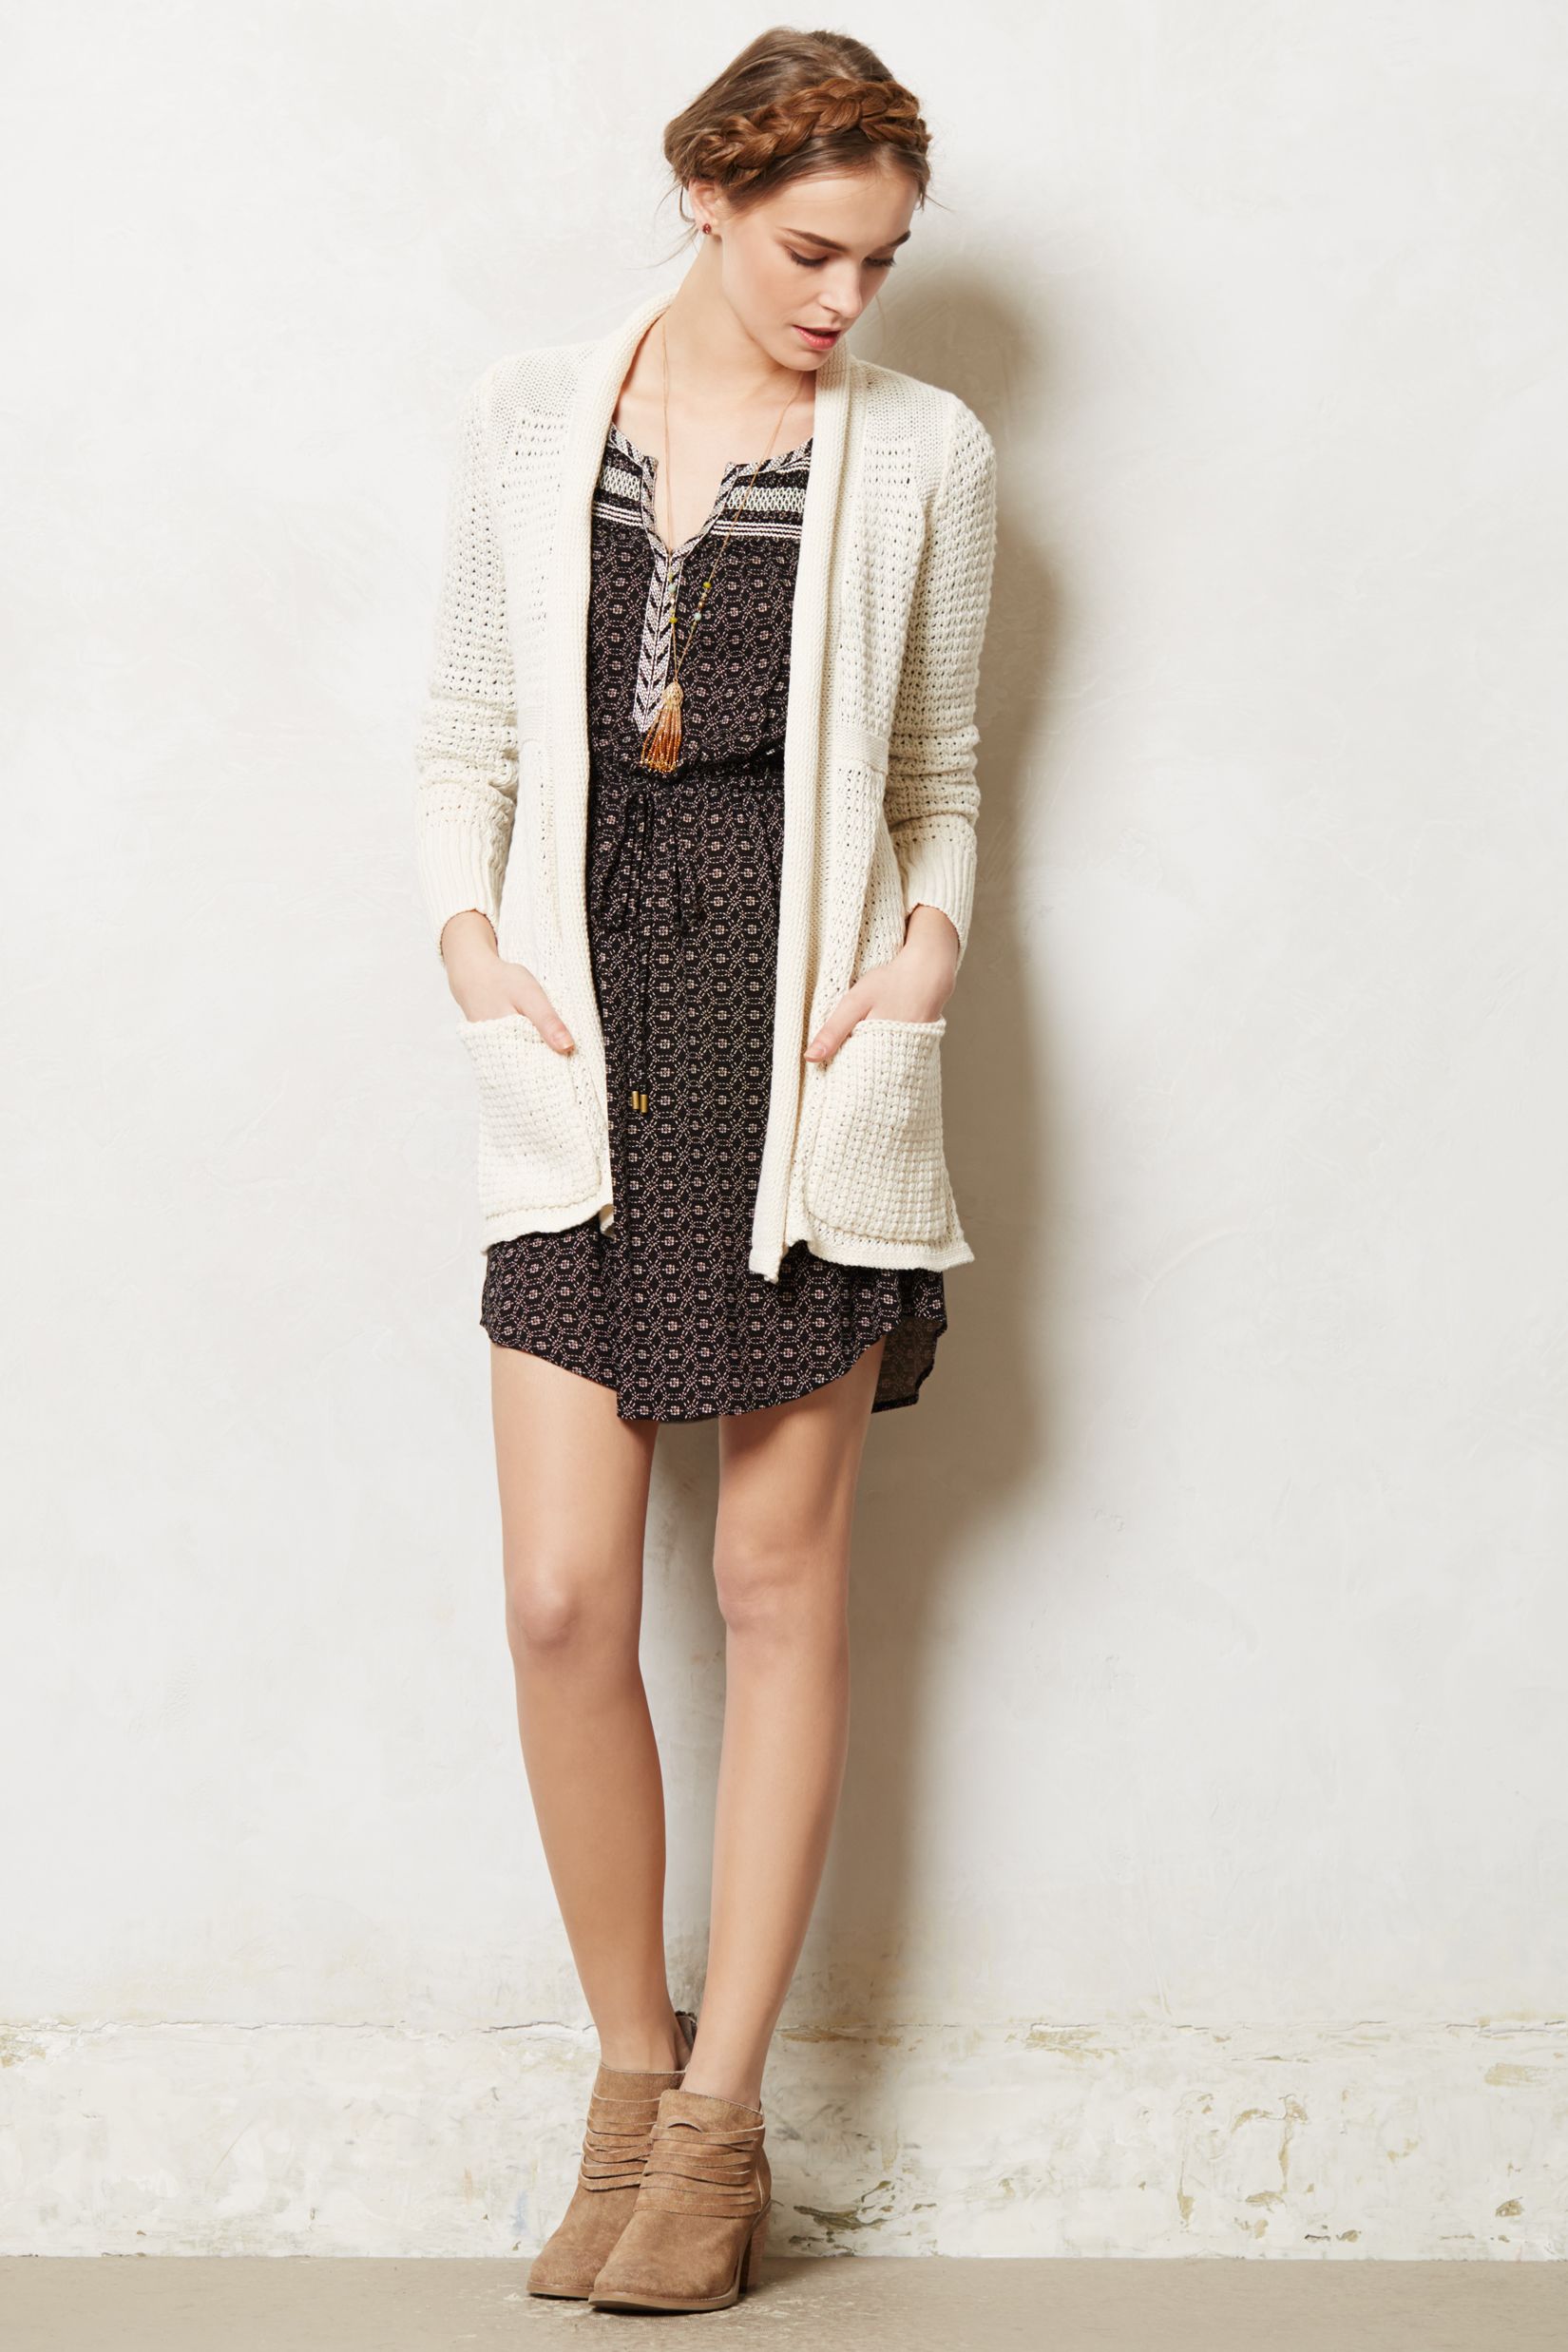
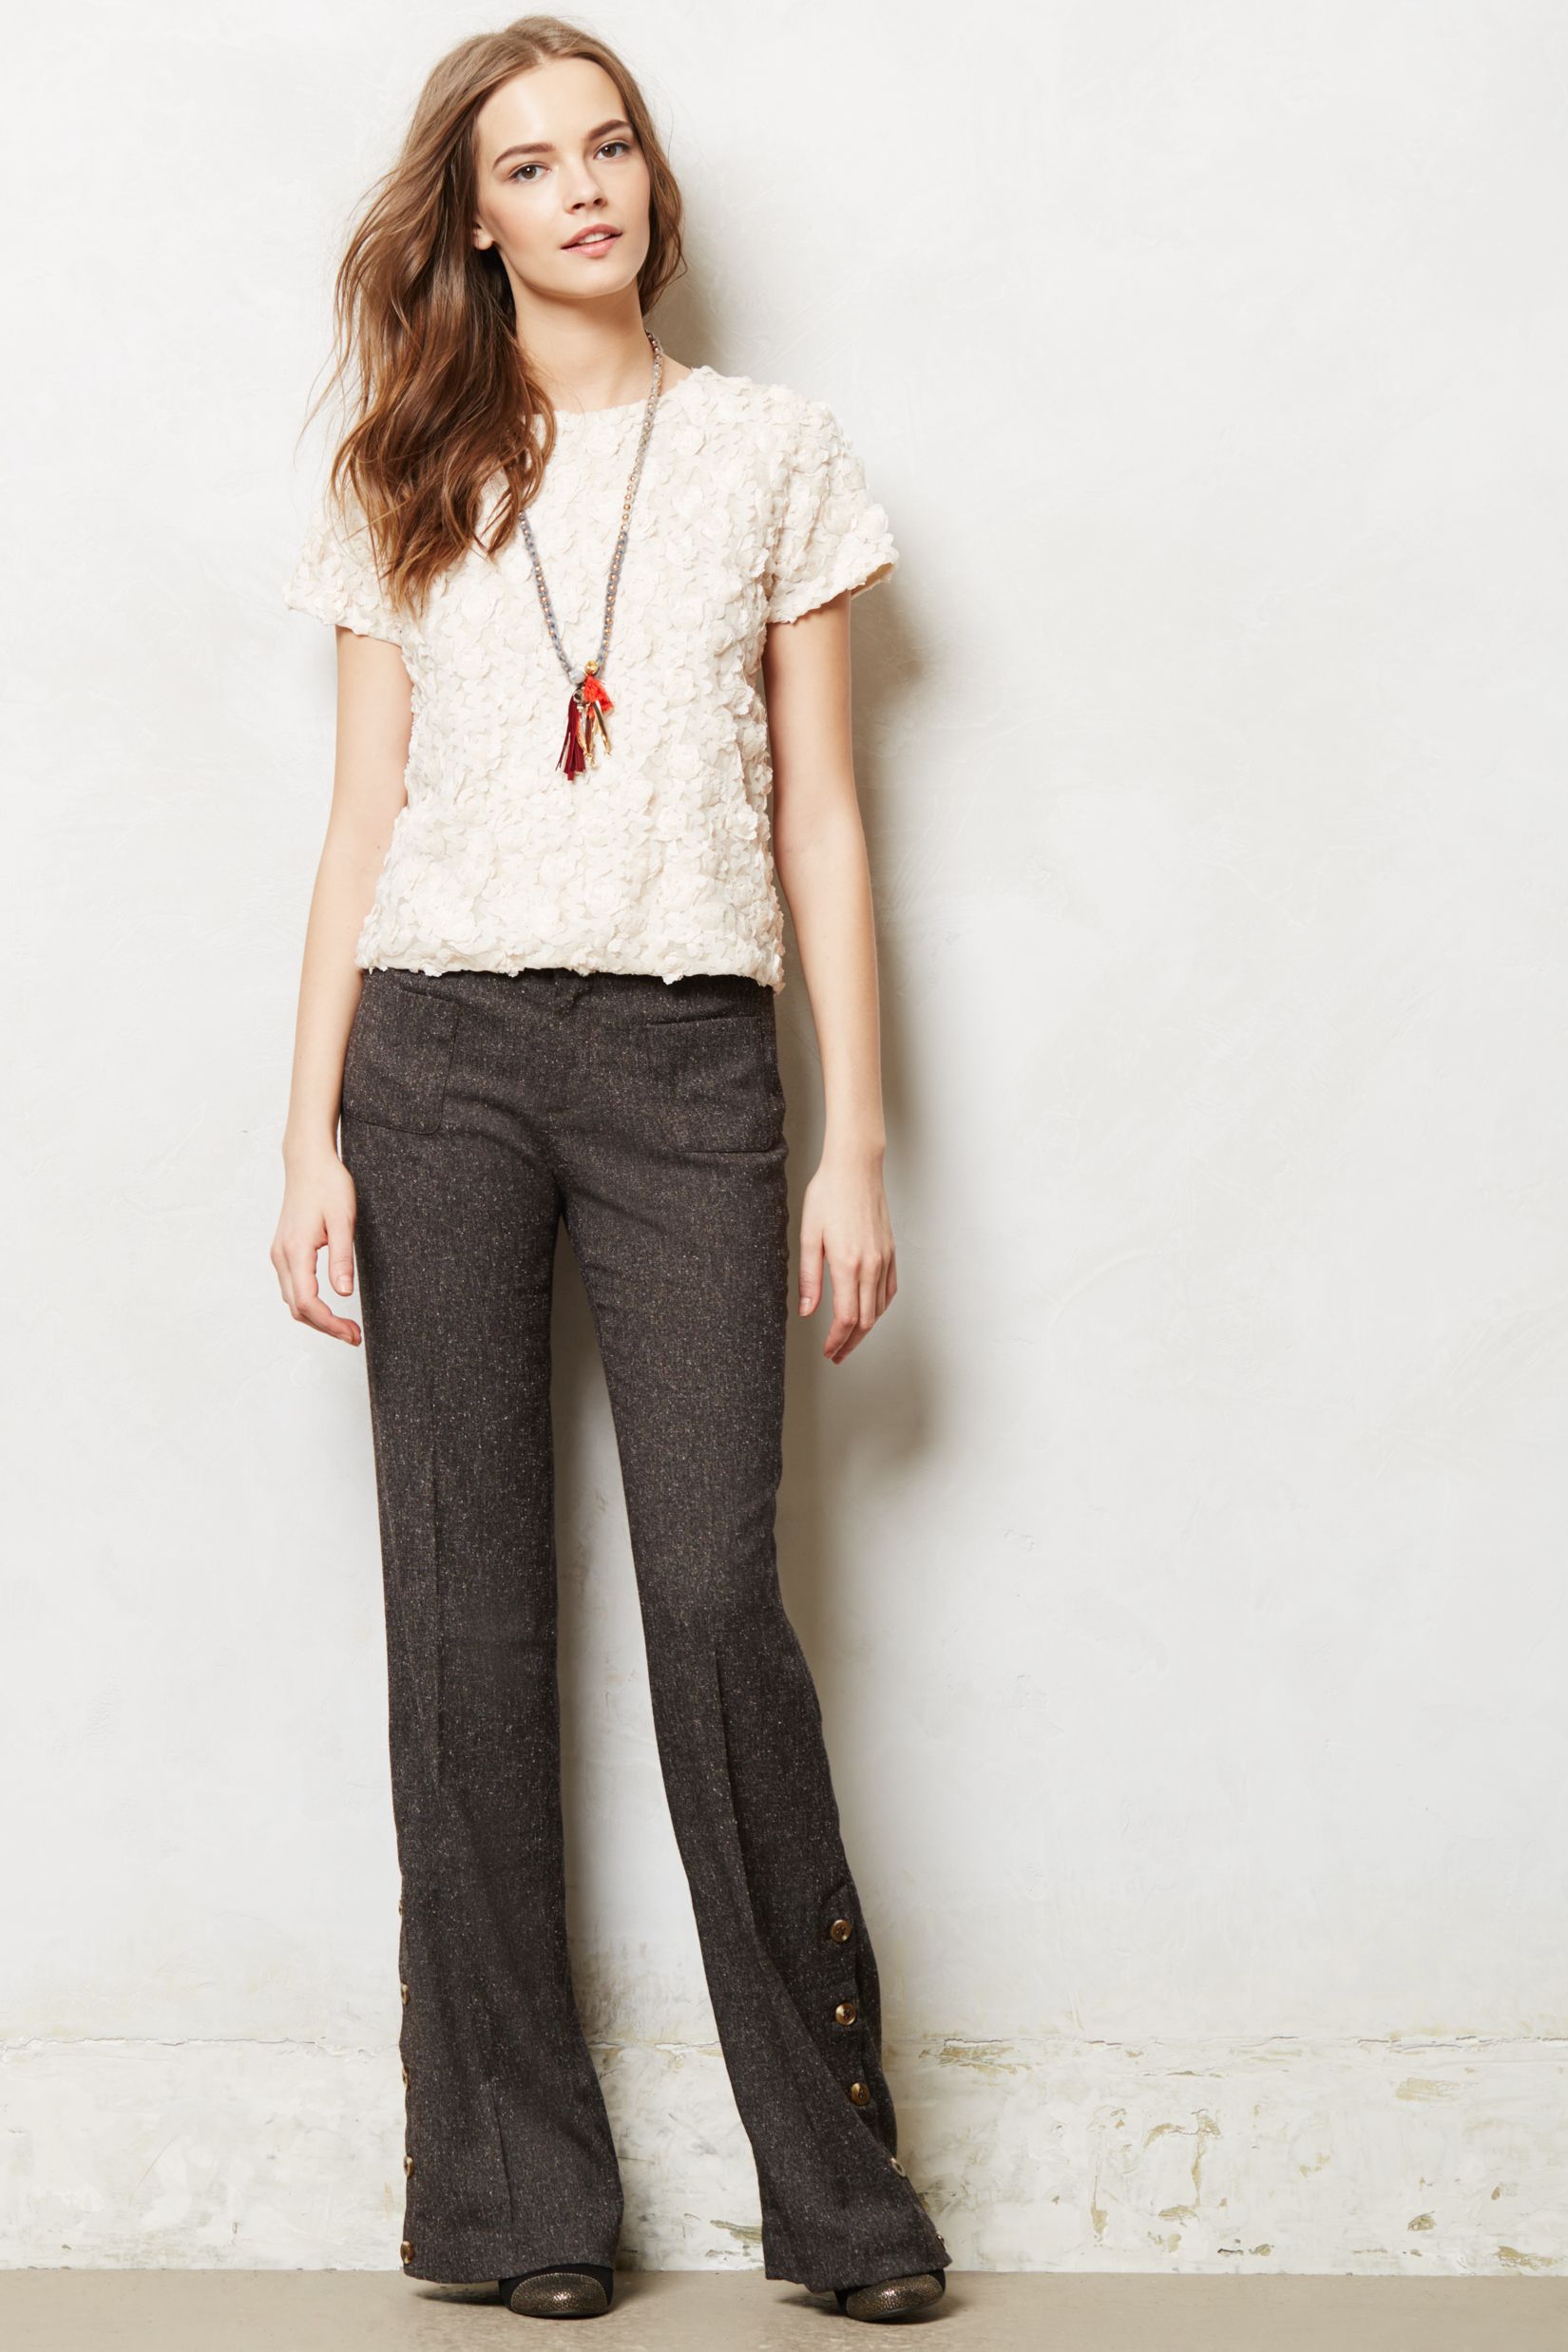
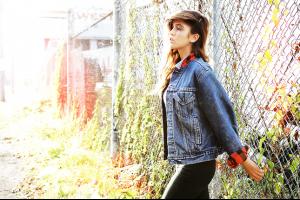
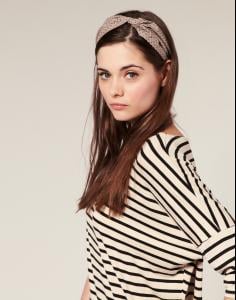
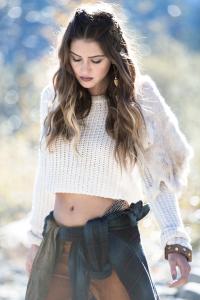
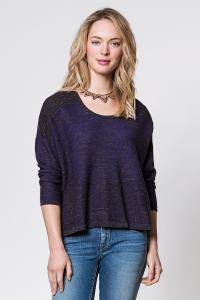
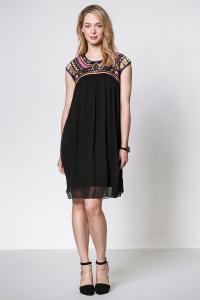
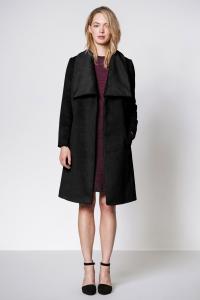
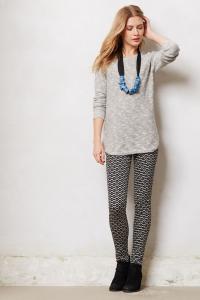
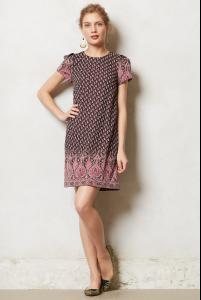
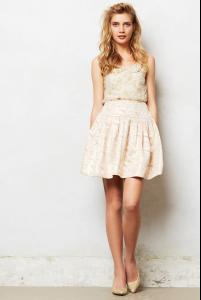
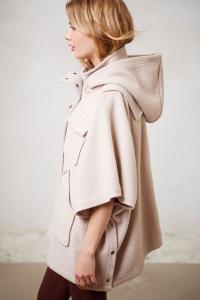
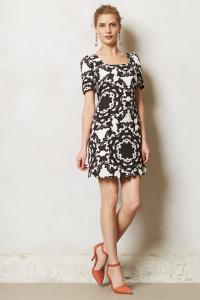
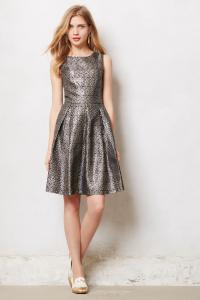
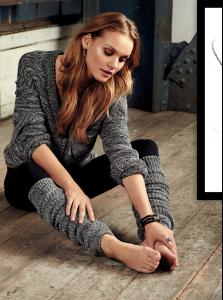
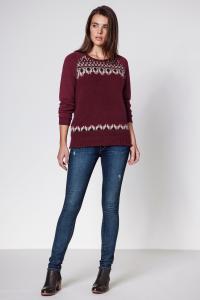
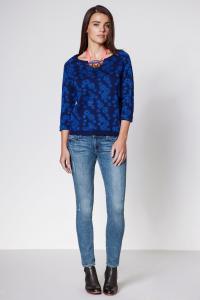
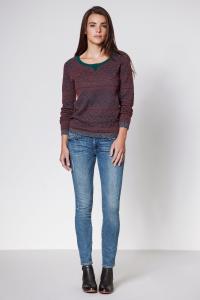
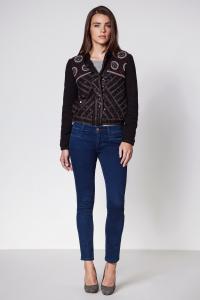
 Anthropologie HQ anthropologie.eu


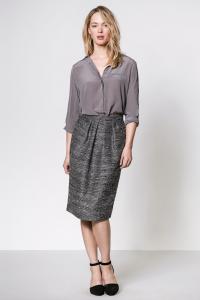


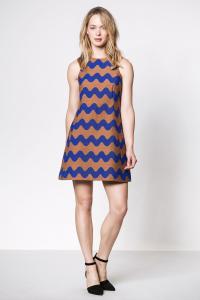


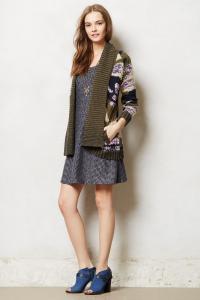
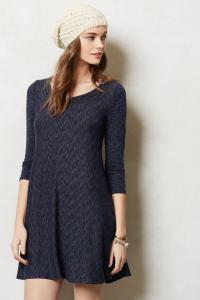
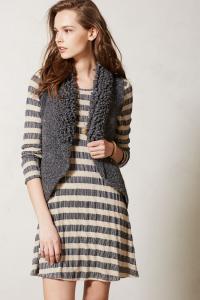
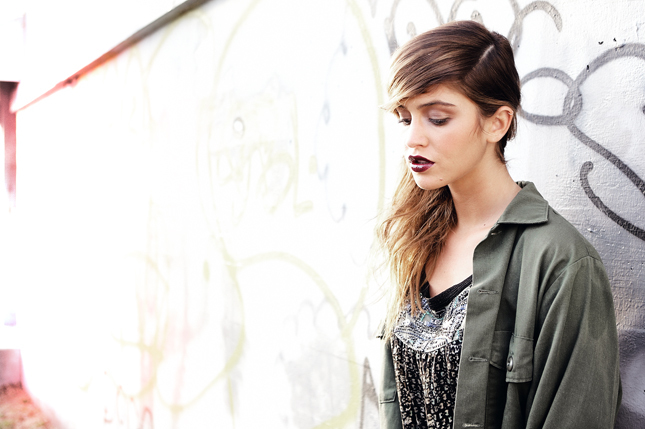
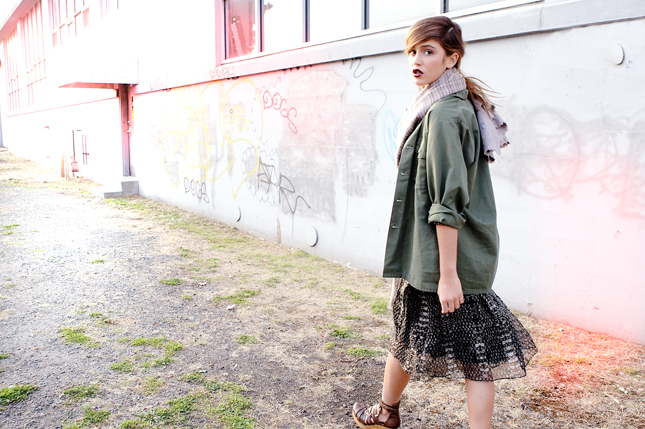
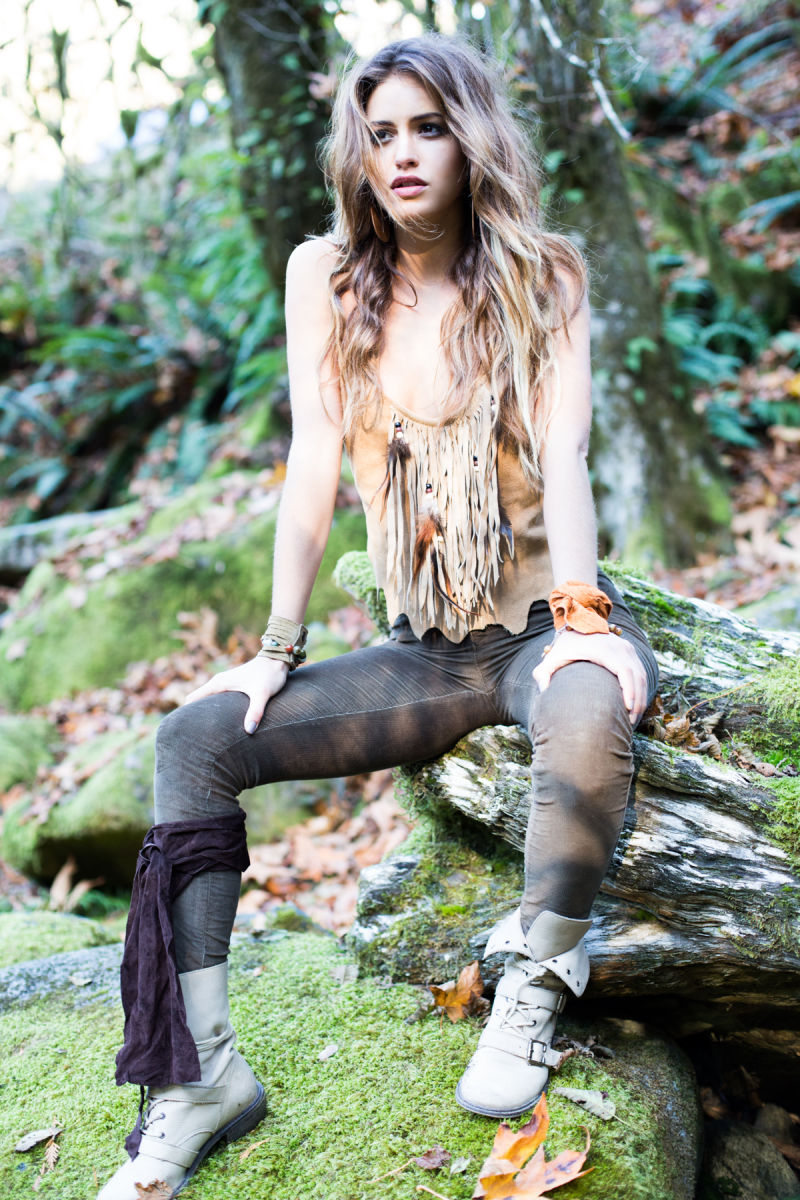
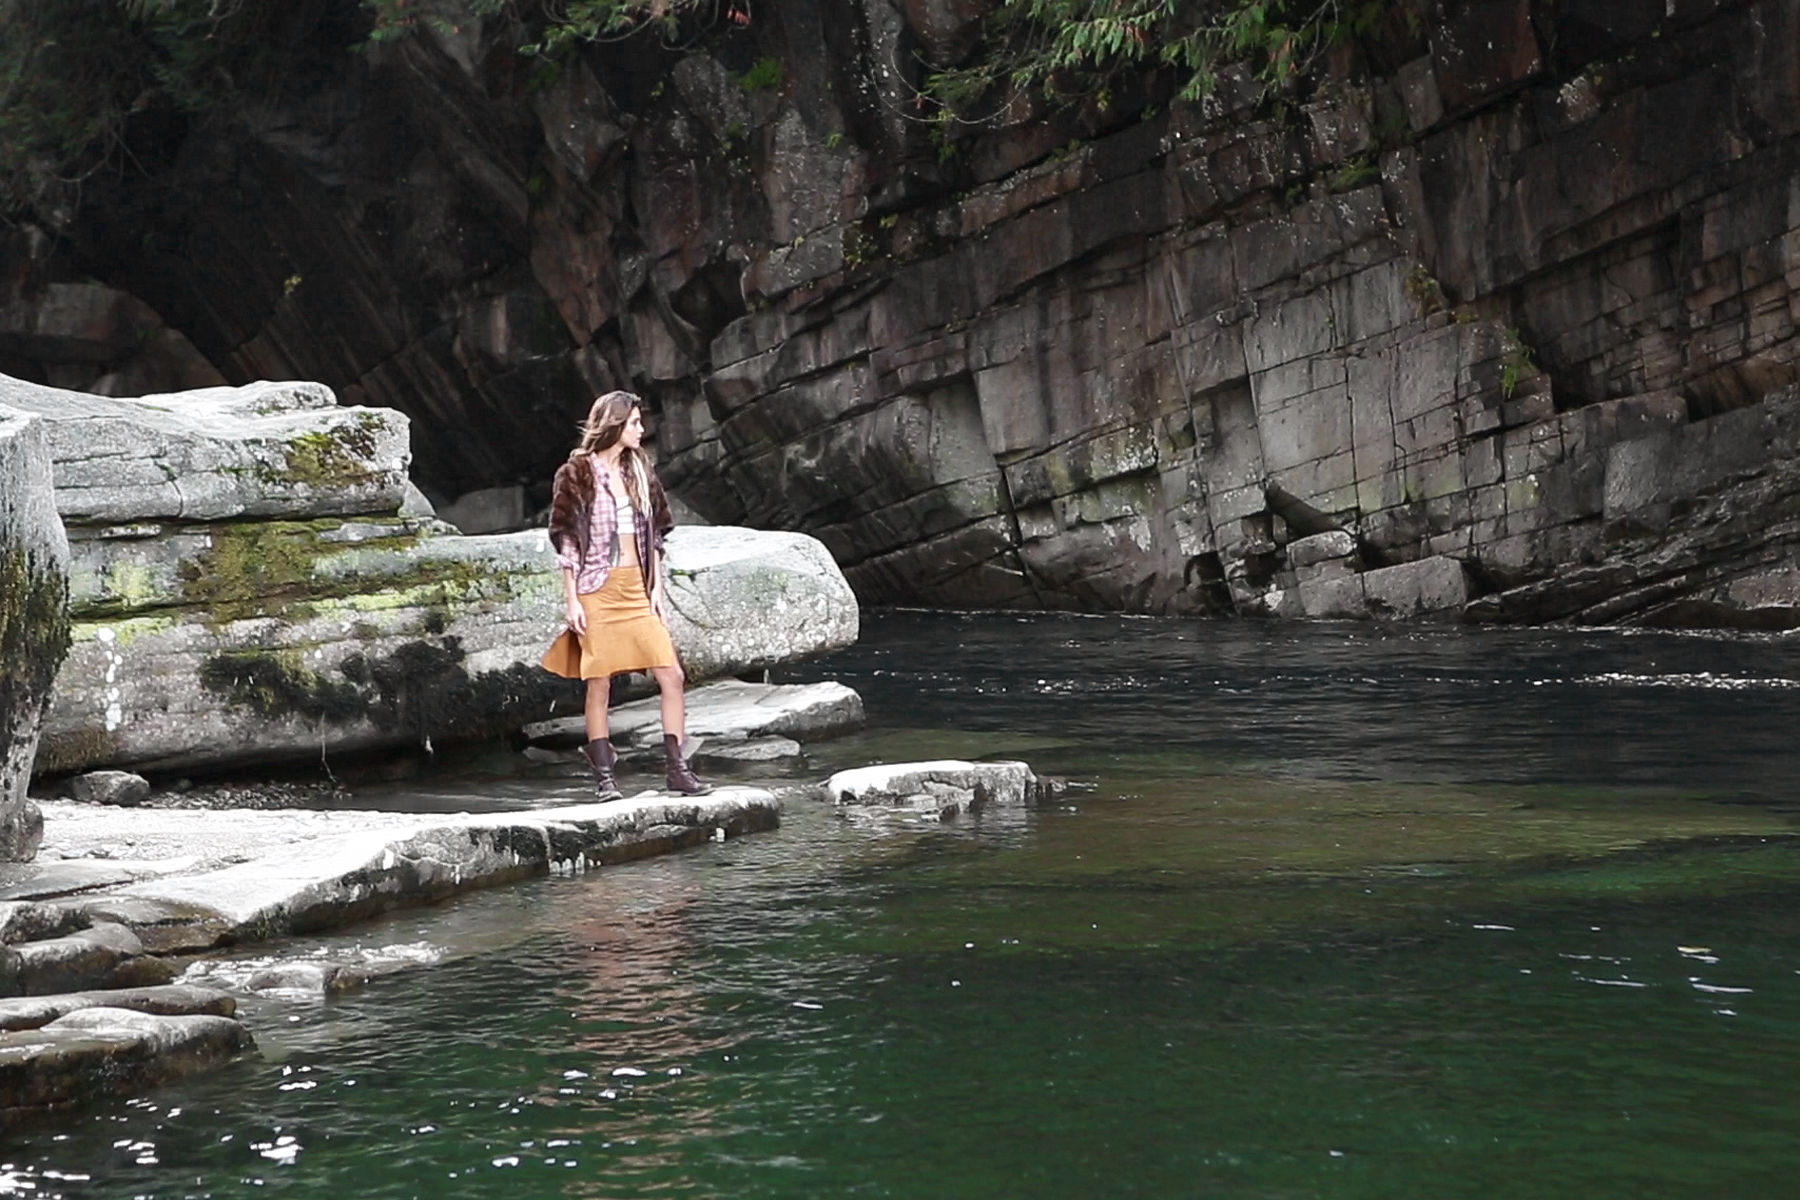
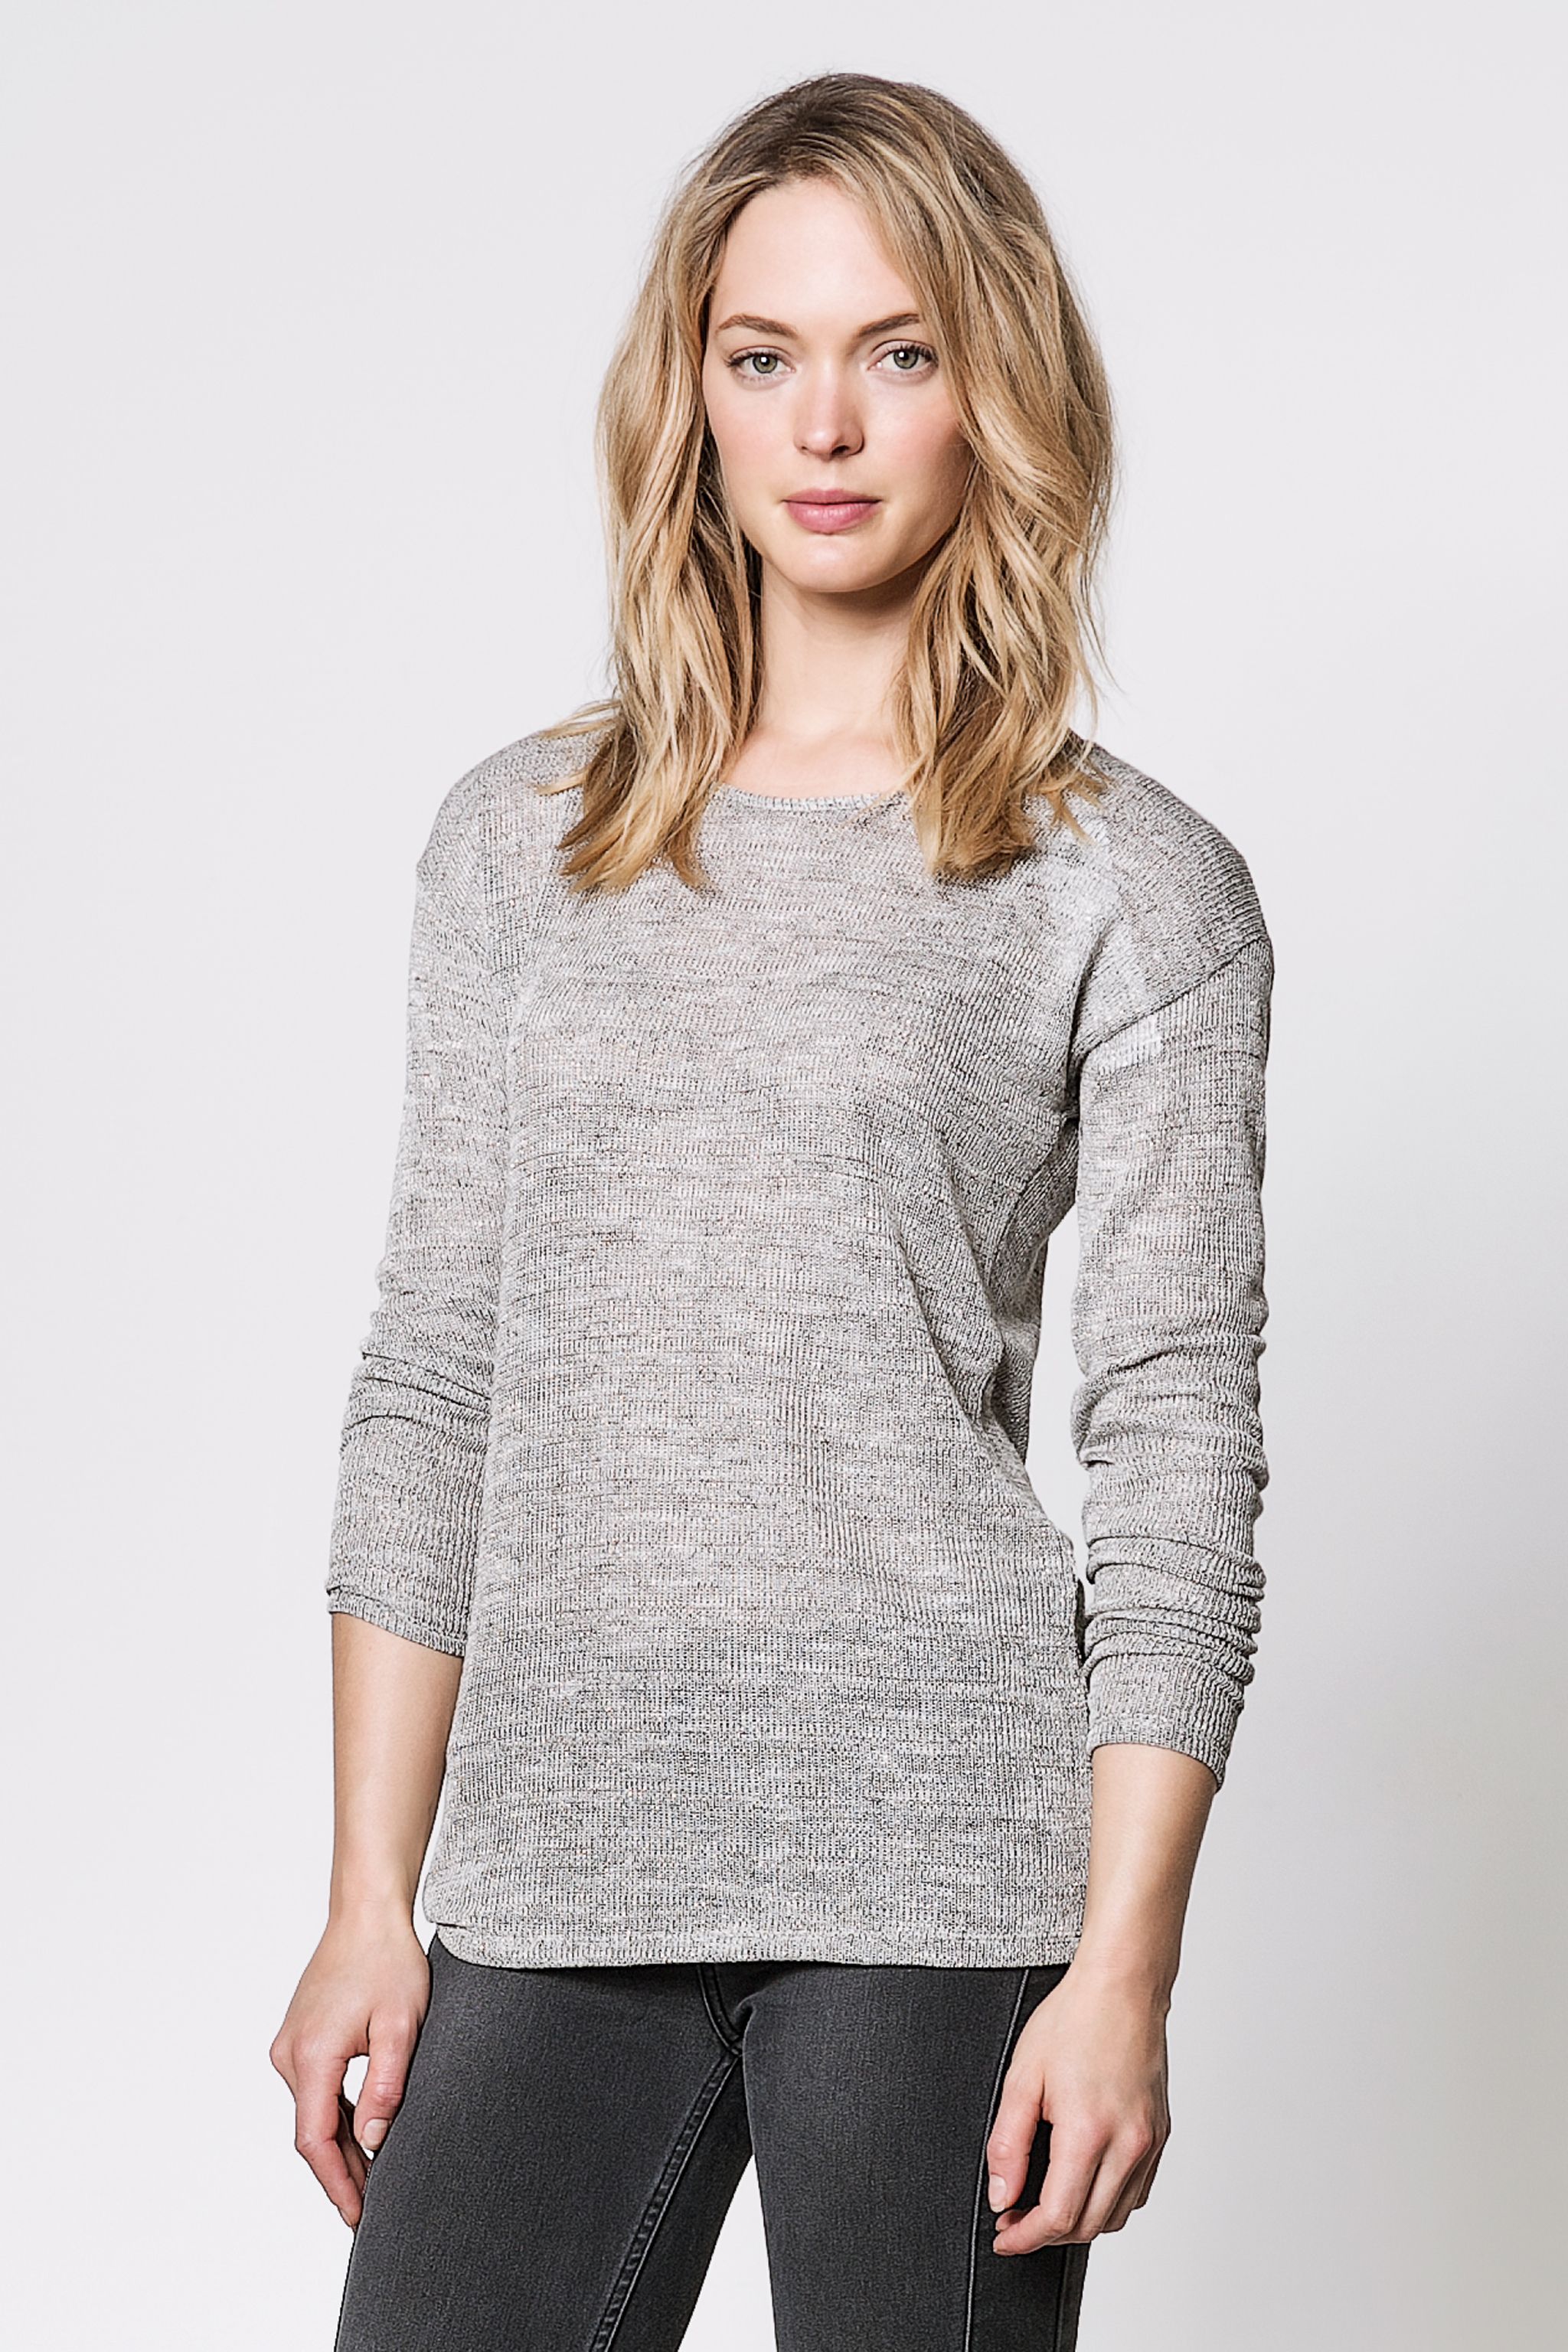
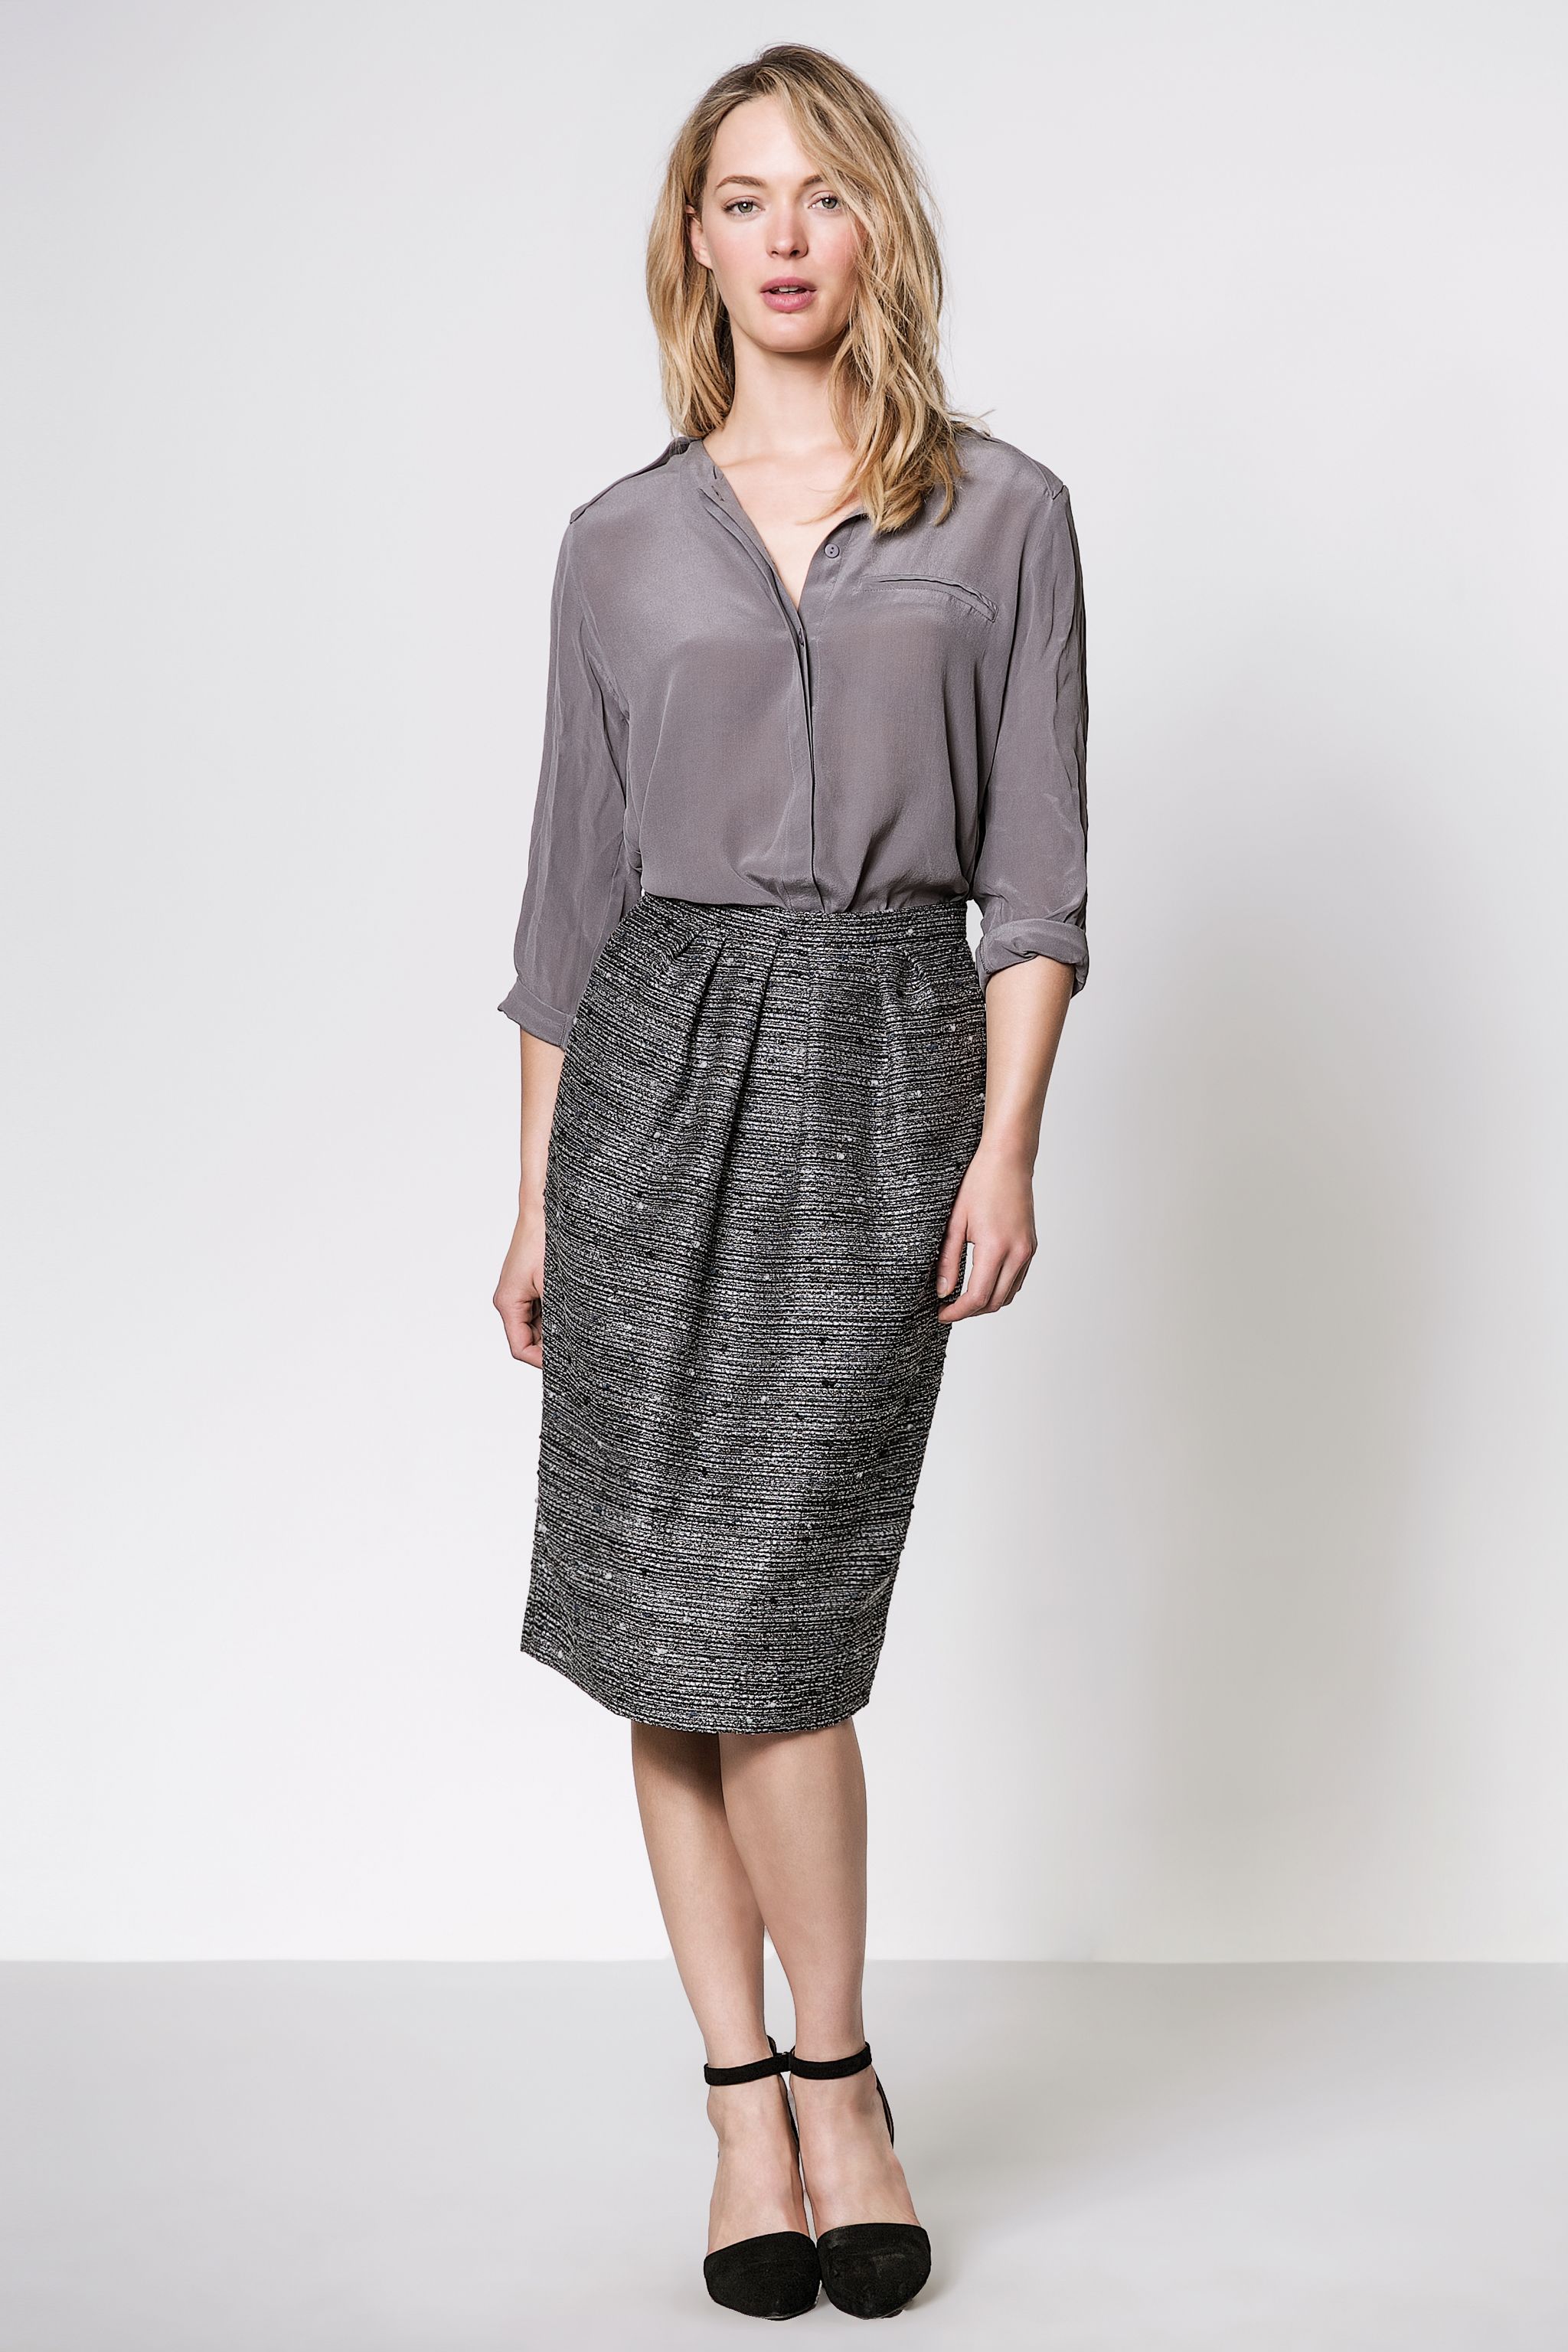
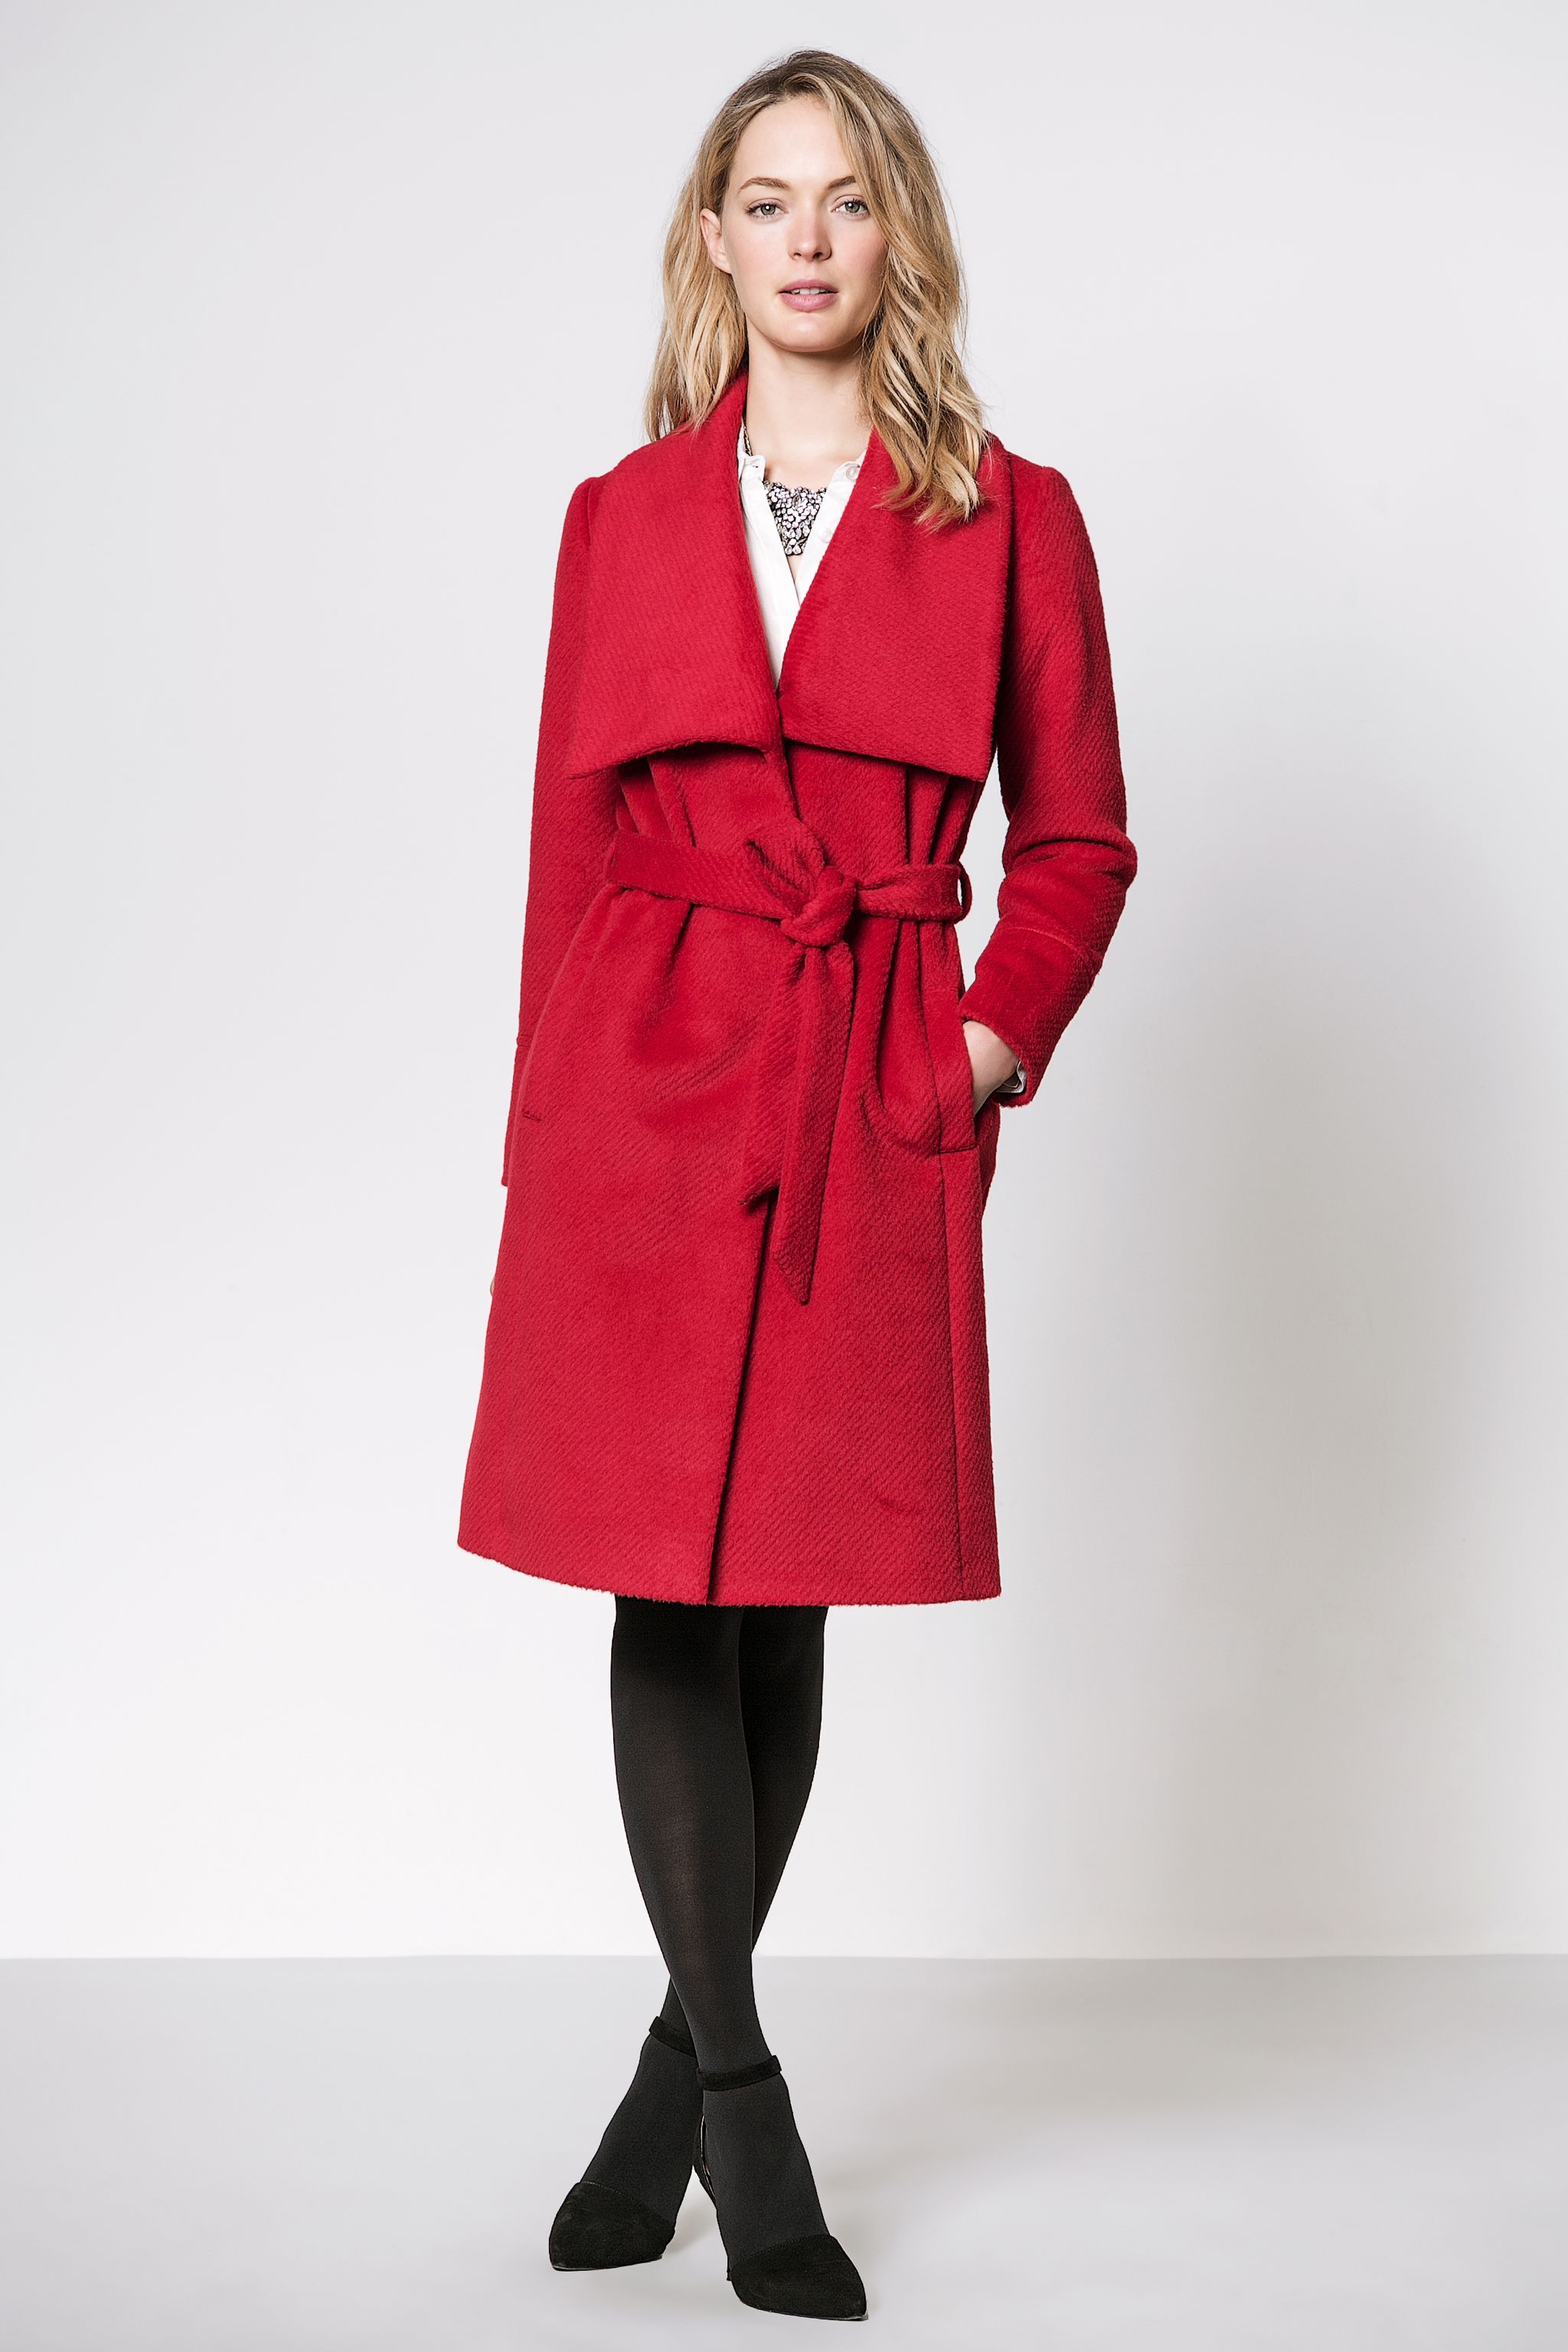
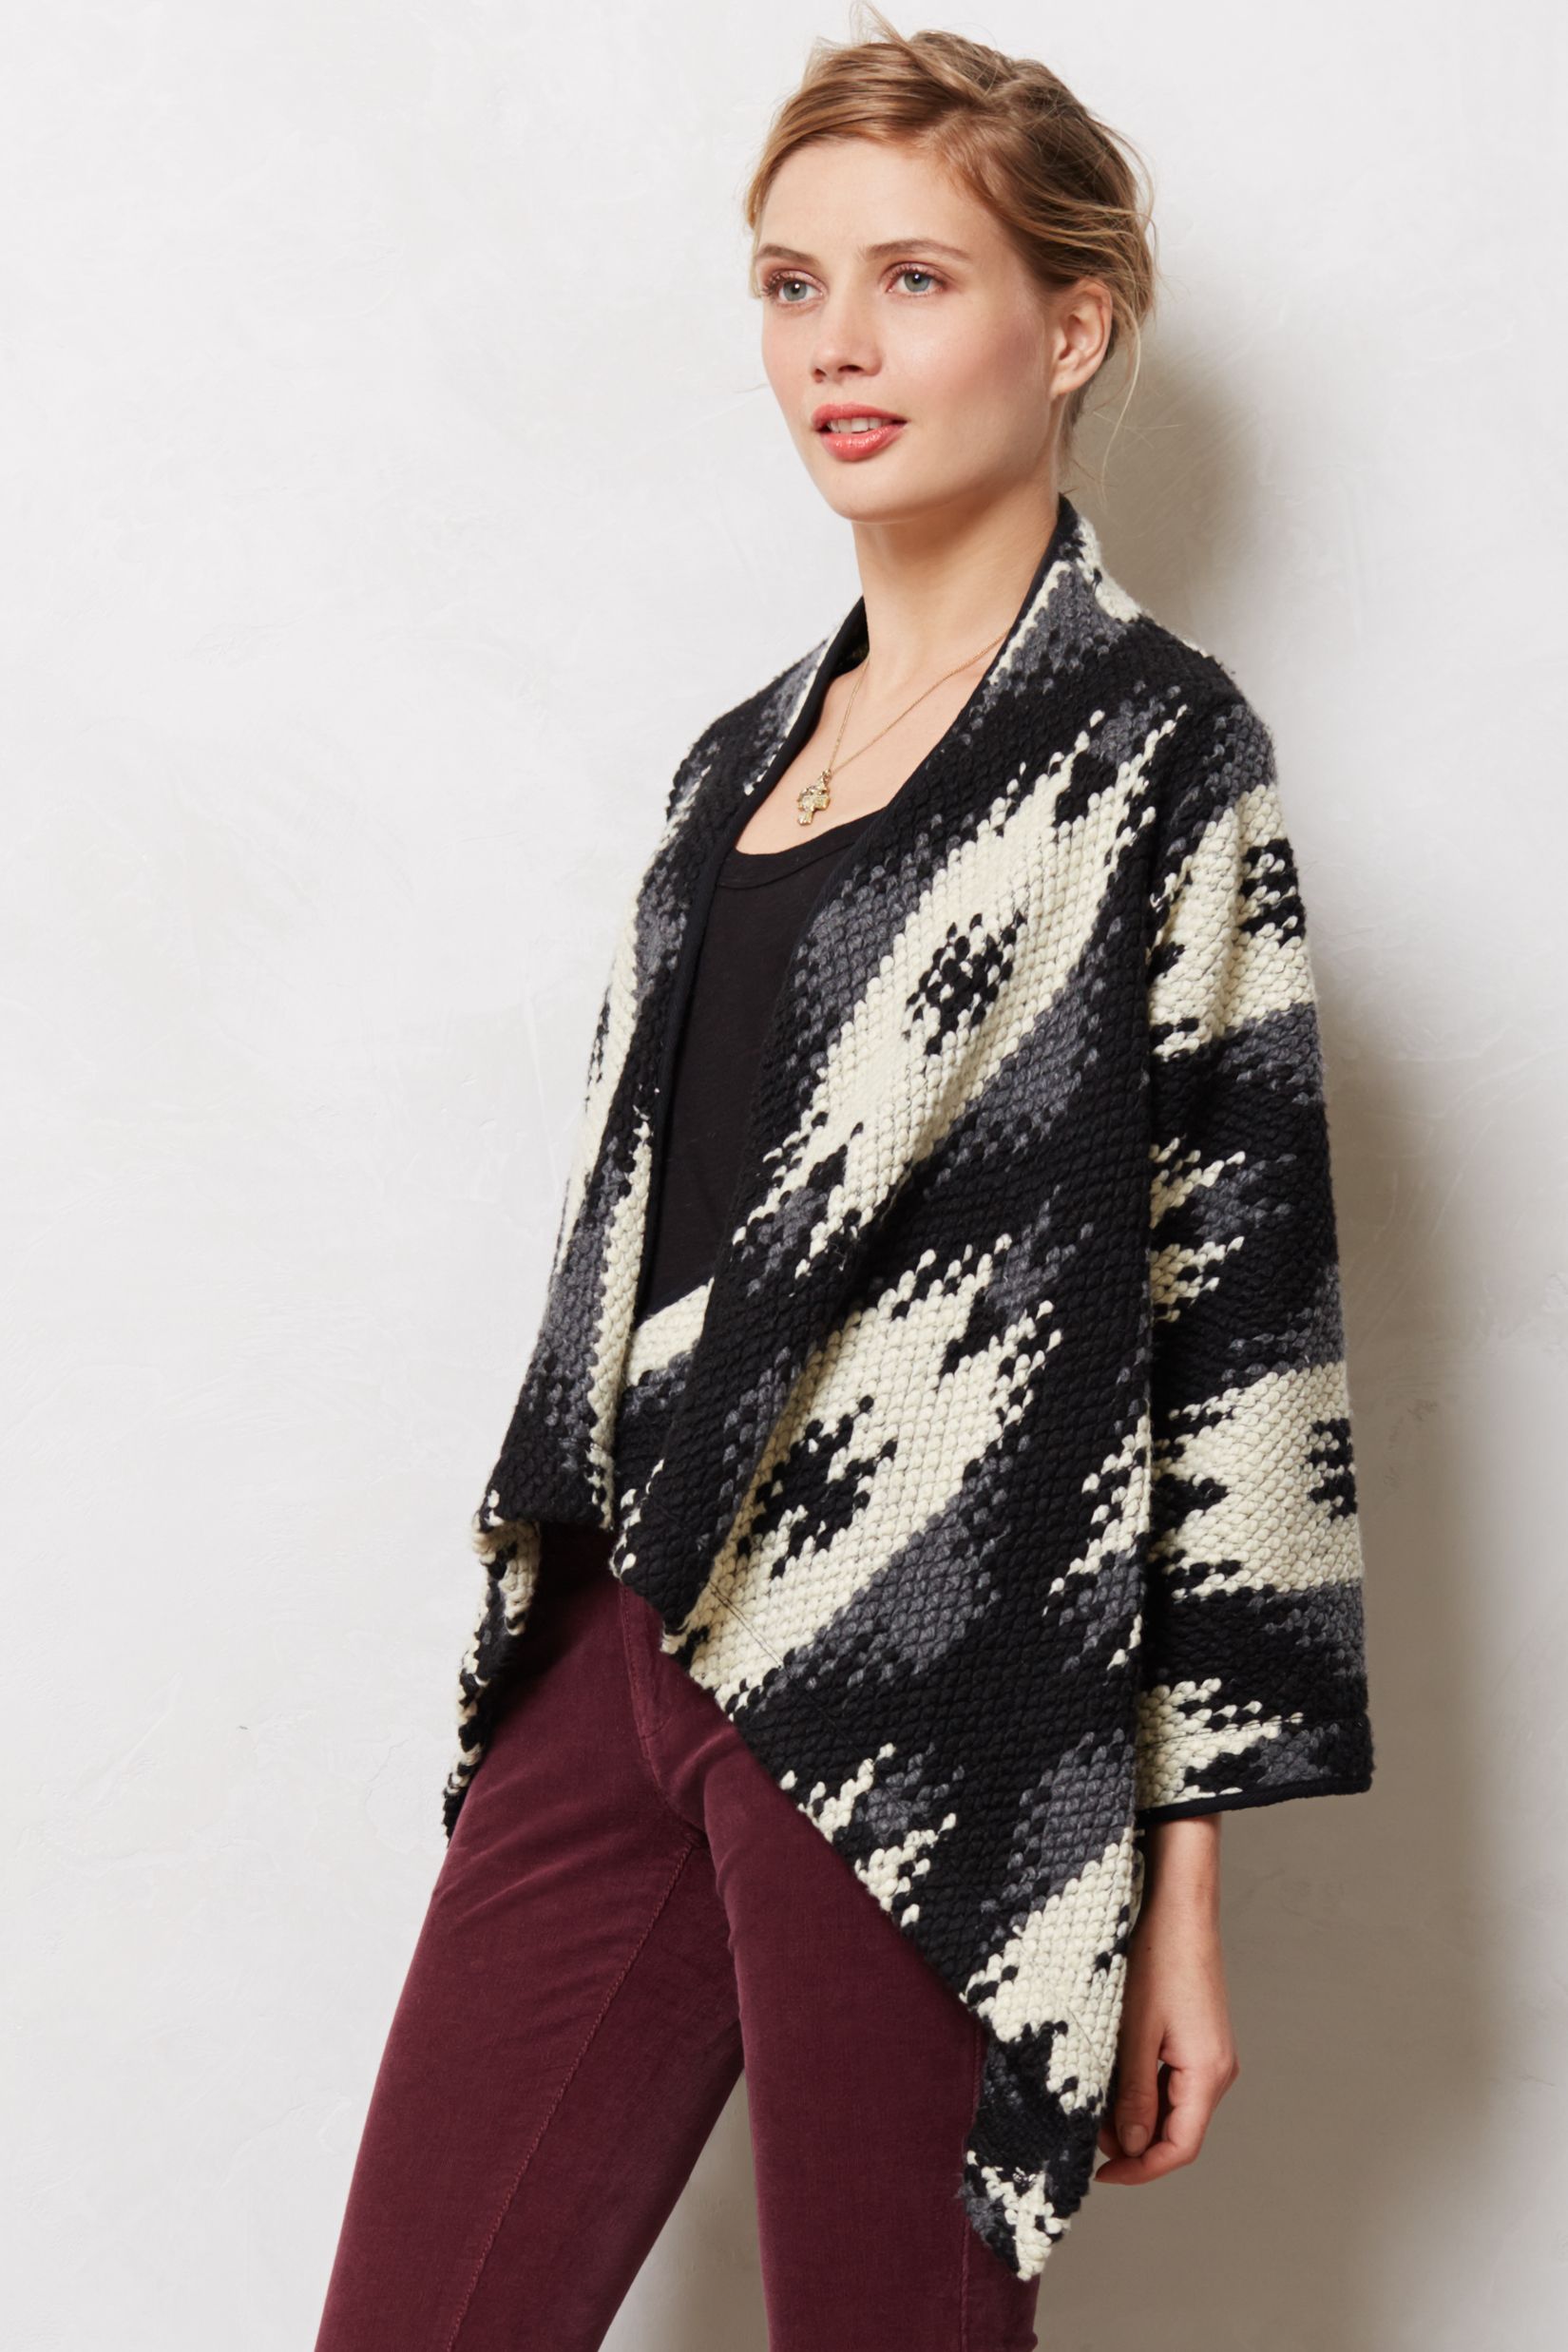
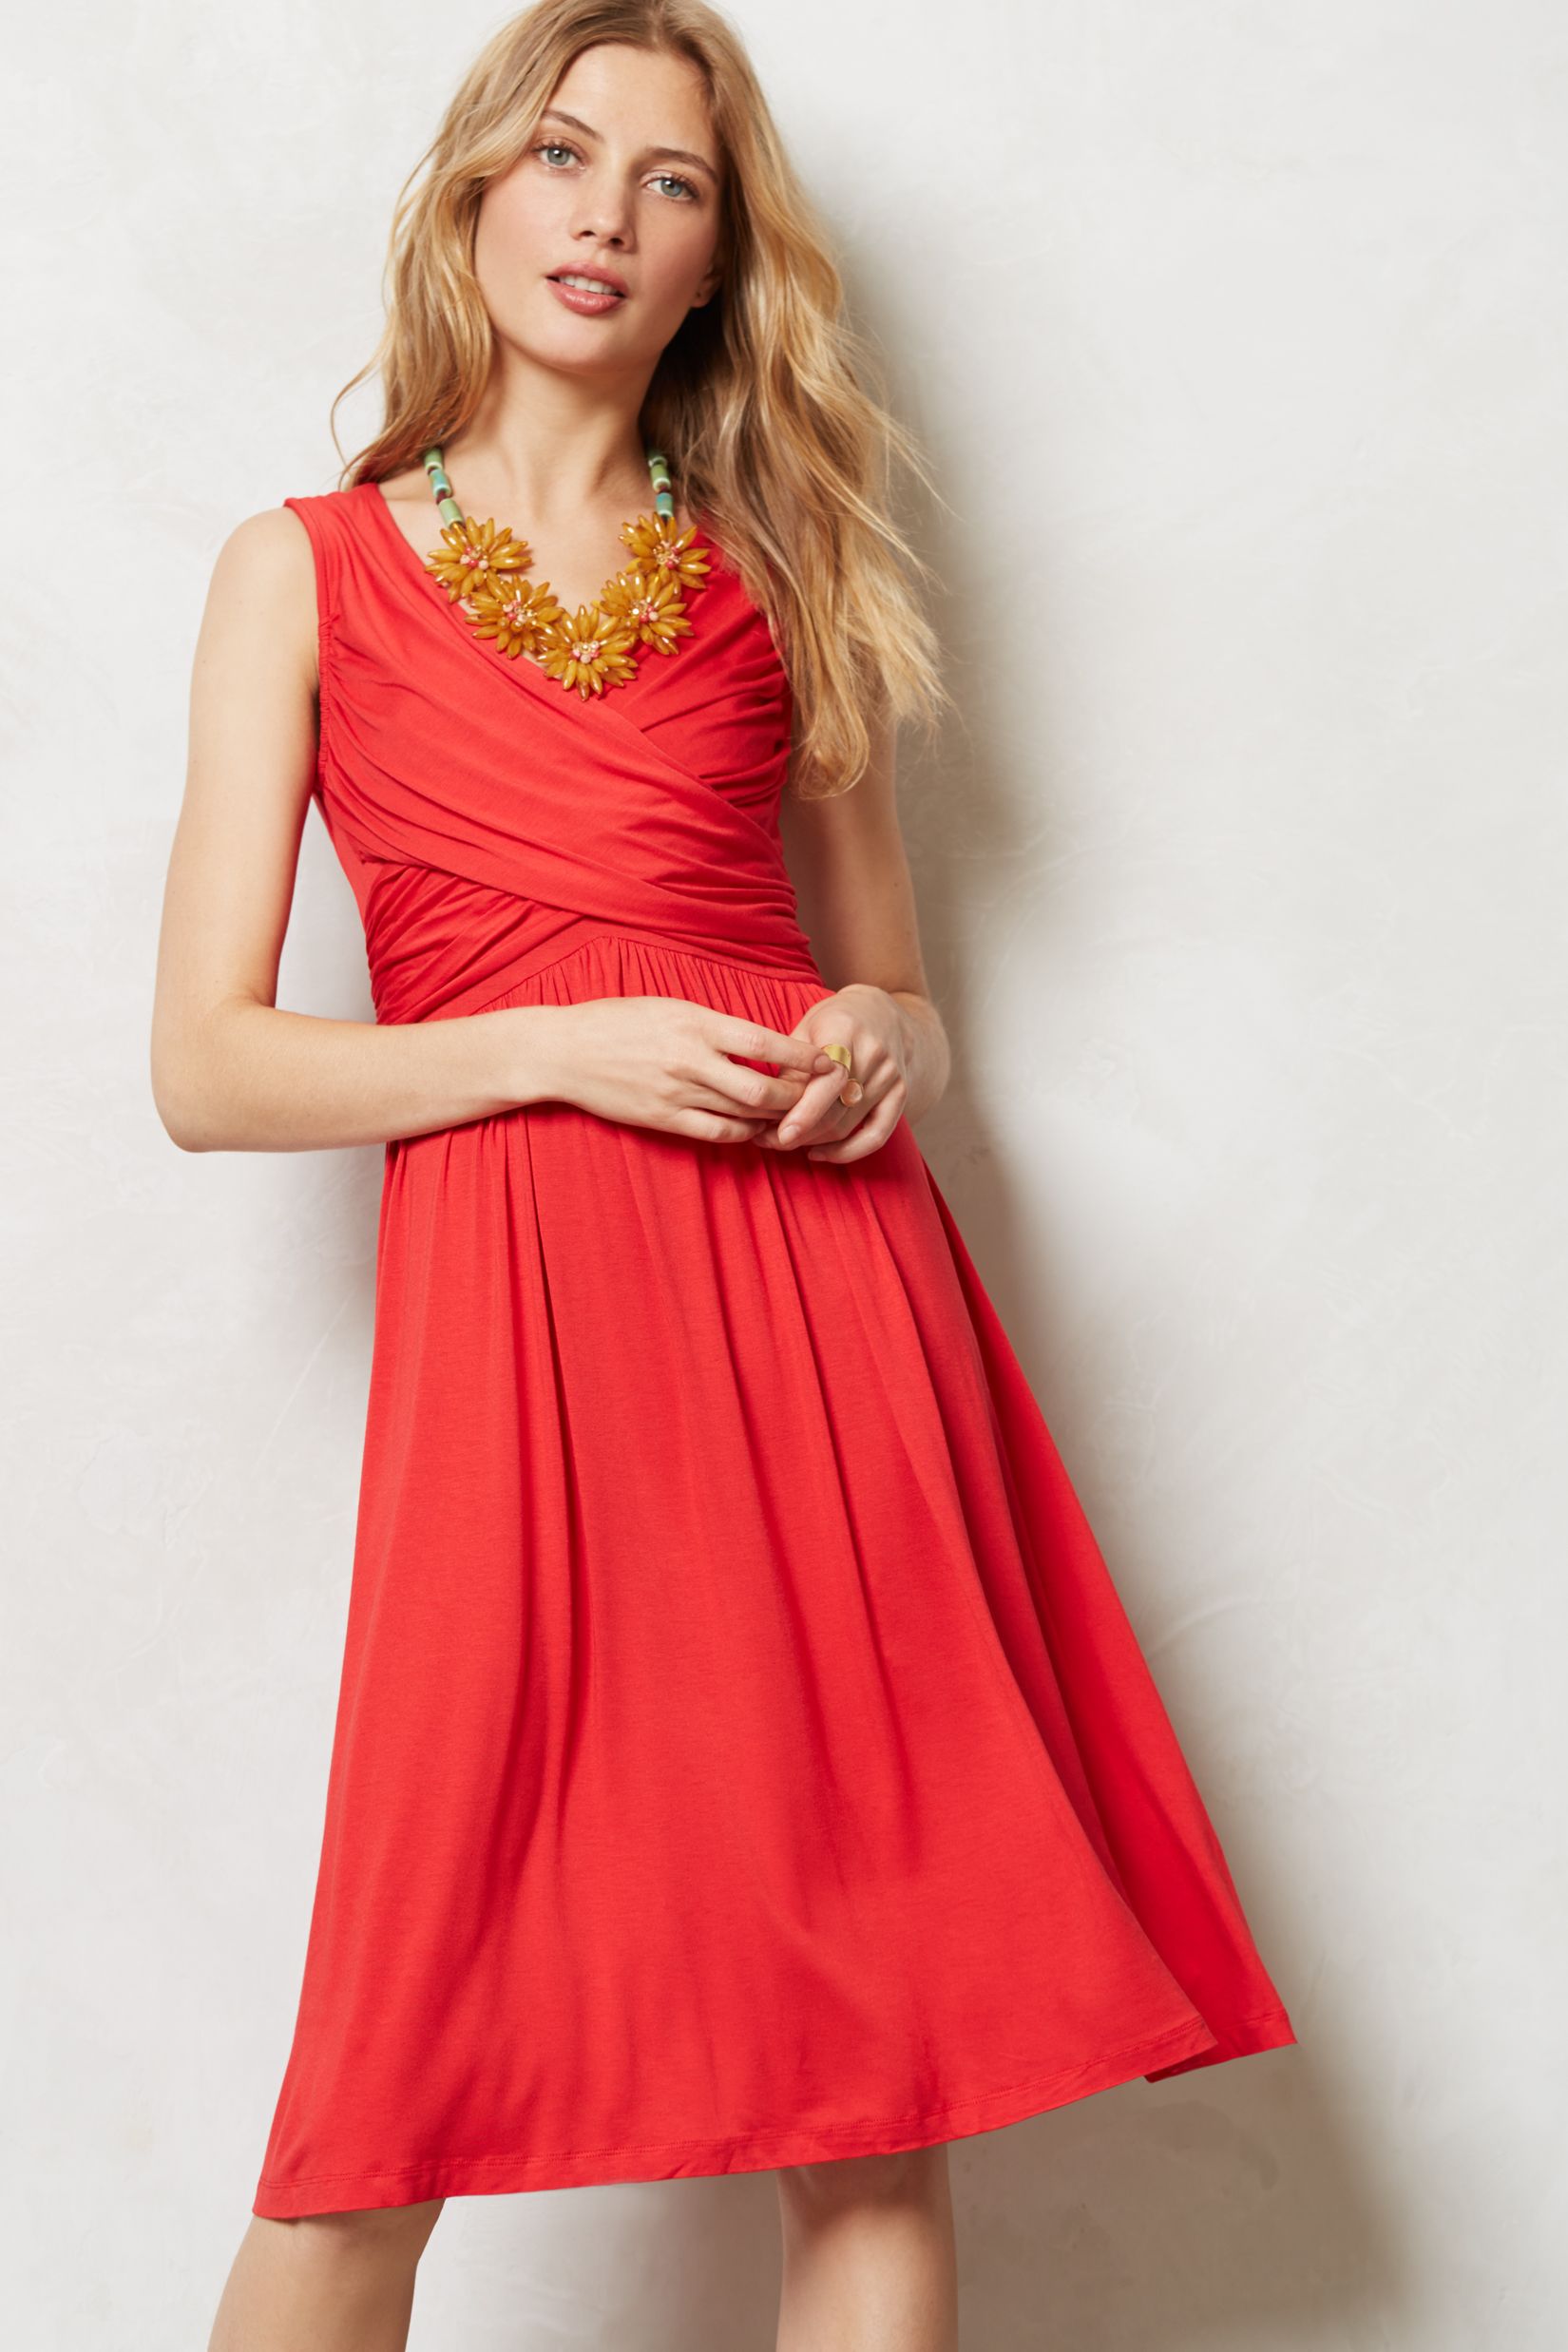
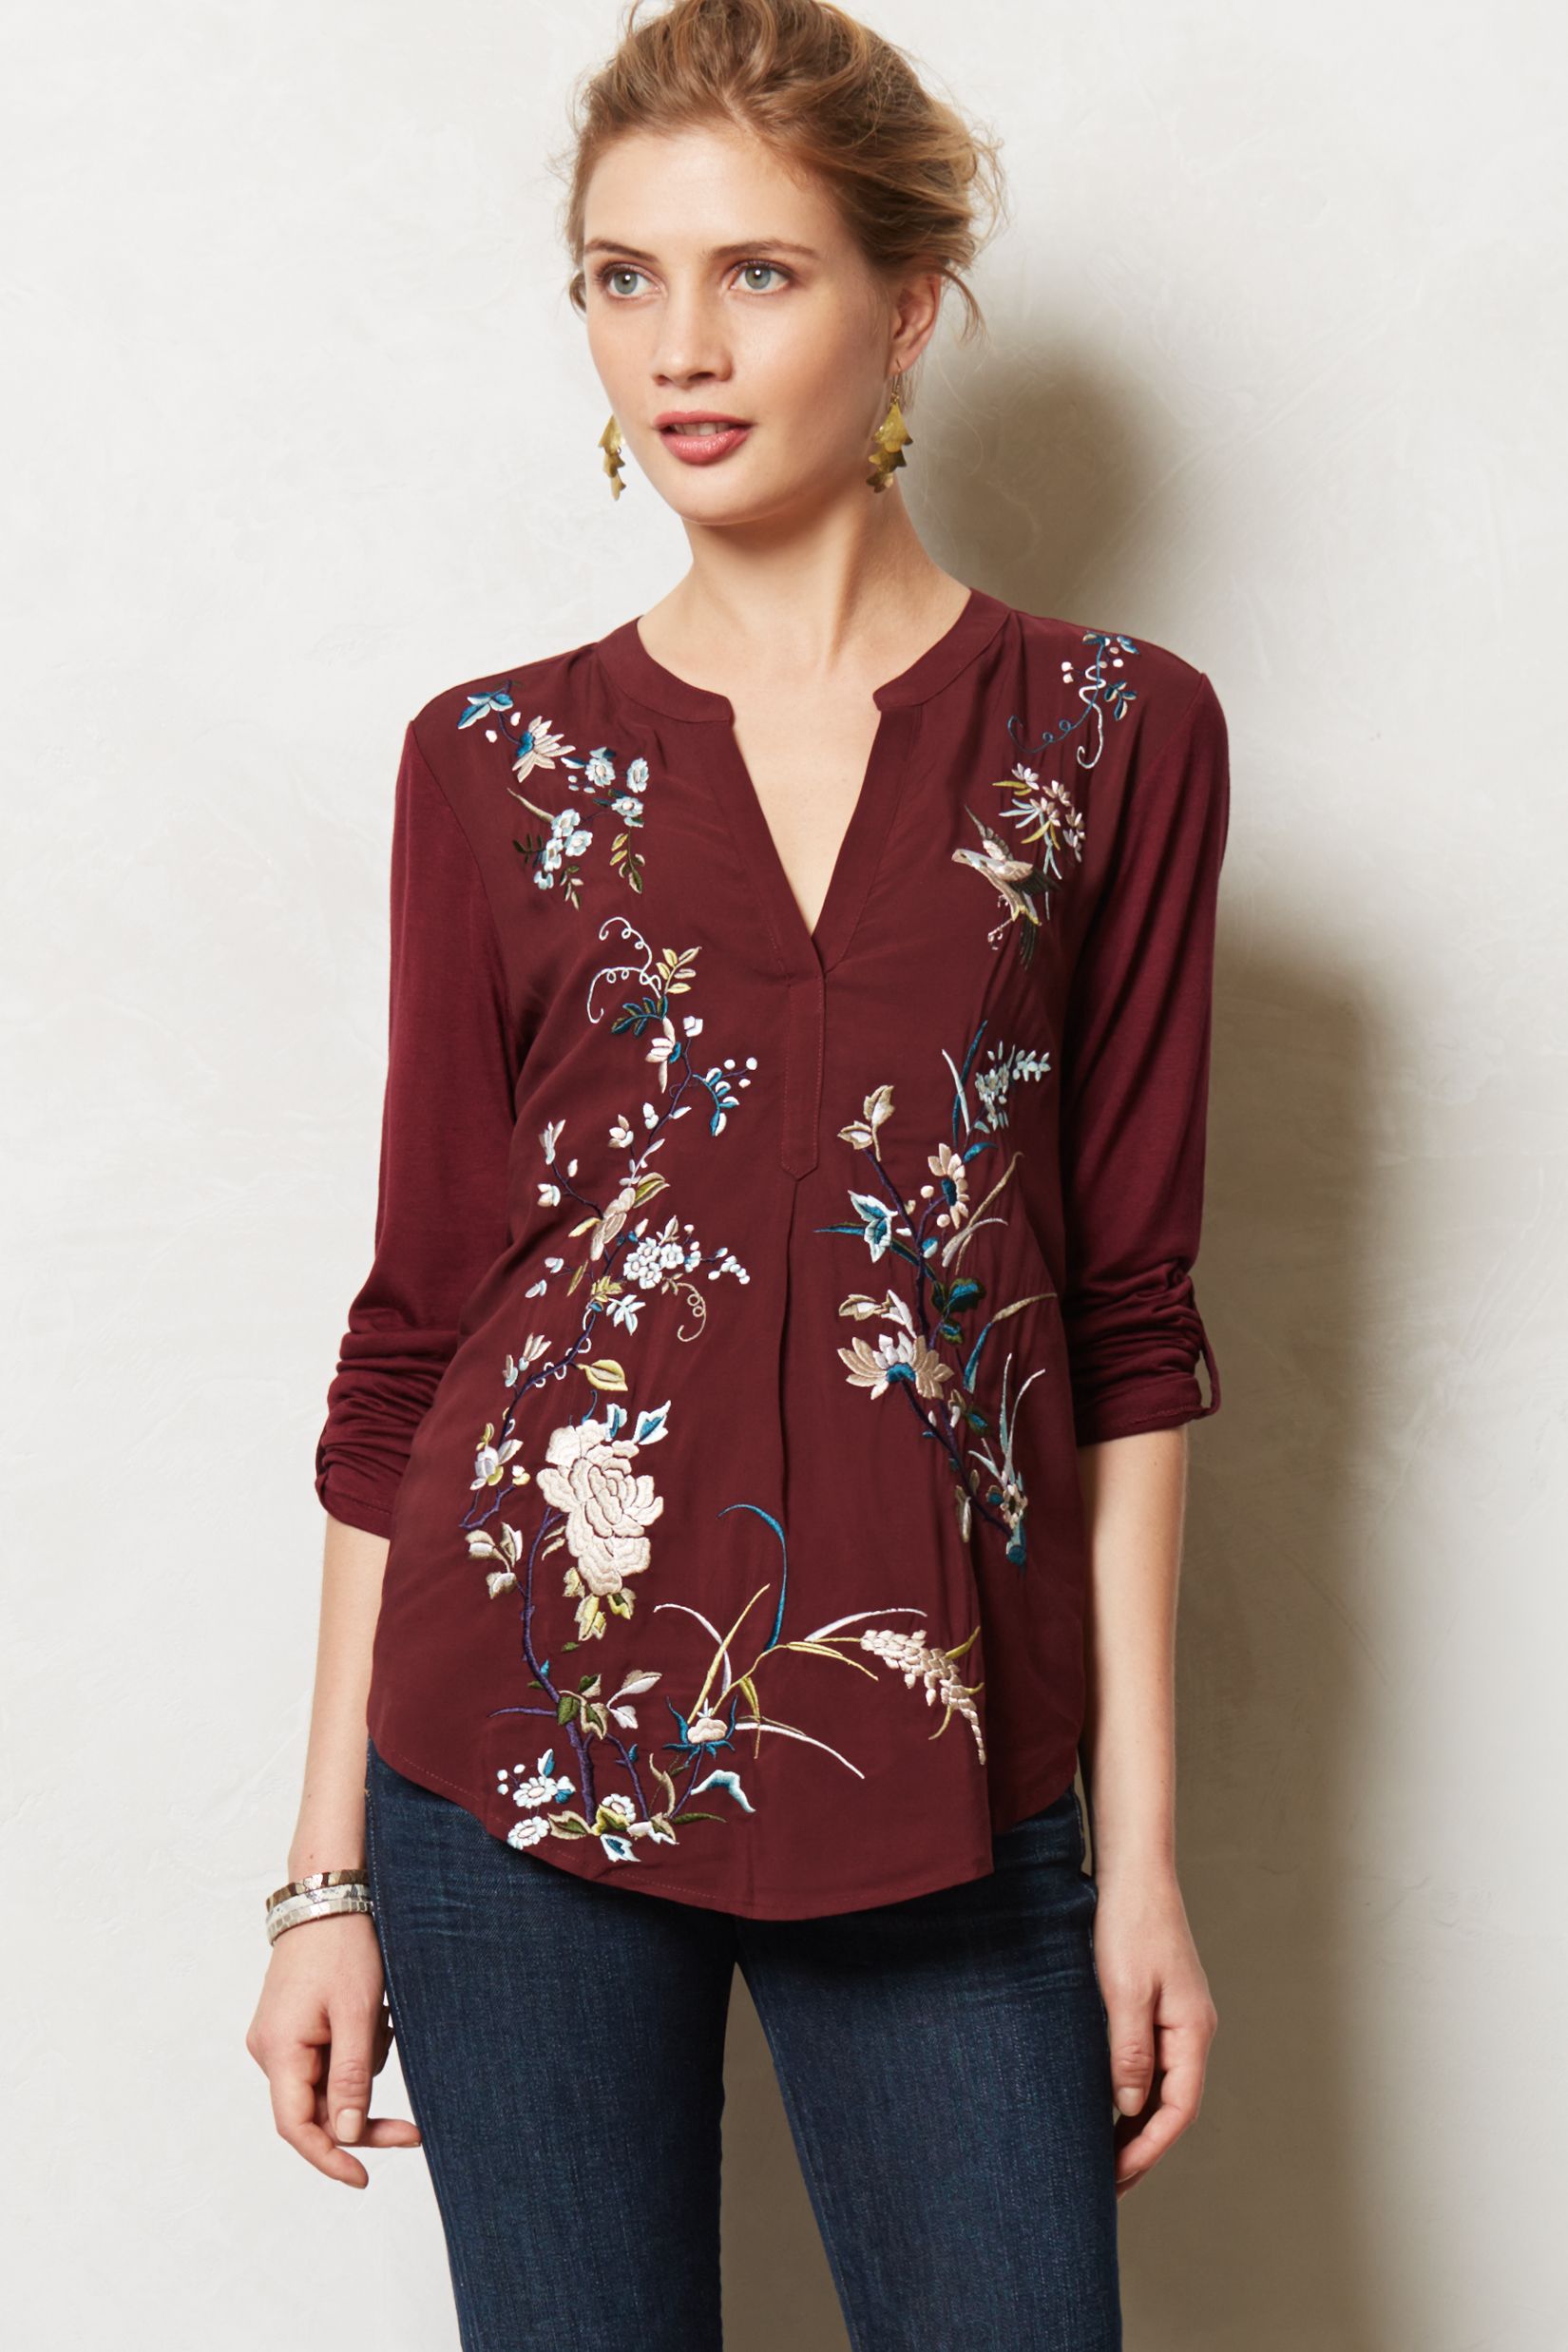
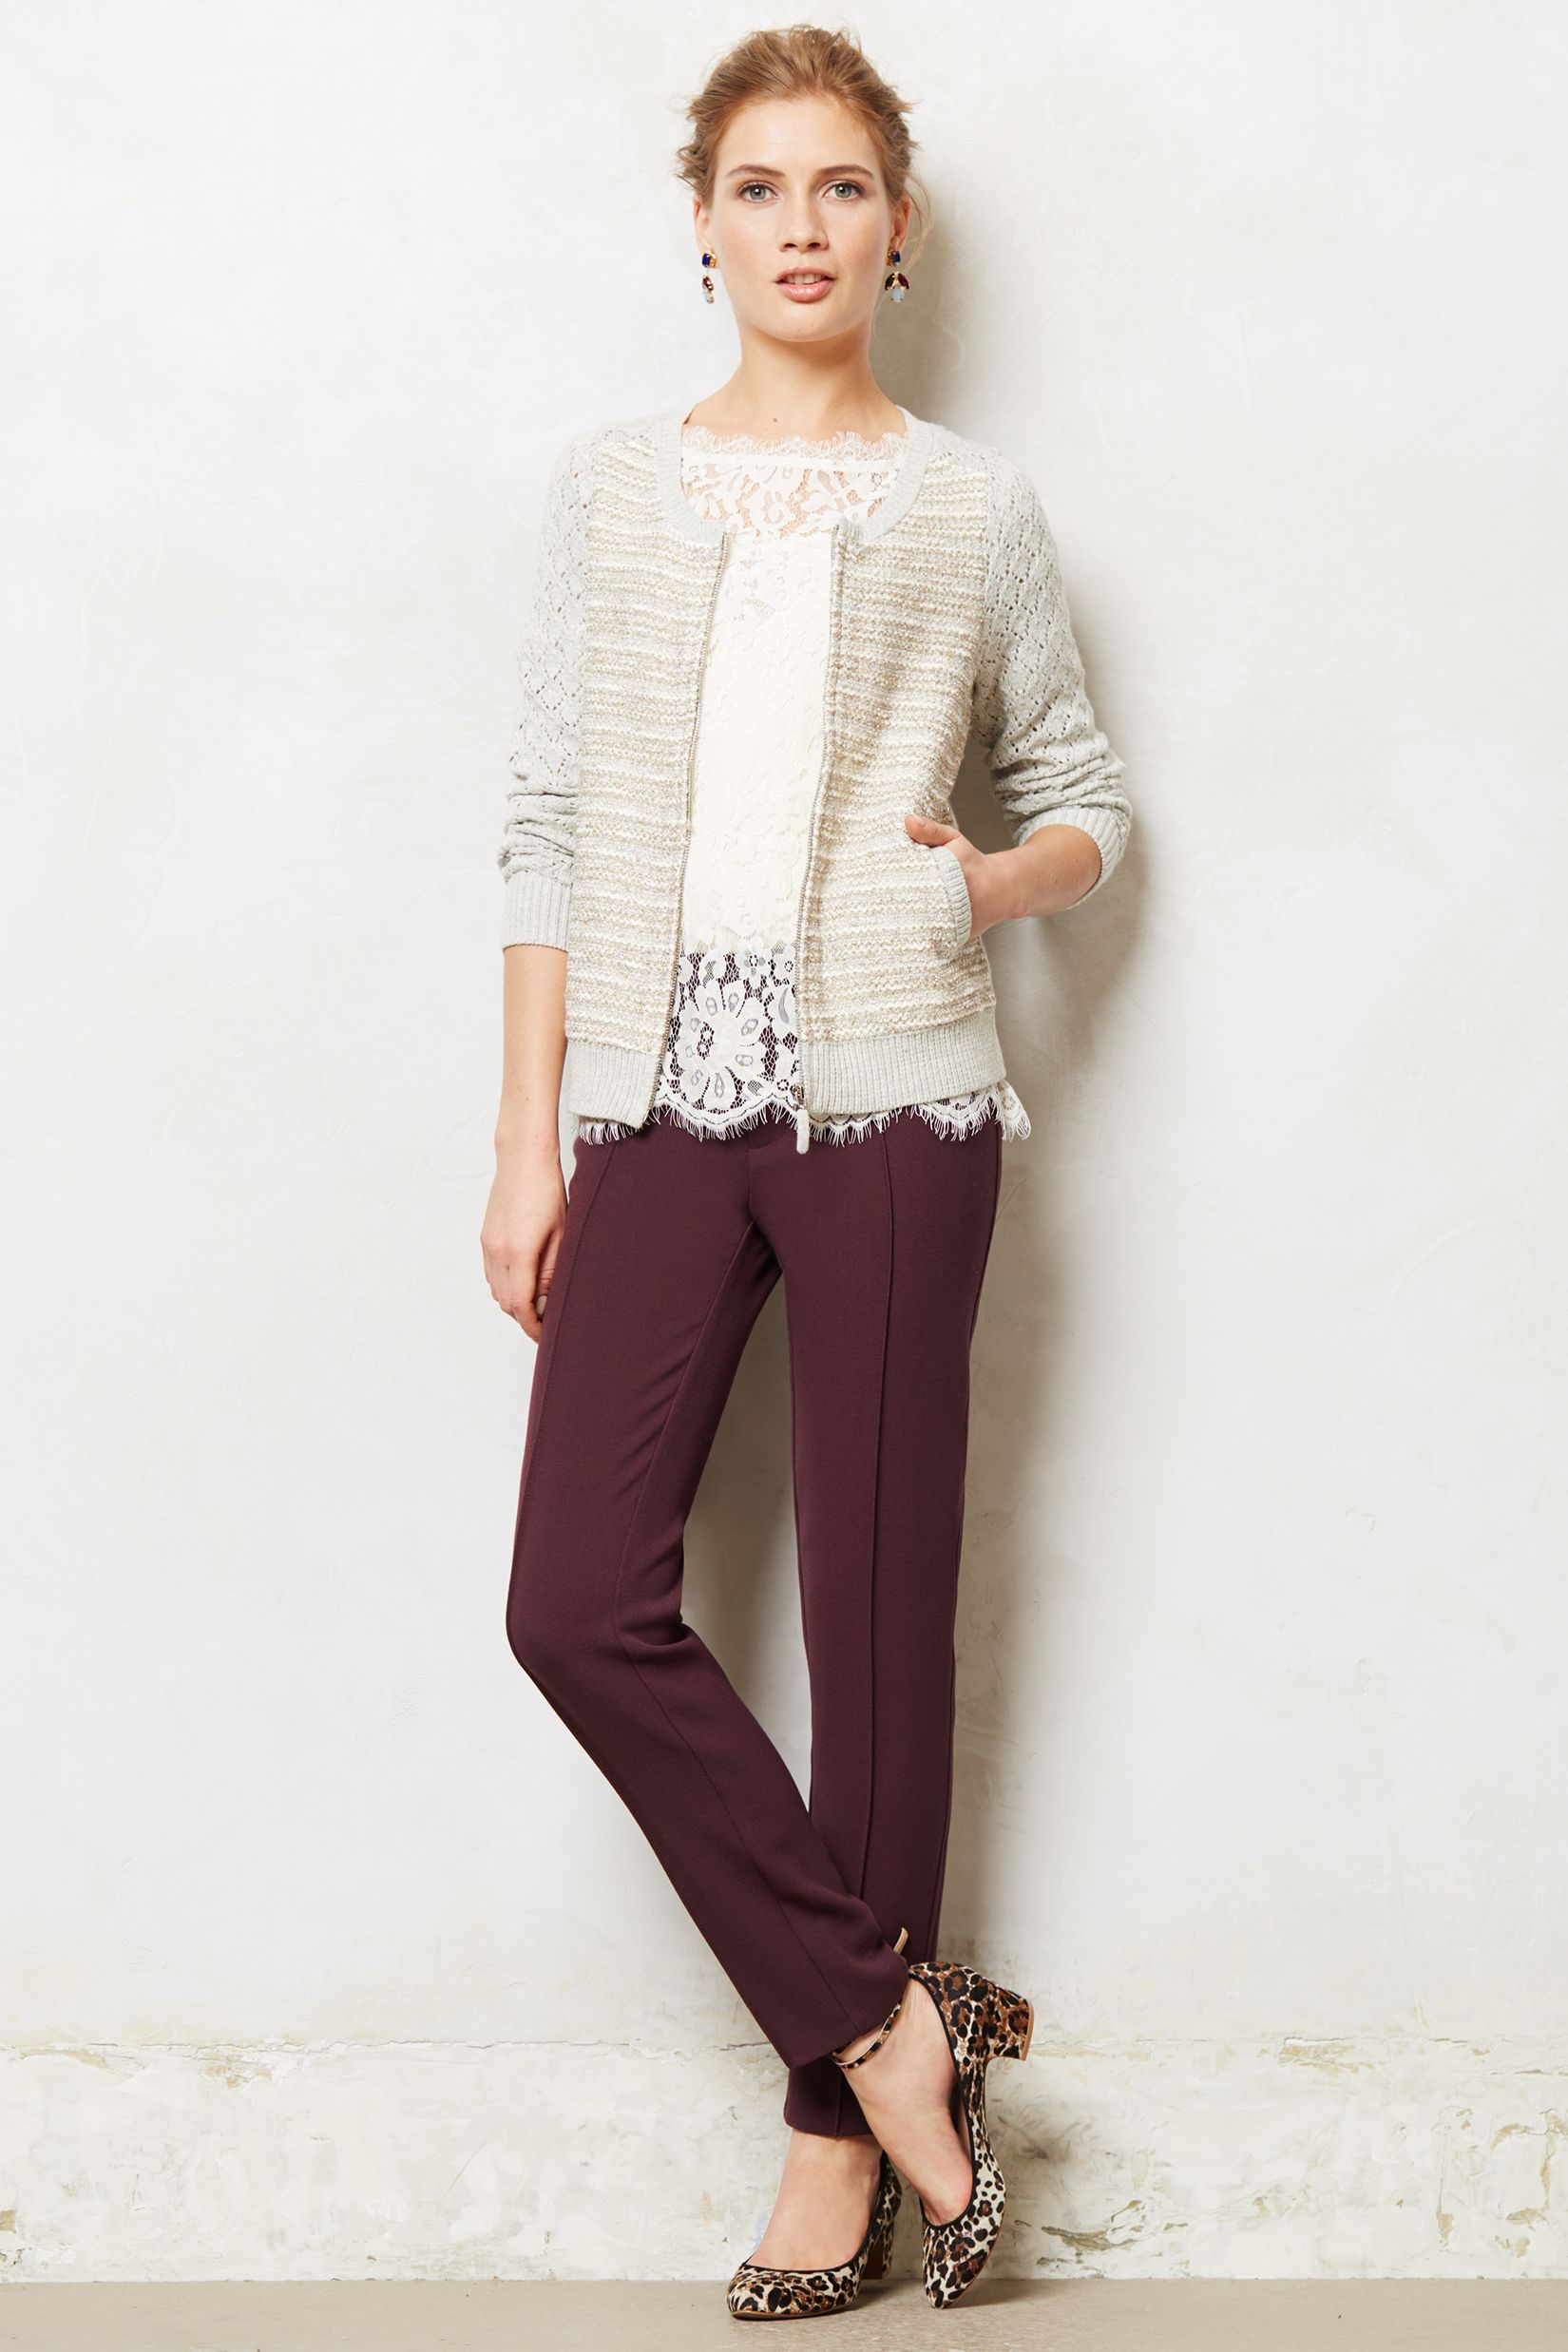
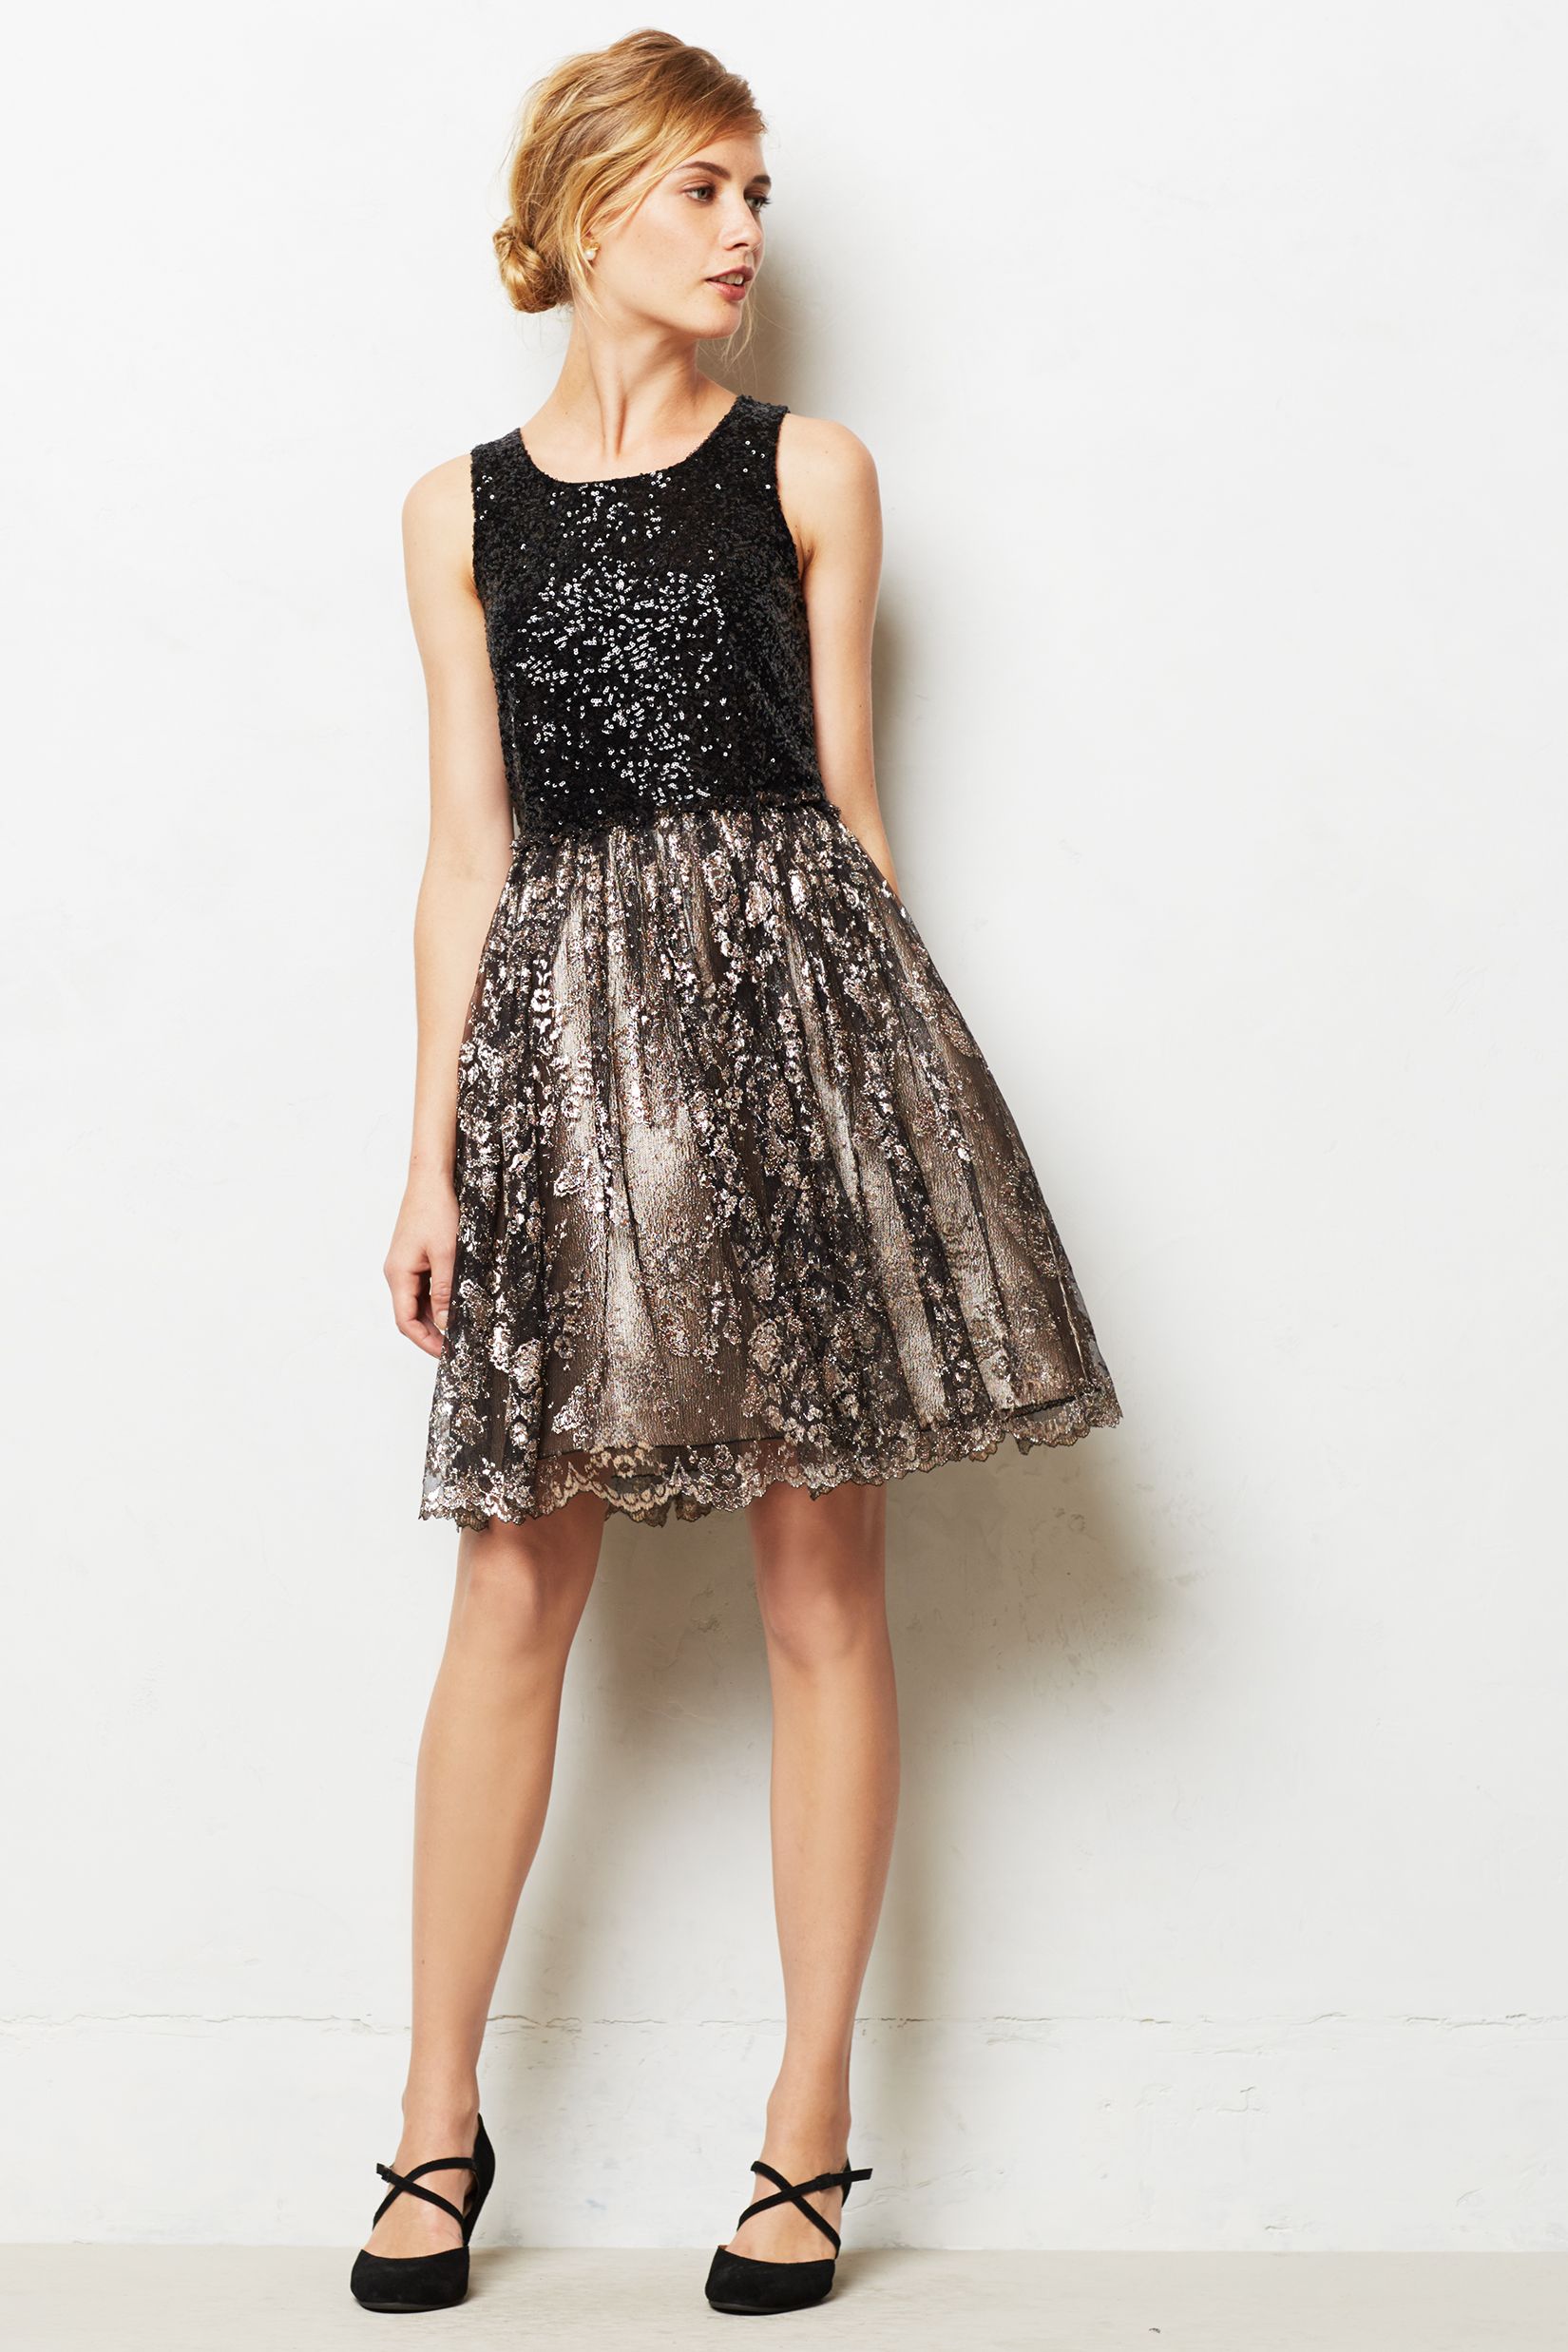
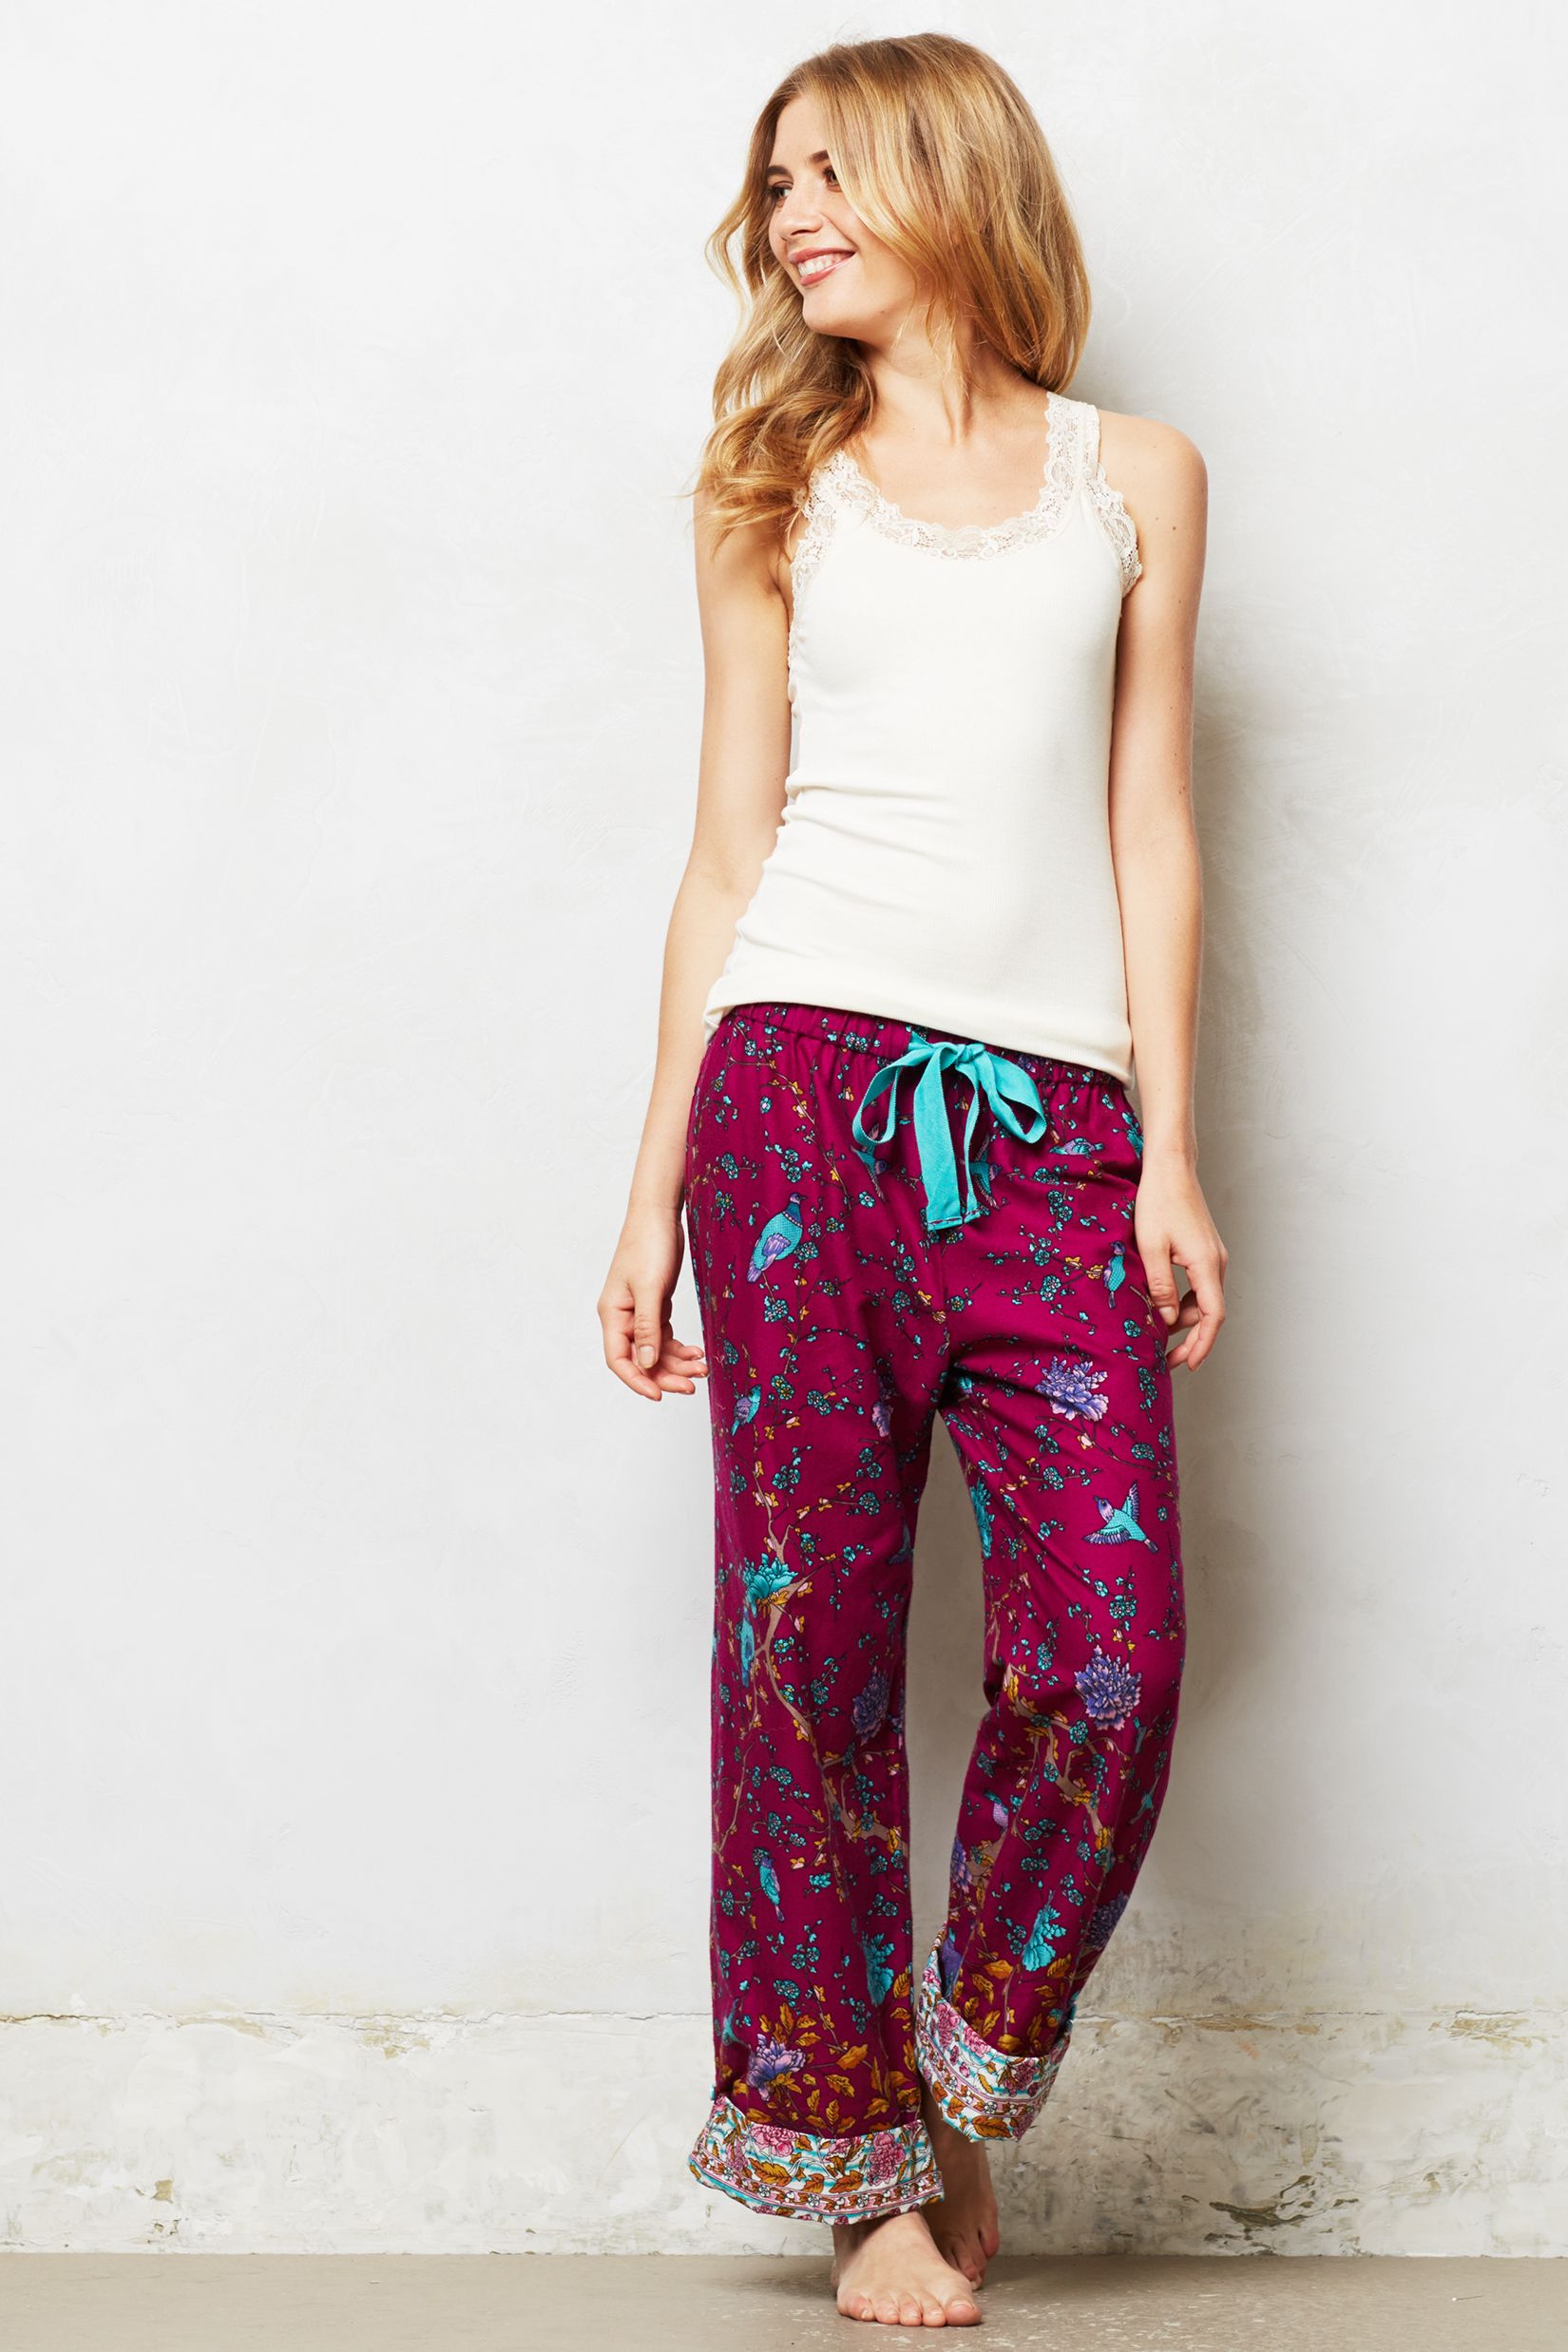
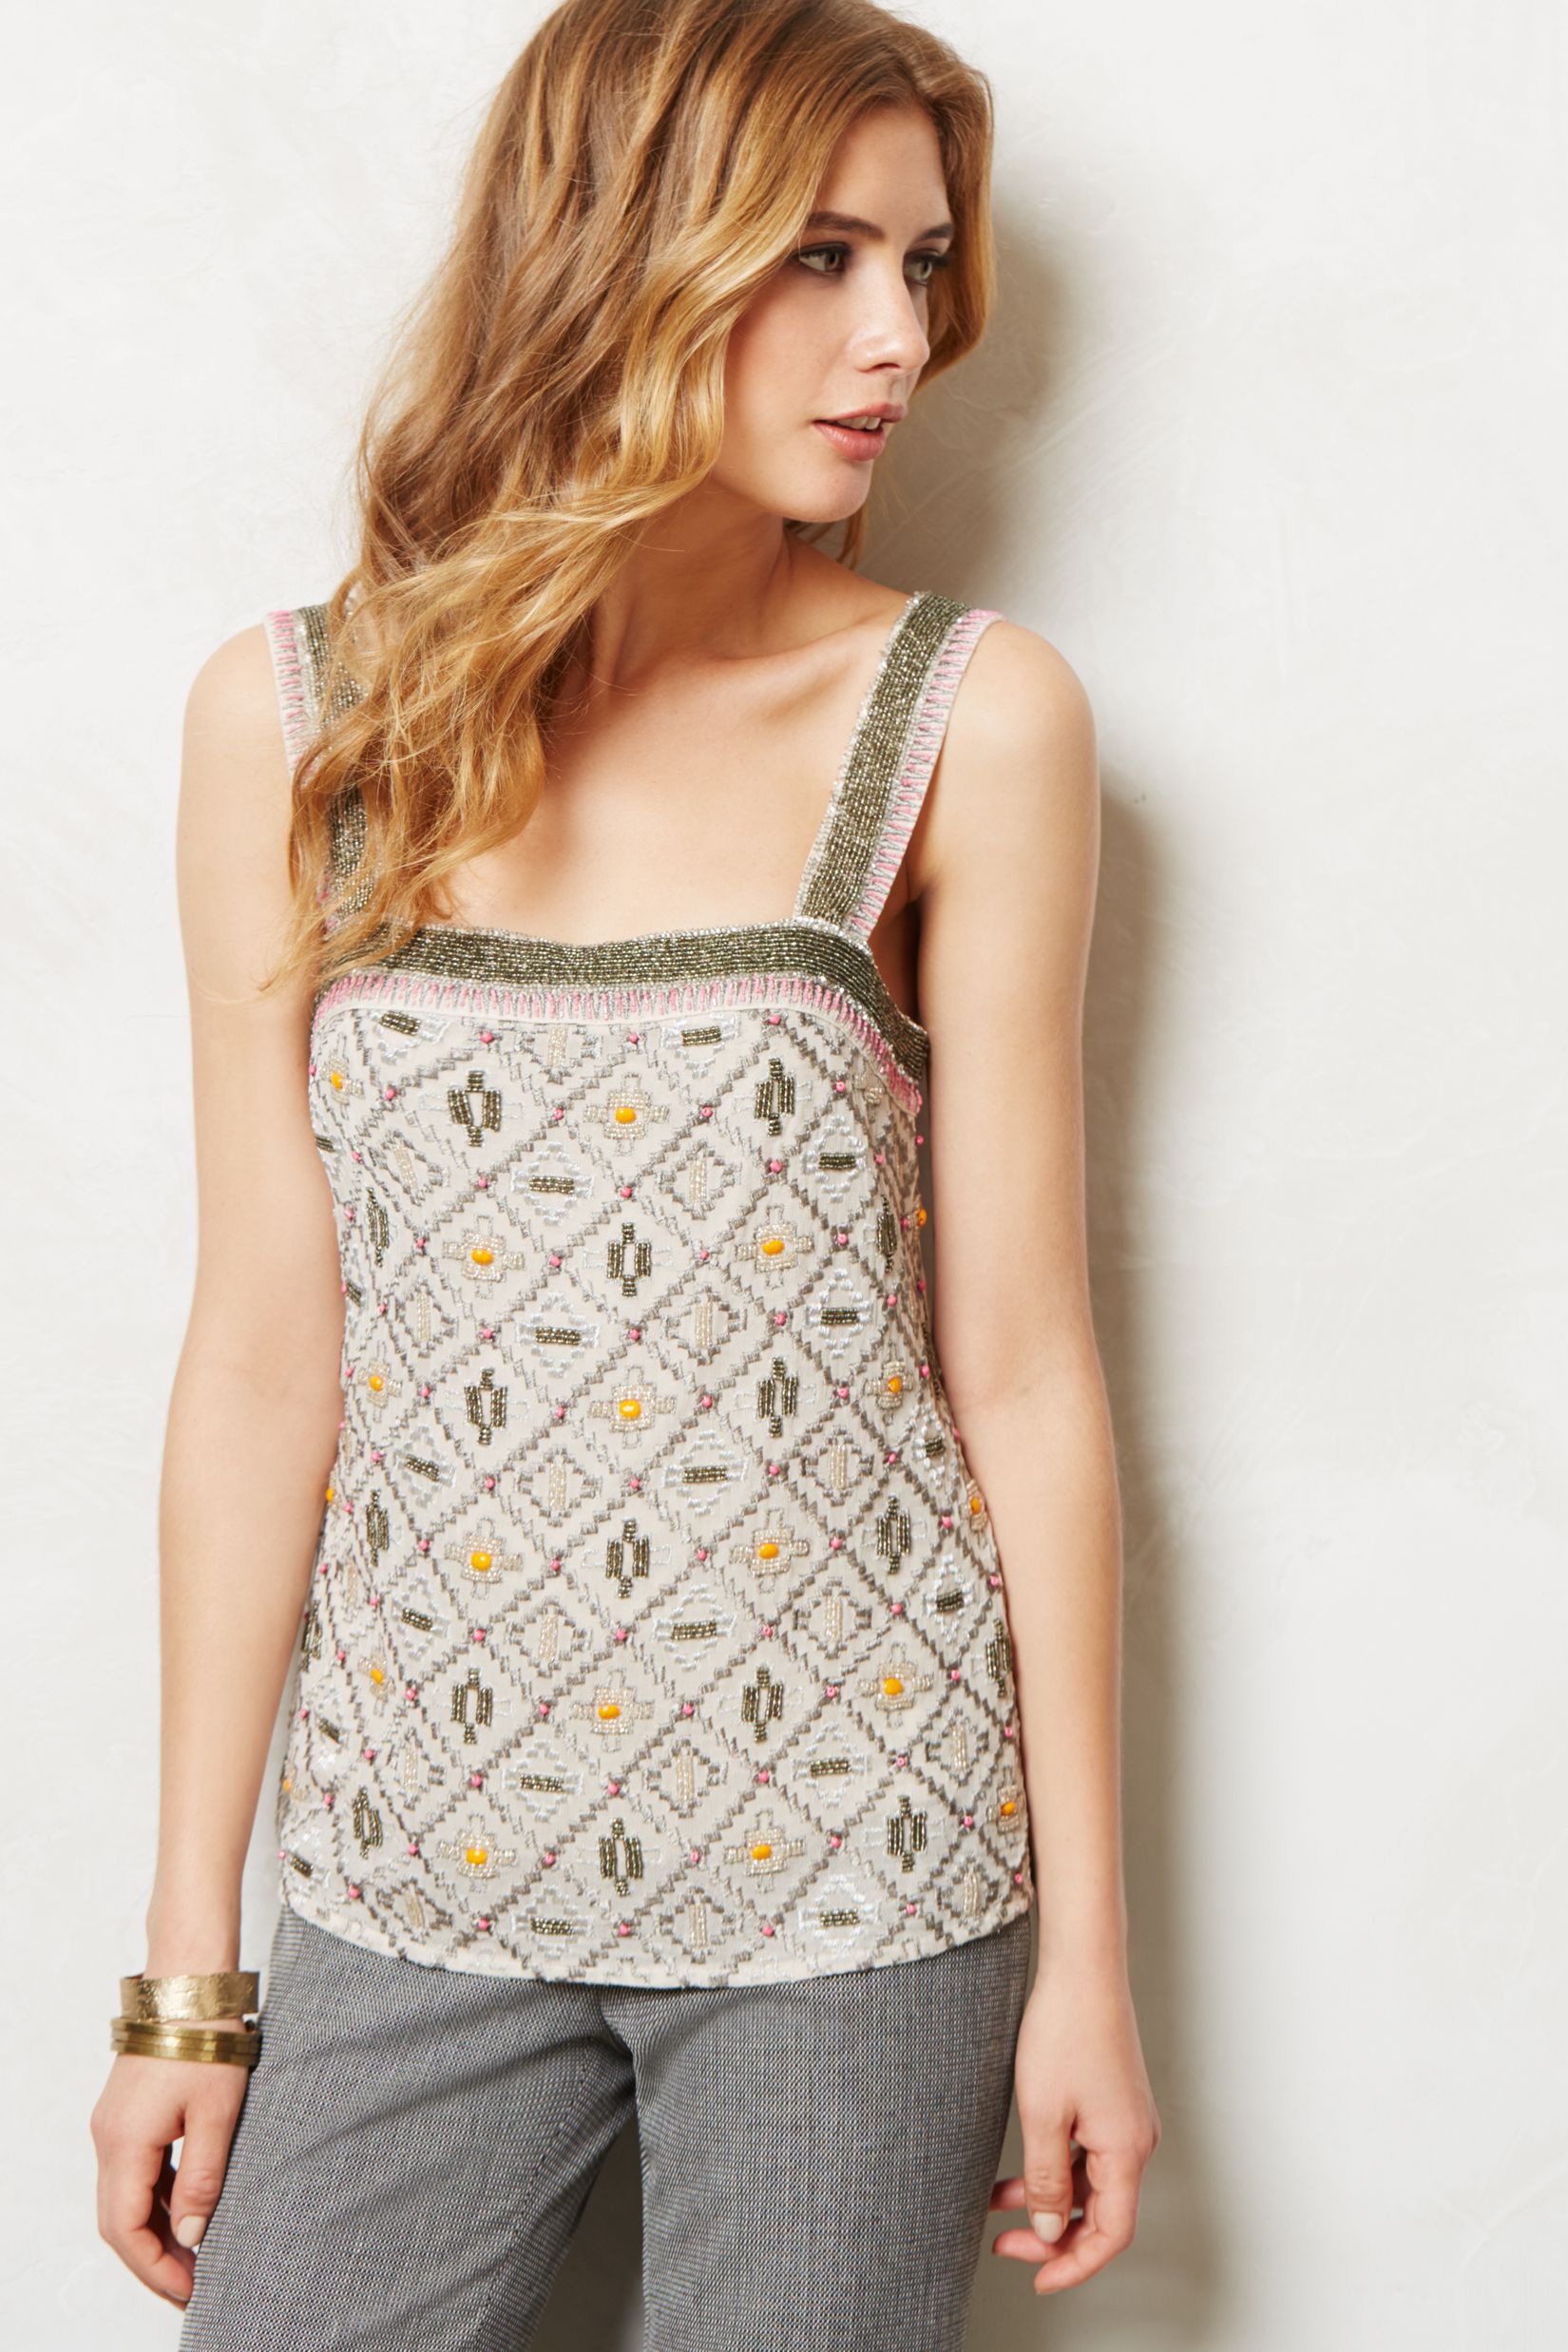
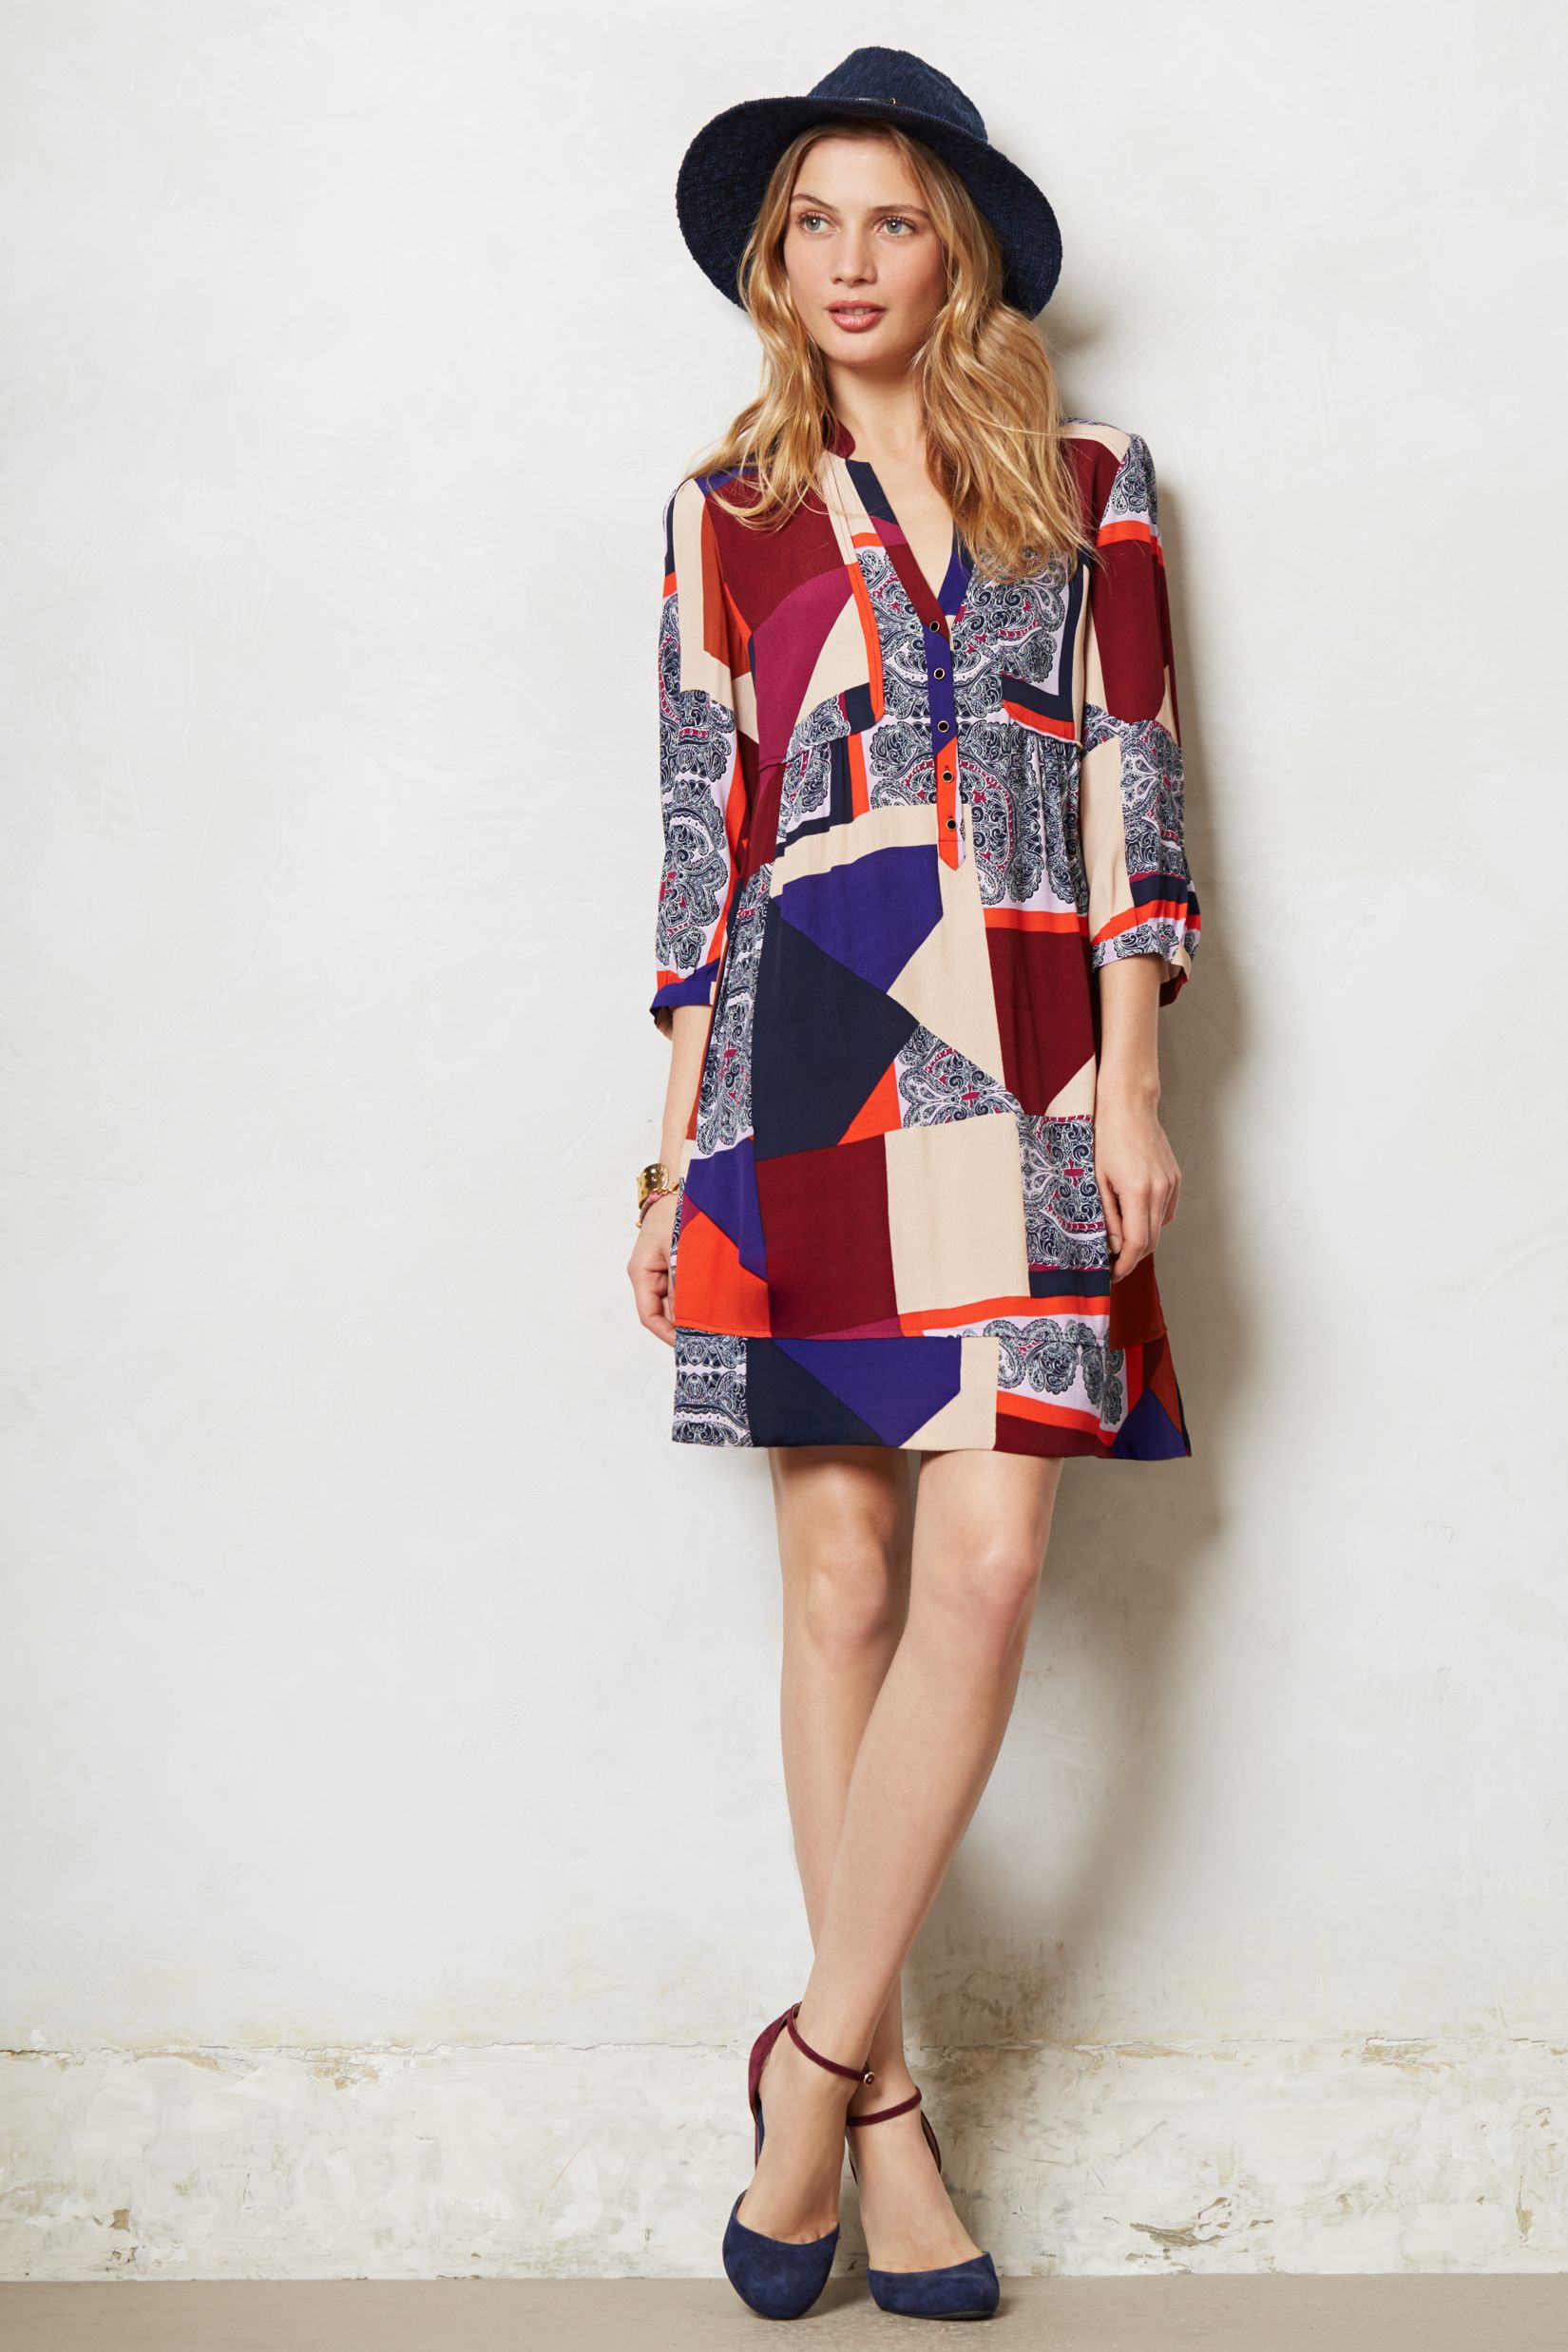
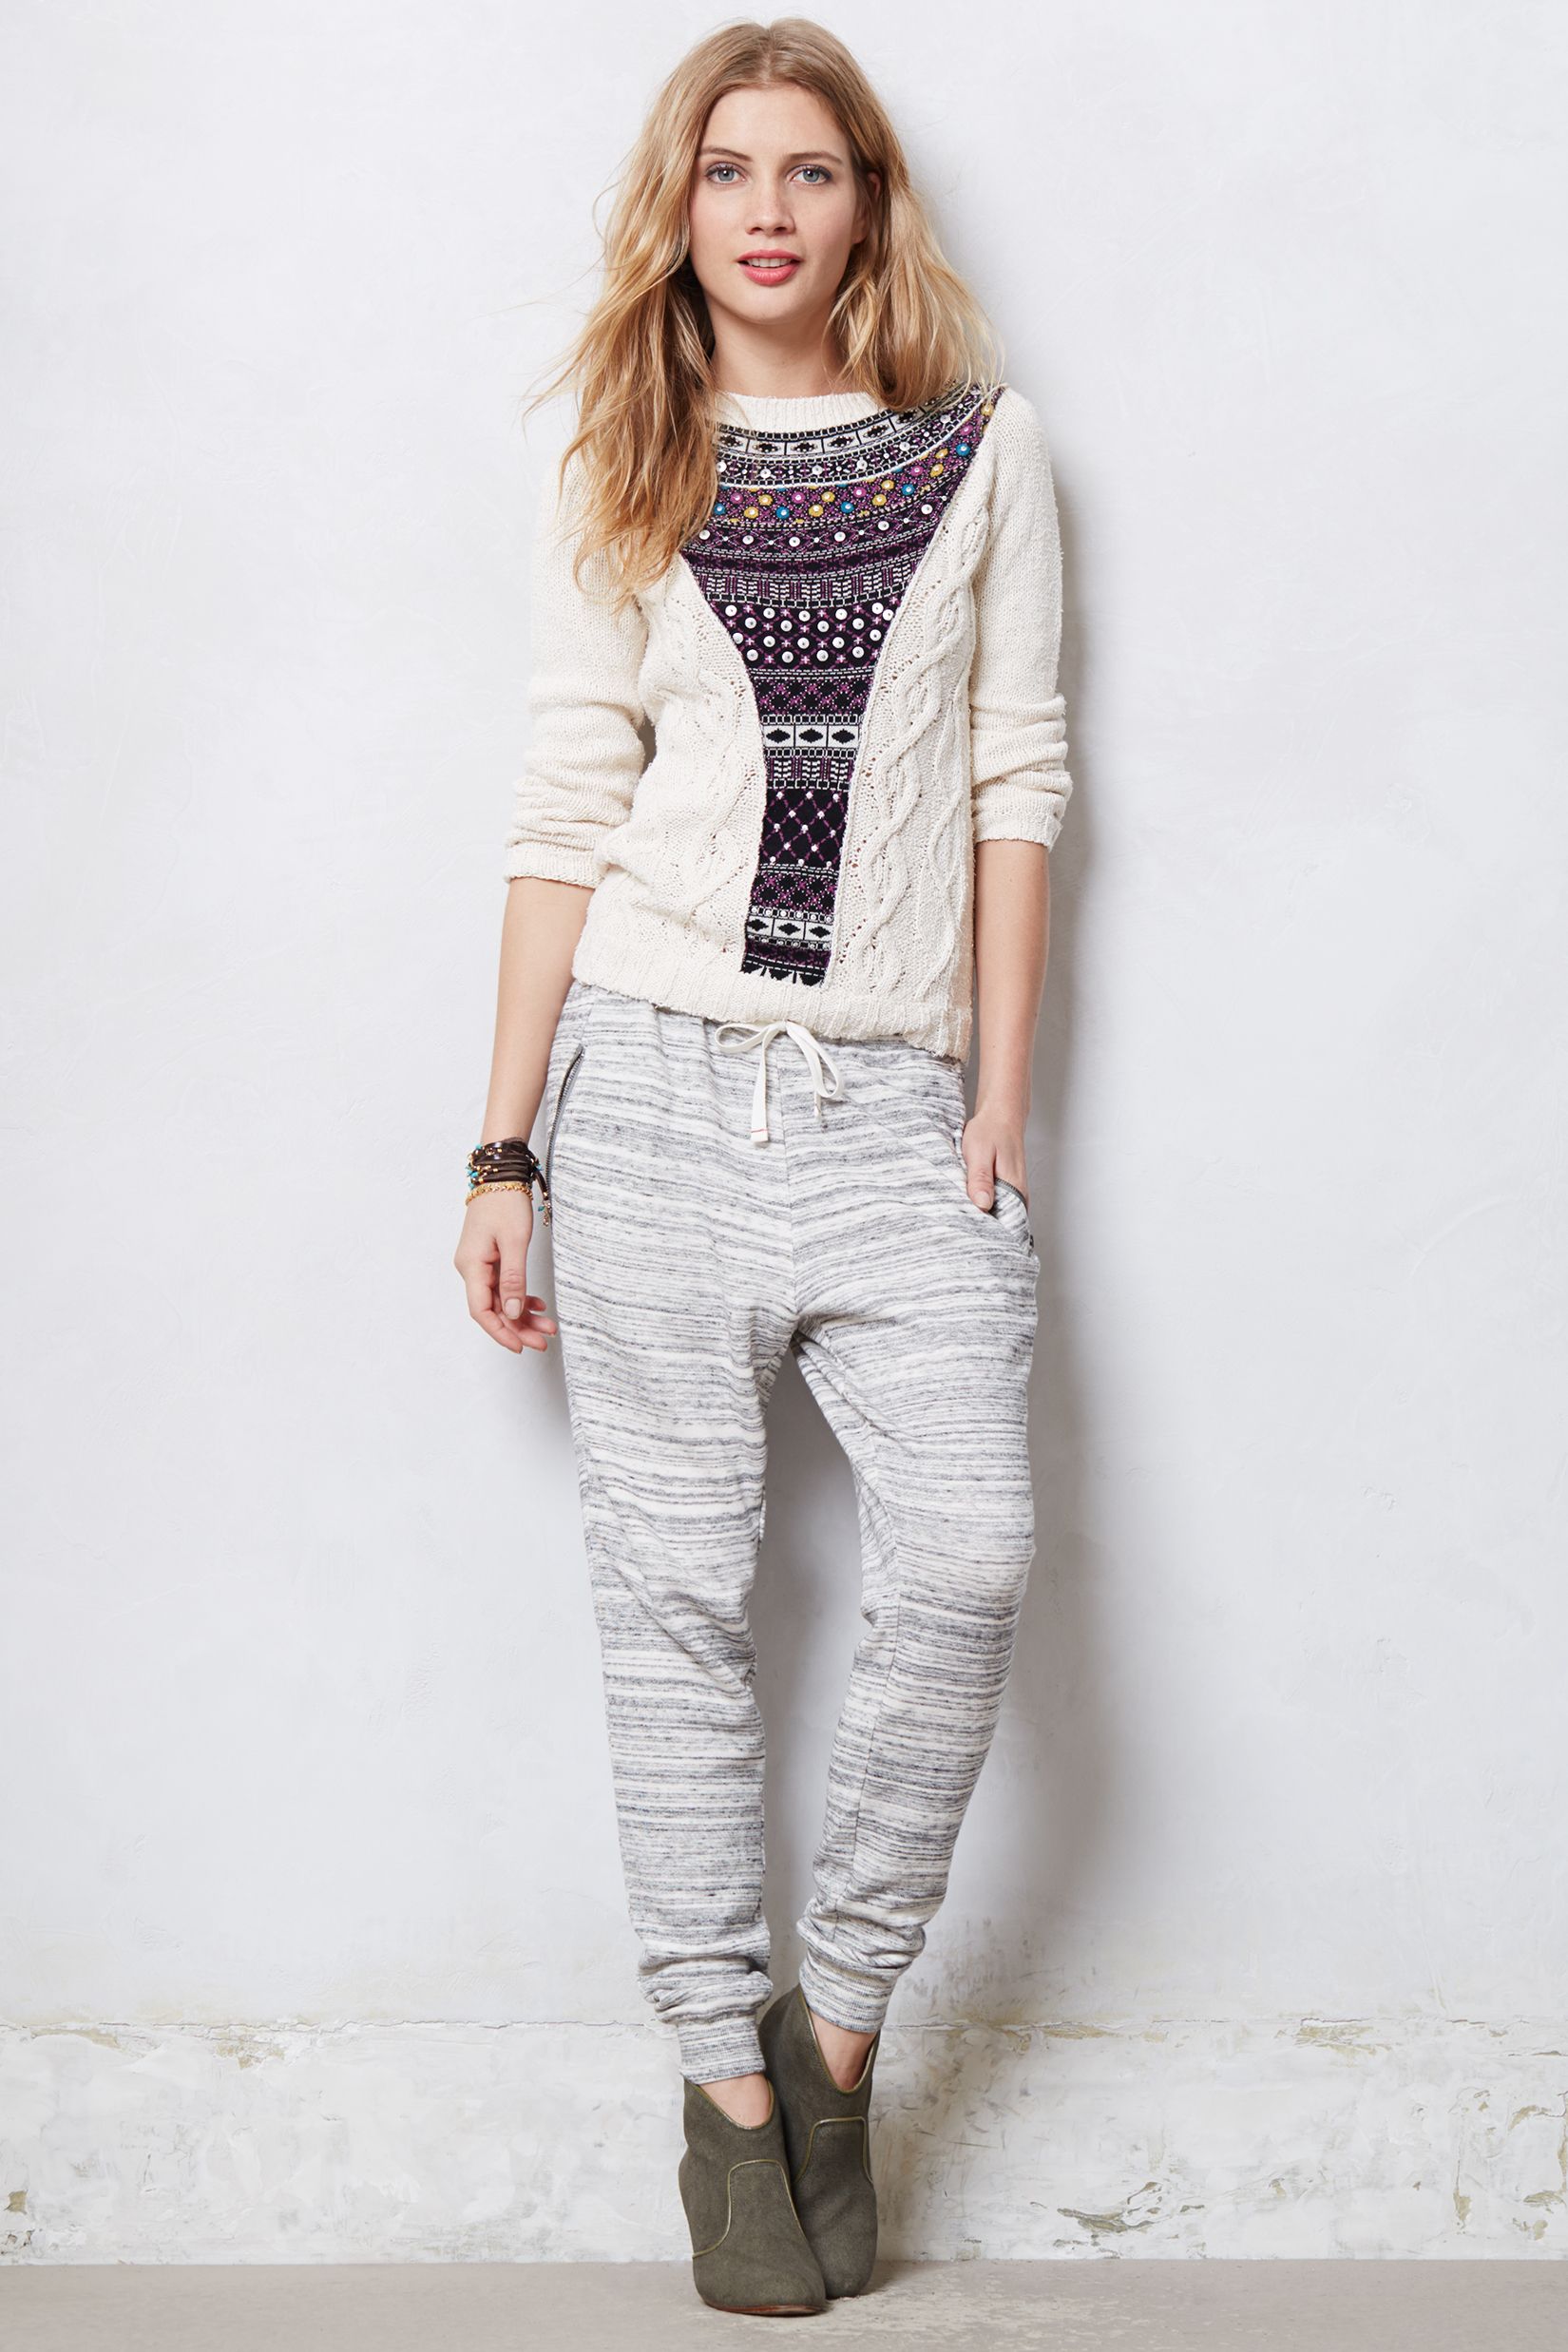
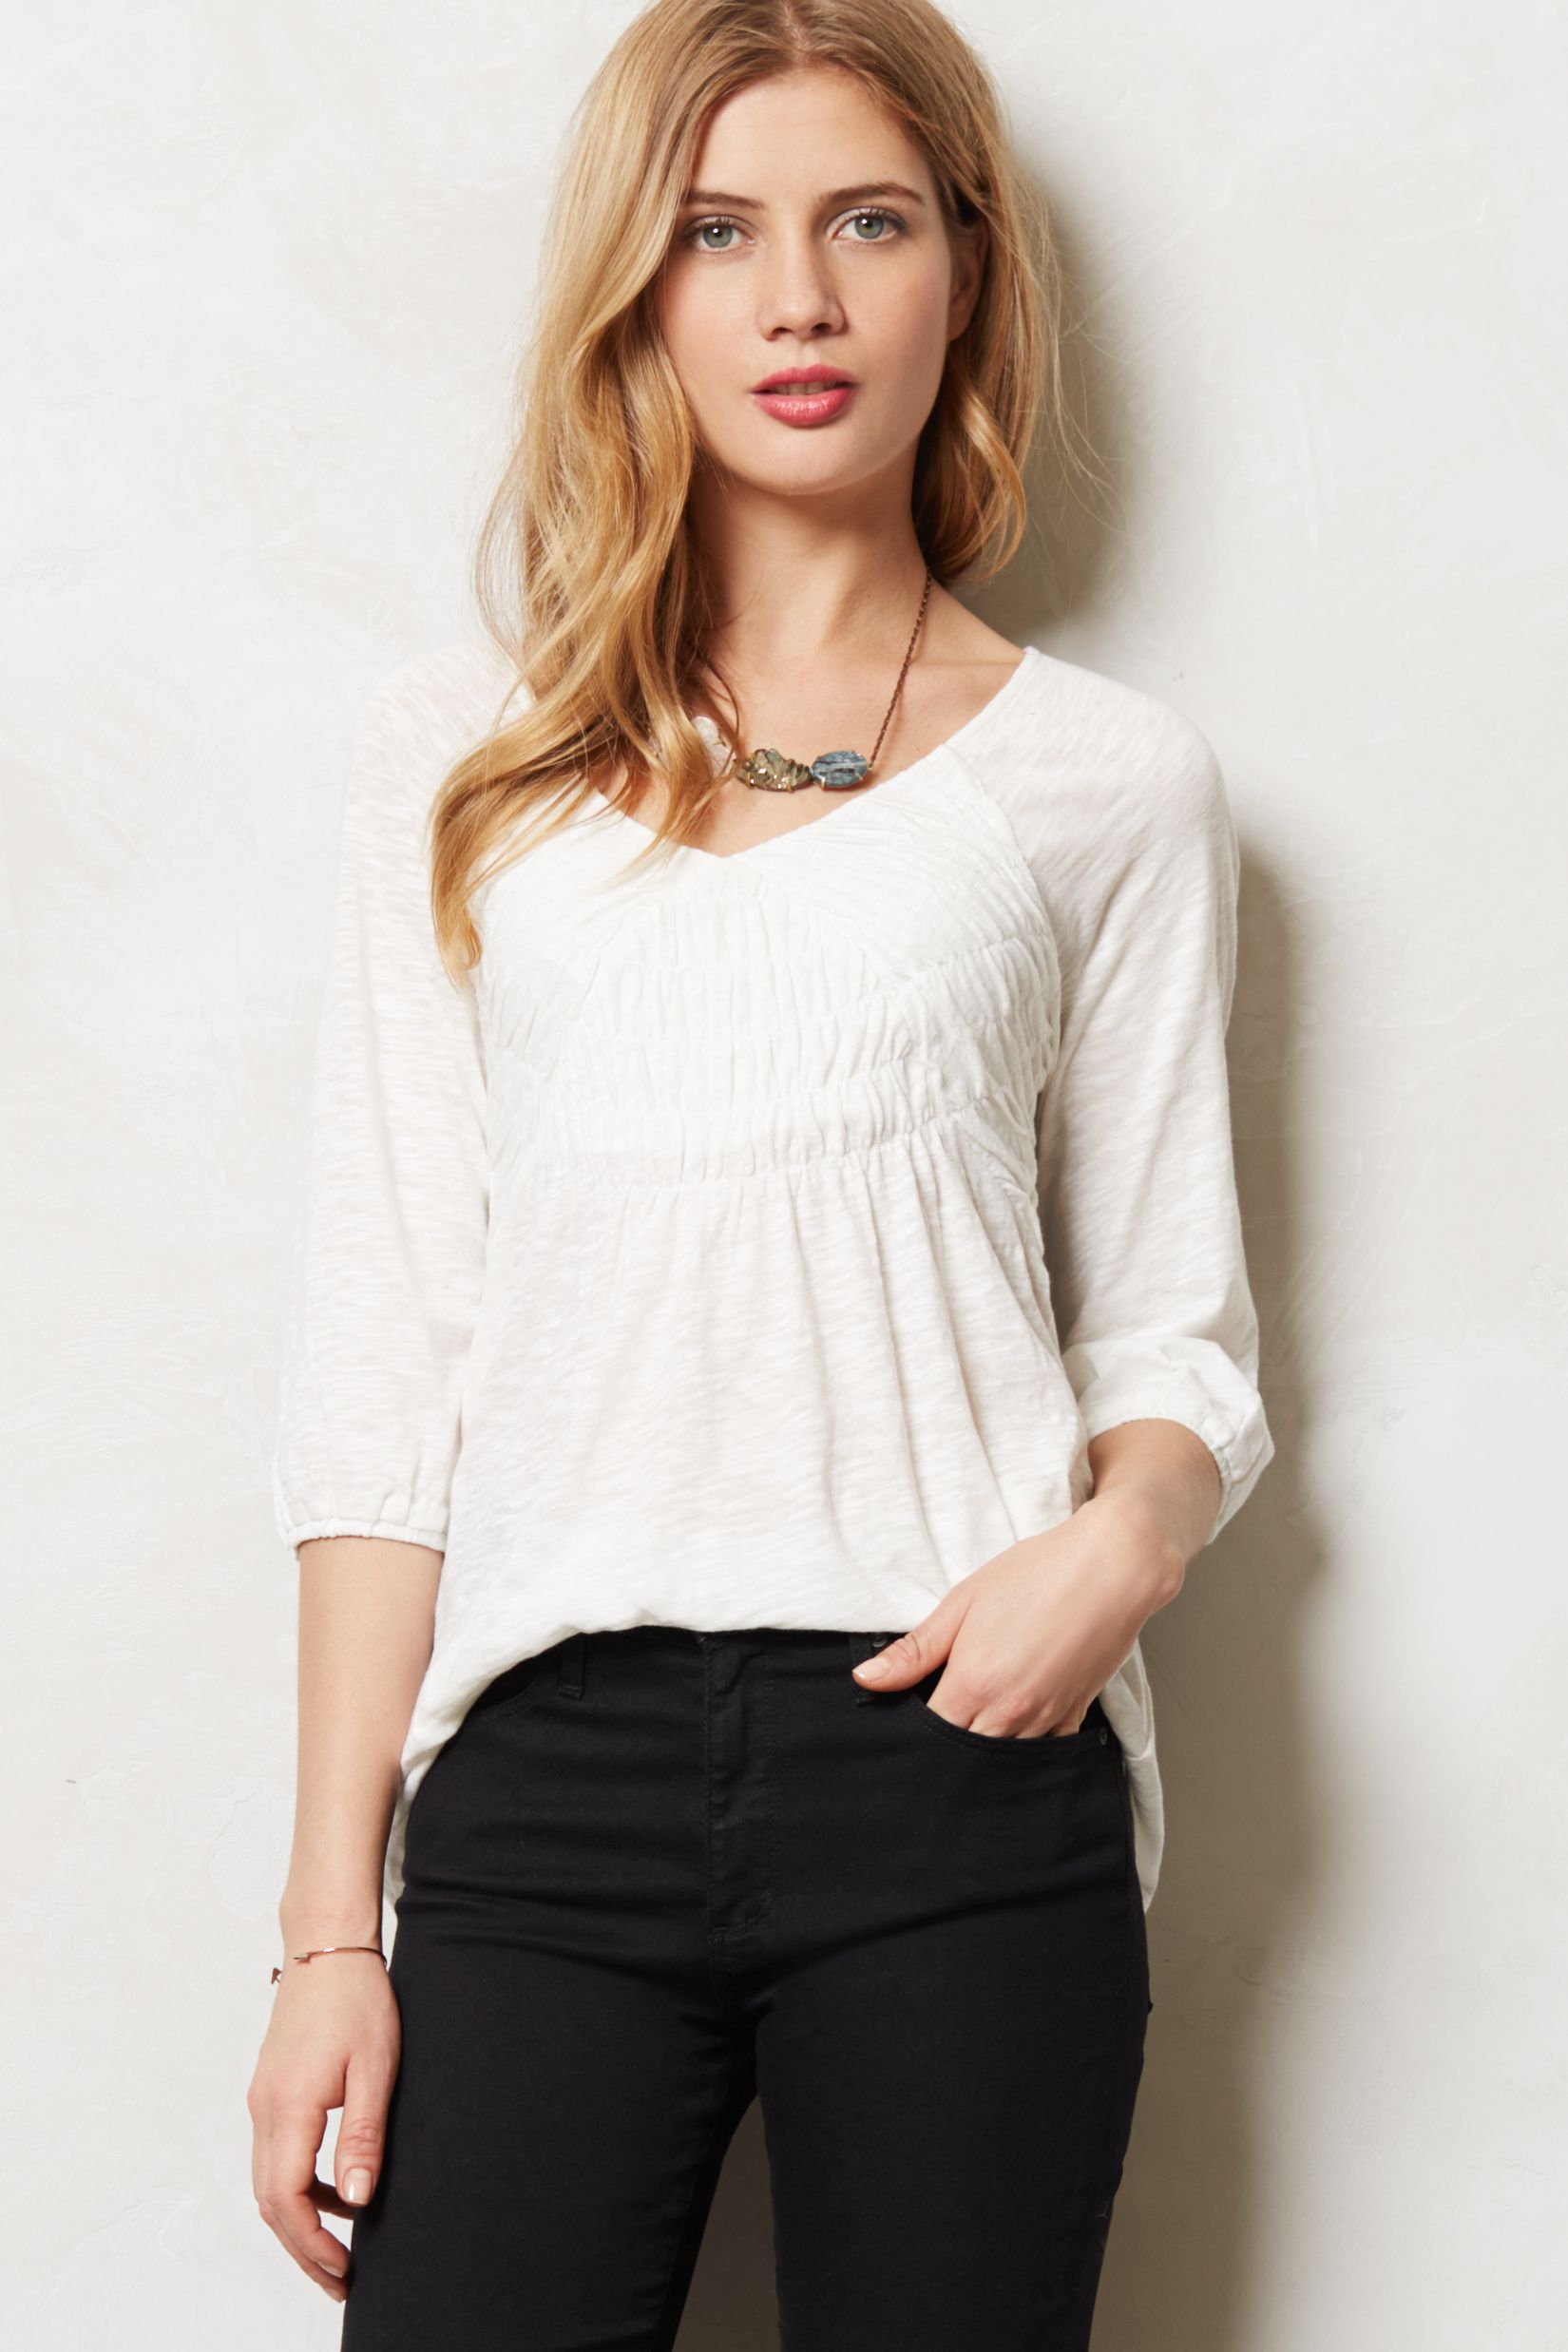
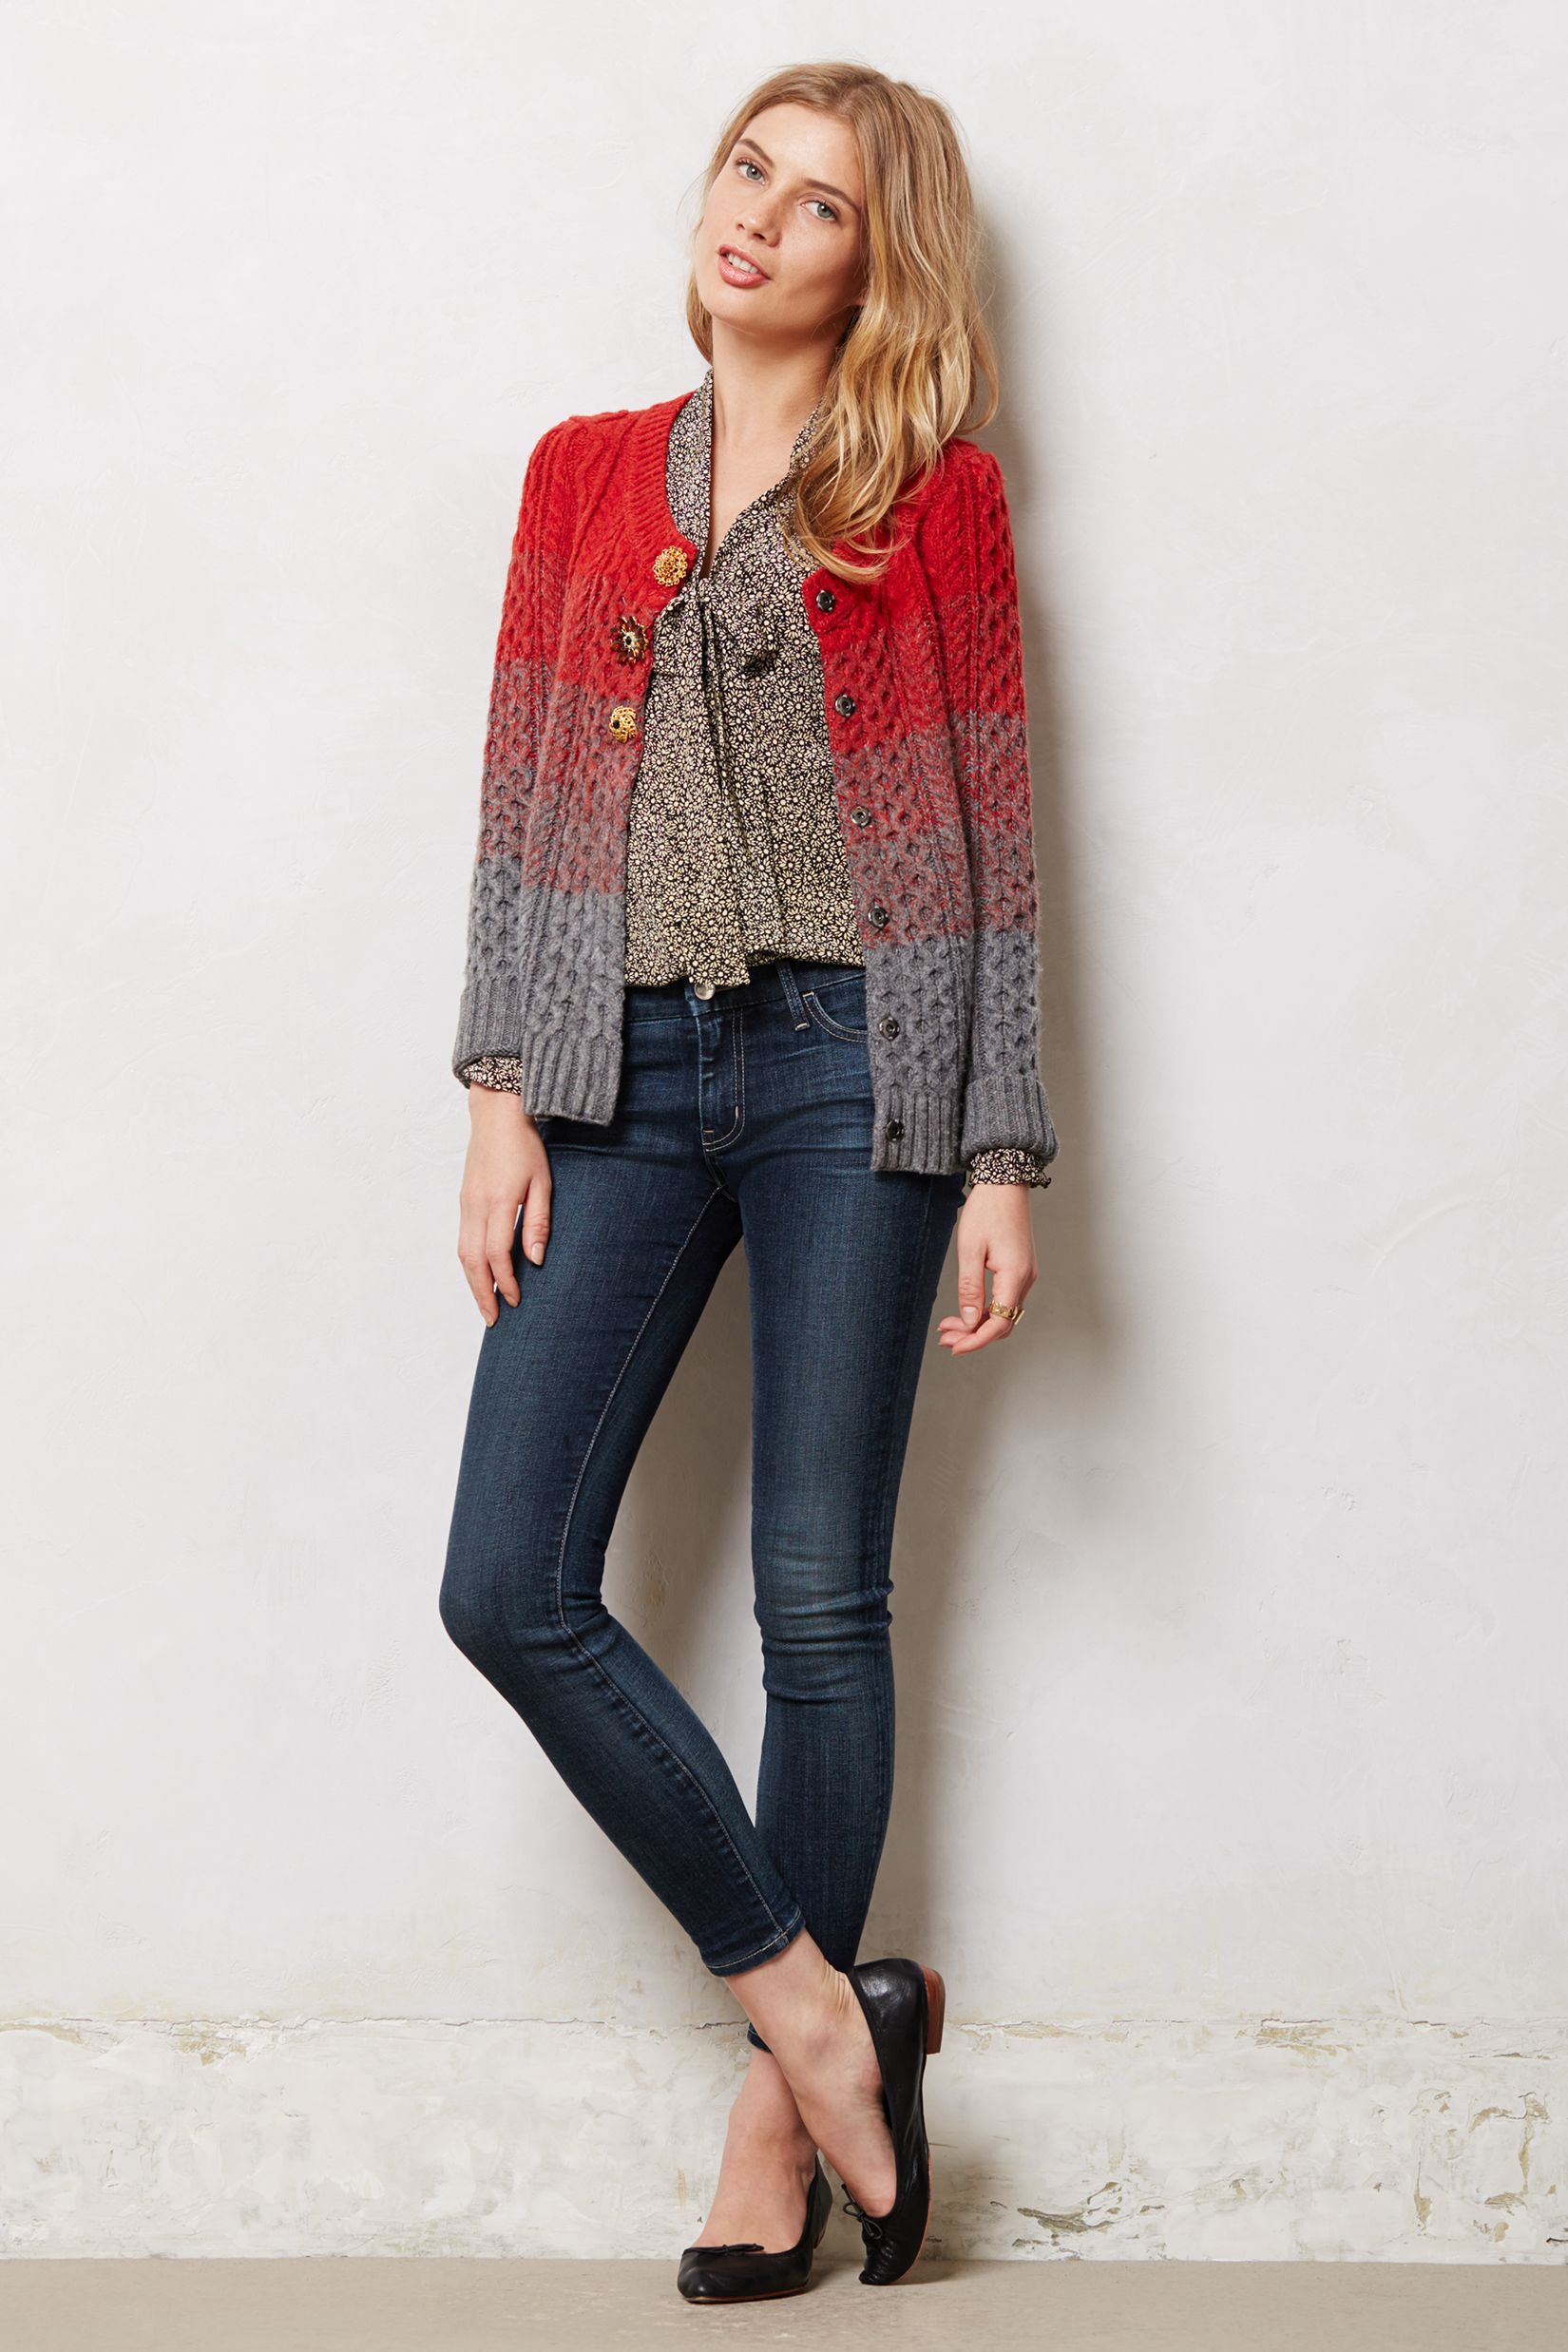
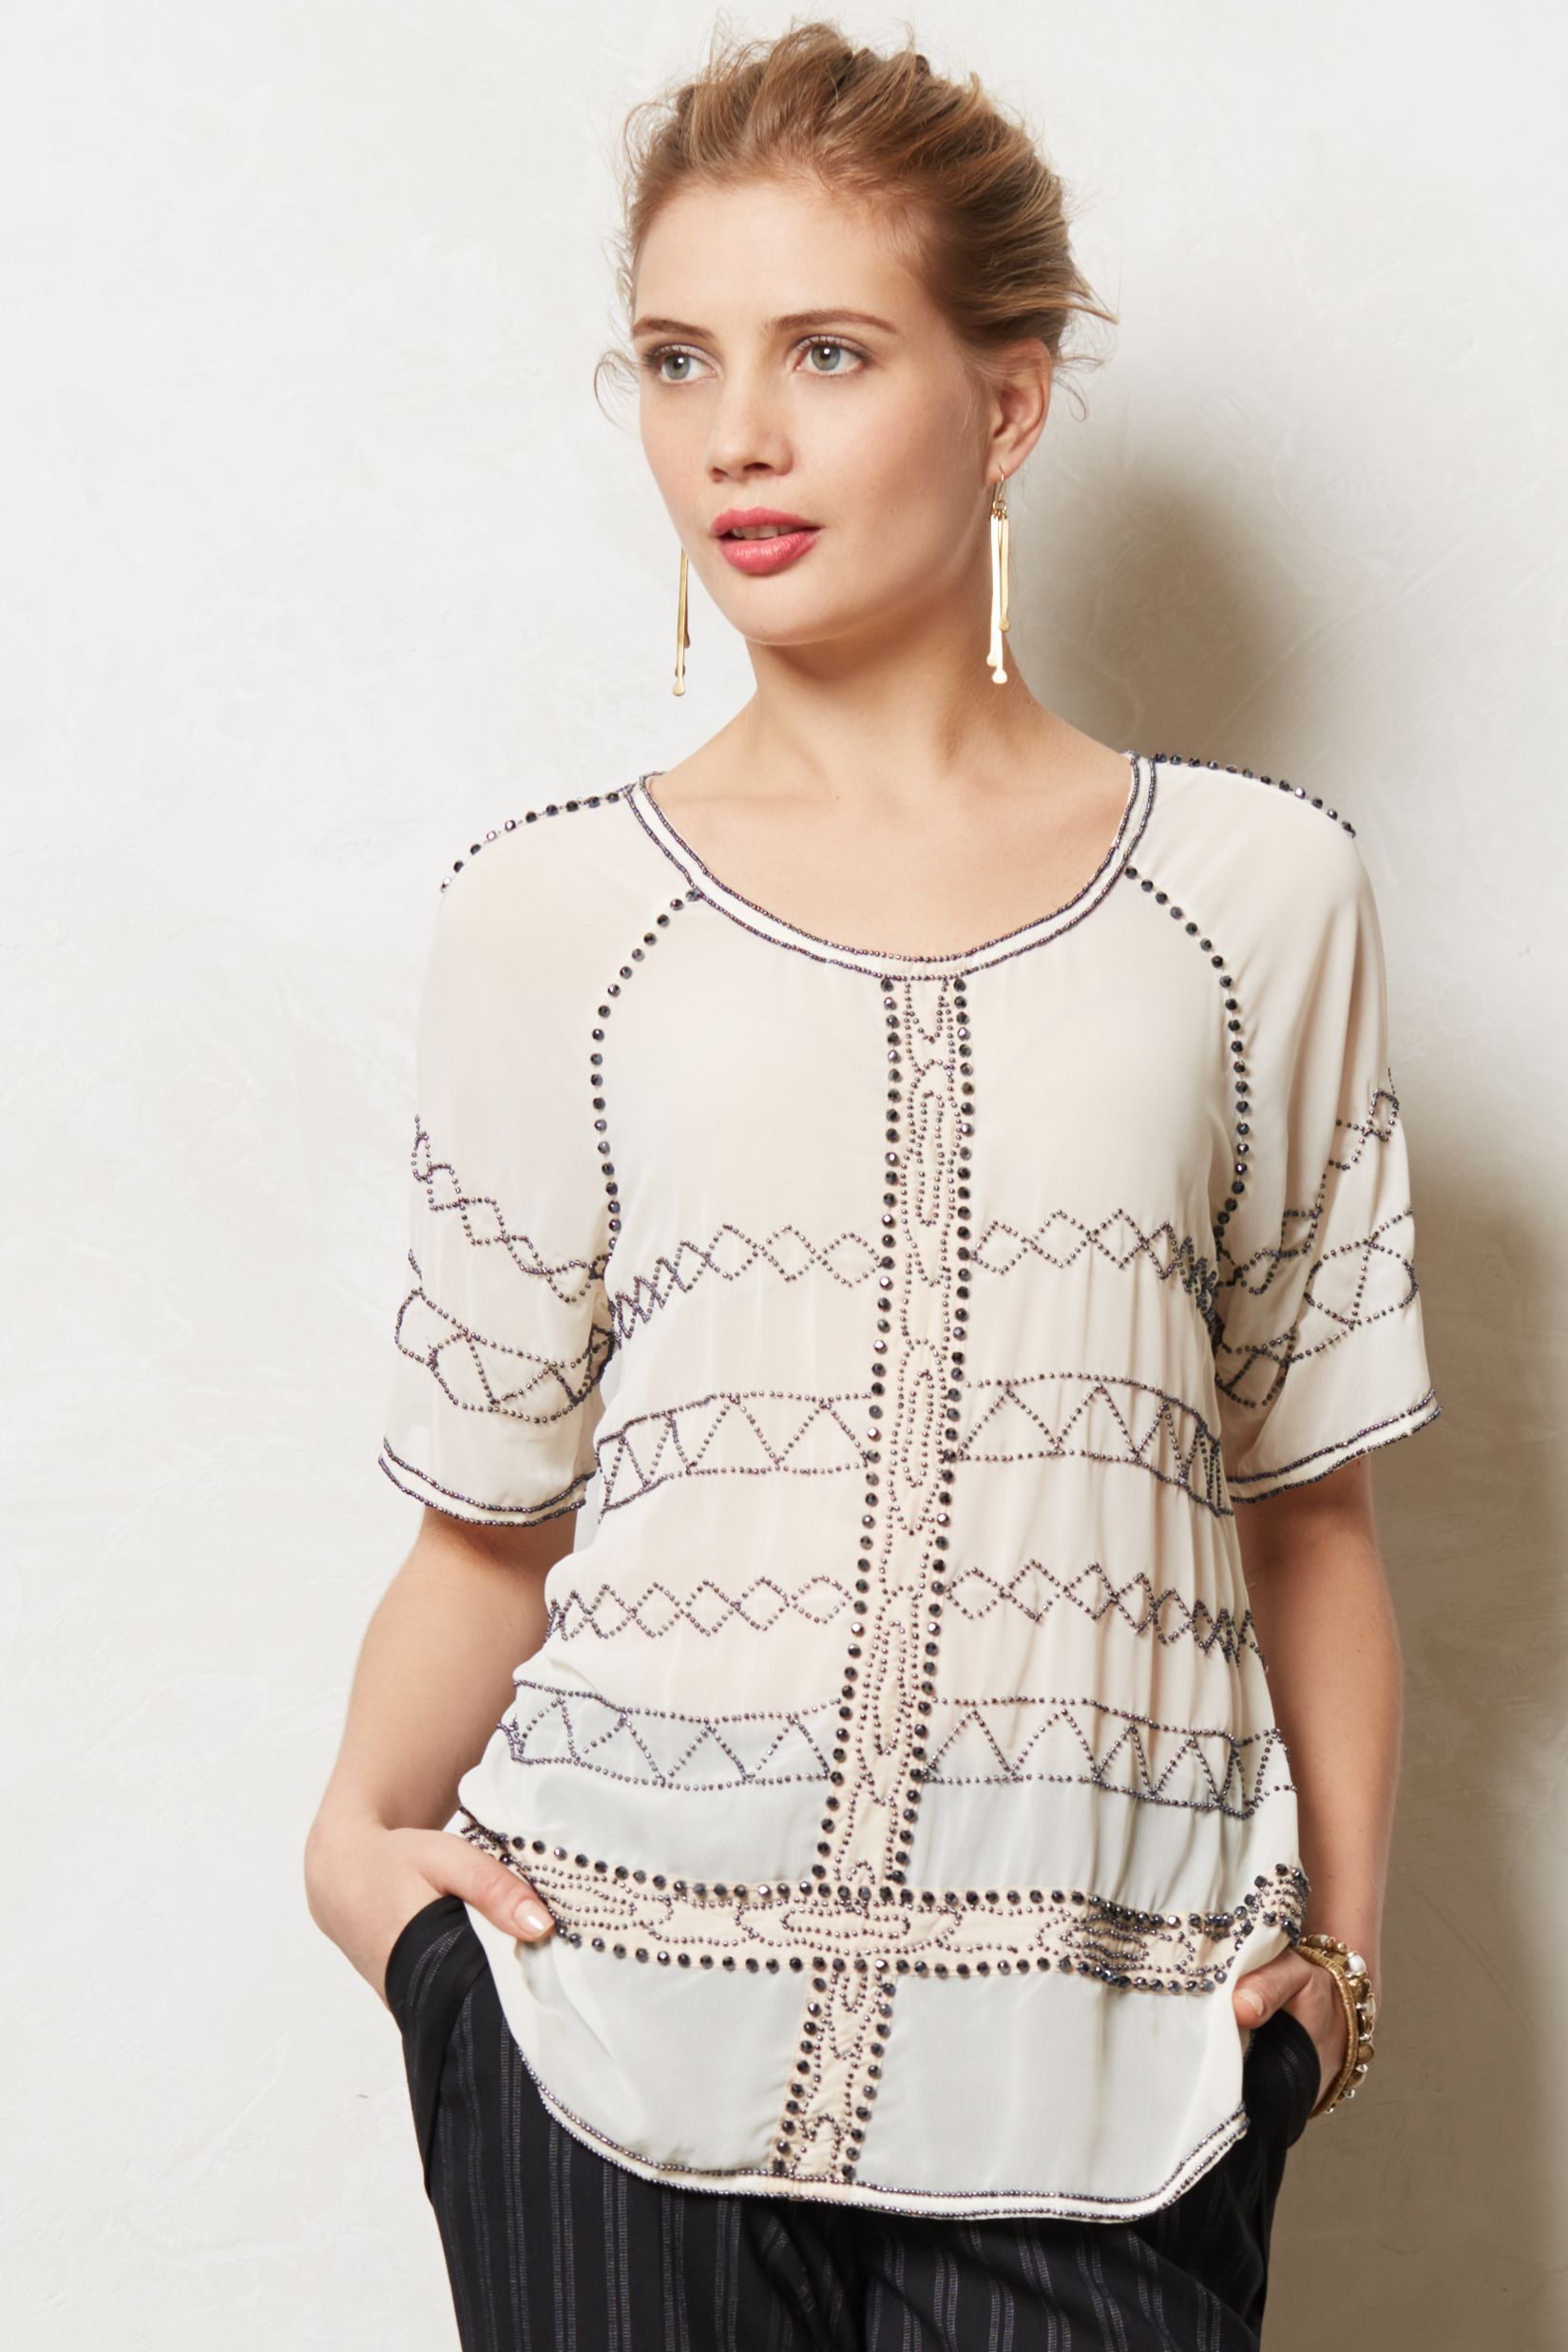
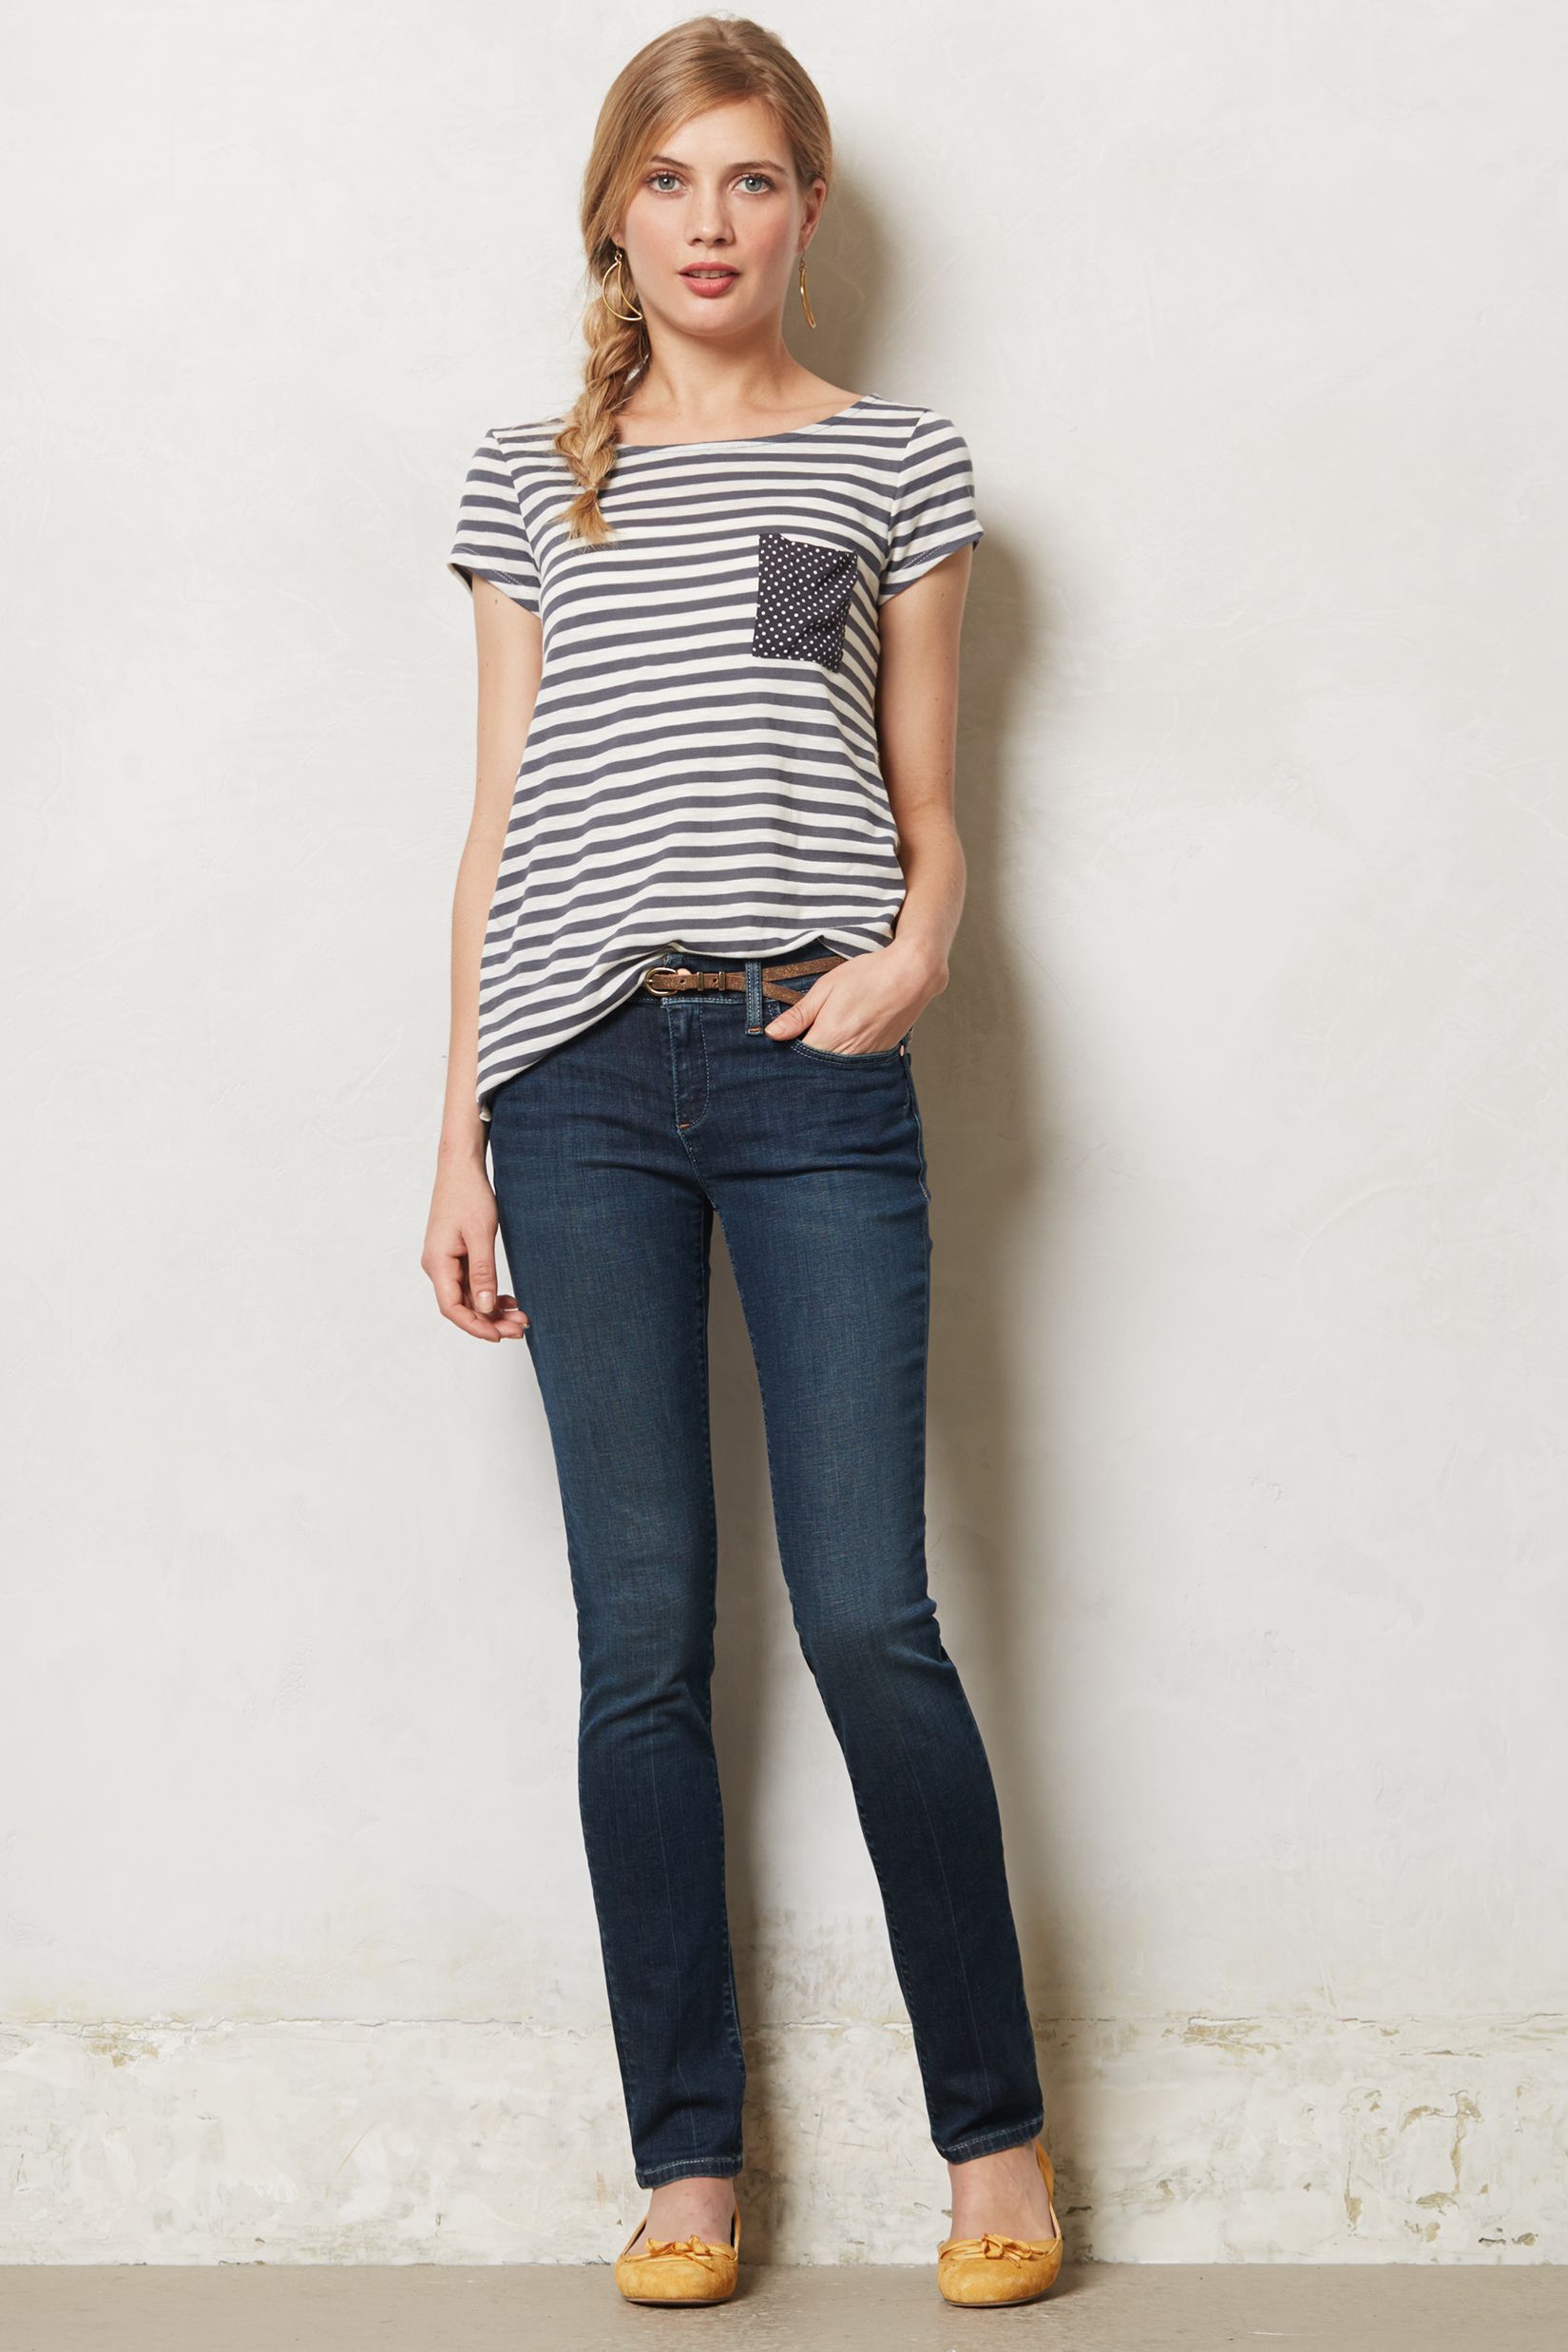
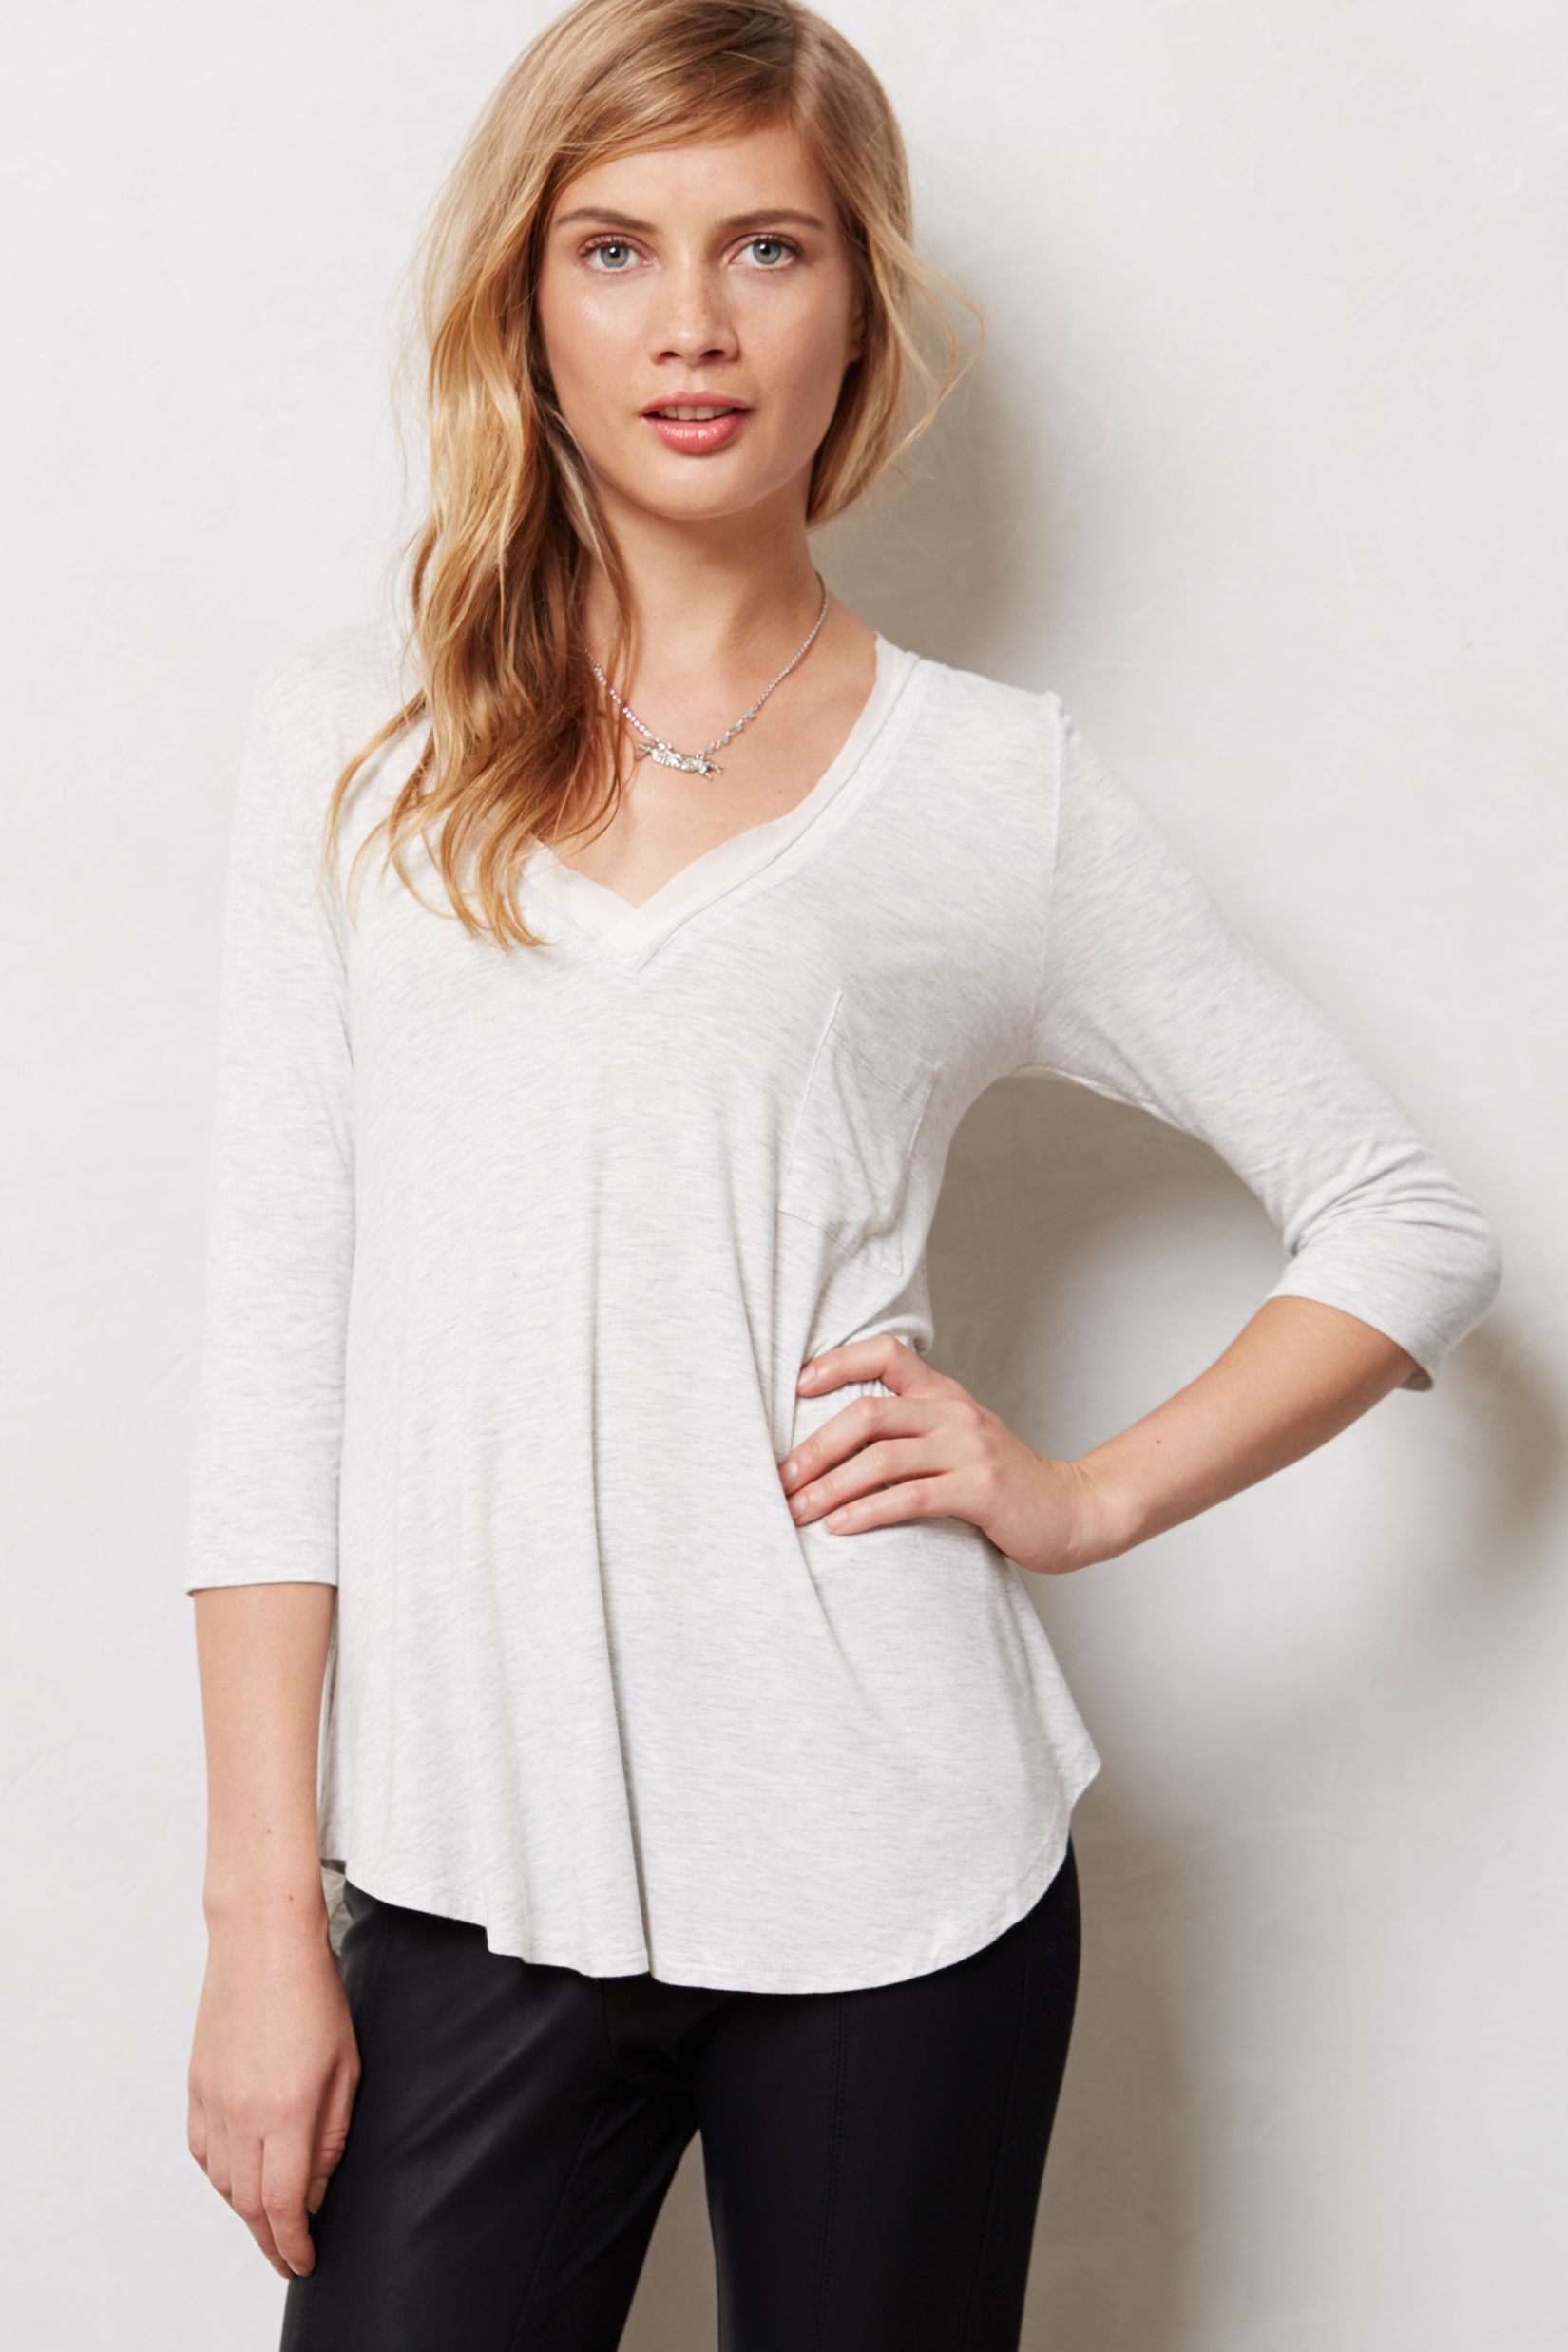
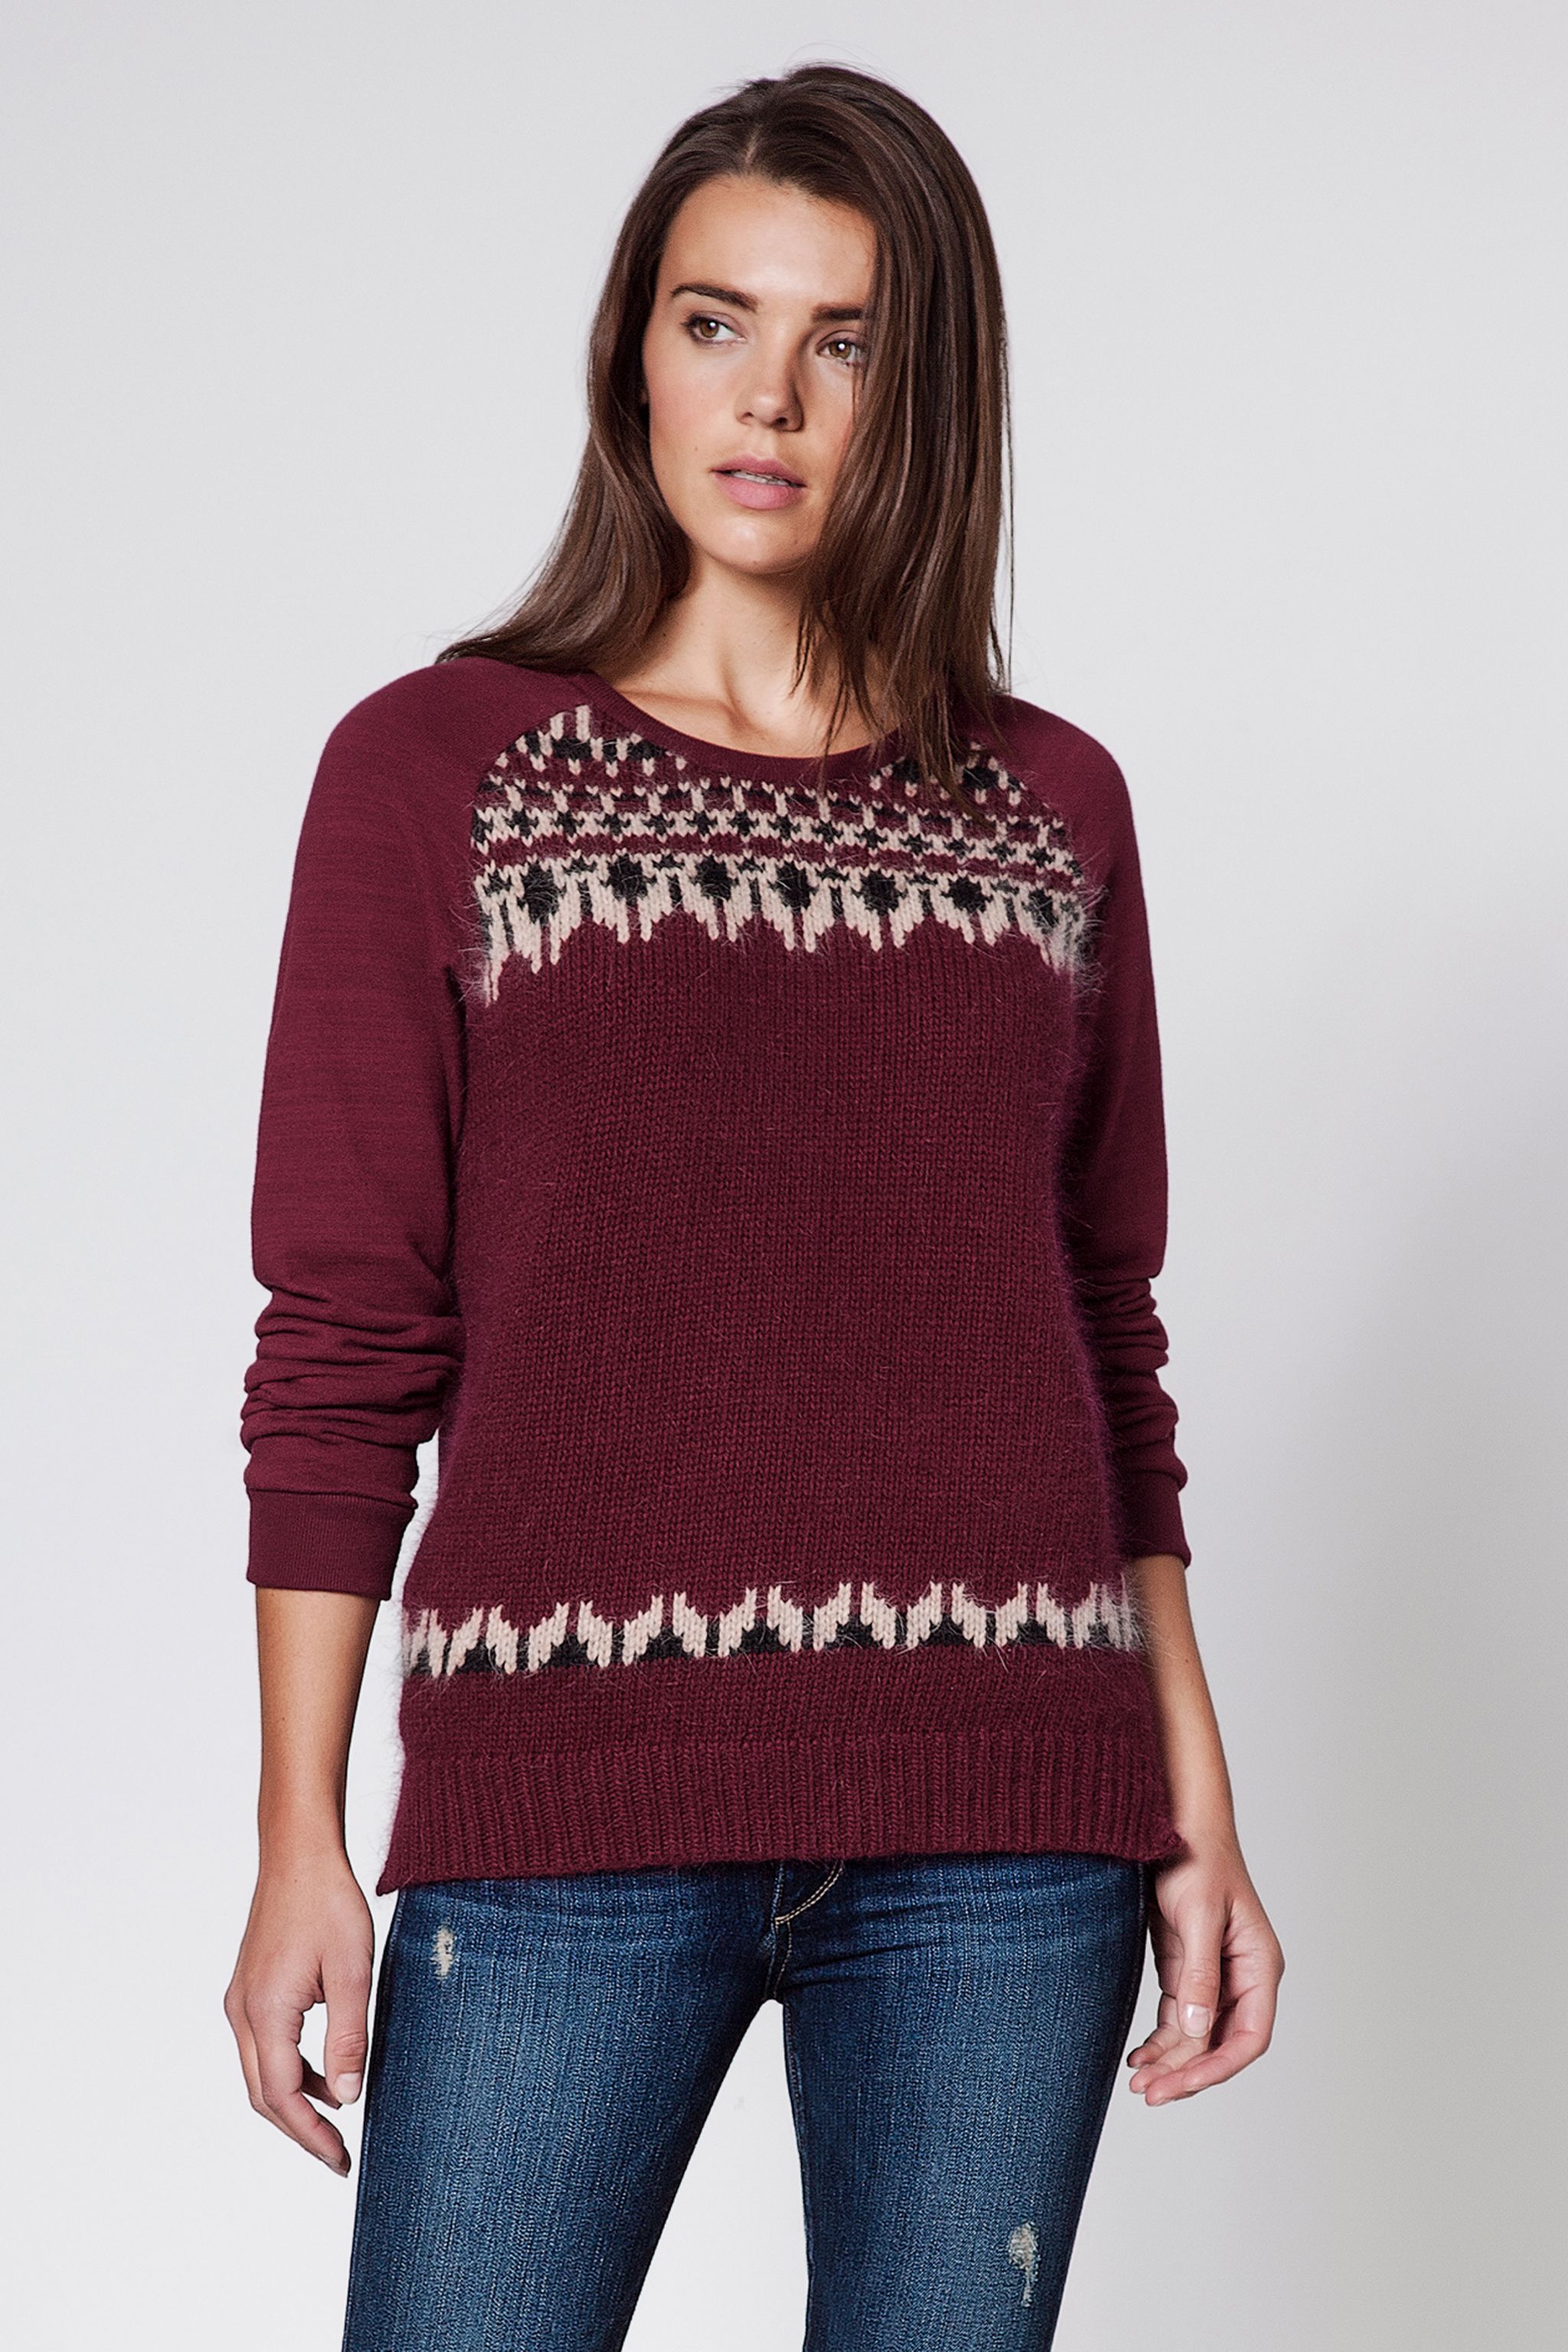
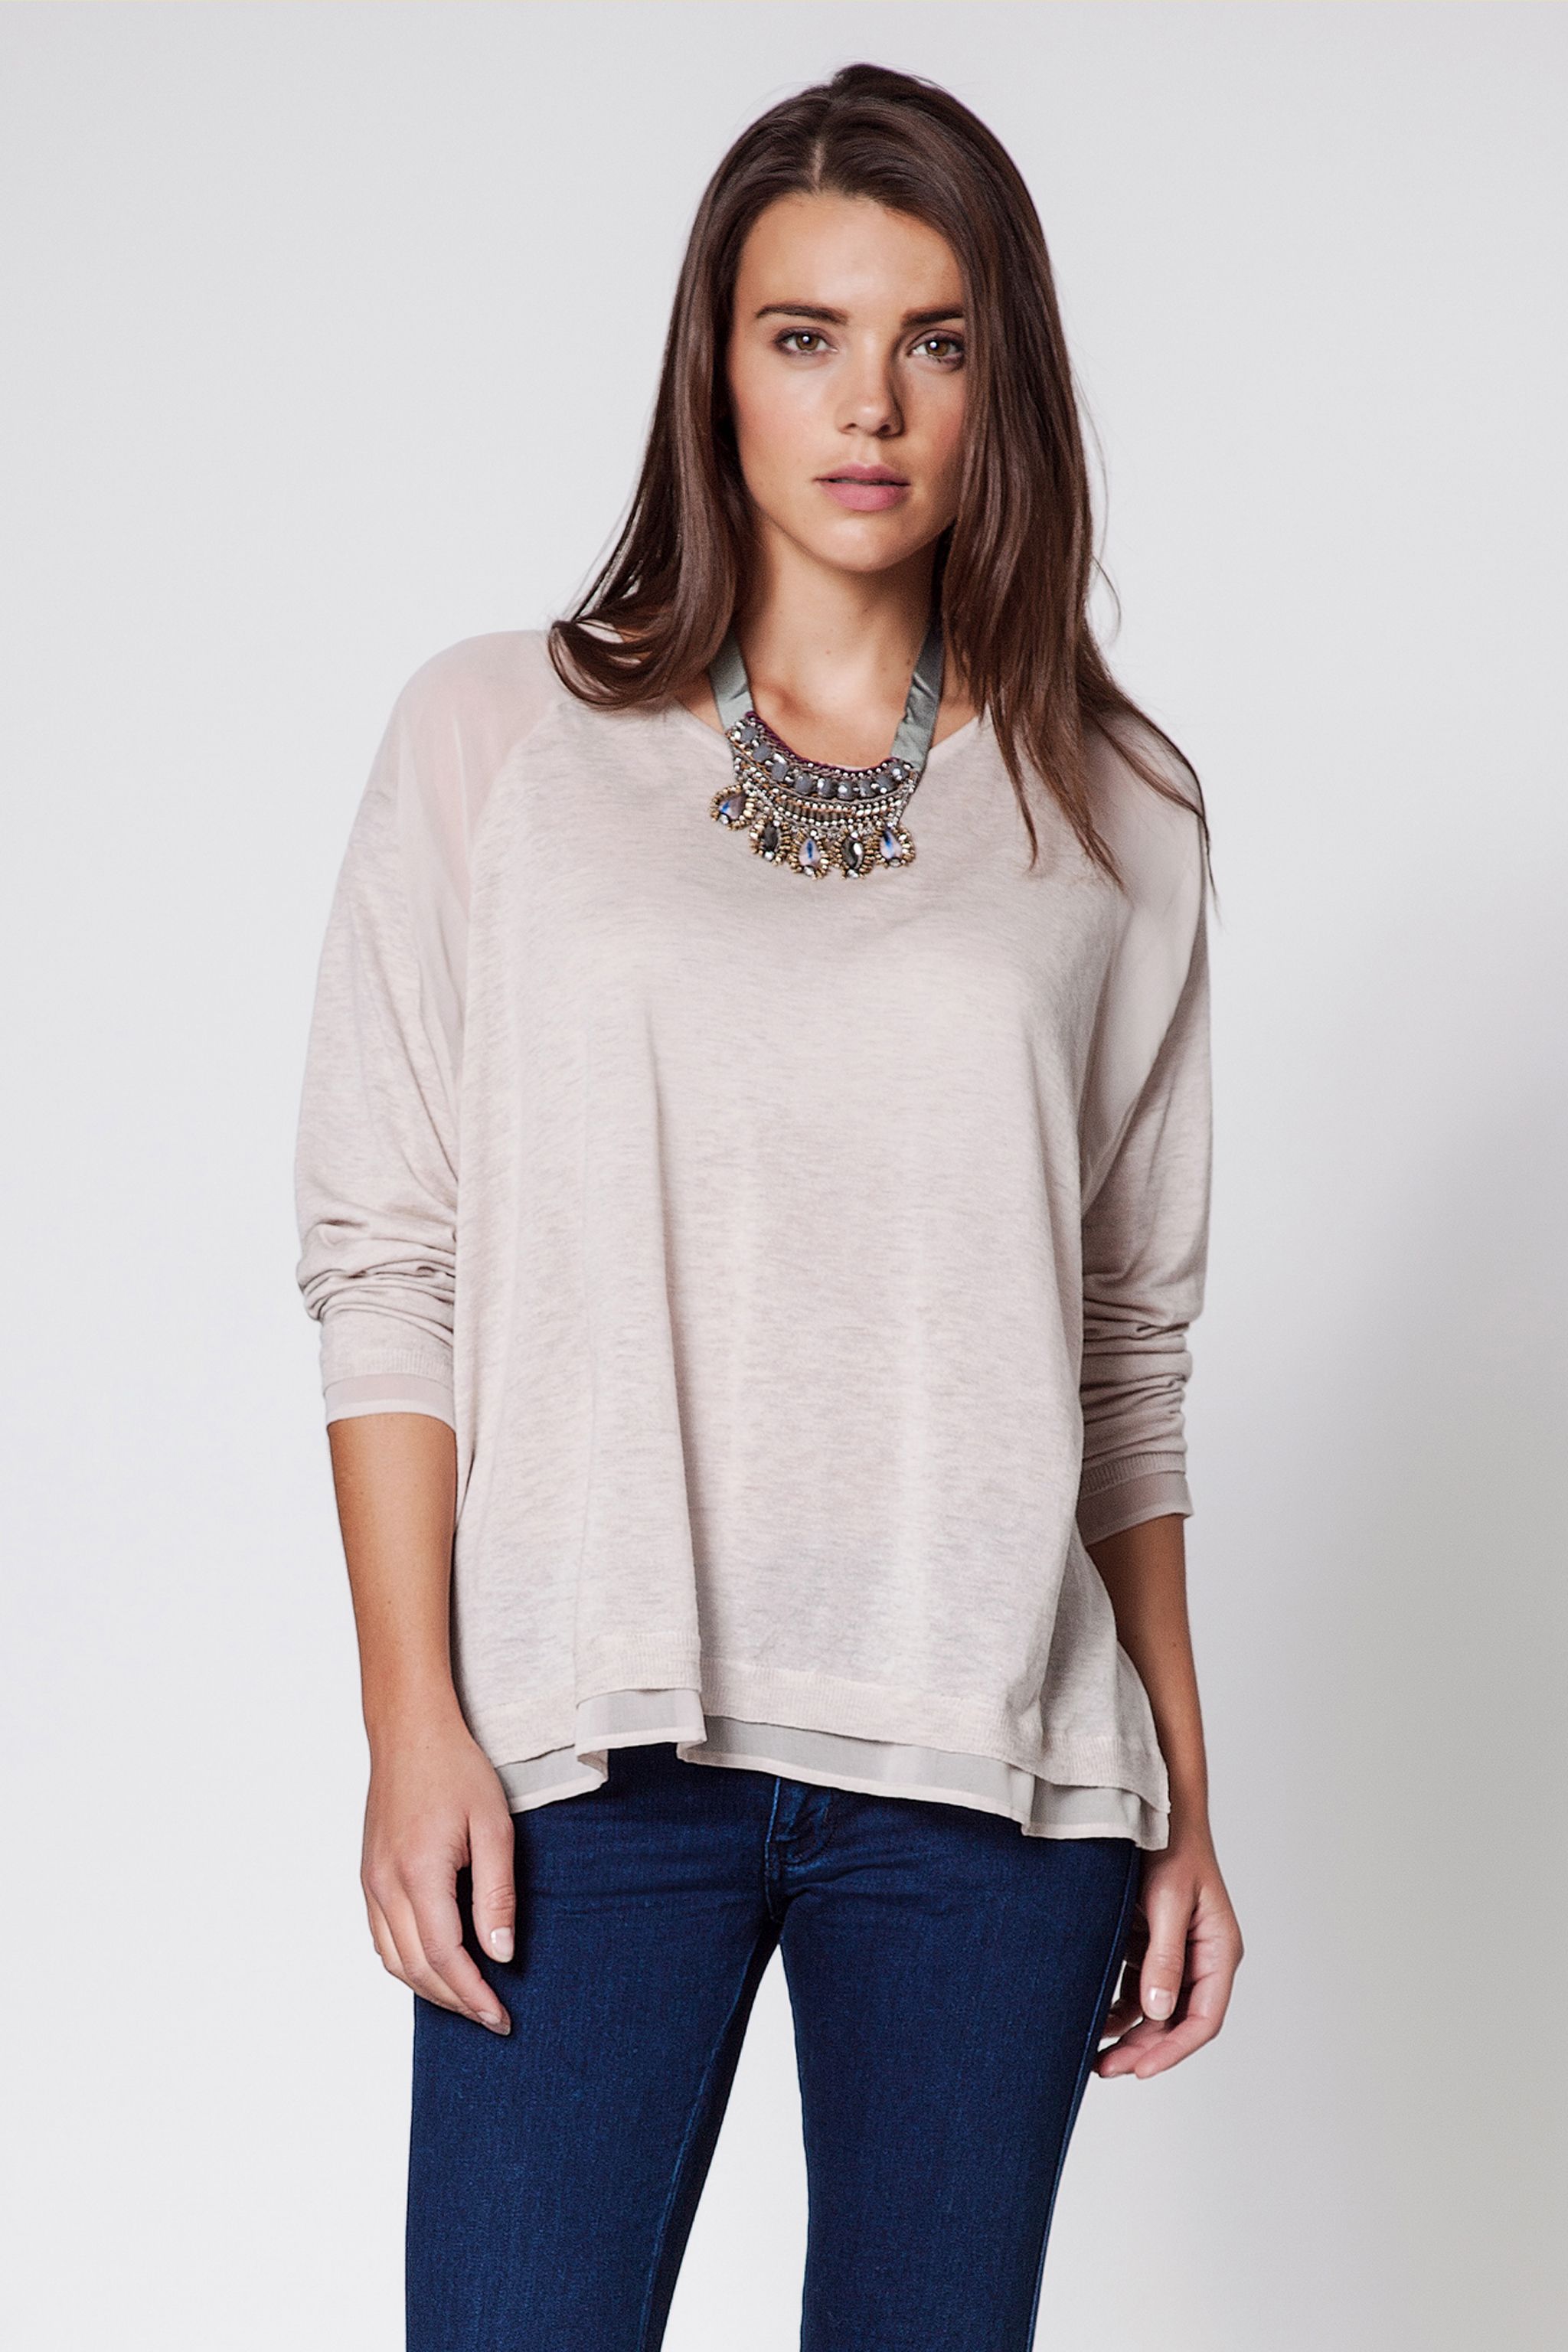
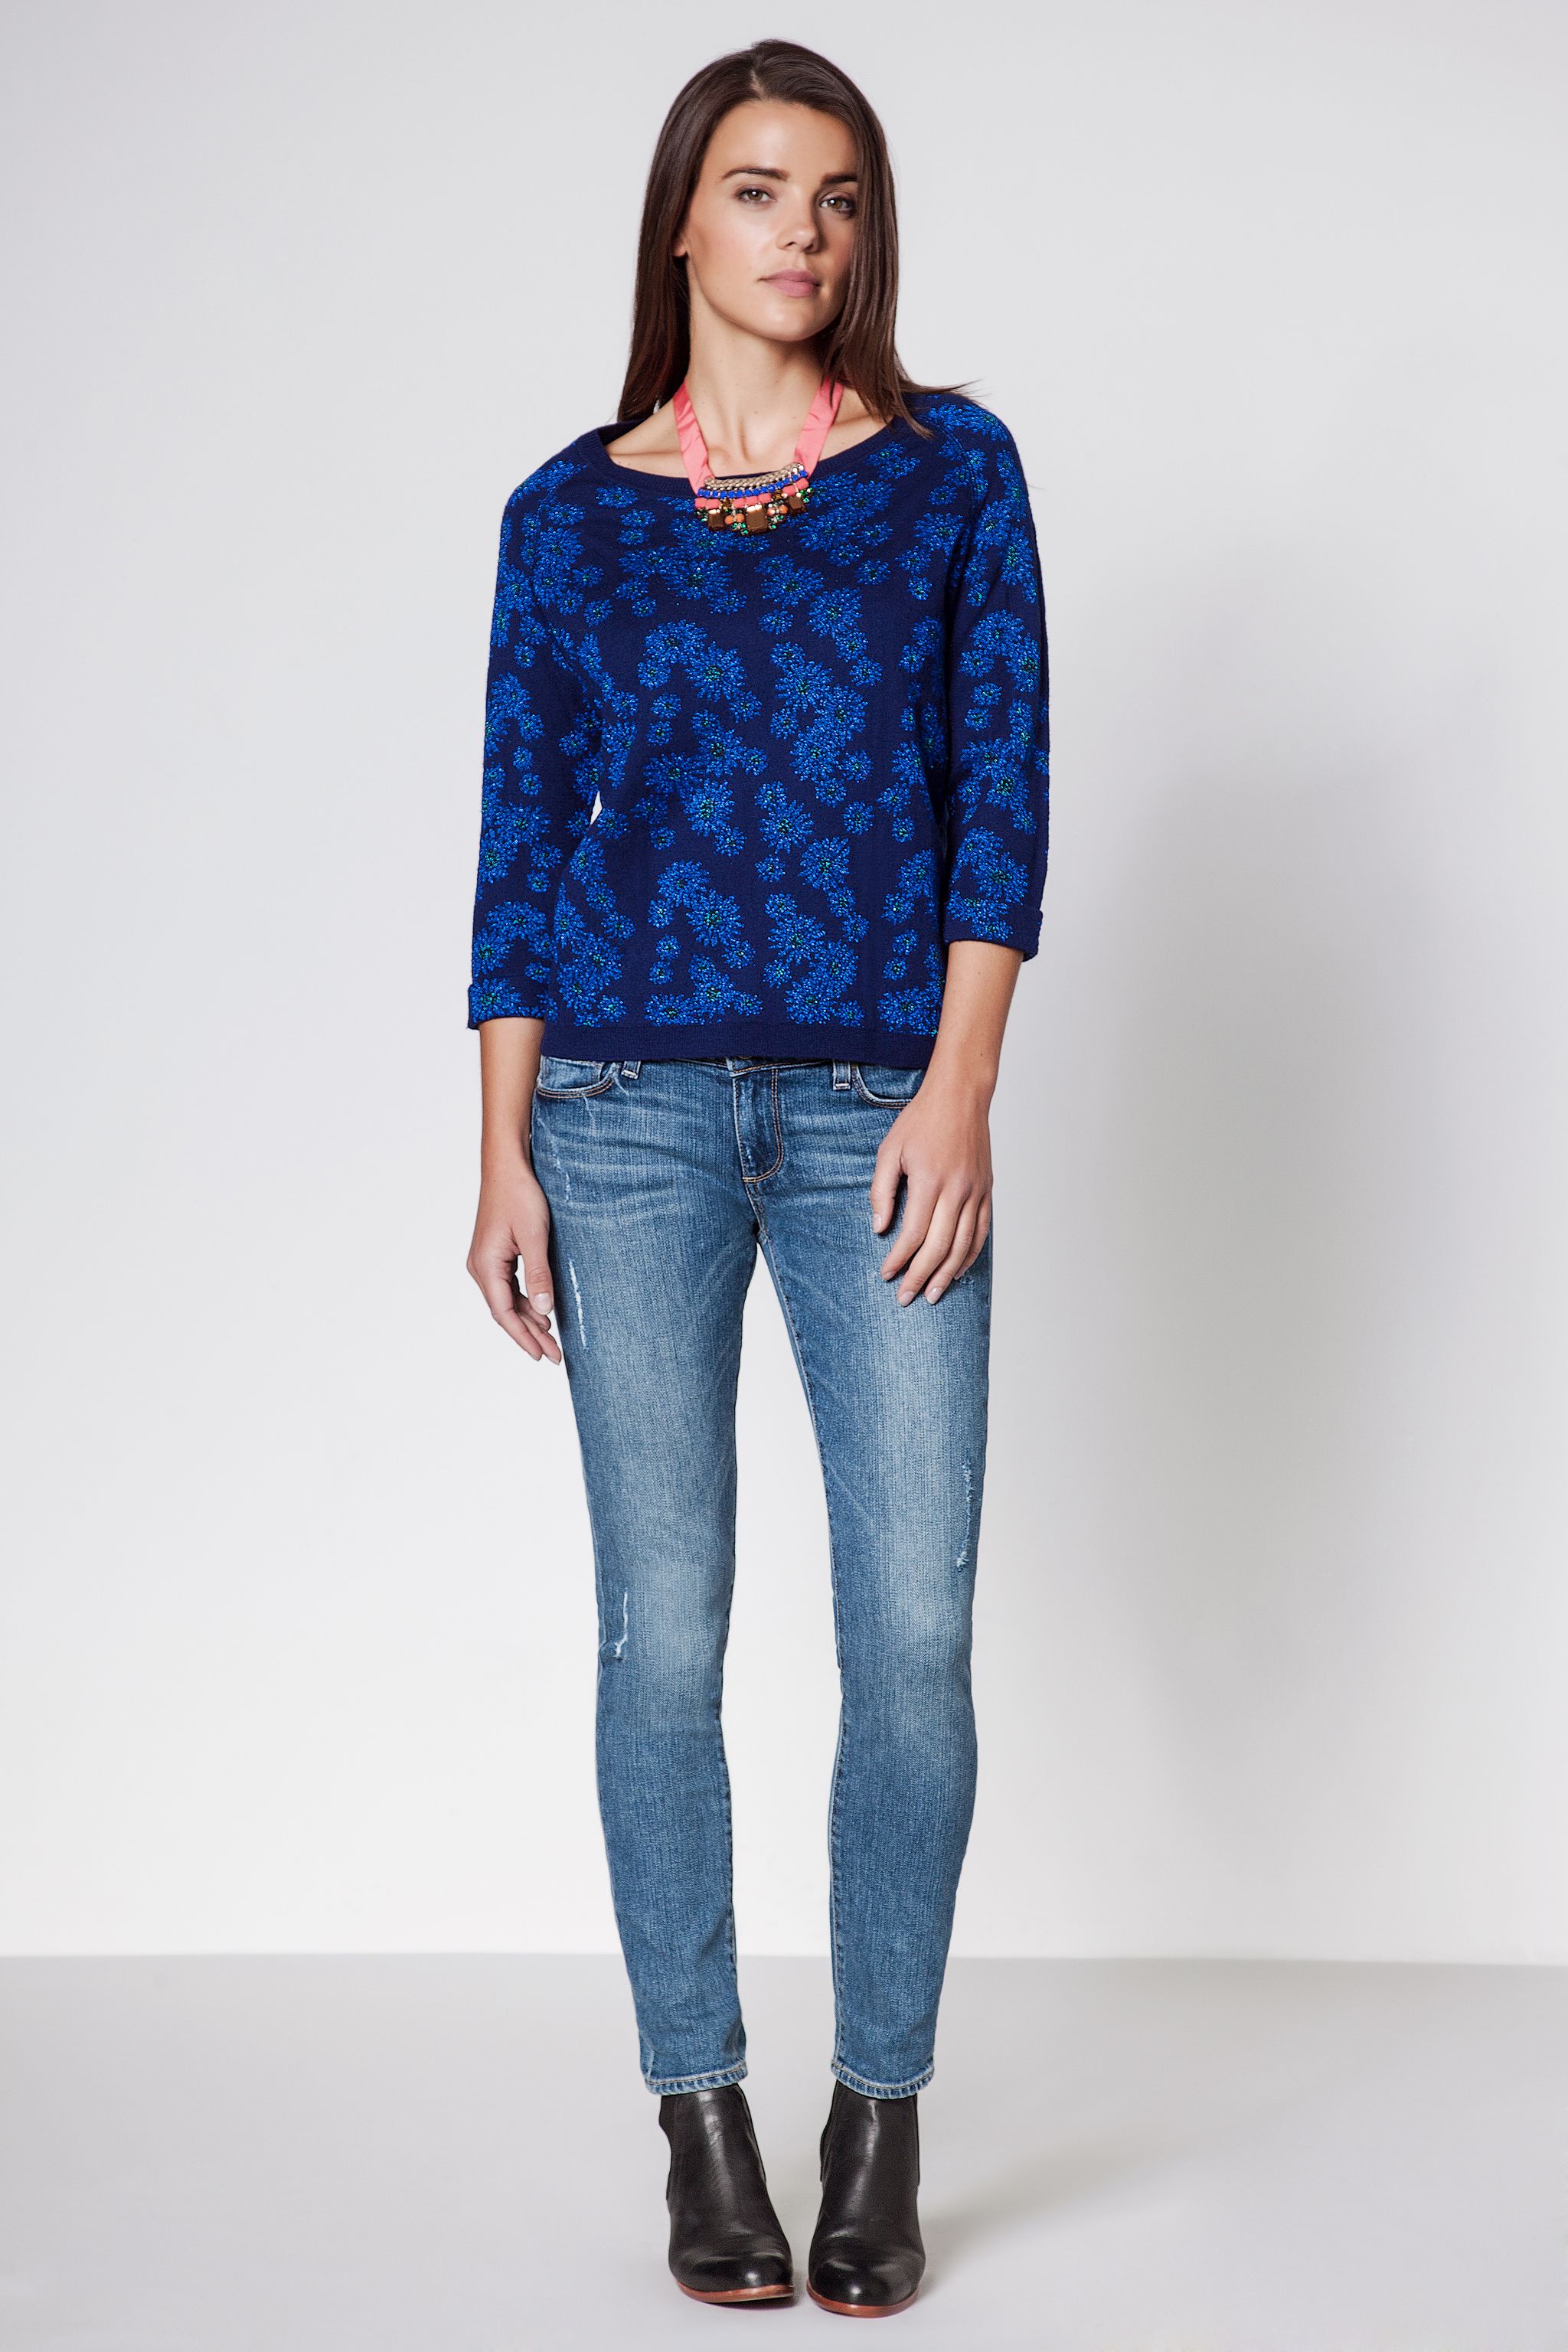
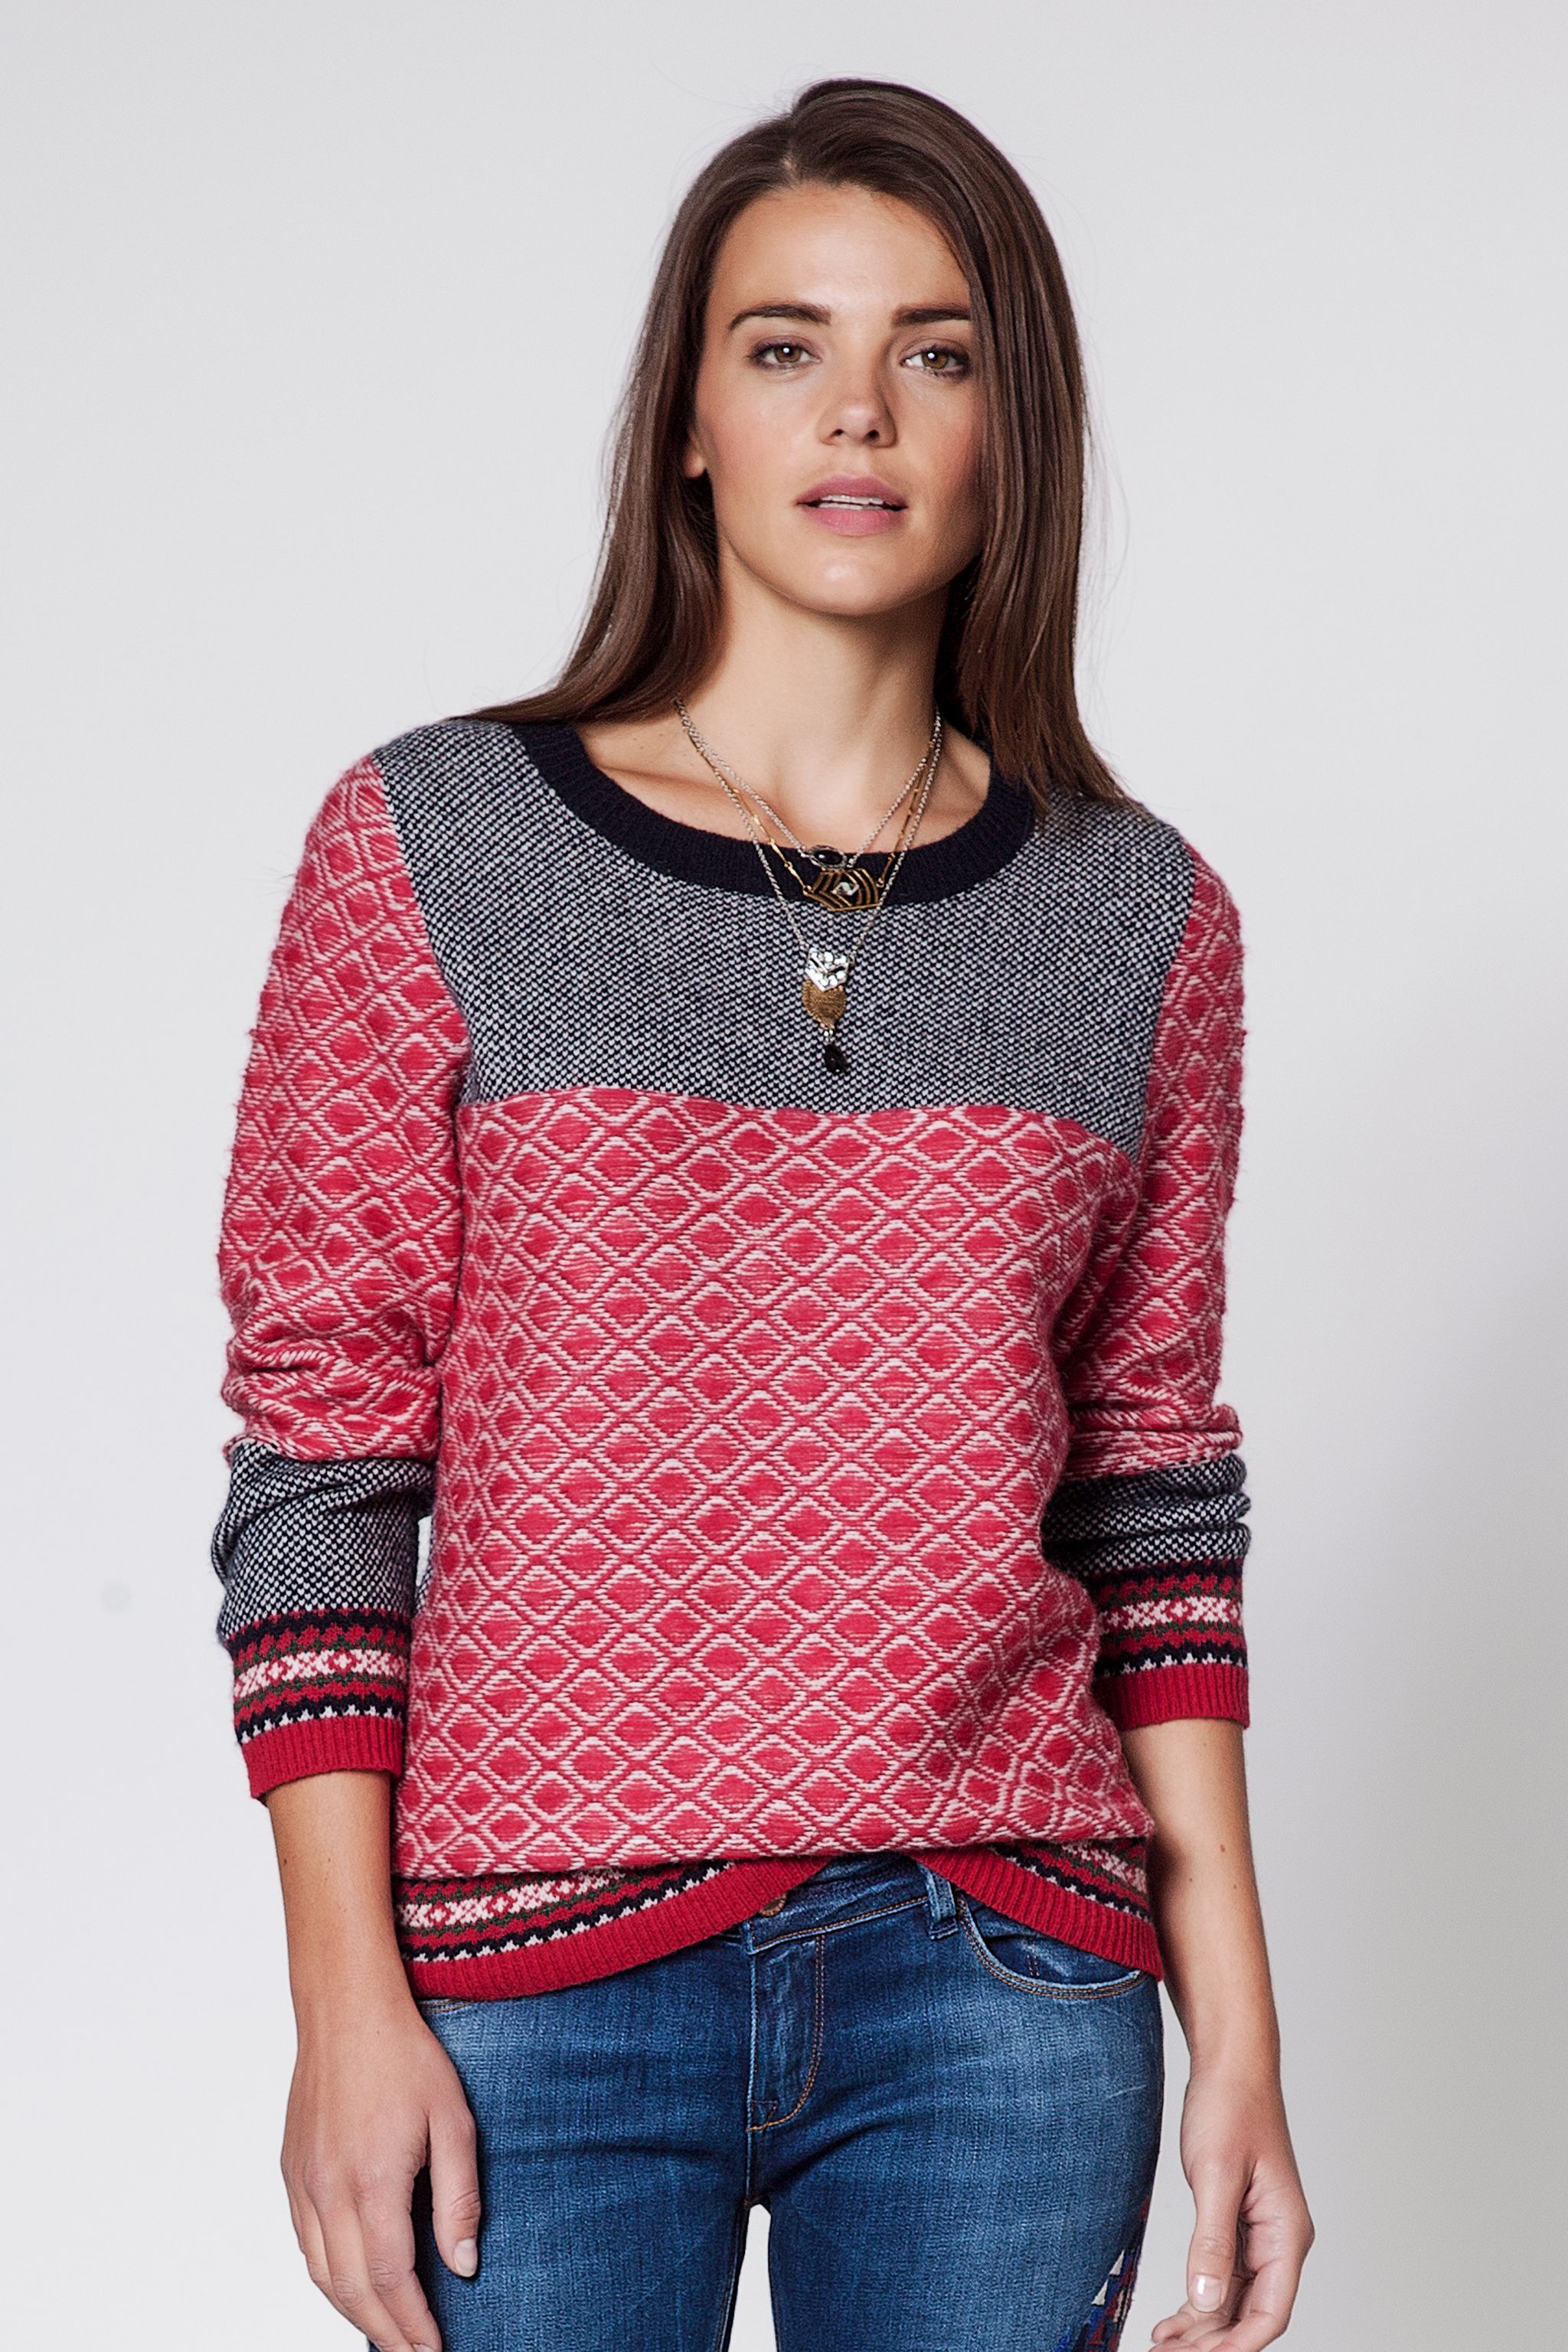
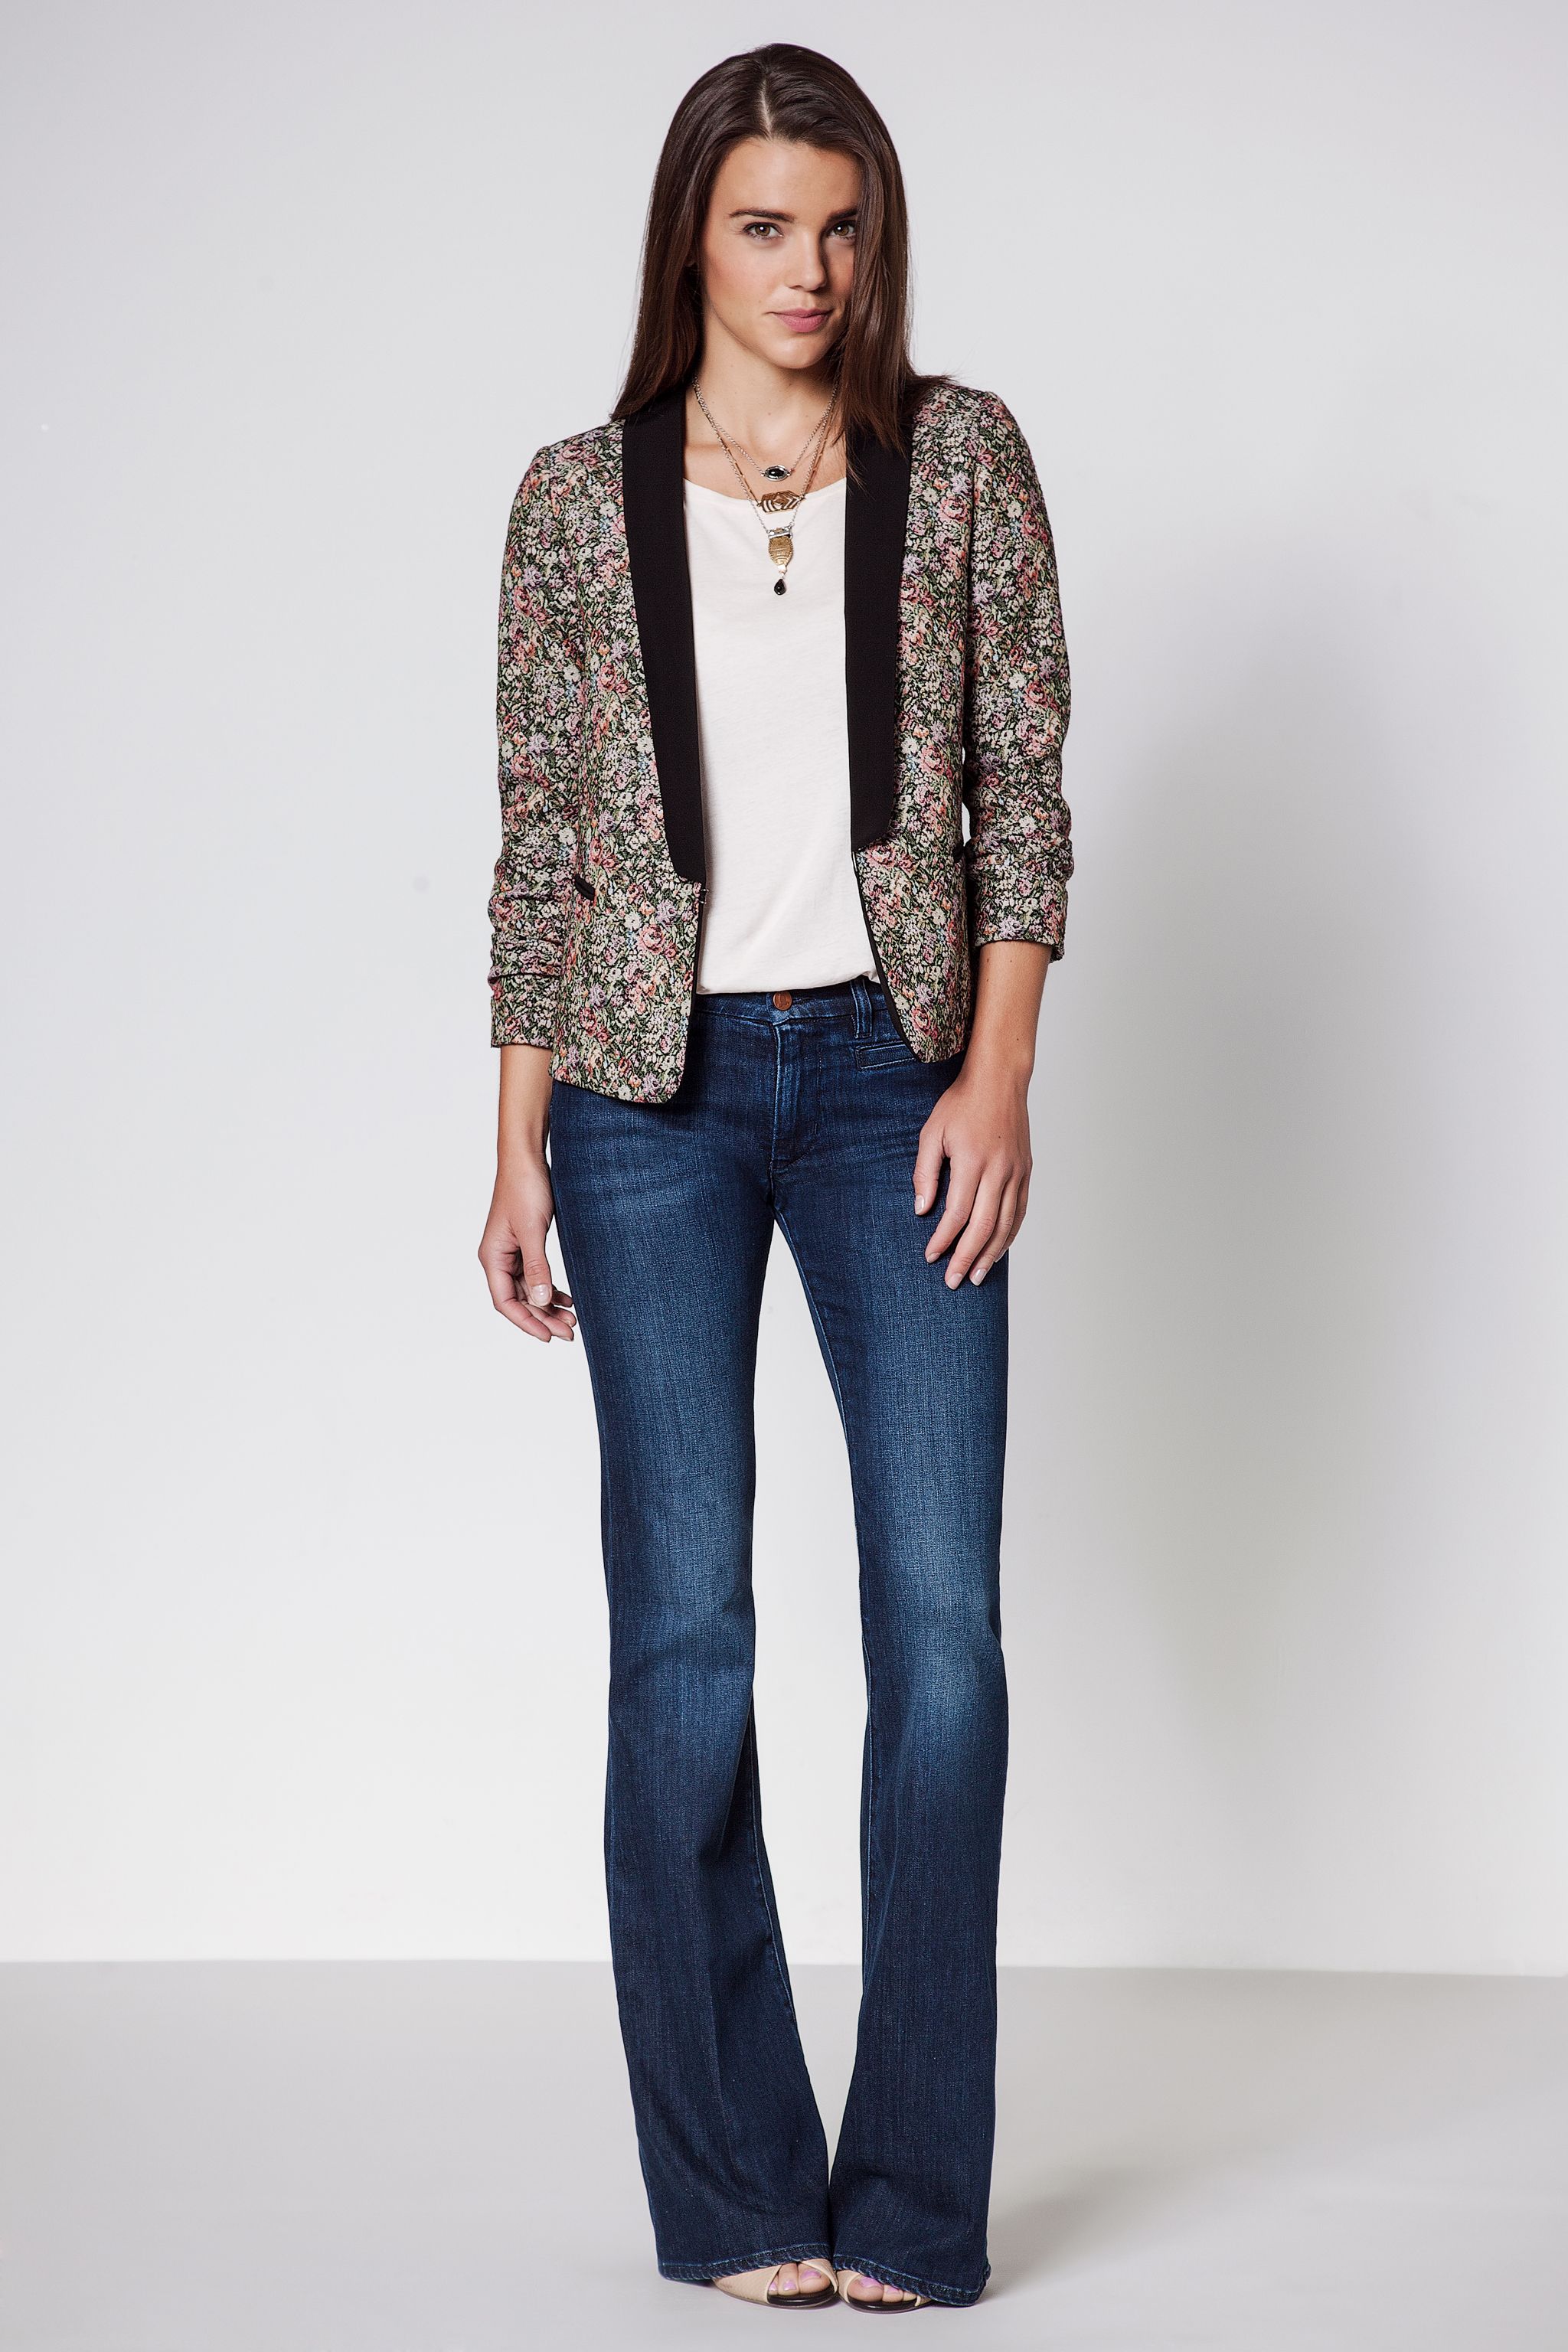
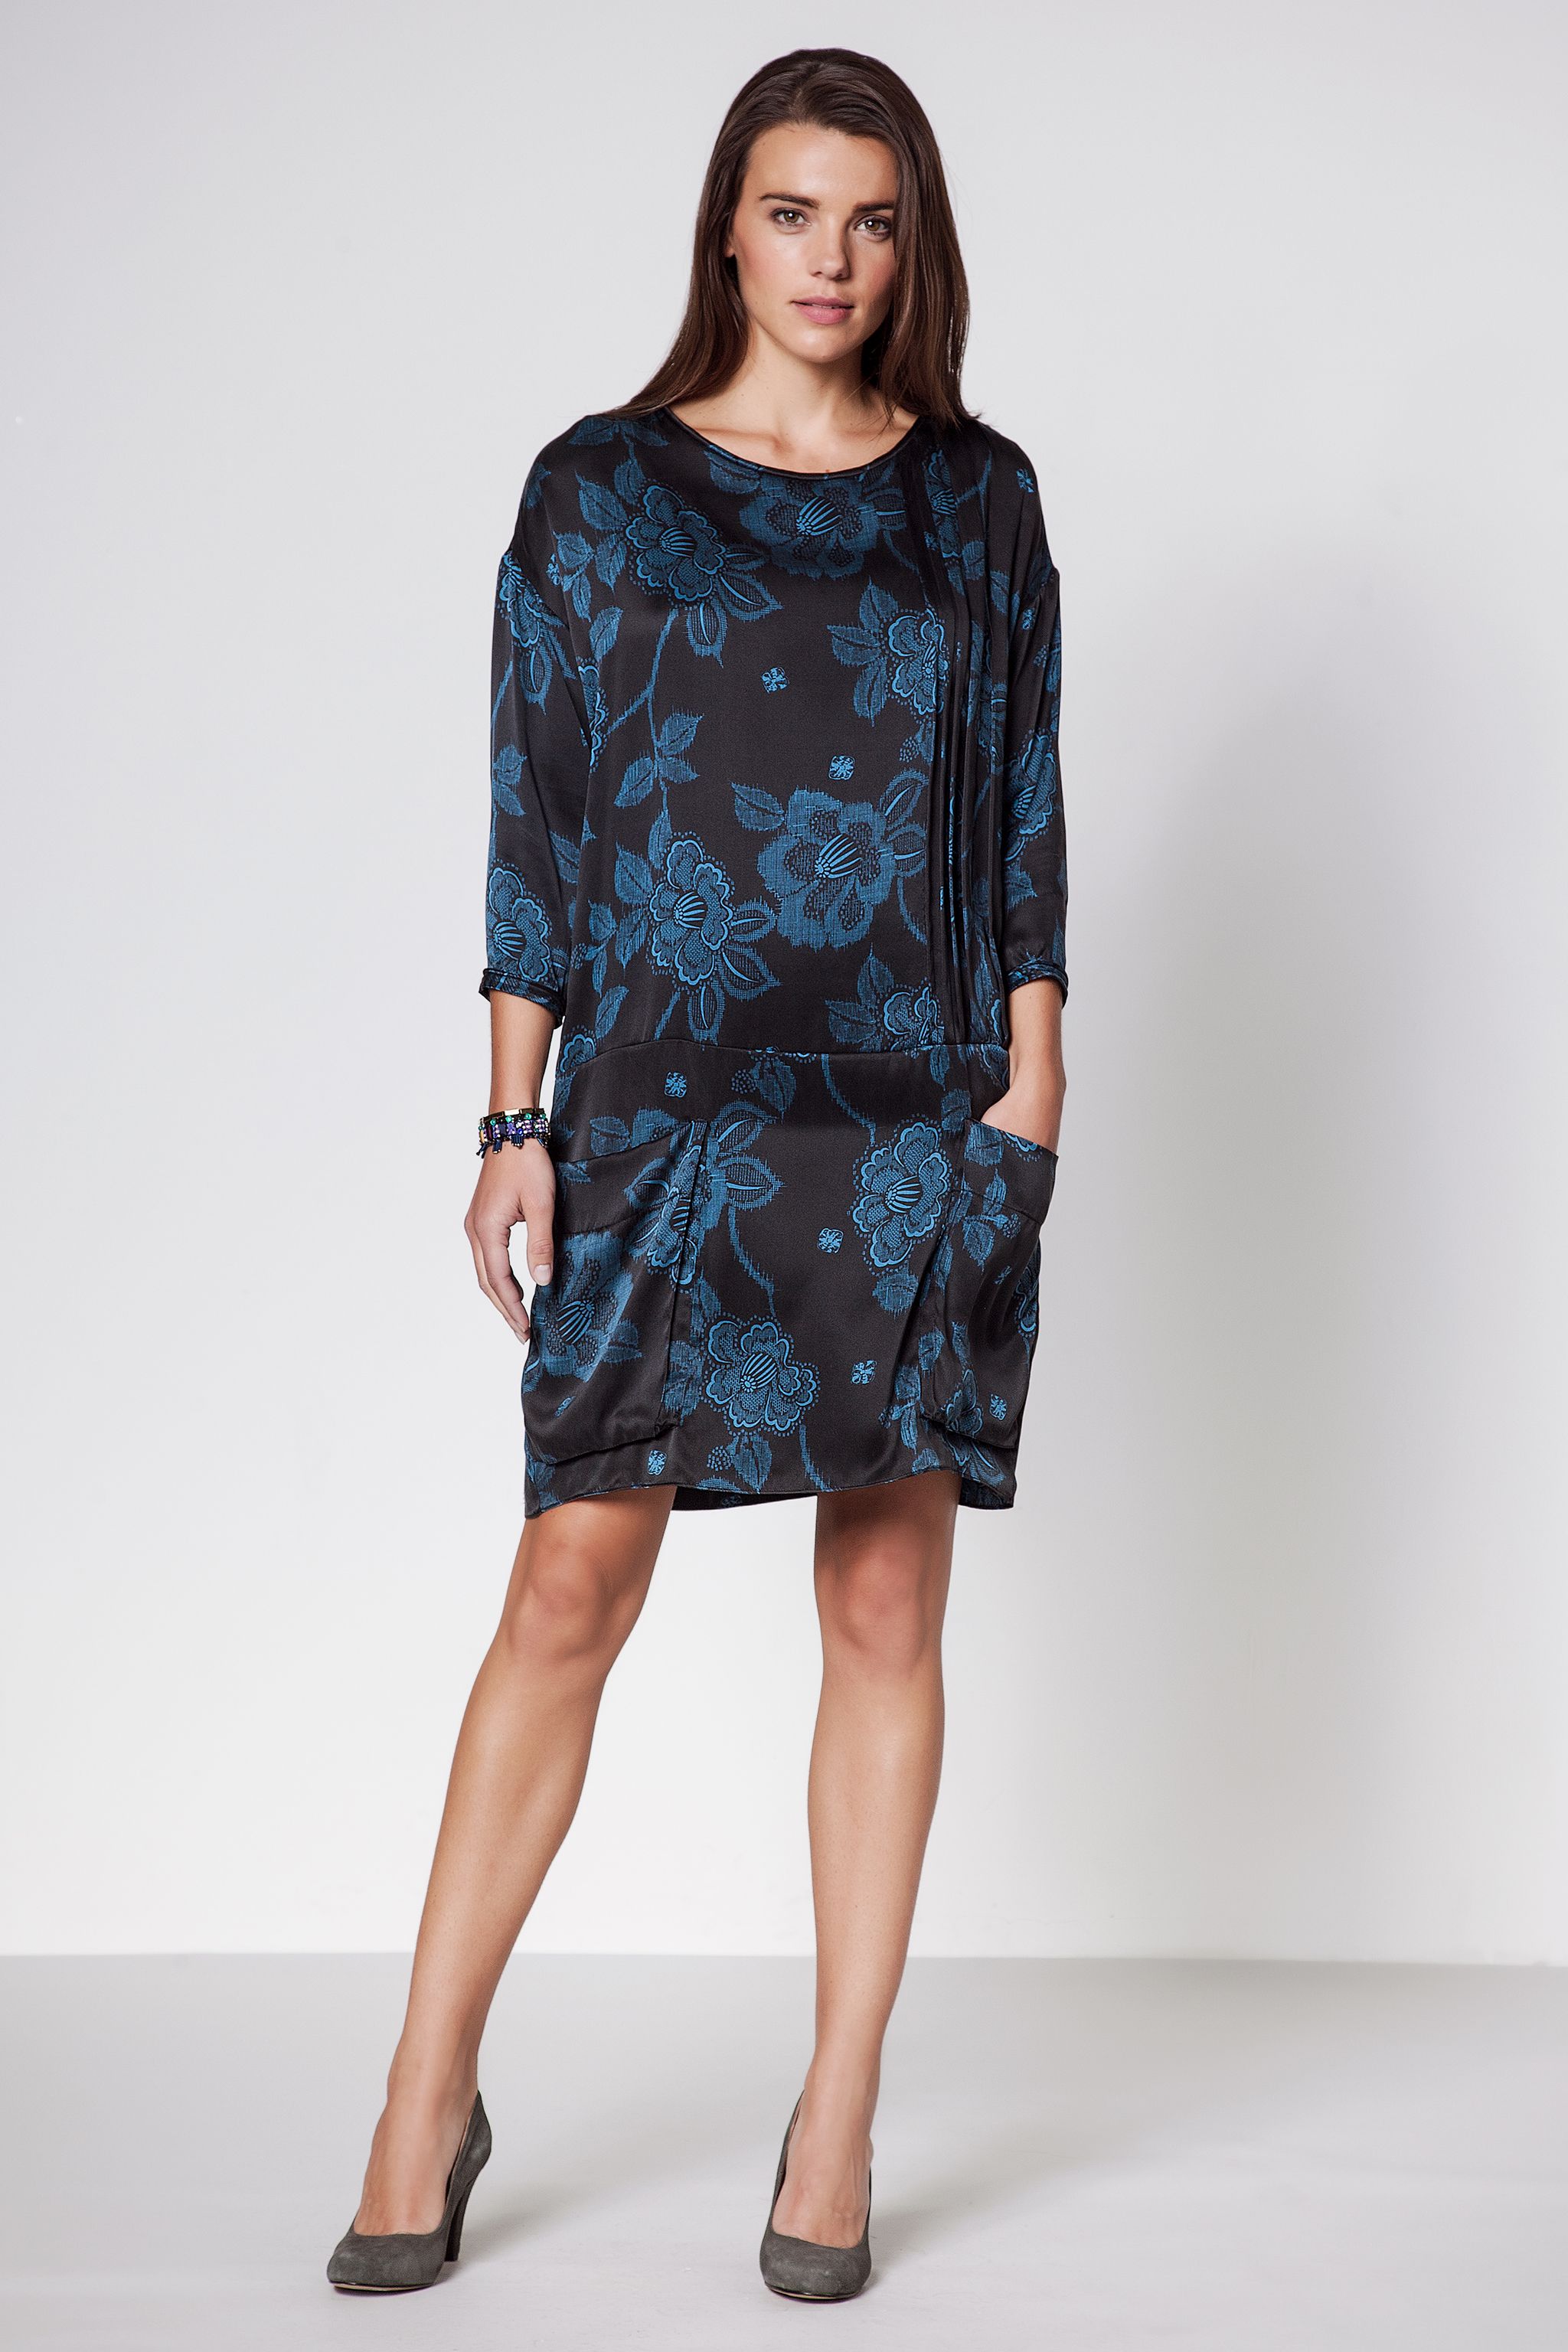
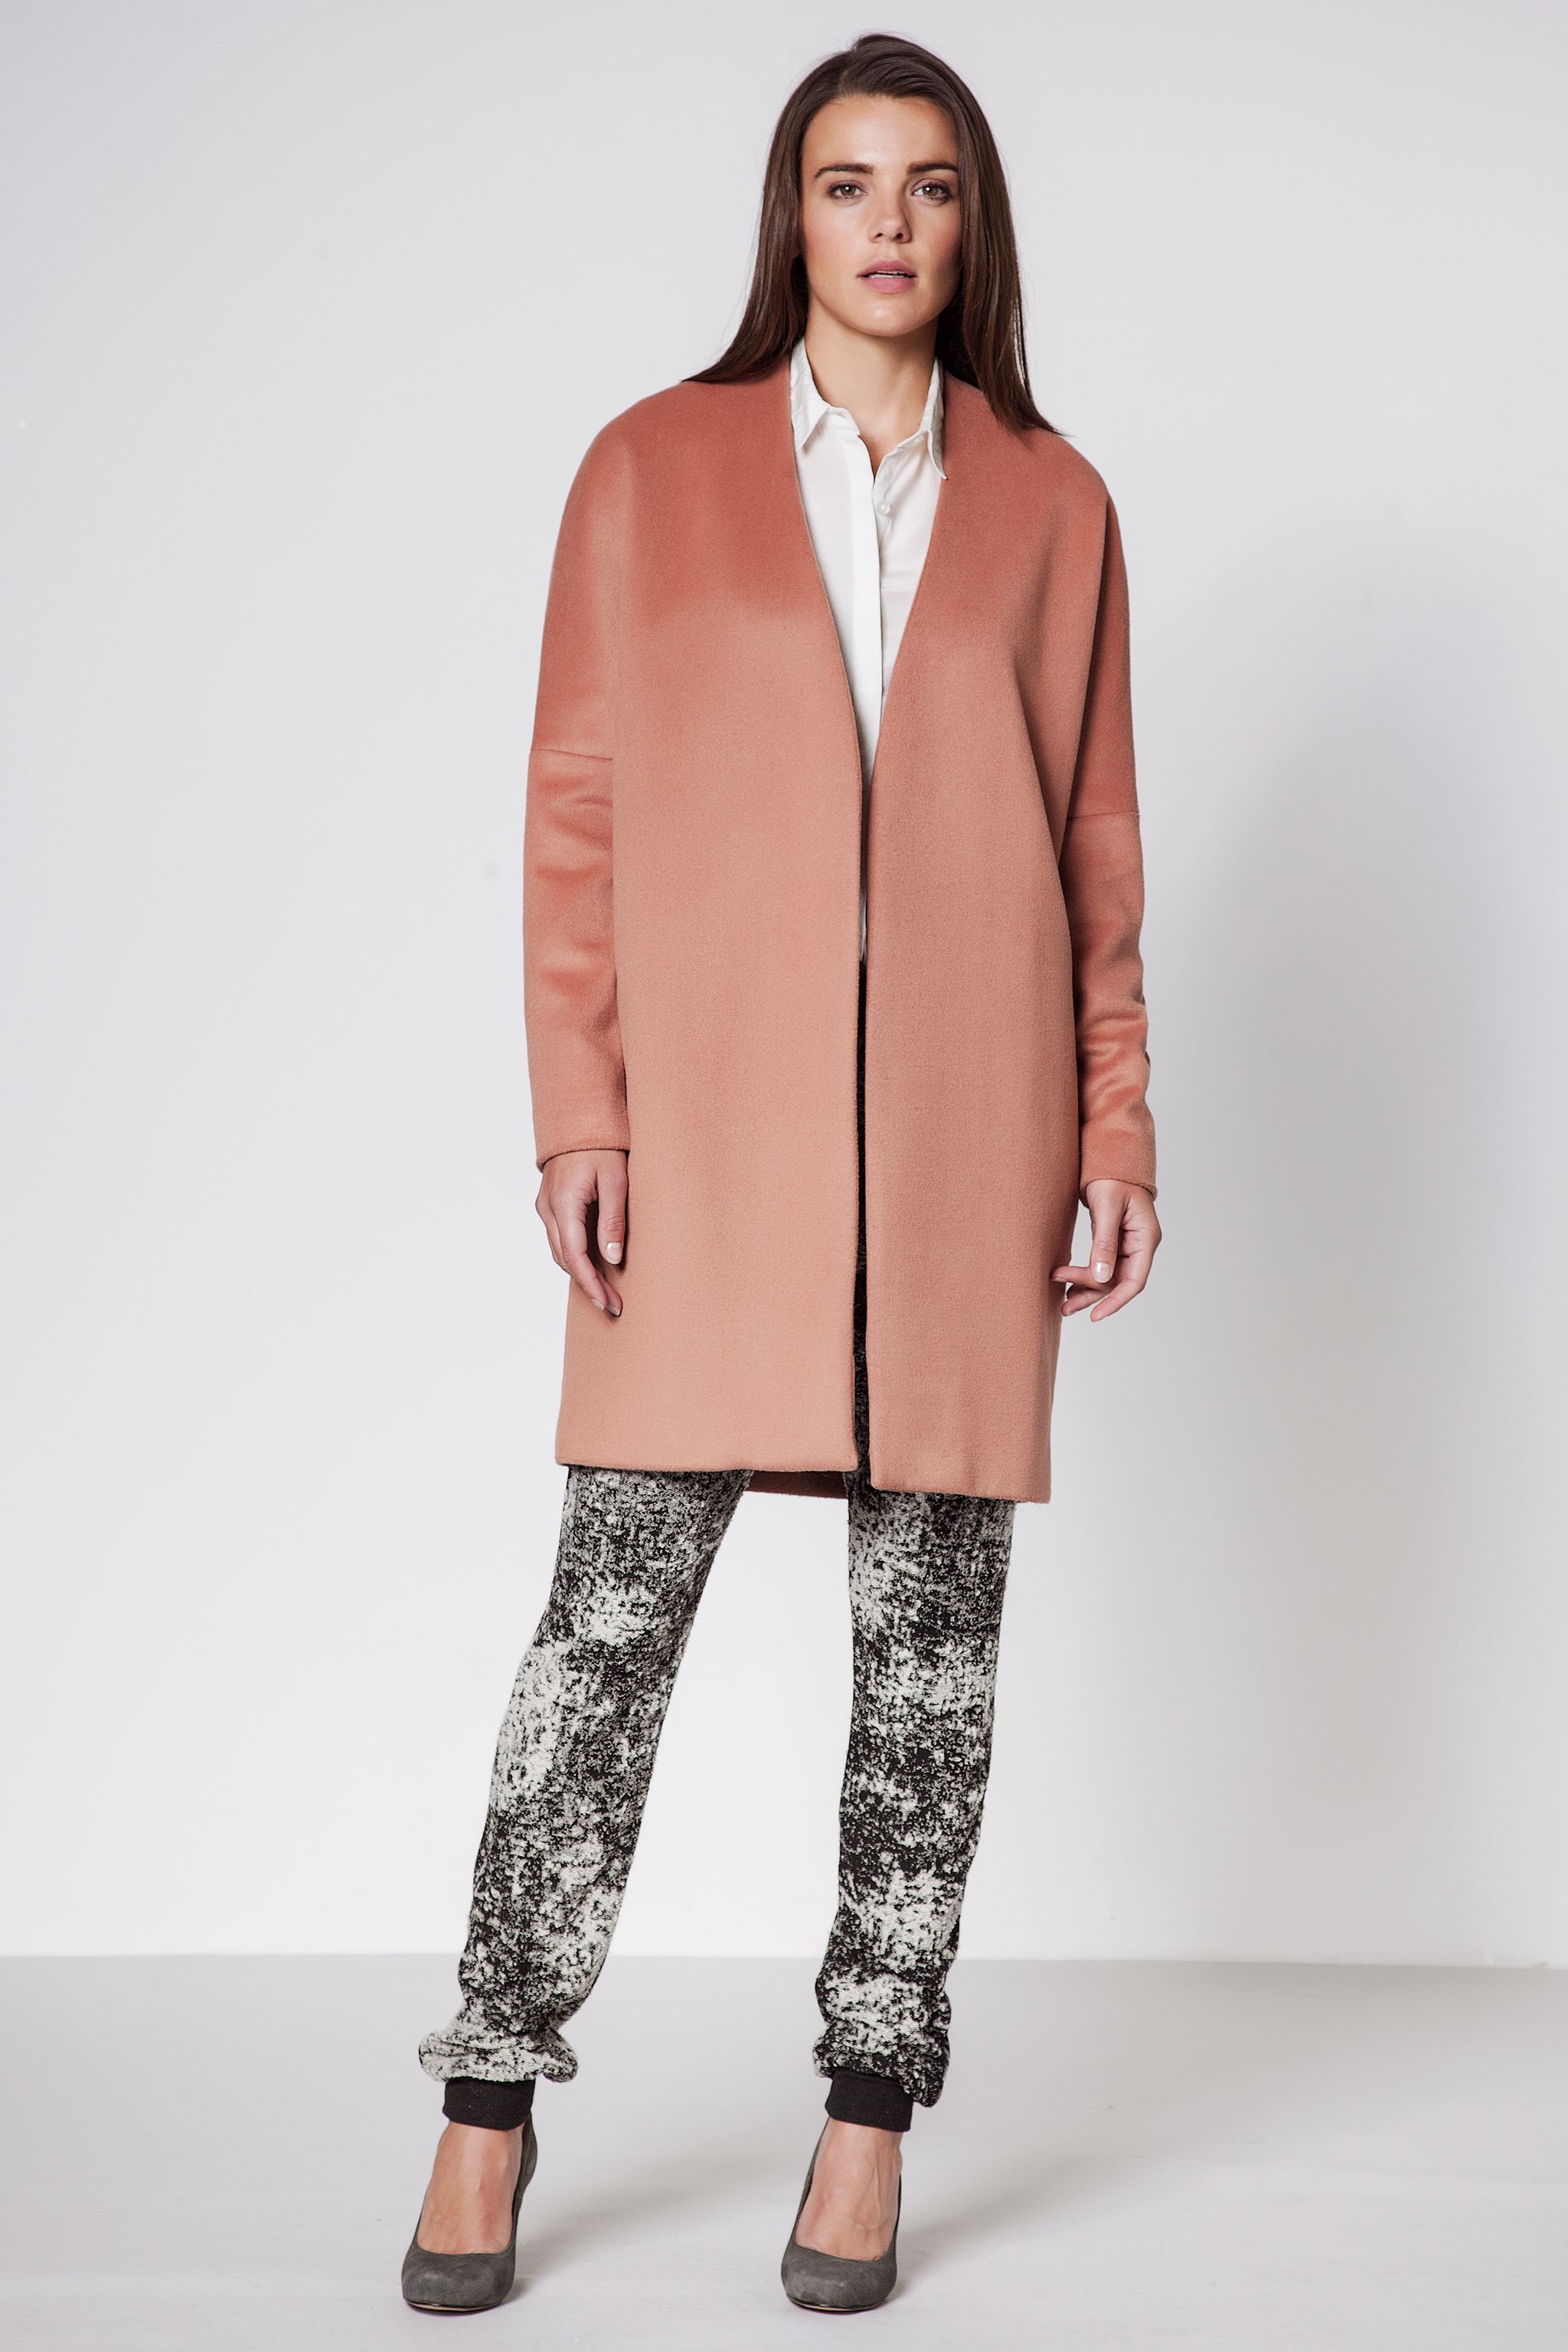
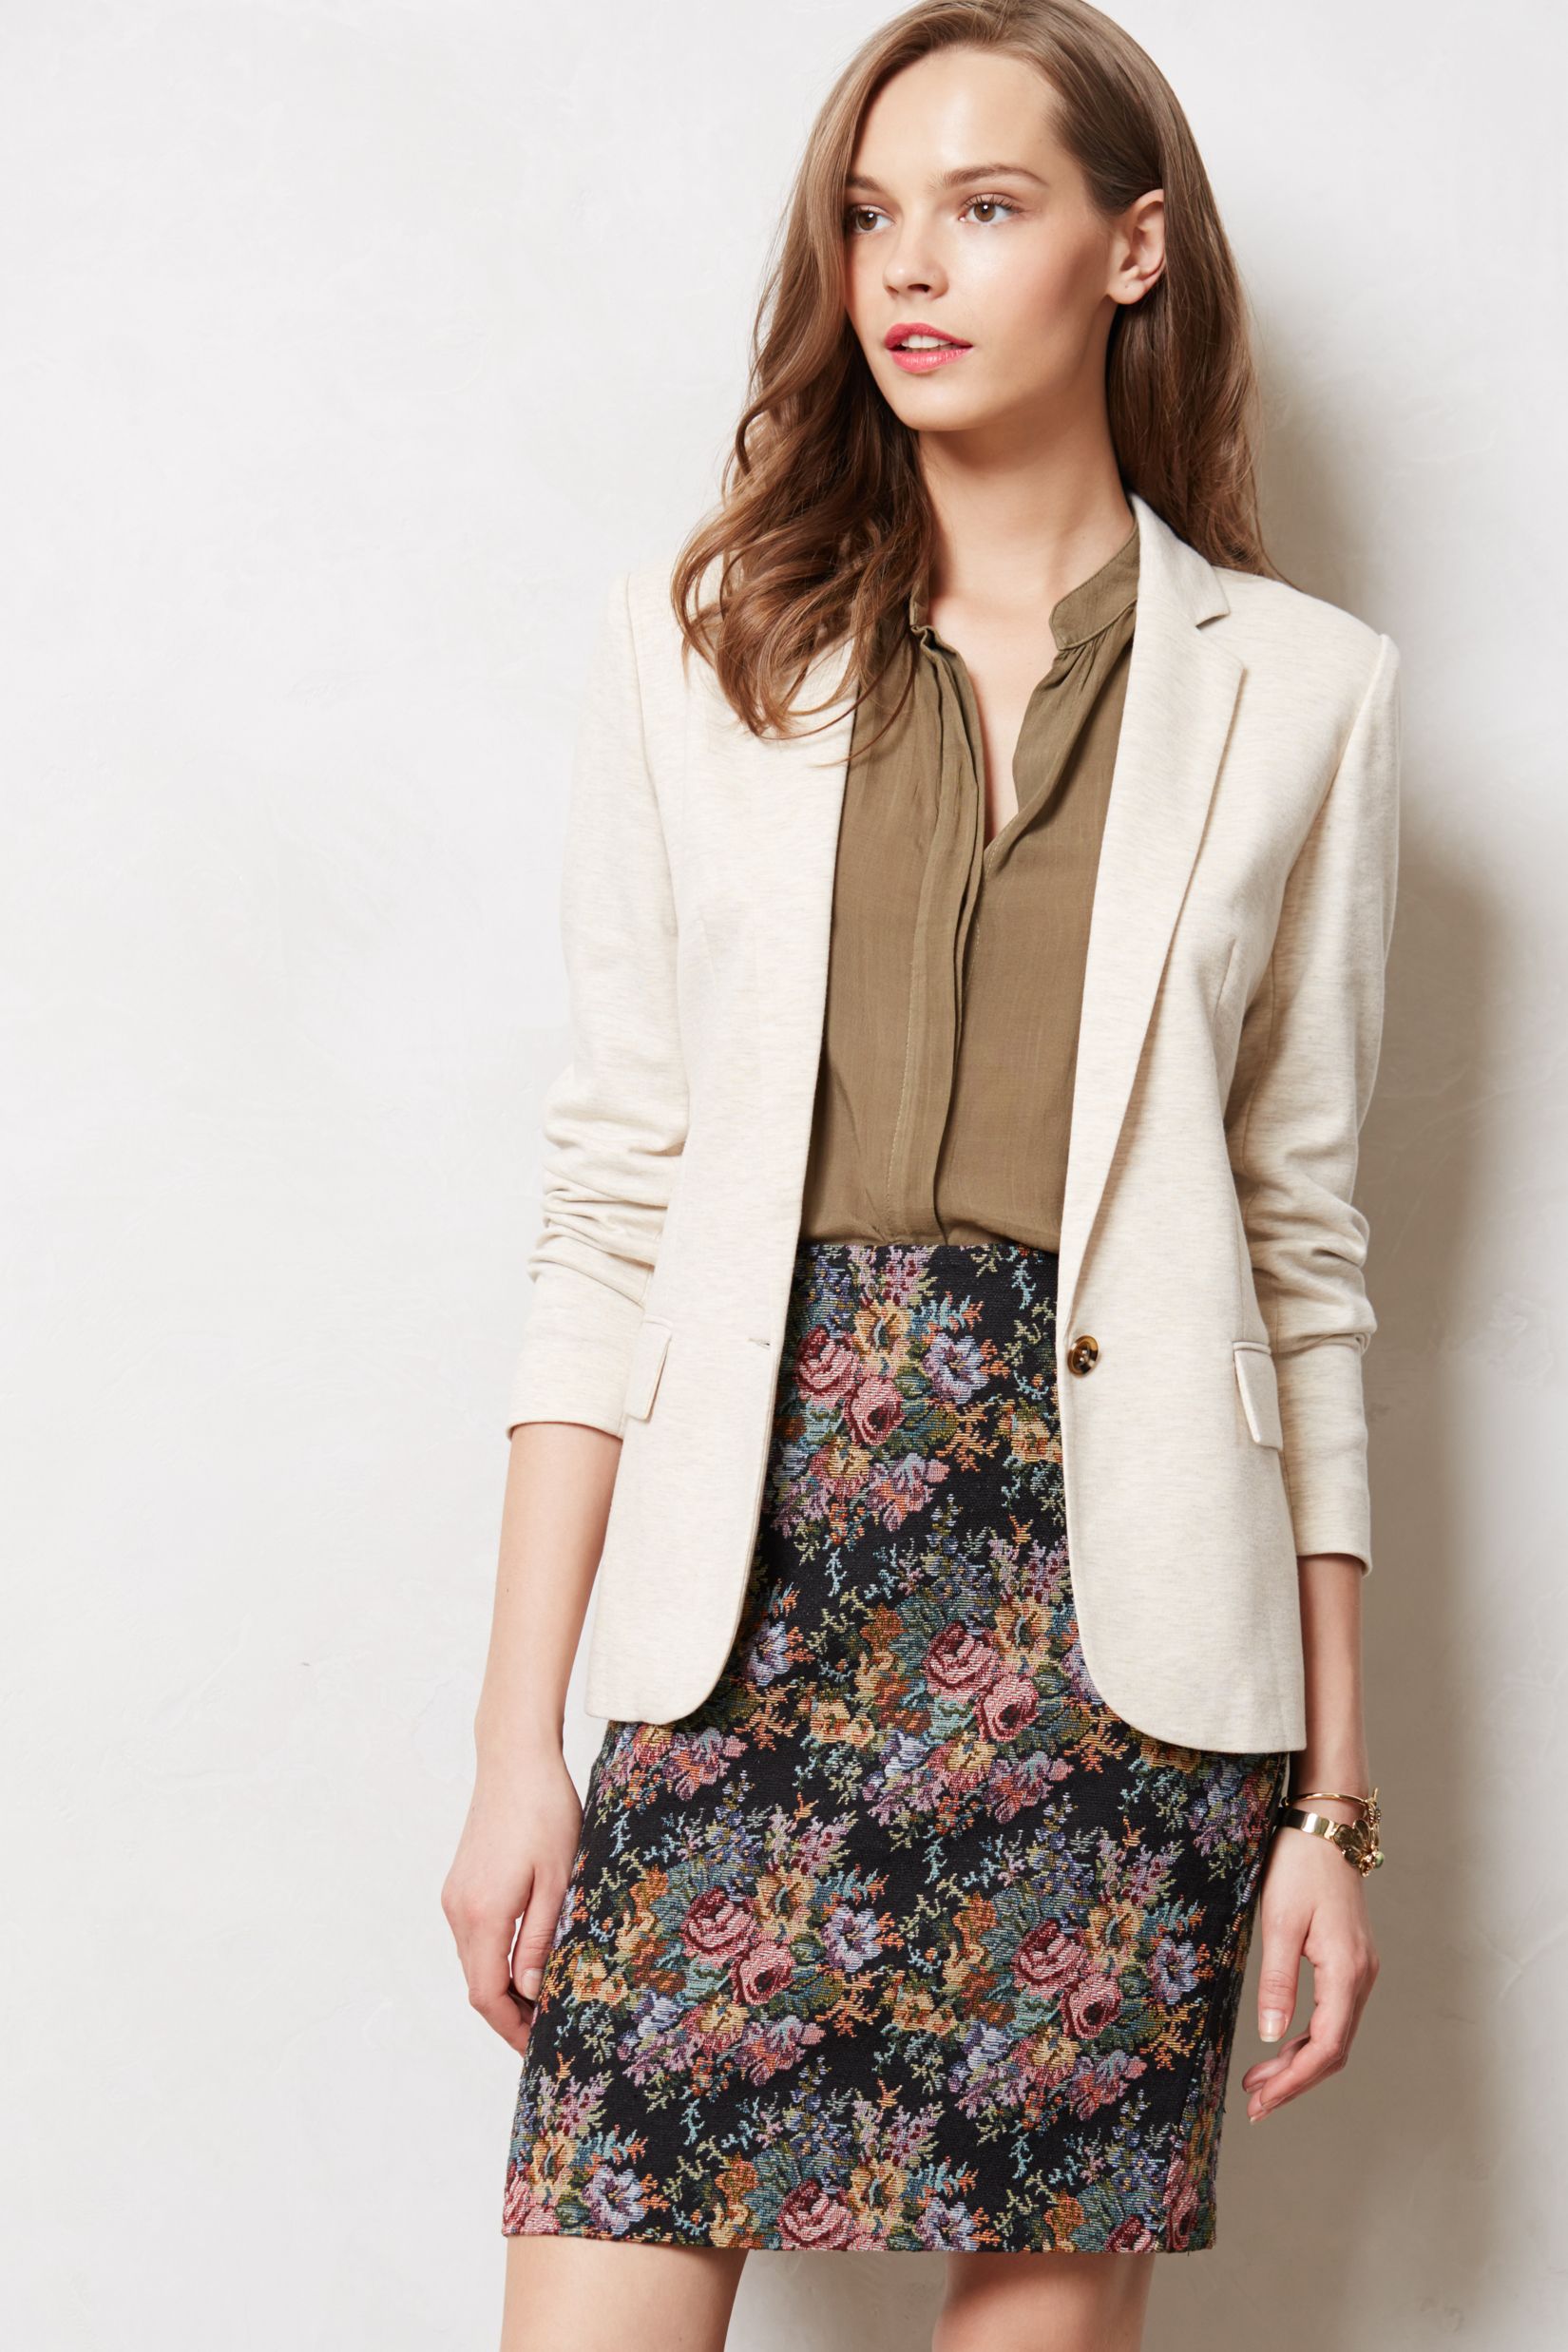
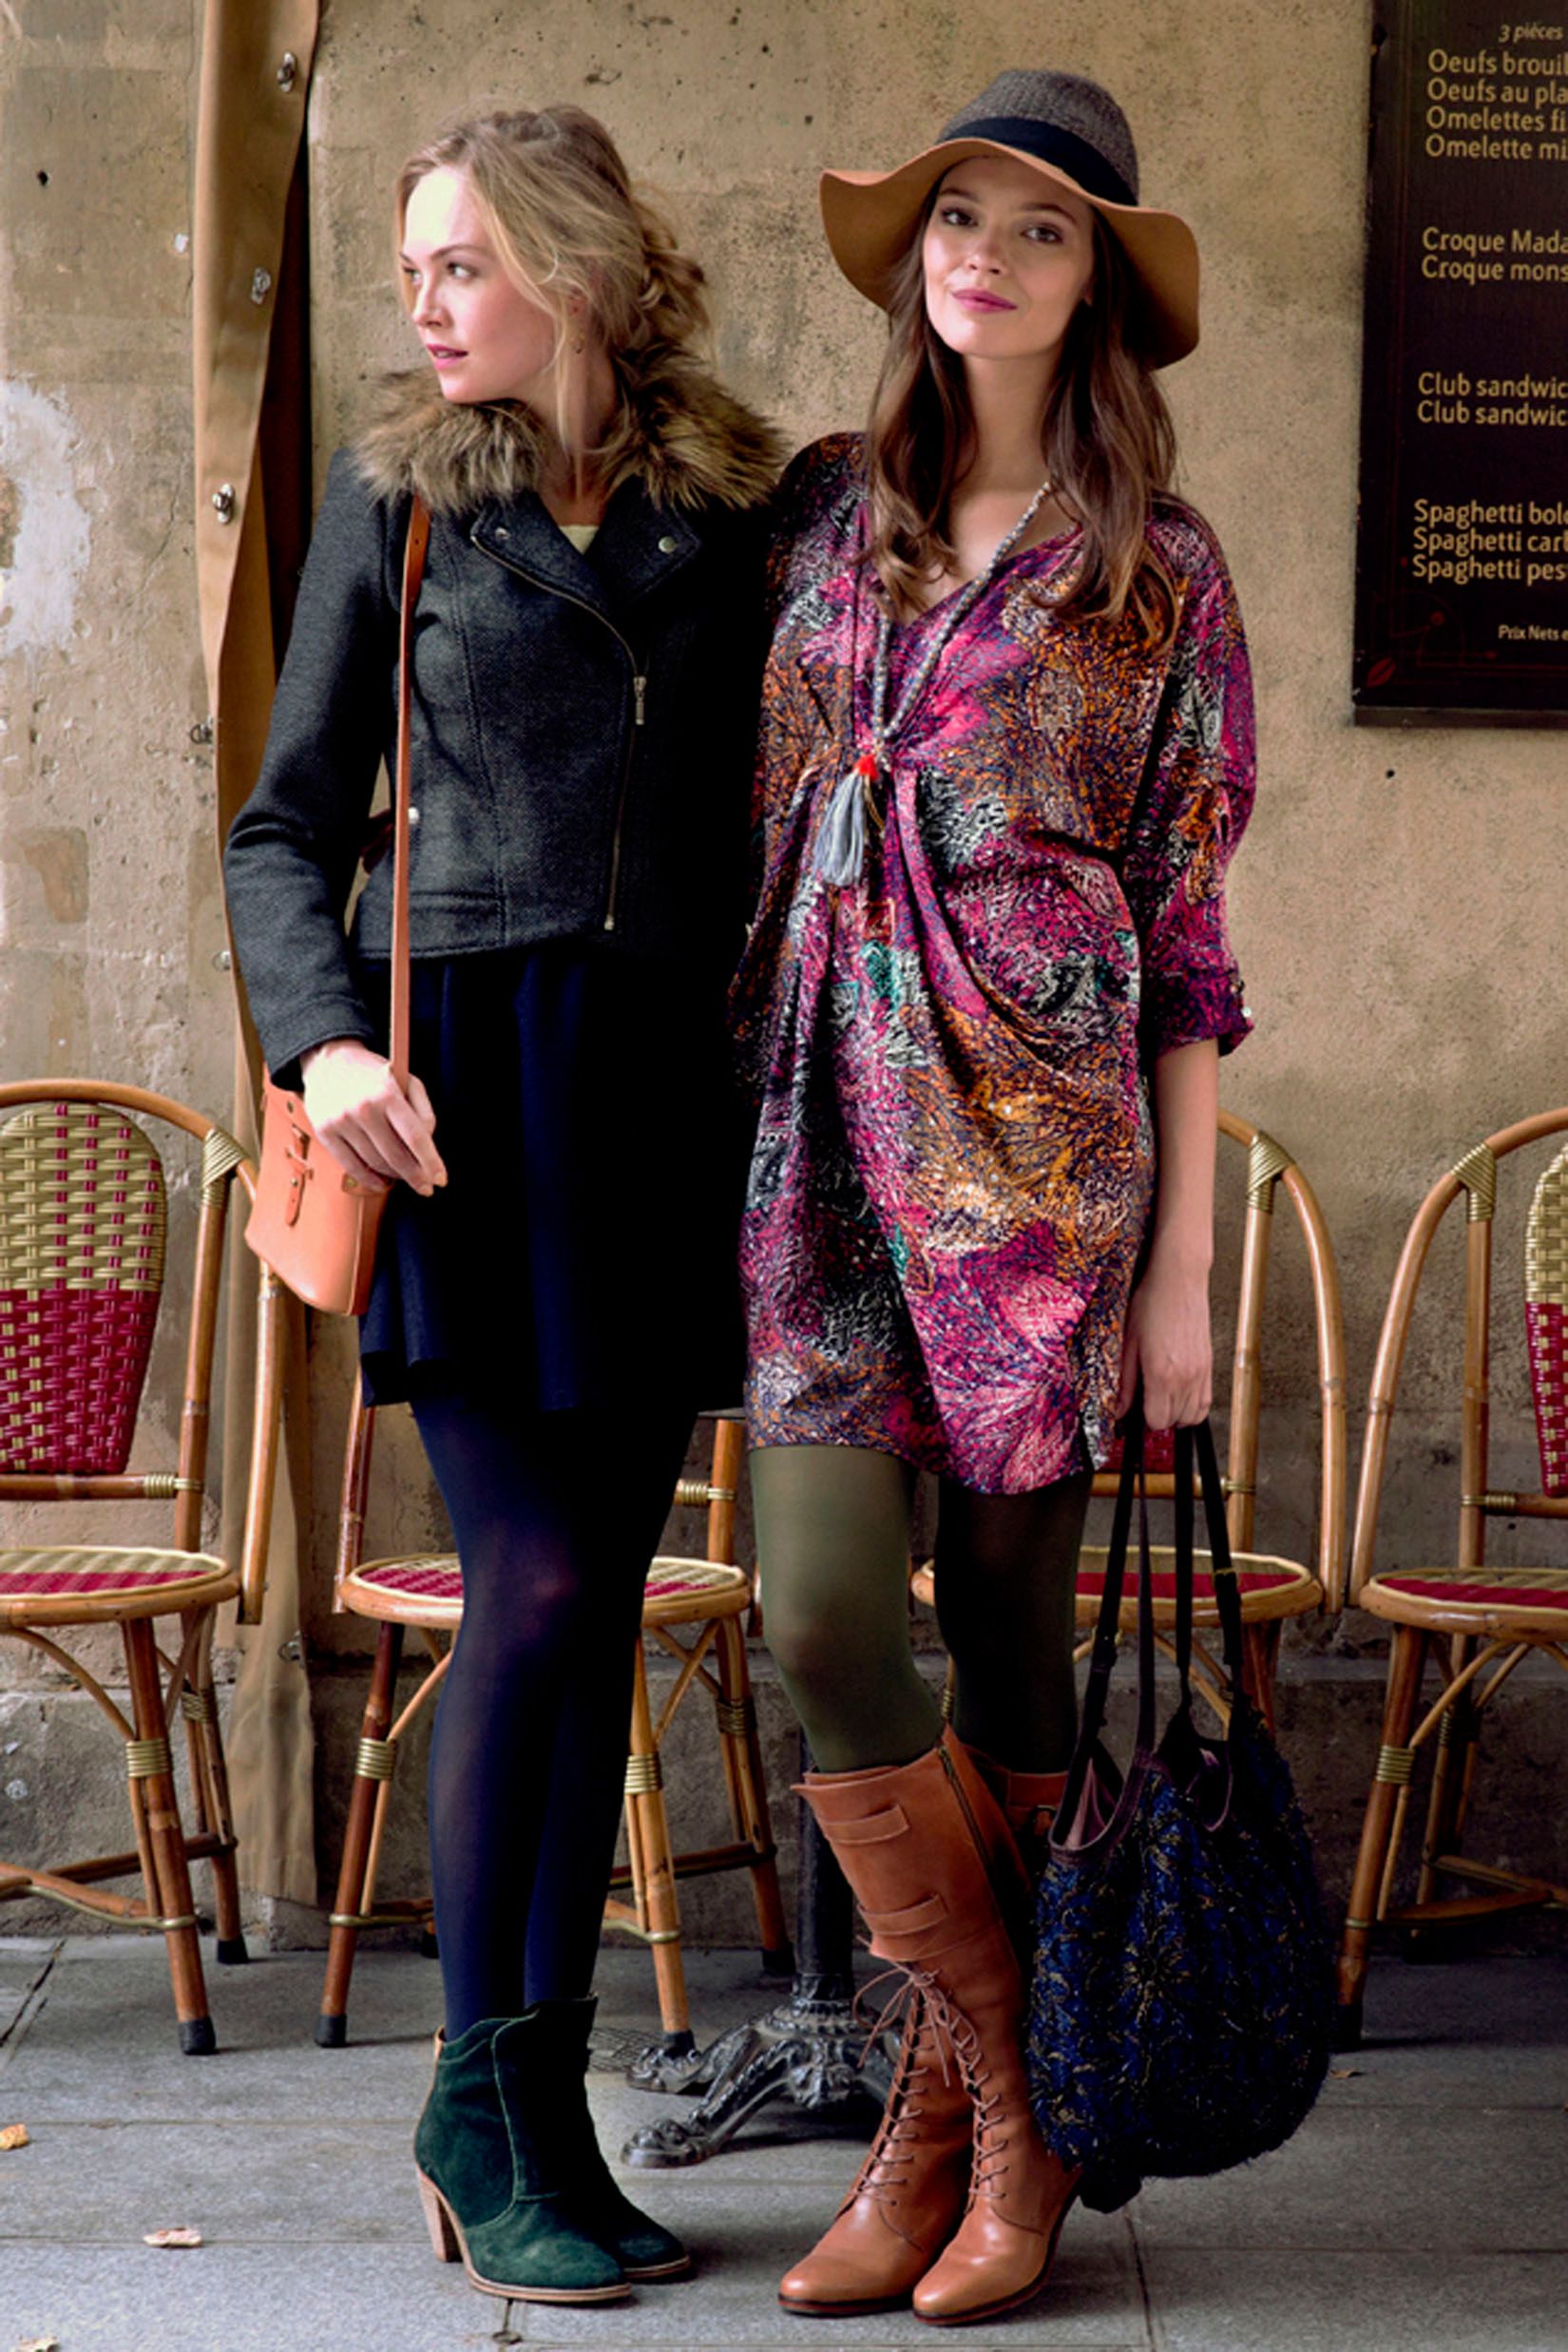
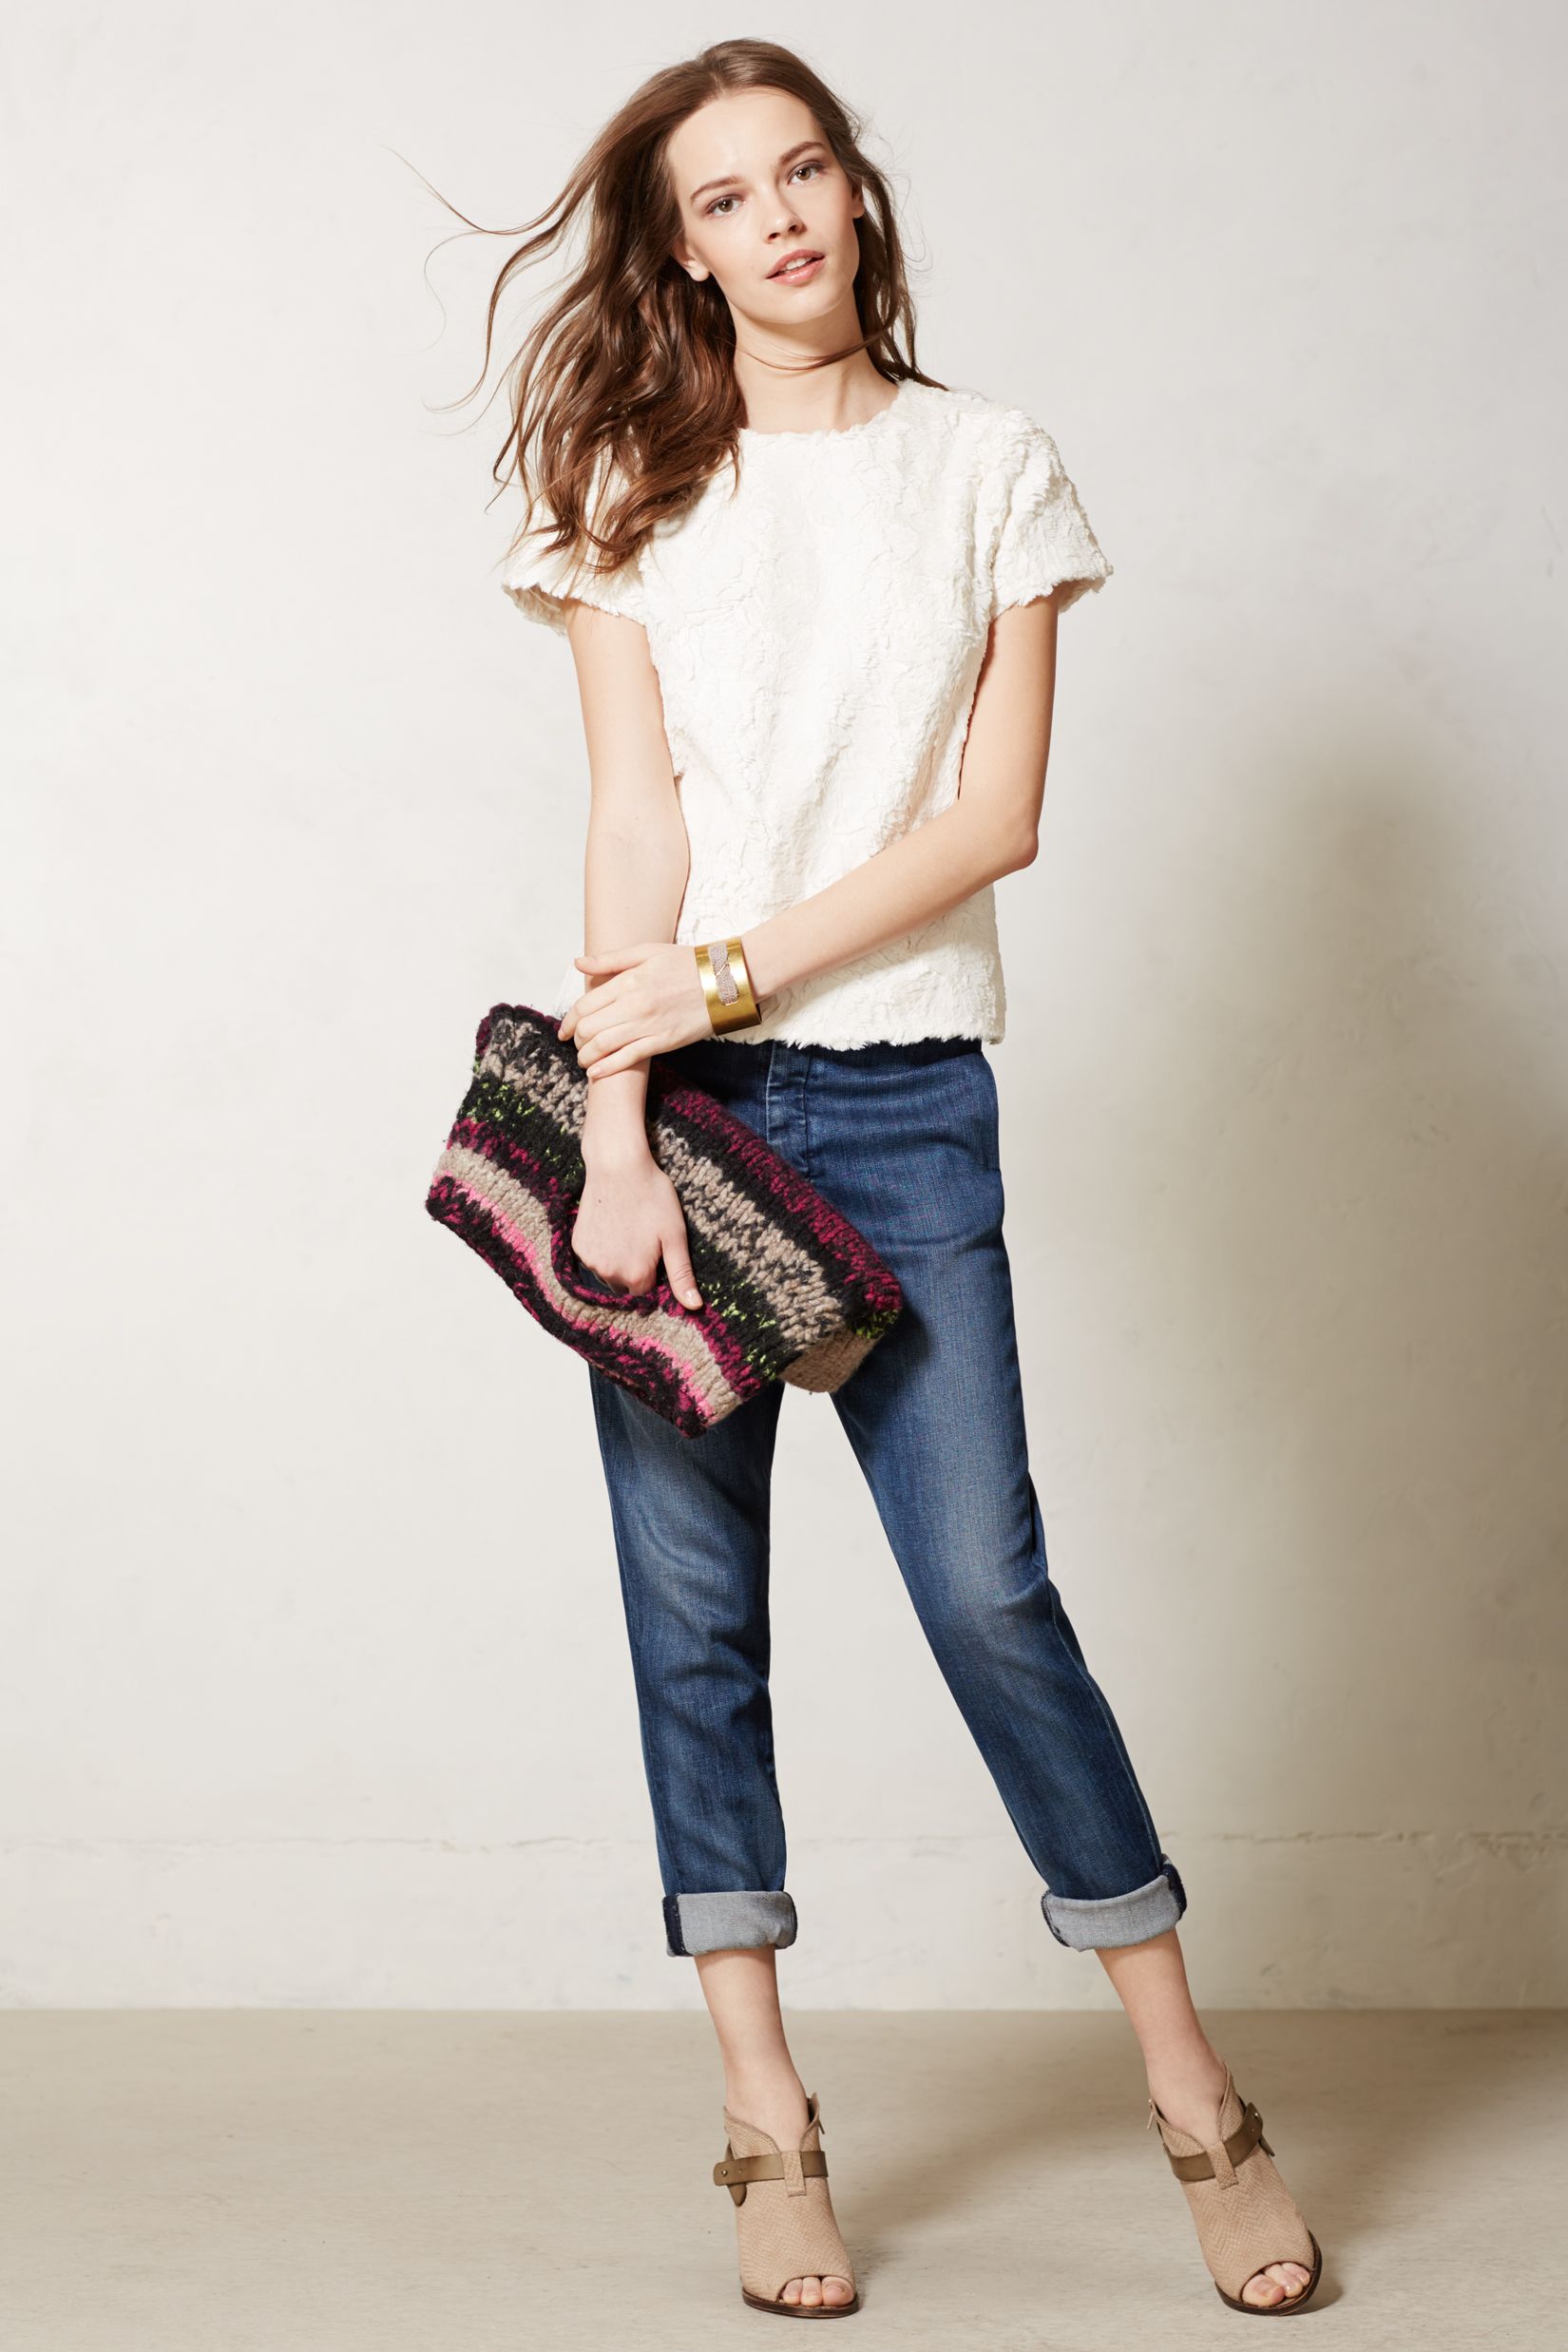
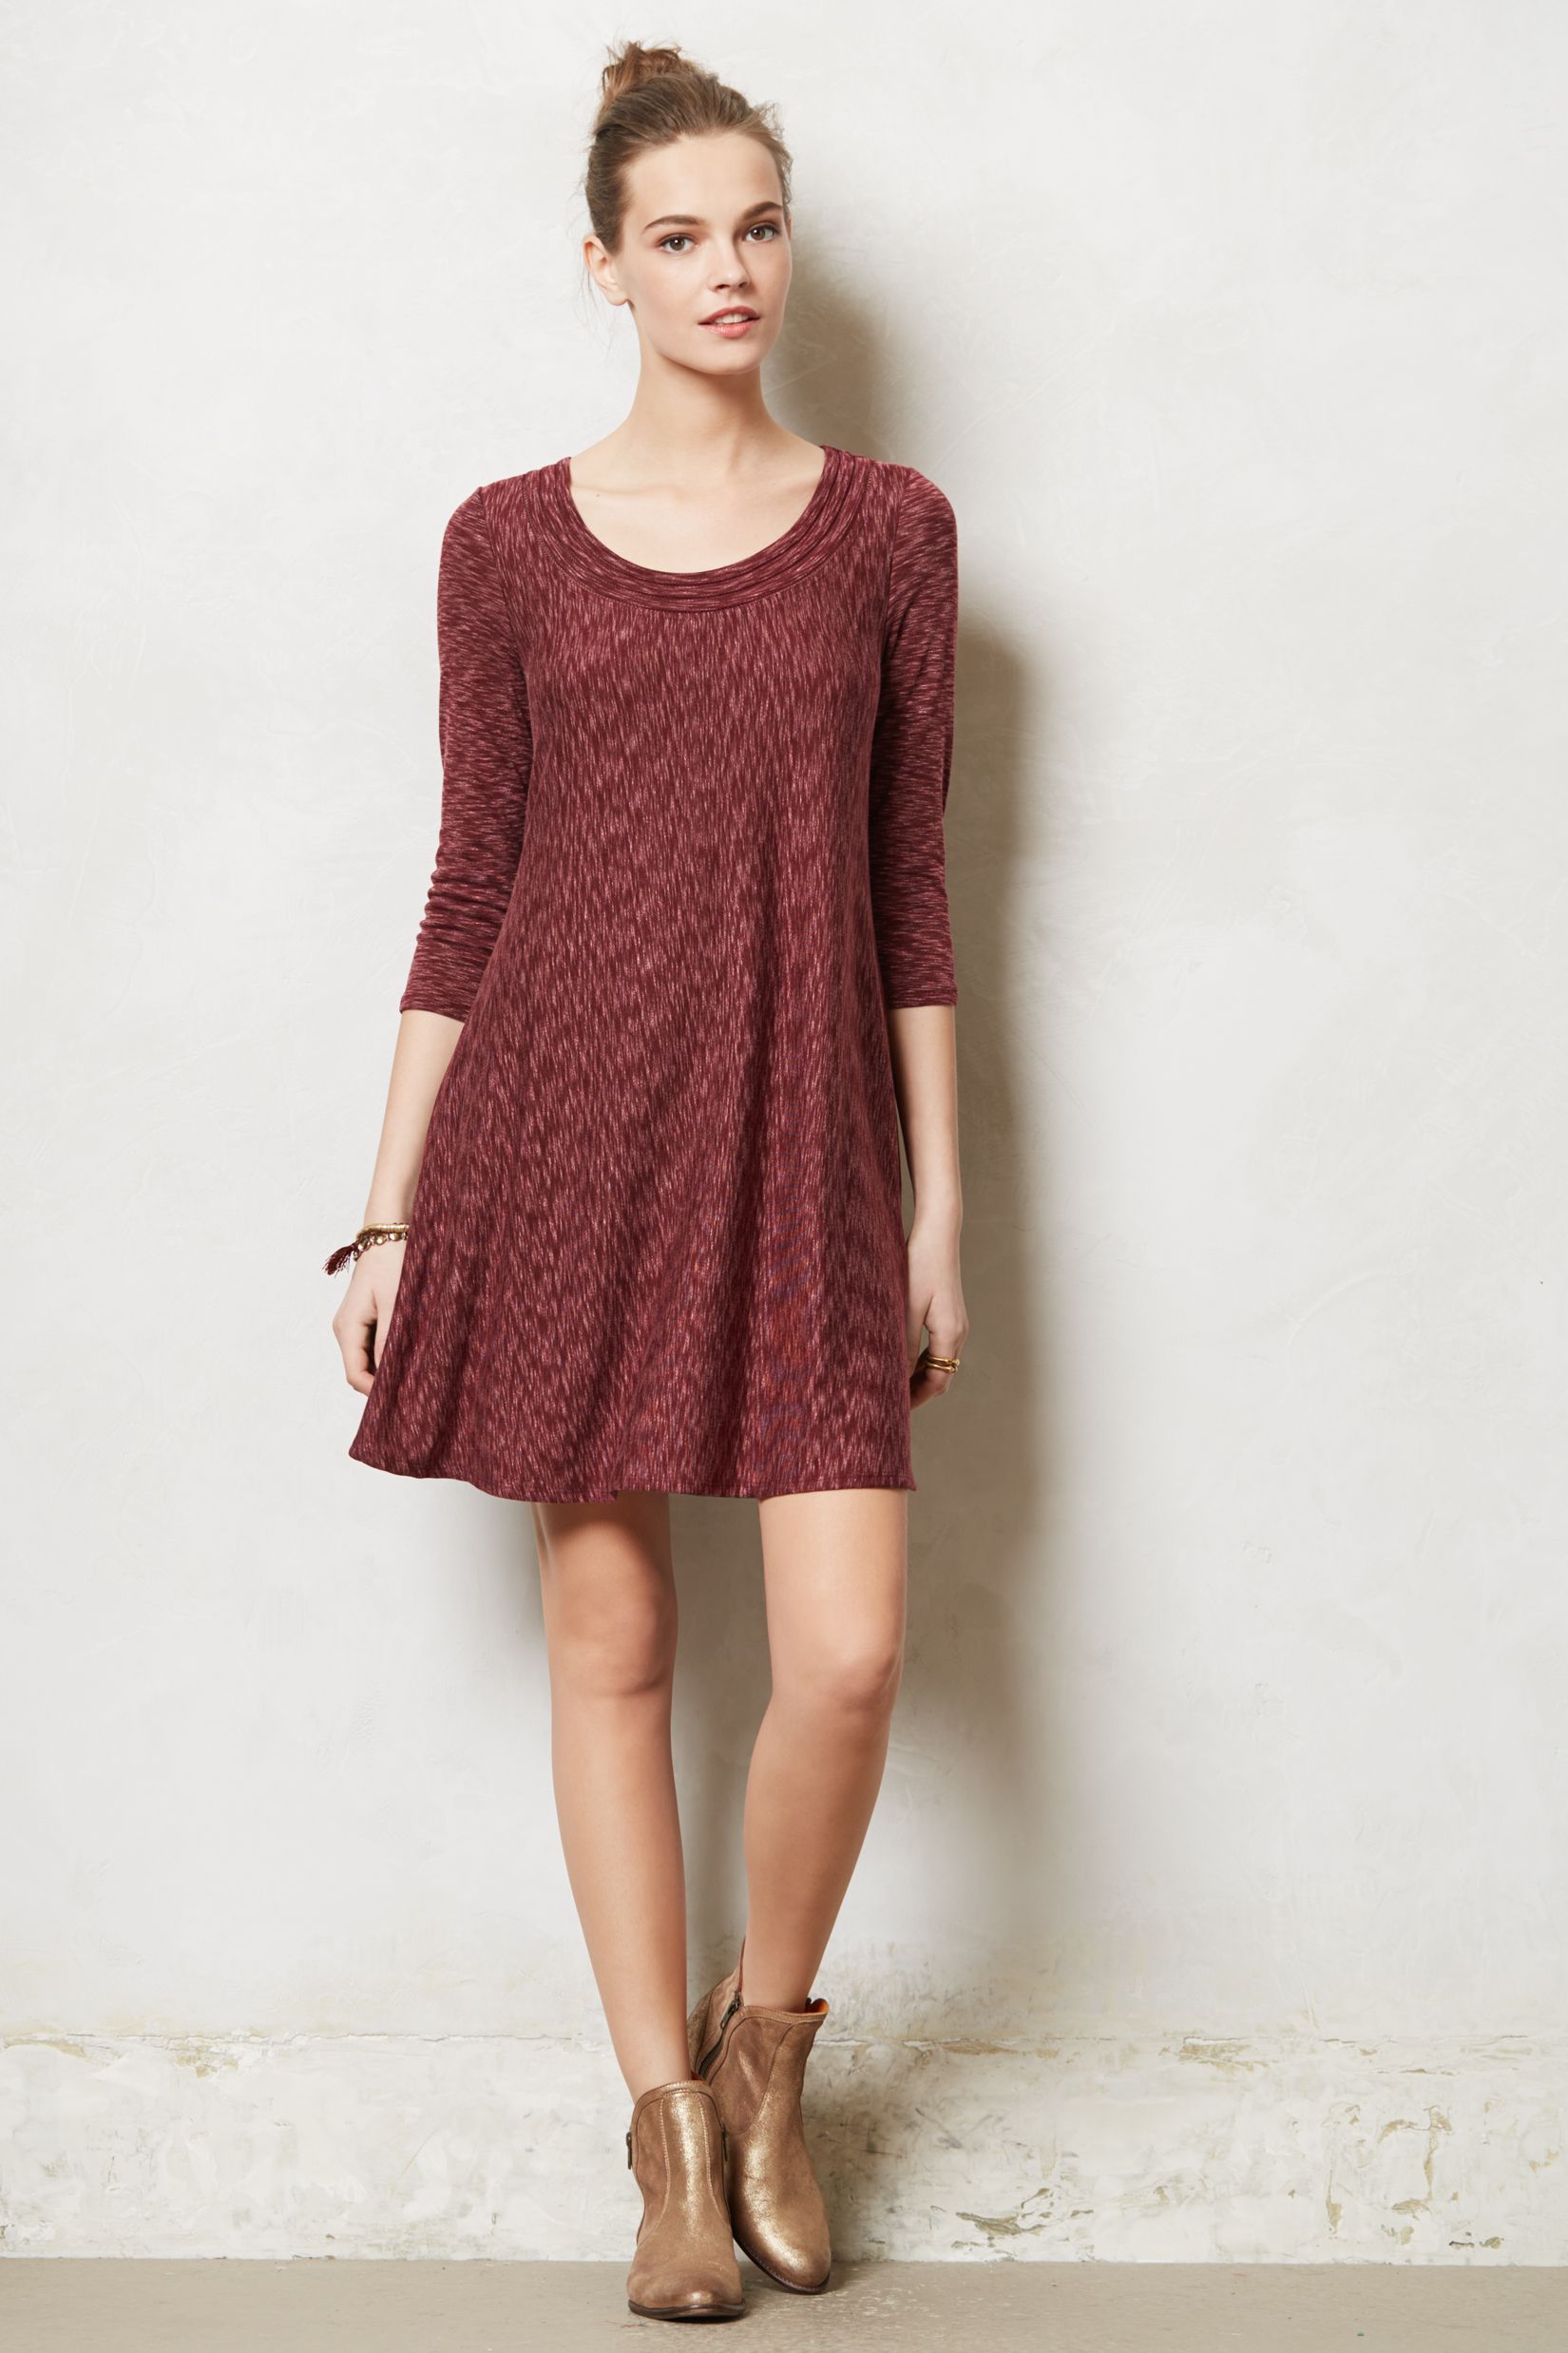
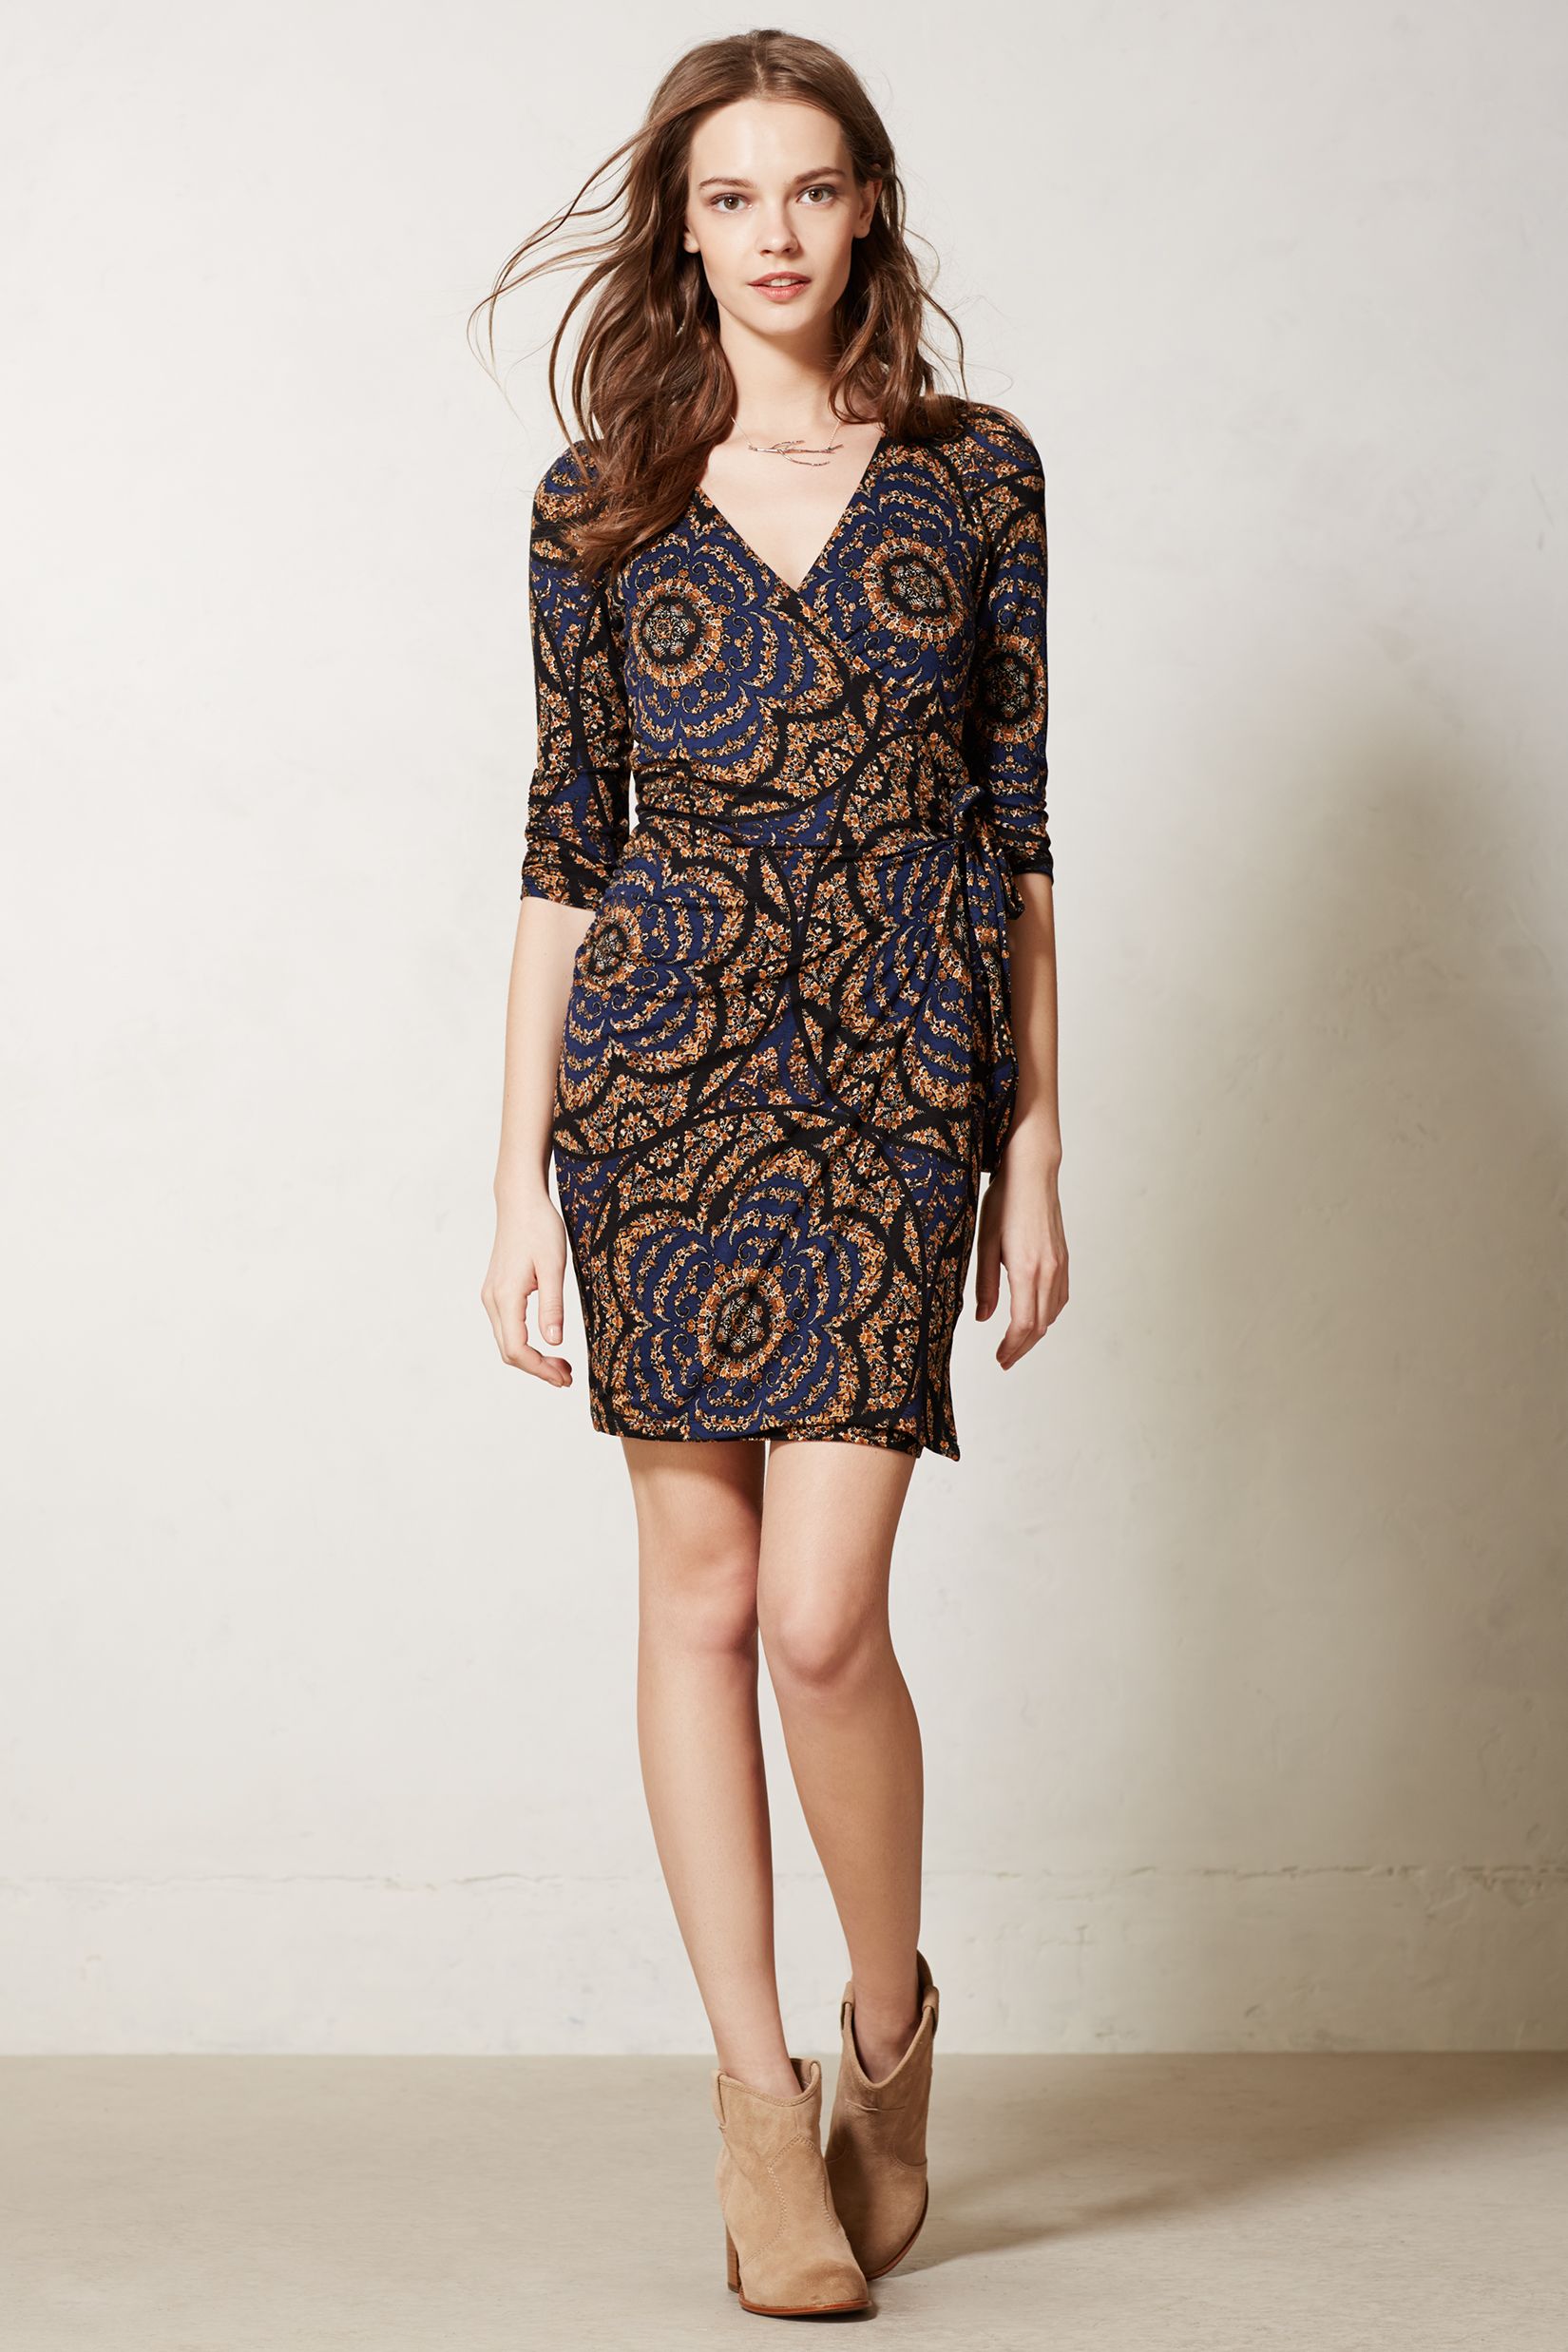
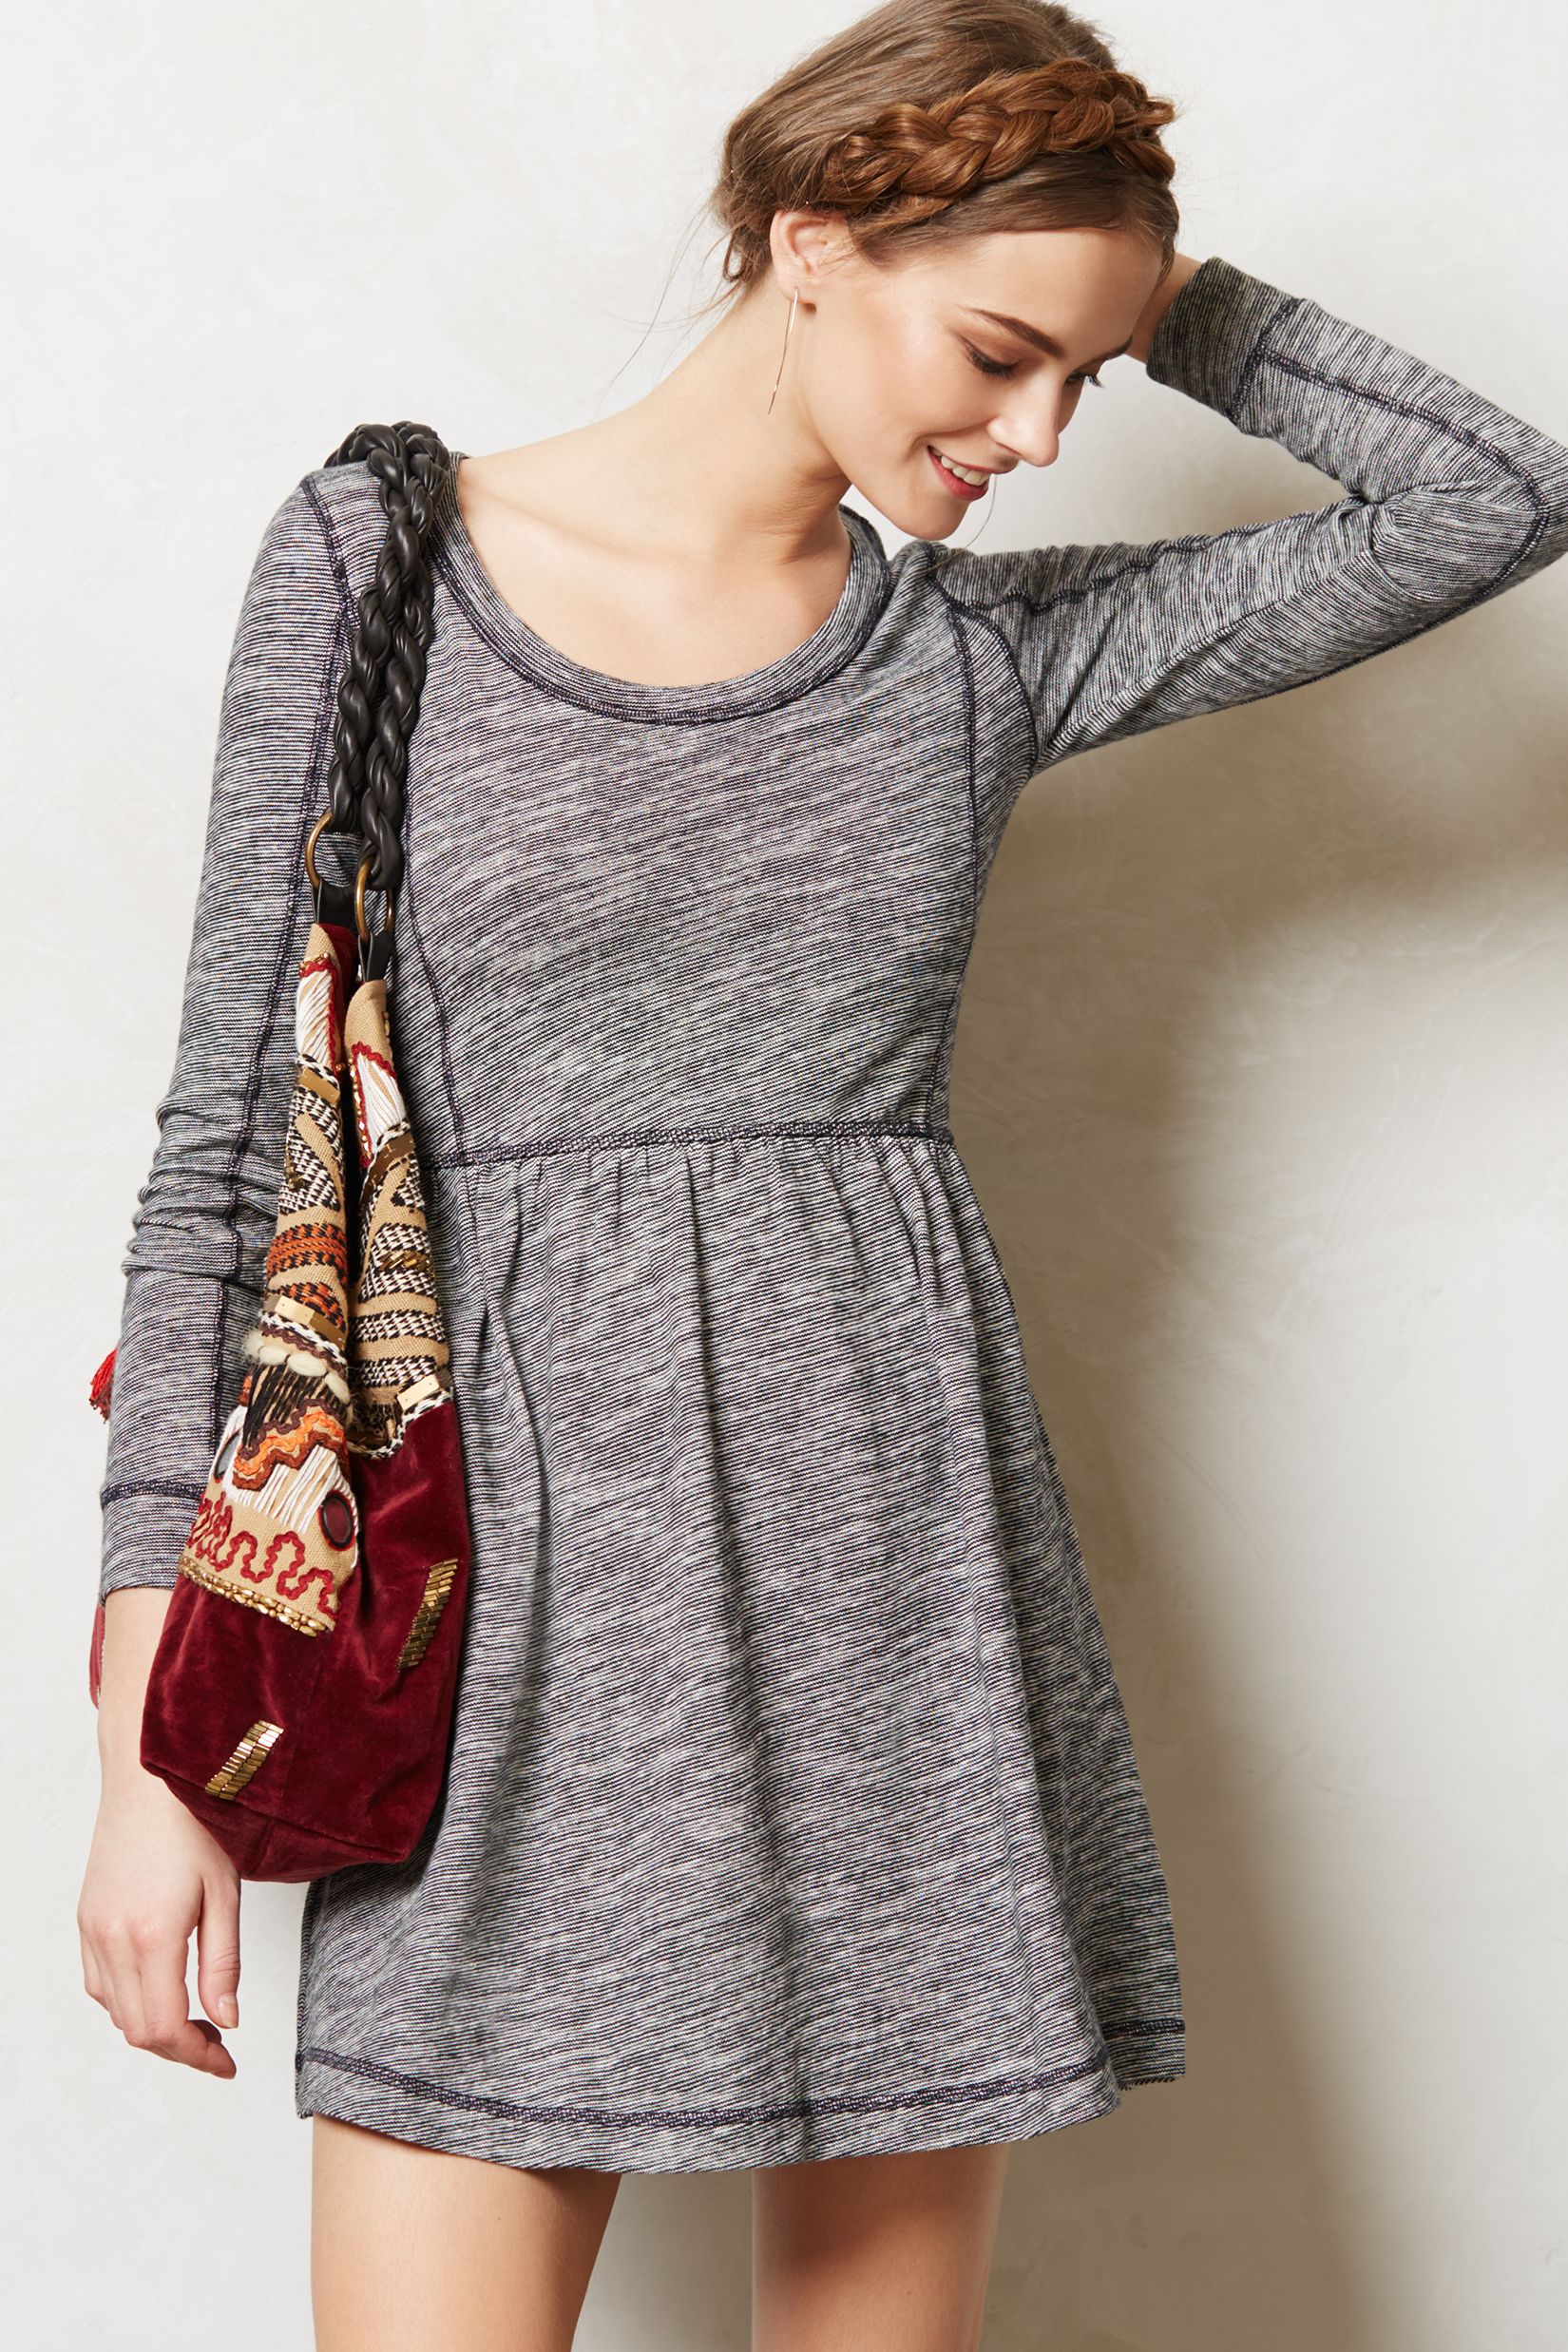
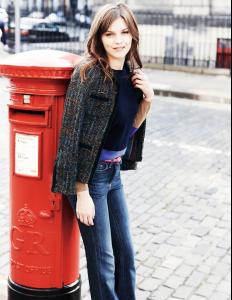
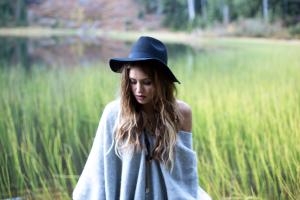
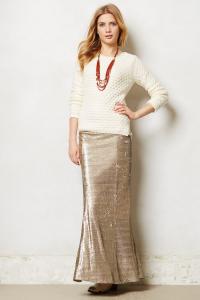
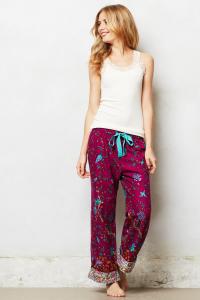
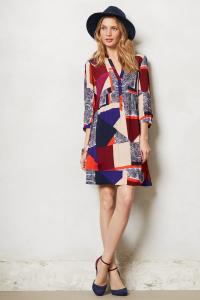
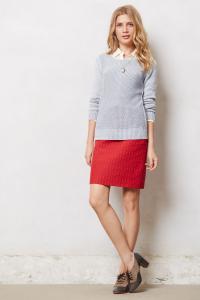
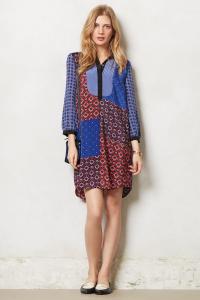
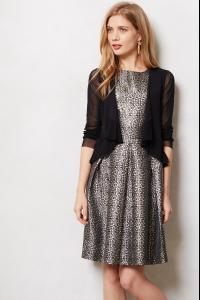
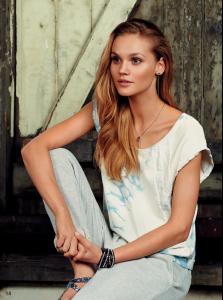
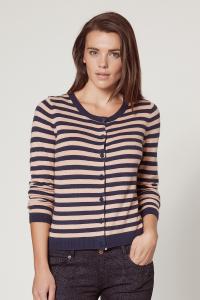
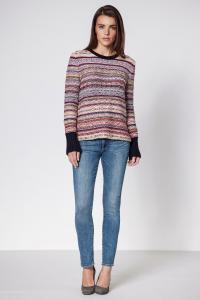
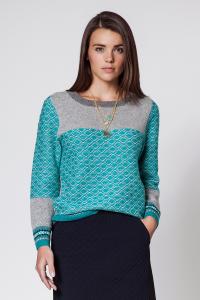
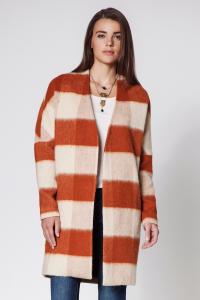
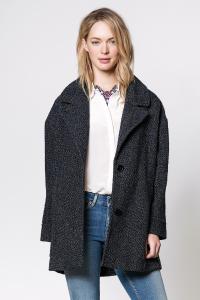 Anthropologie HQ [2/2] anthropologie.eu


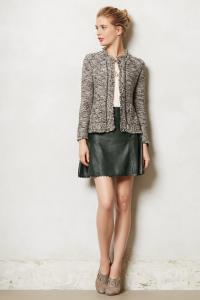


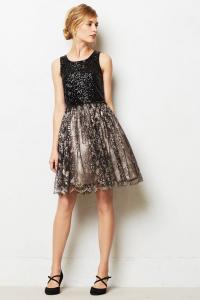


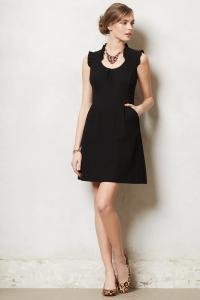
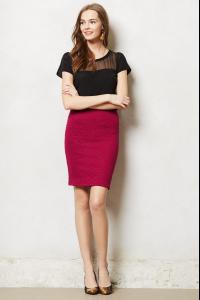
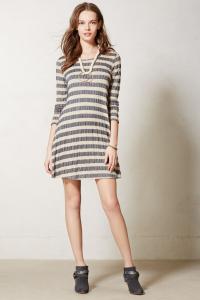
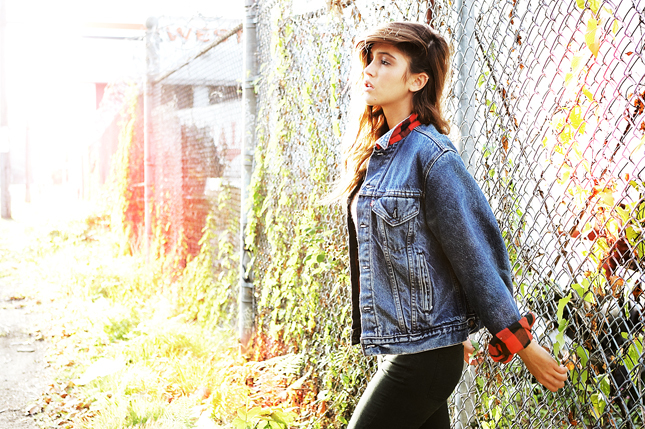
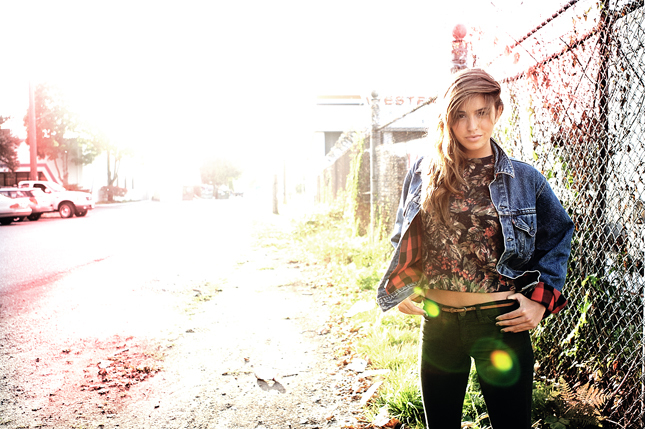
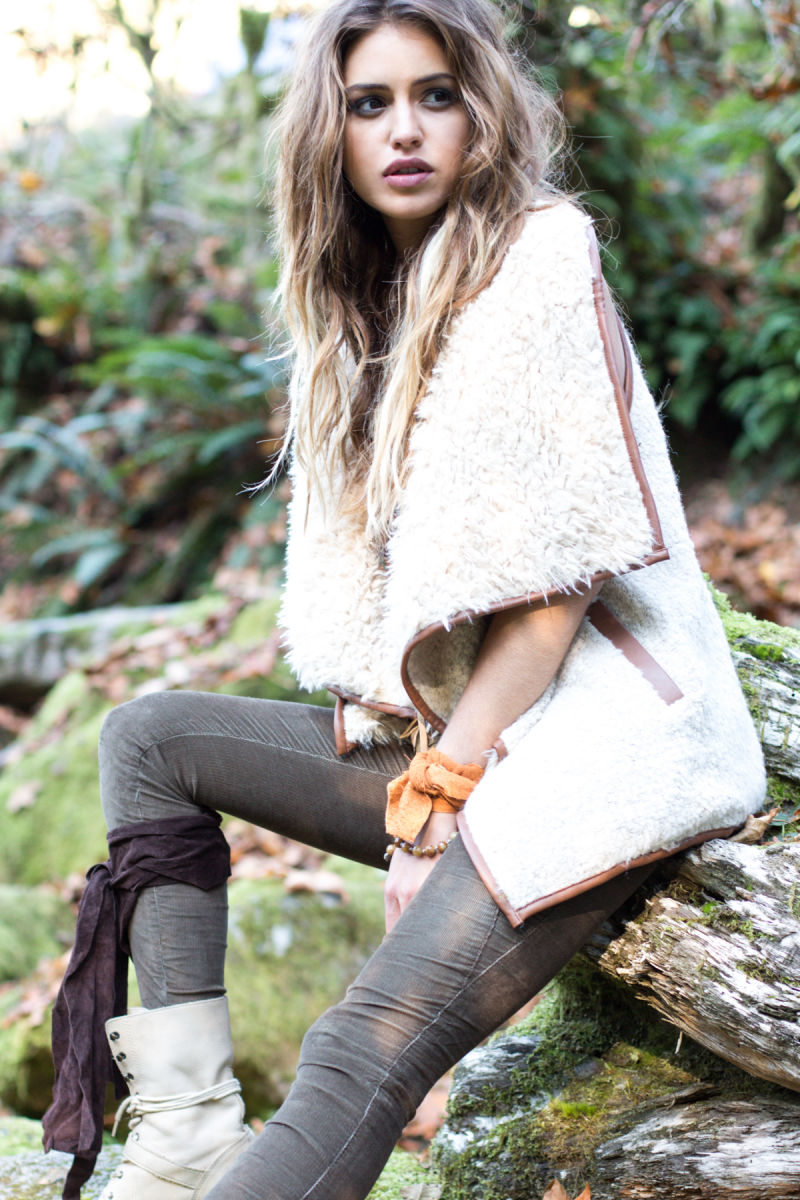
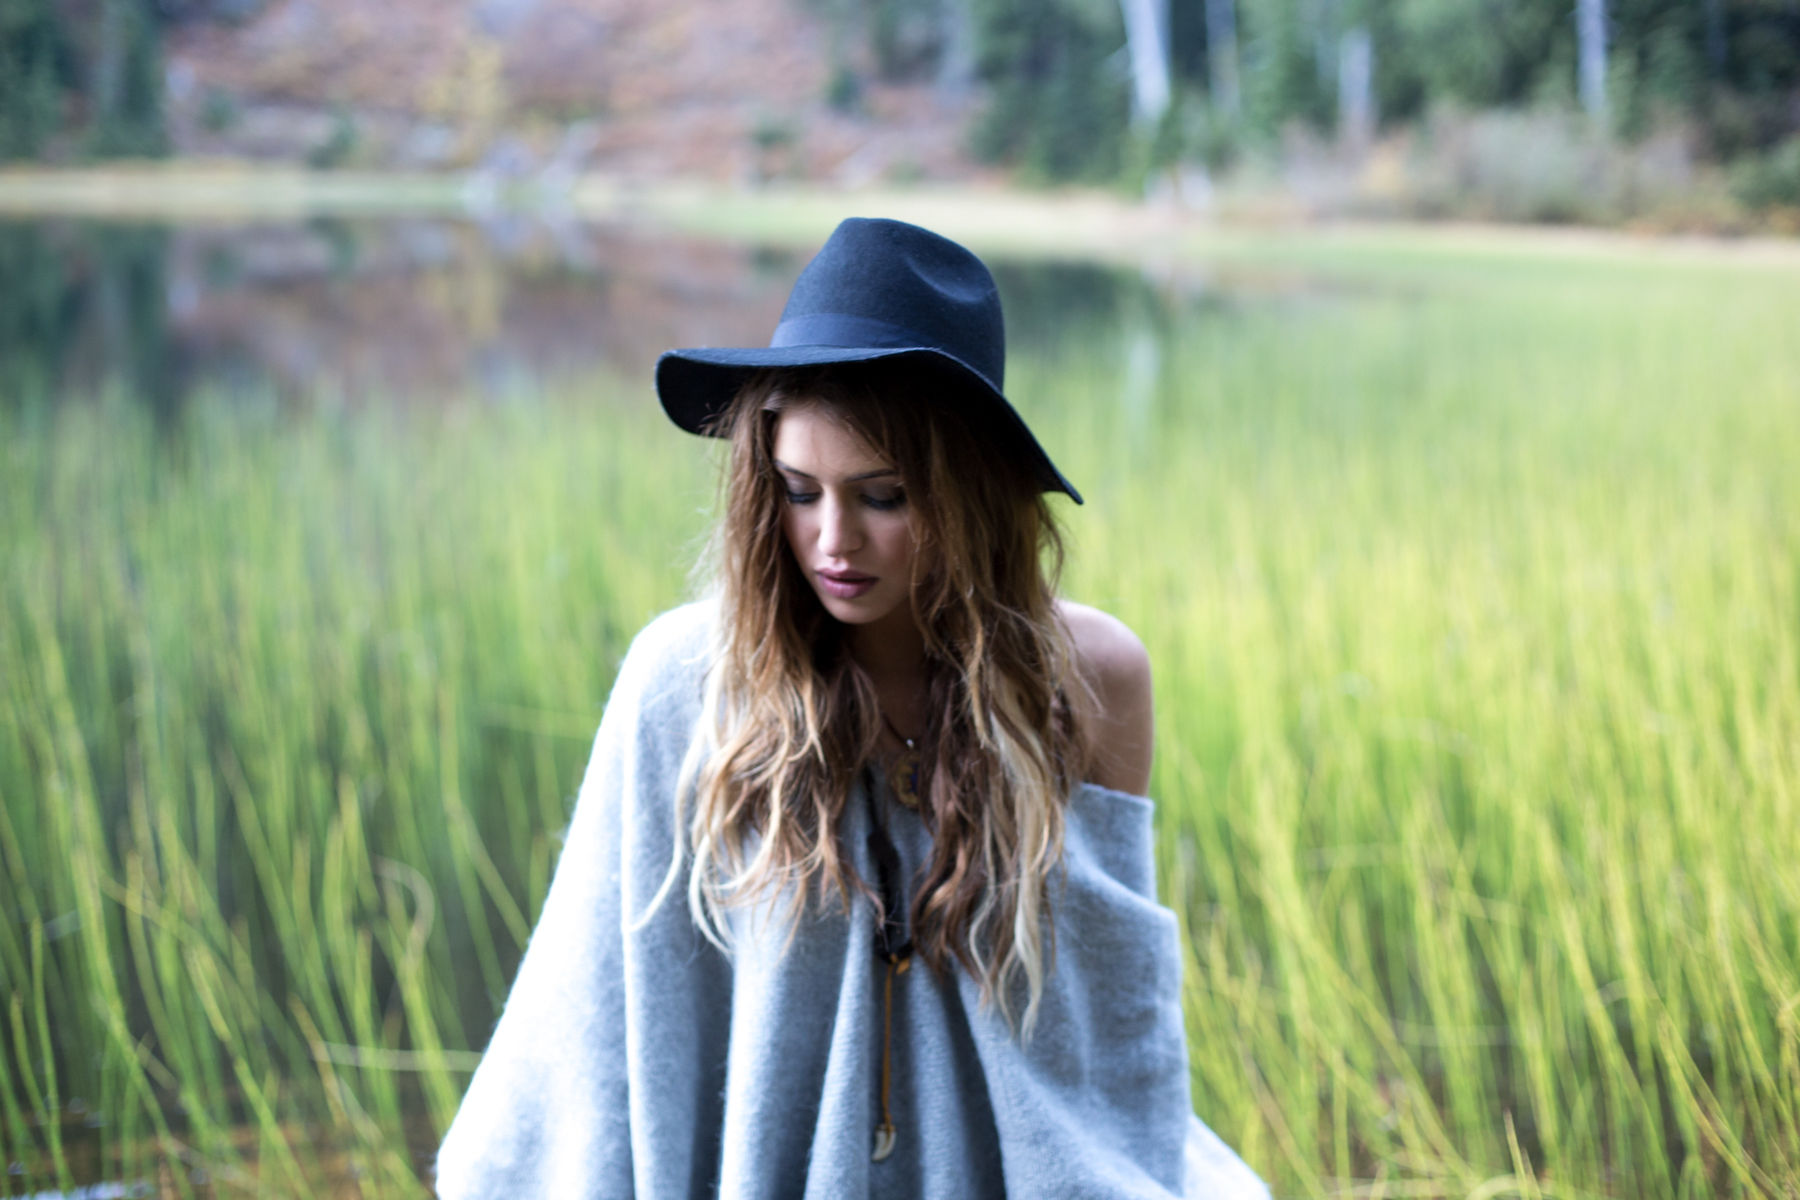
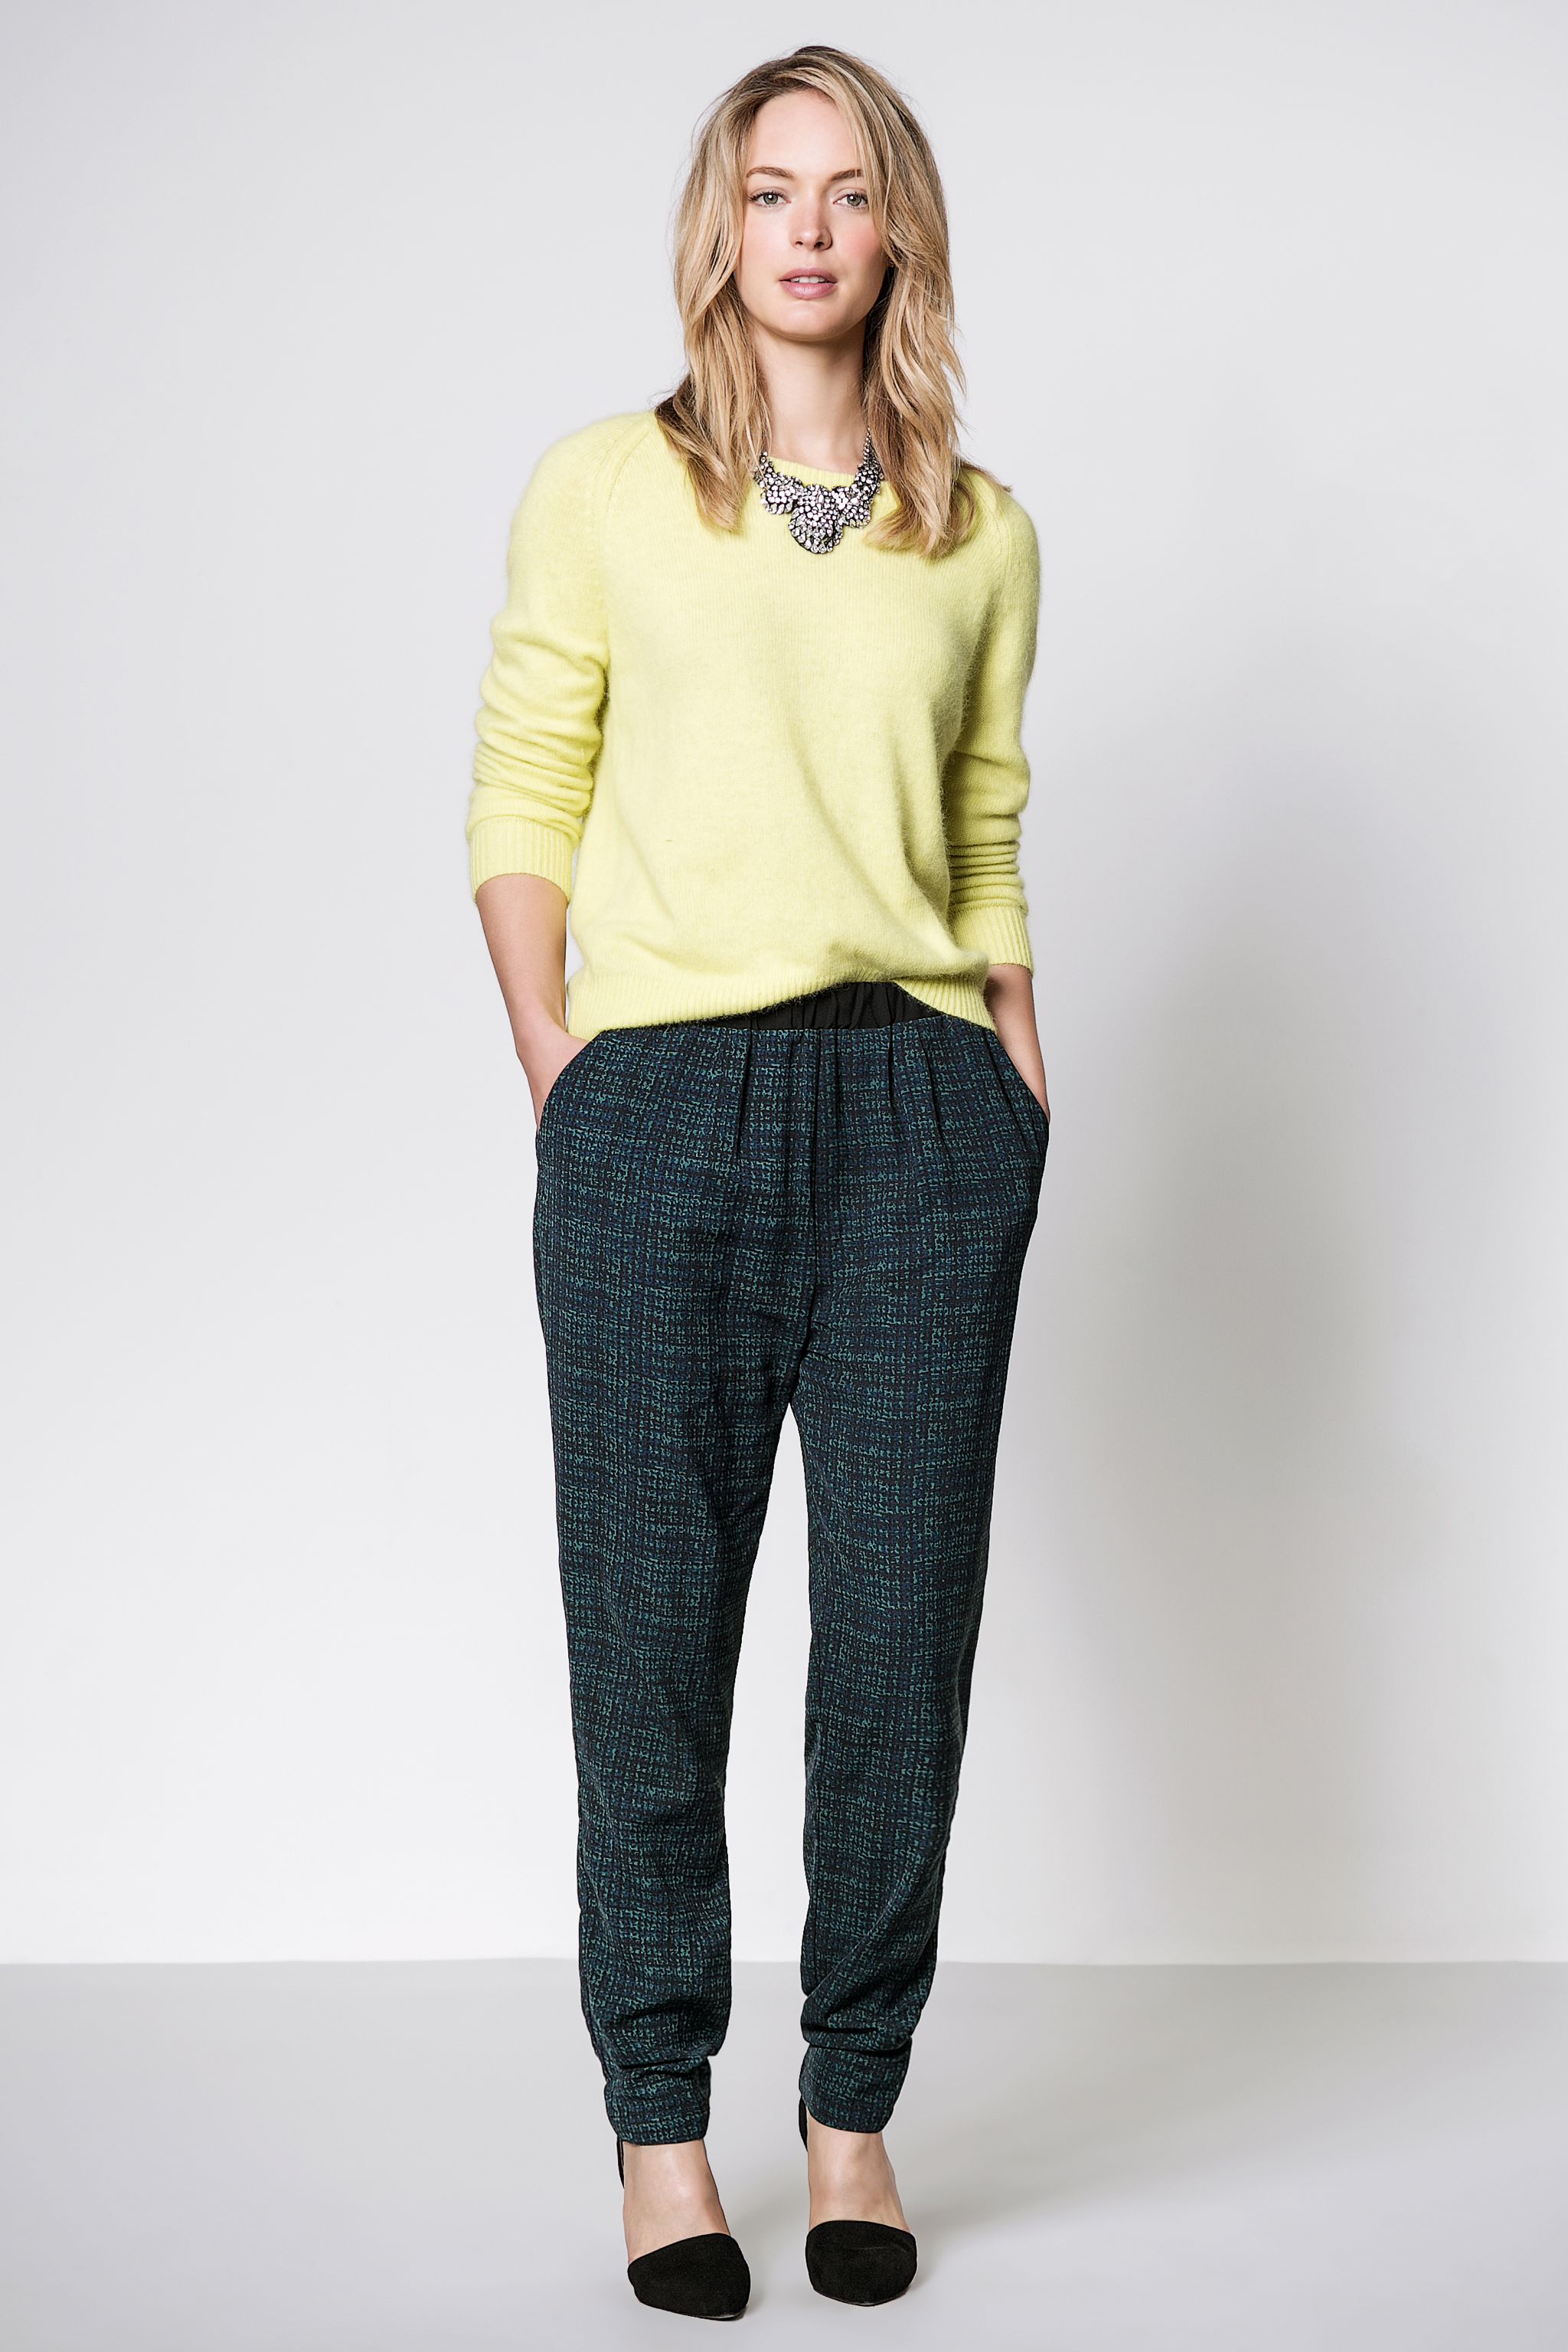
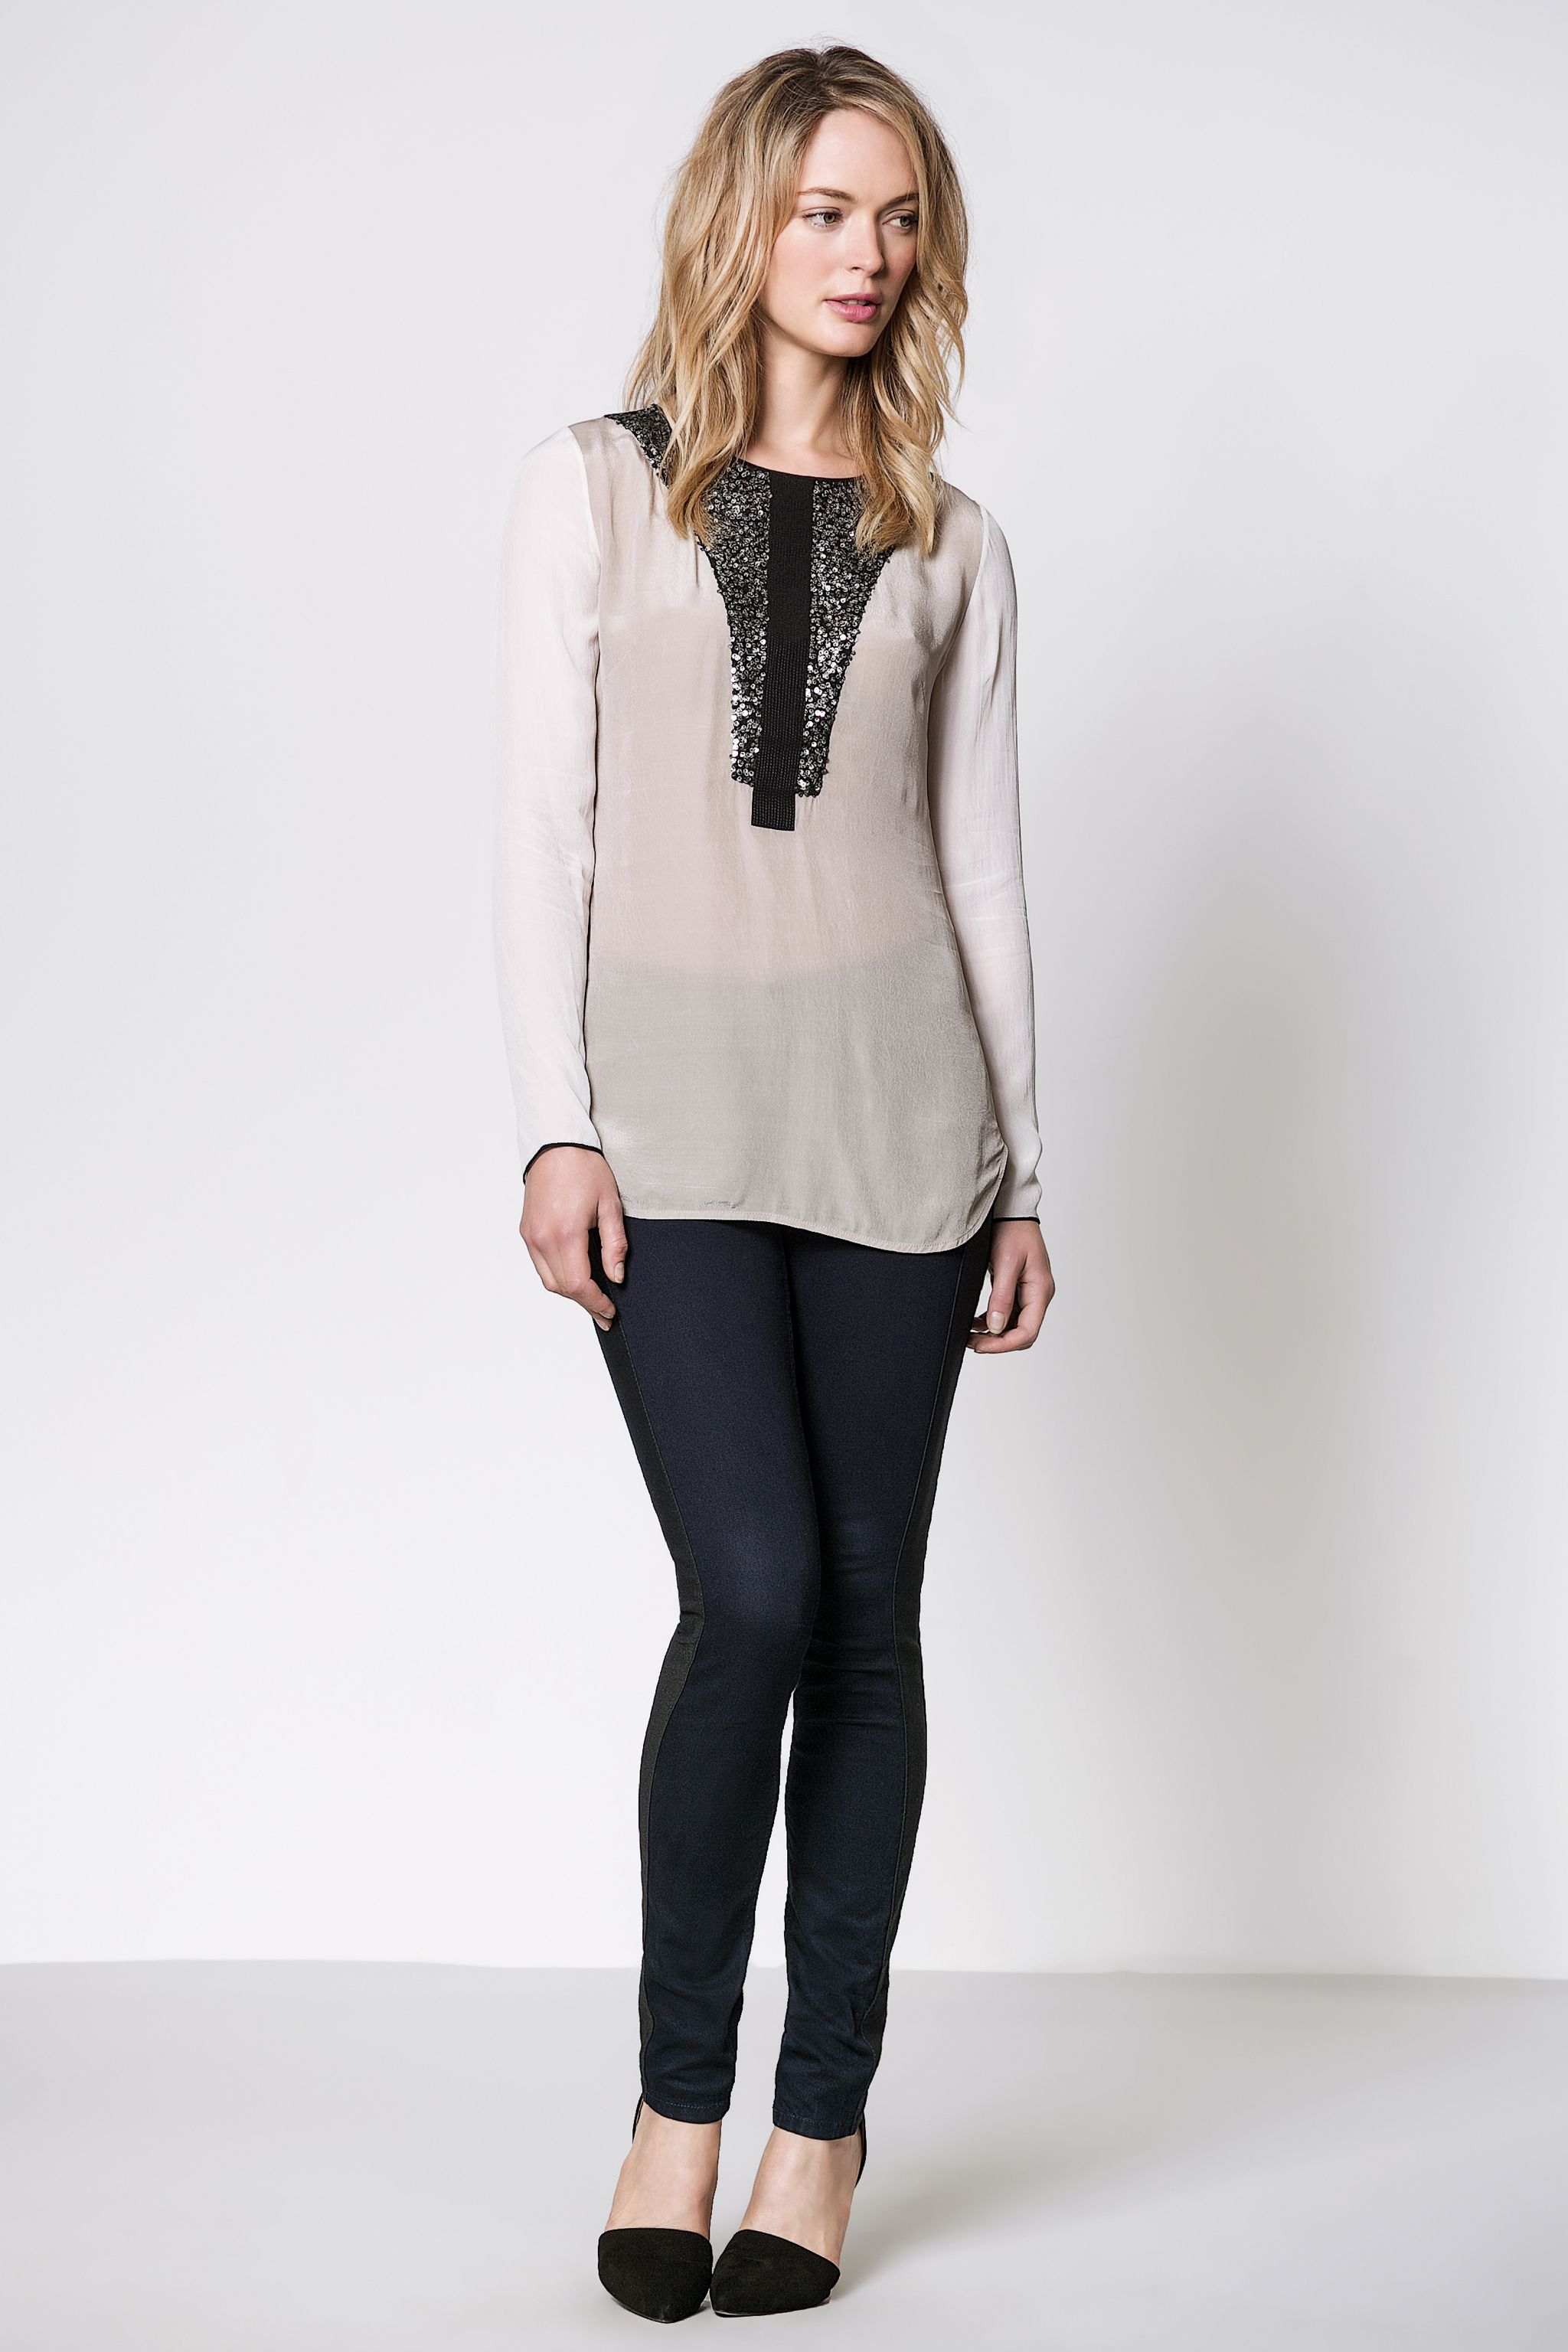
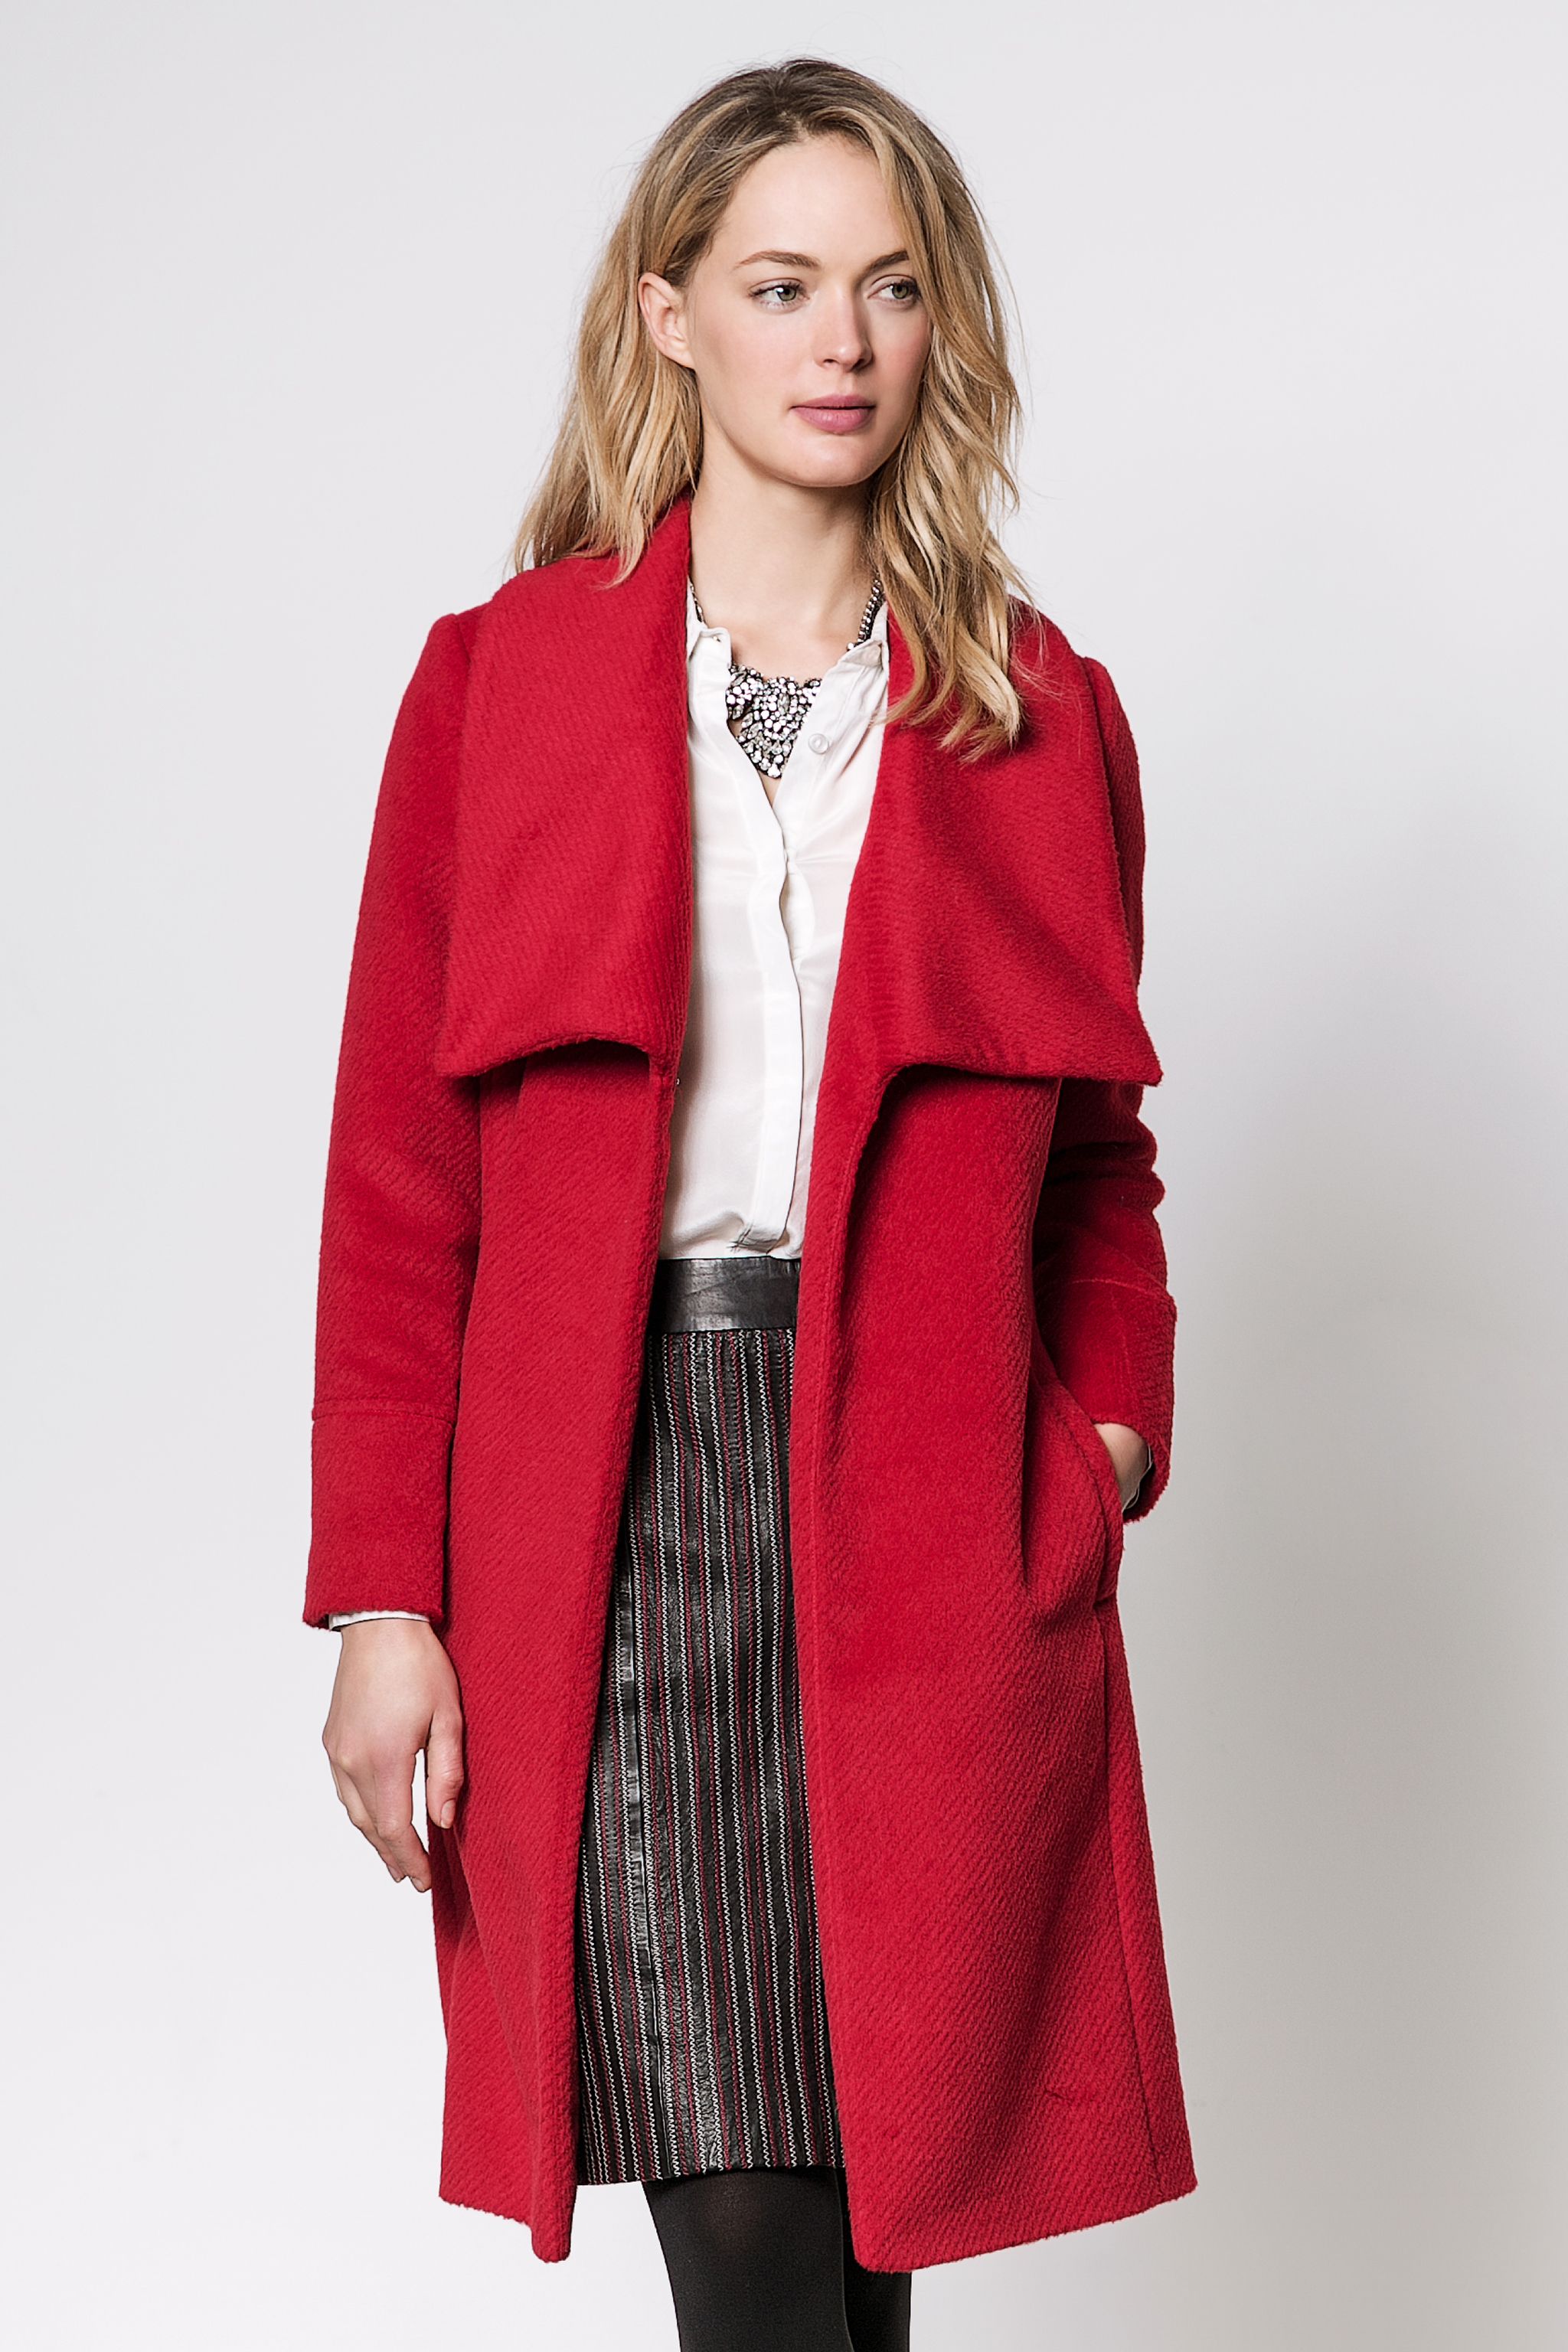
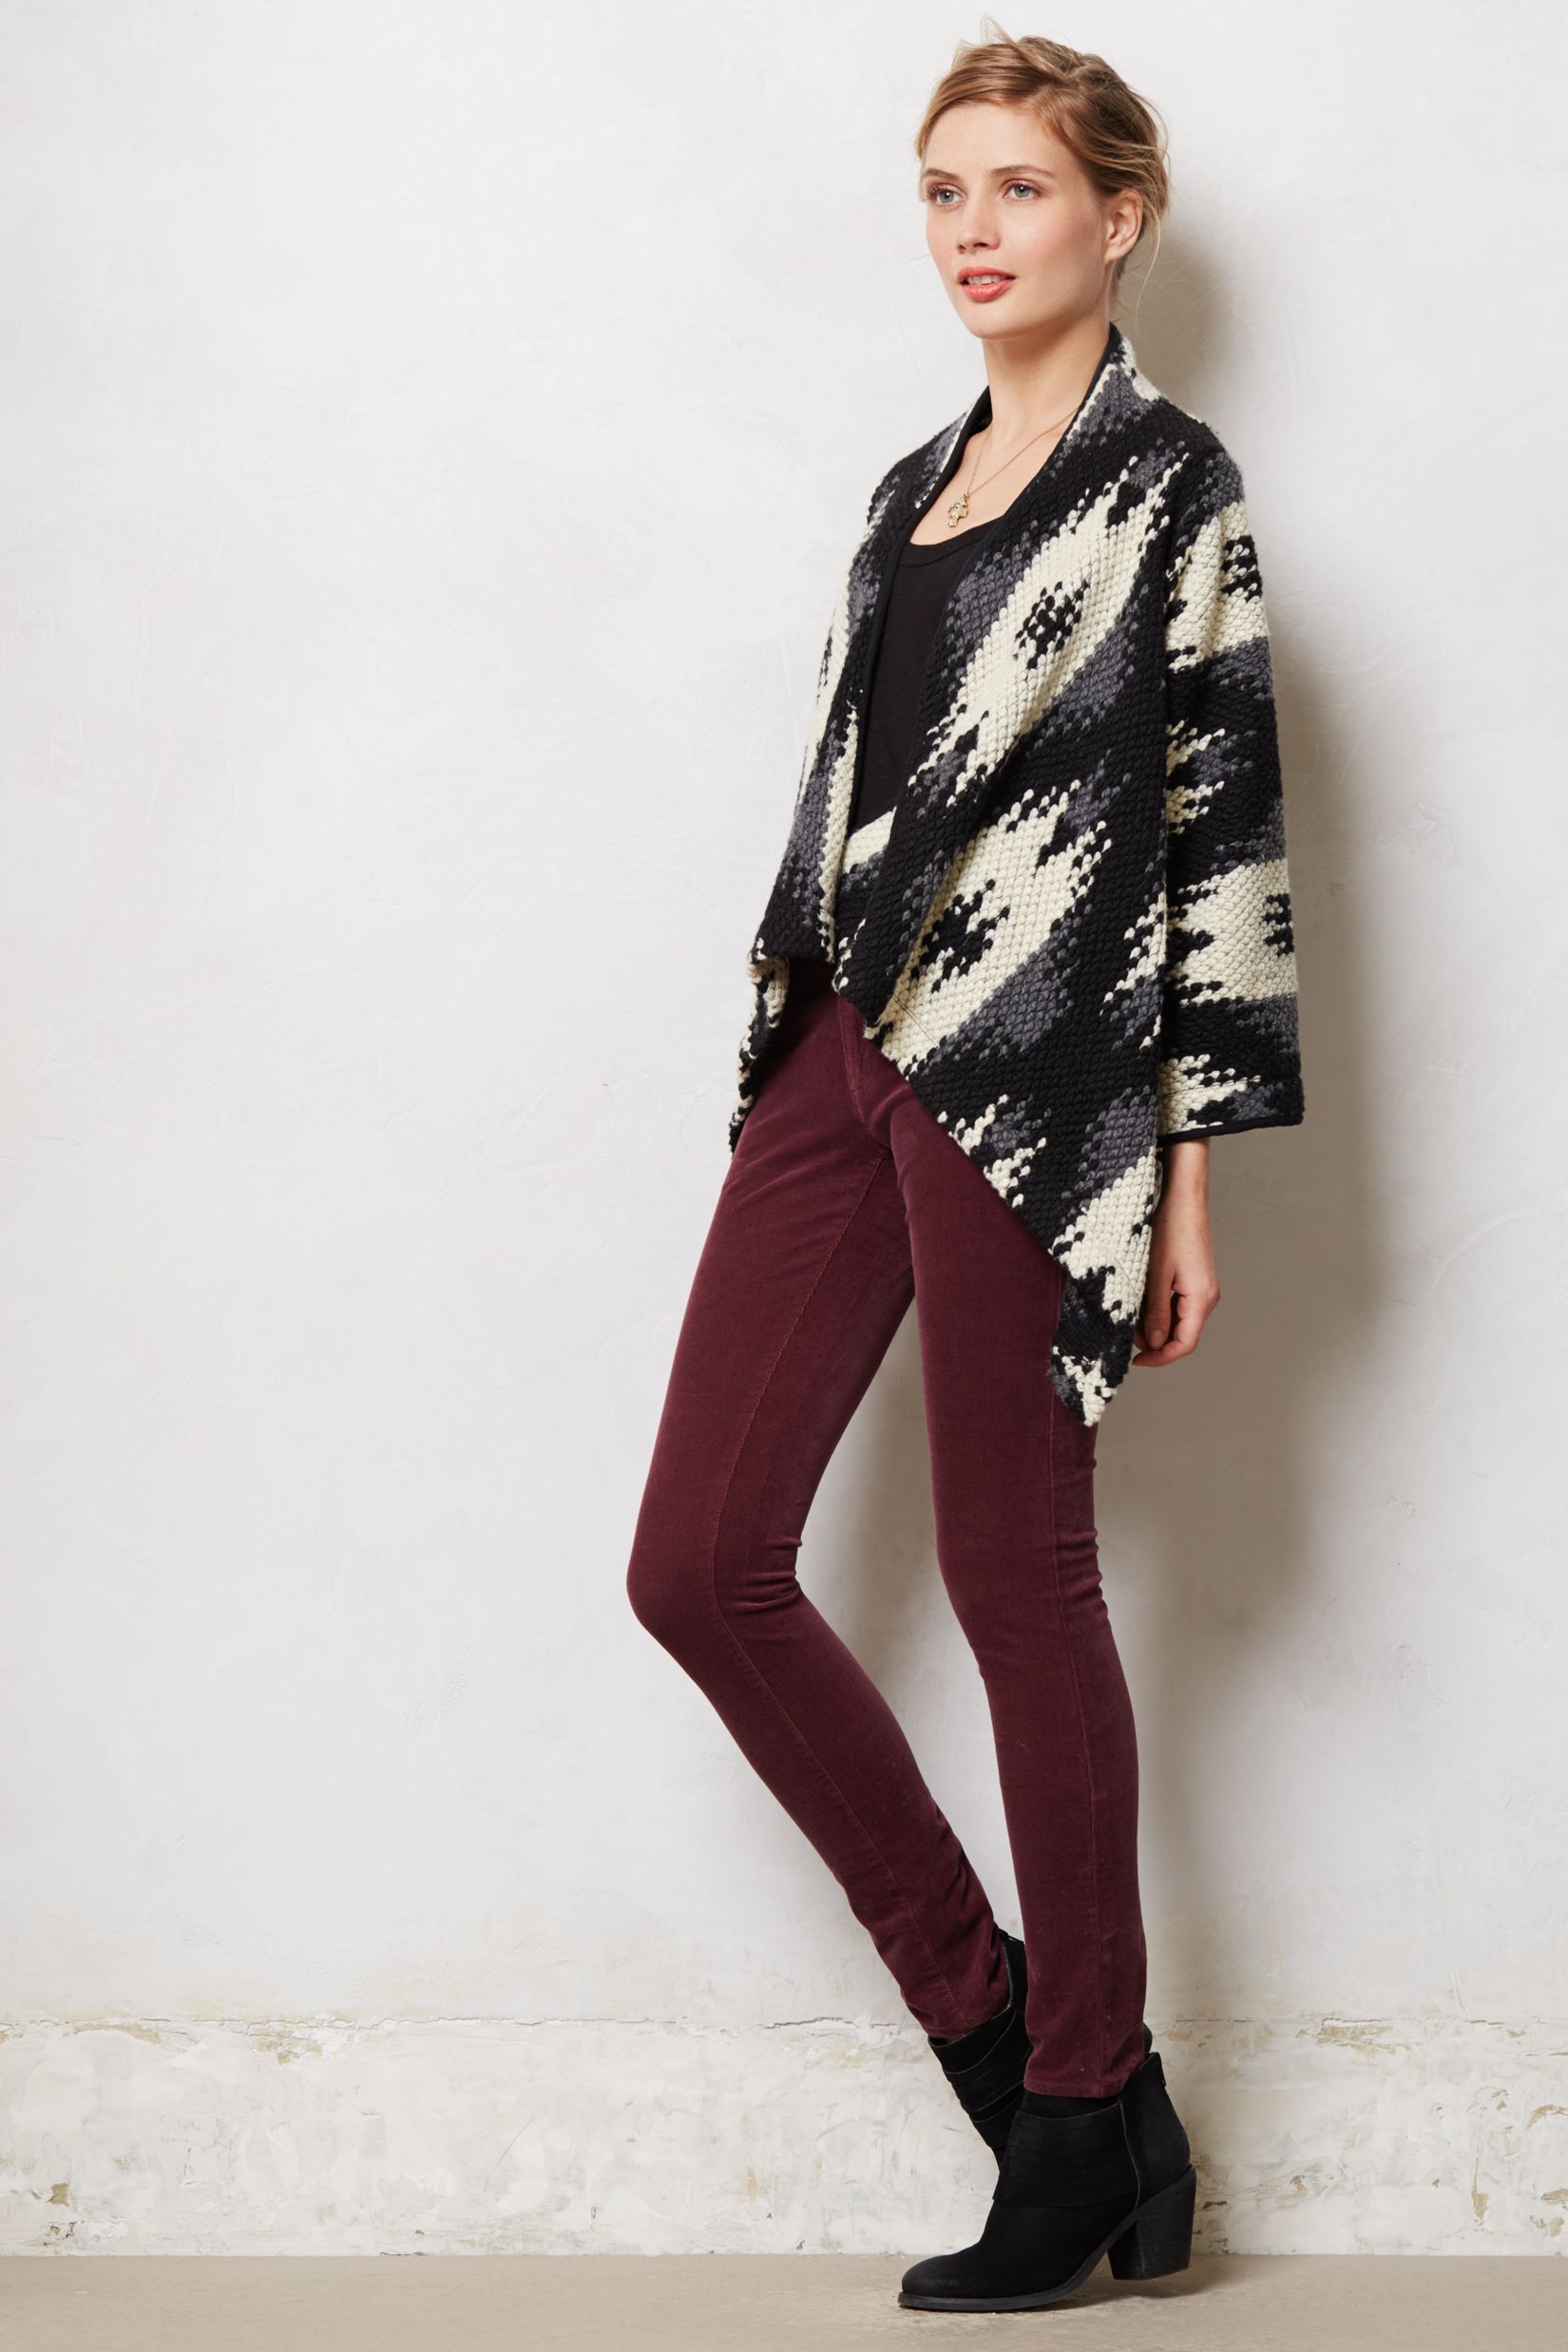
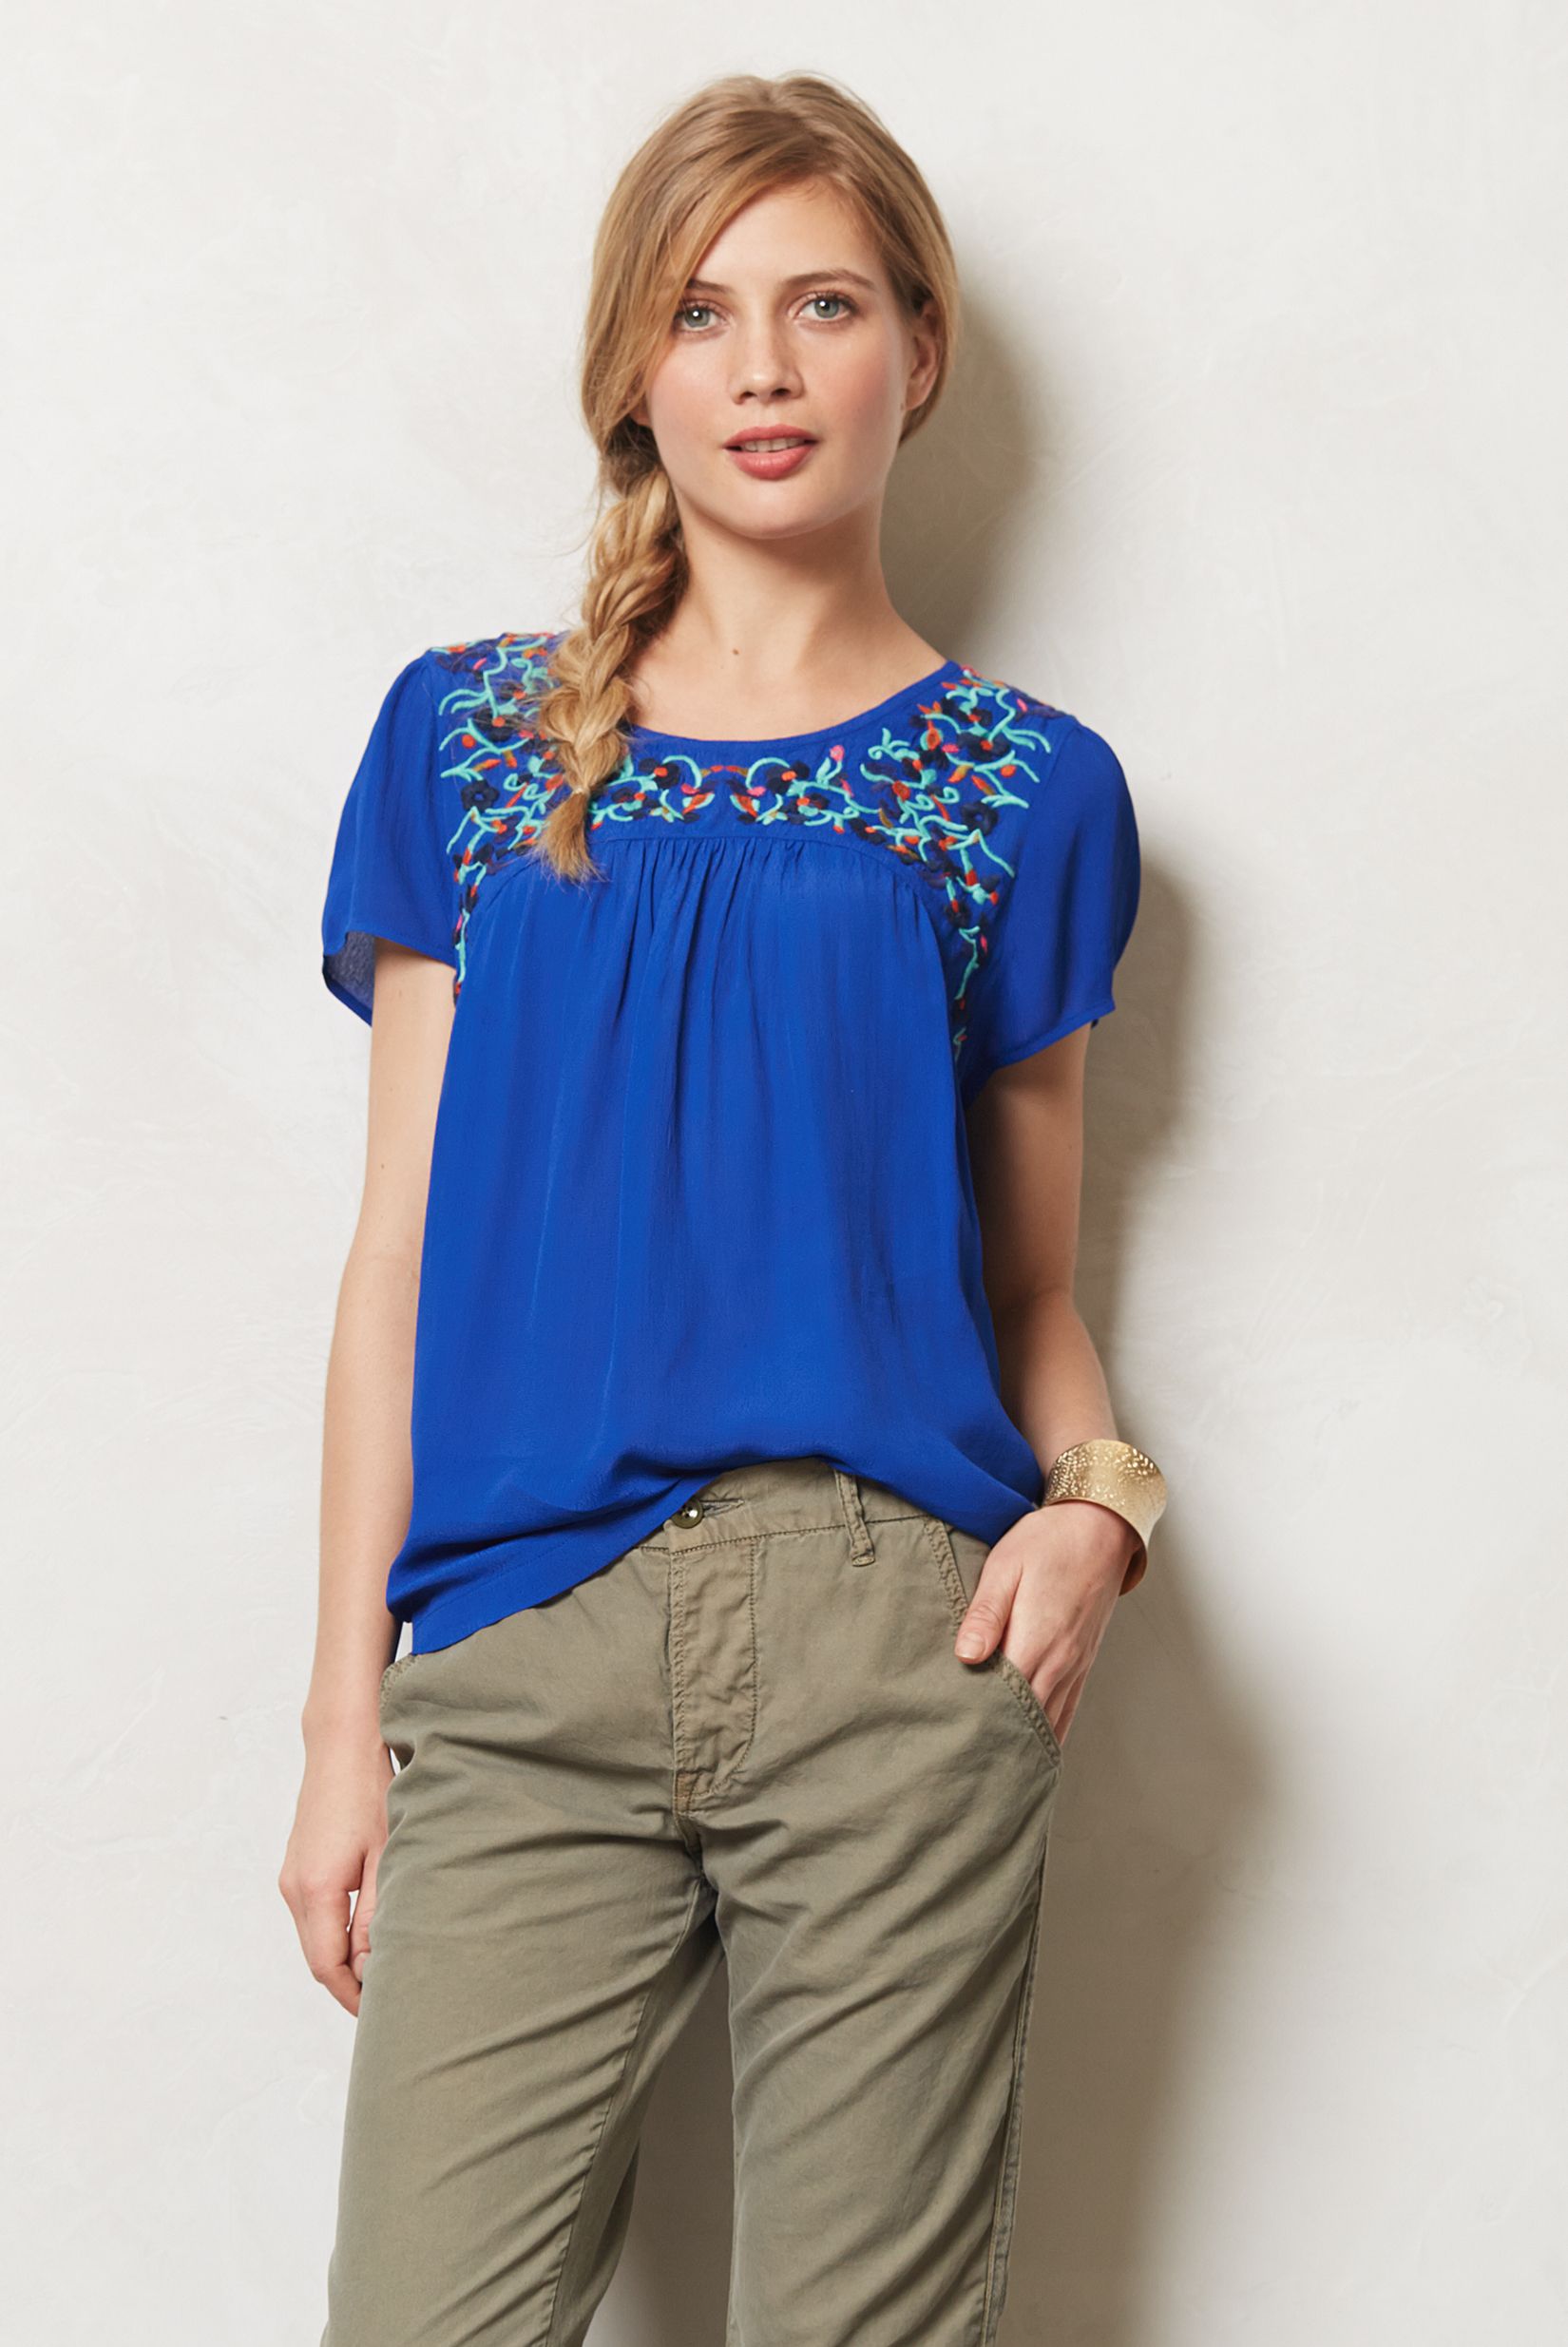
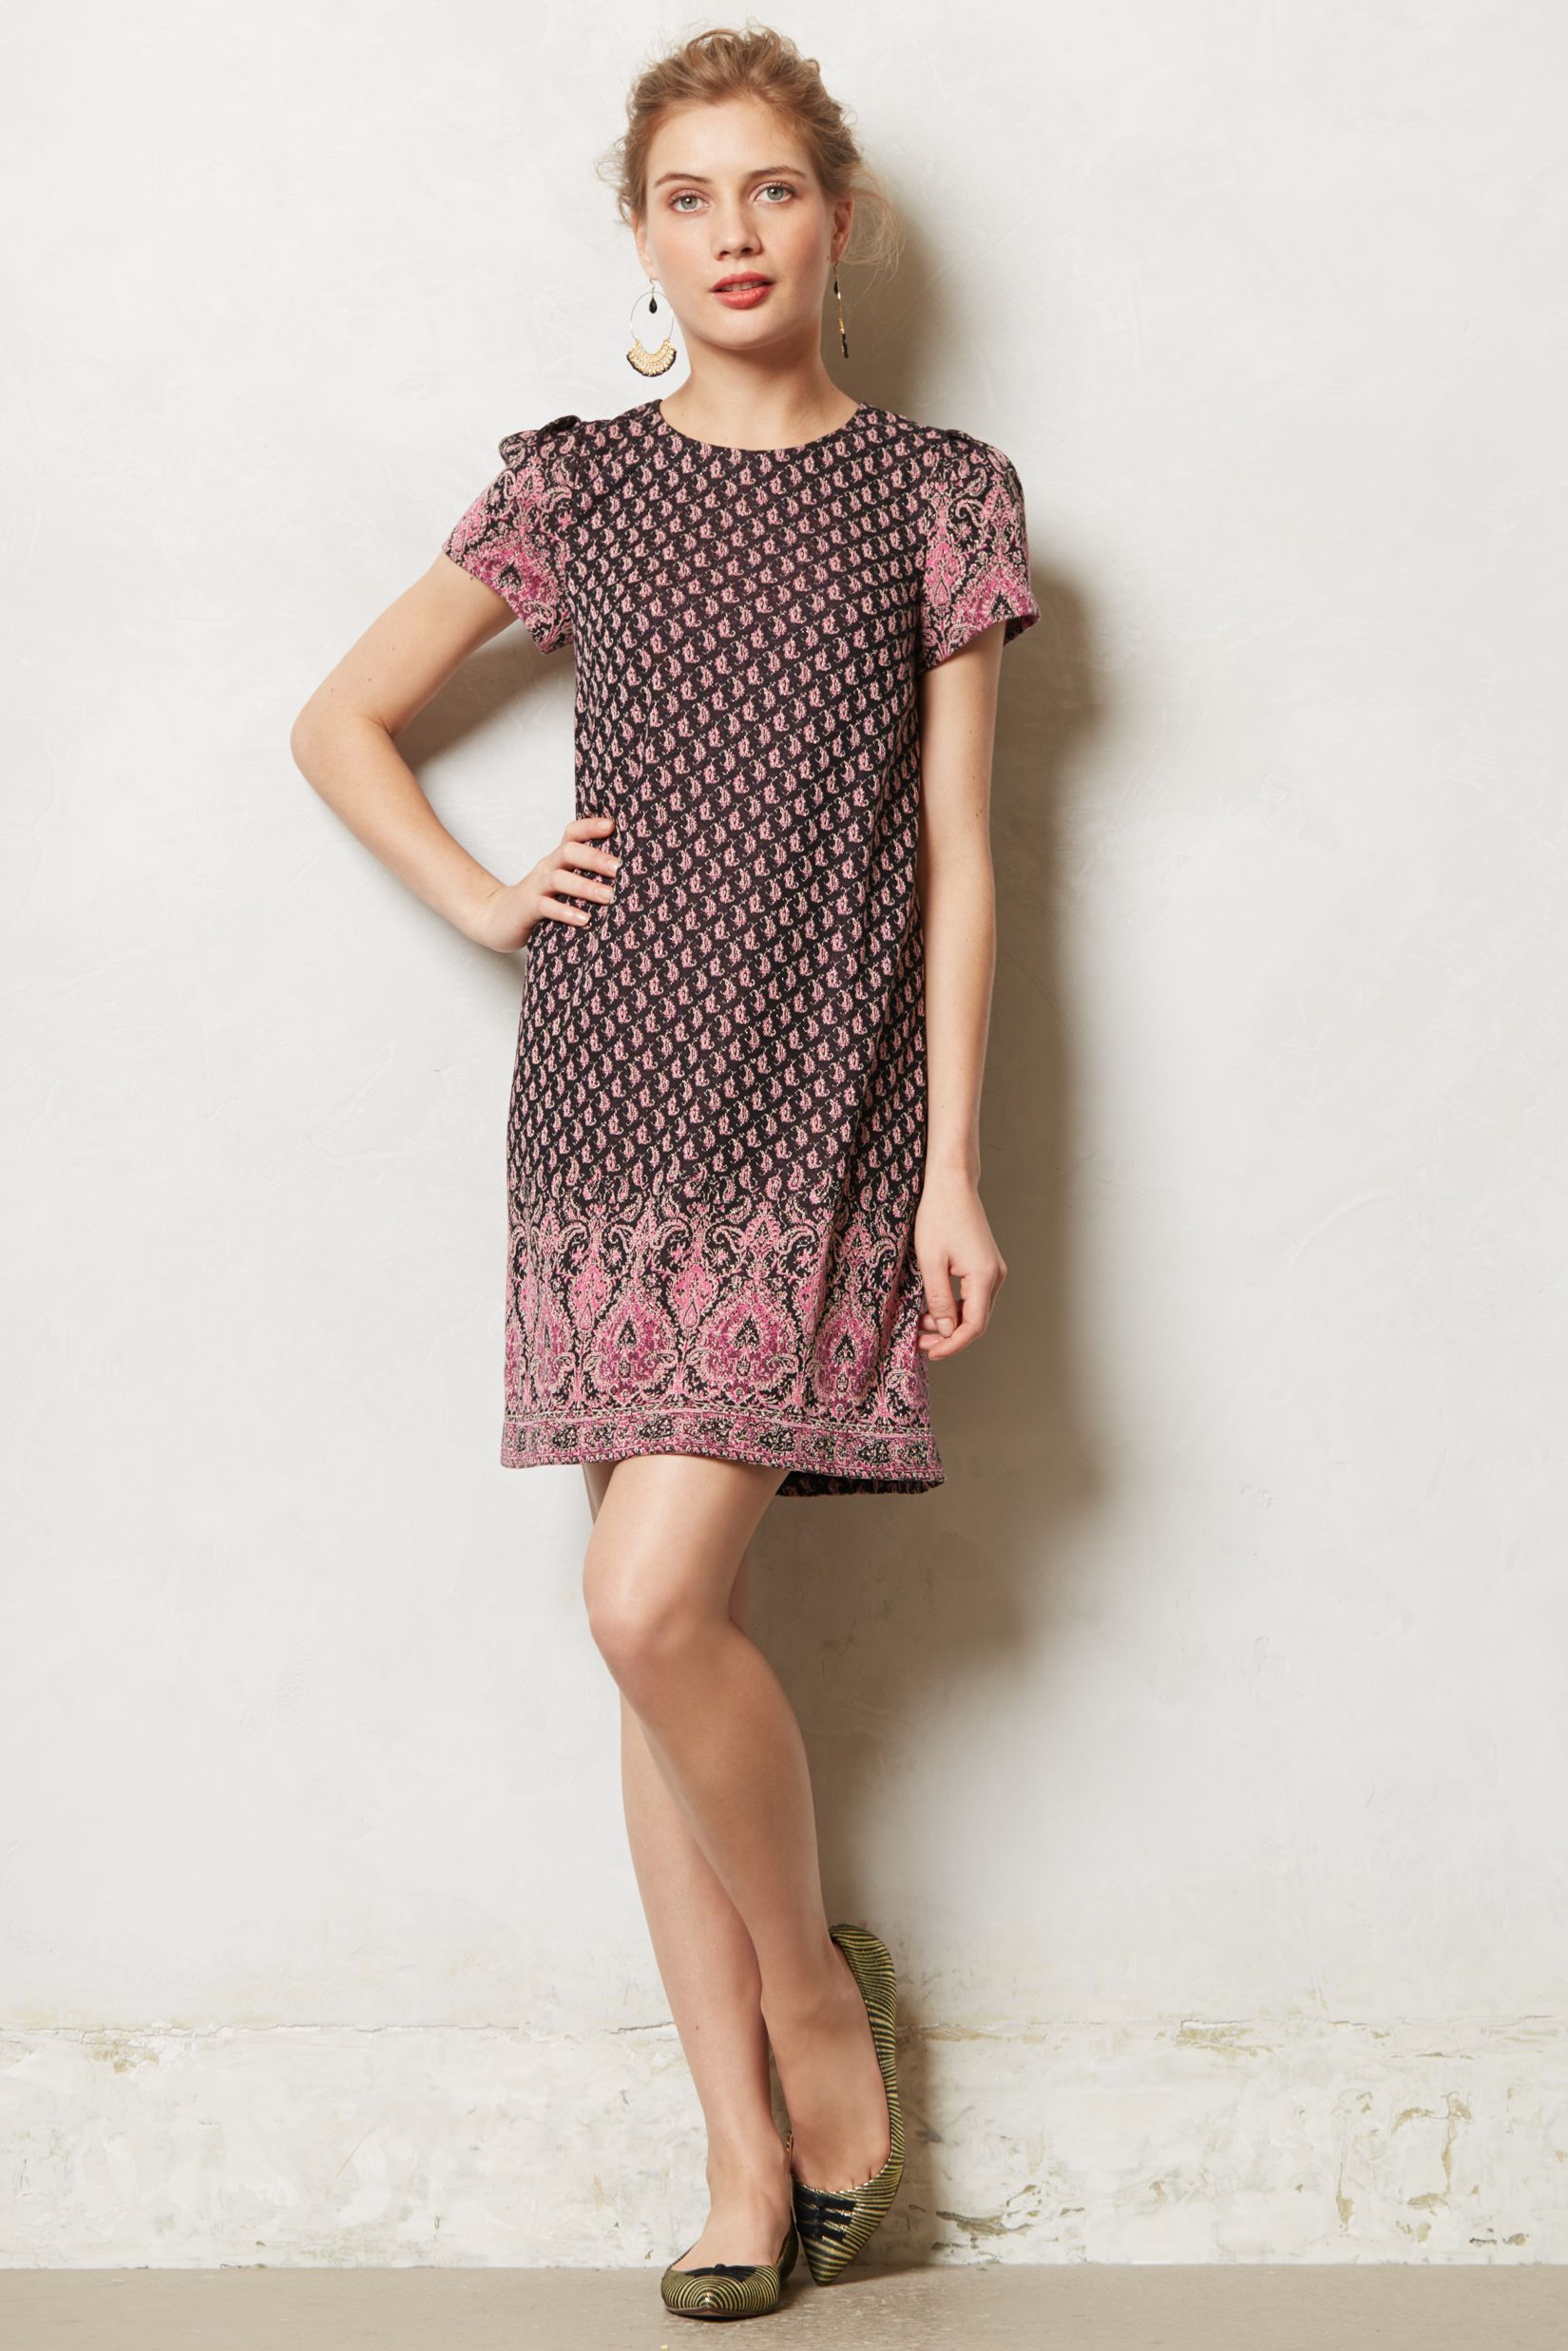
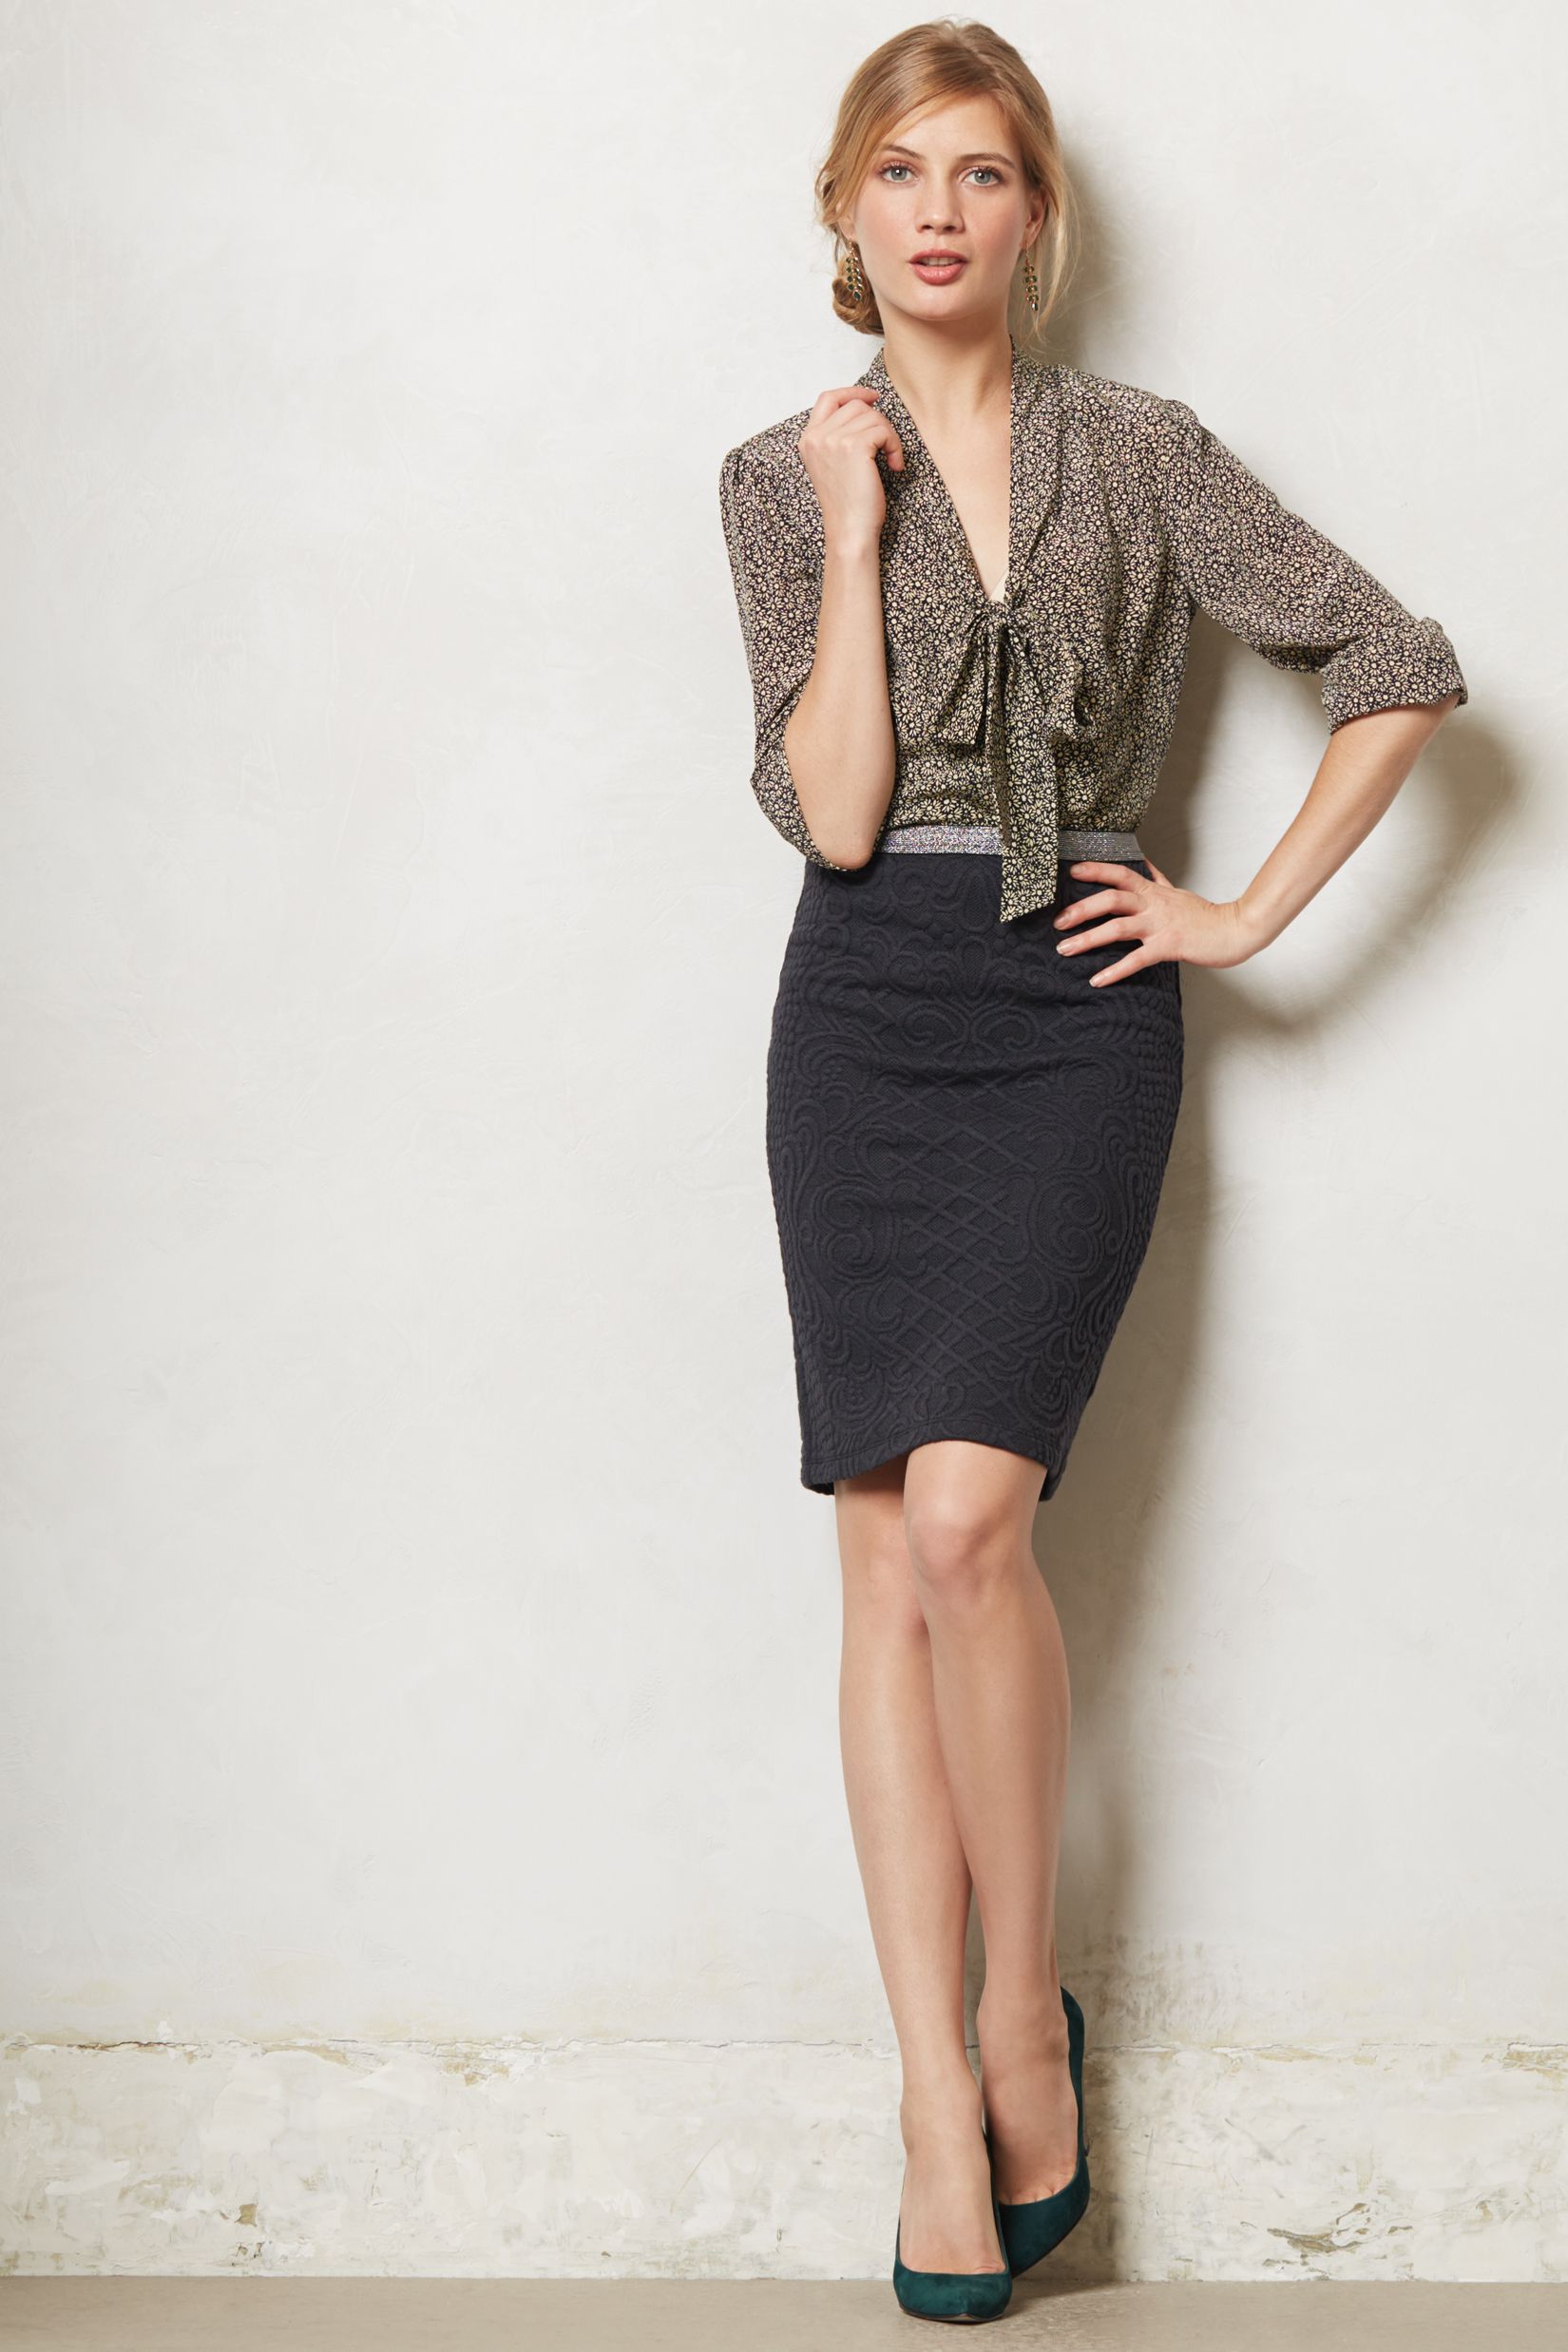
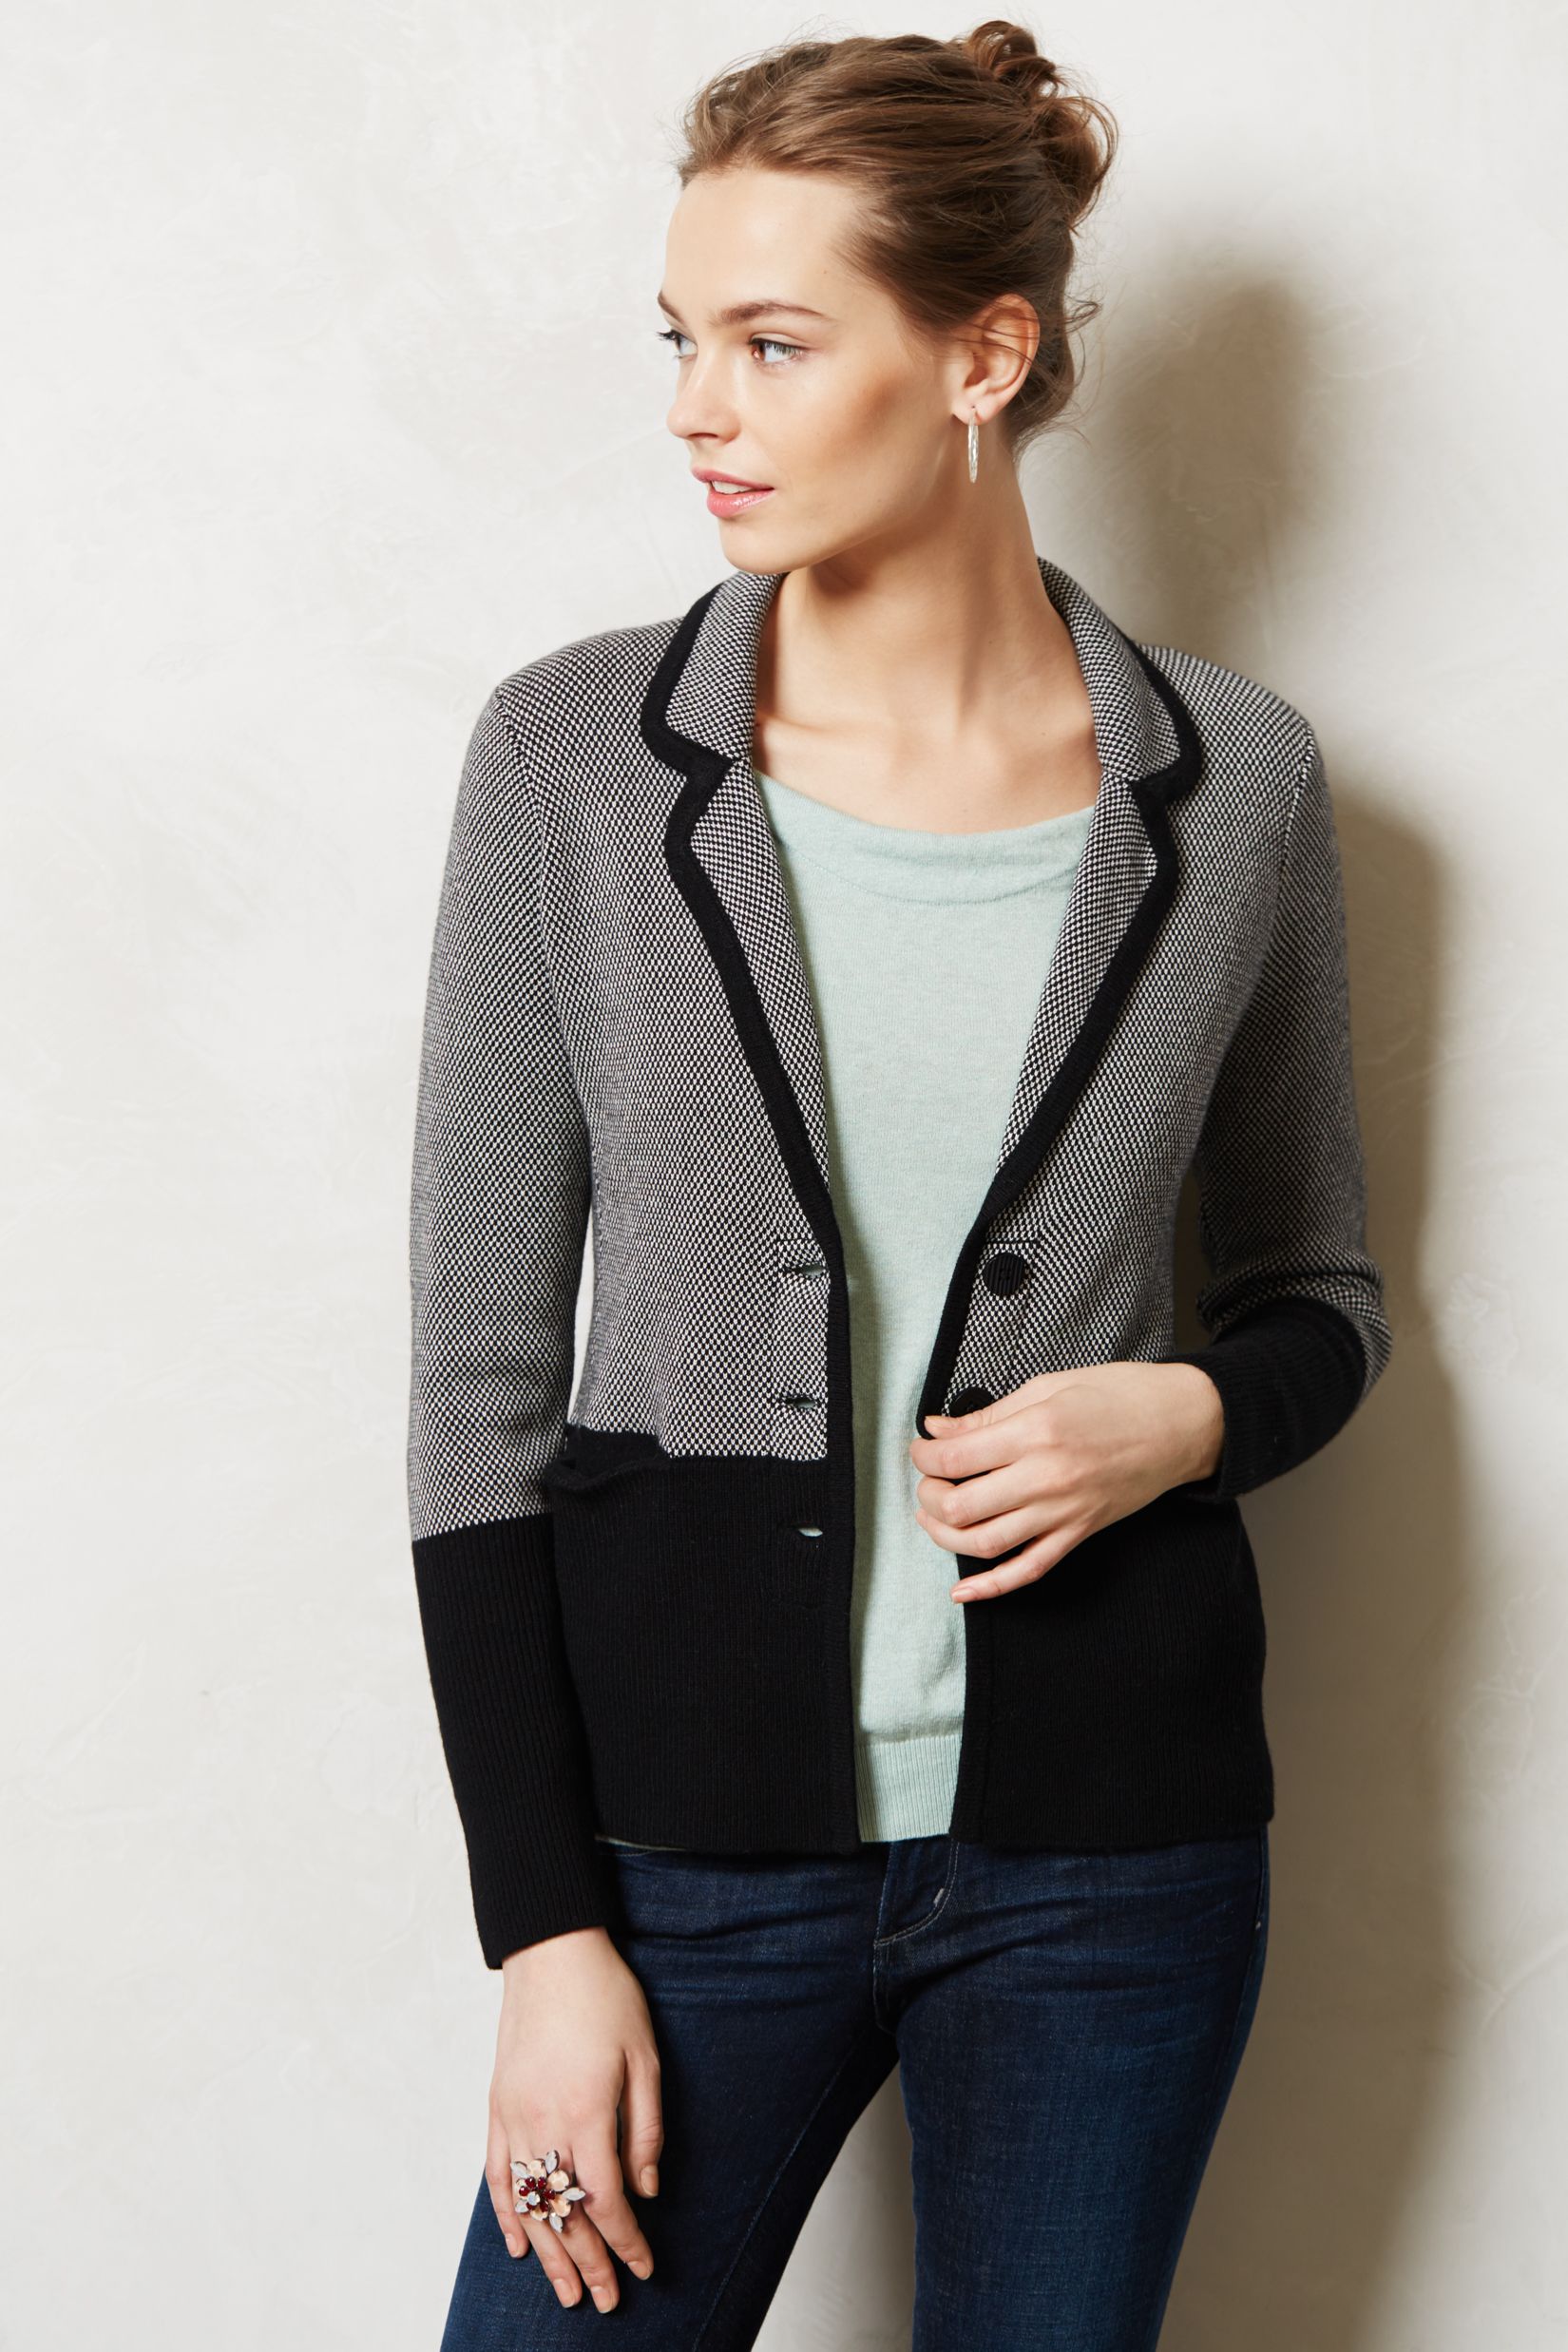
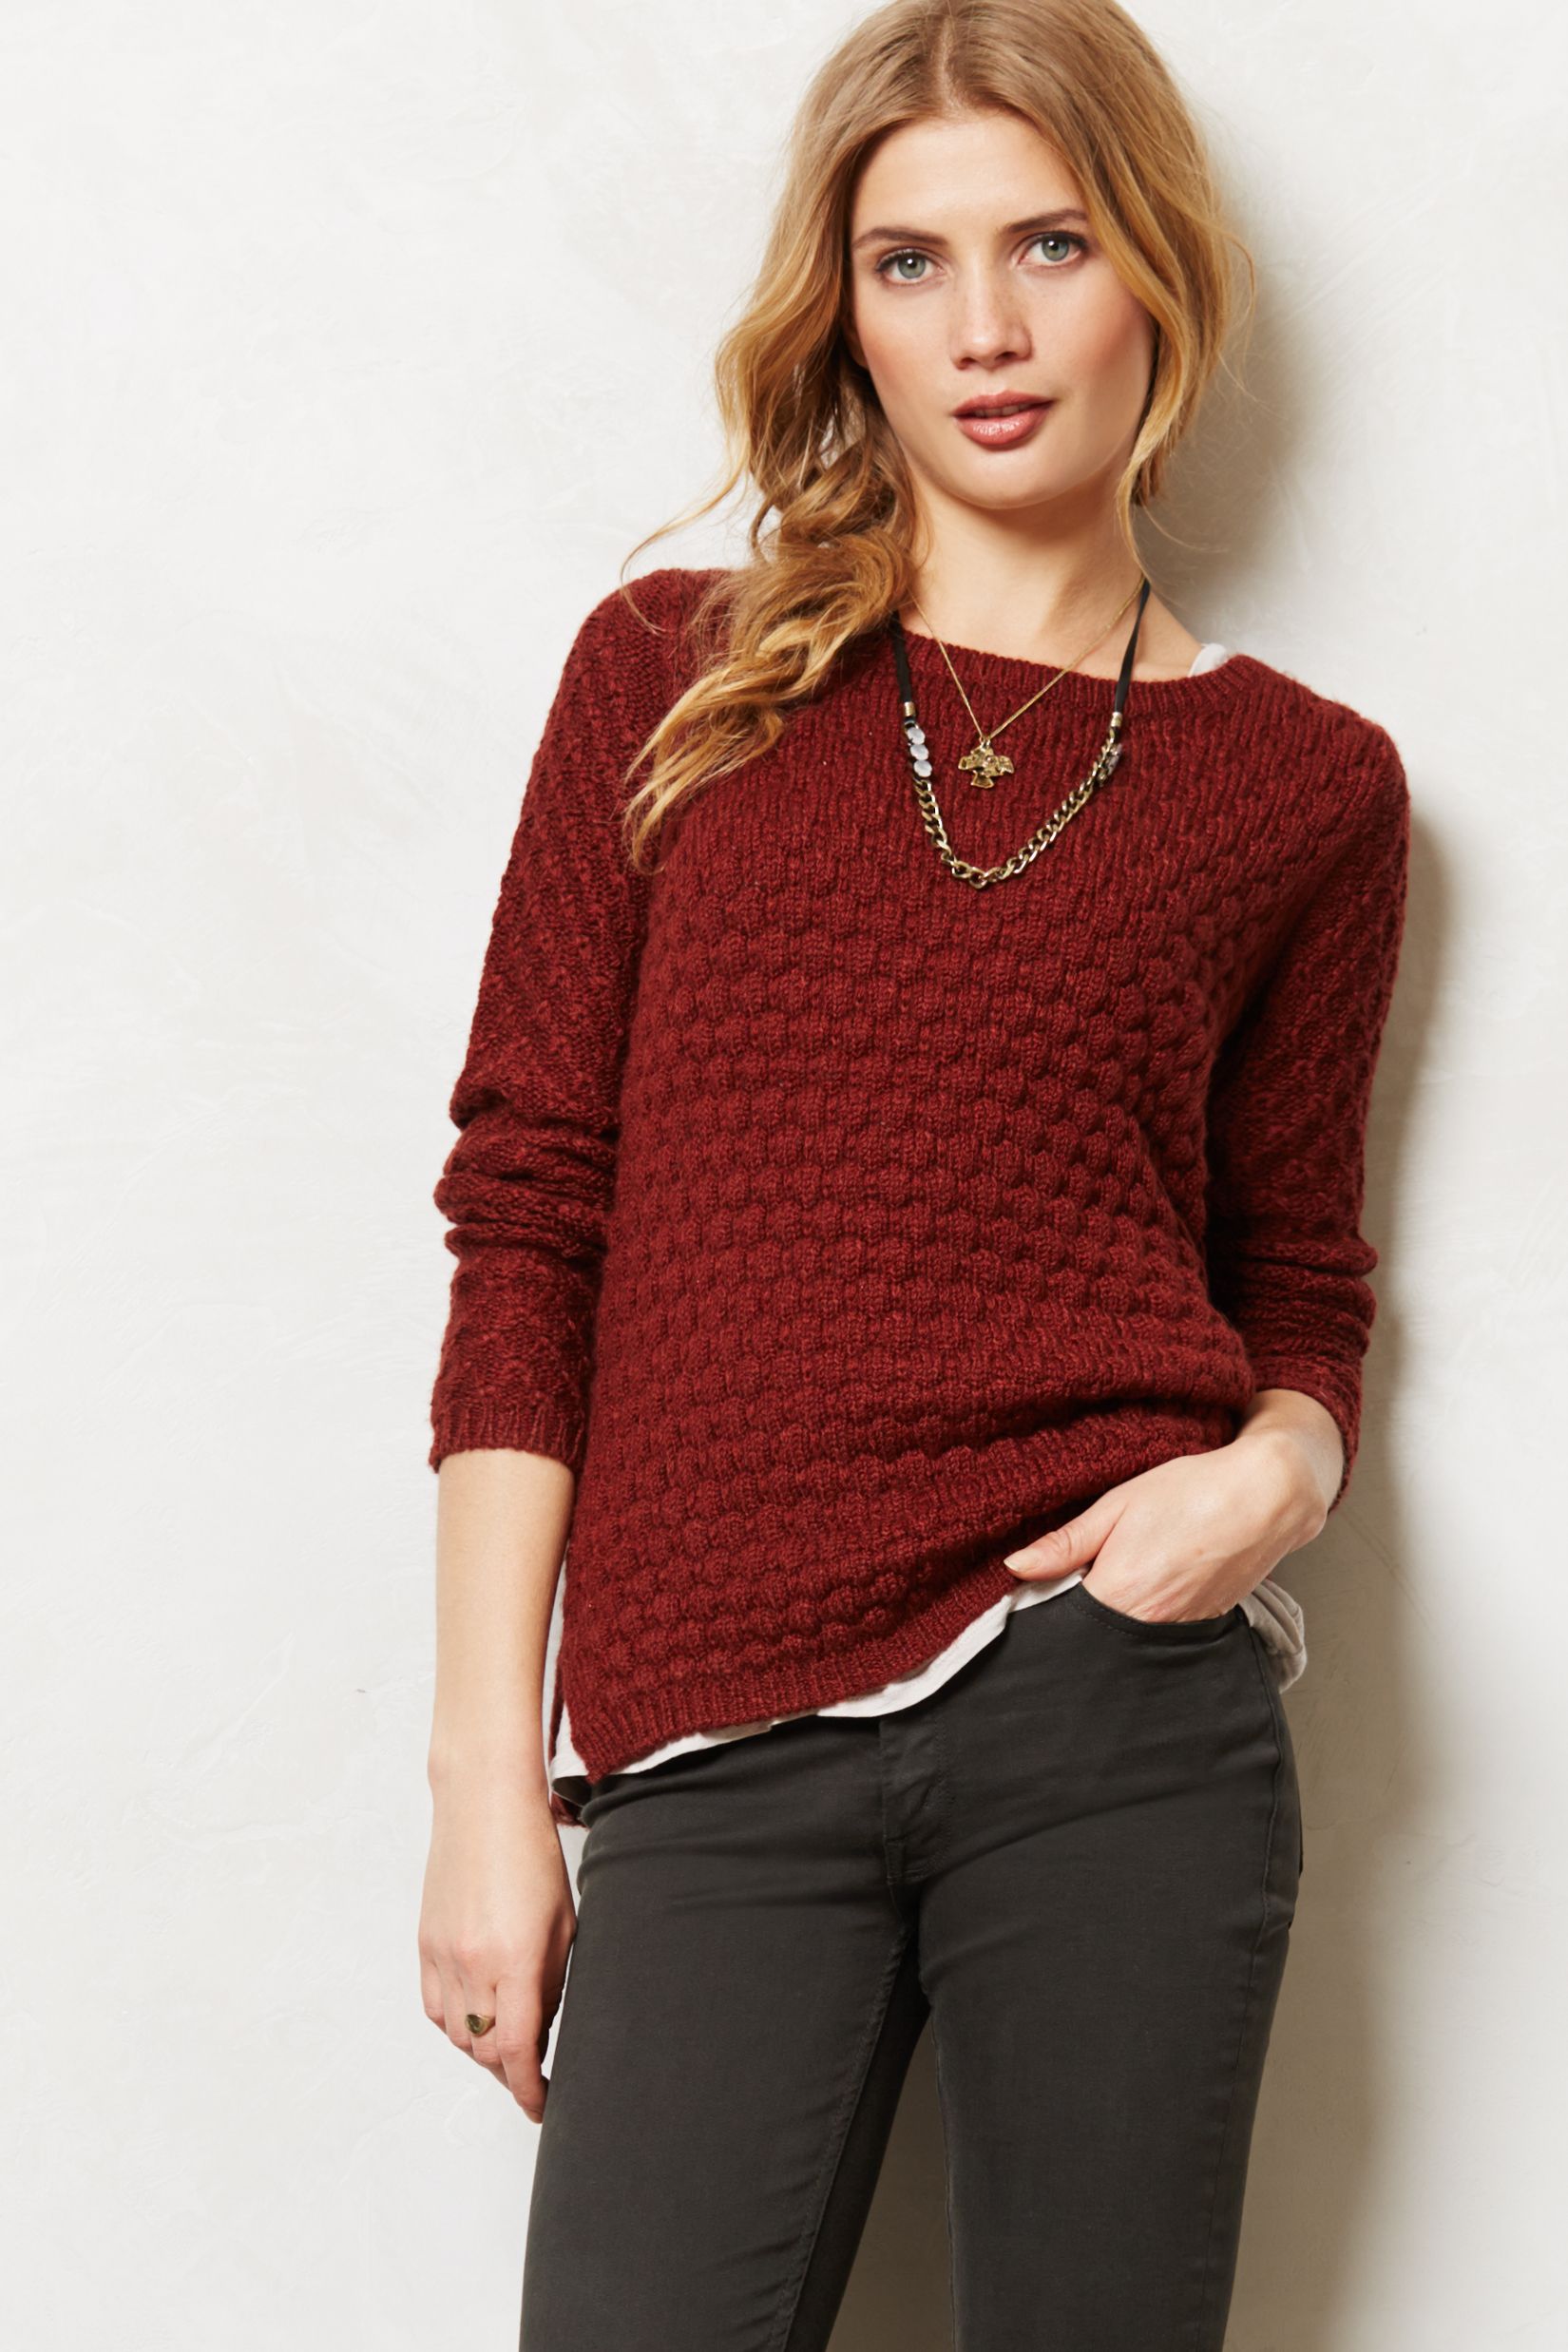
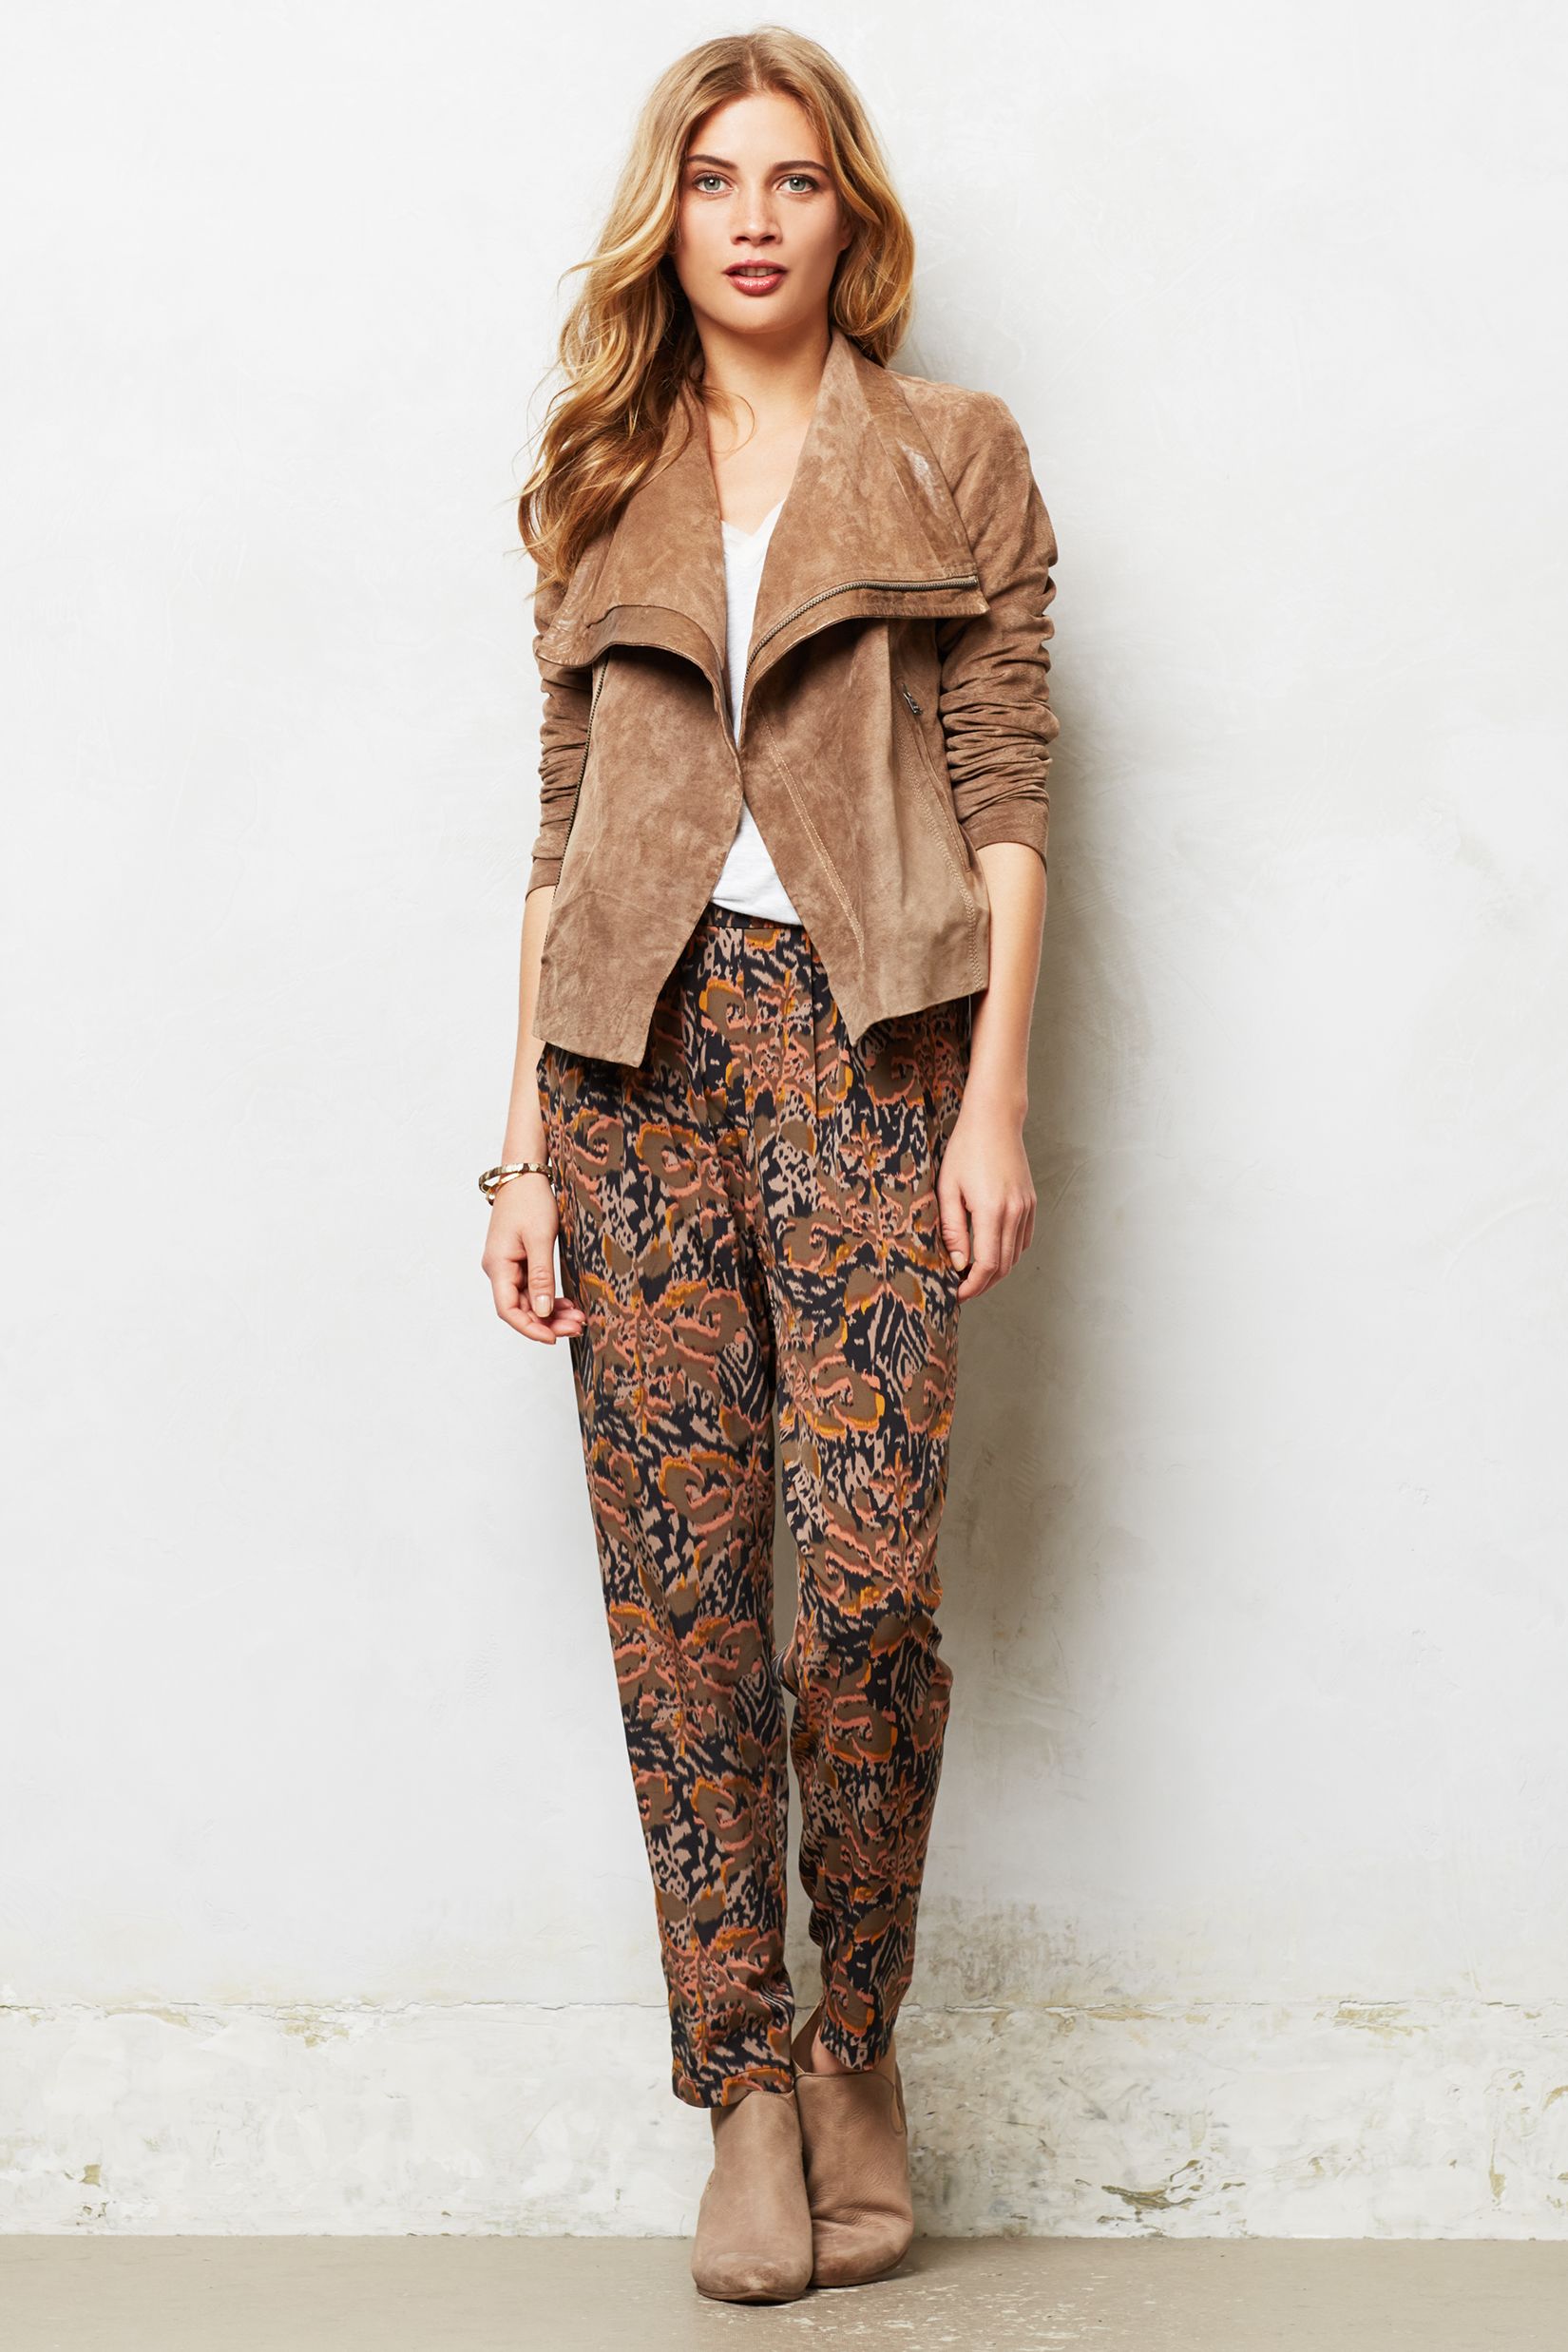
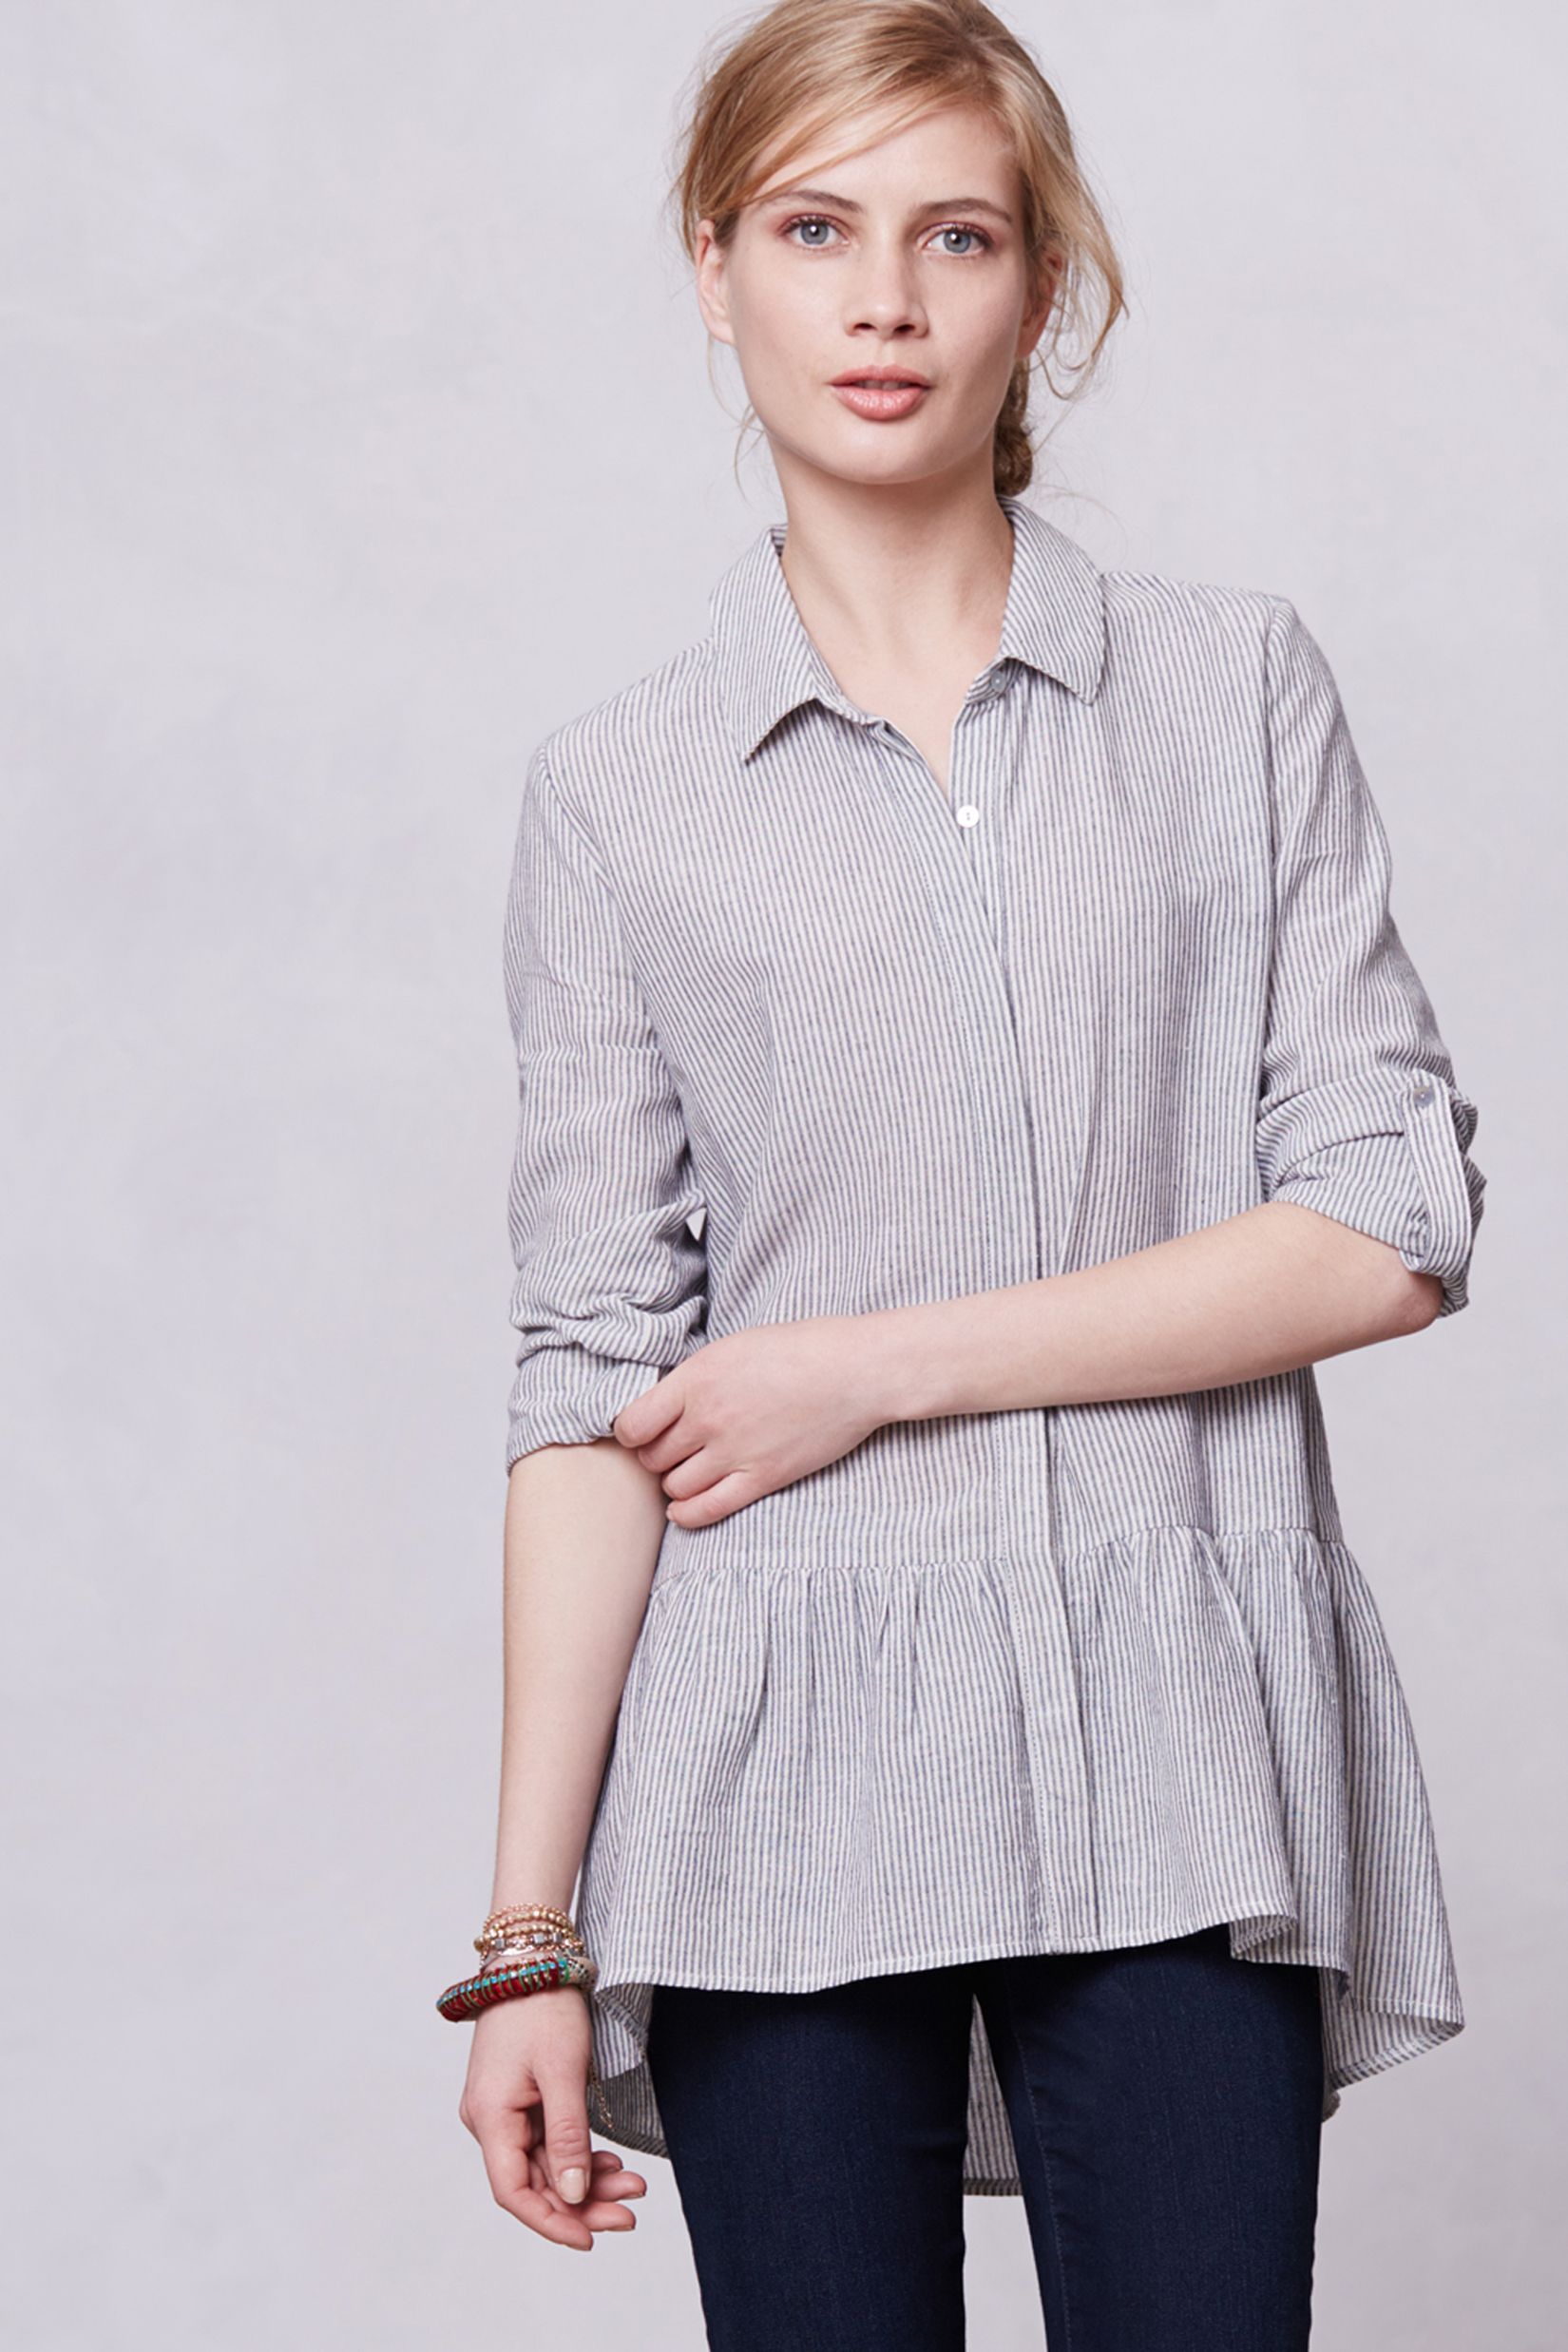
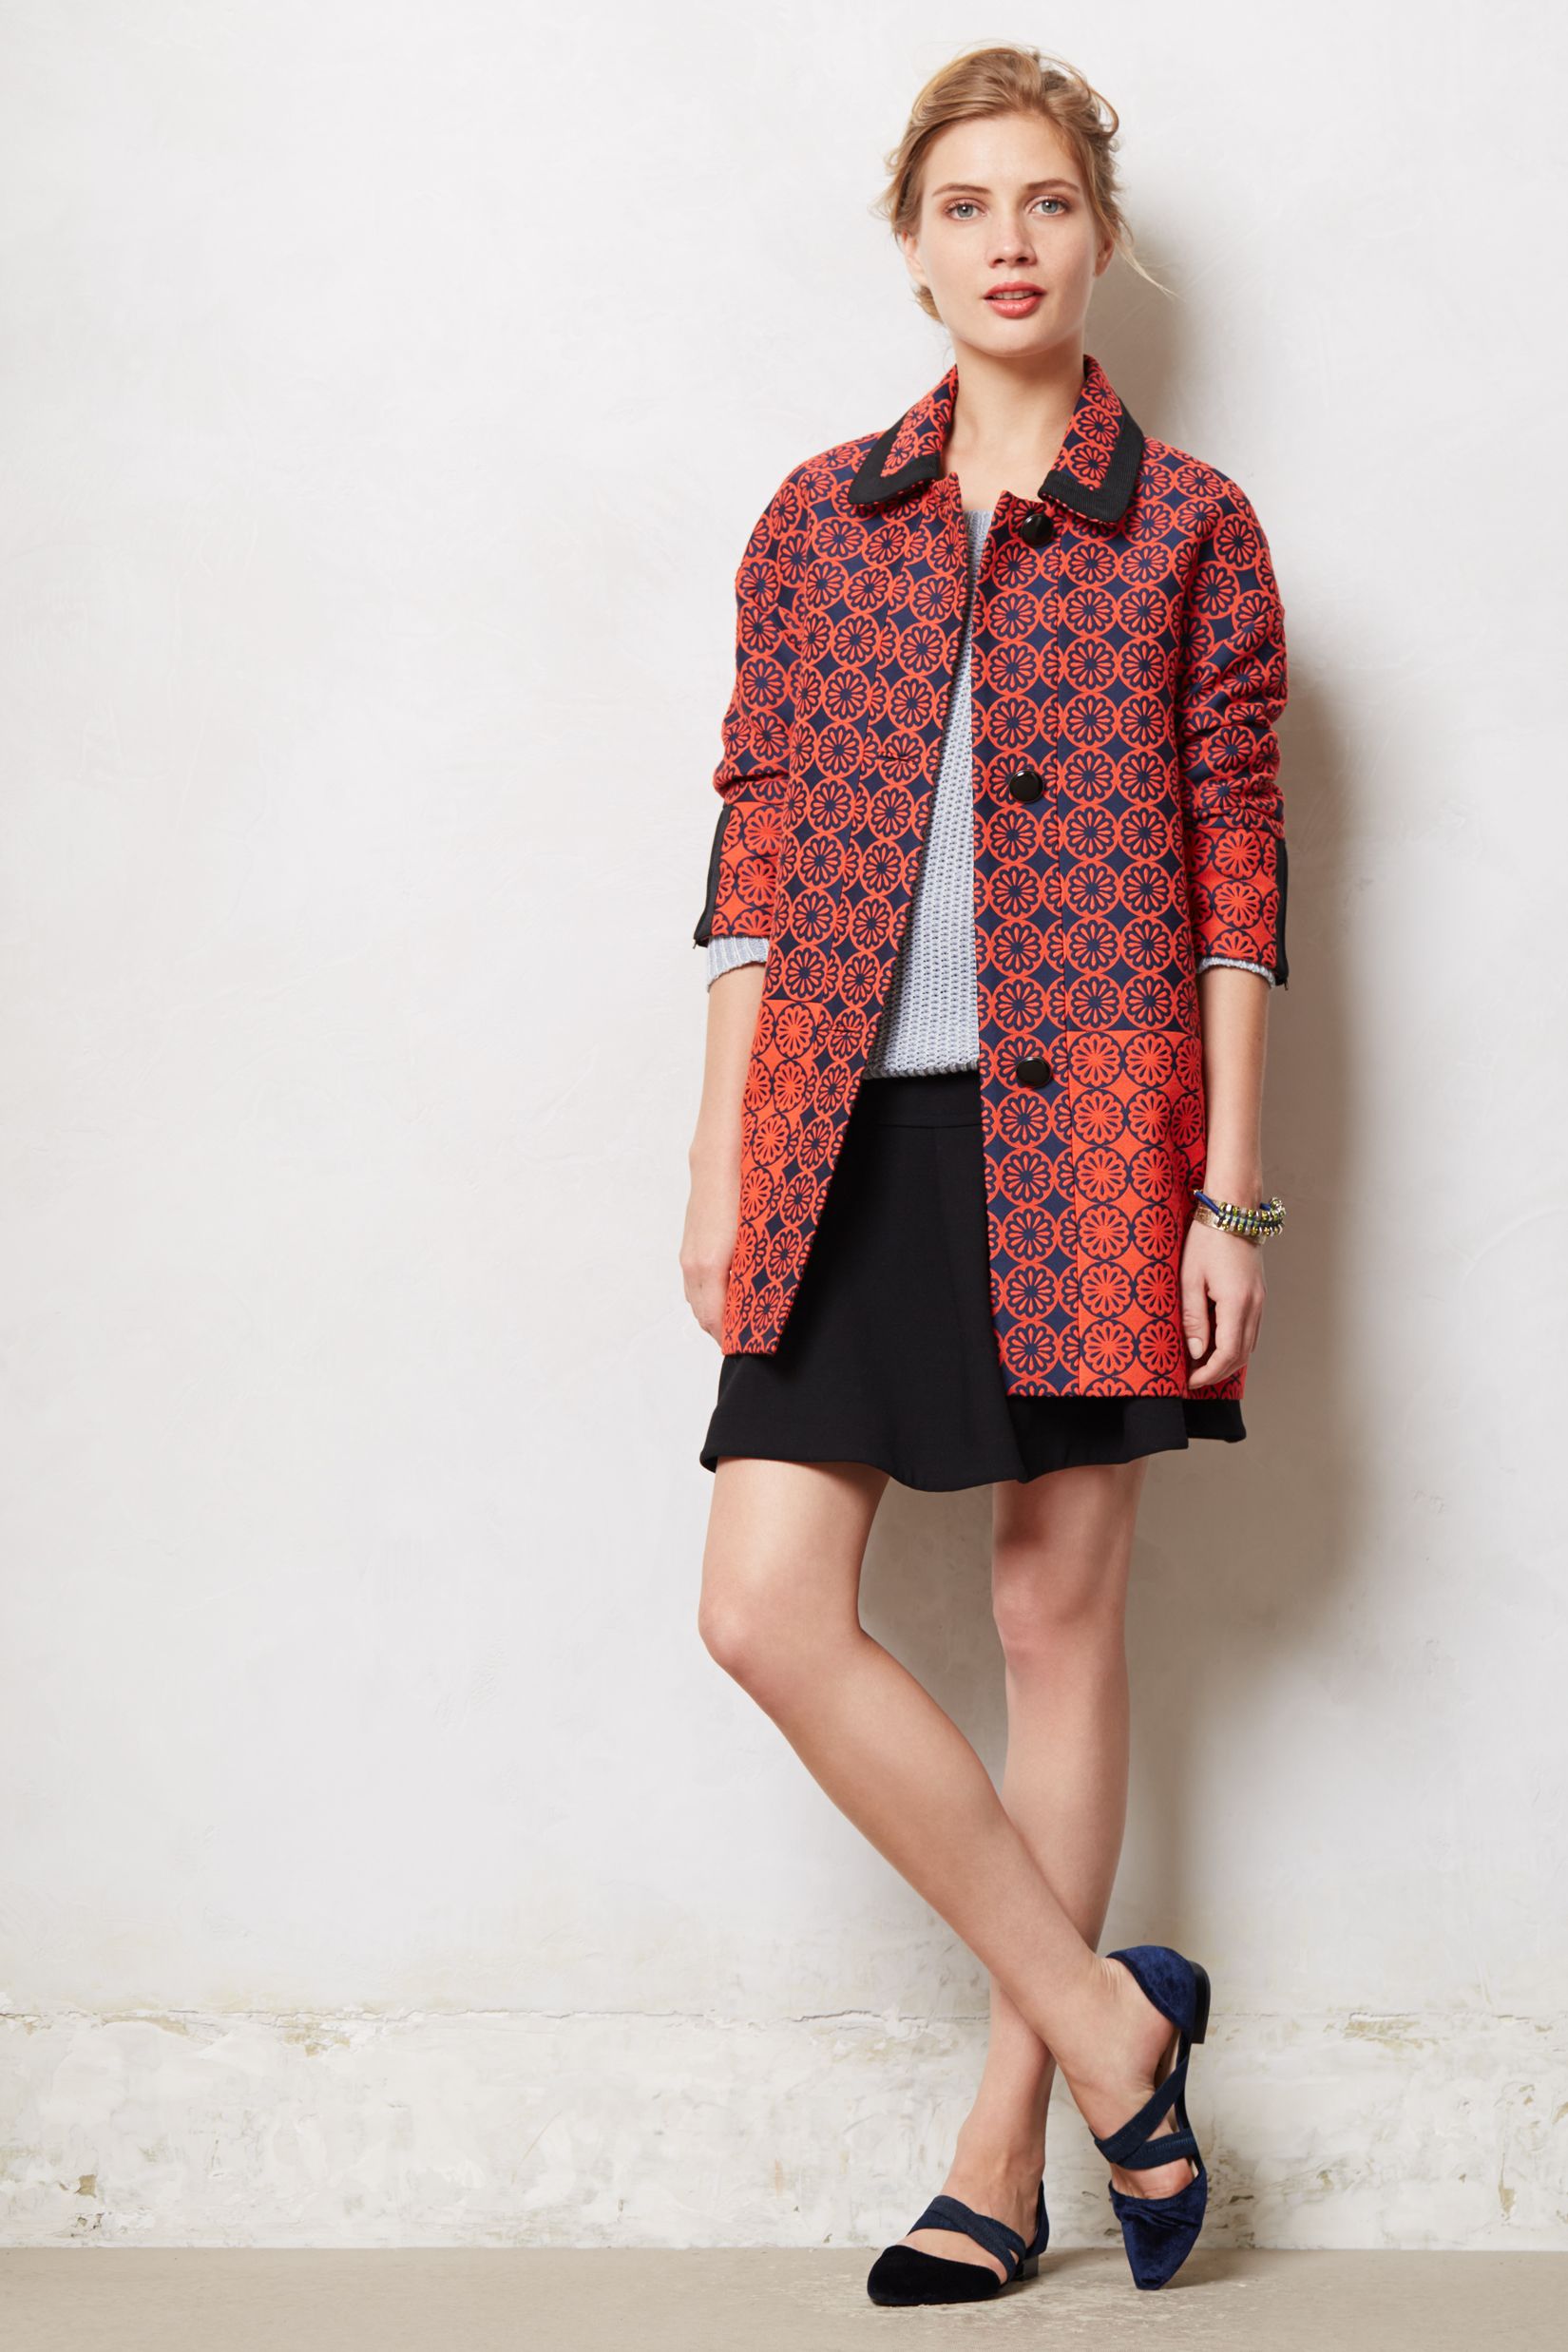
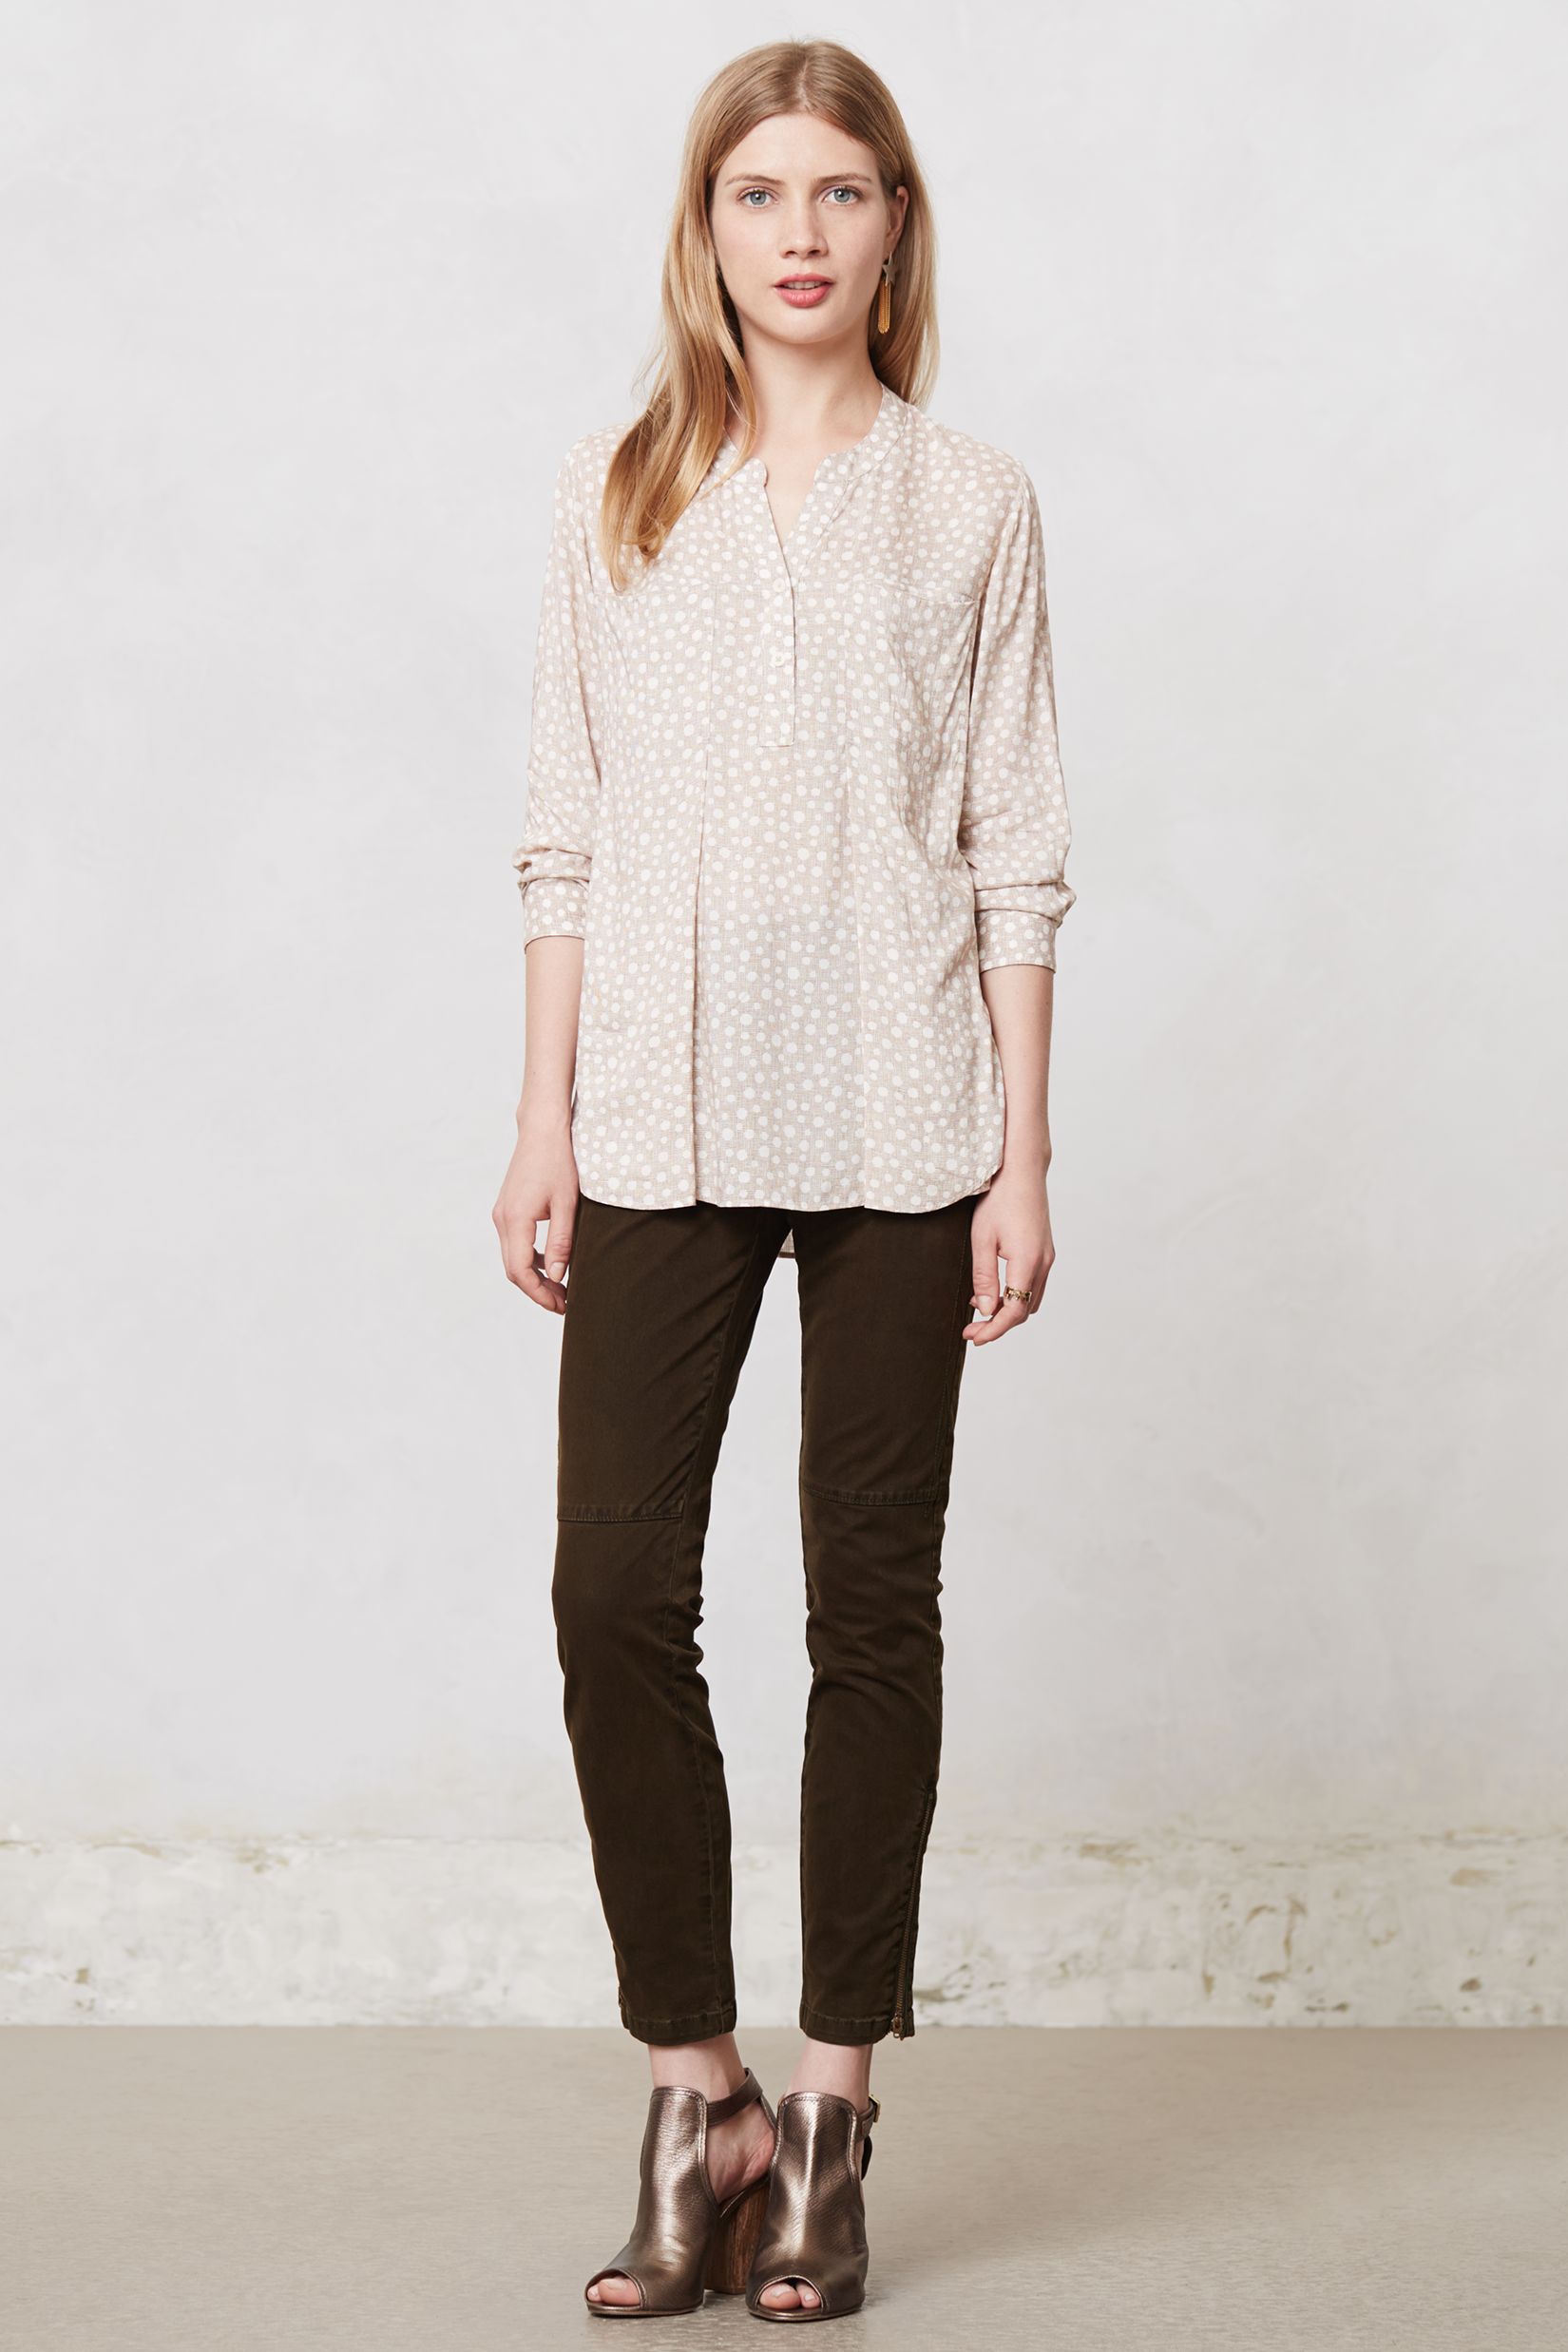
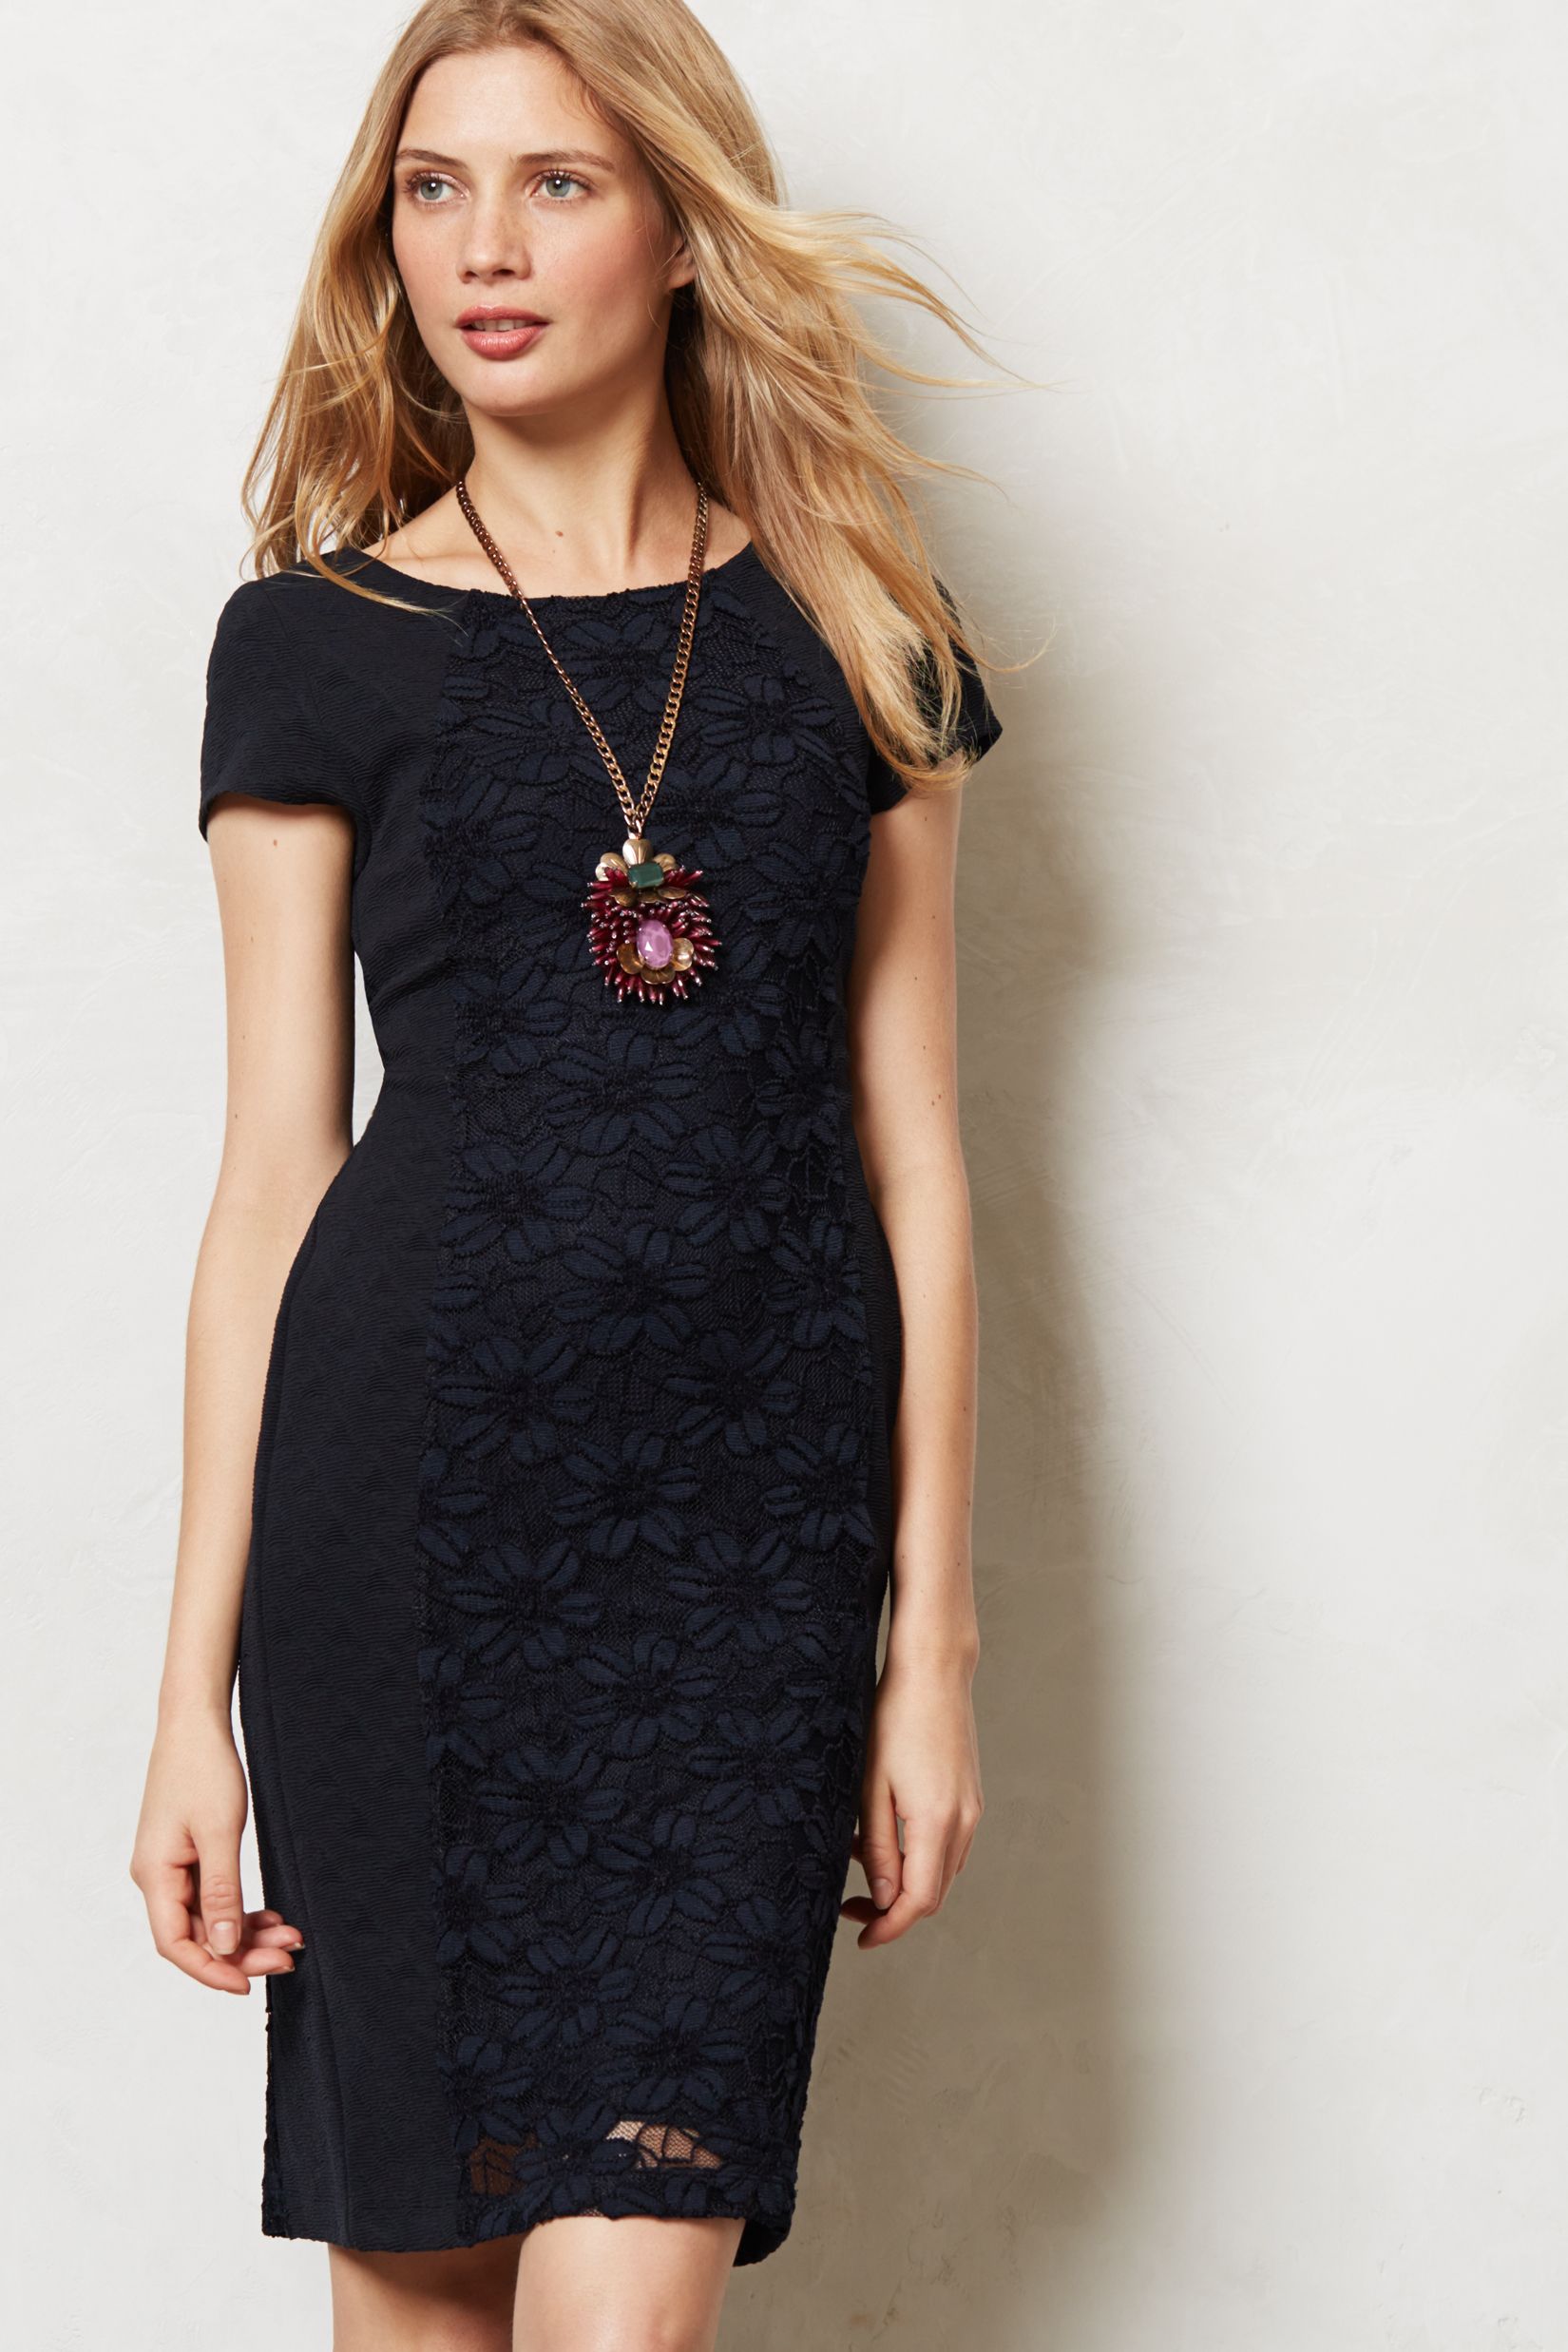
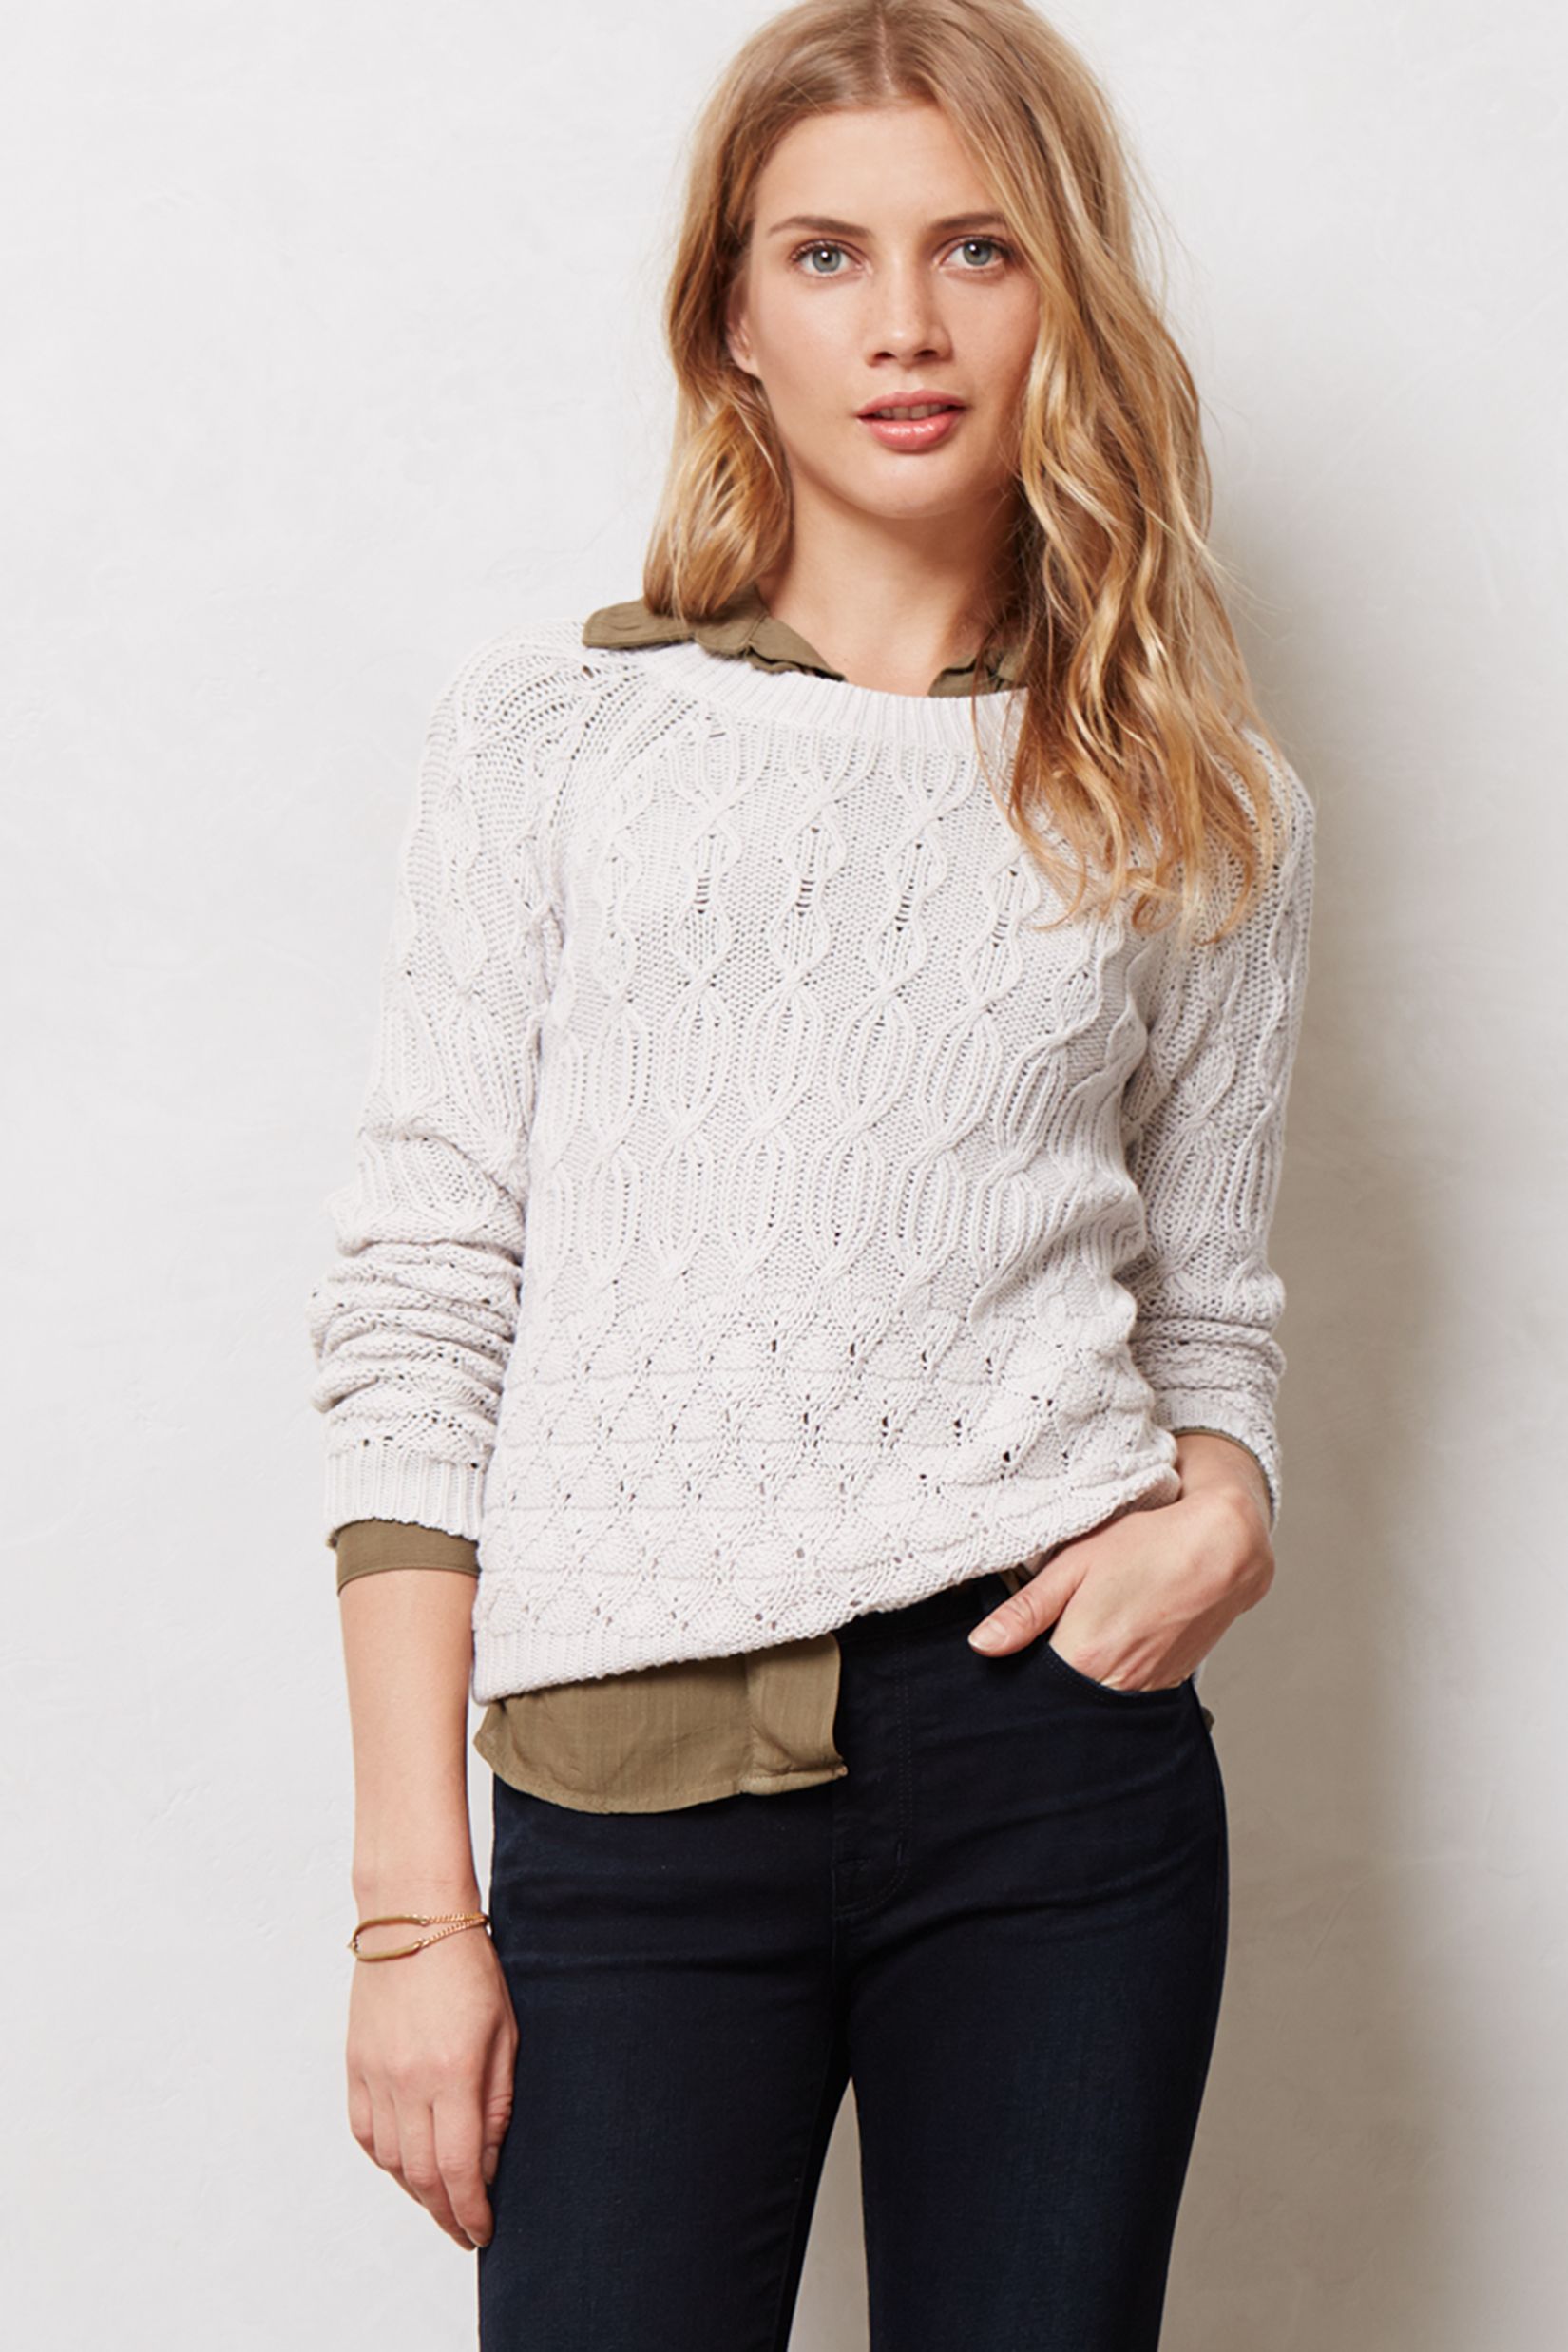
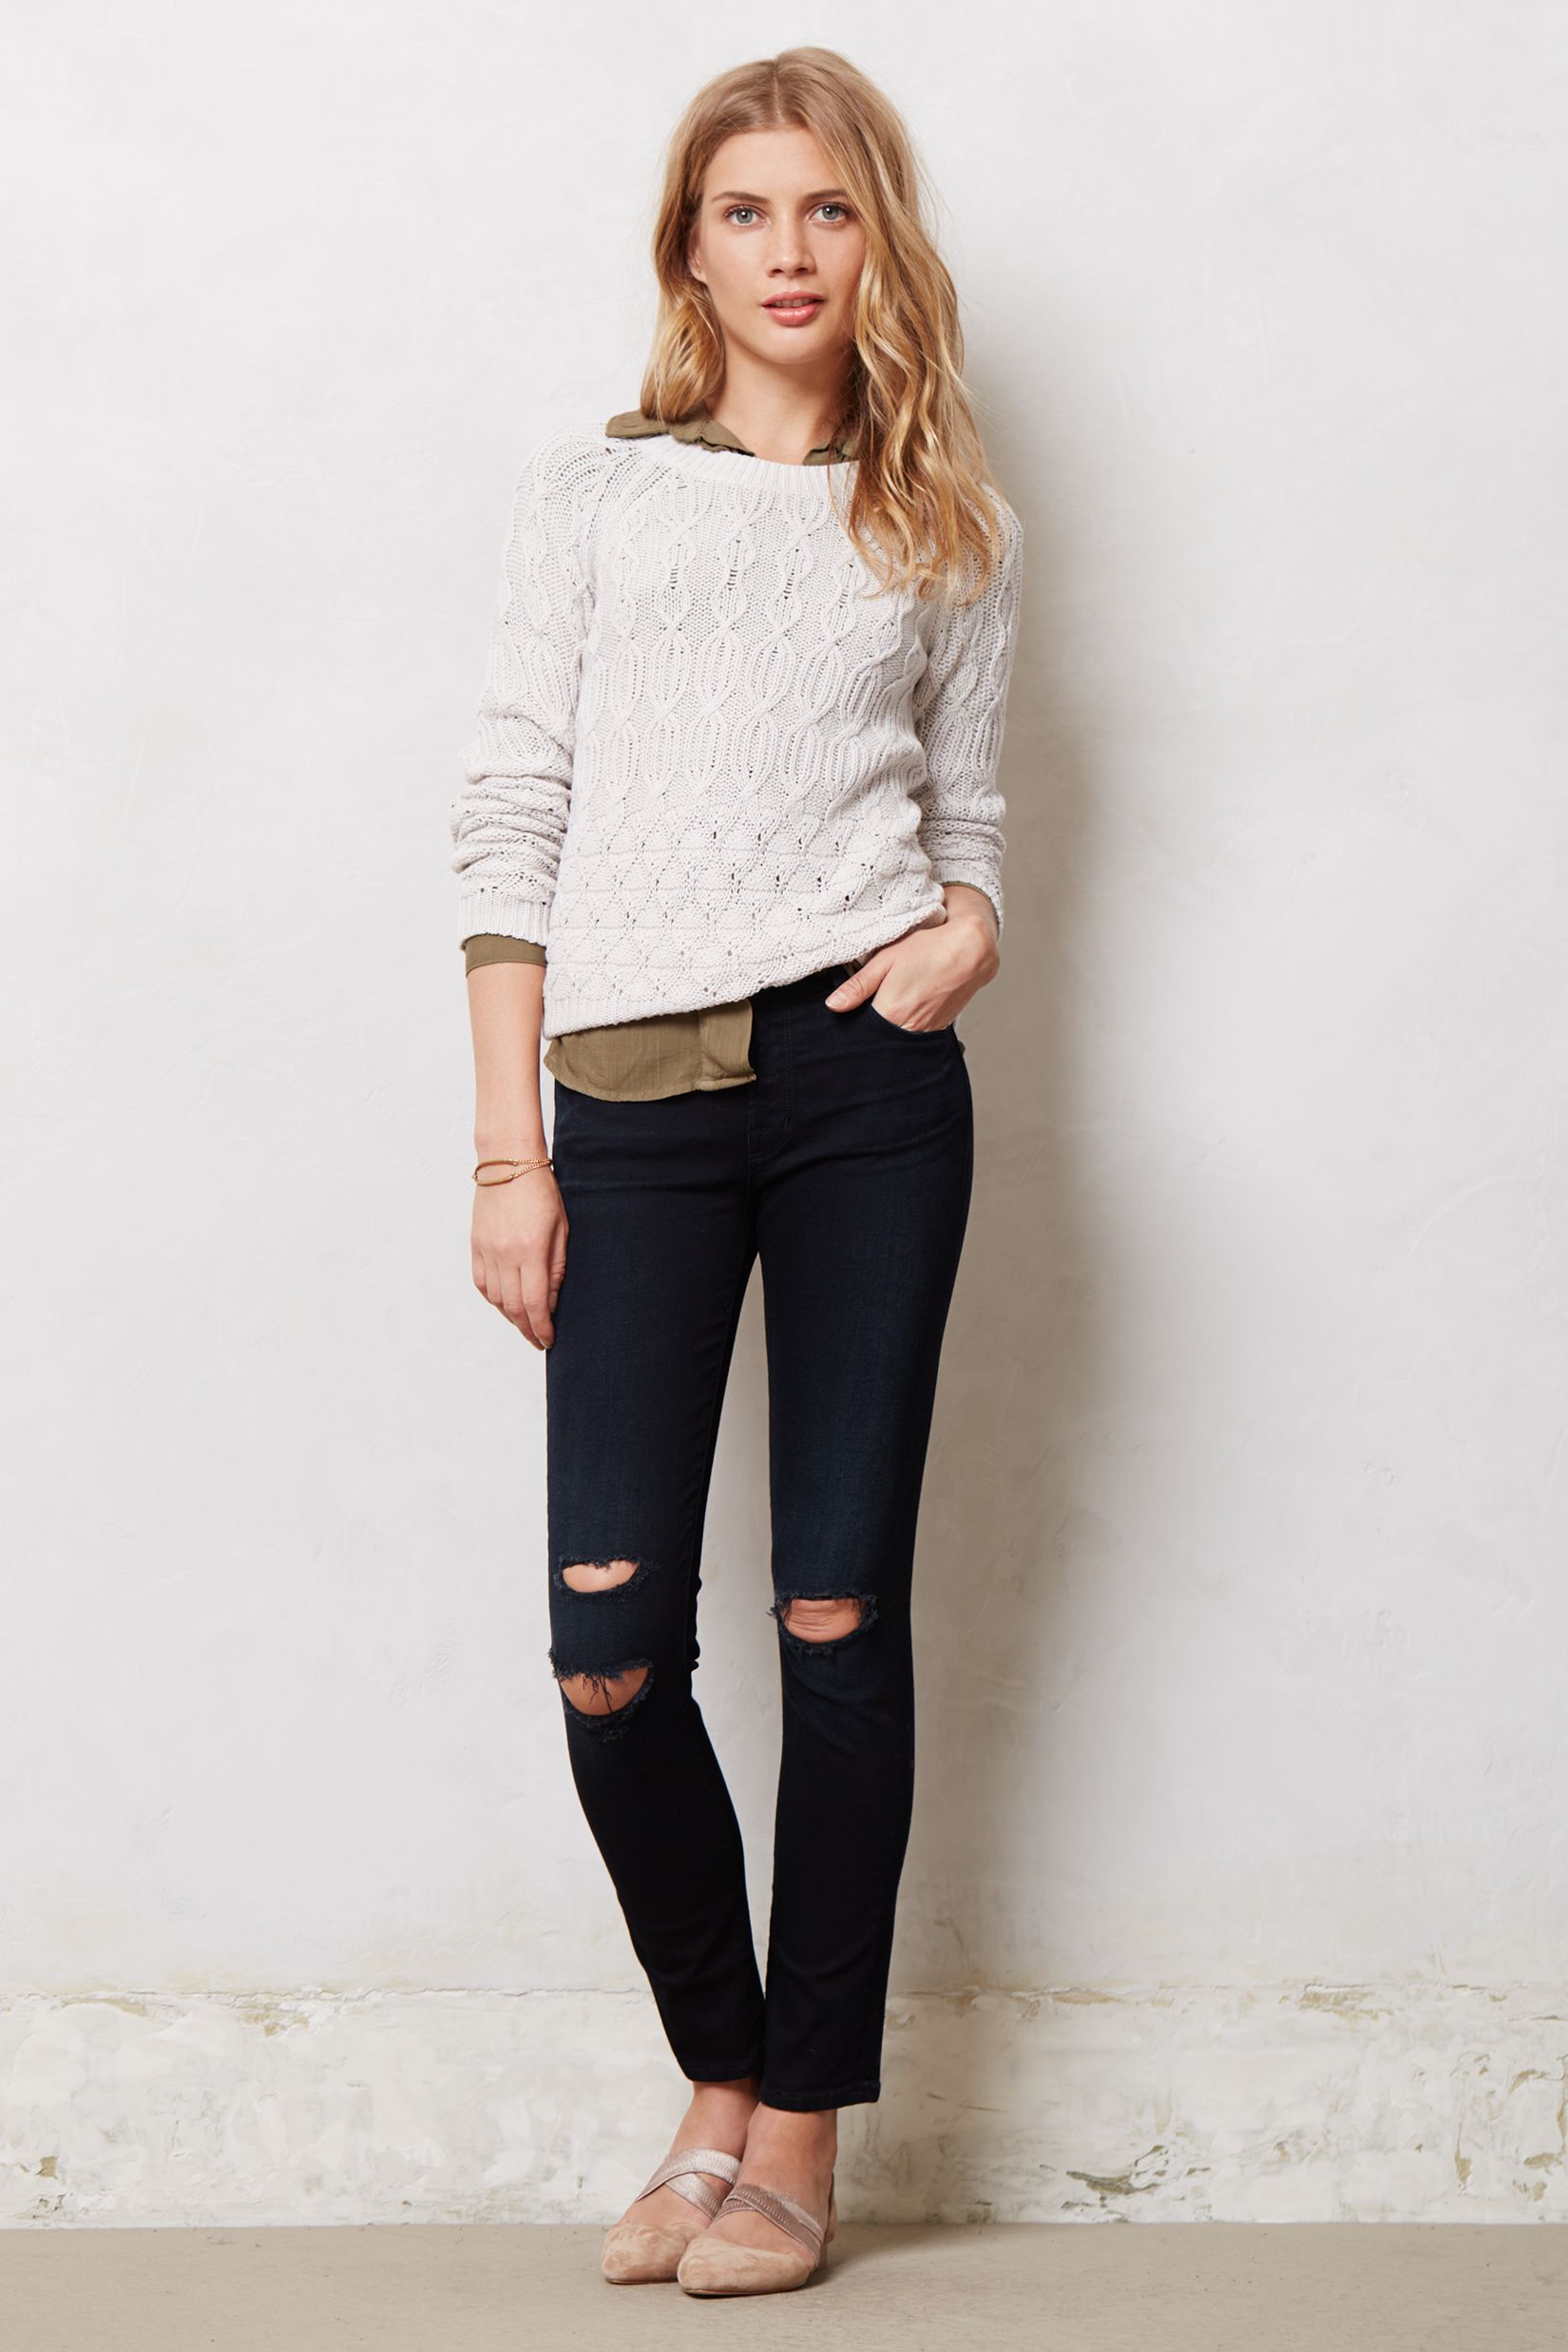
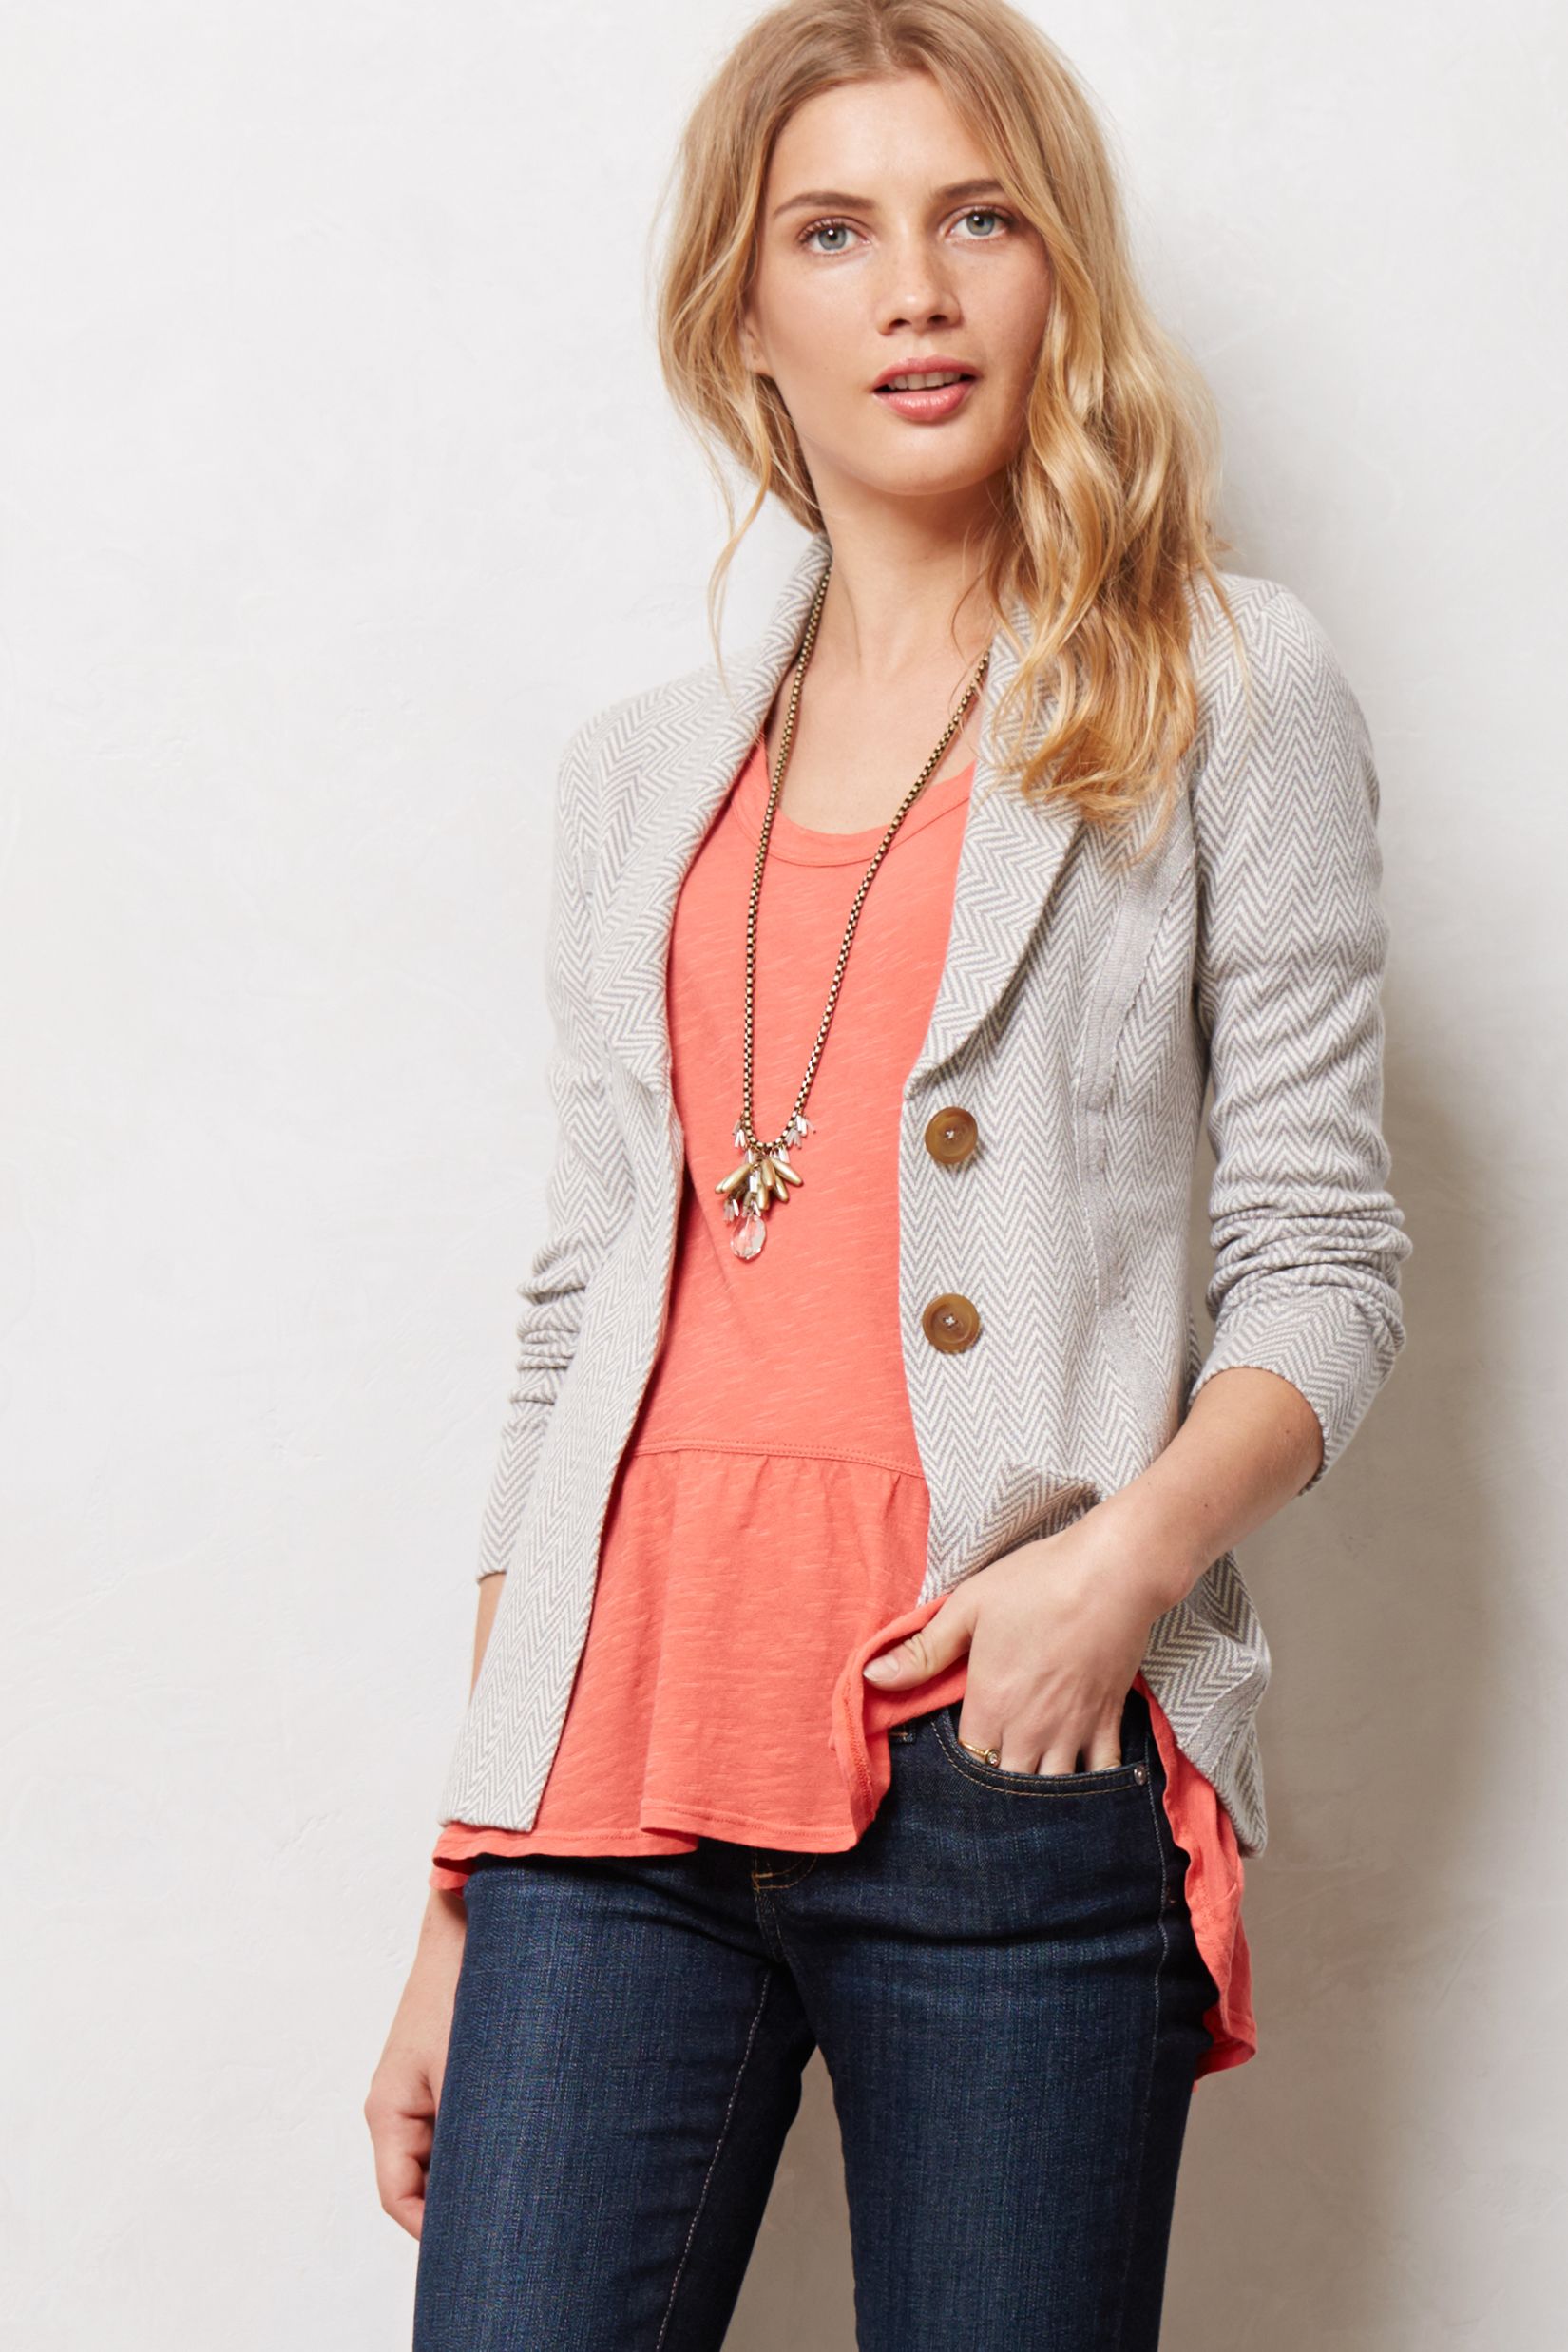
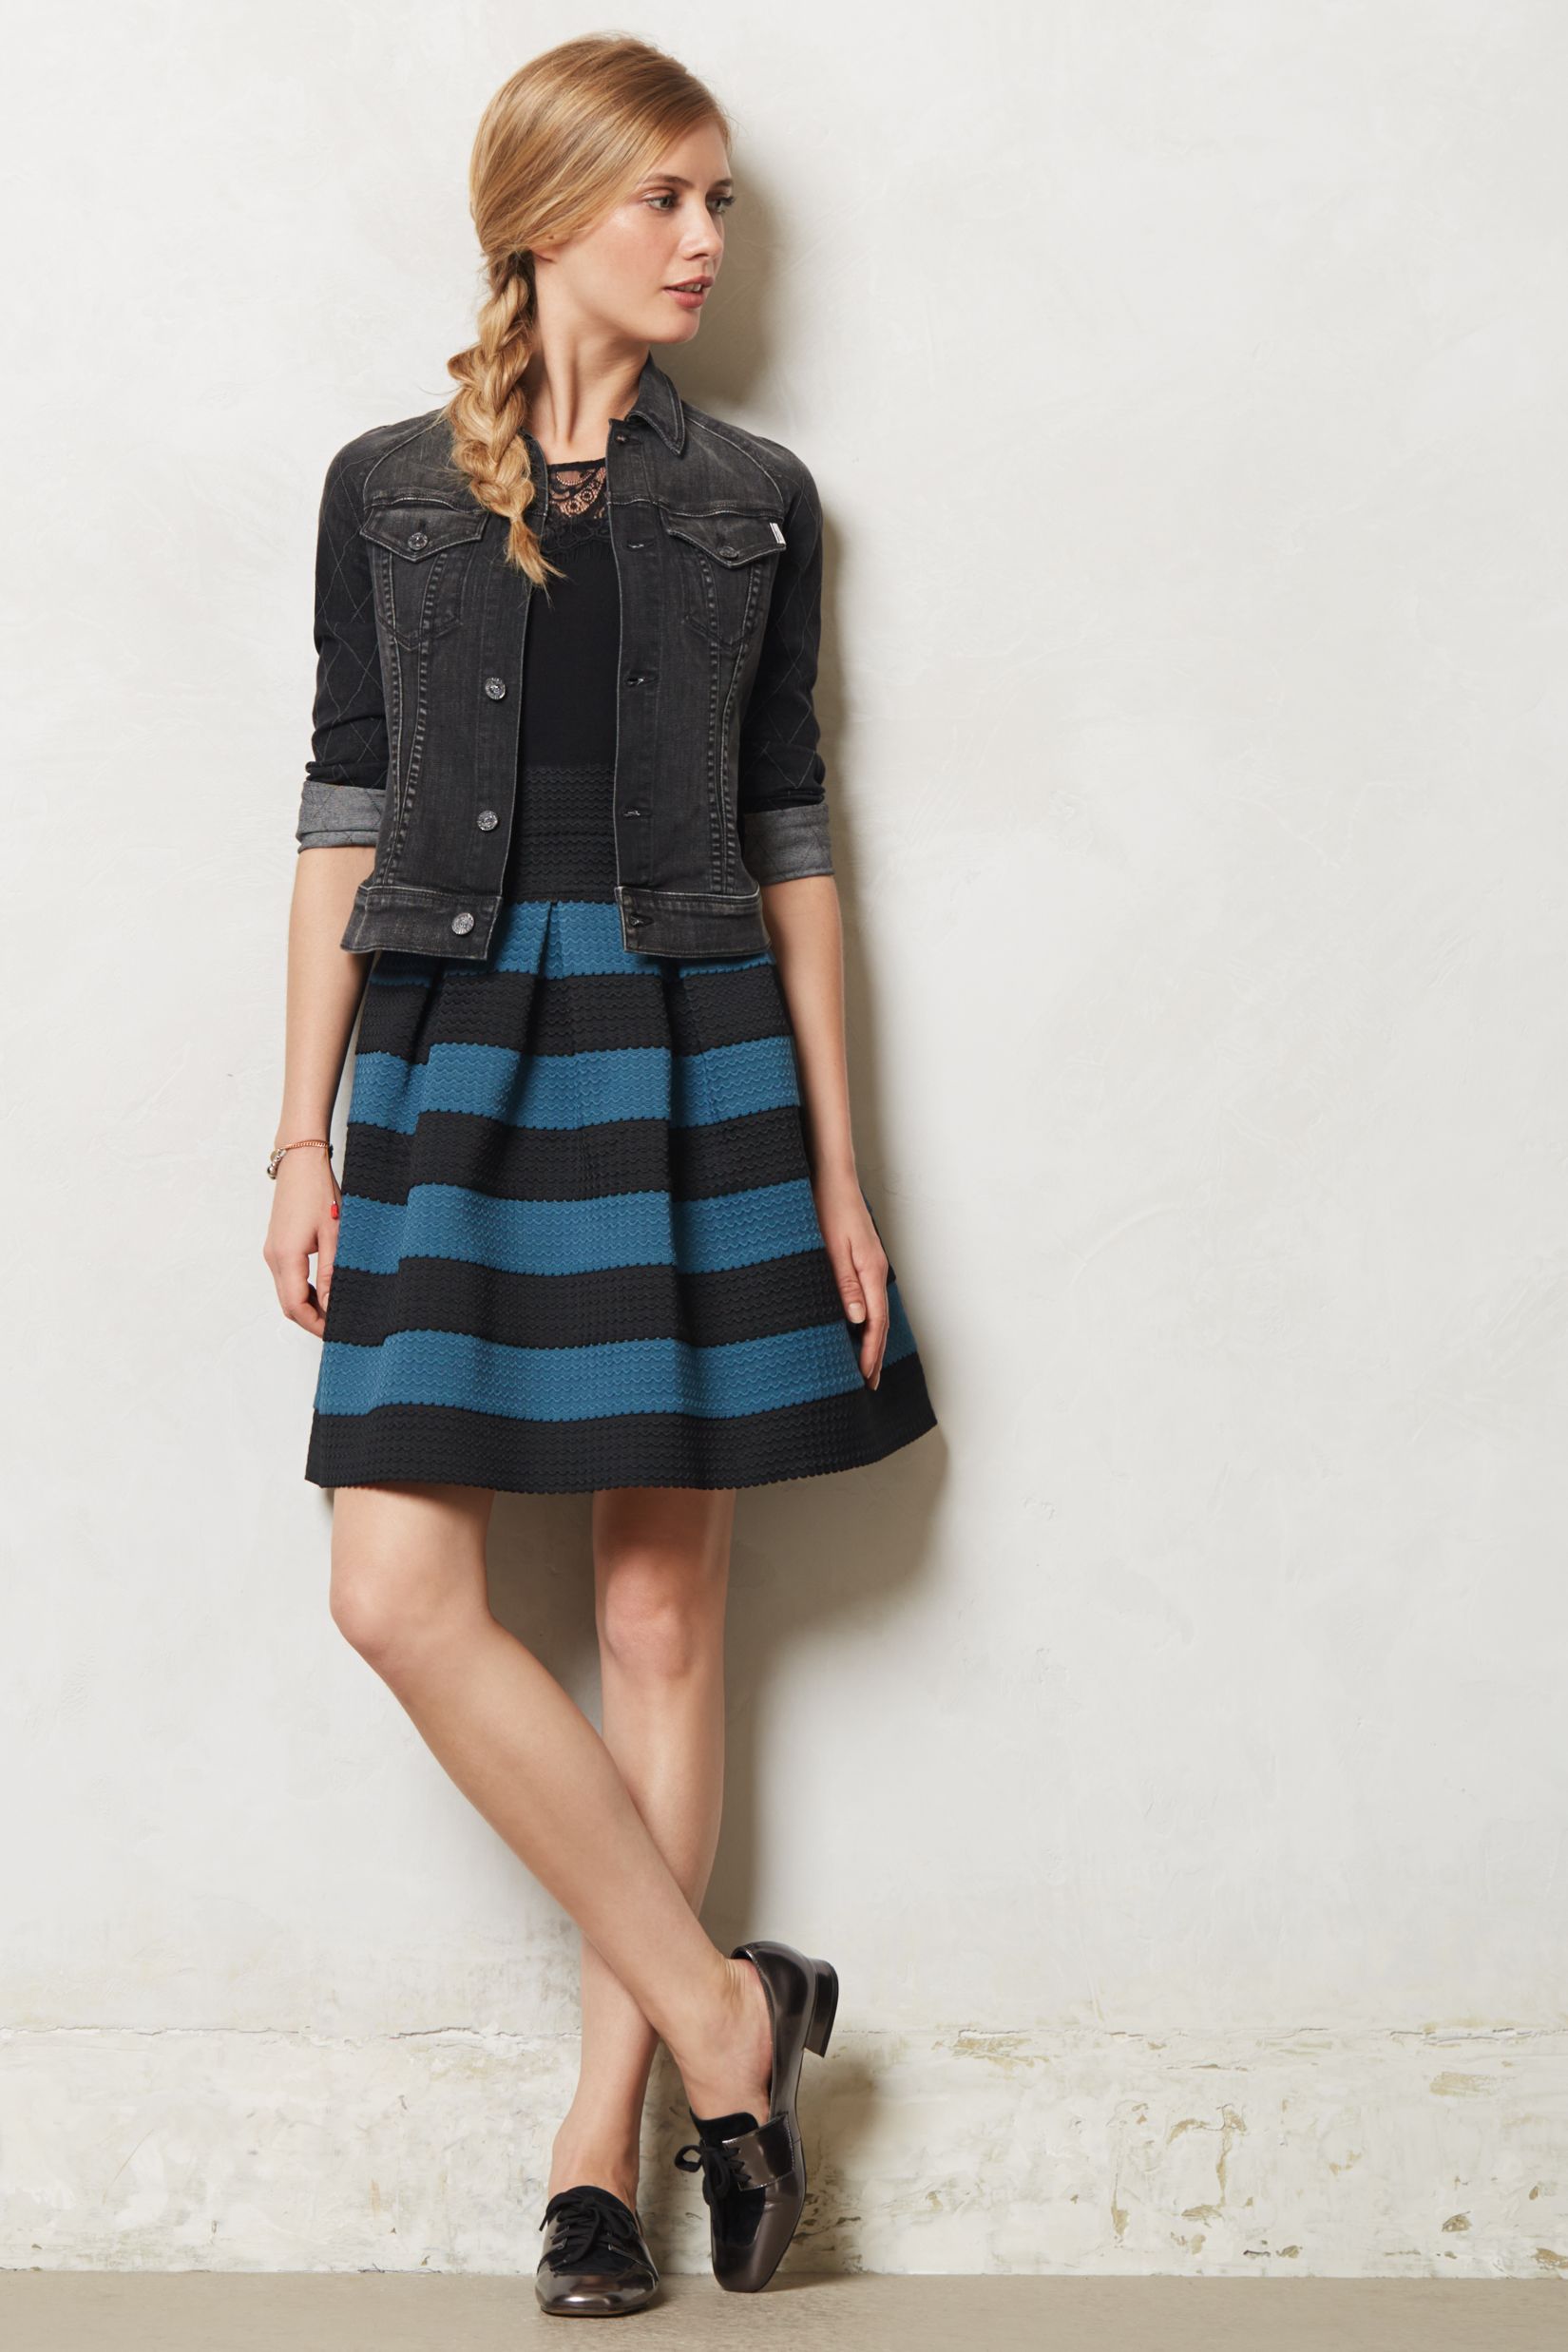
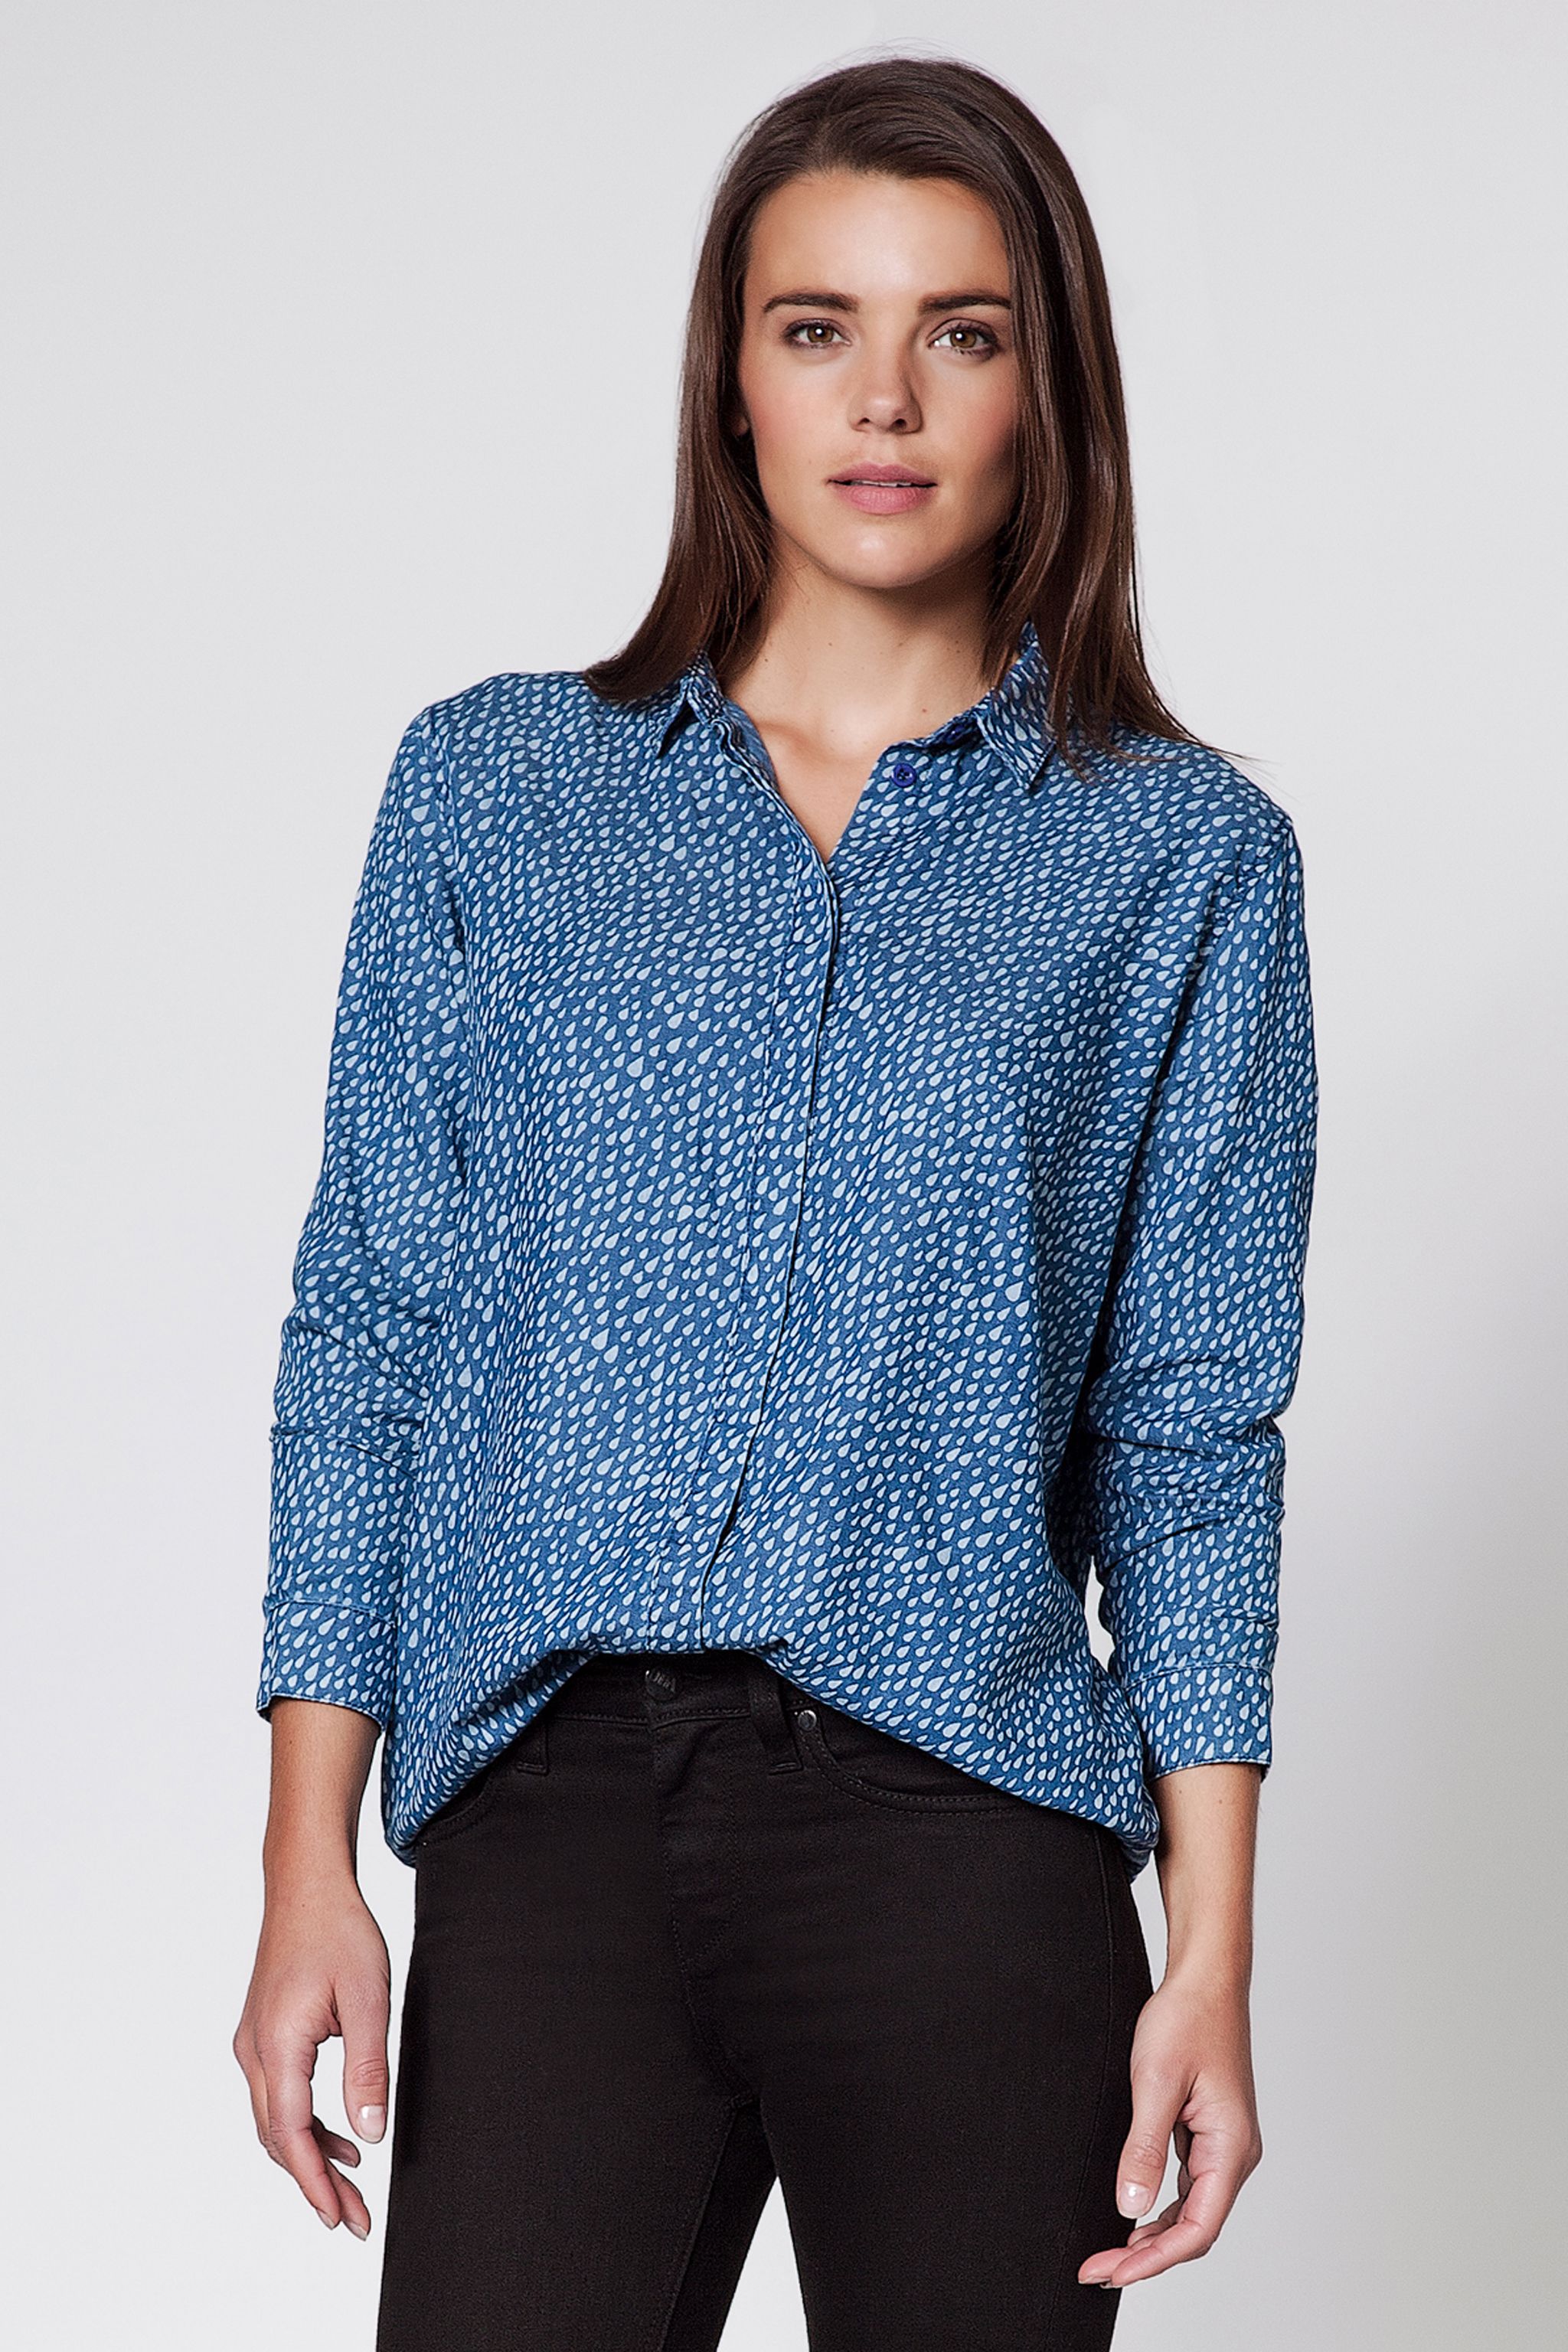
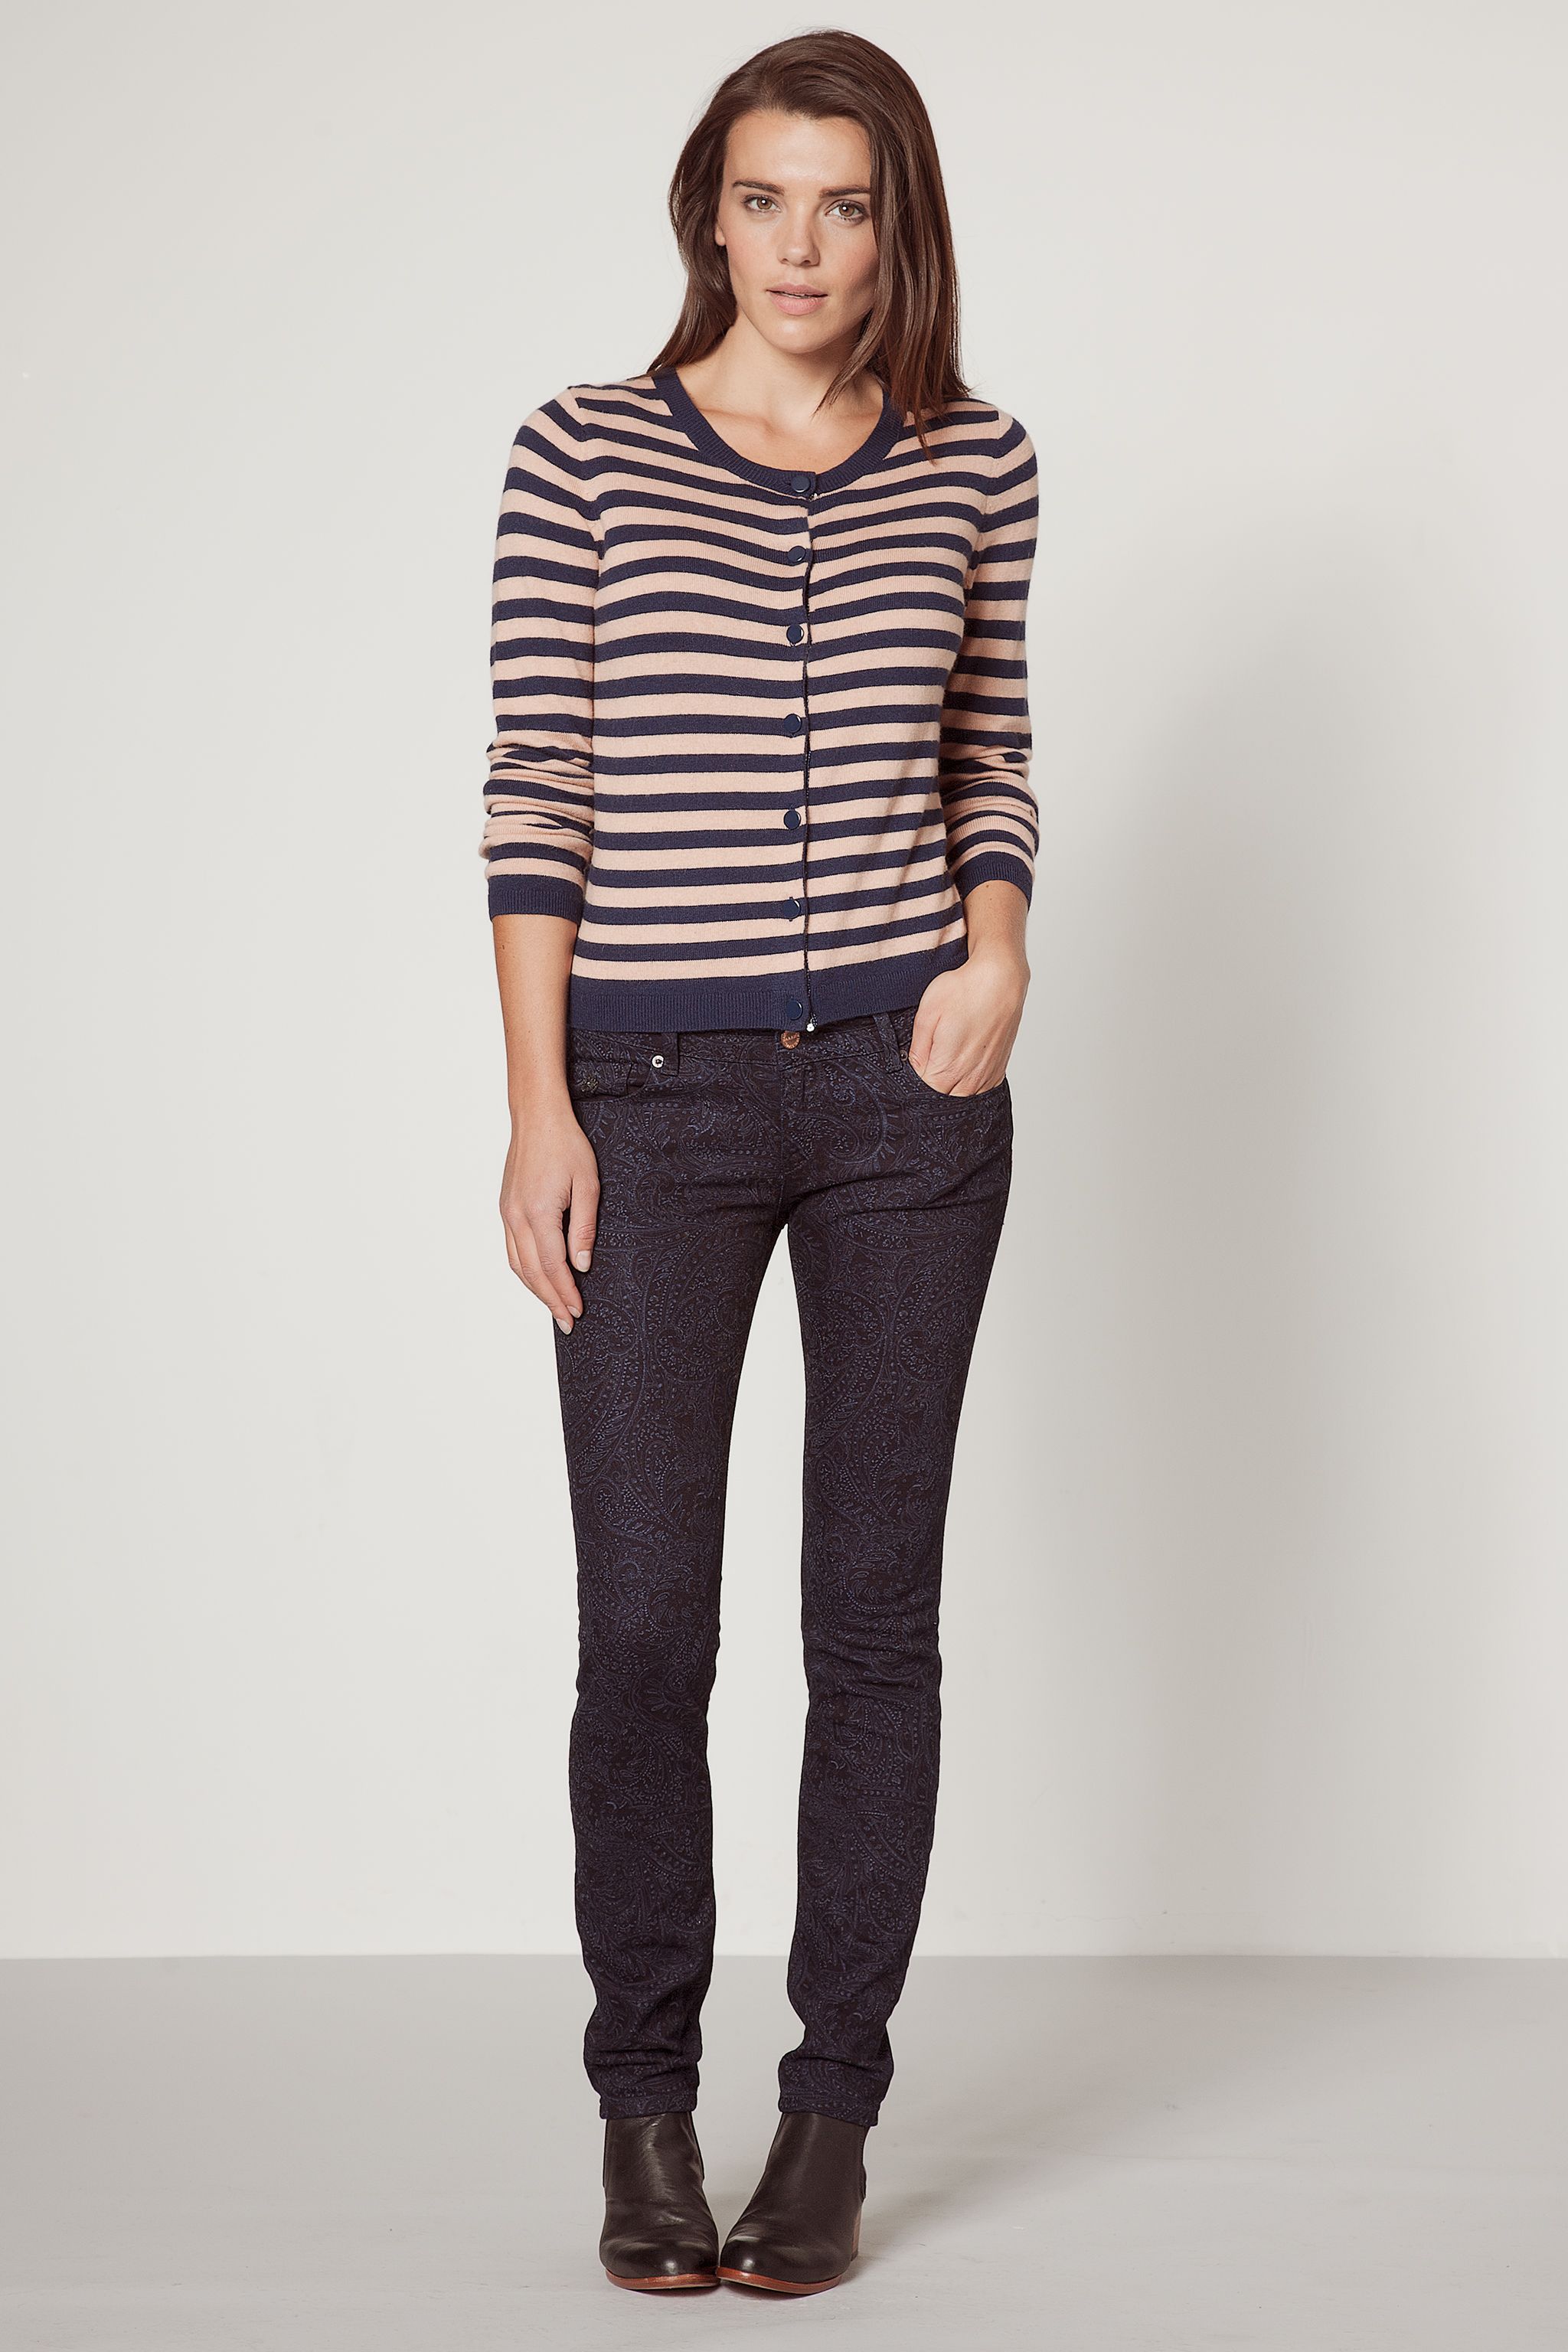
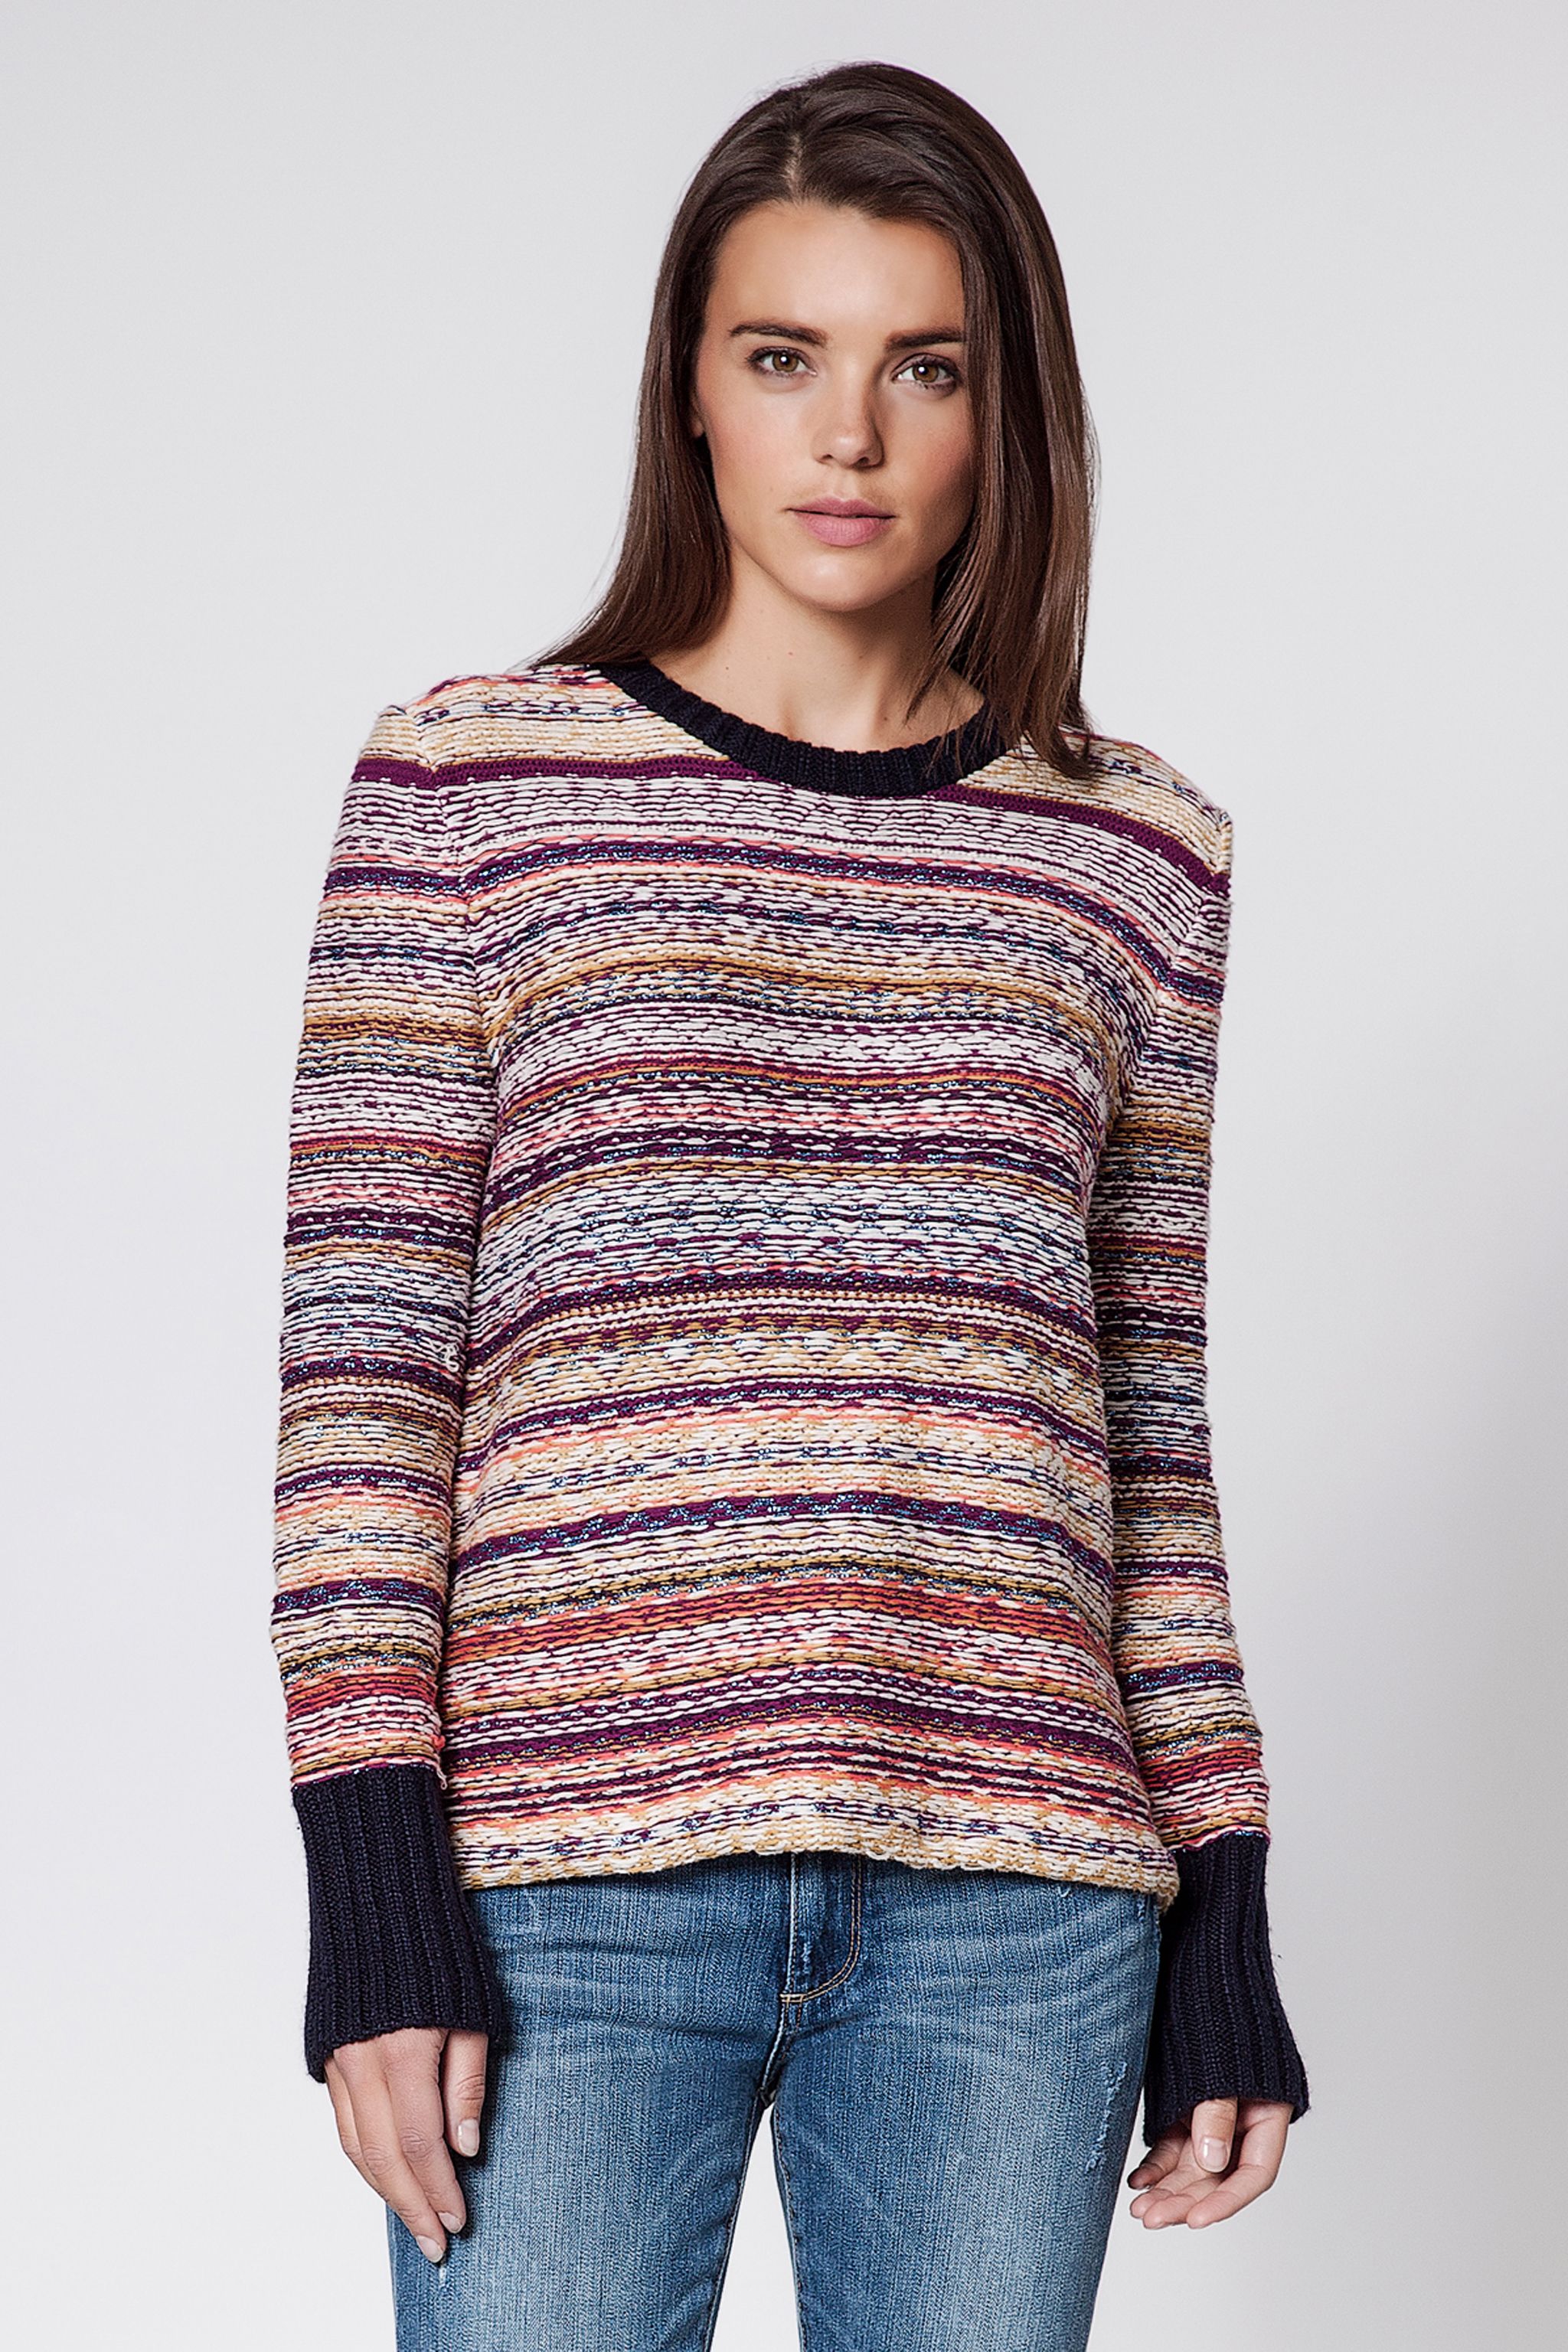
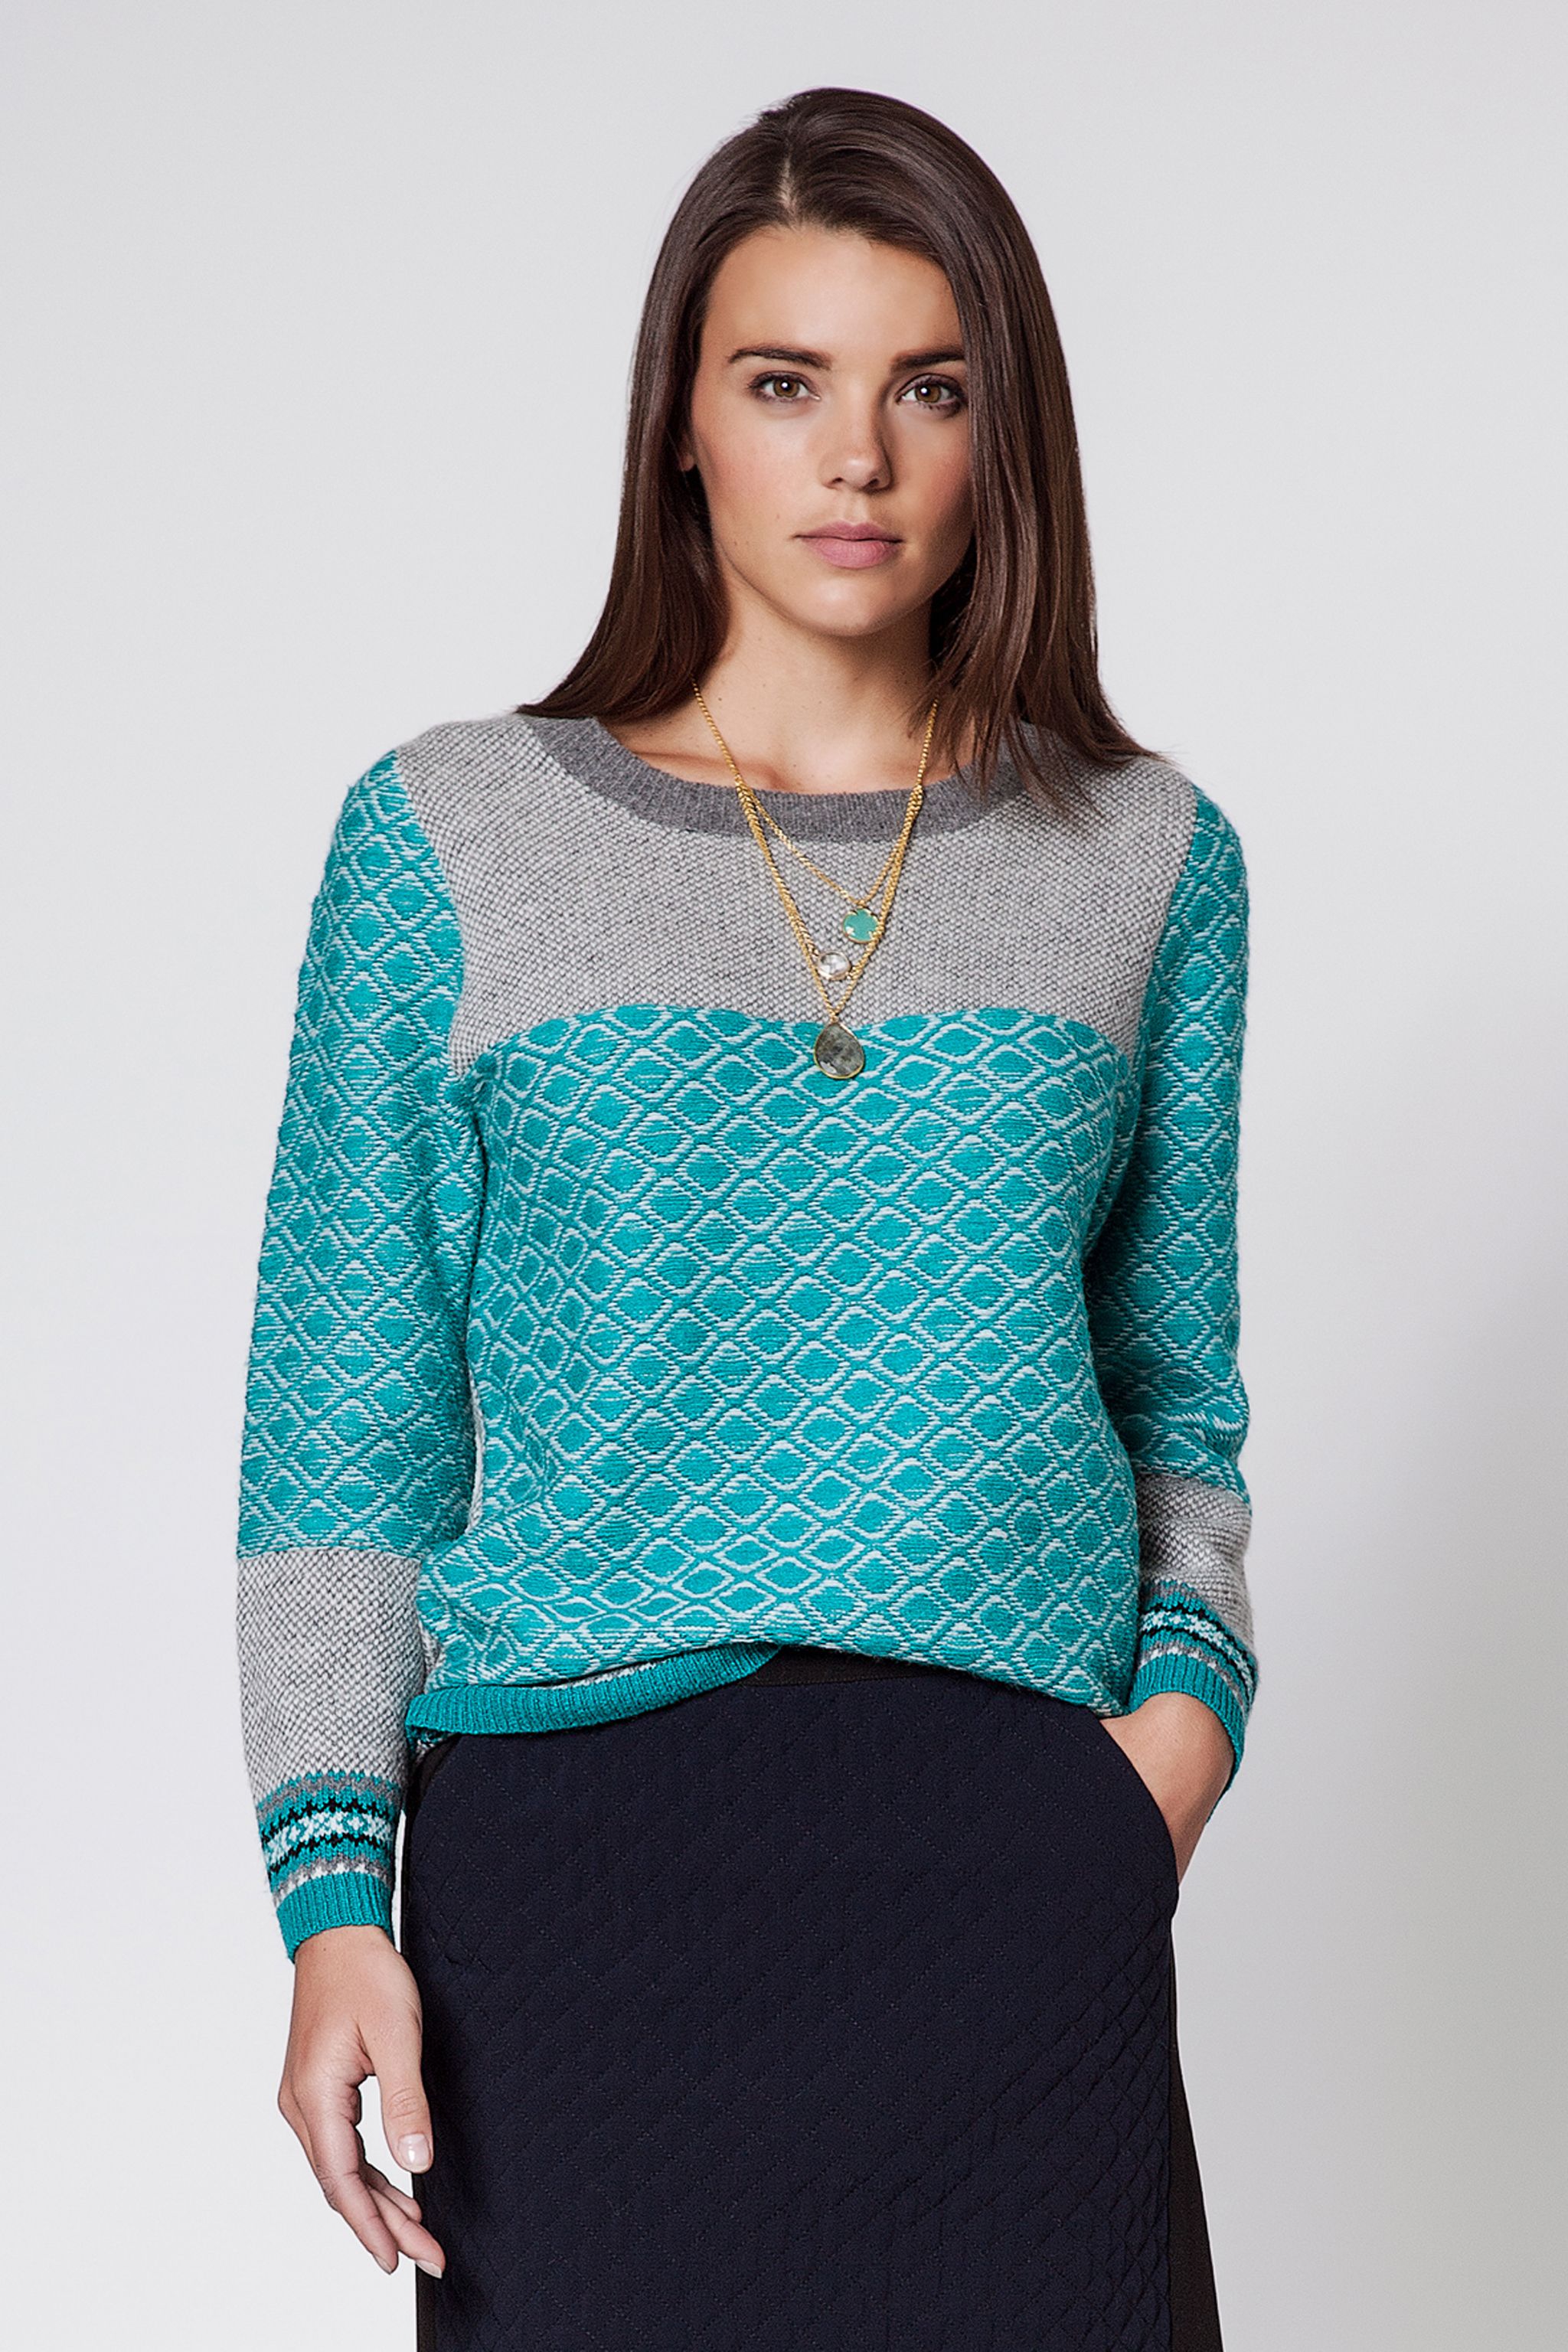
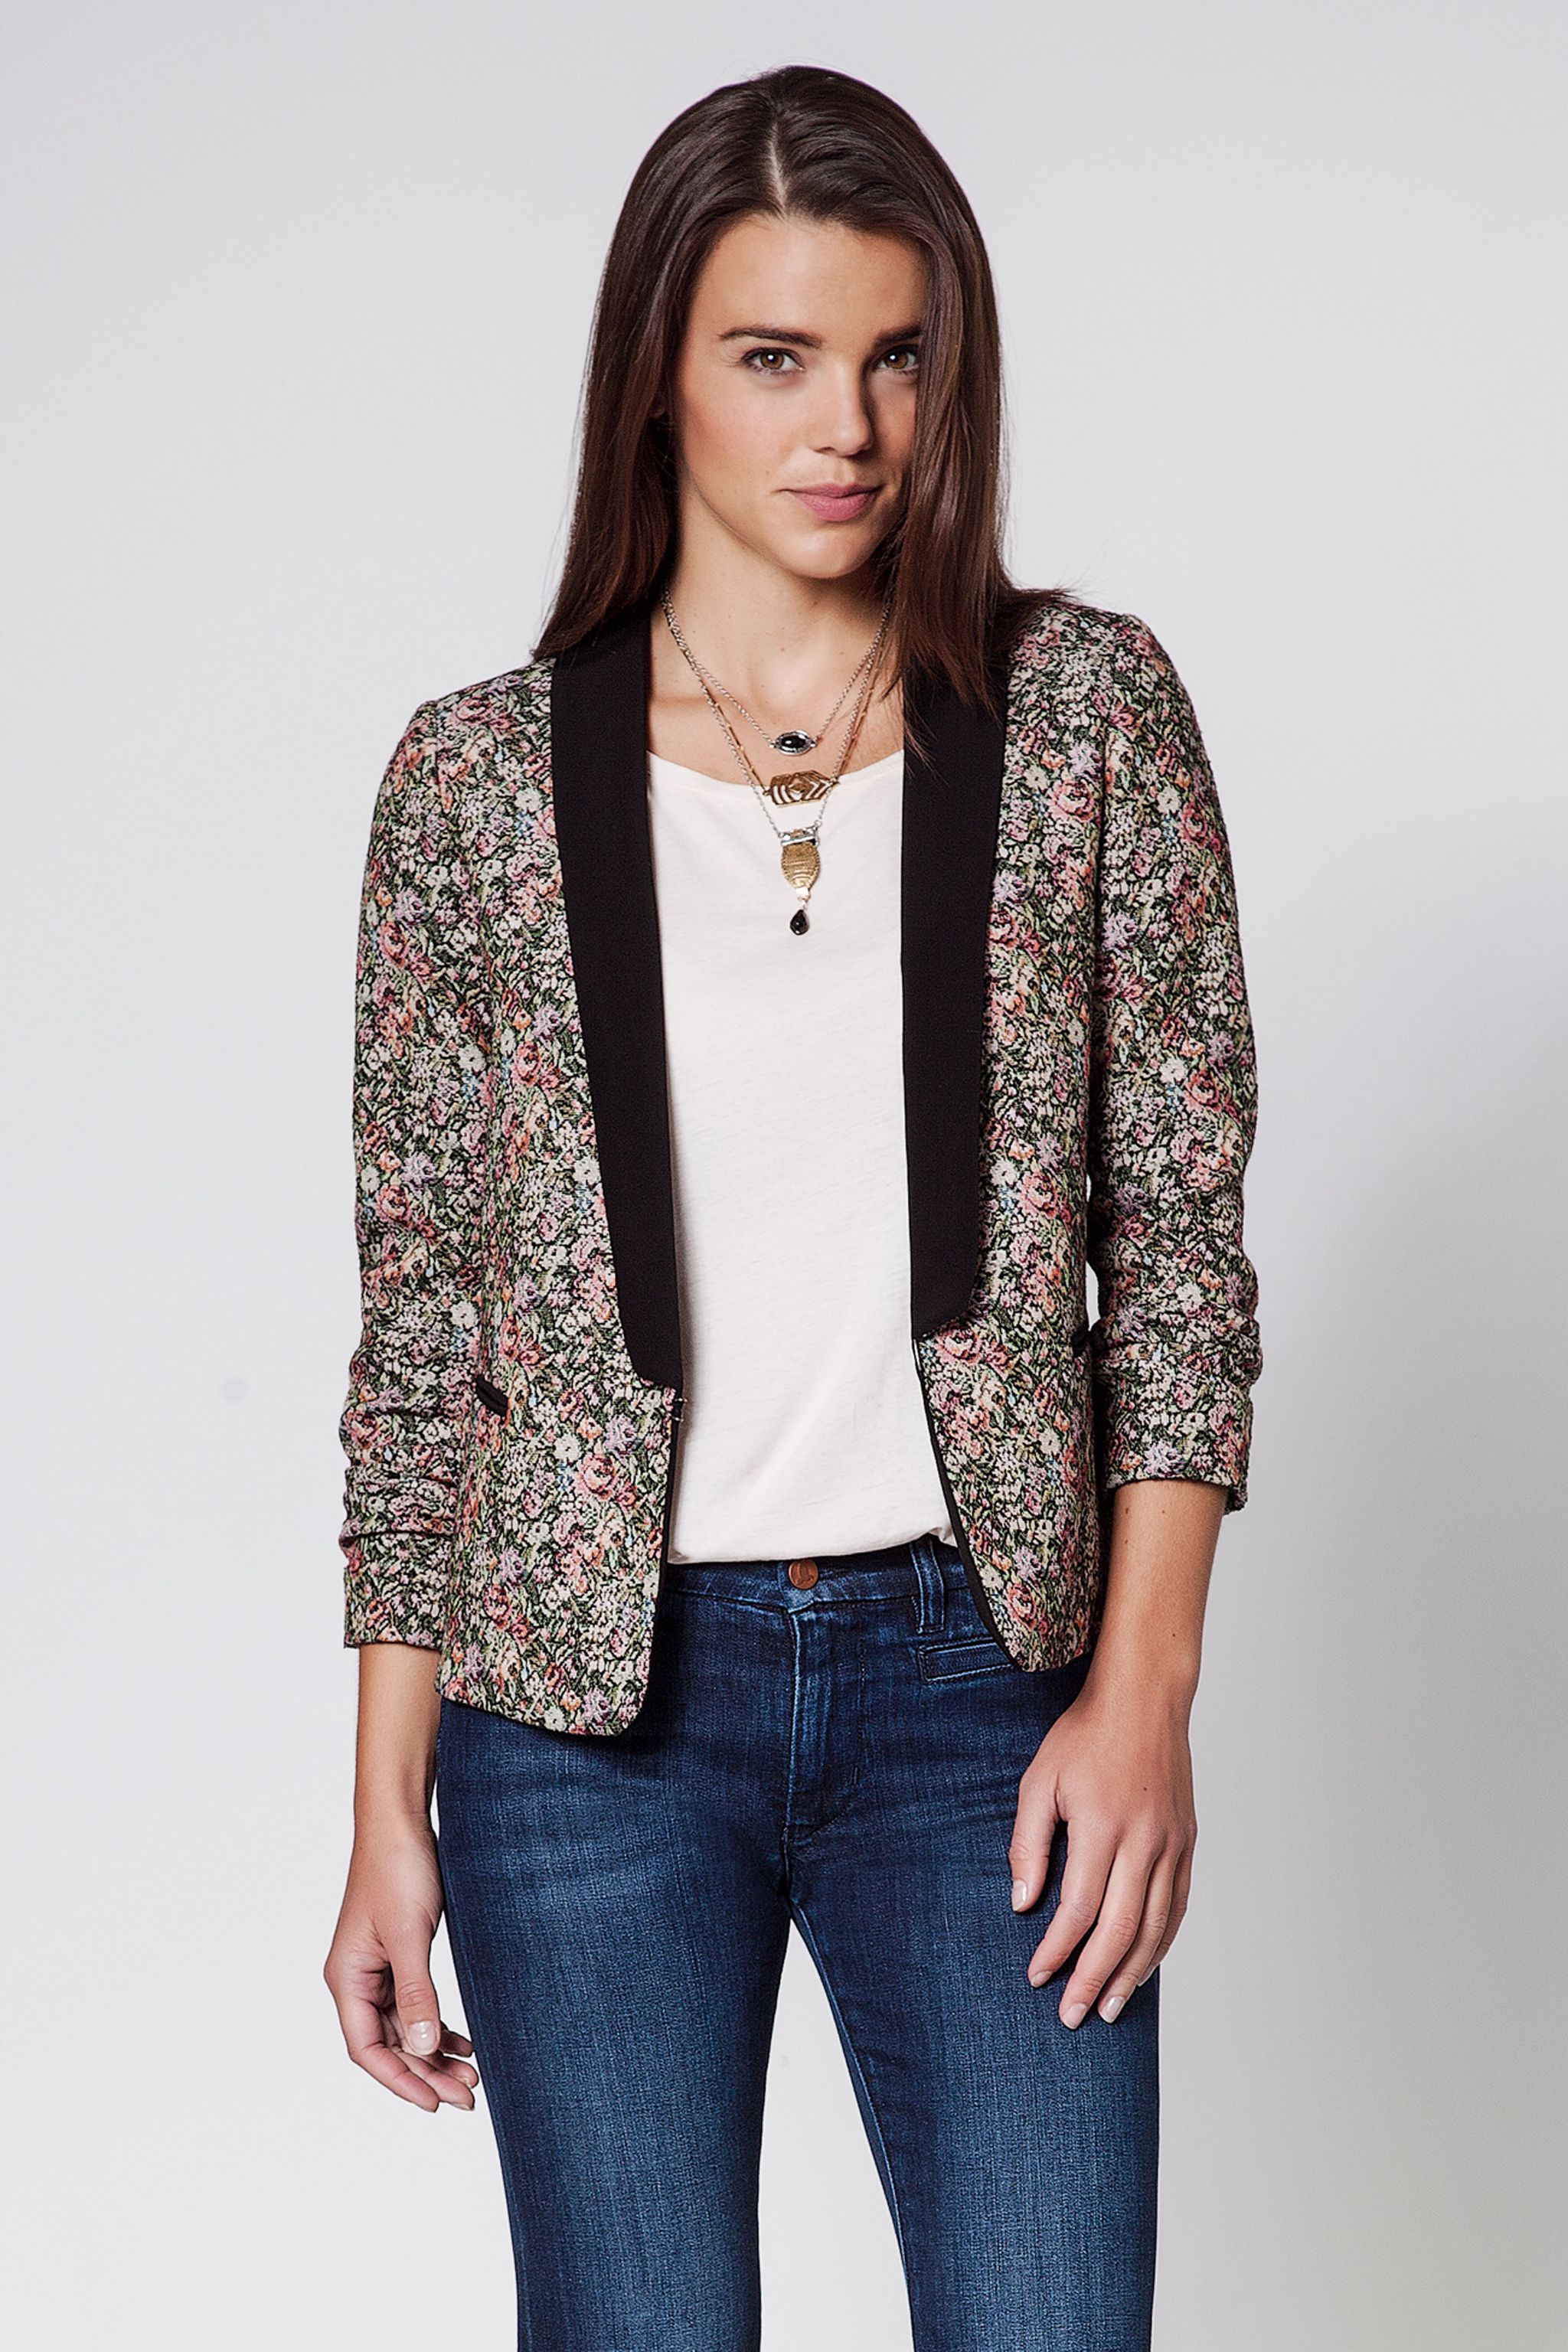
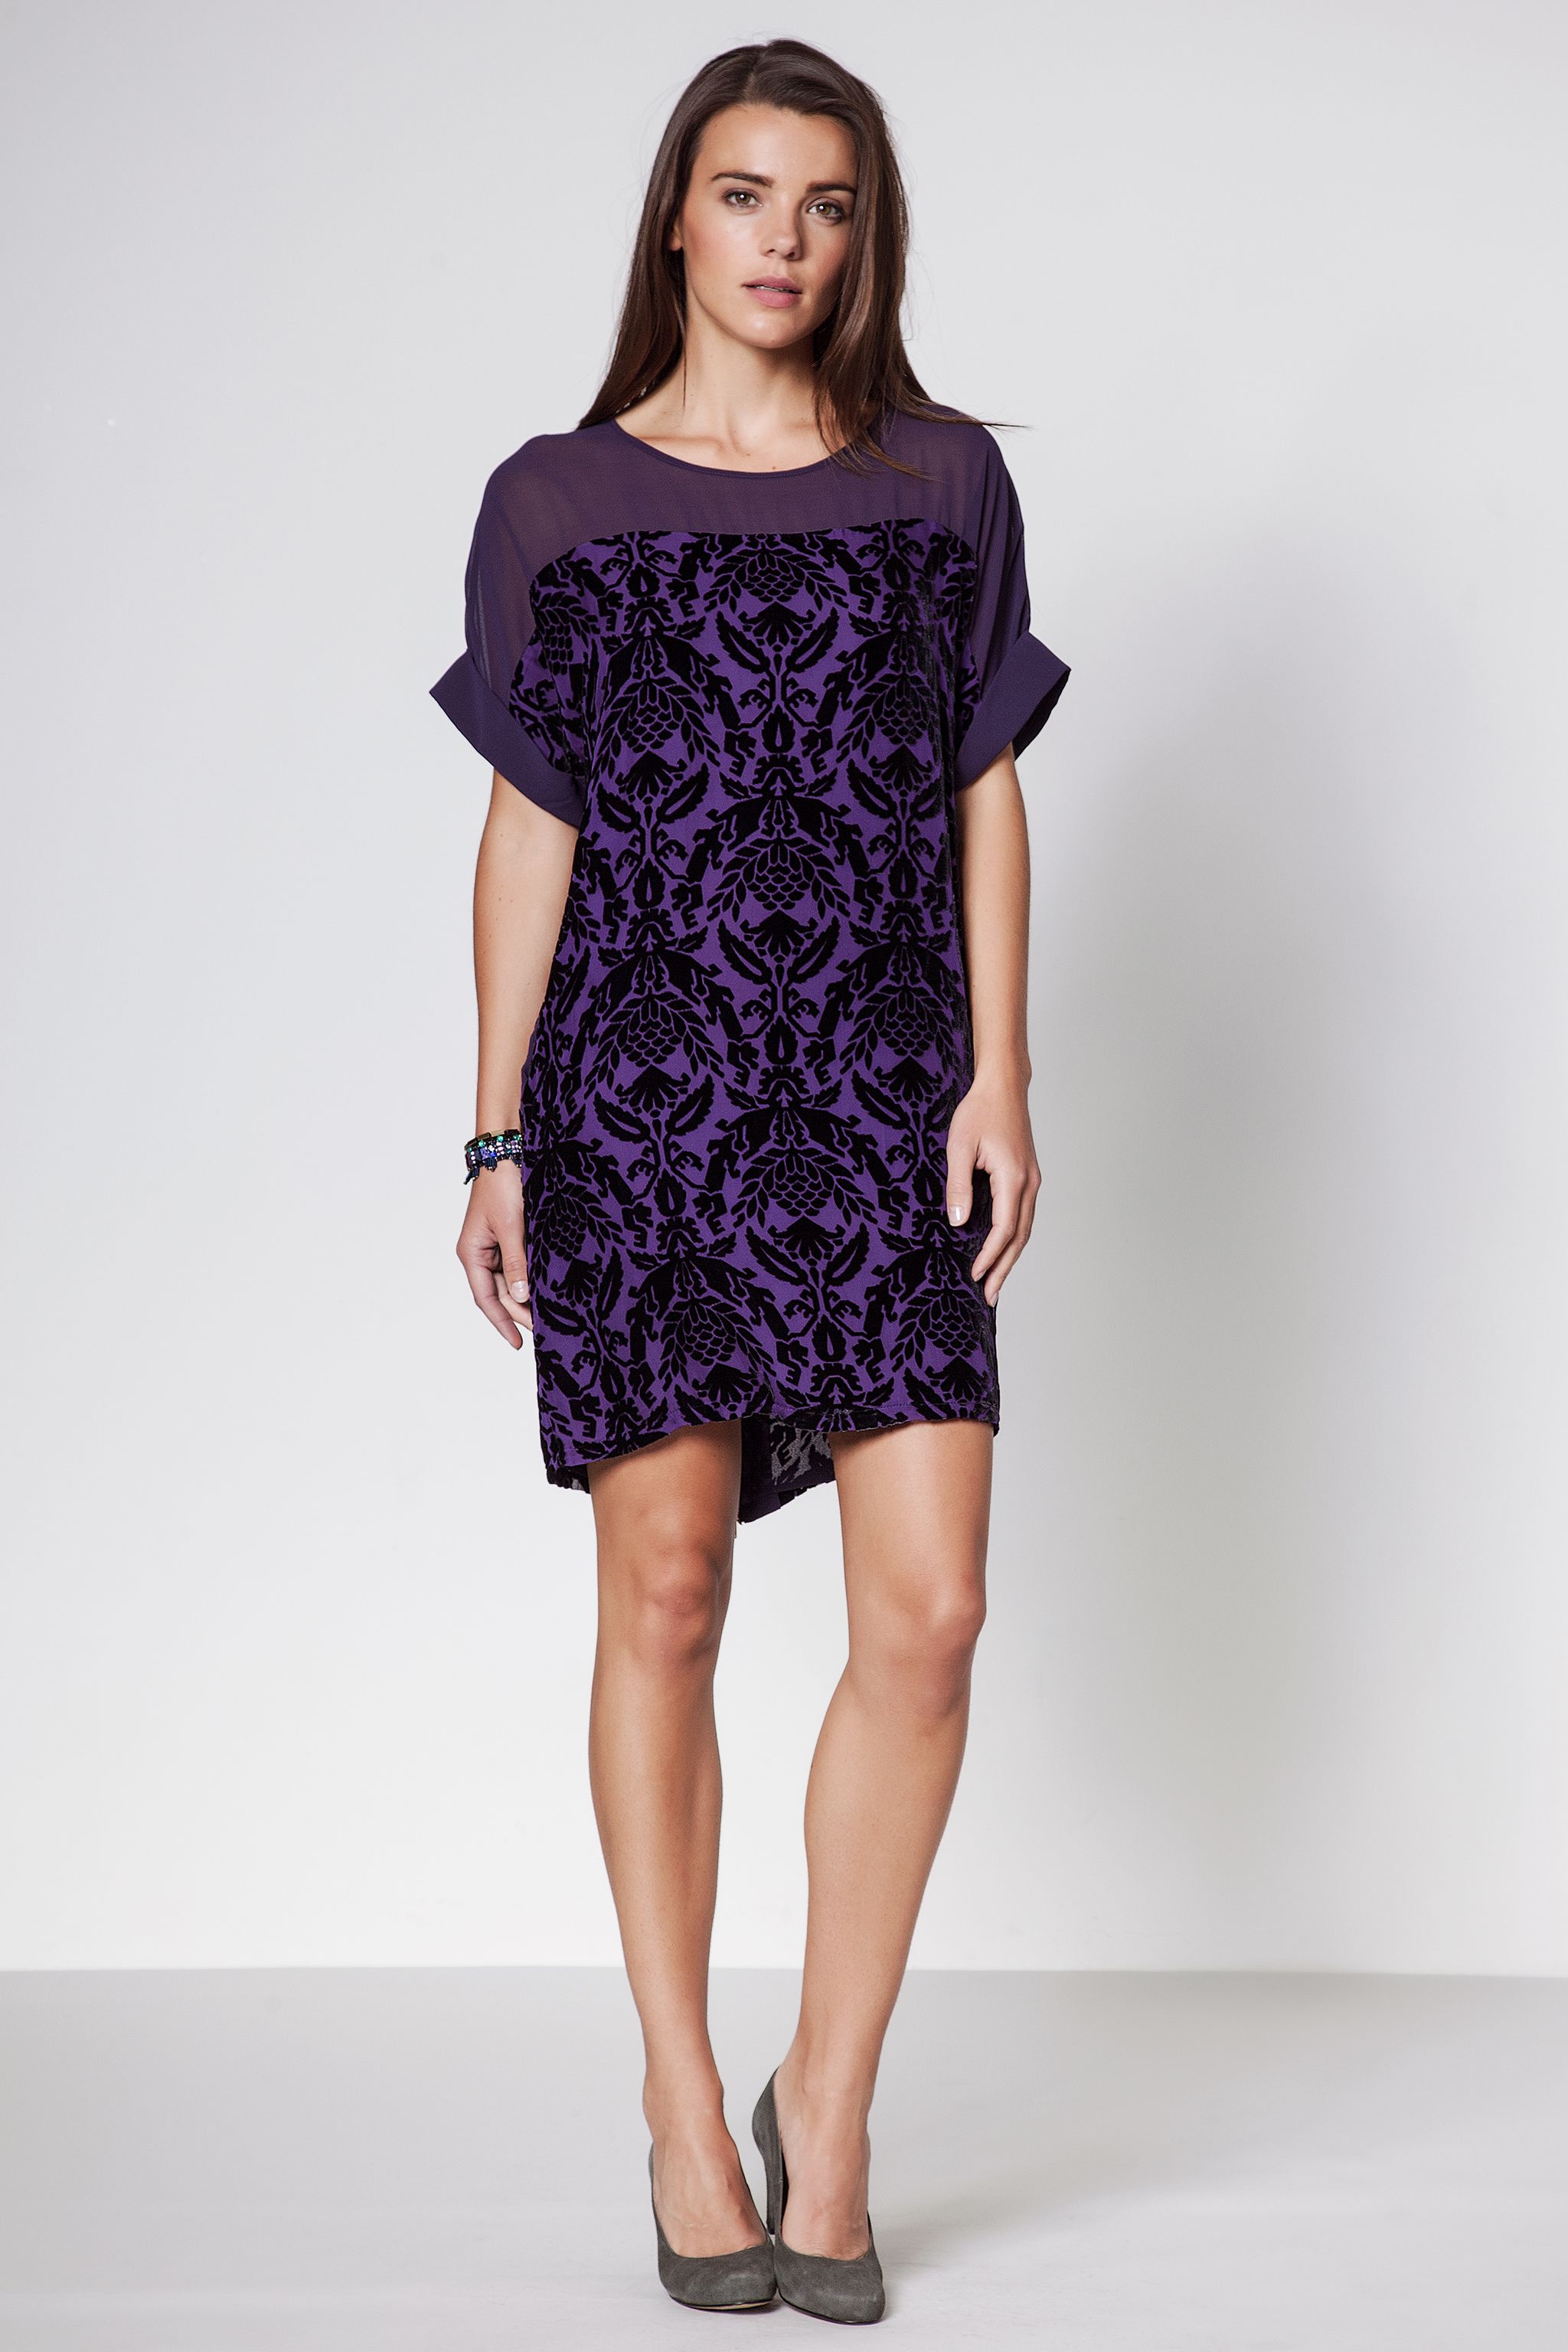
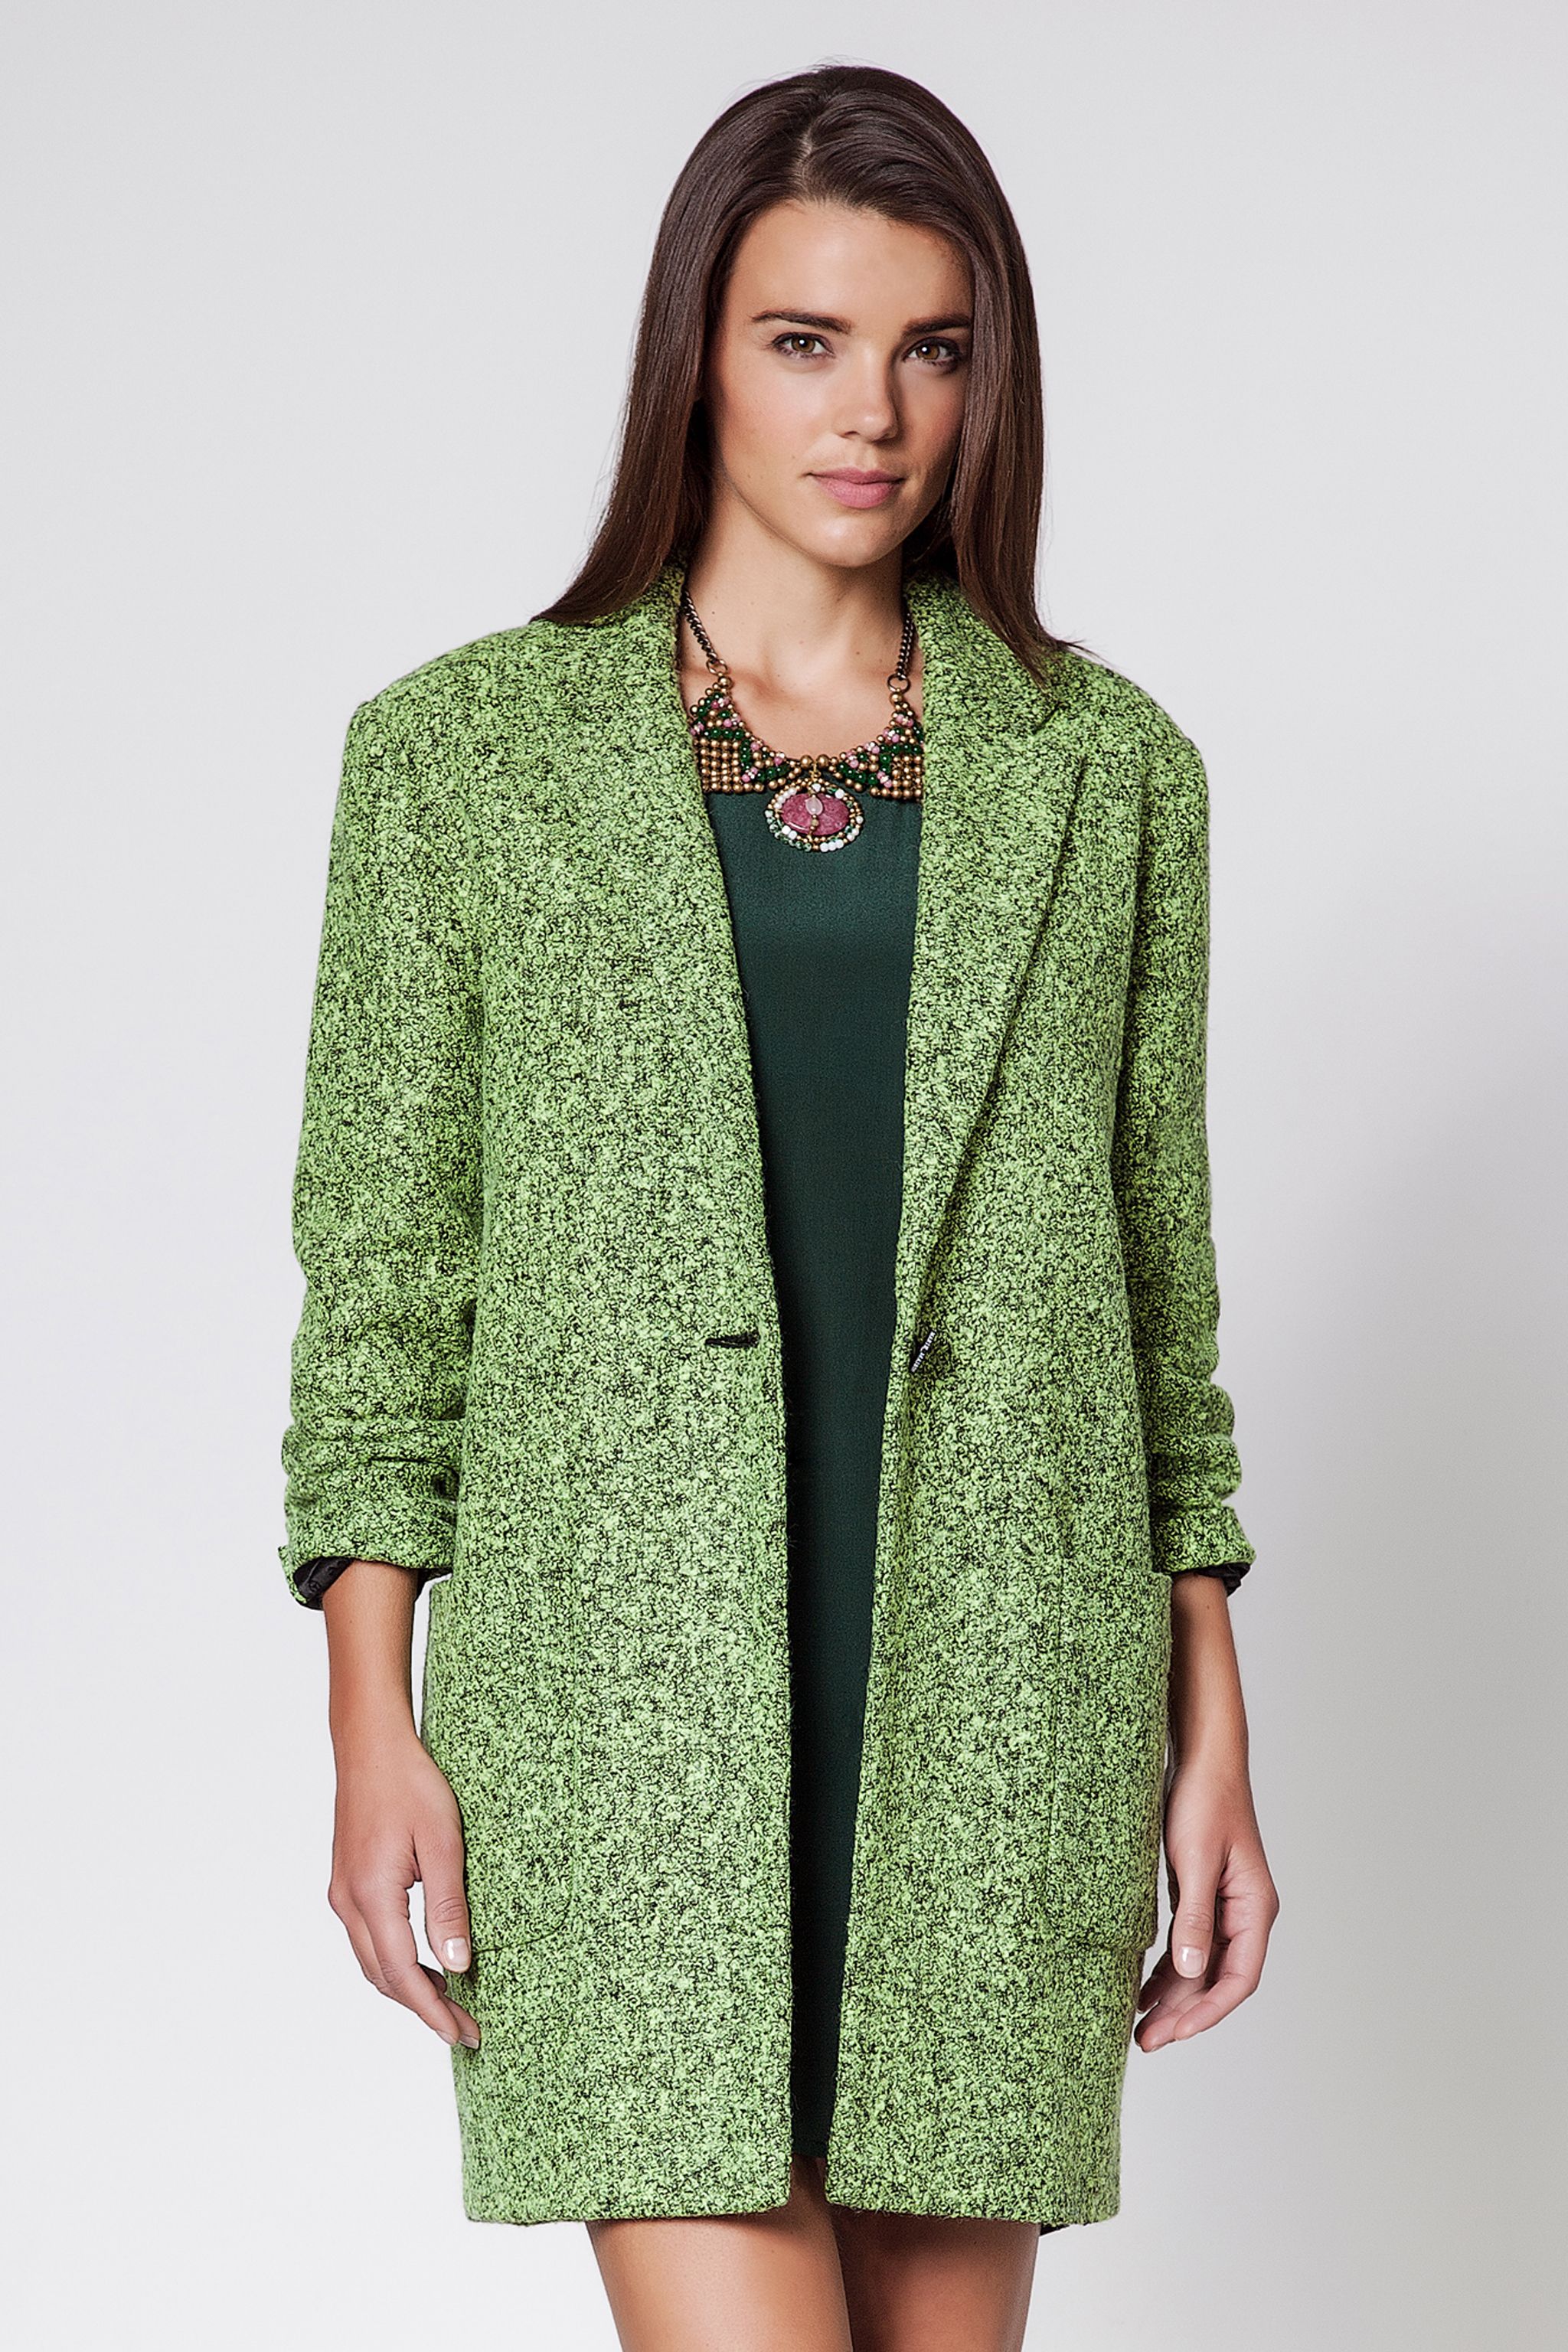
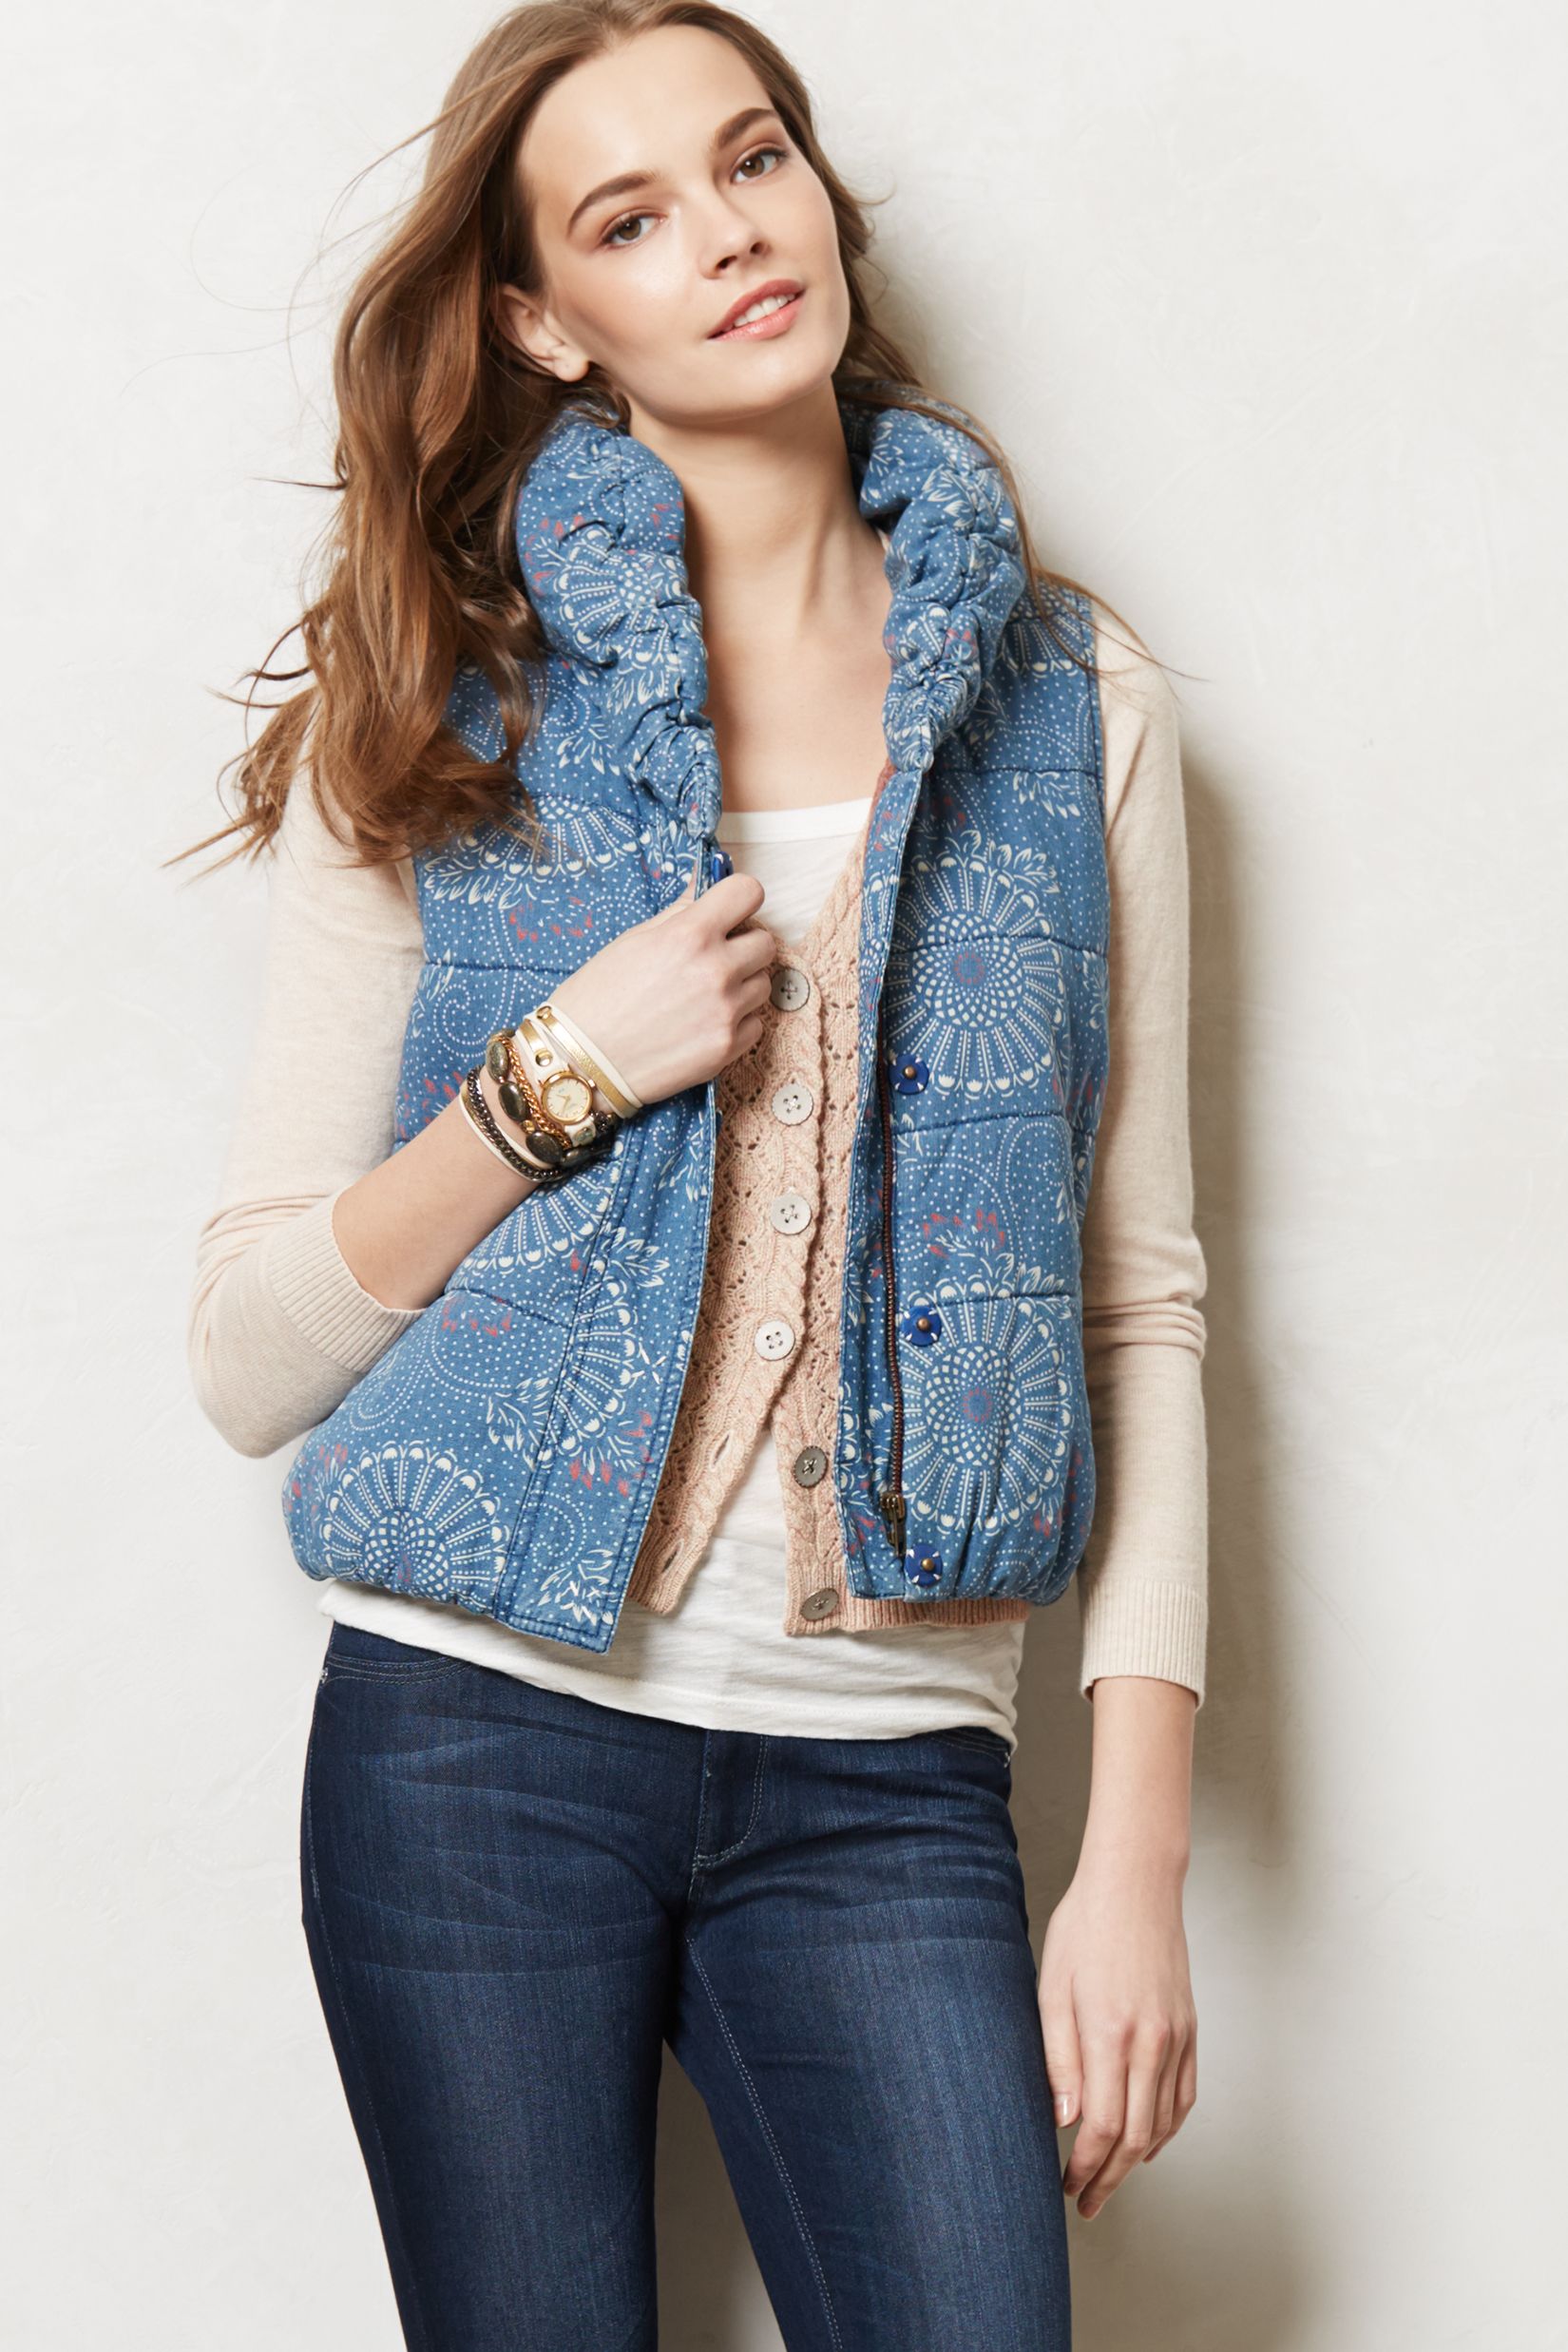
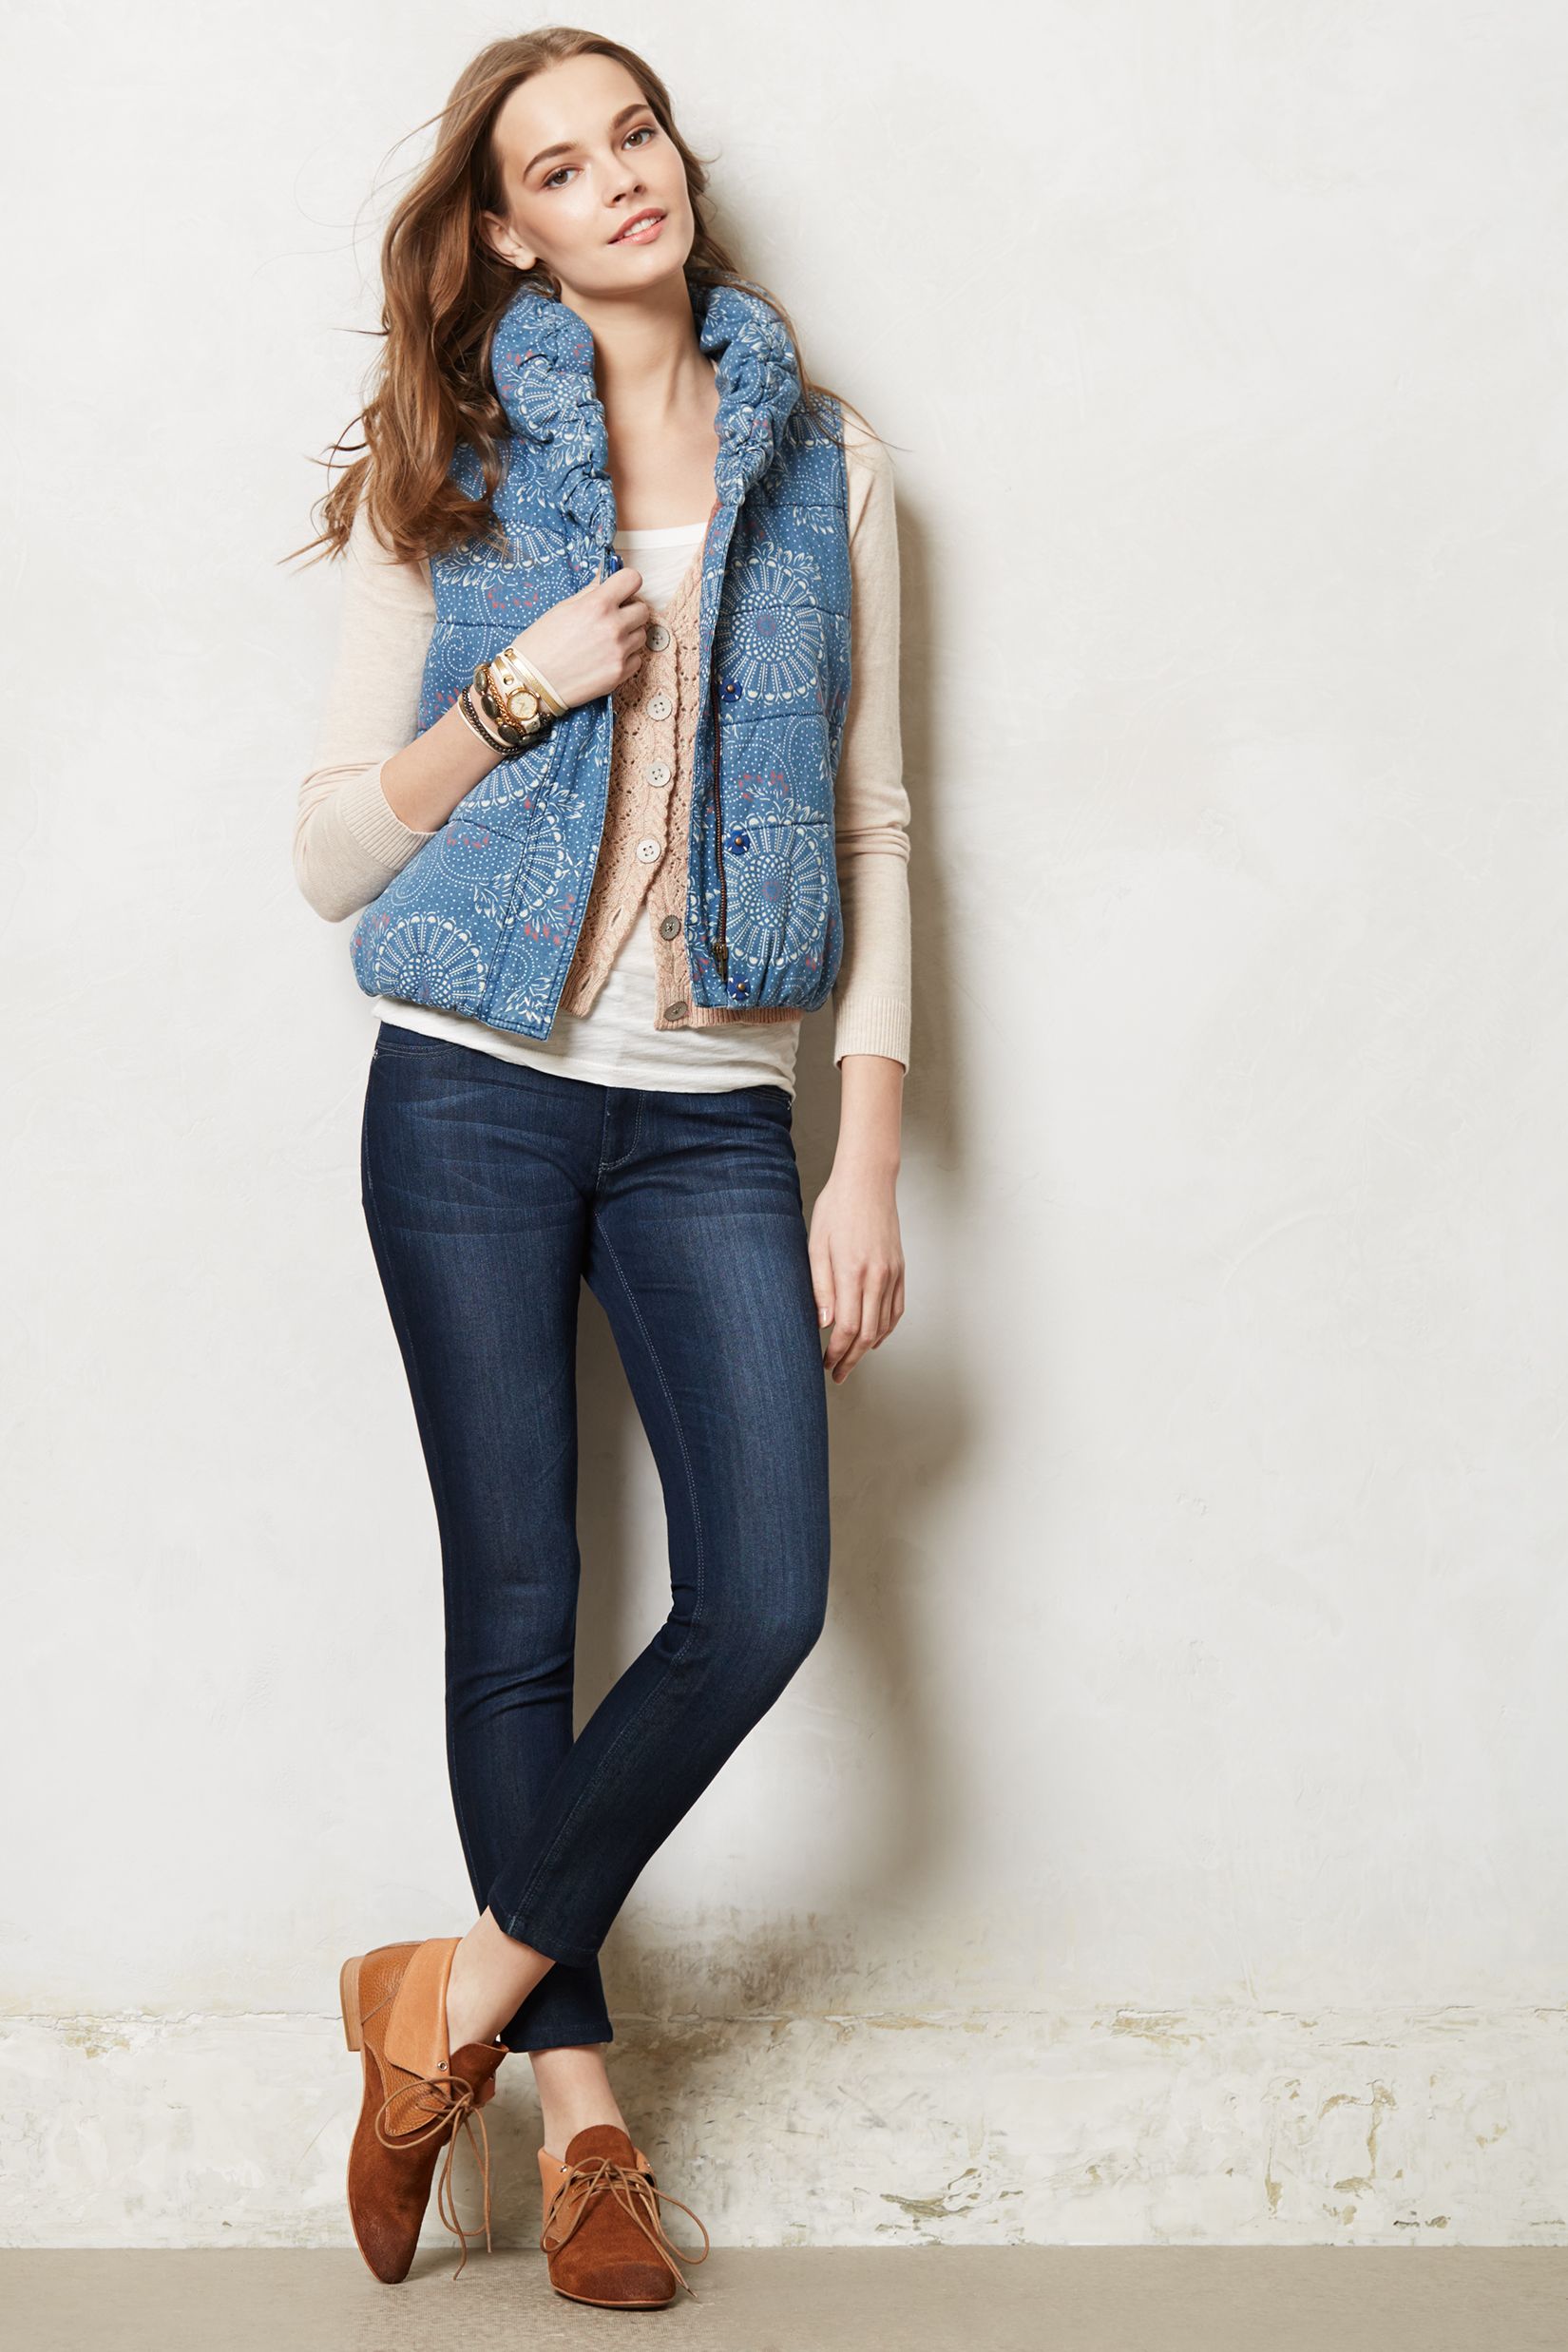
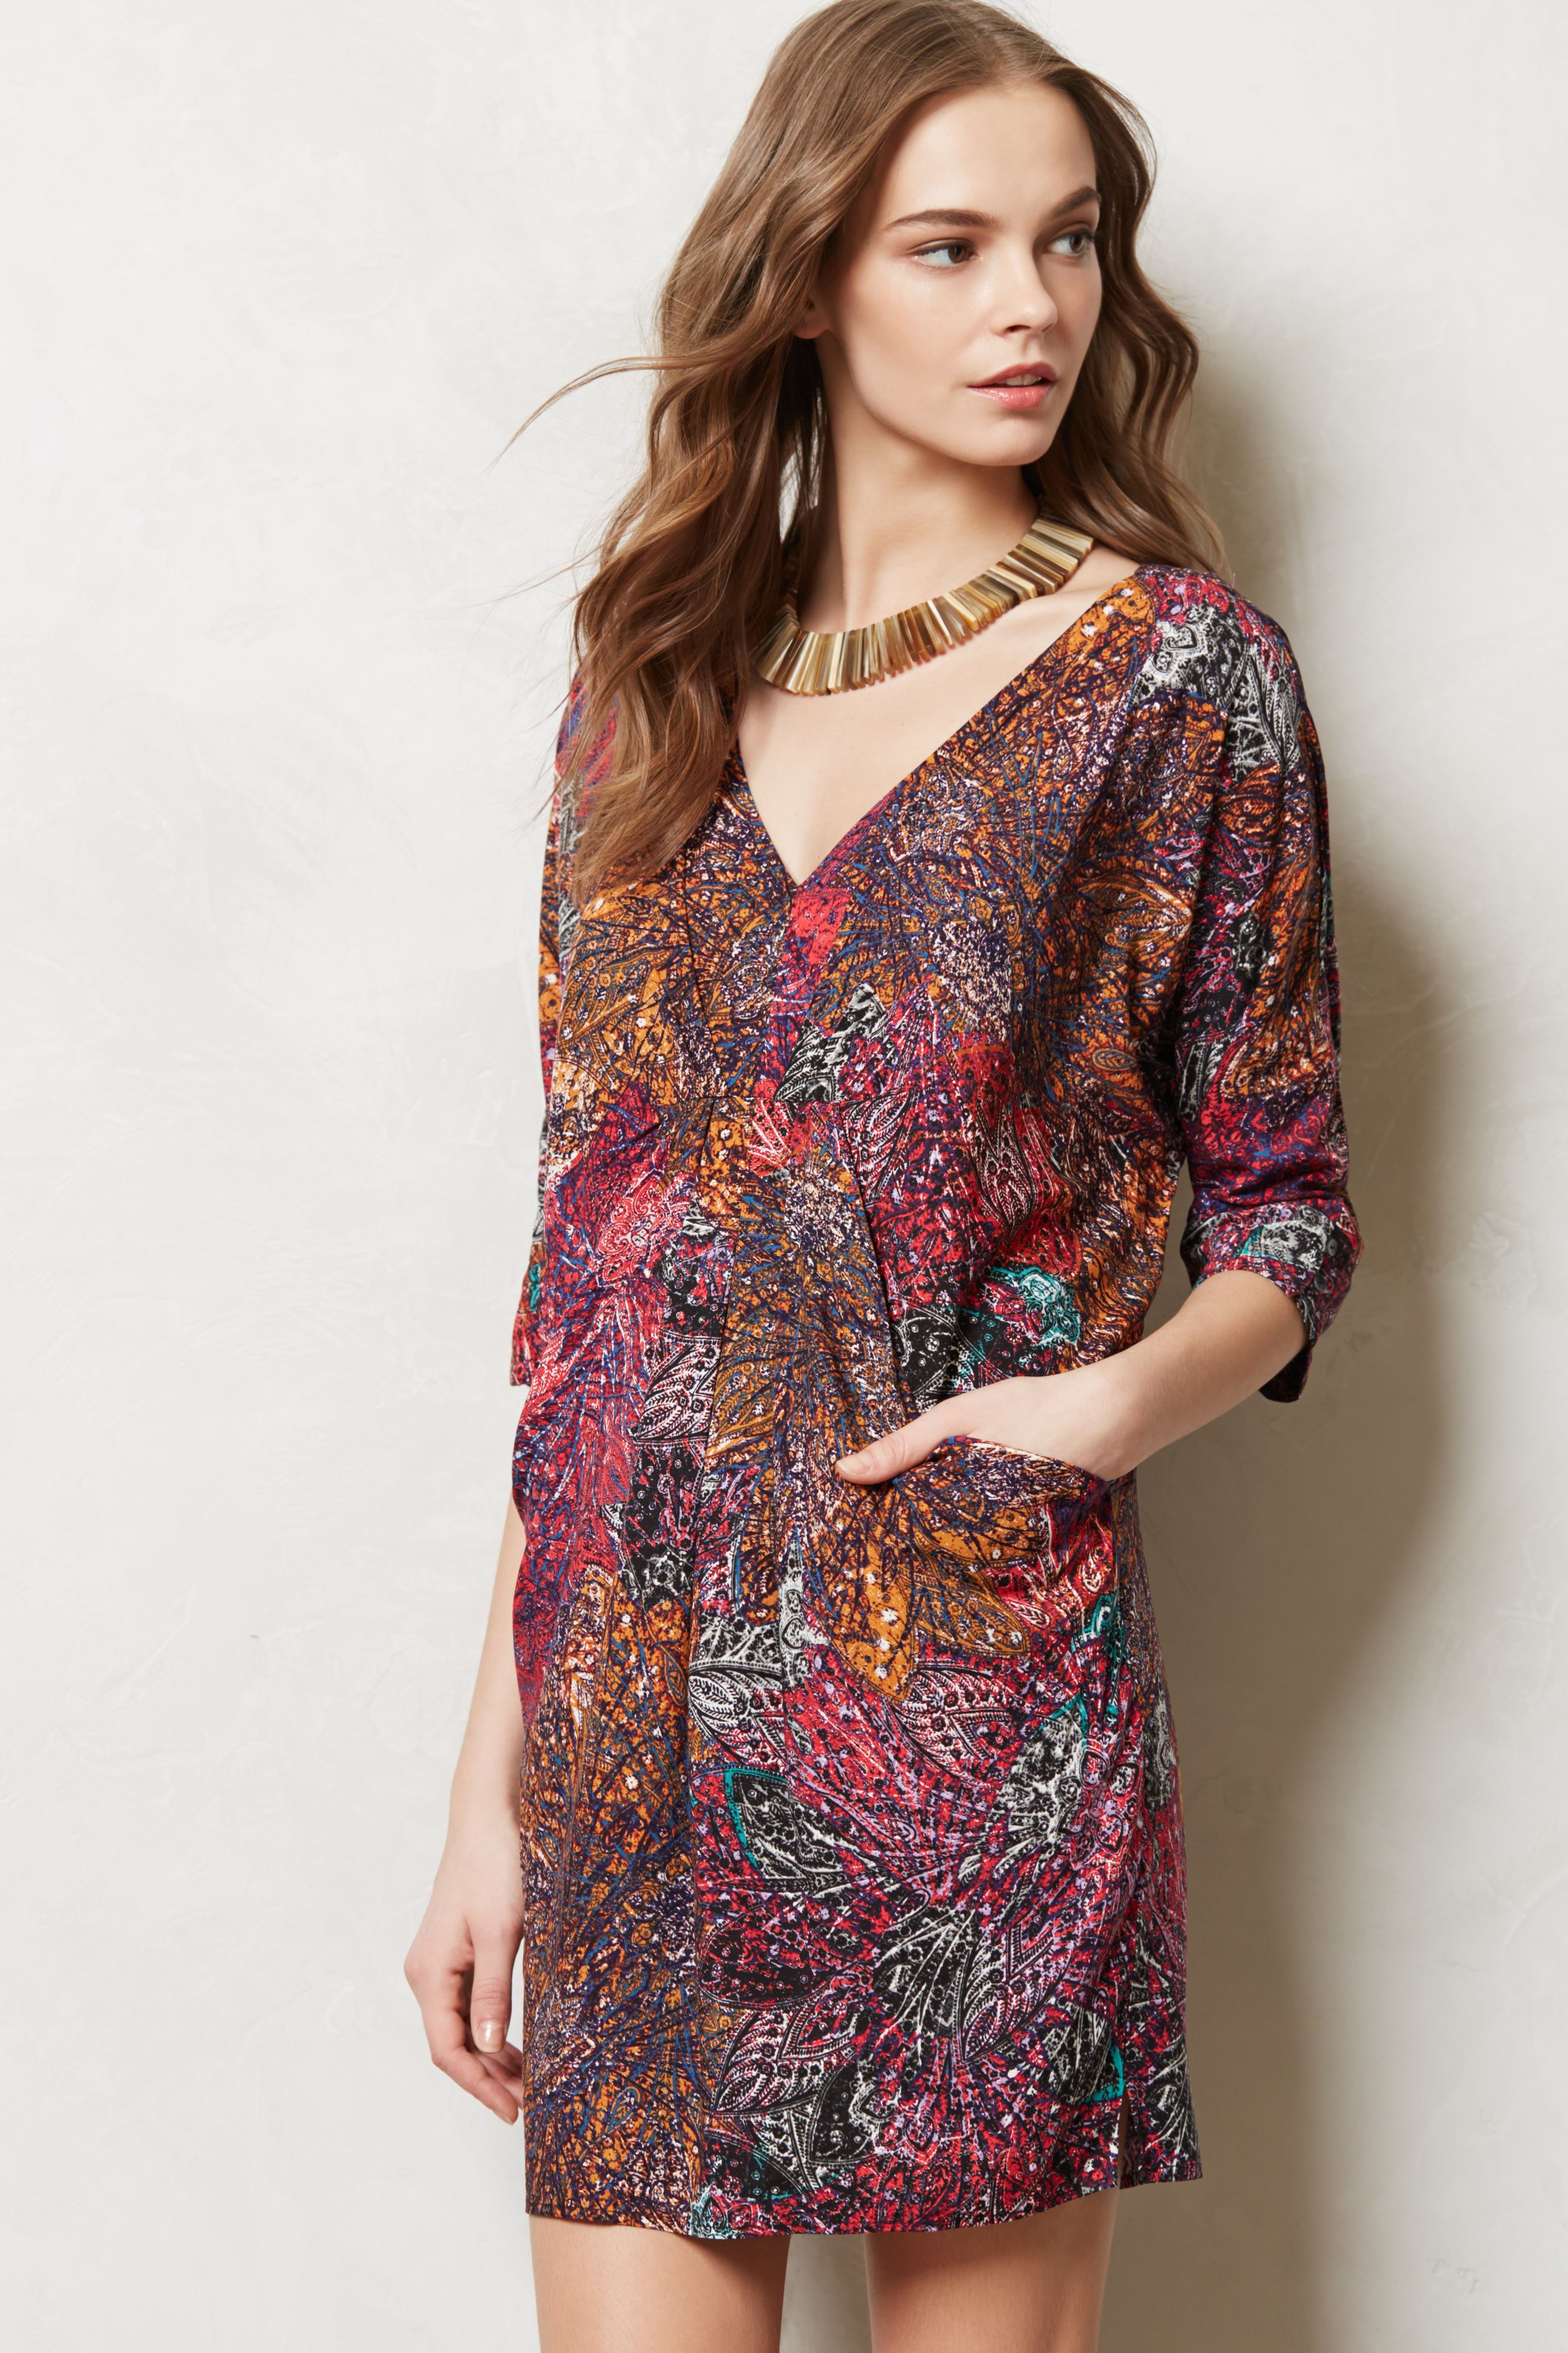
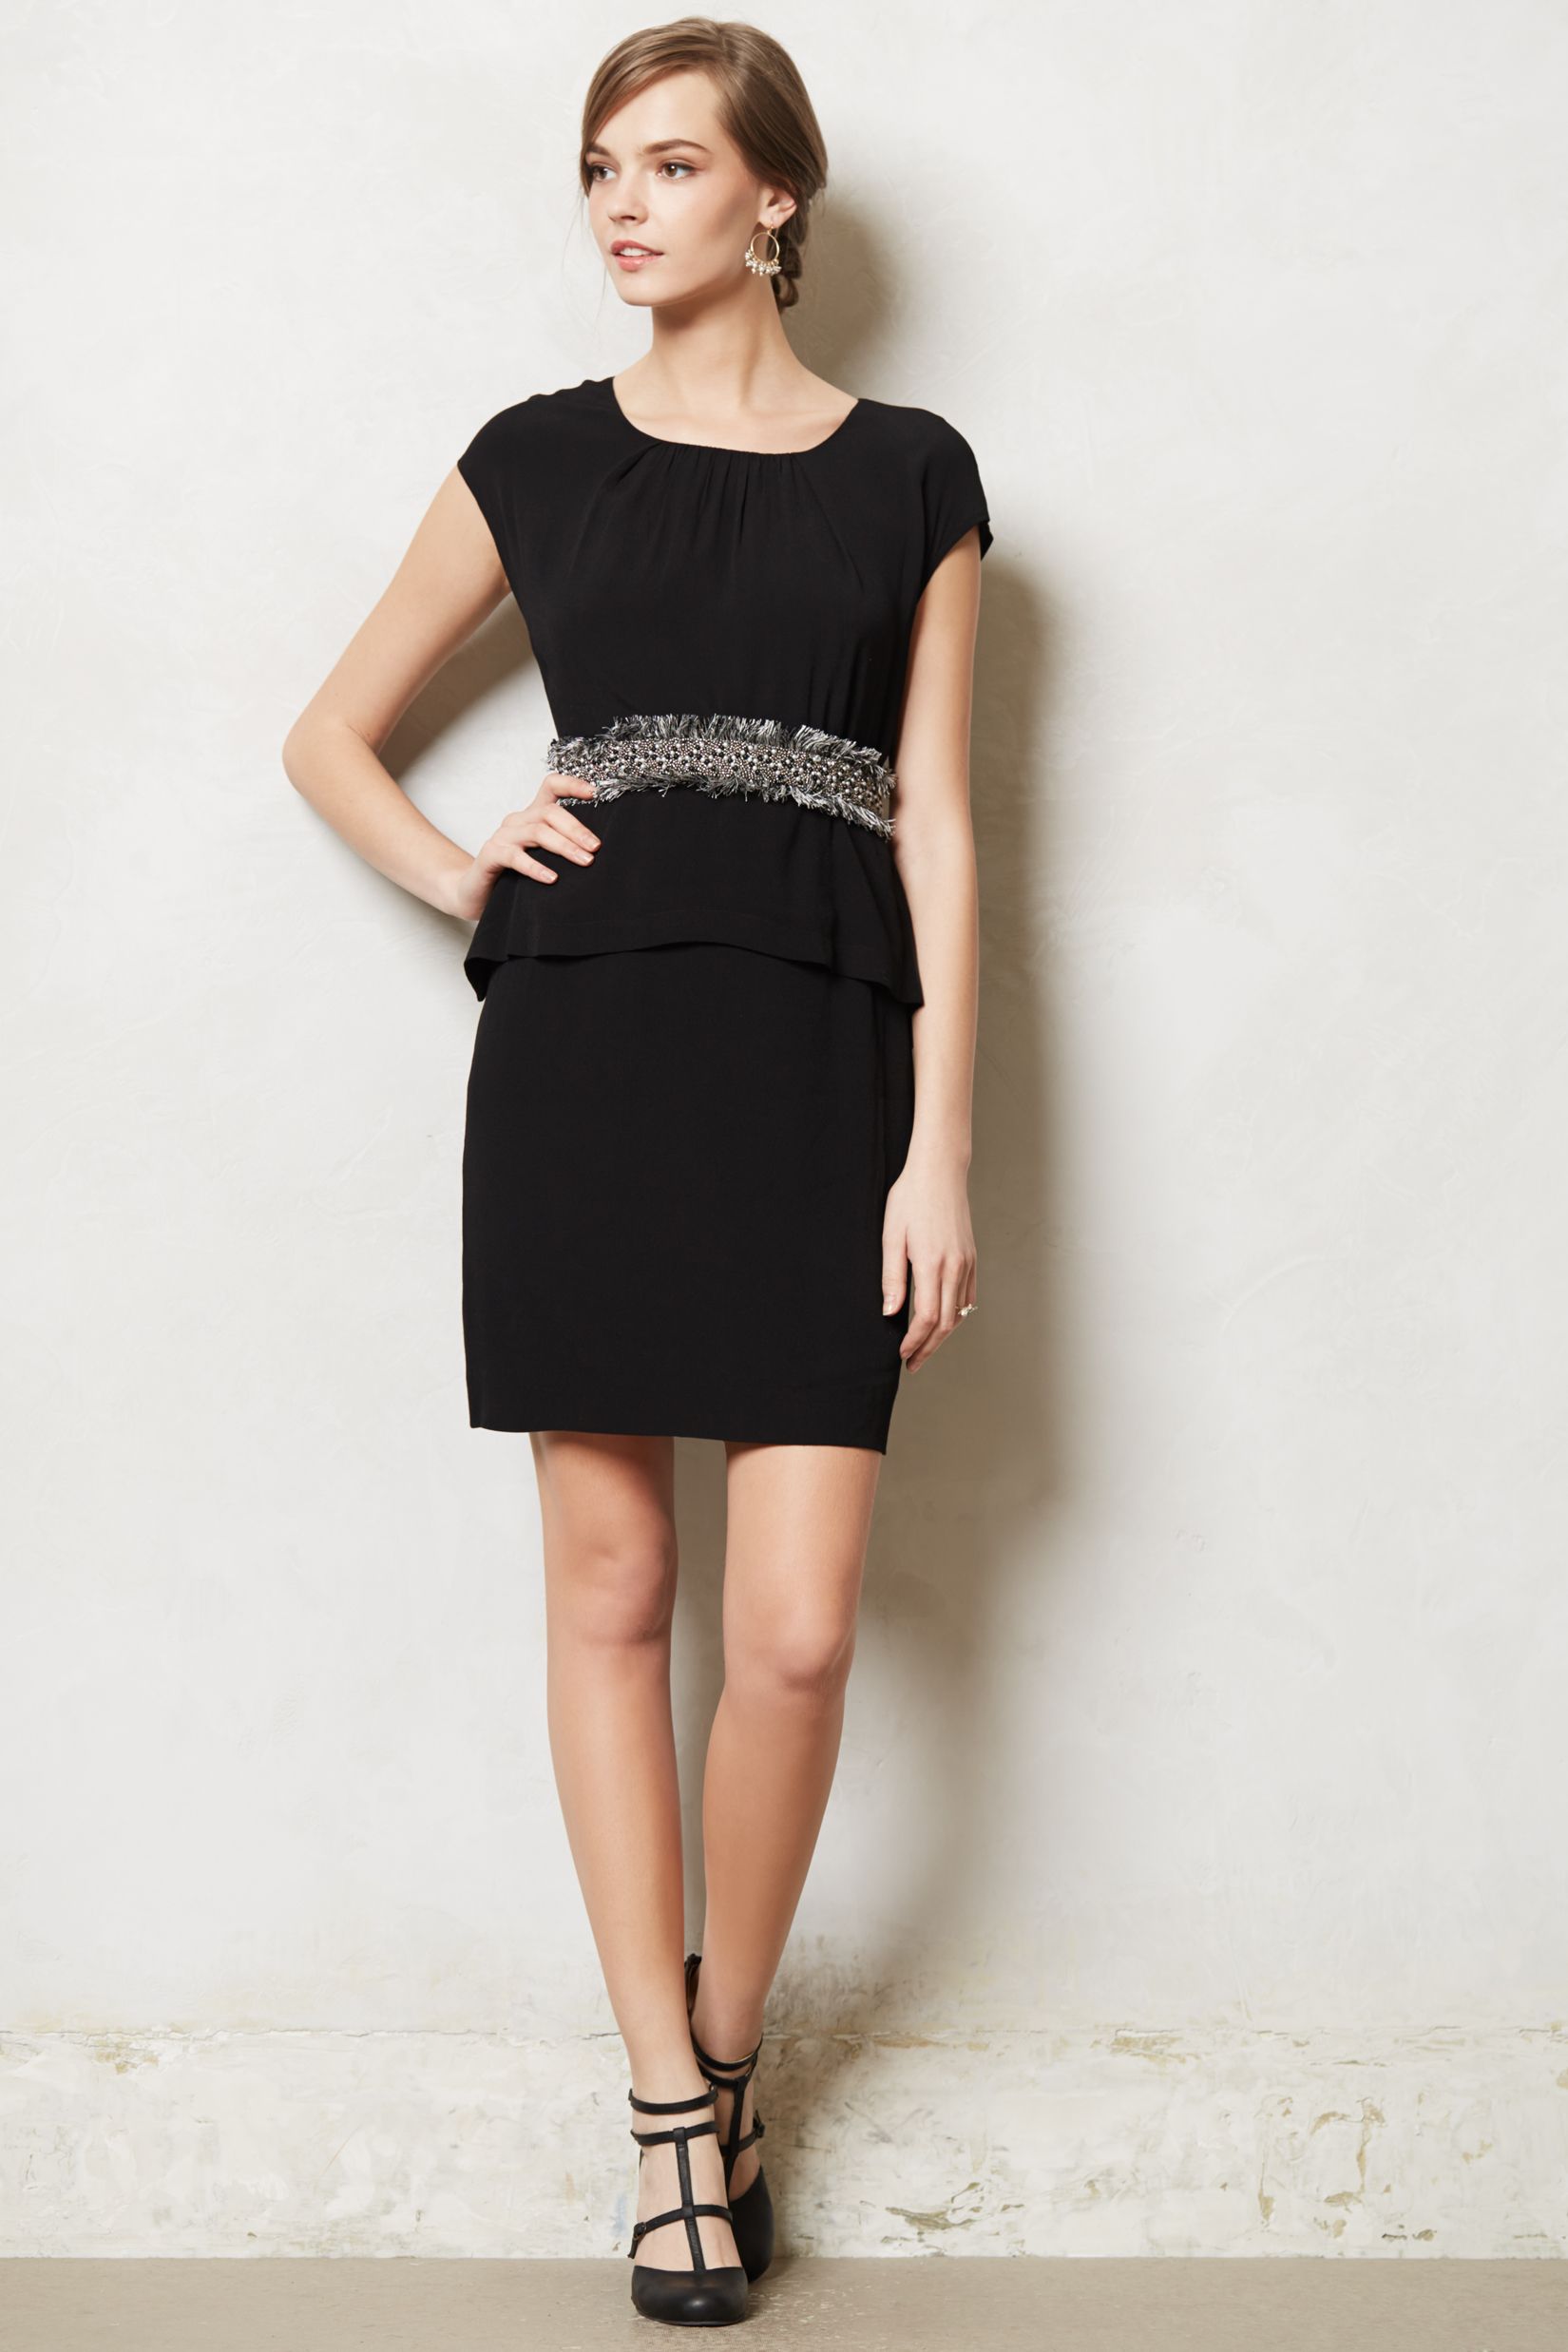
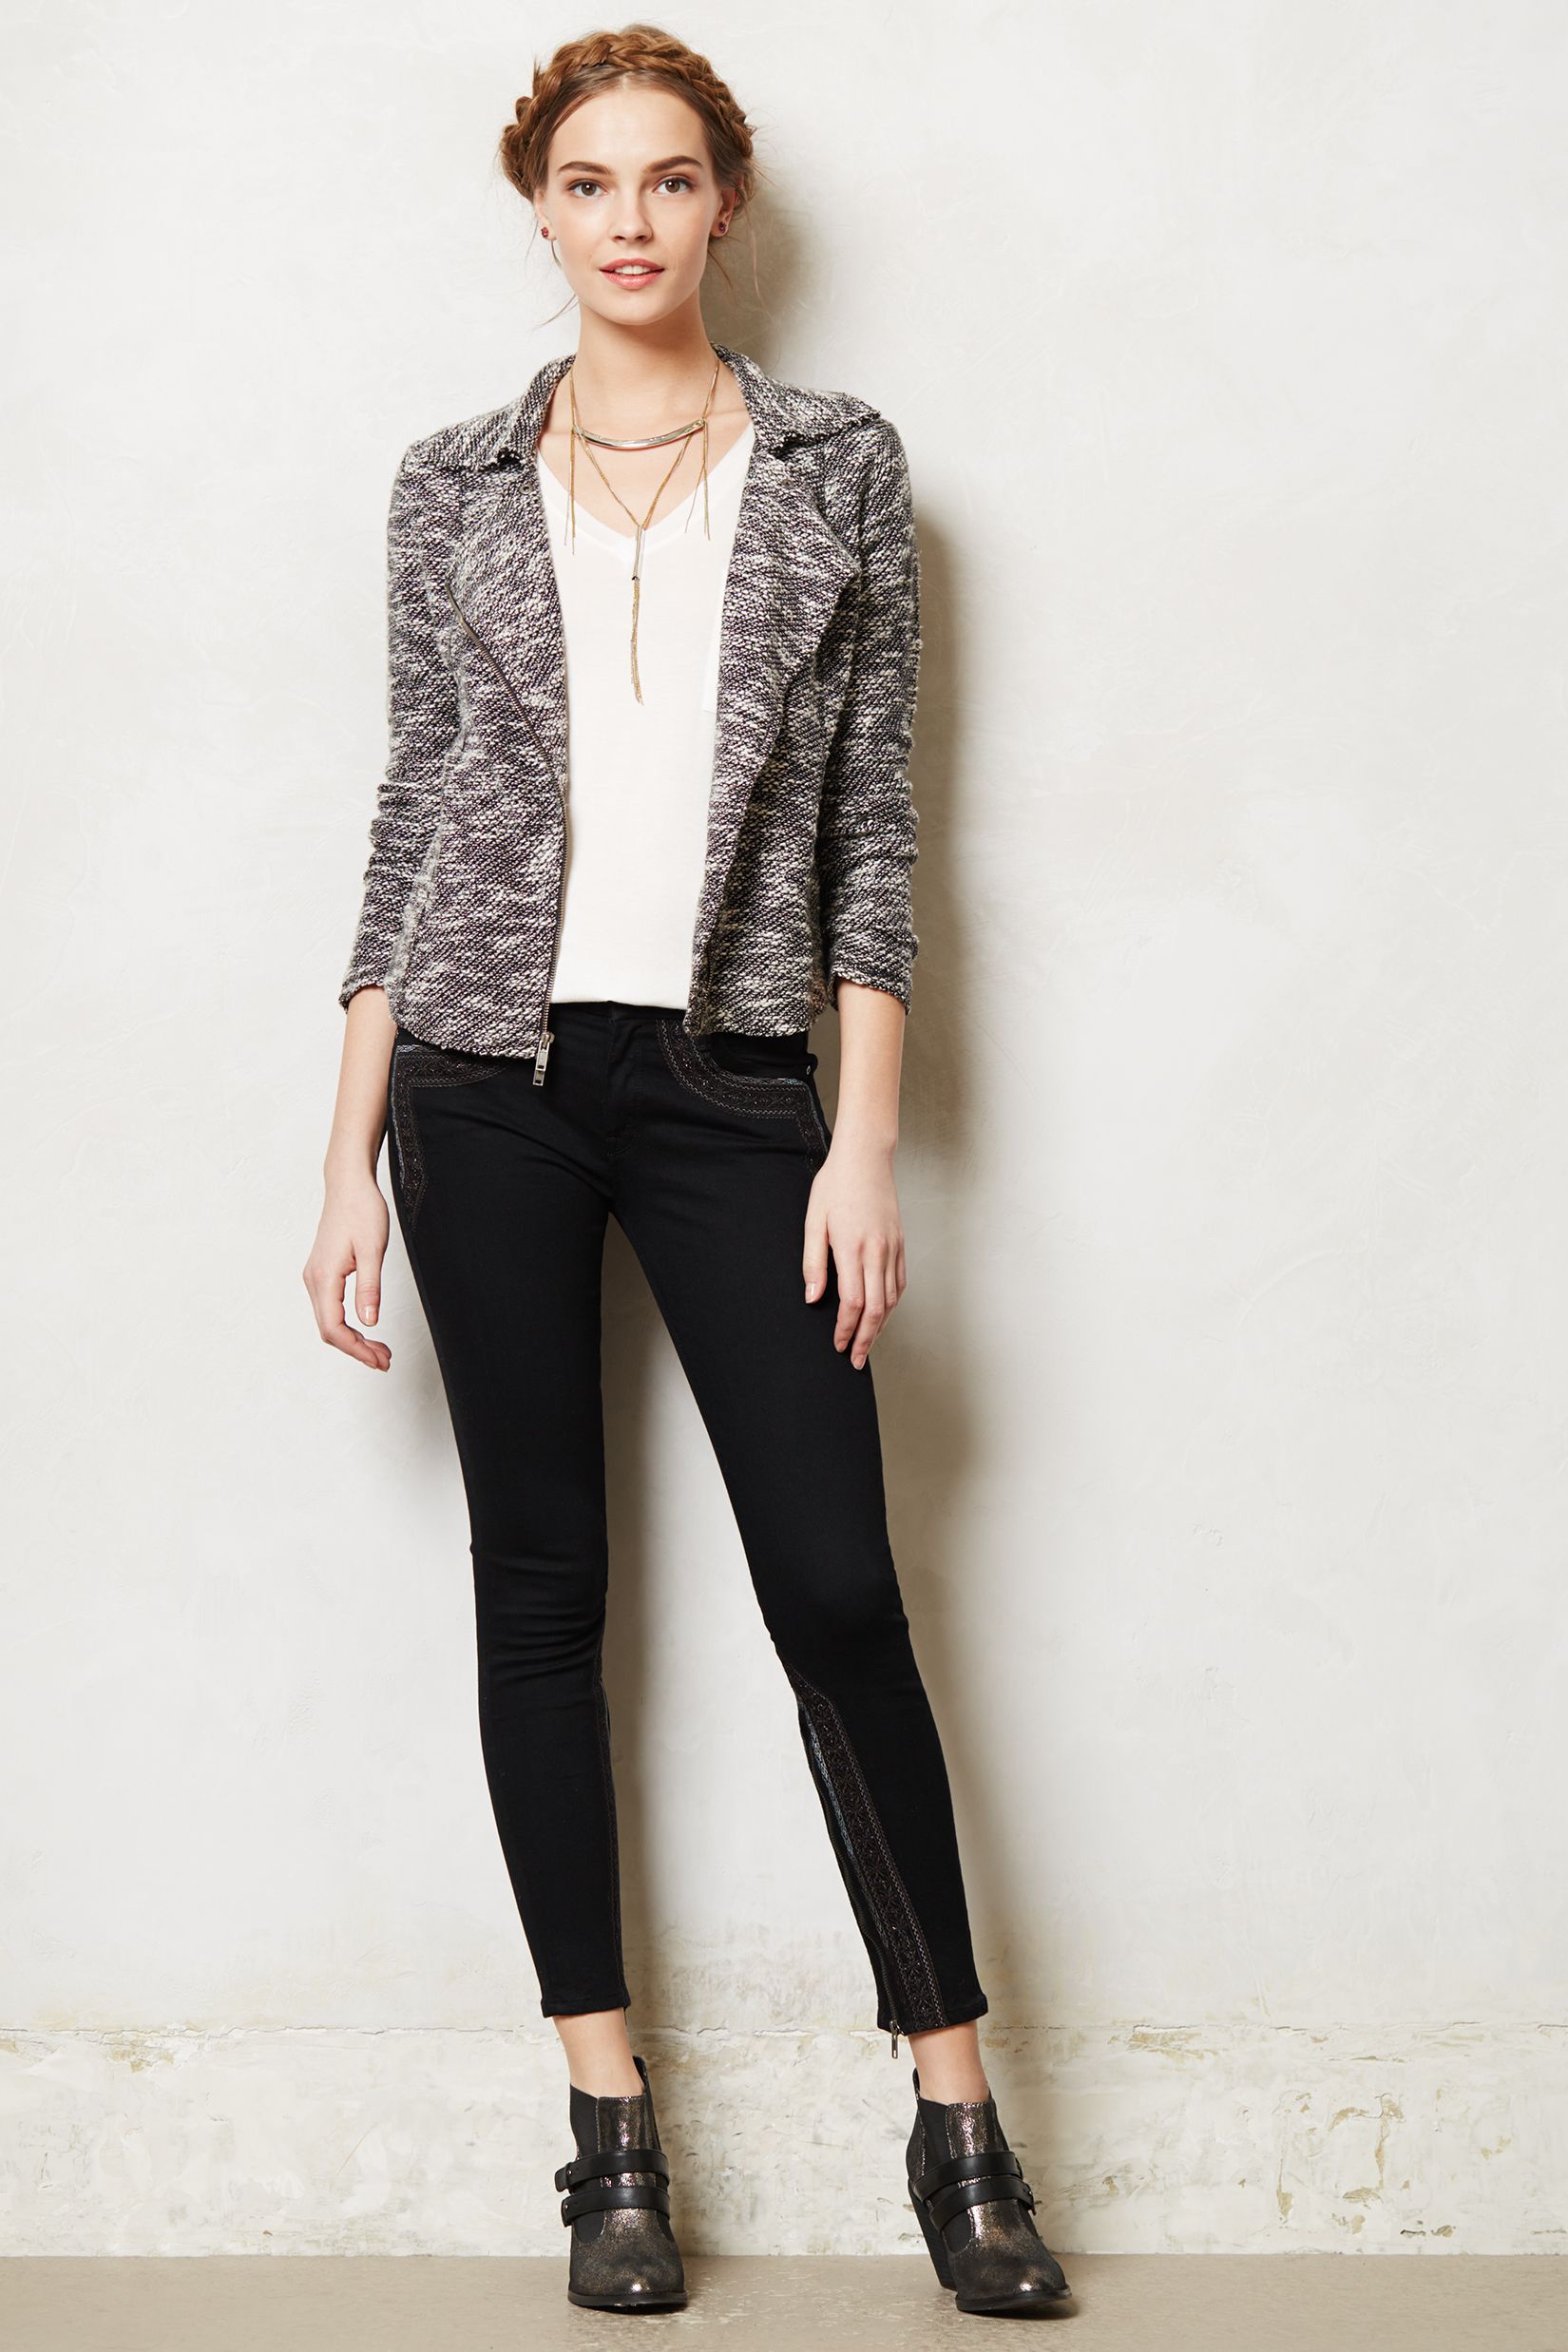
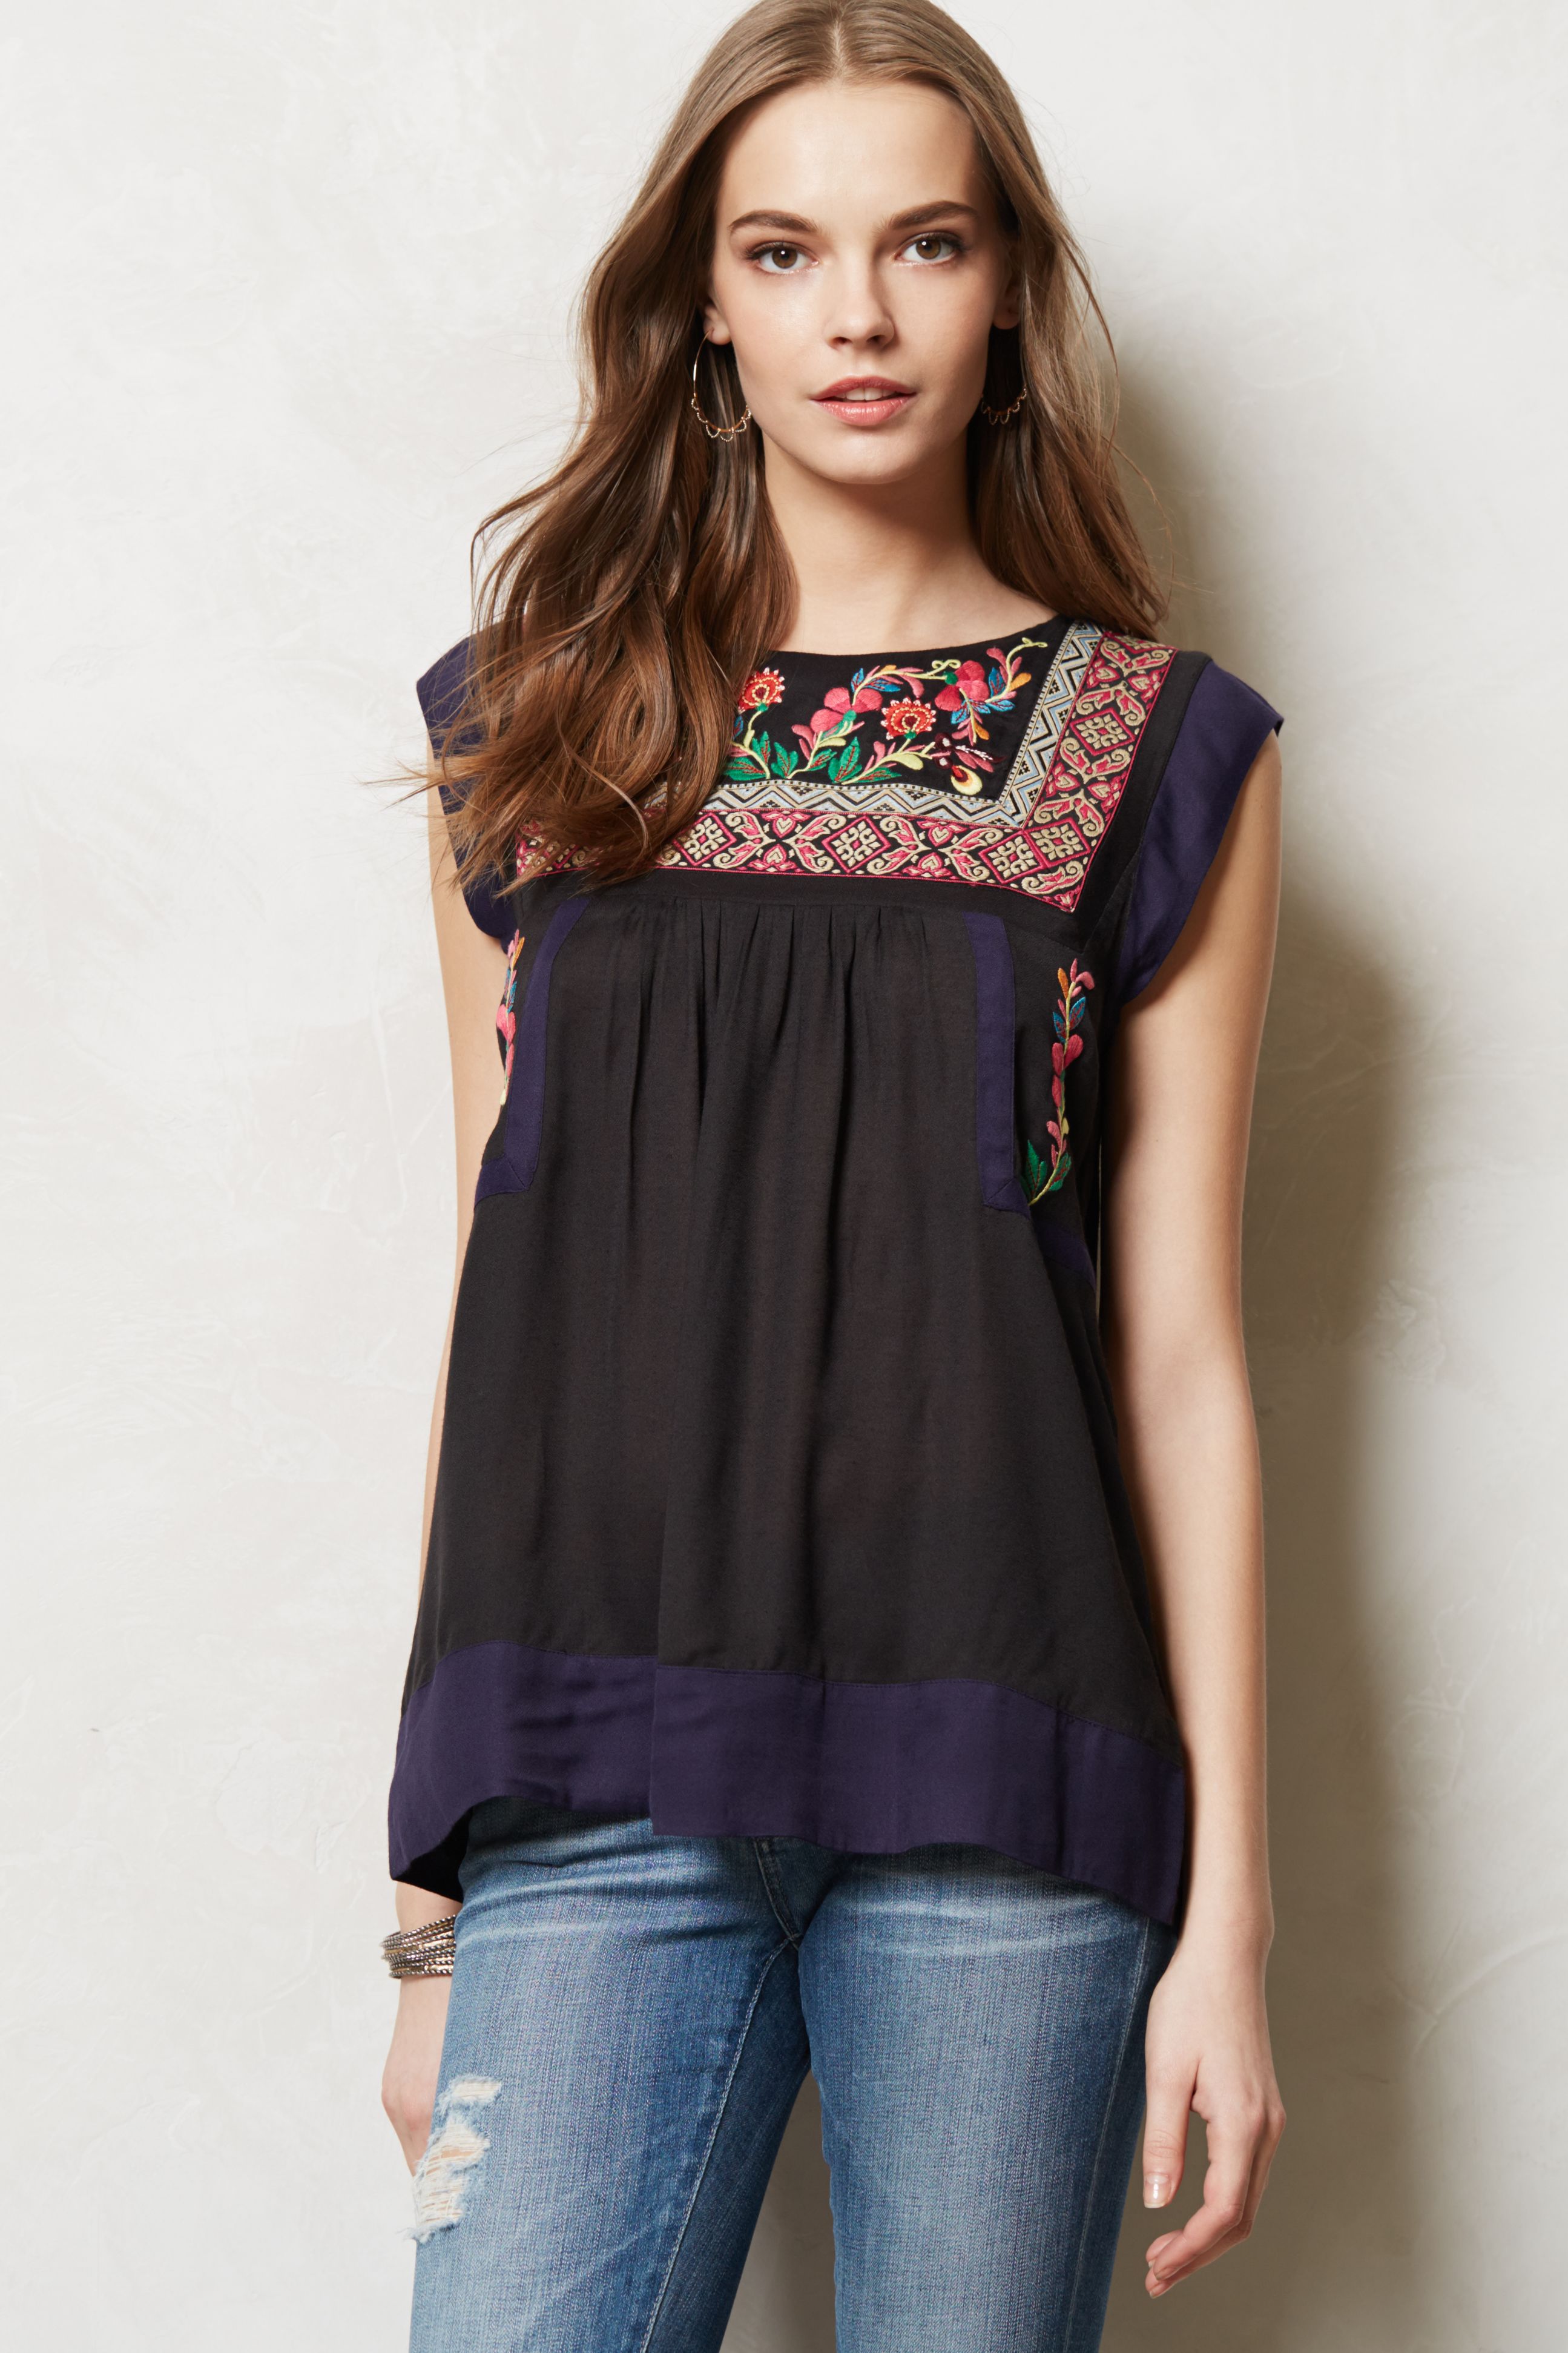
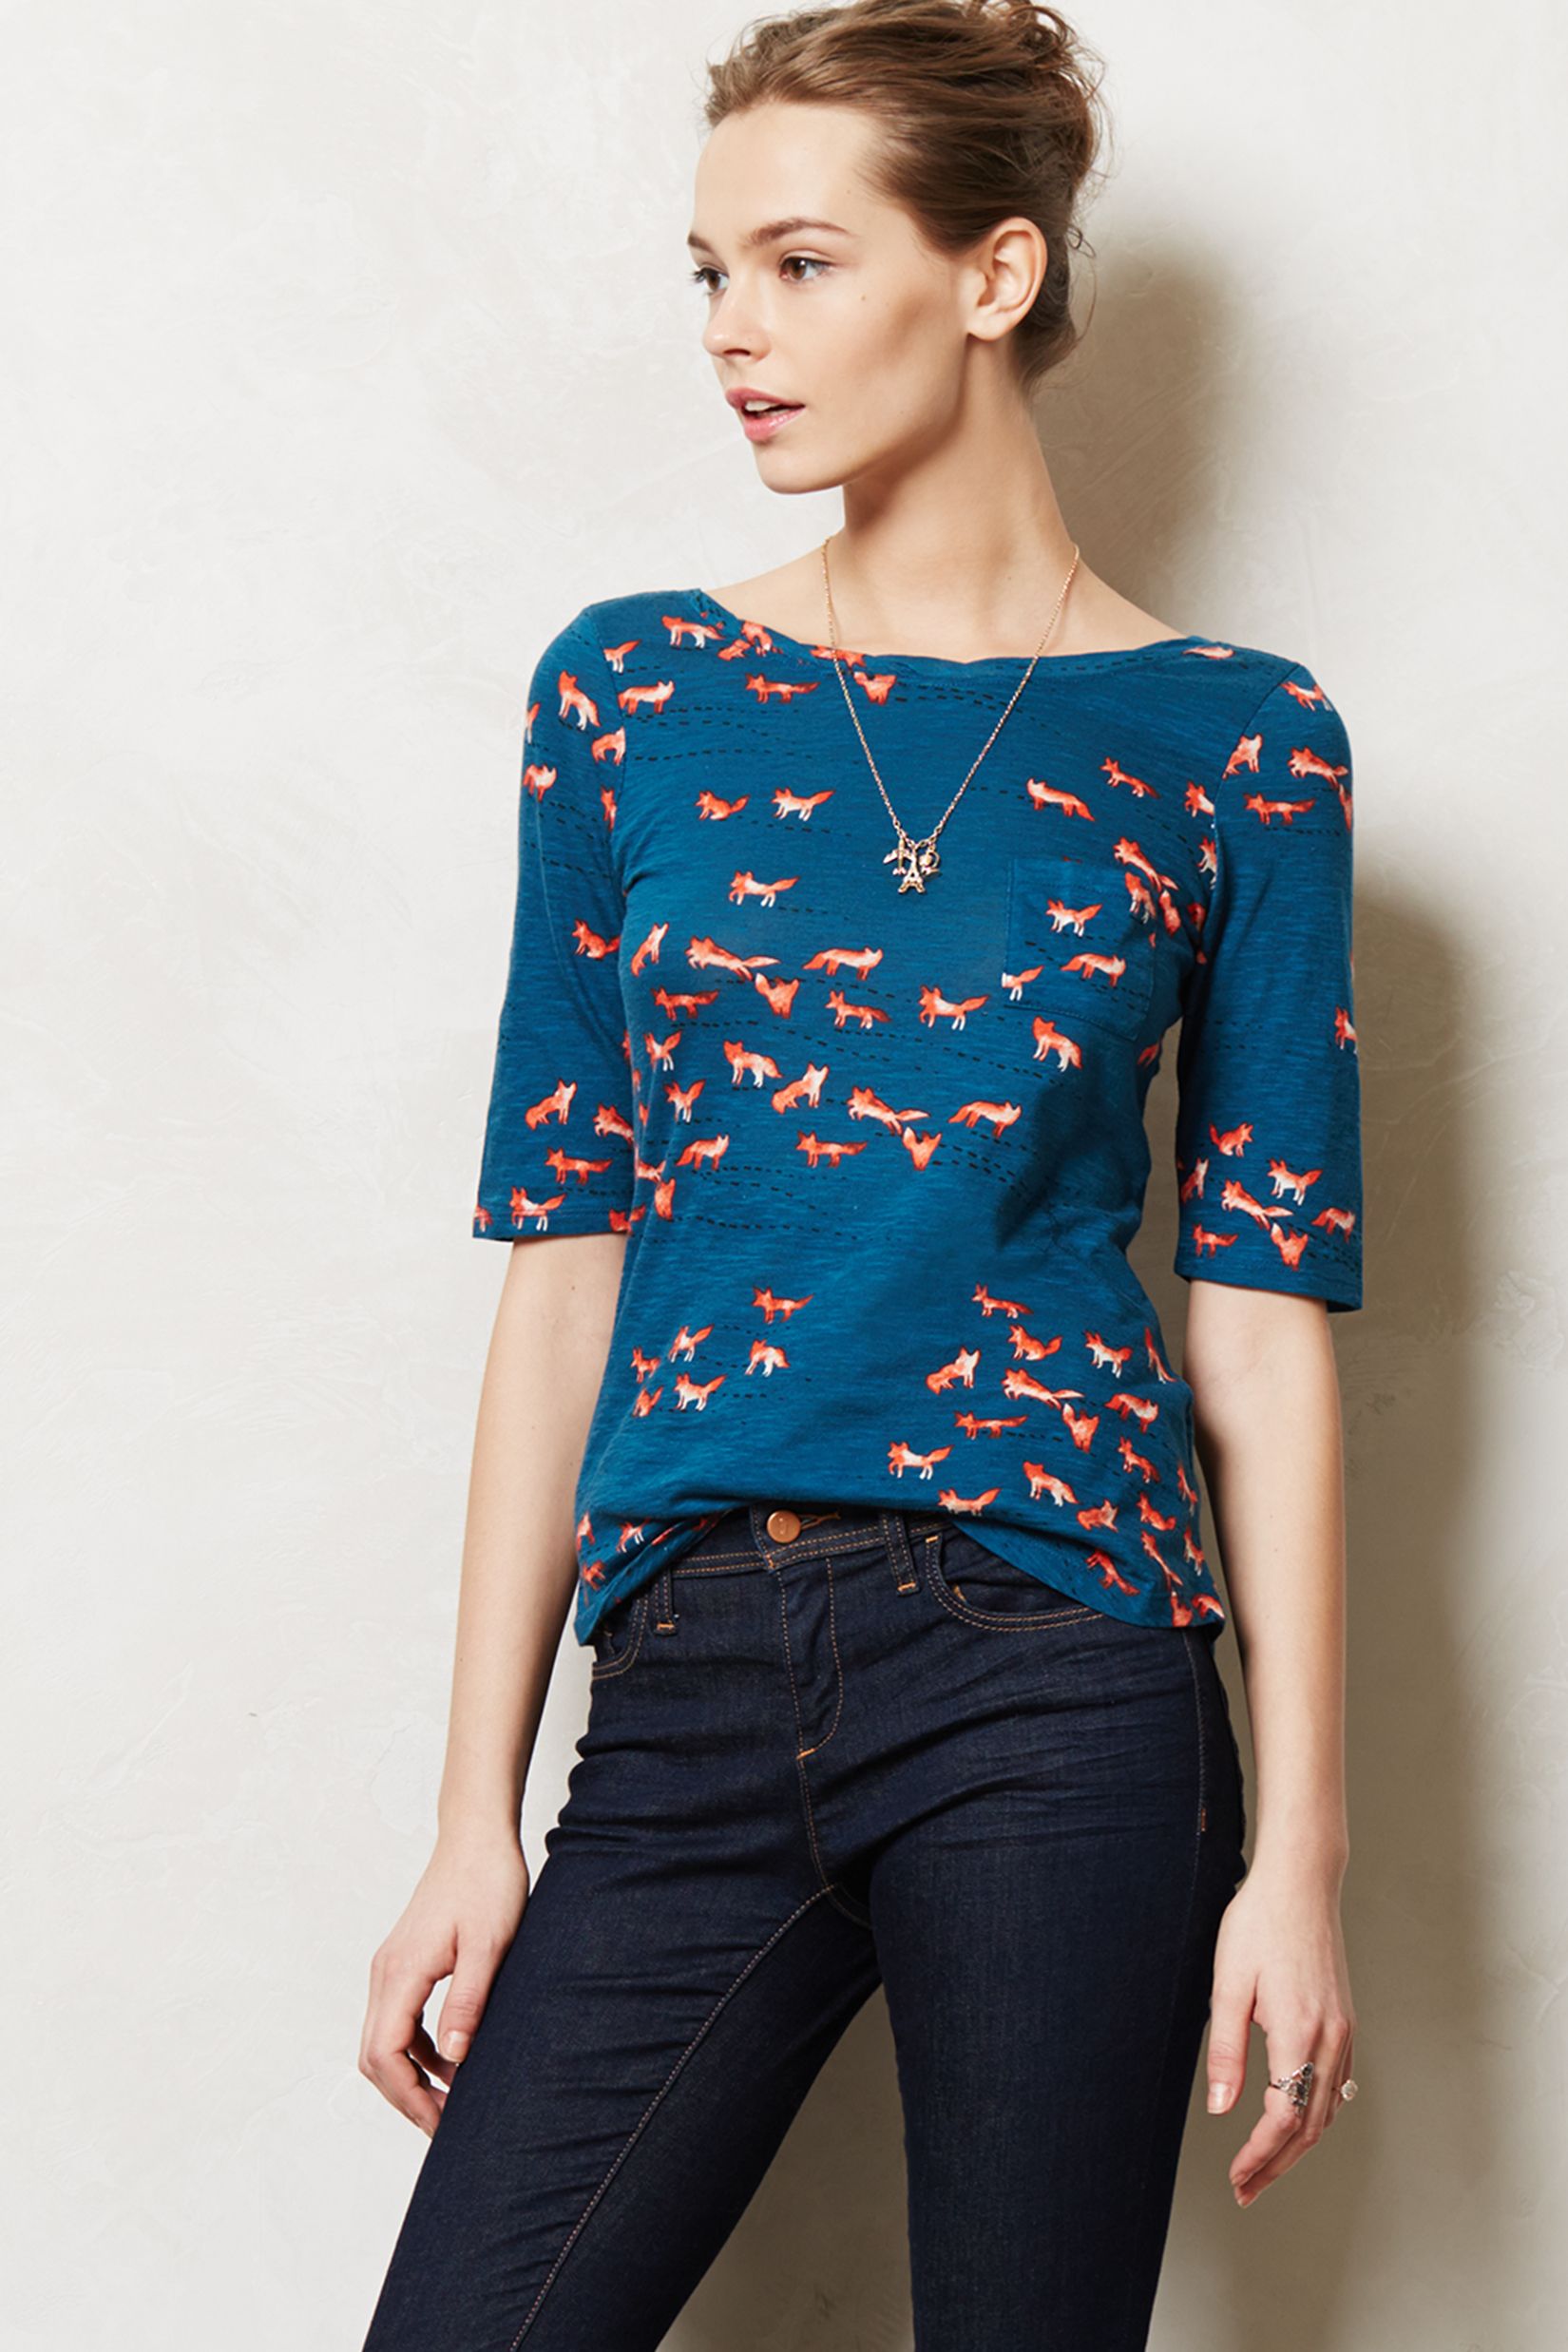
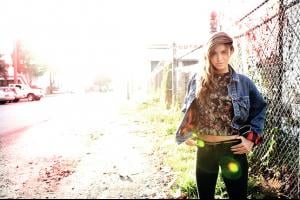
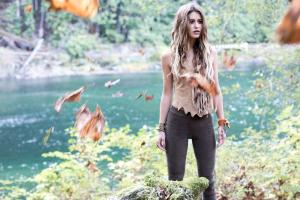
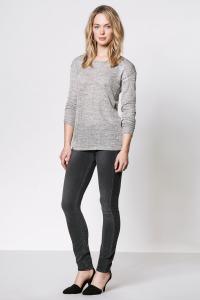
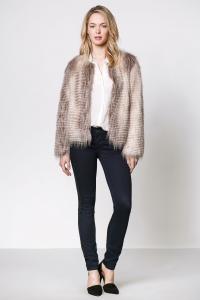
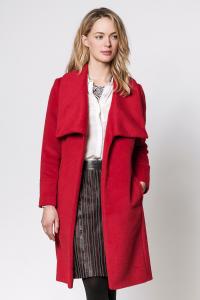
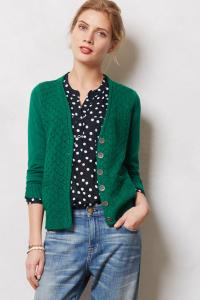
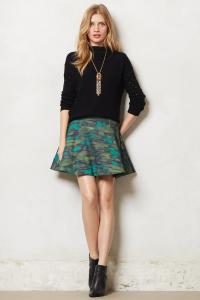
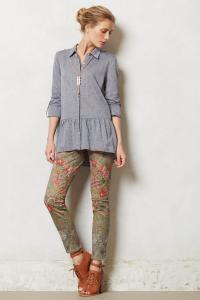
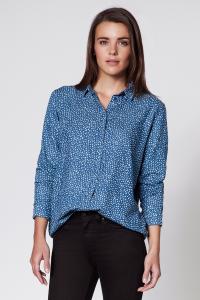
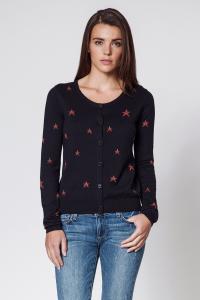
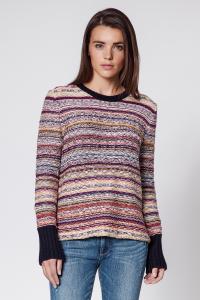
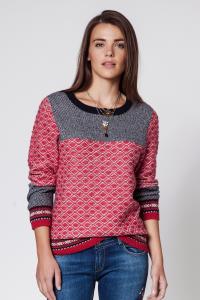
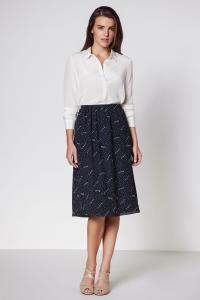
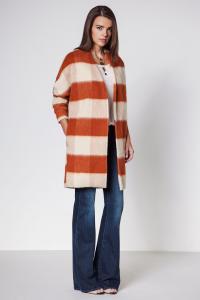
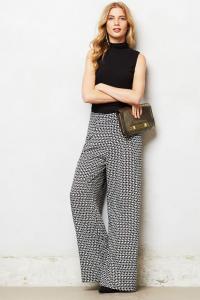 Anthropologie HQ [1/2] anthropologie.eu


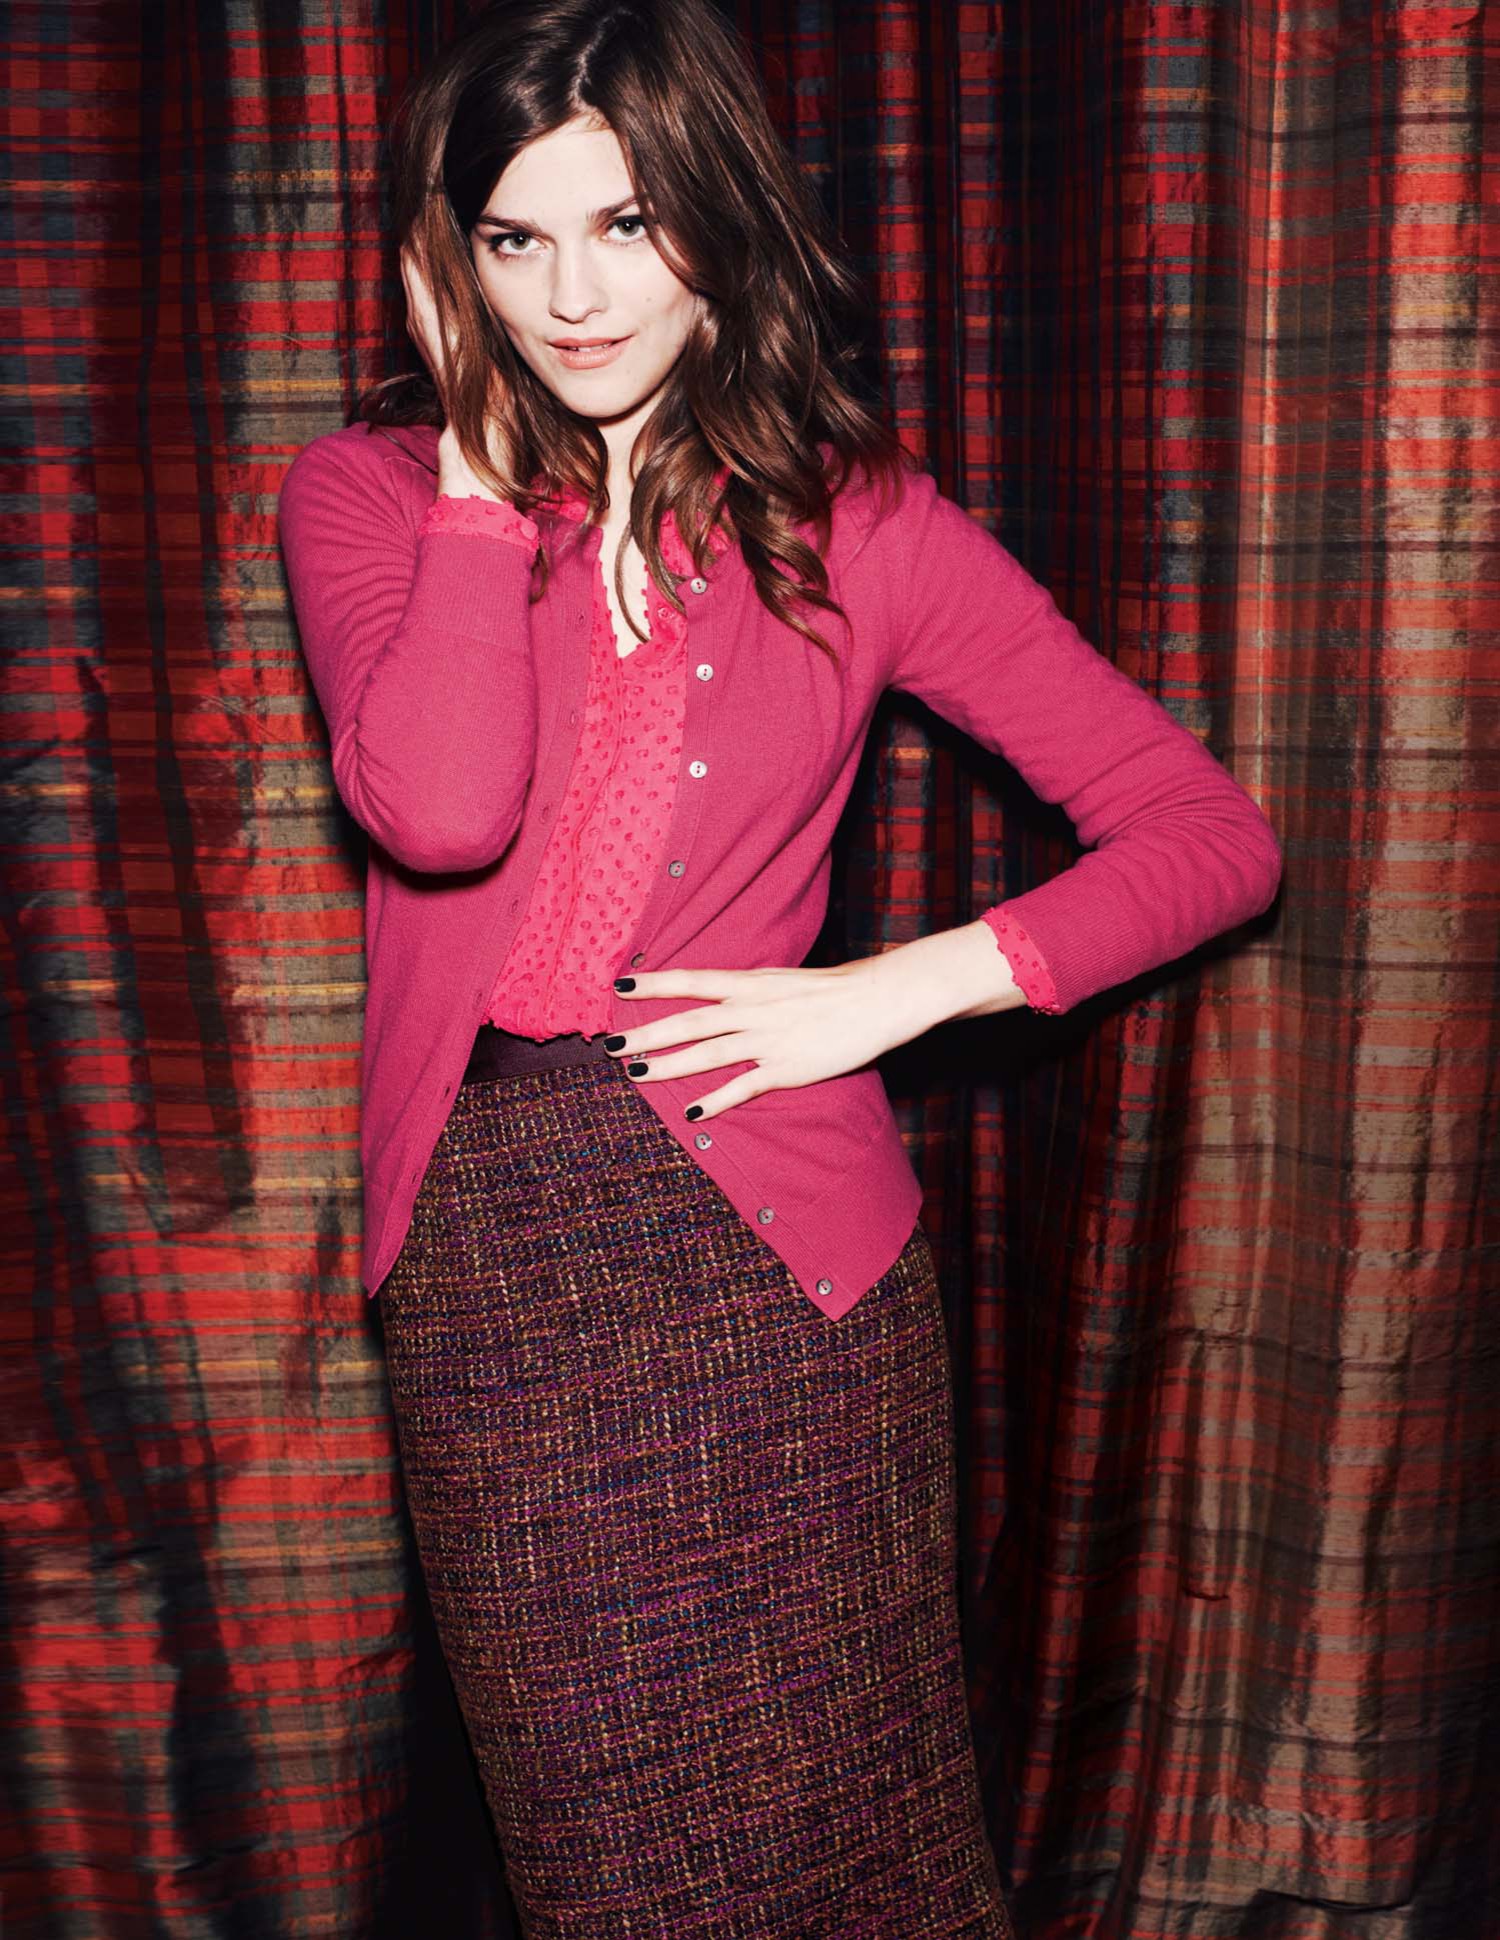
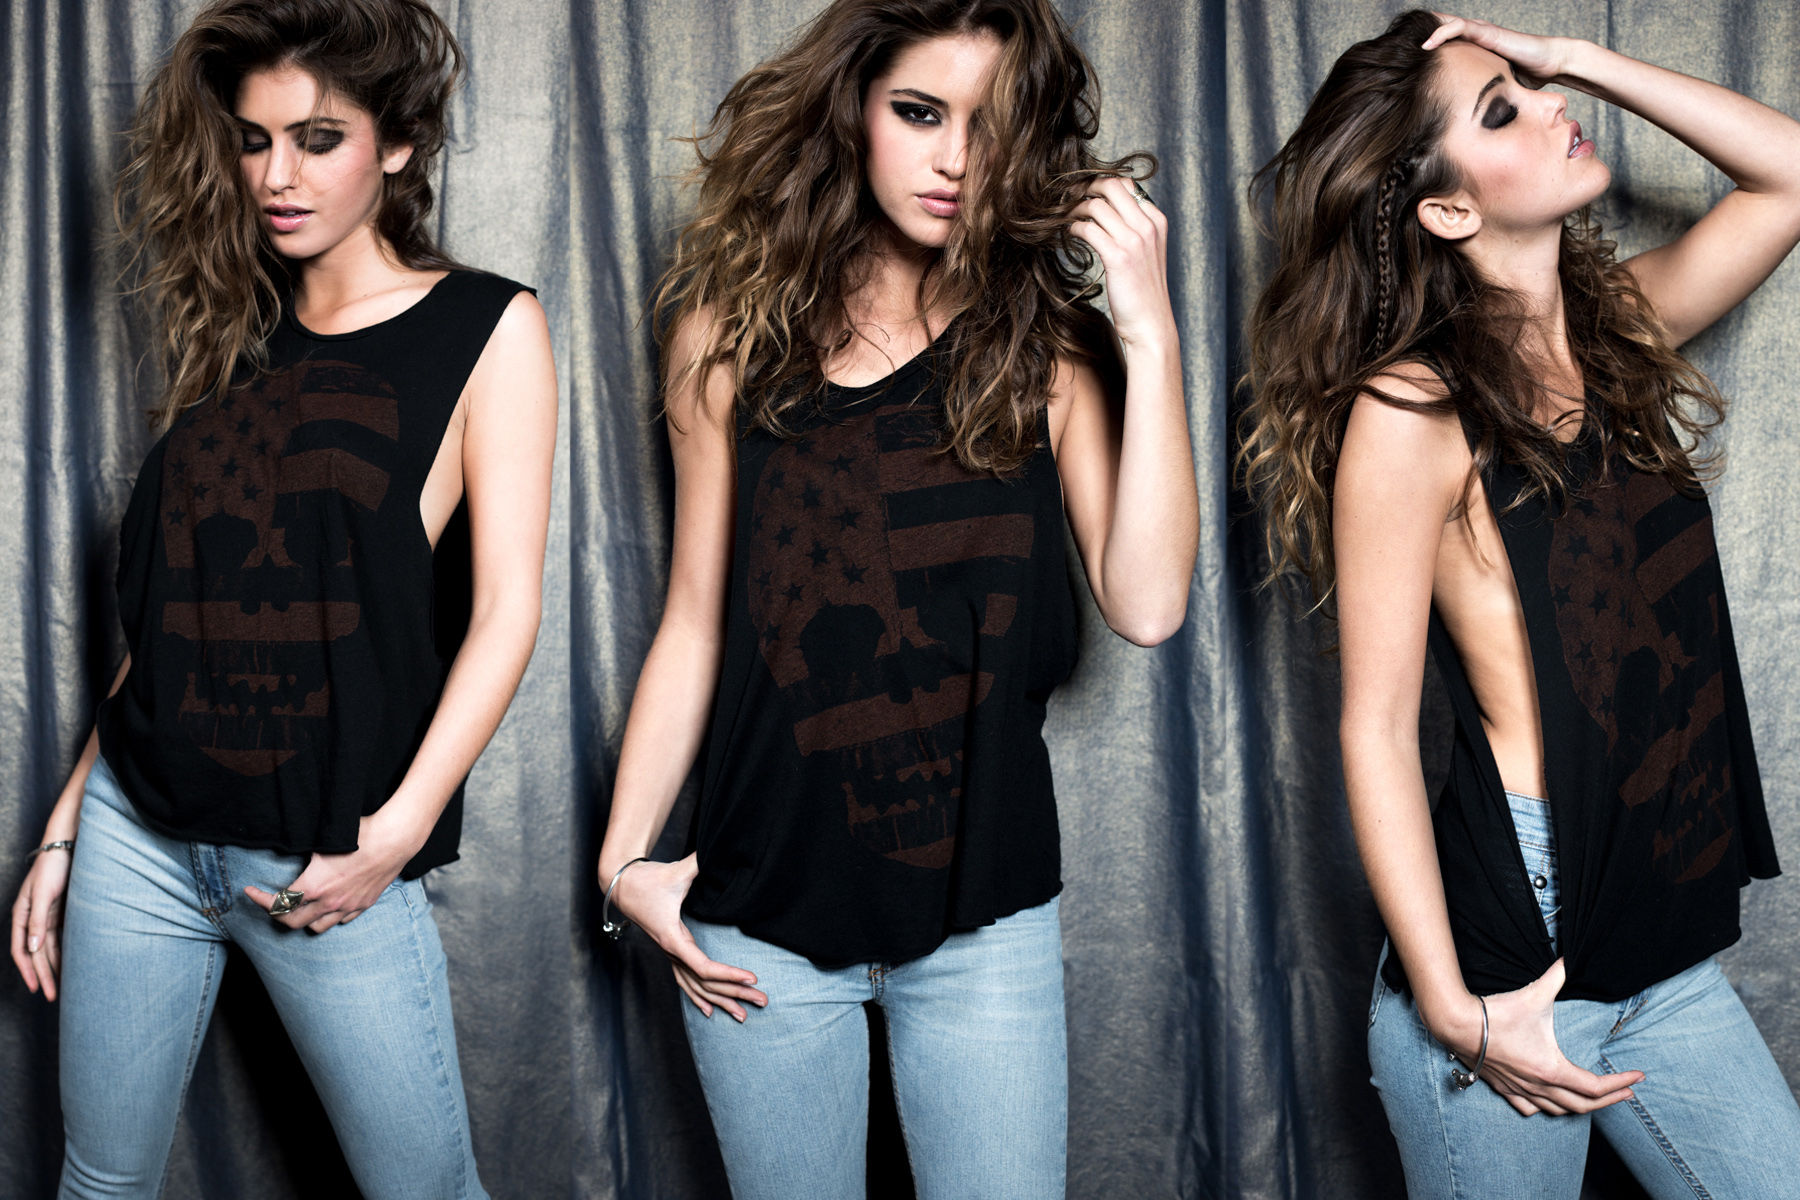
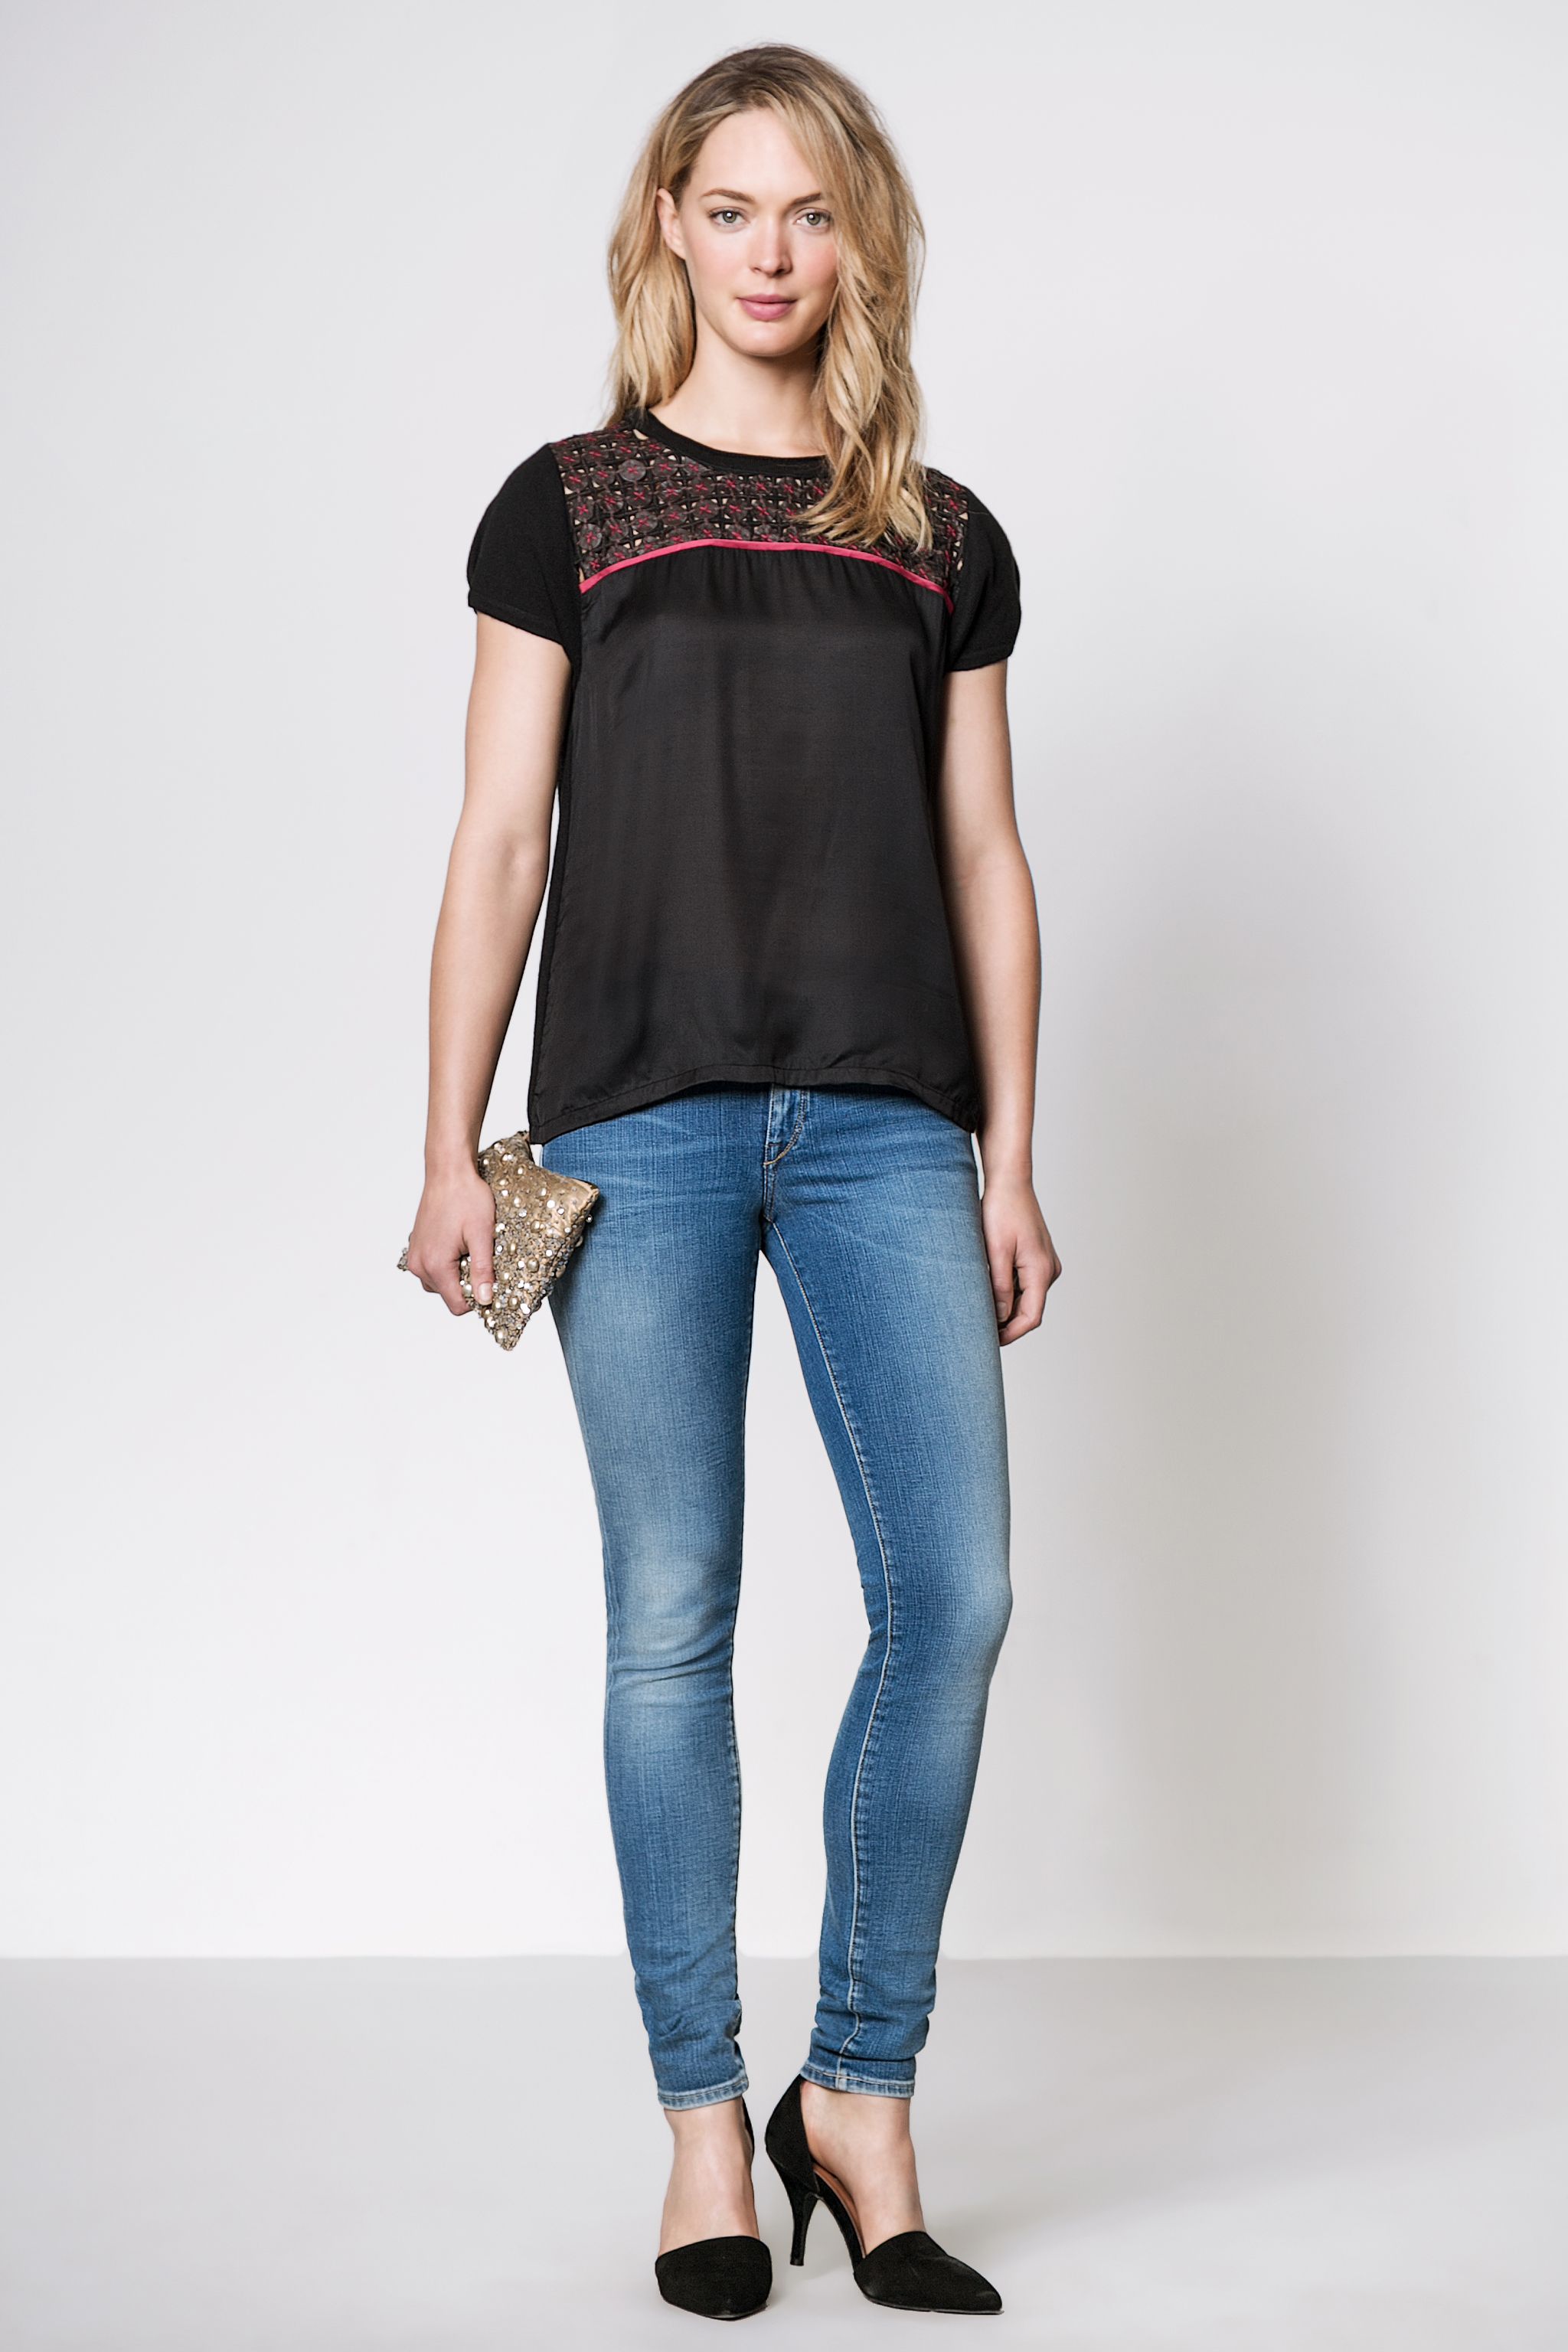
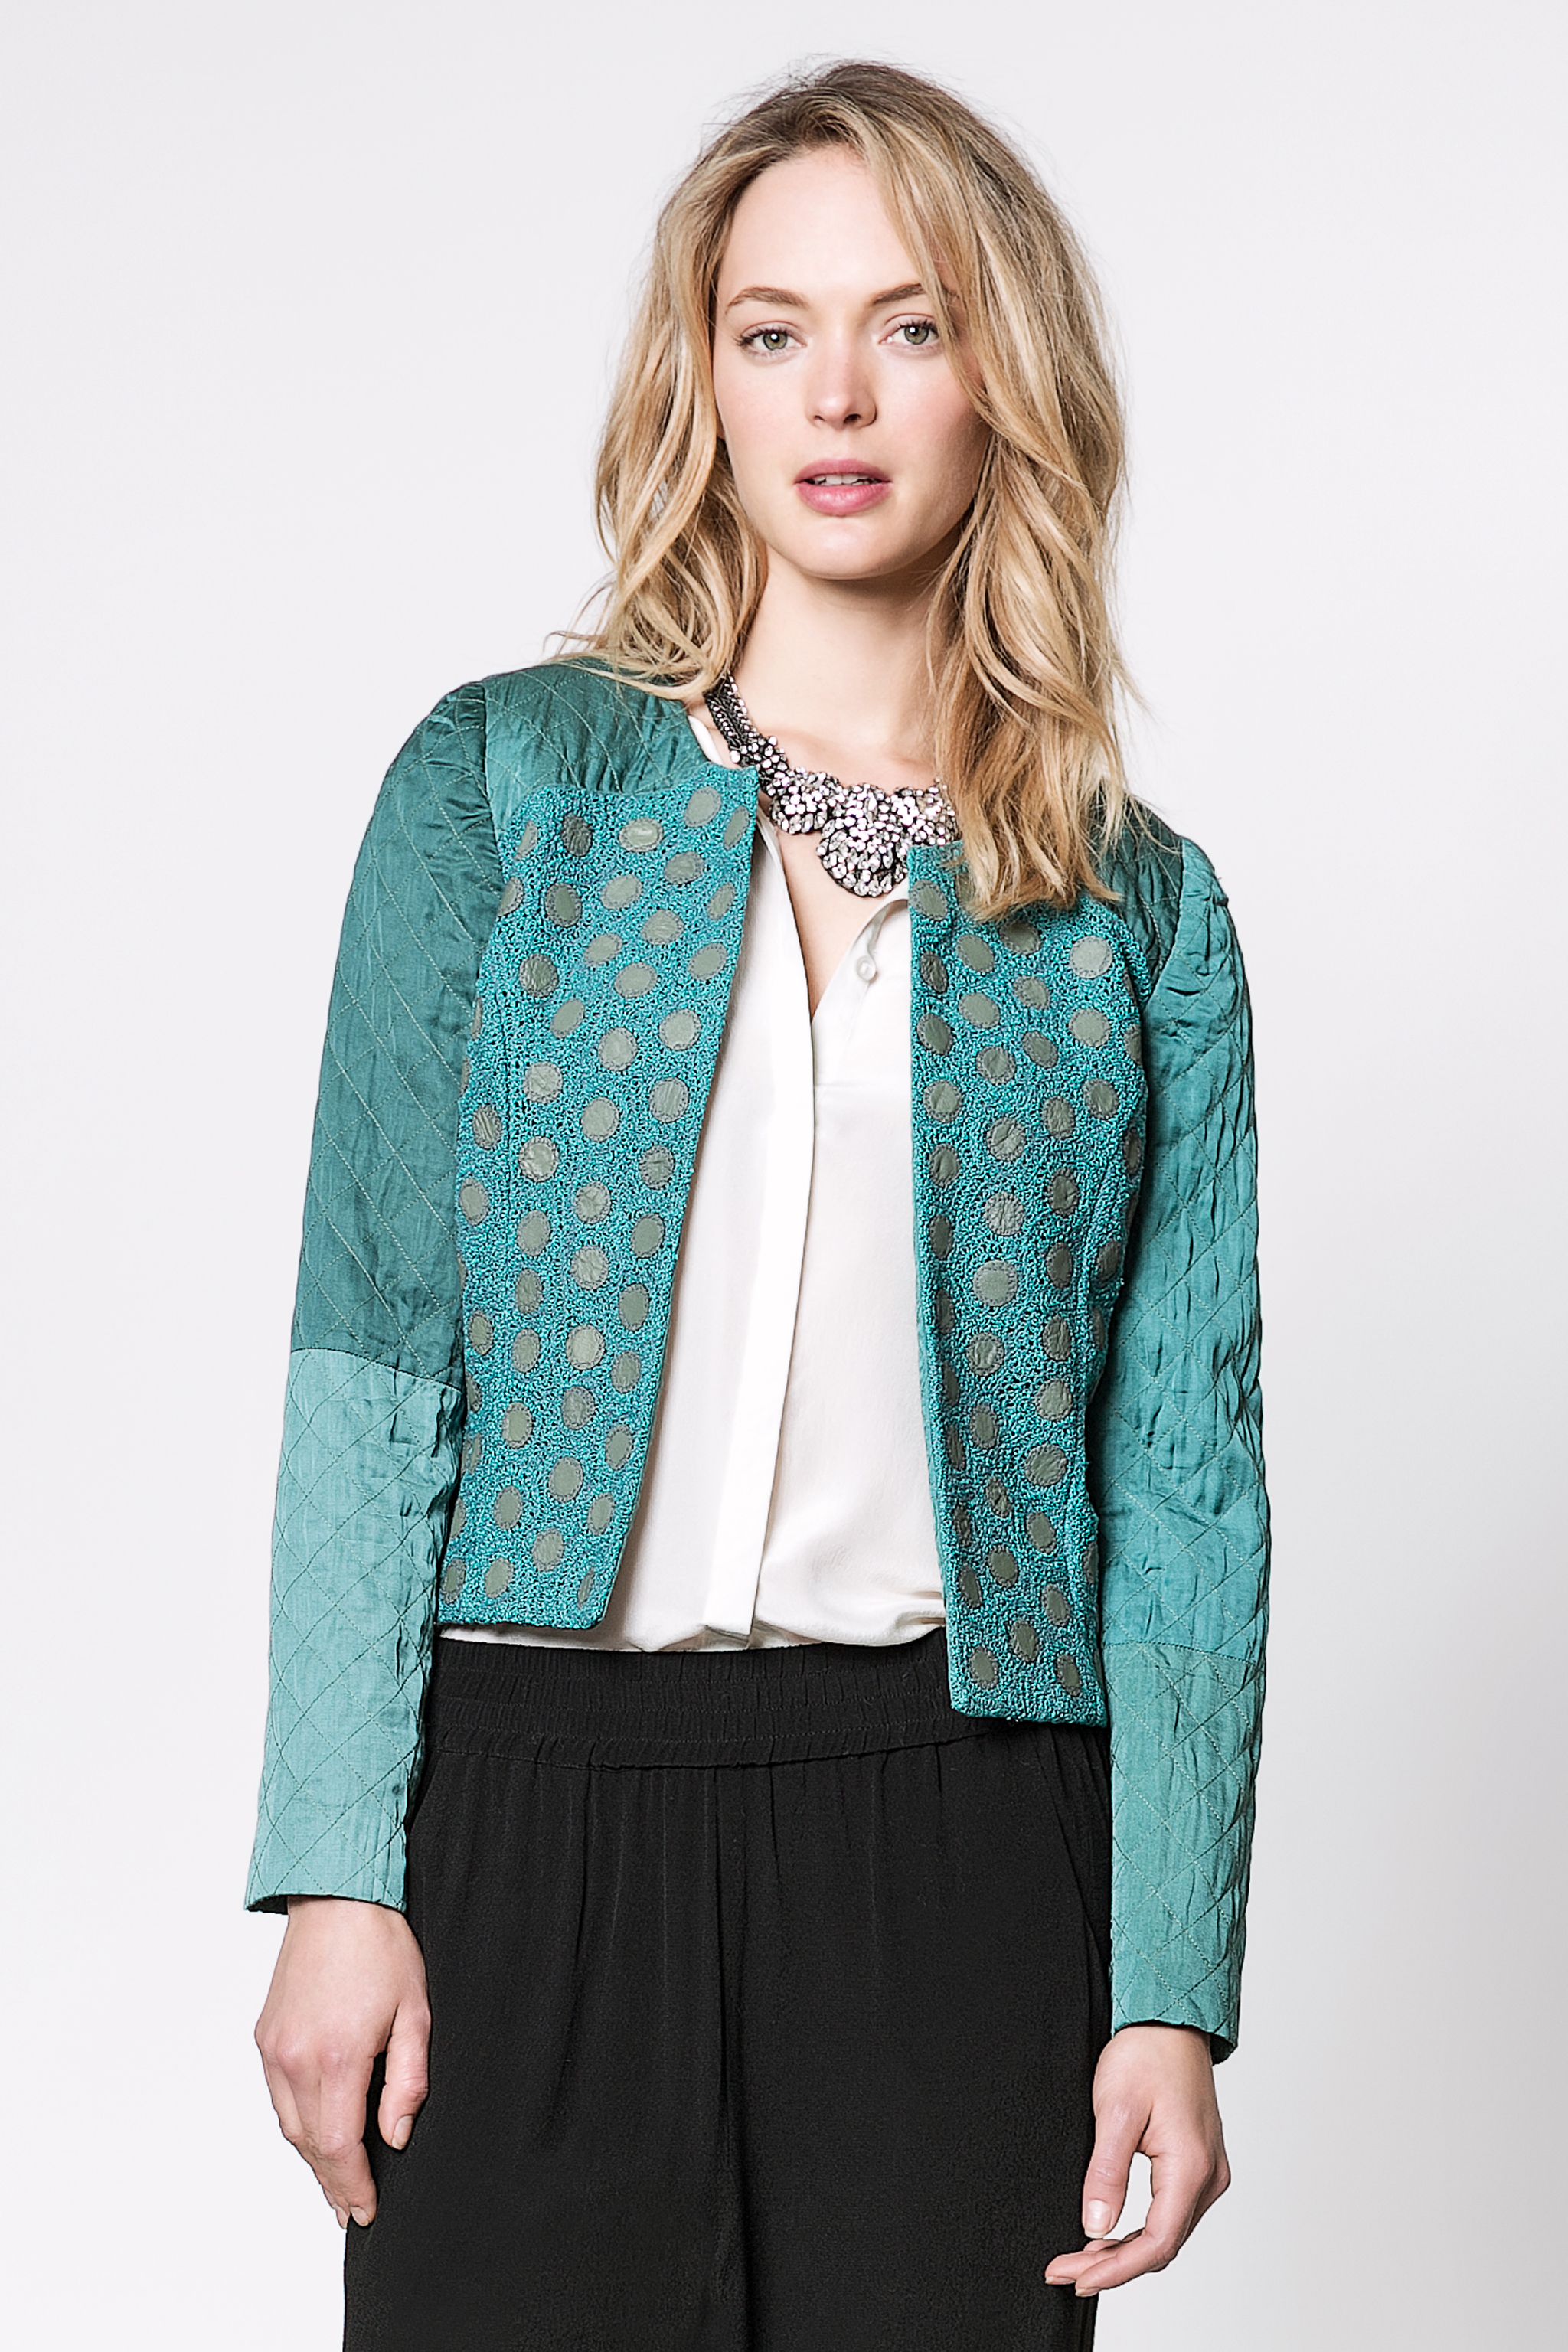
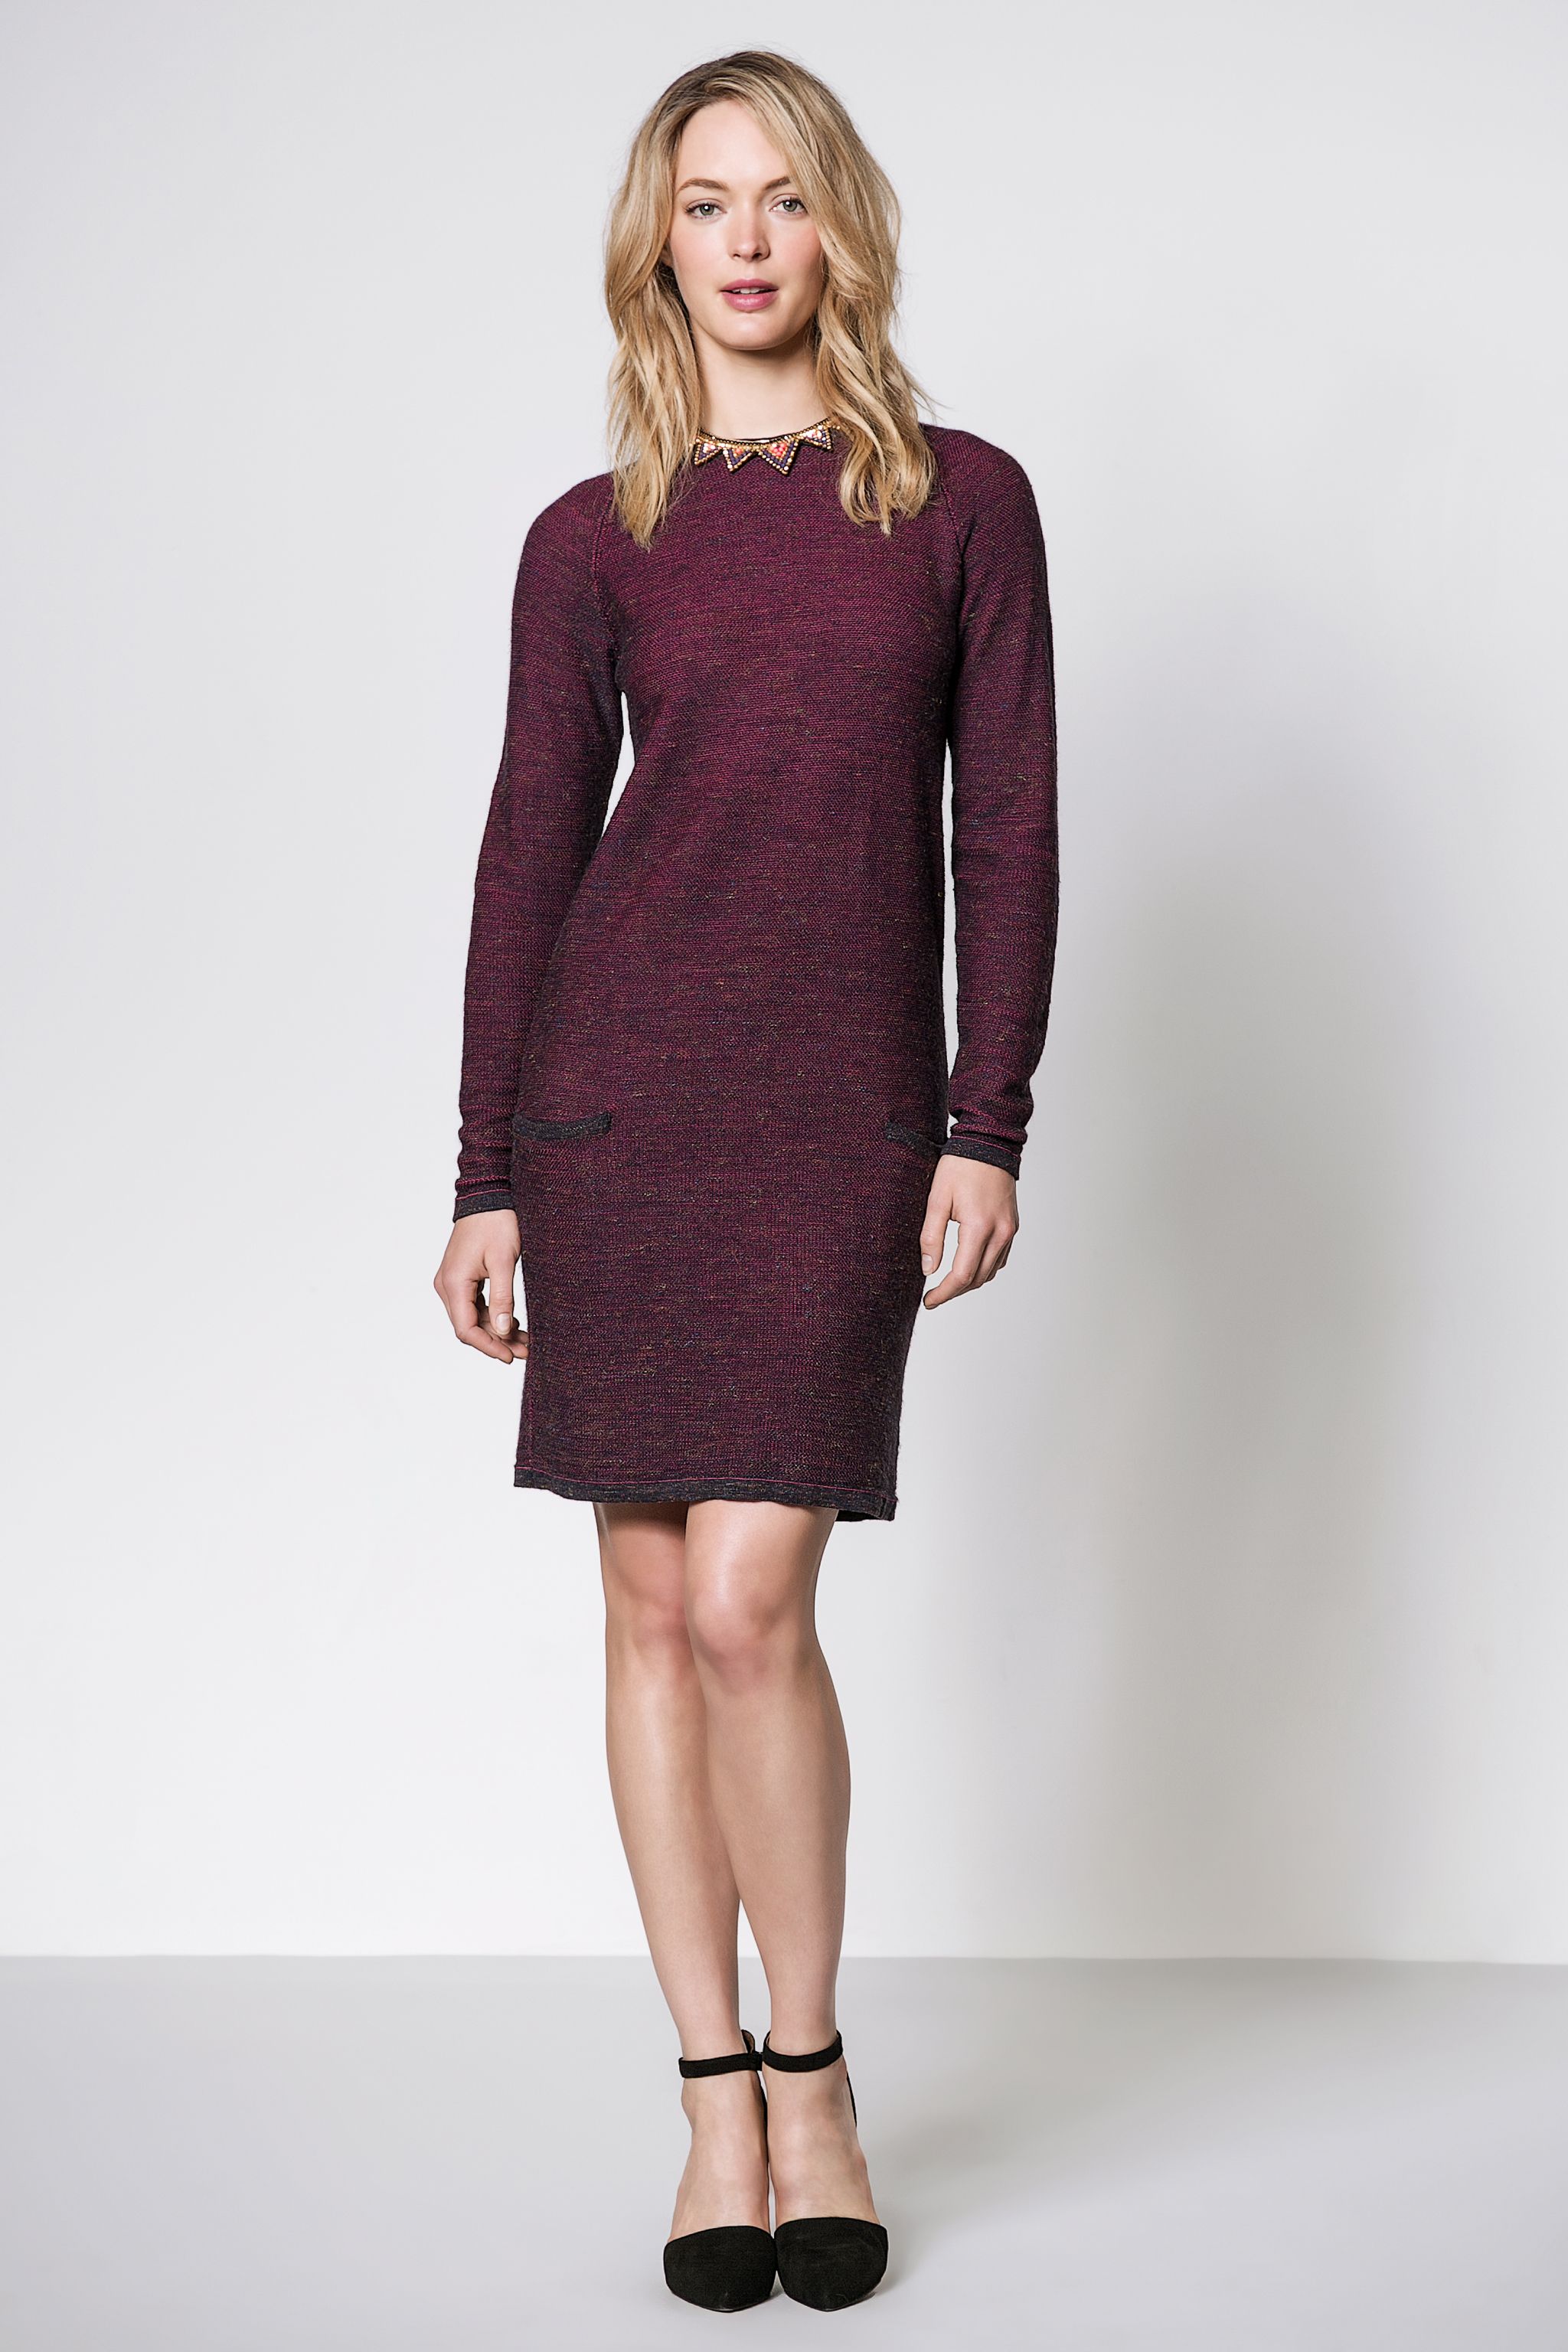
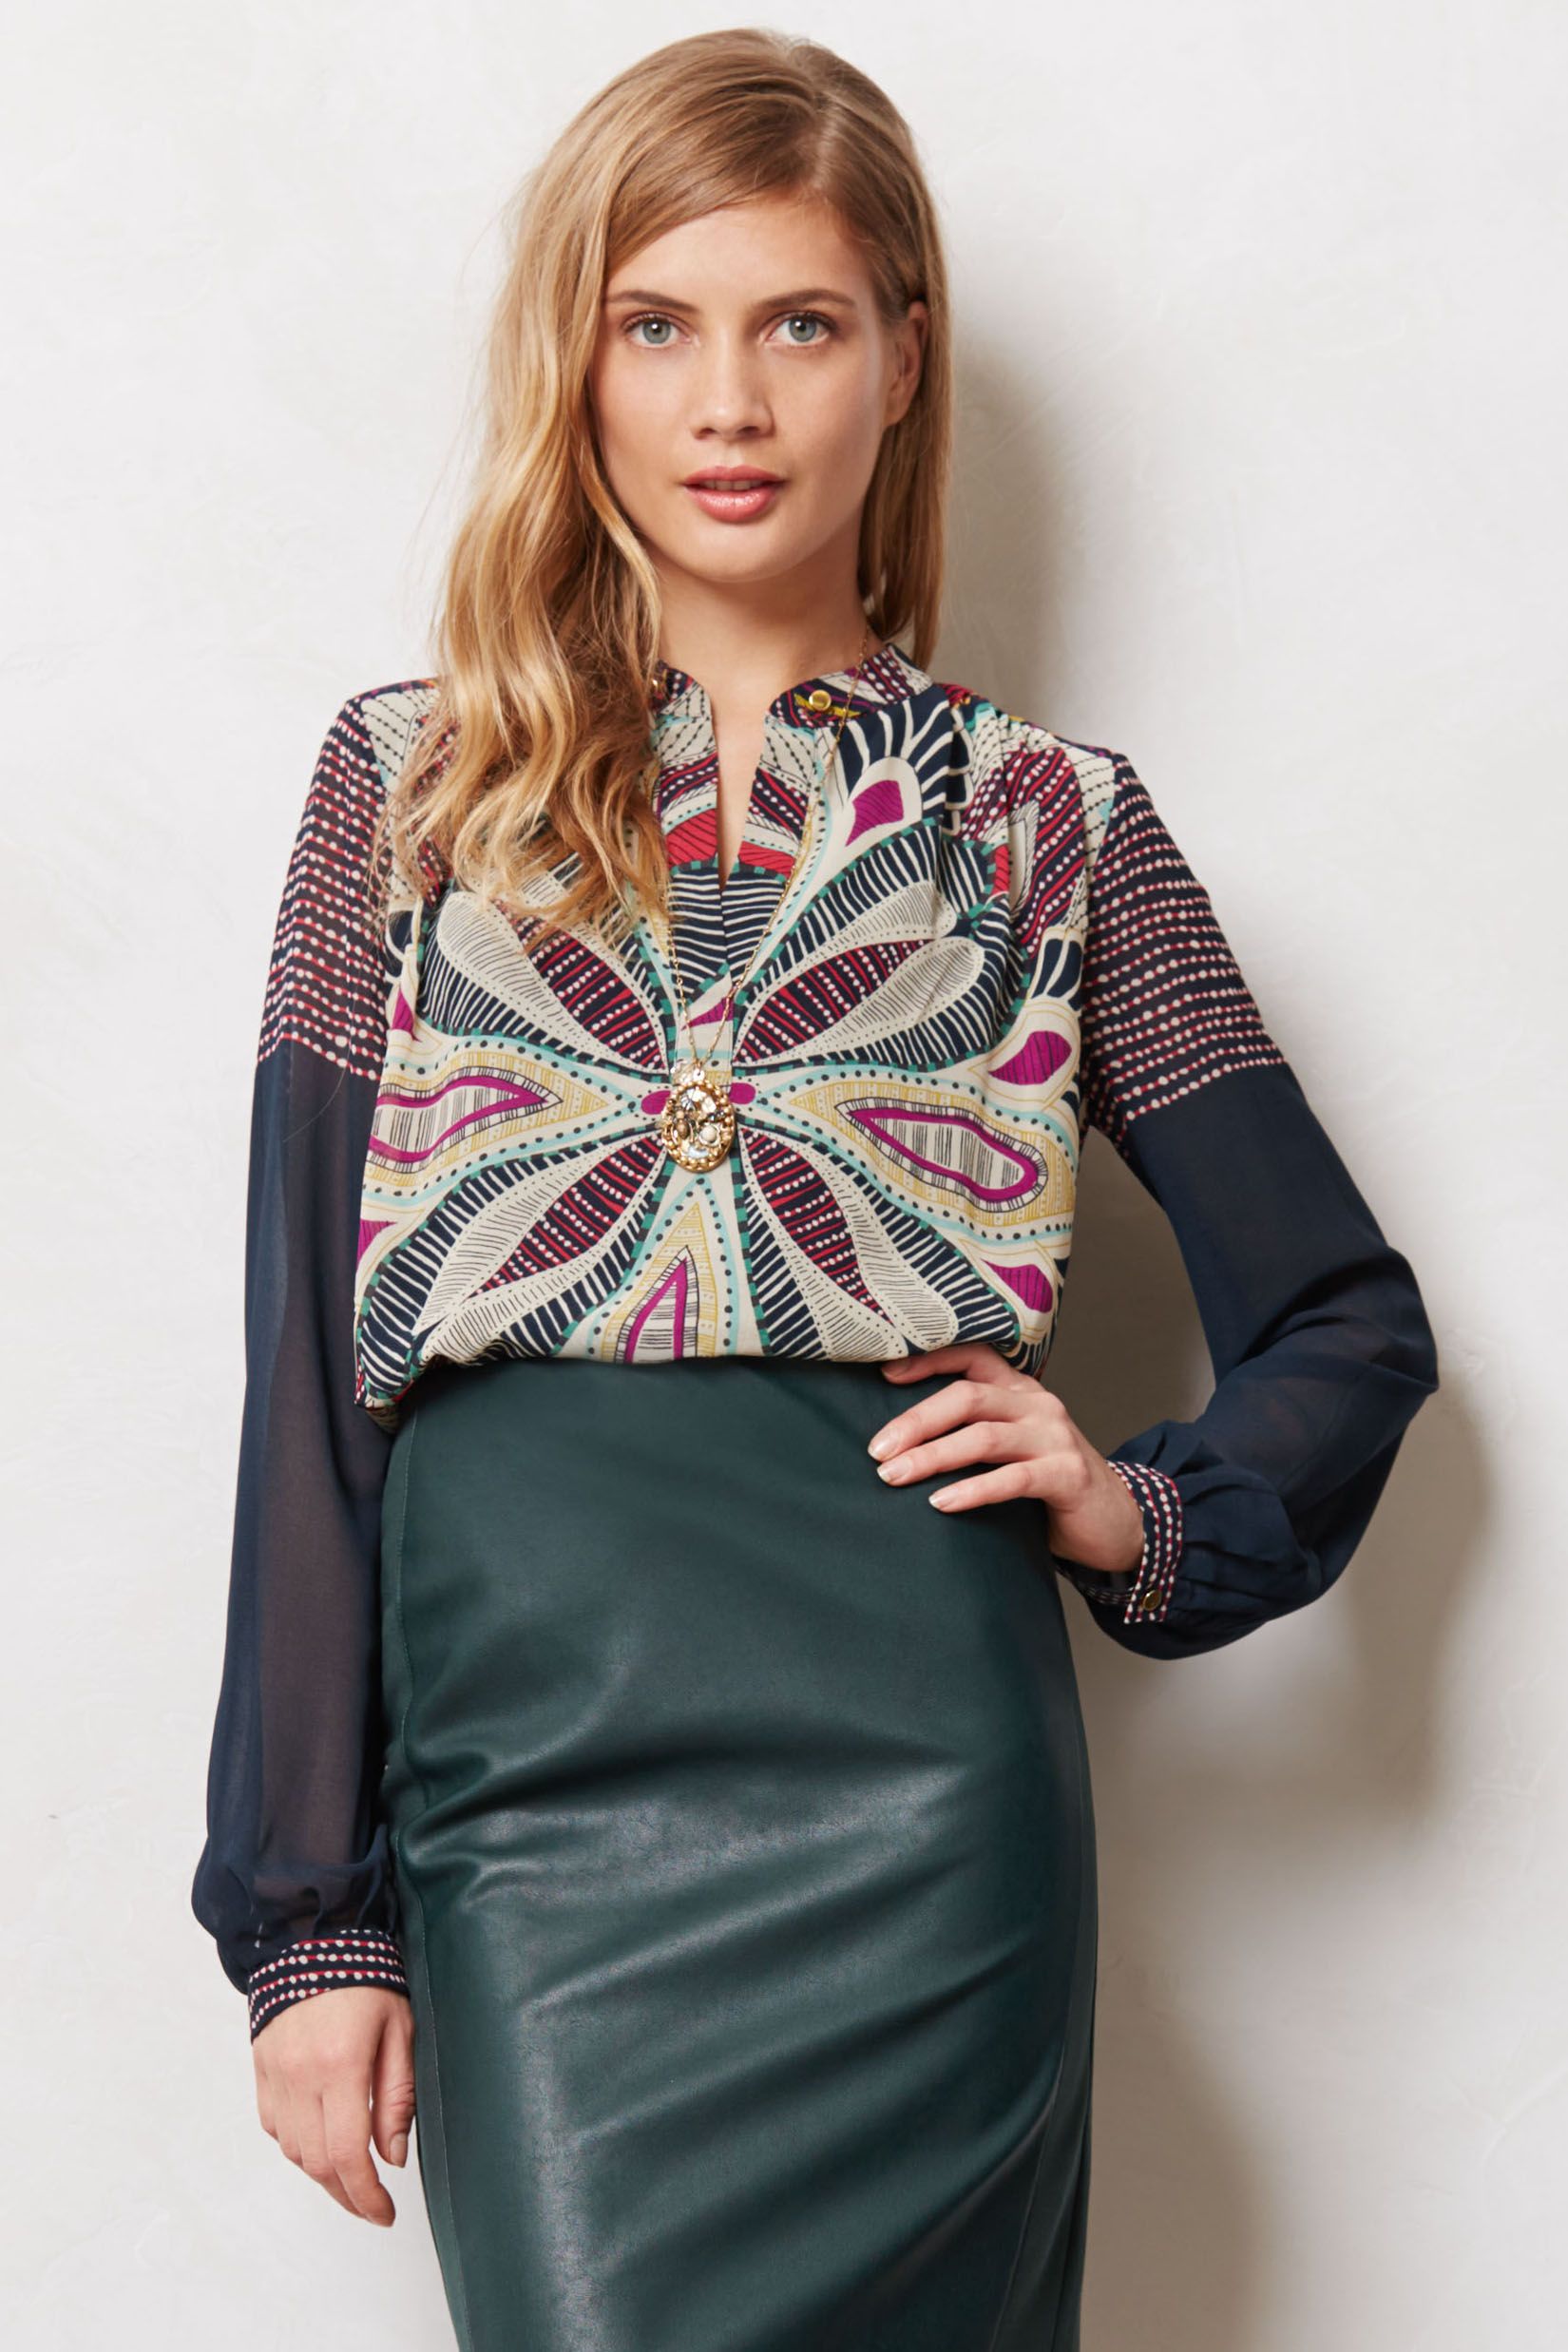
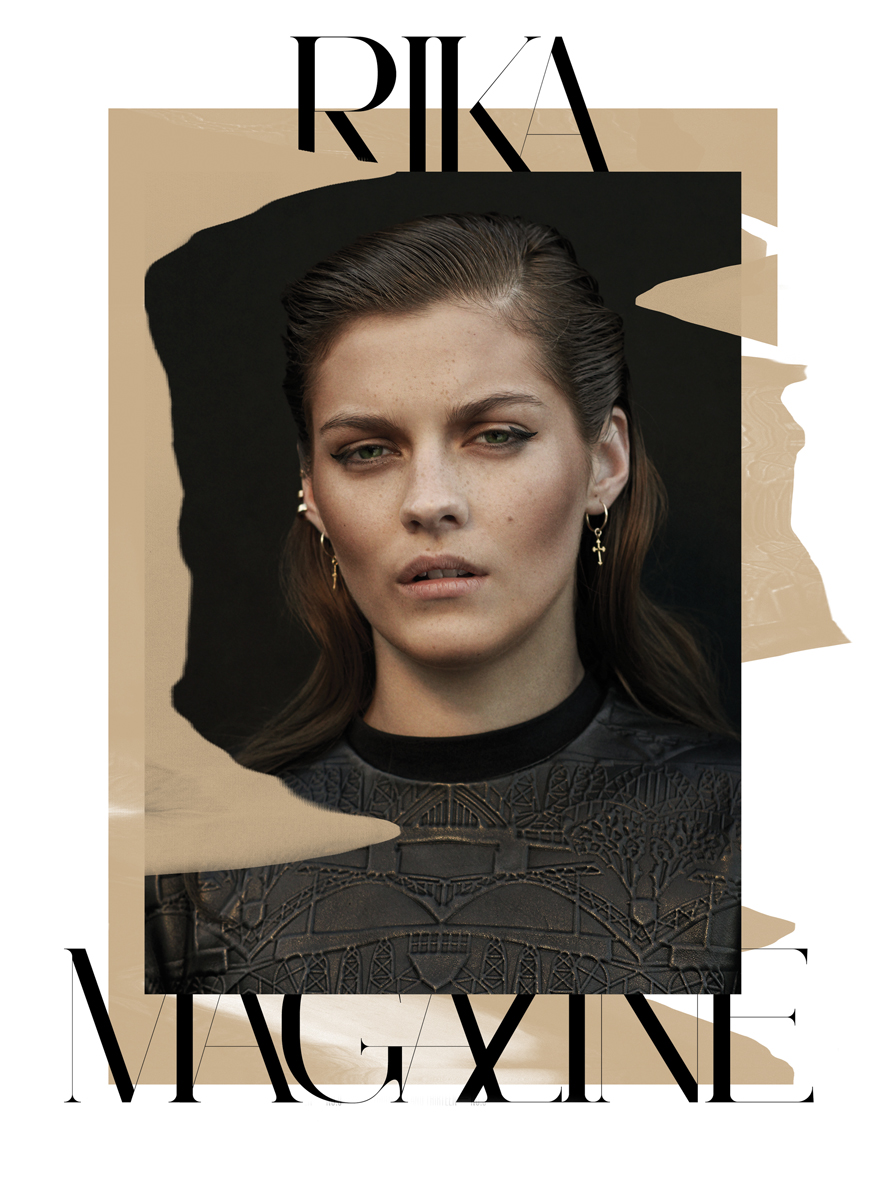
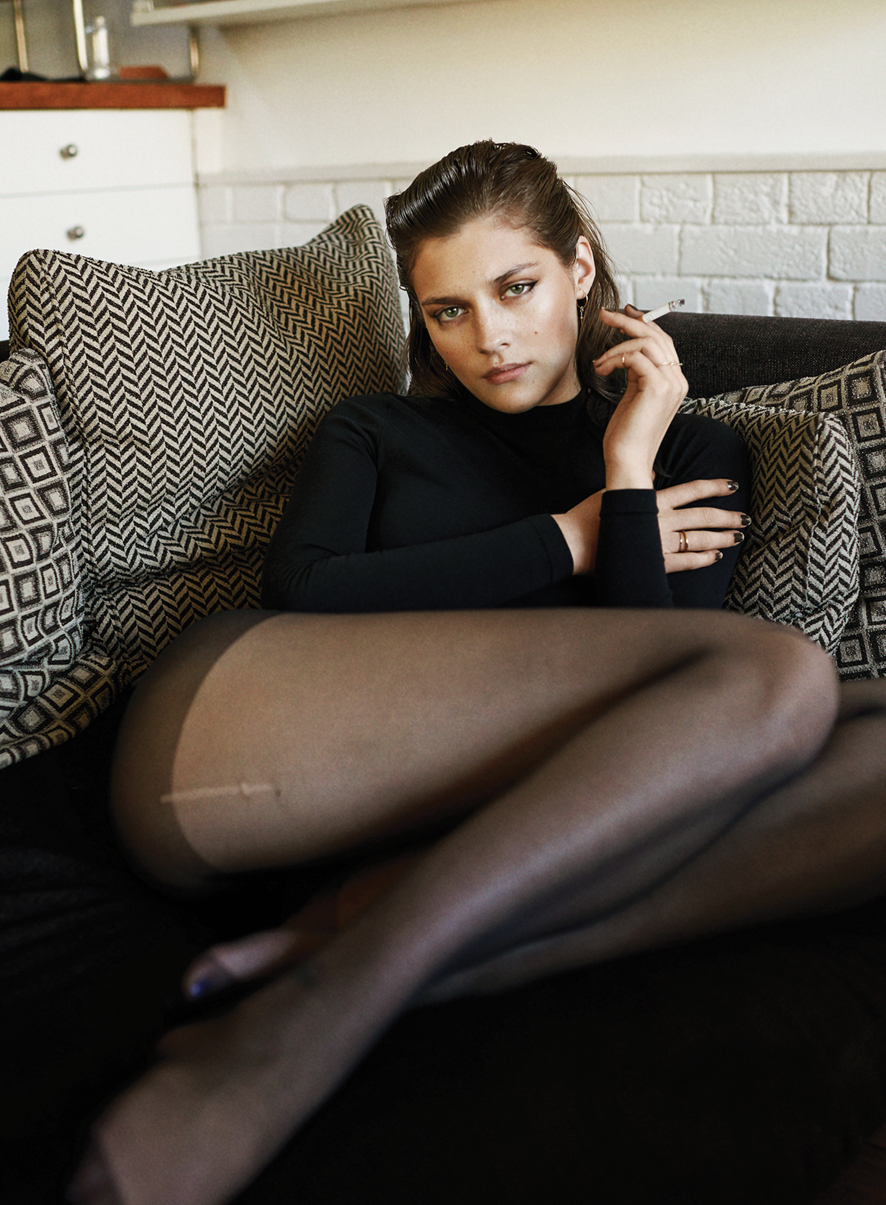
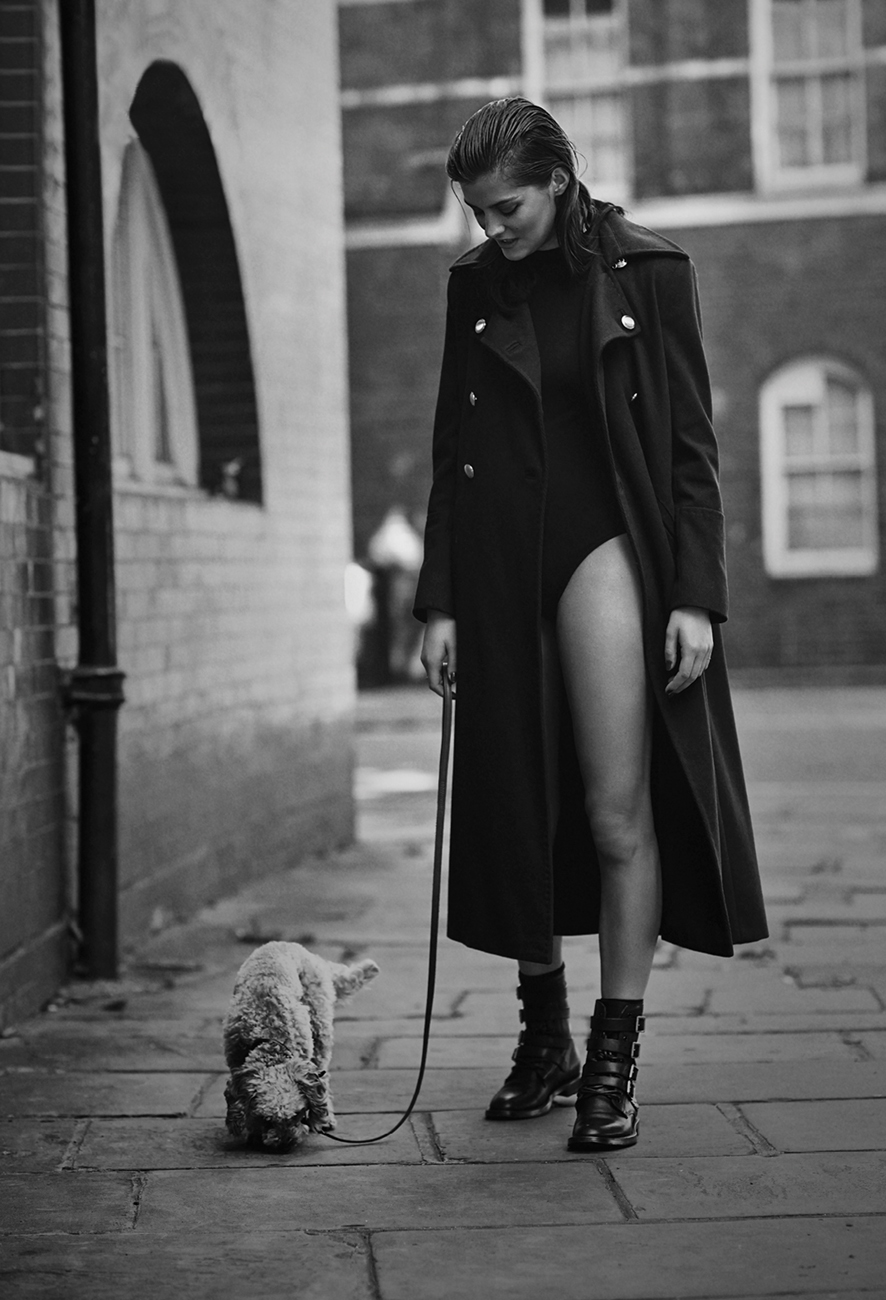
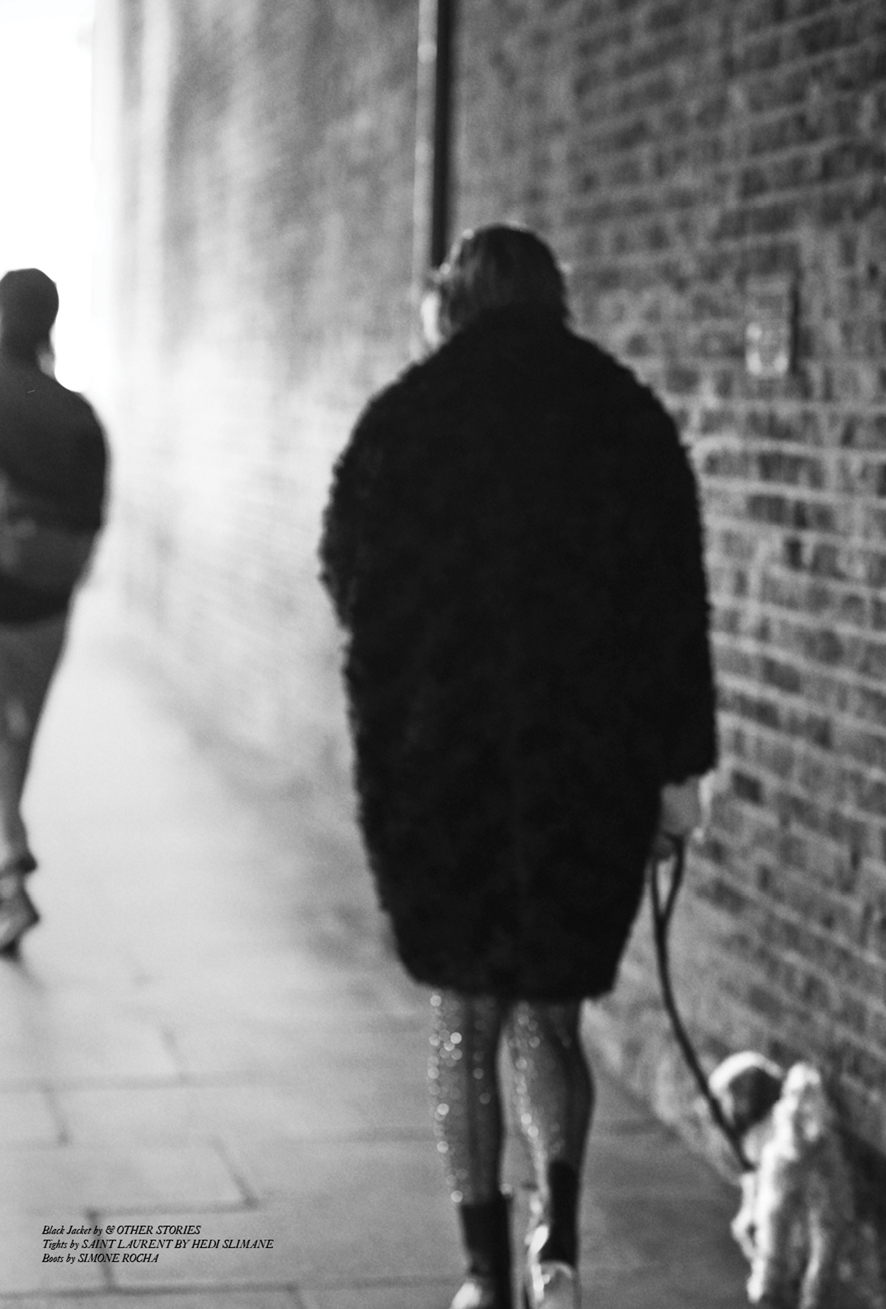
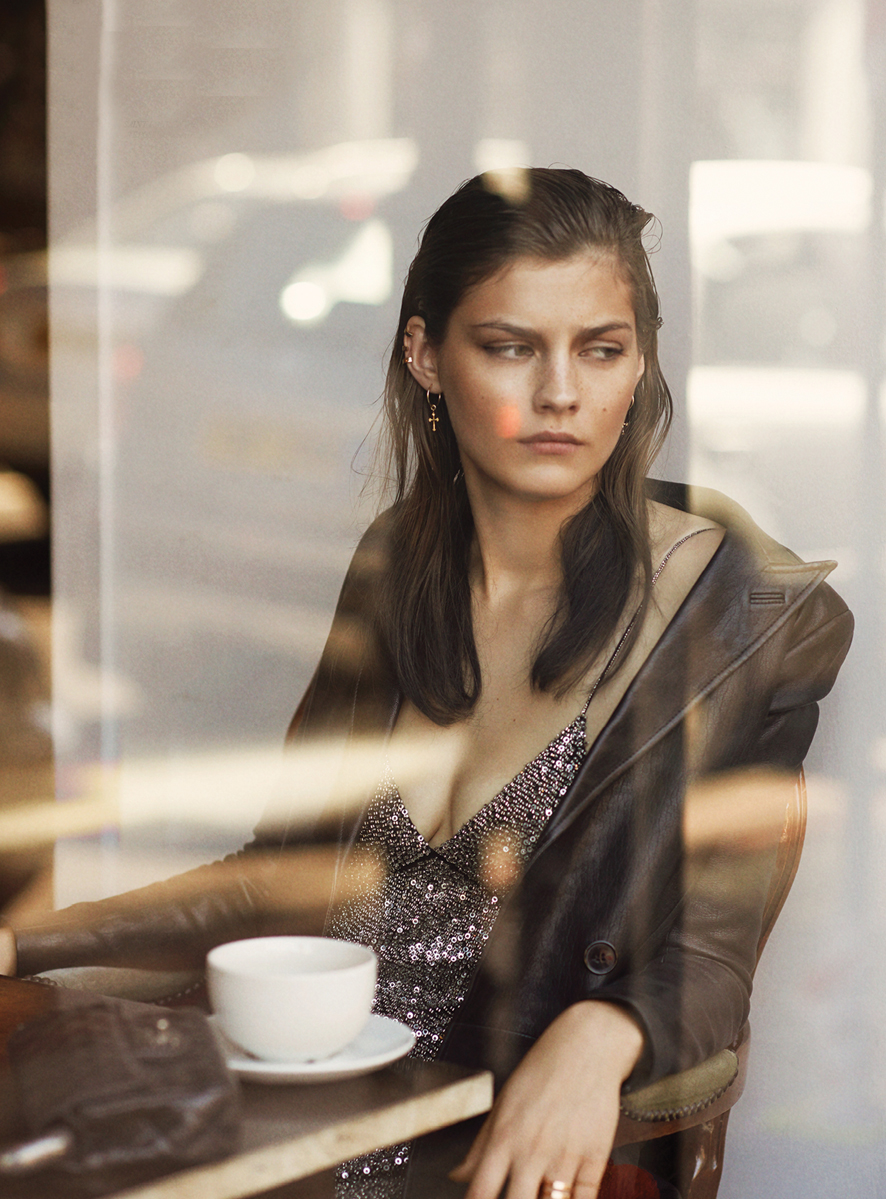
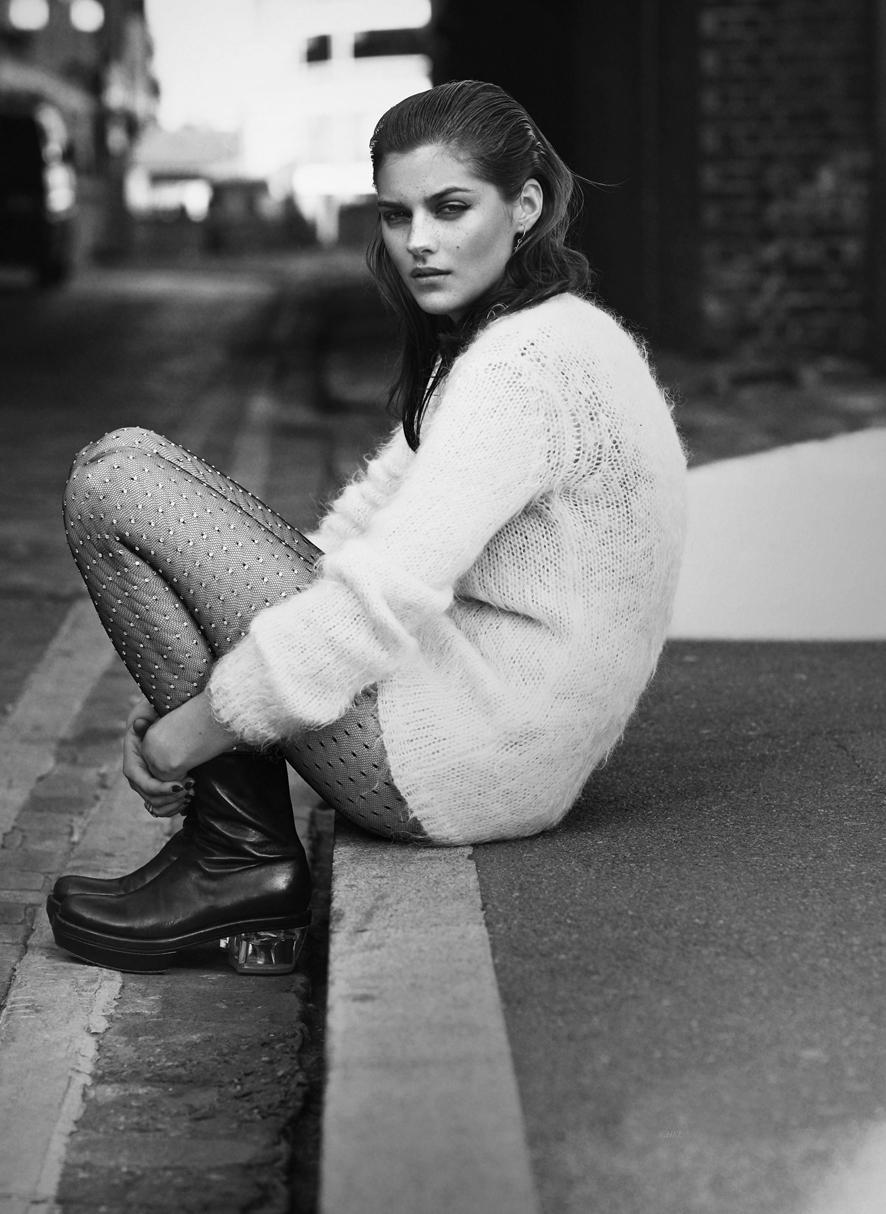
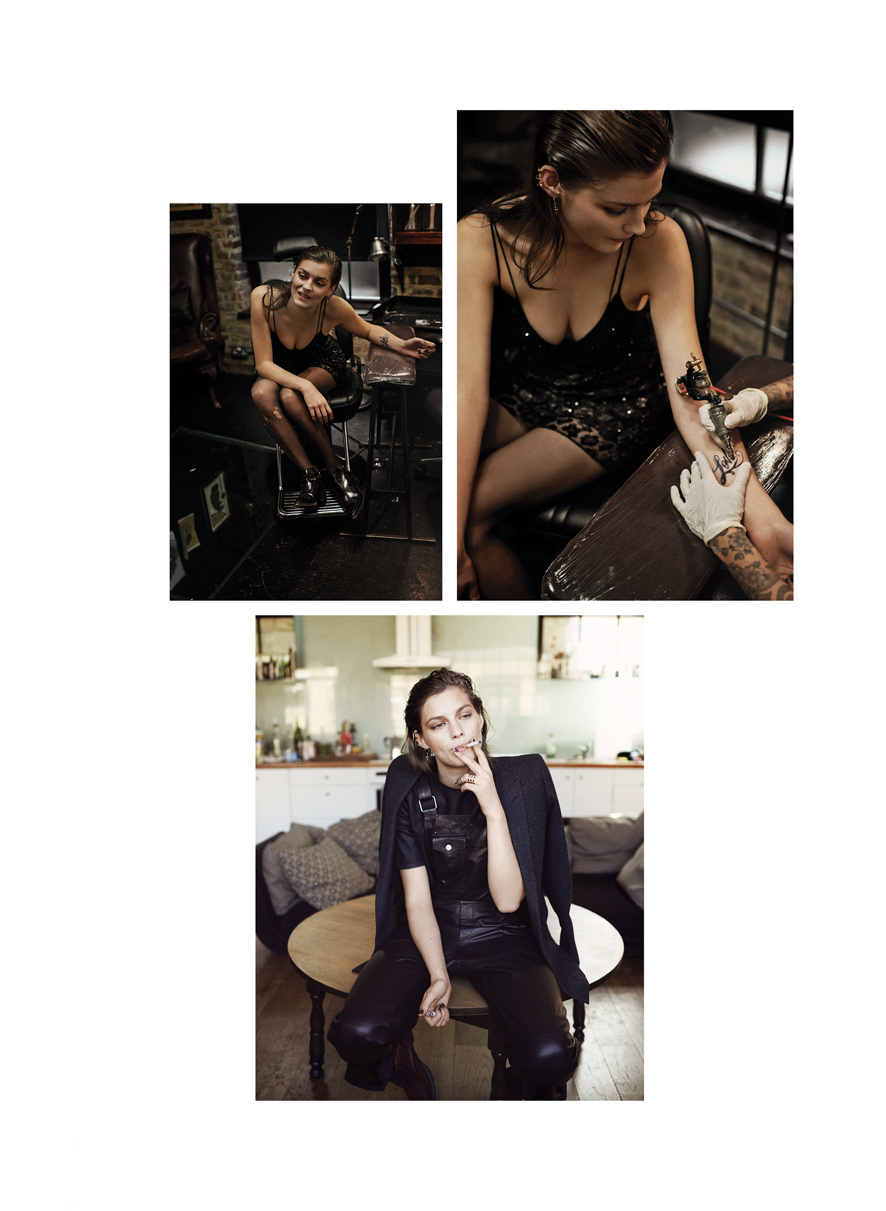
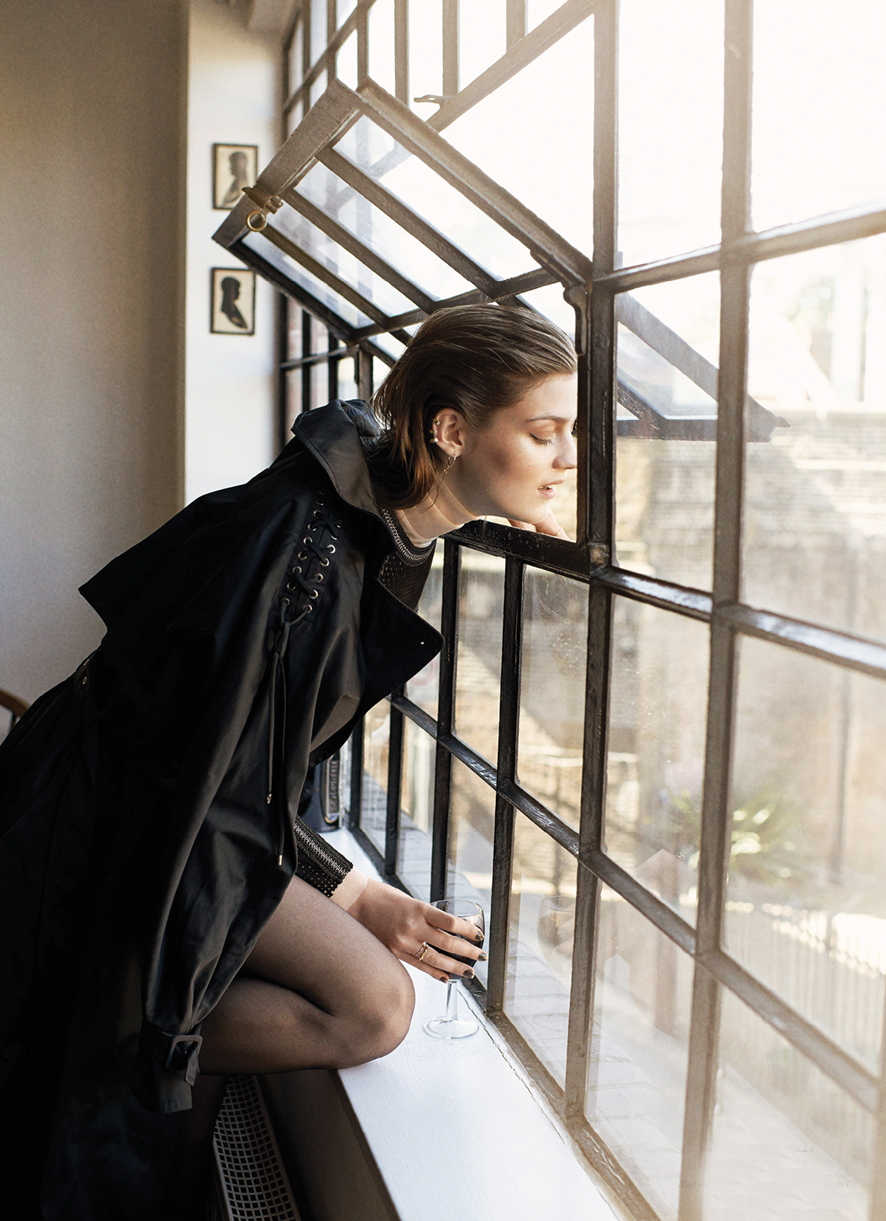
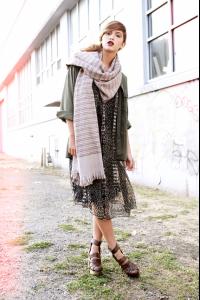
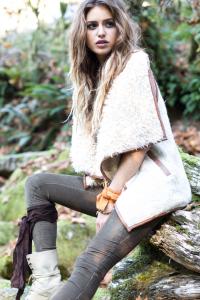
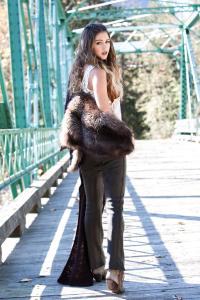
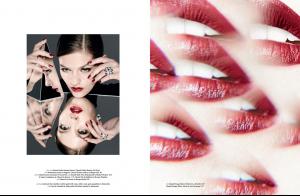
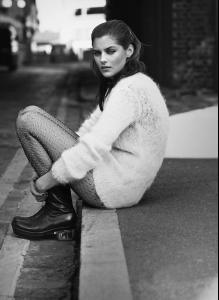
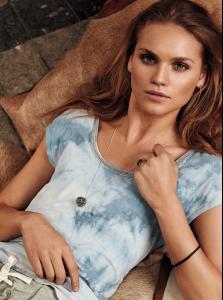
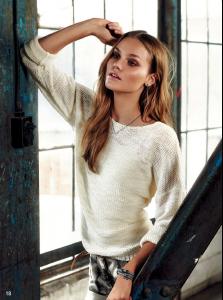
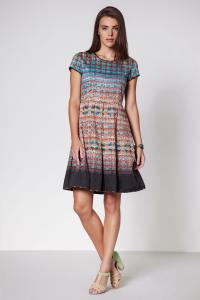
 Rika Magazine #9 Photography: Jen Carey Styling: Rachel Bakewell tessmanagementlondon.tumblr.com
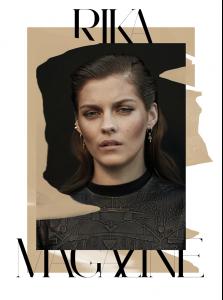
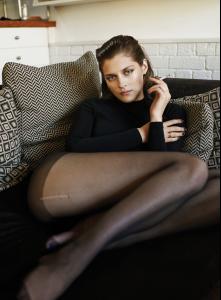
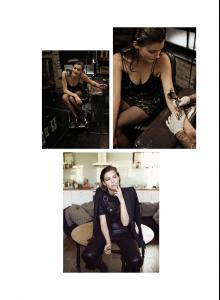


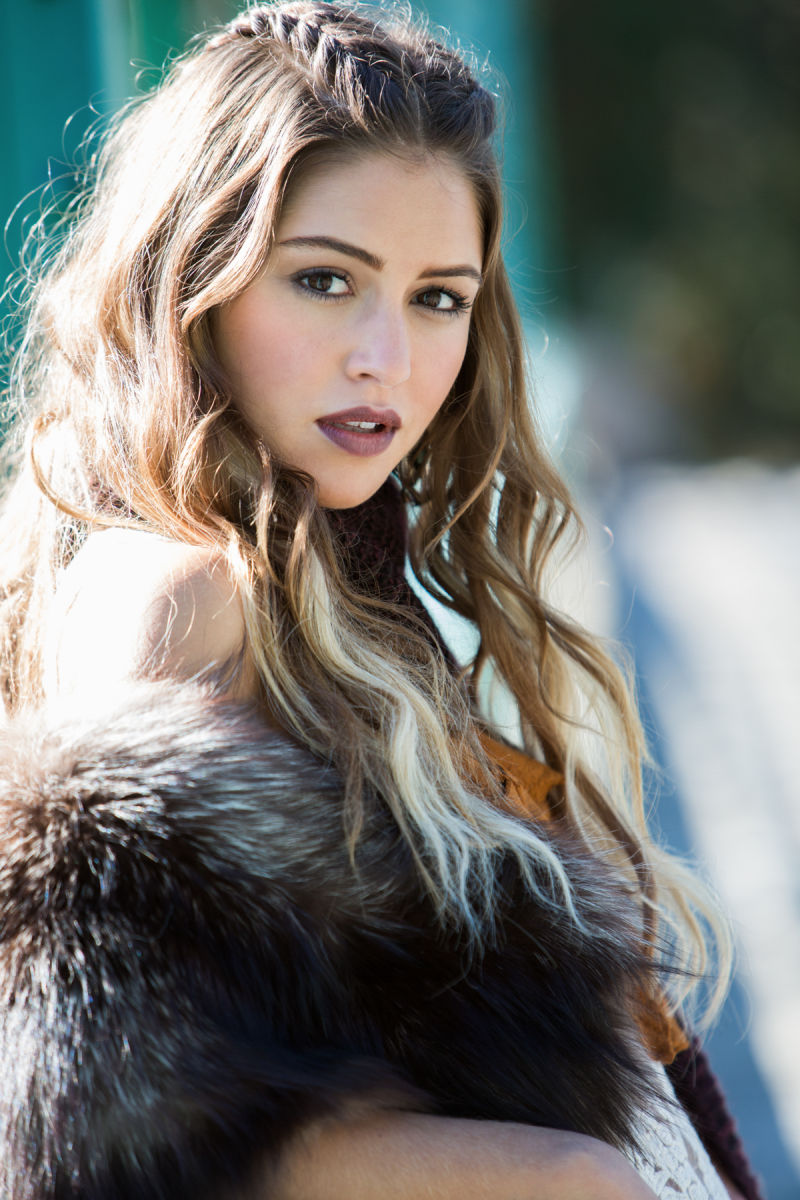
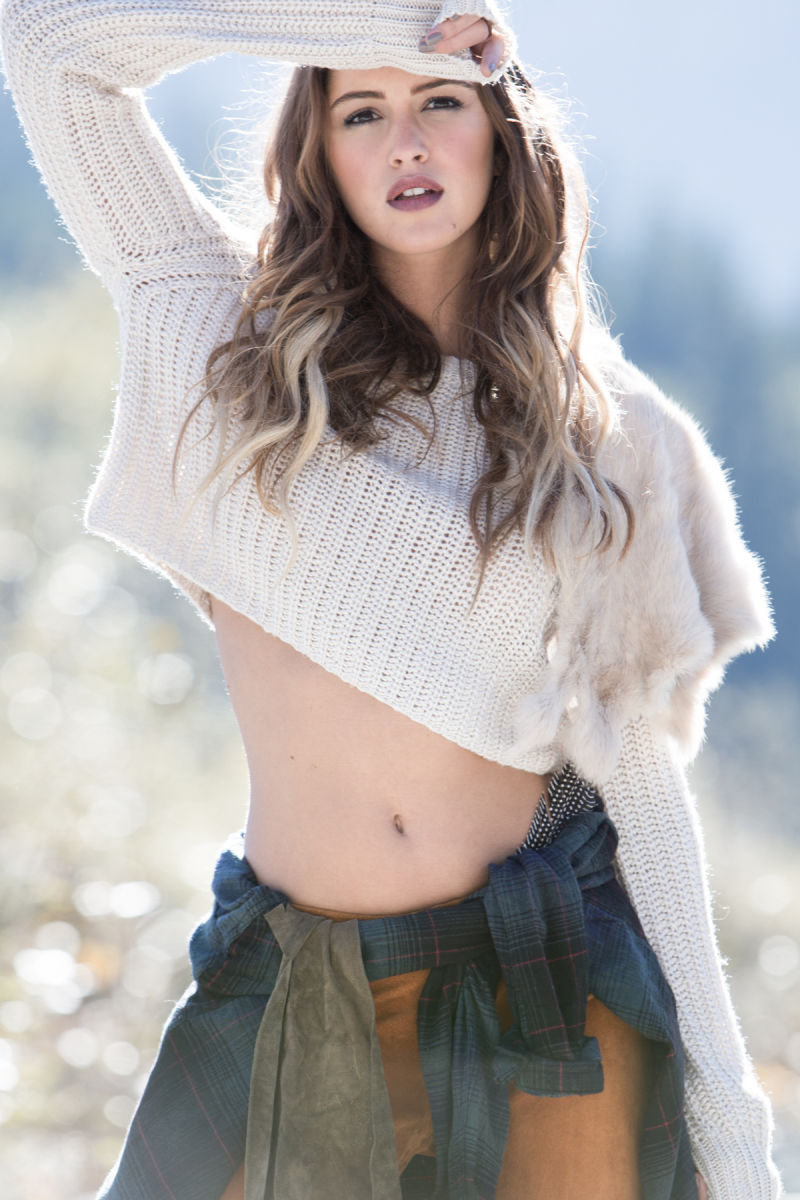
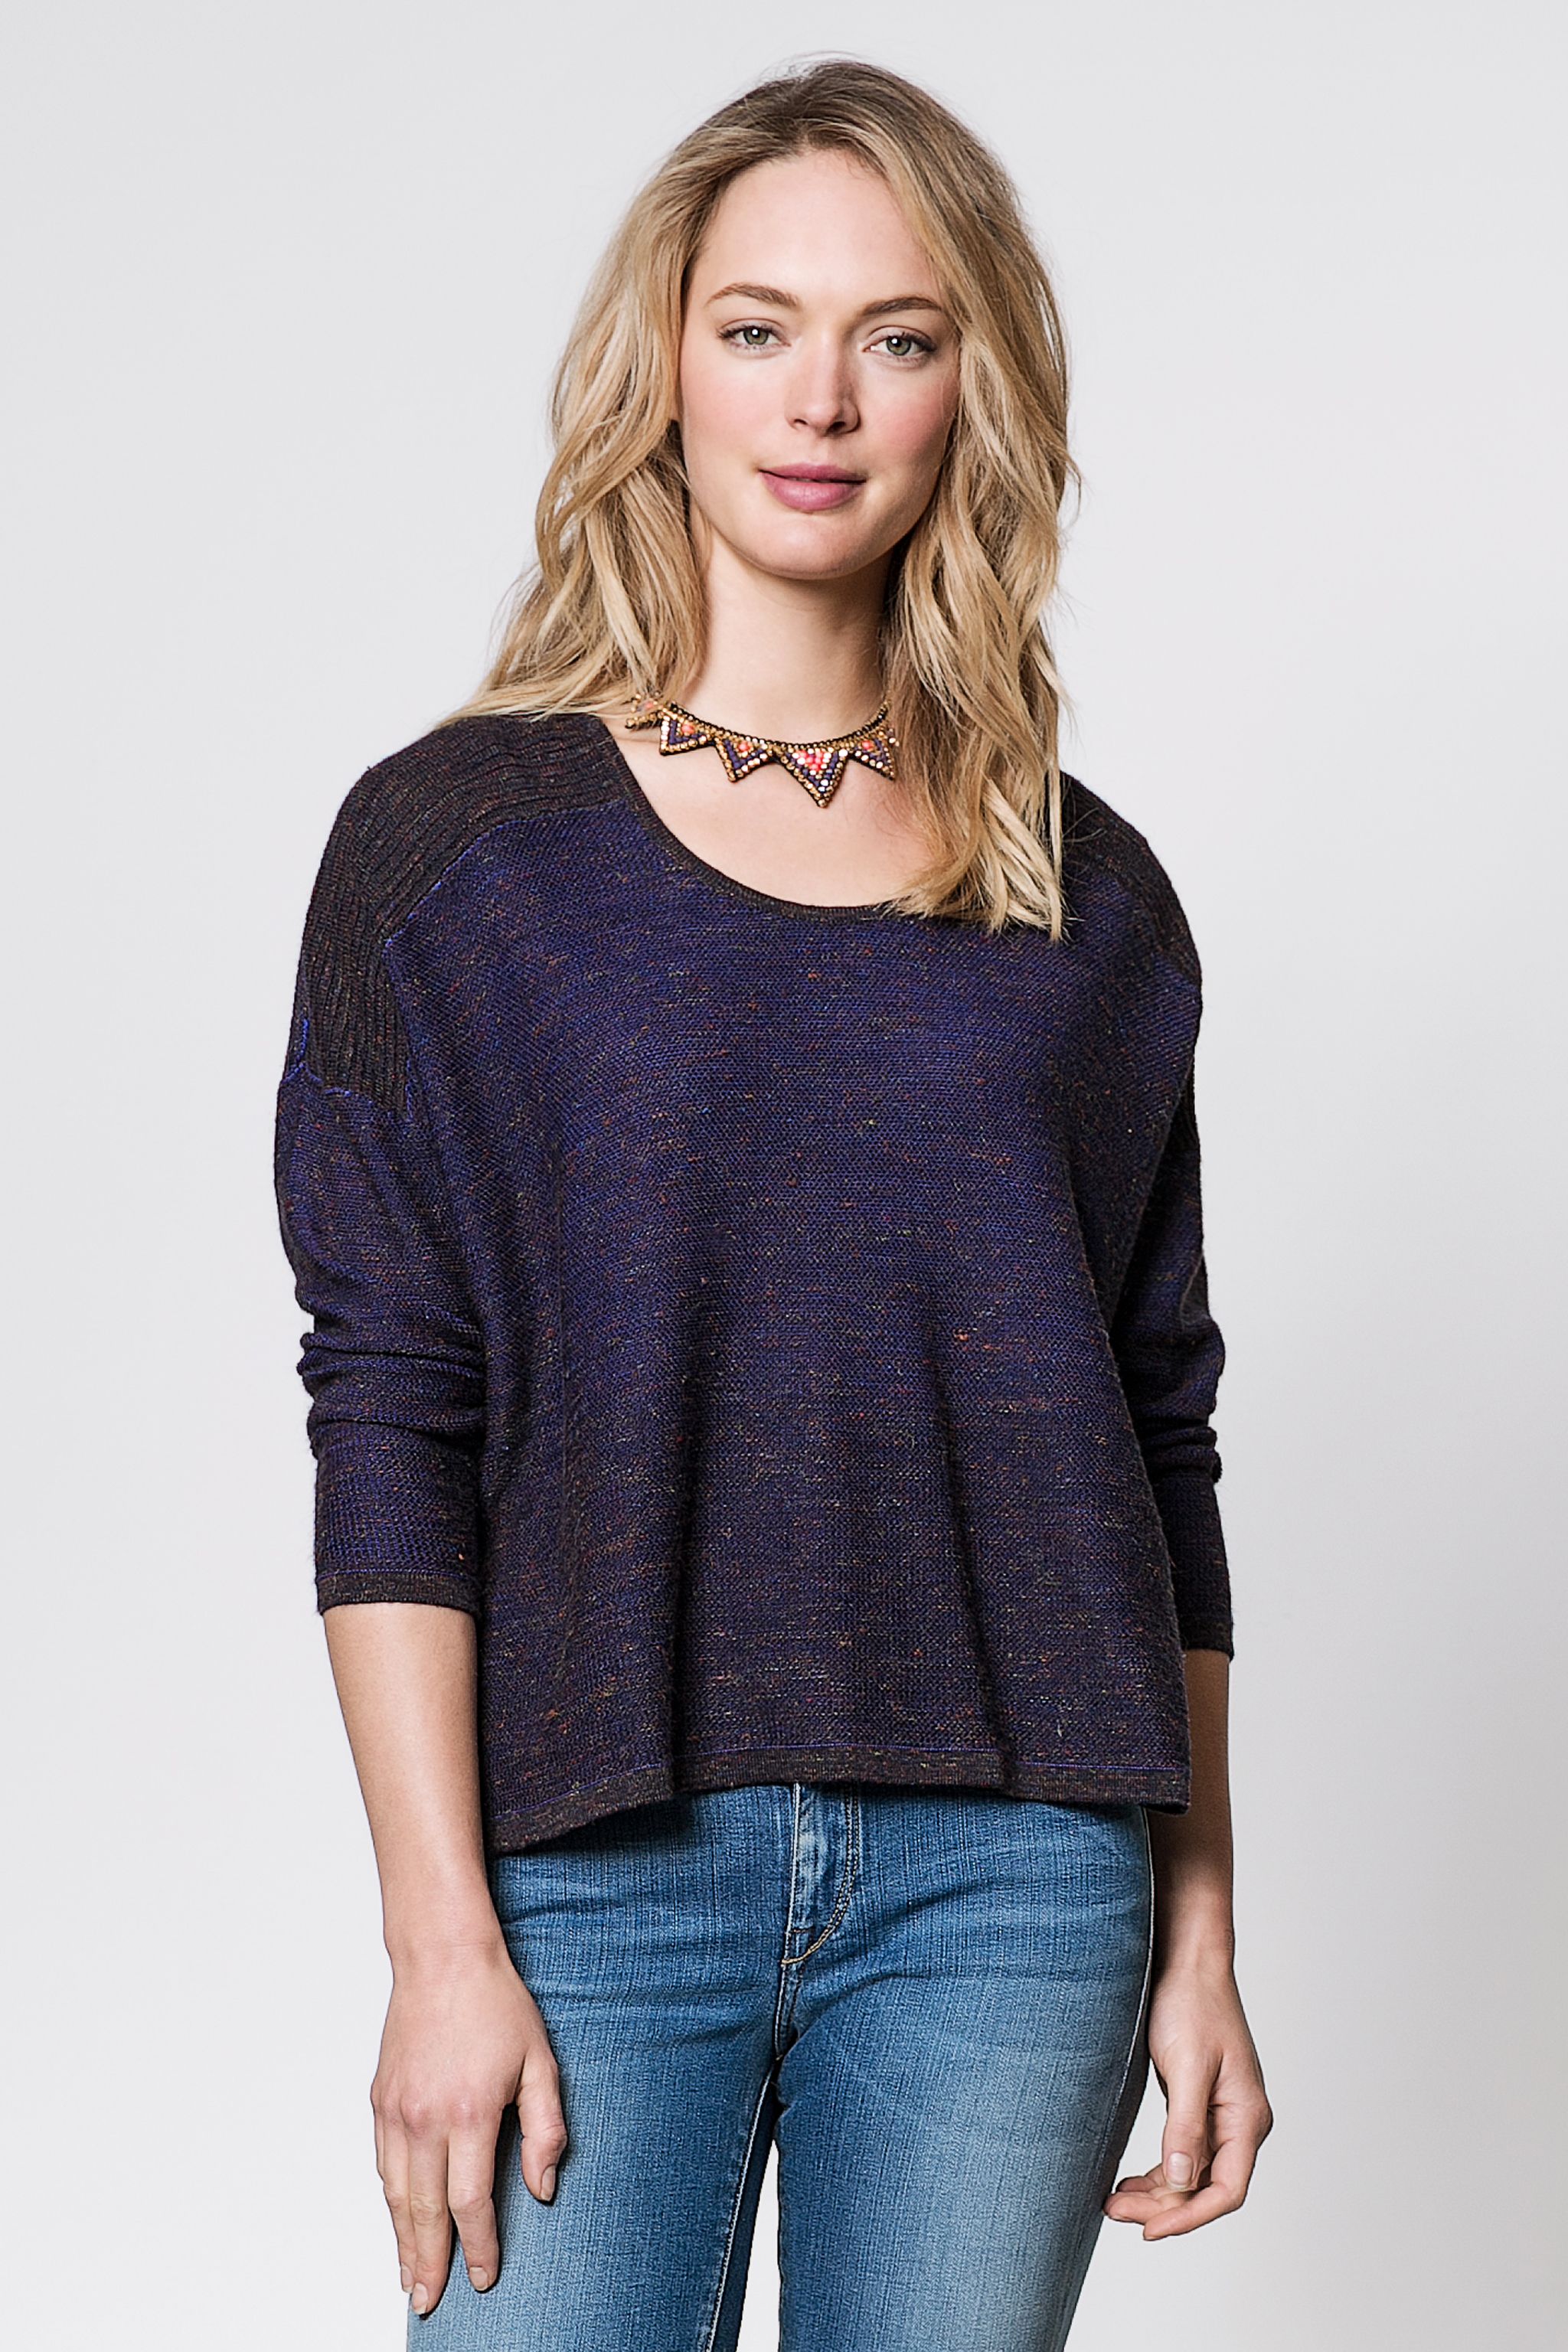
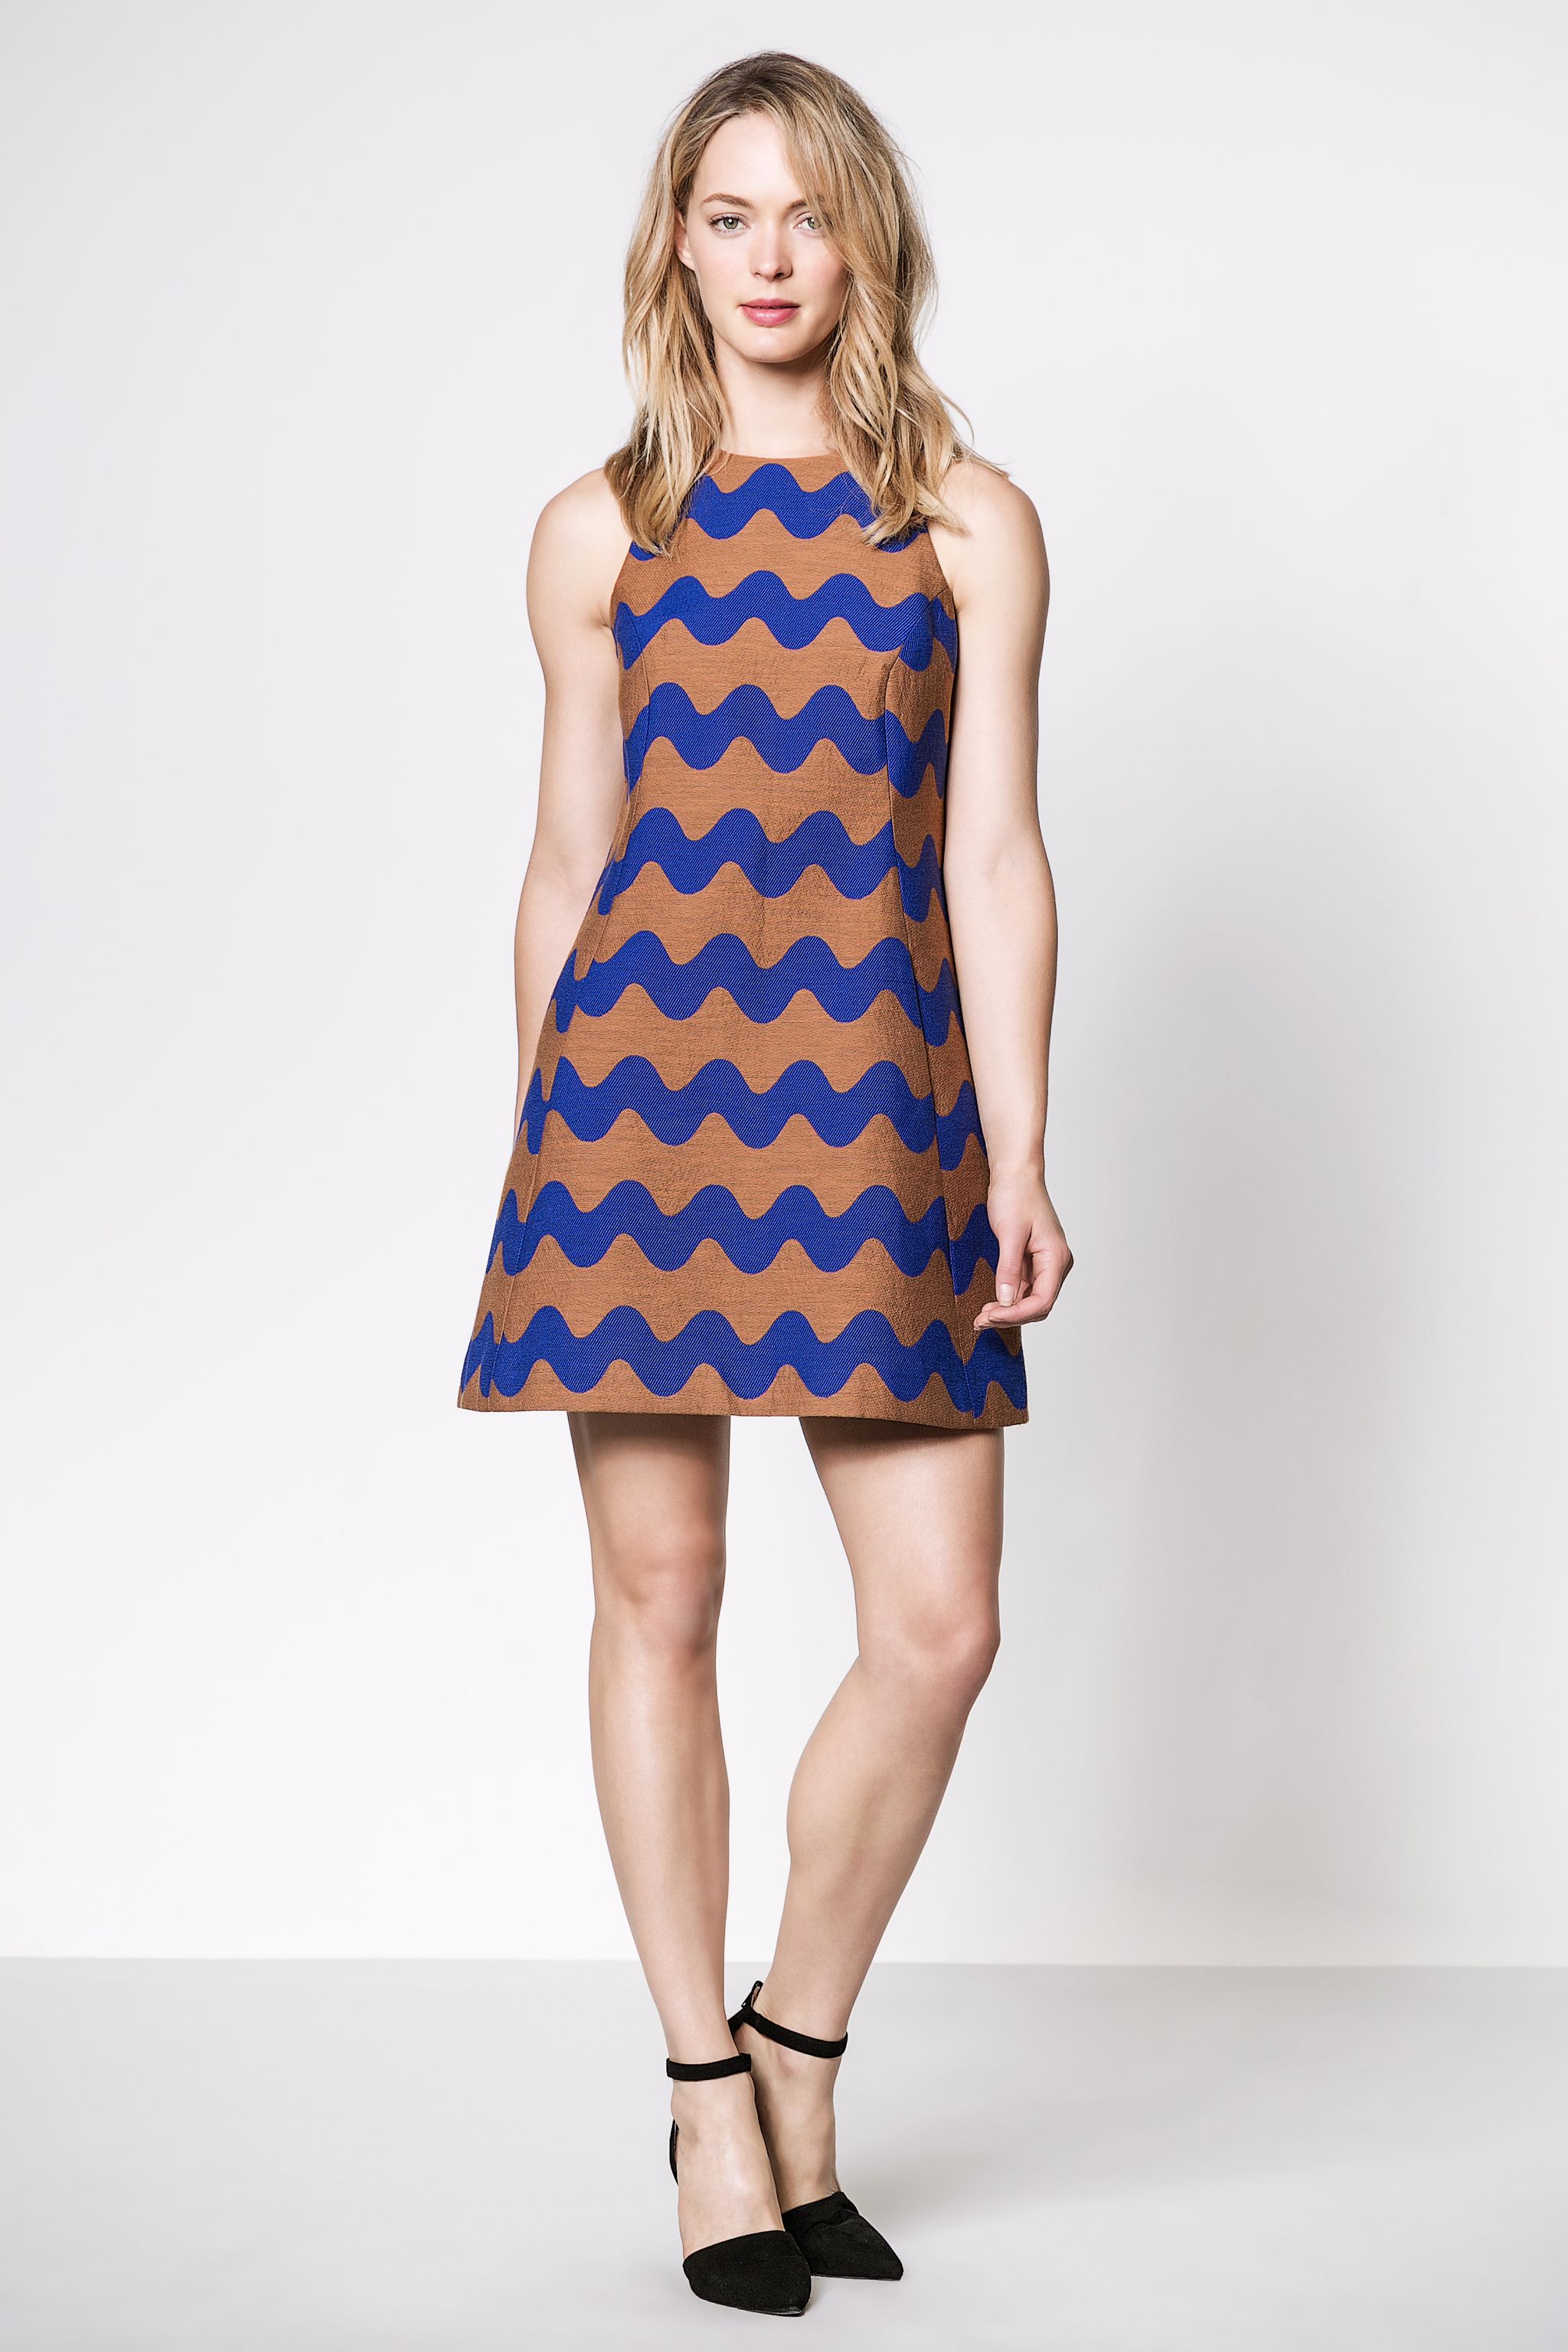
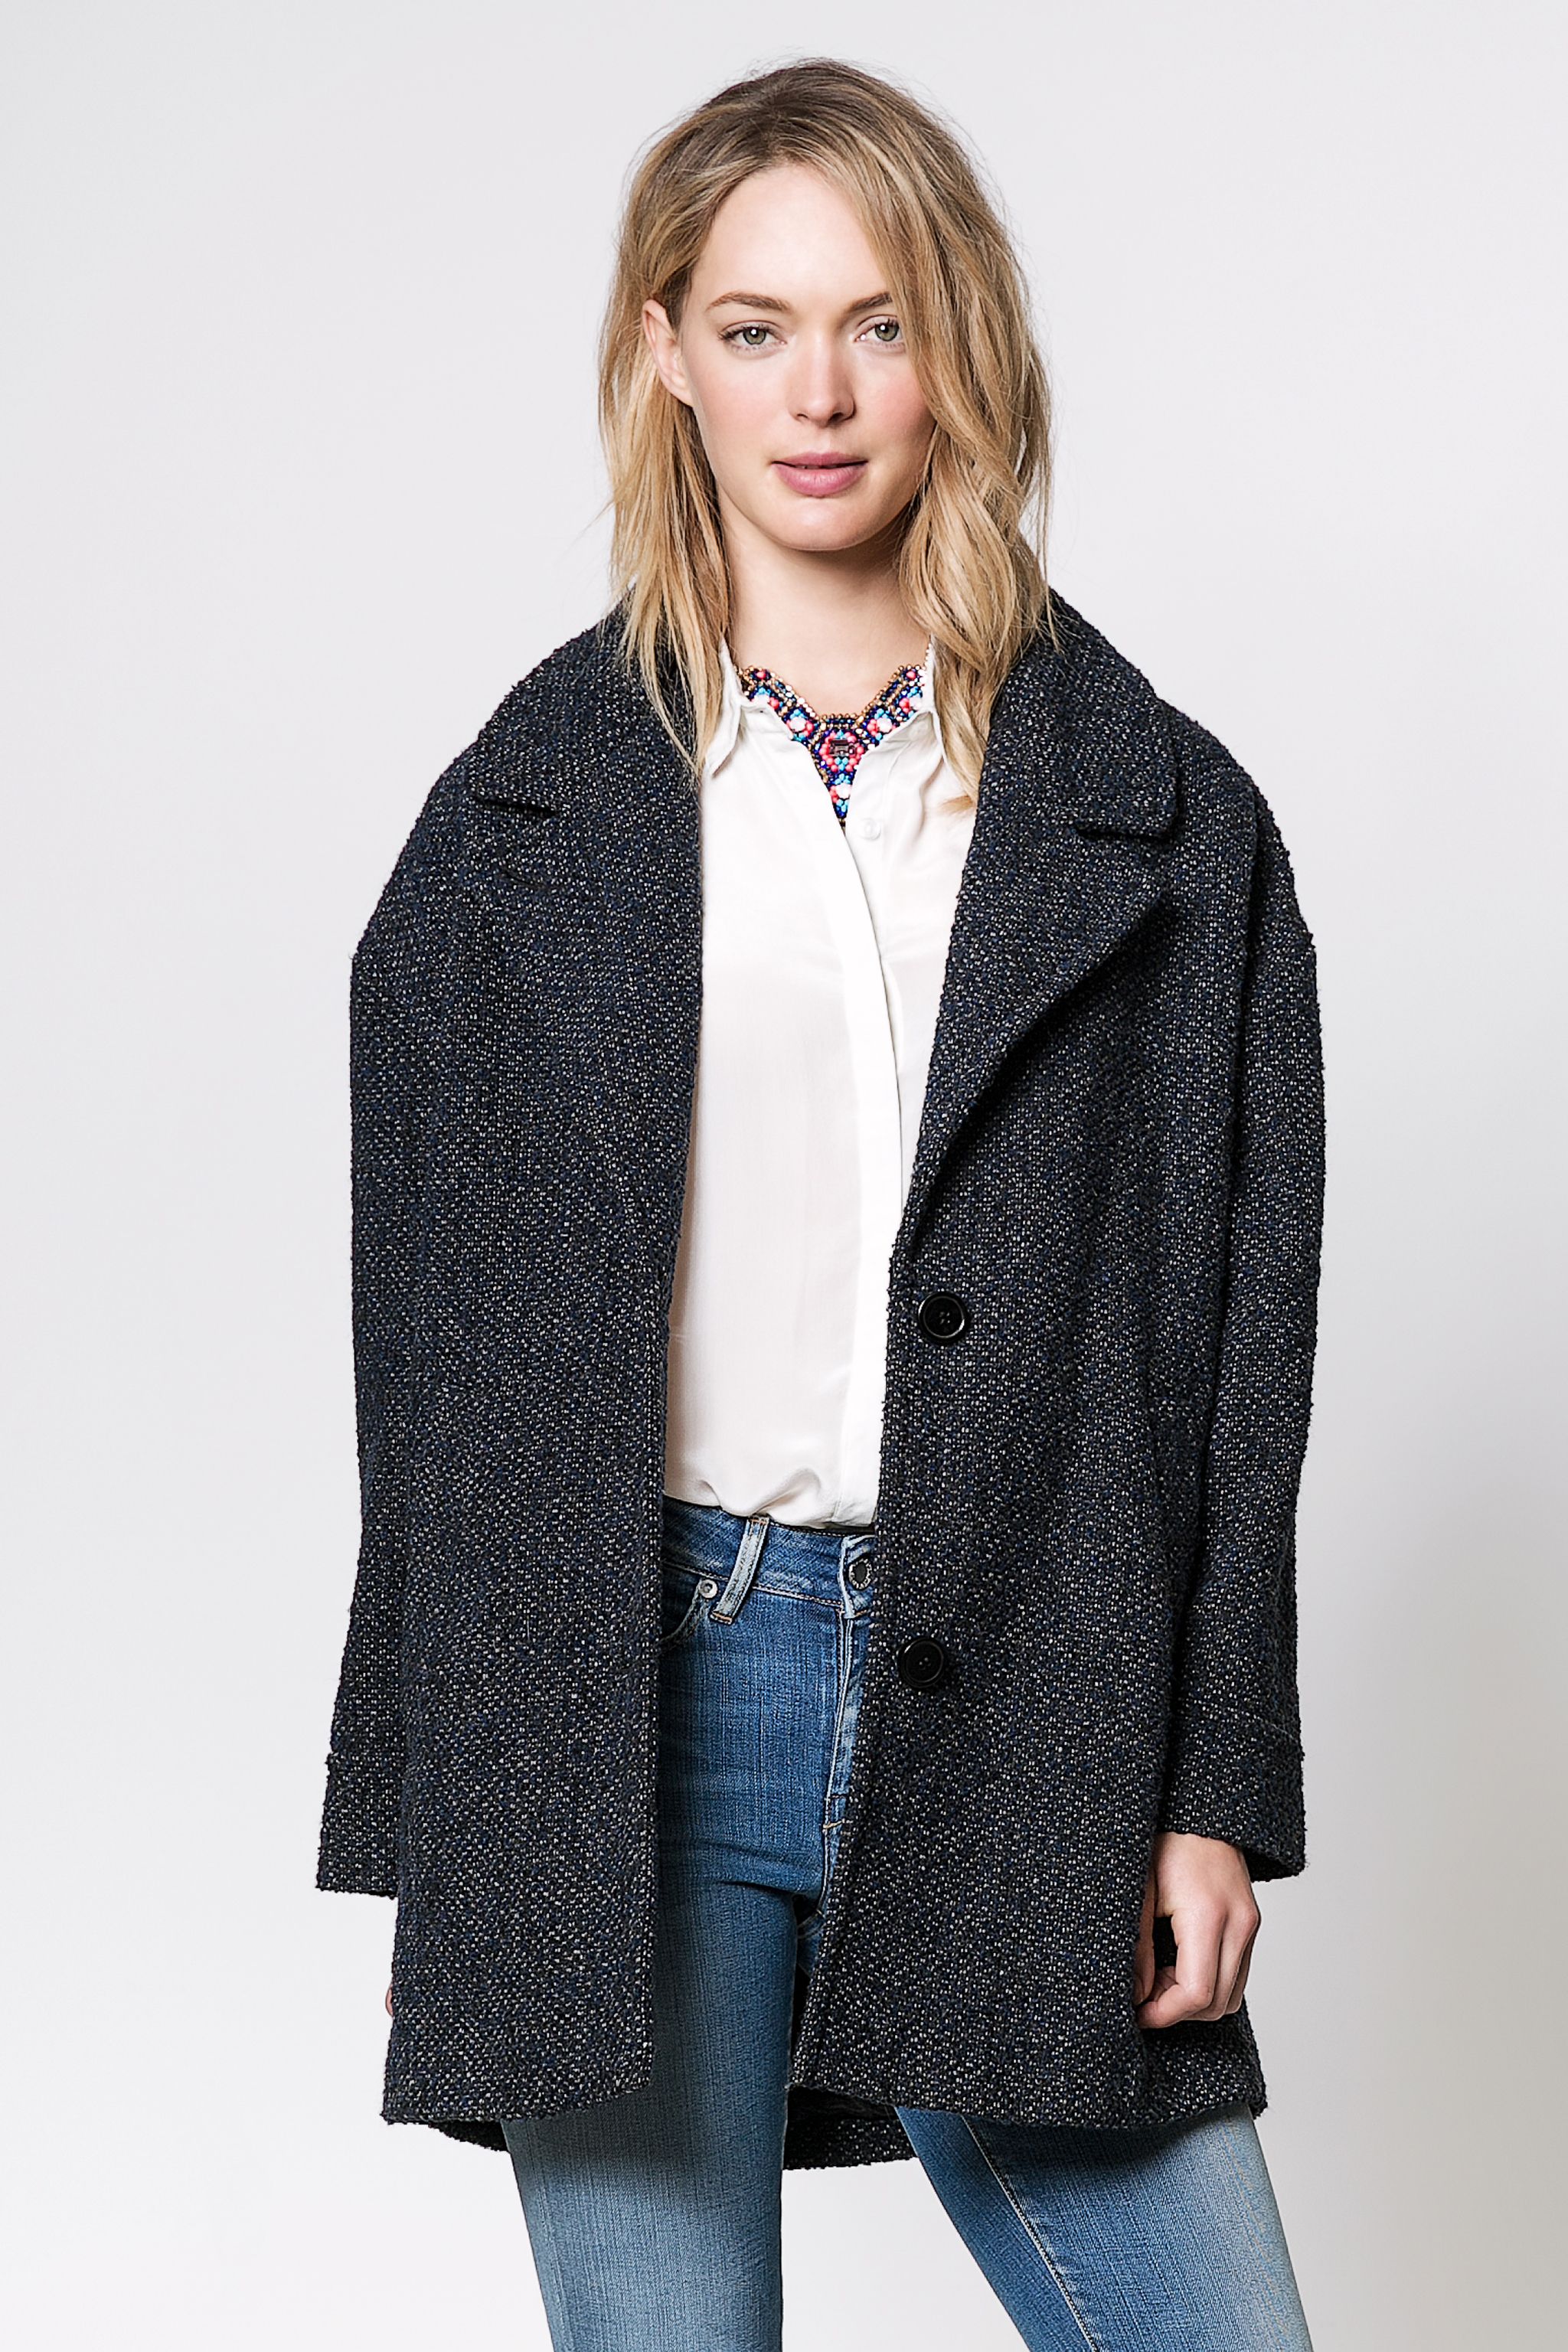
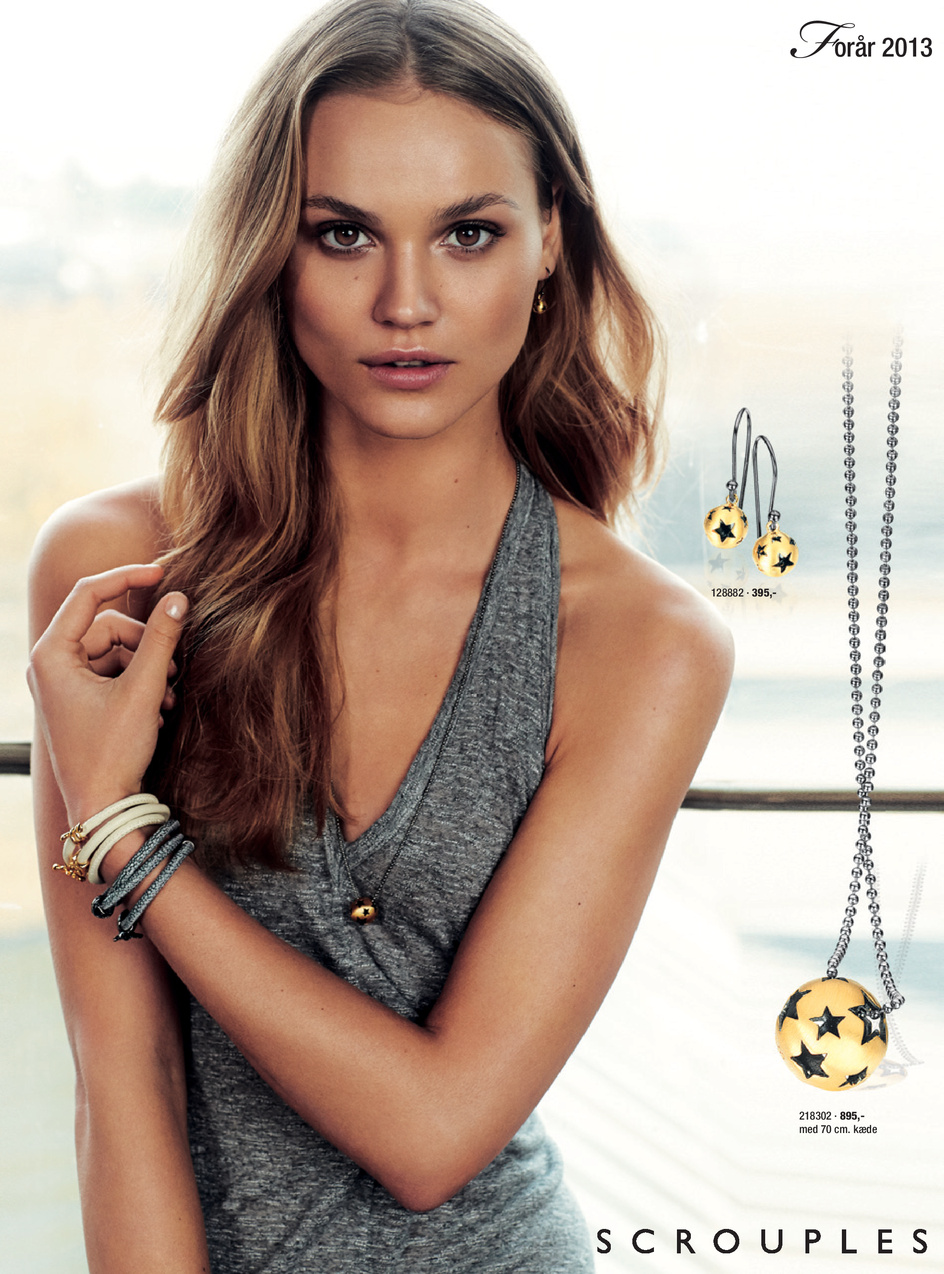
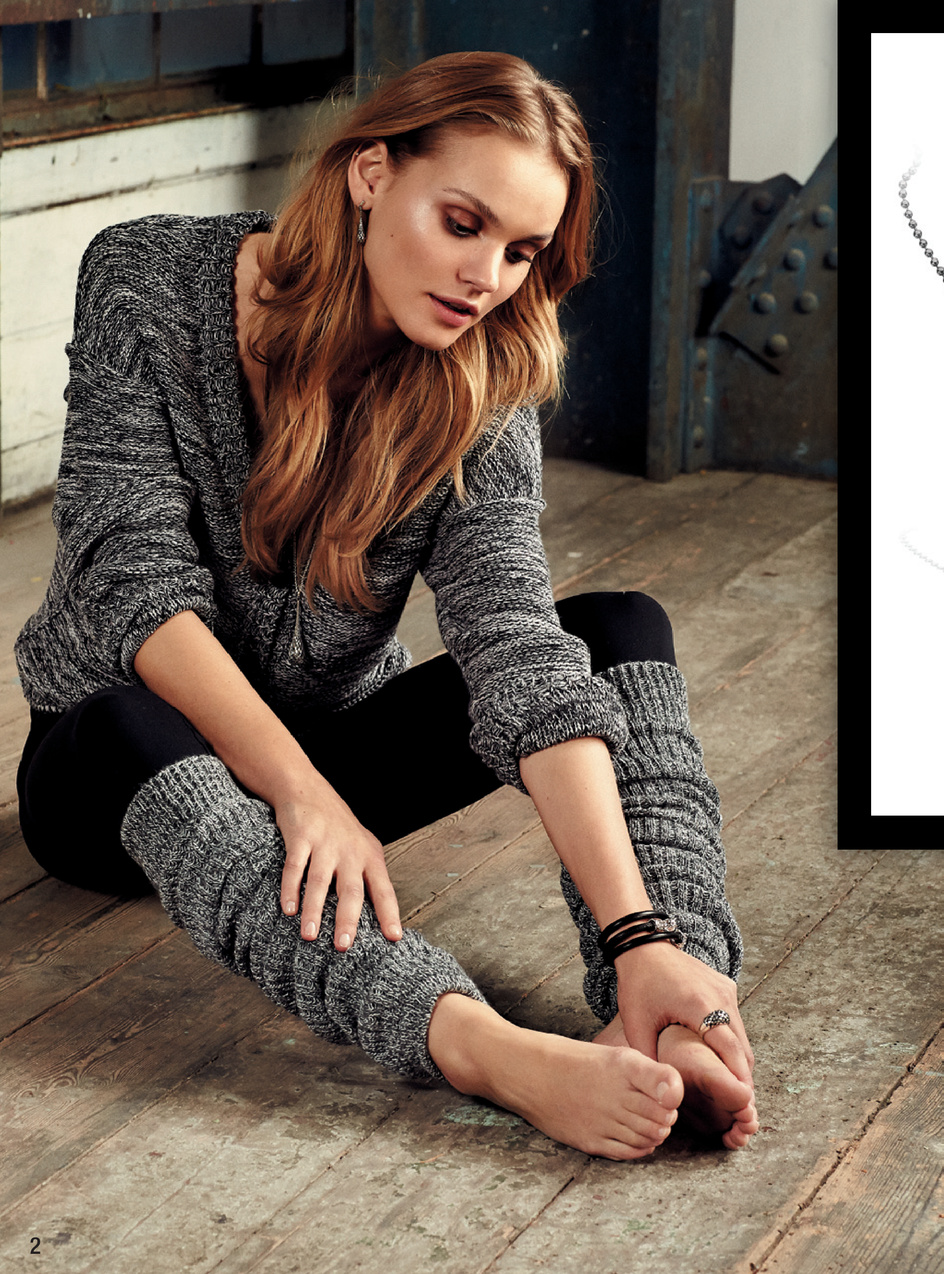
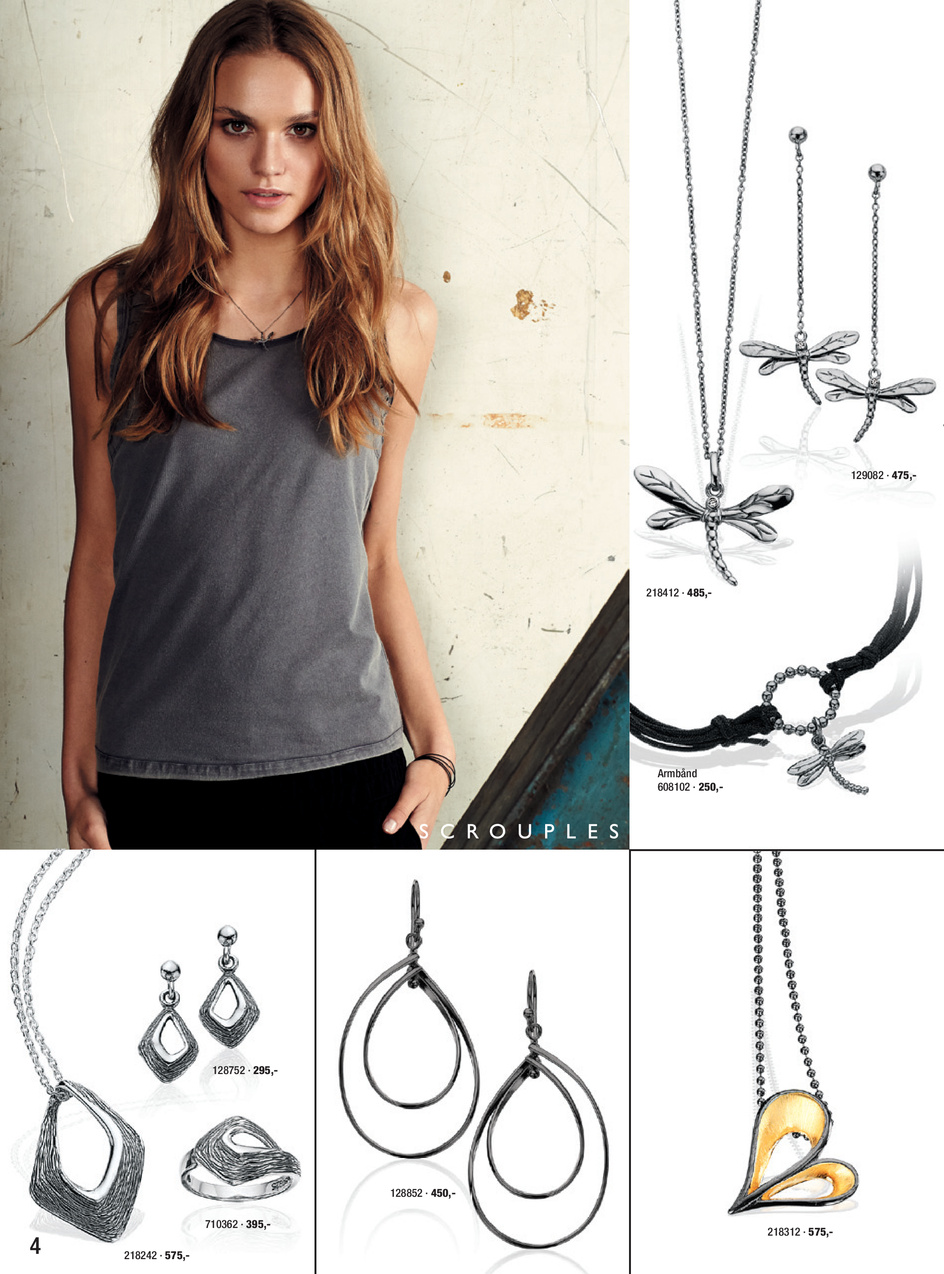
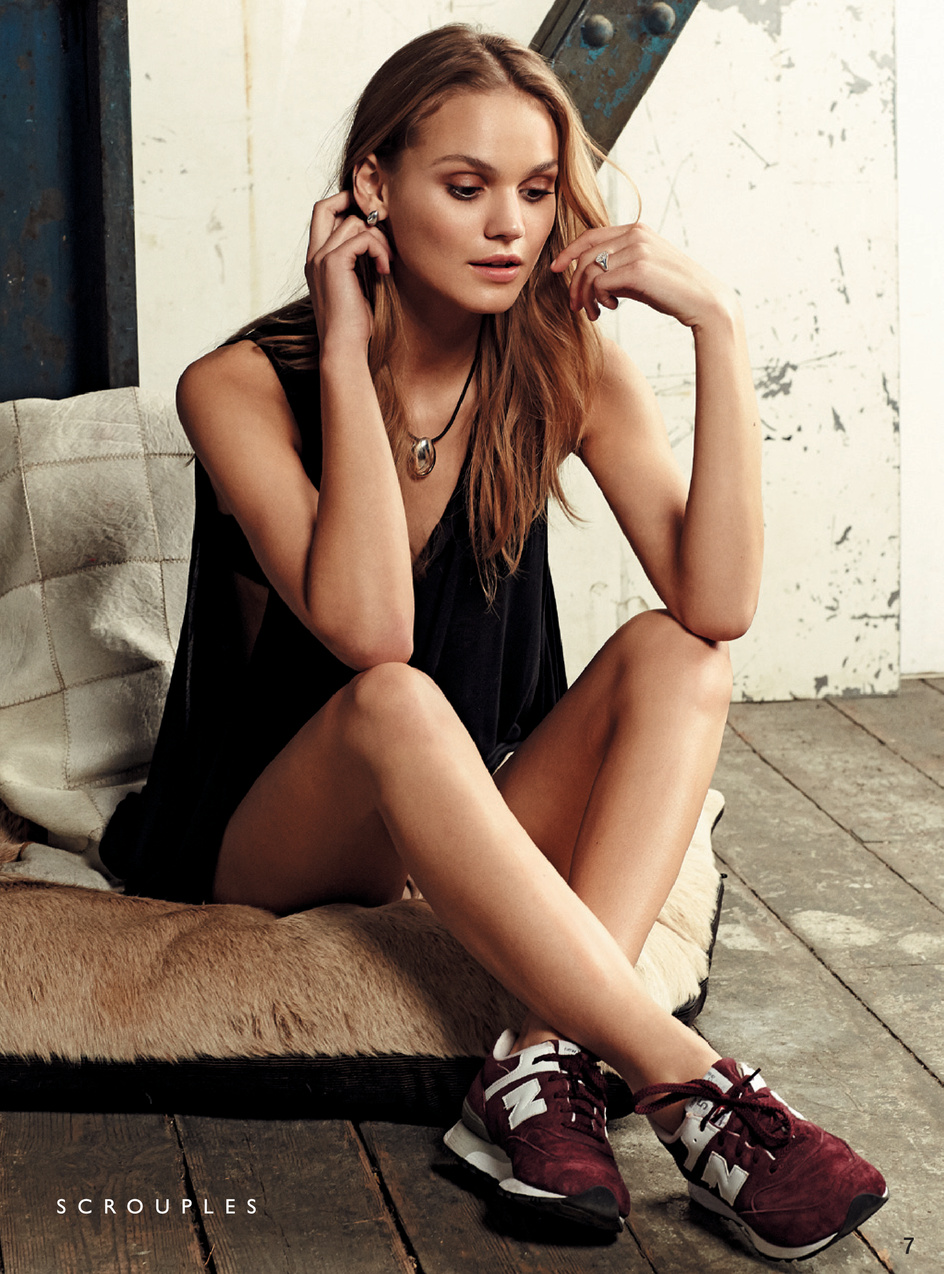
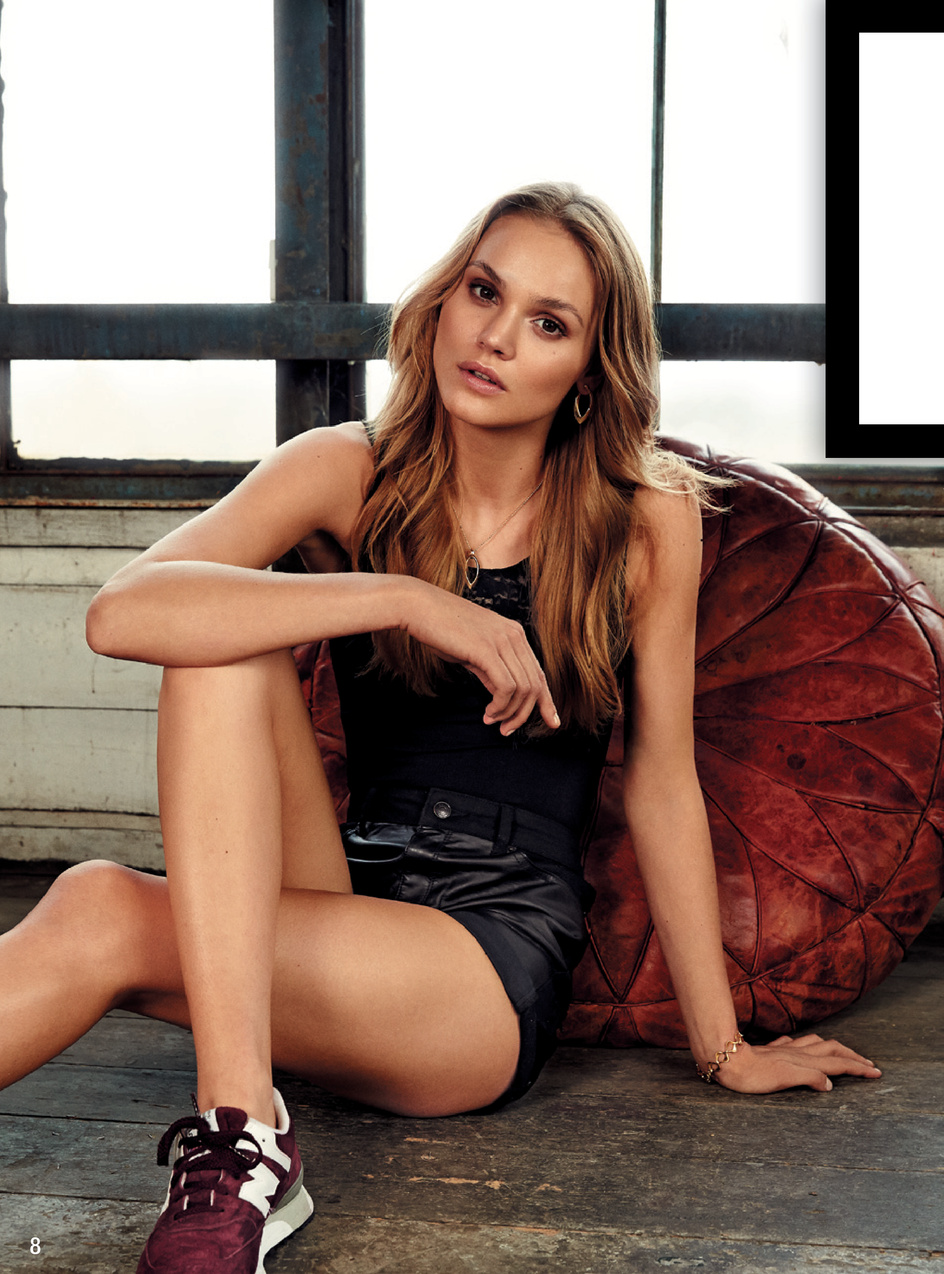
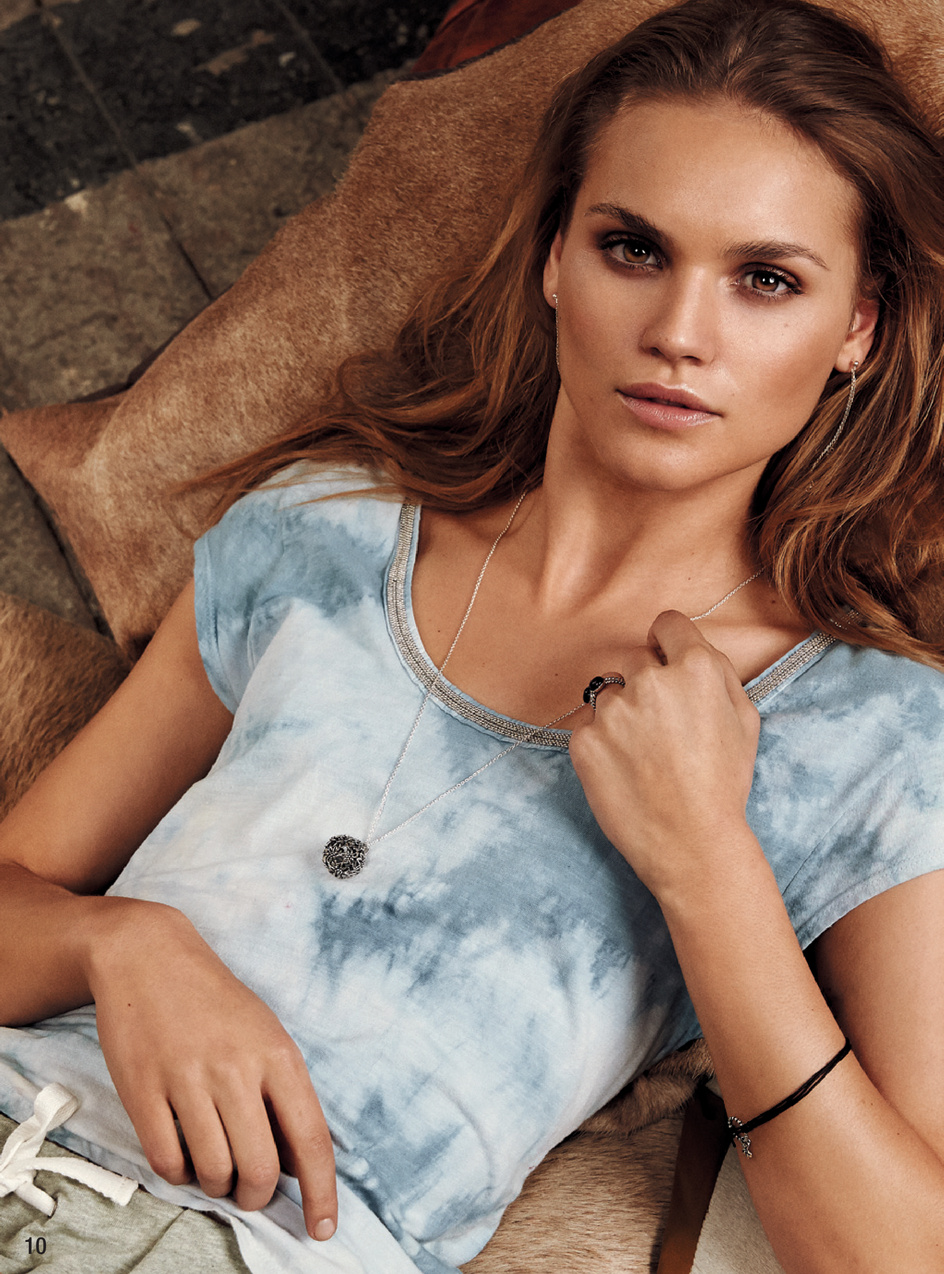
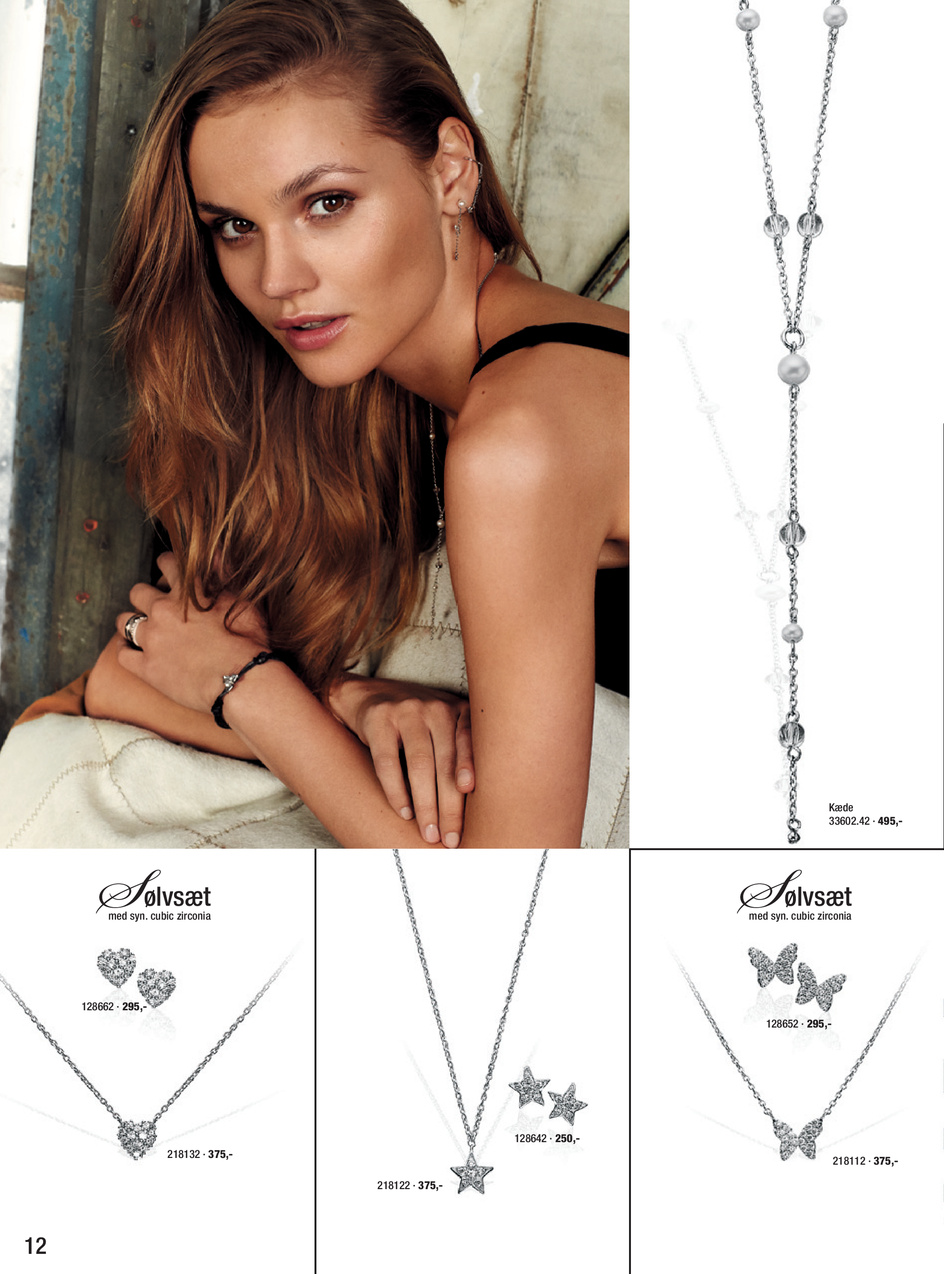
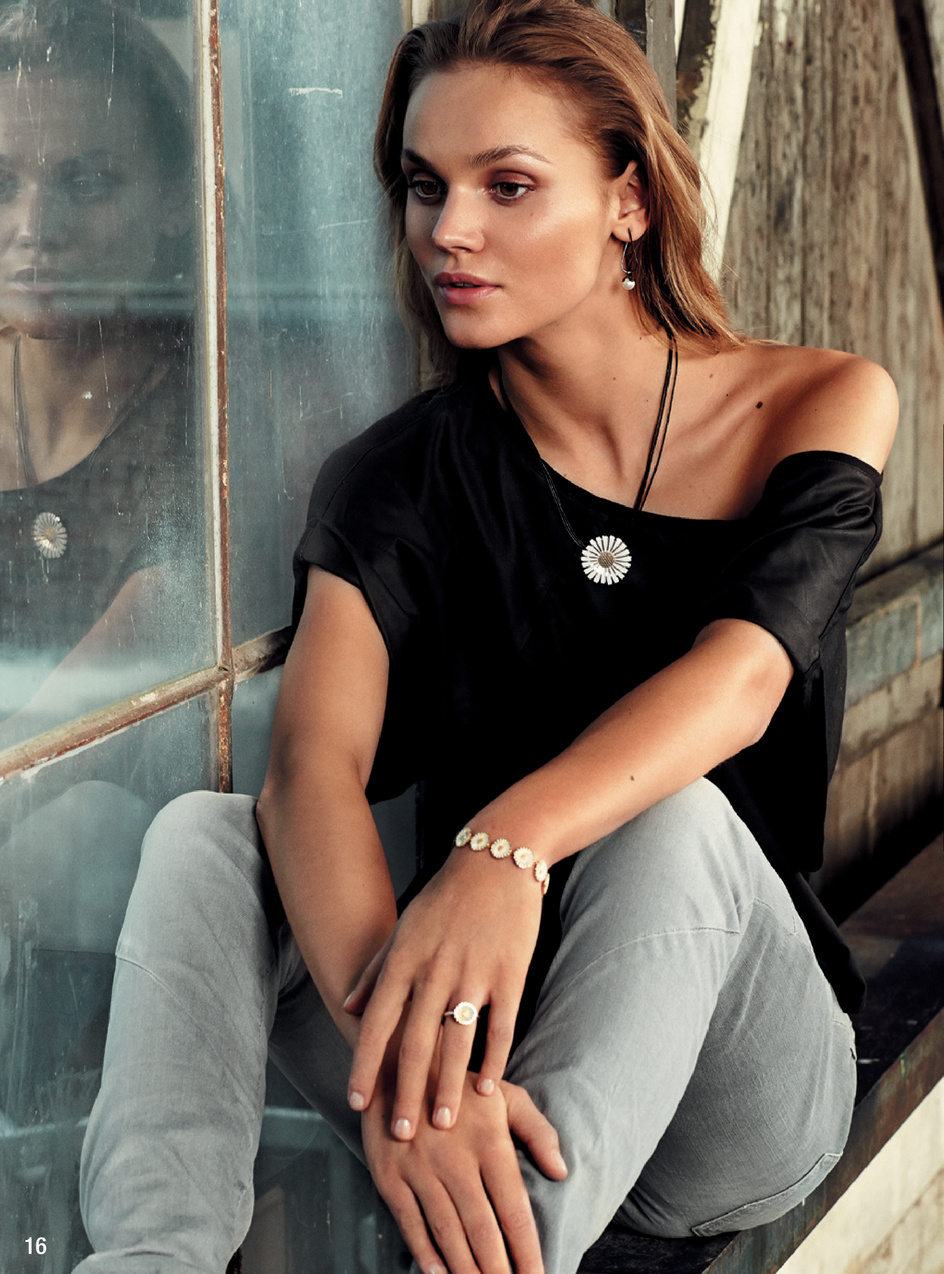
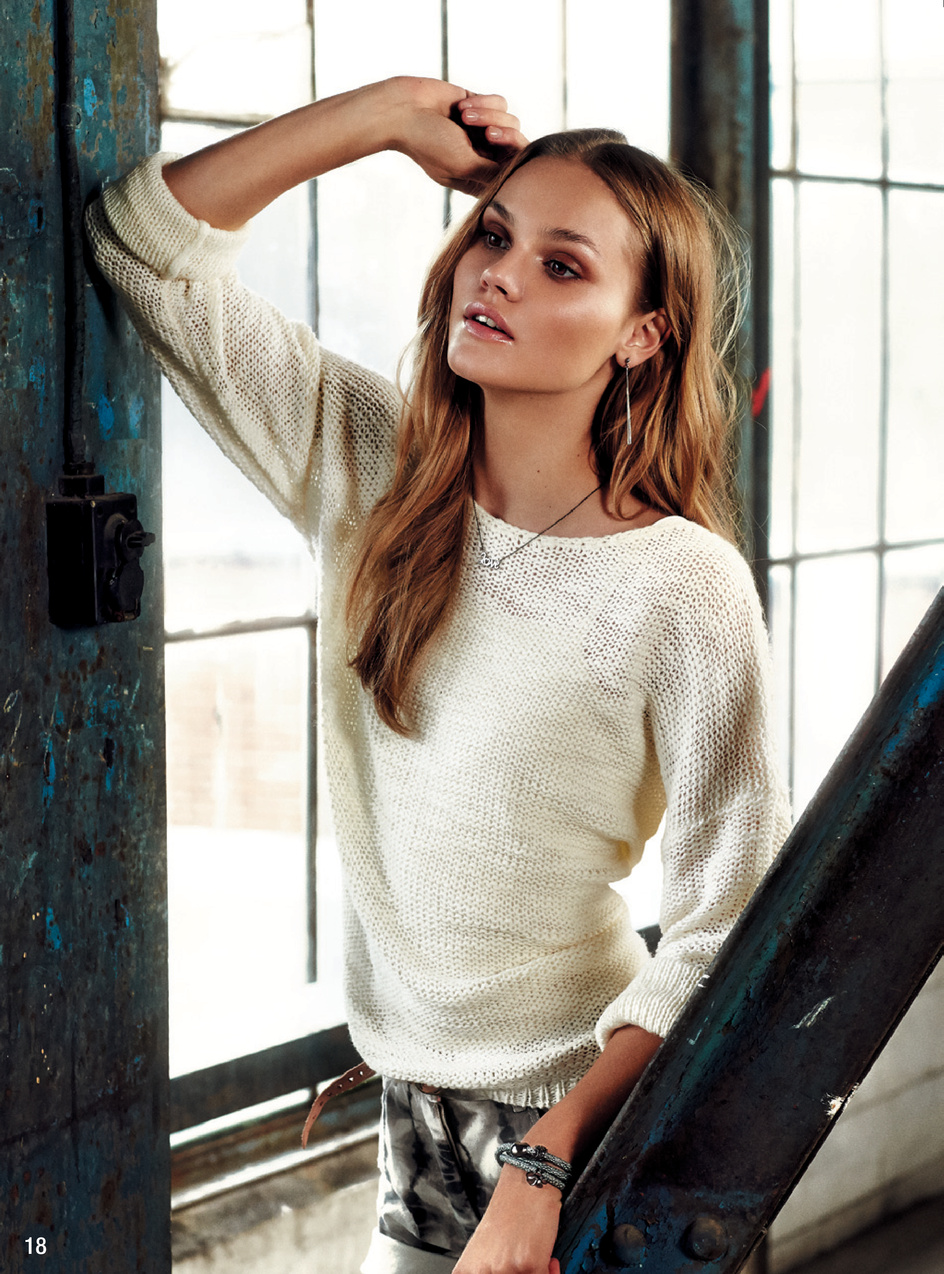
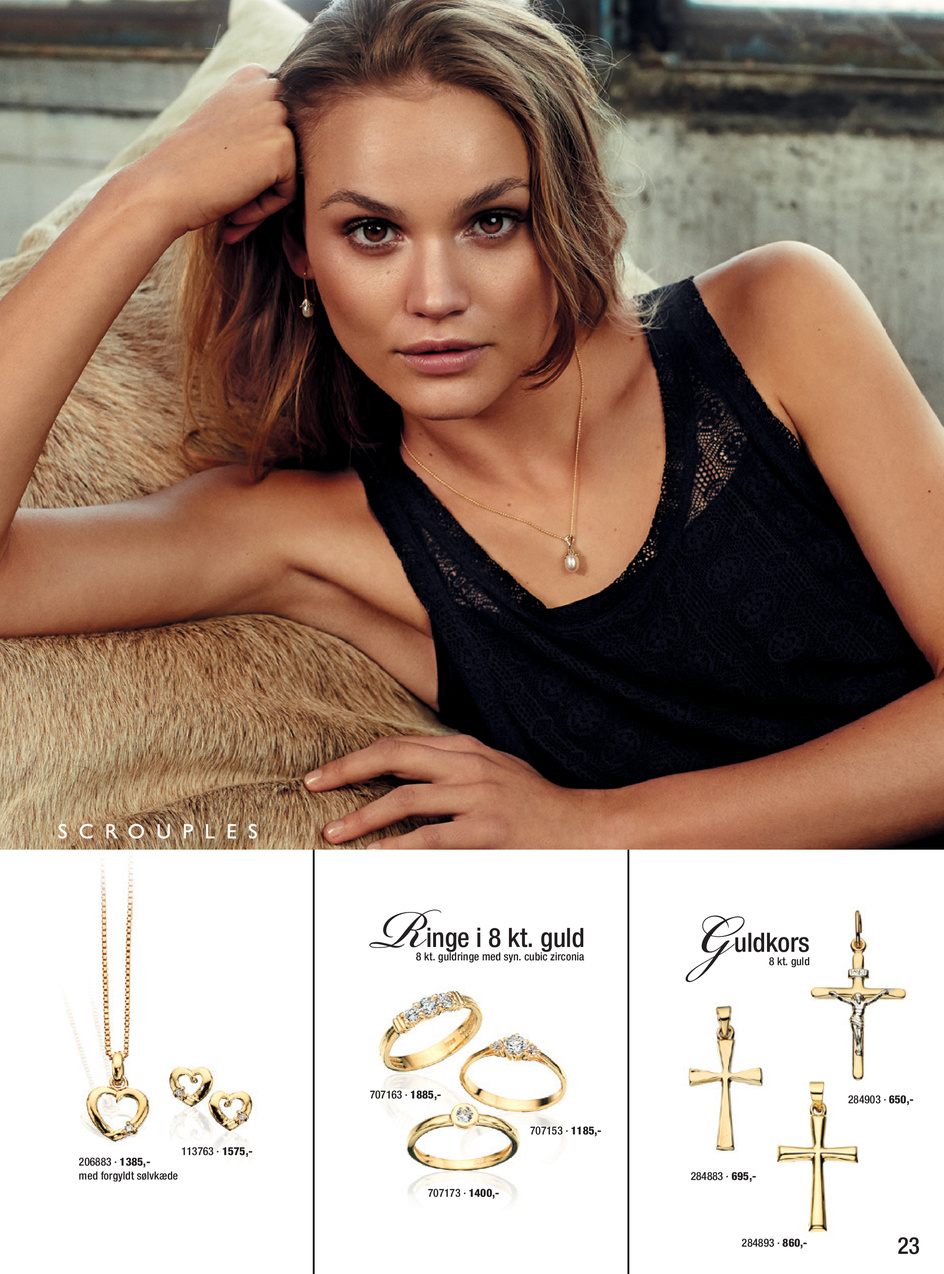
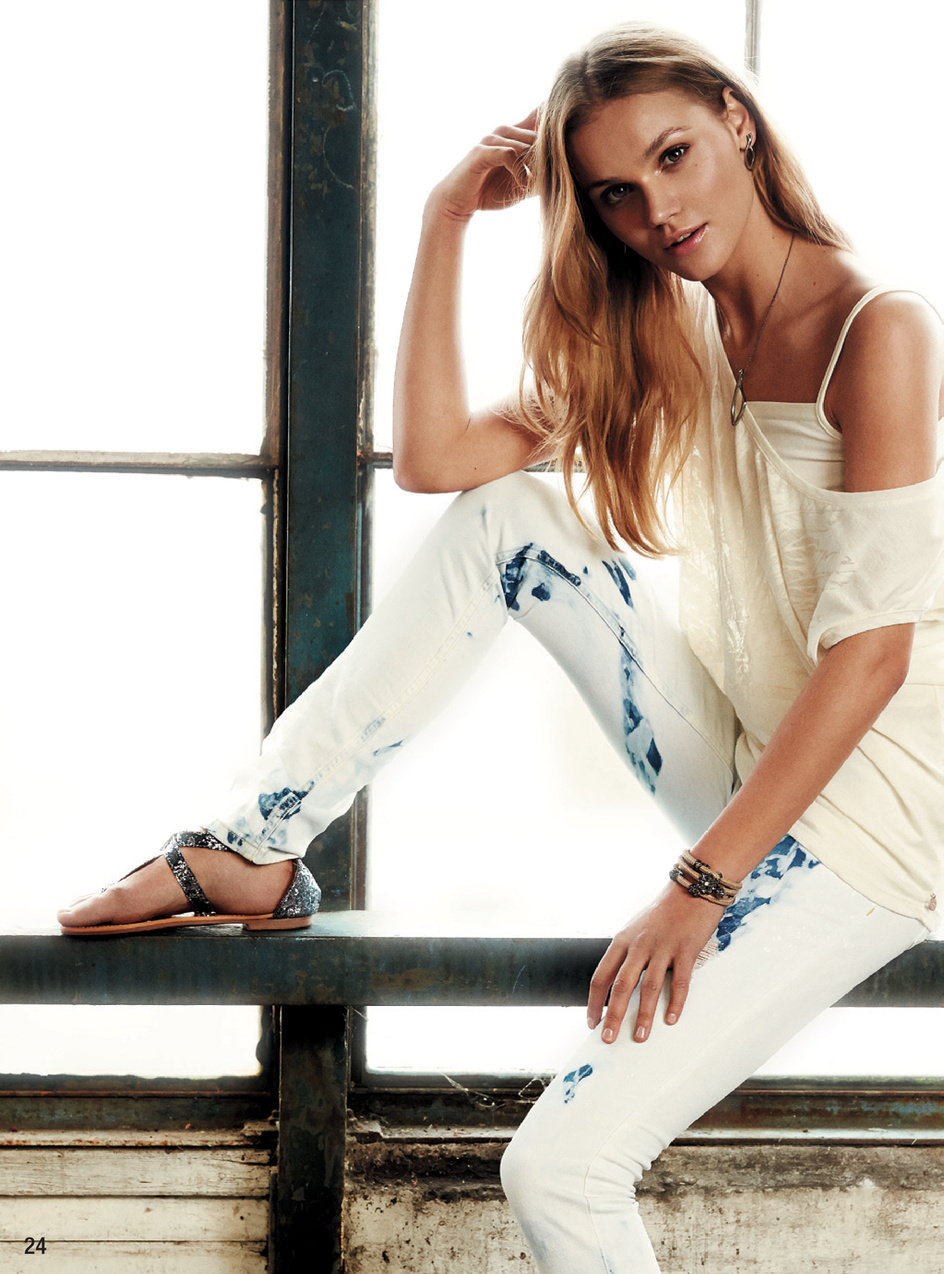
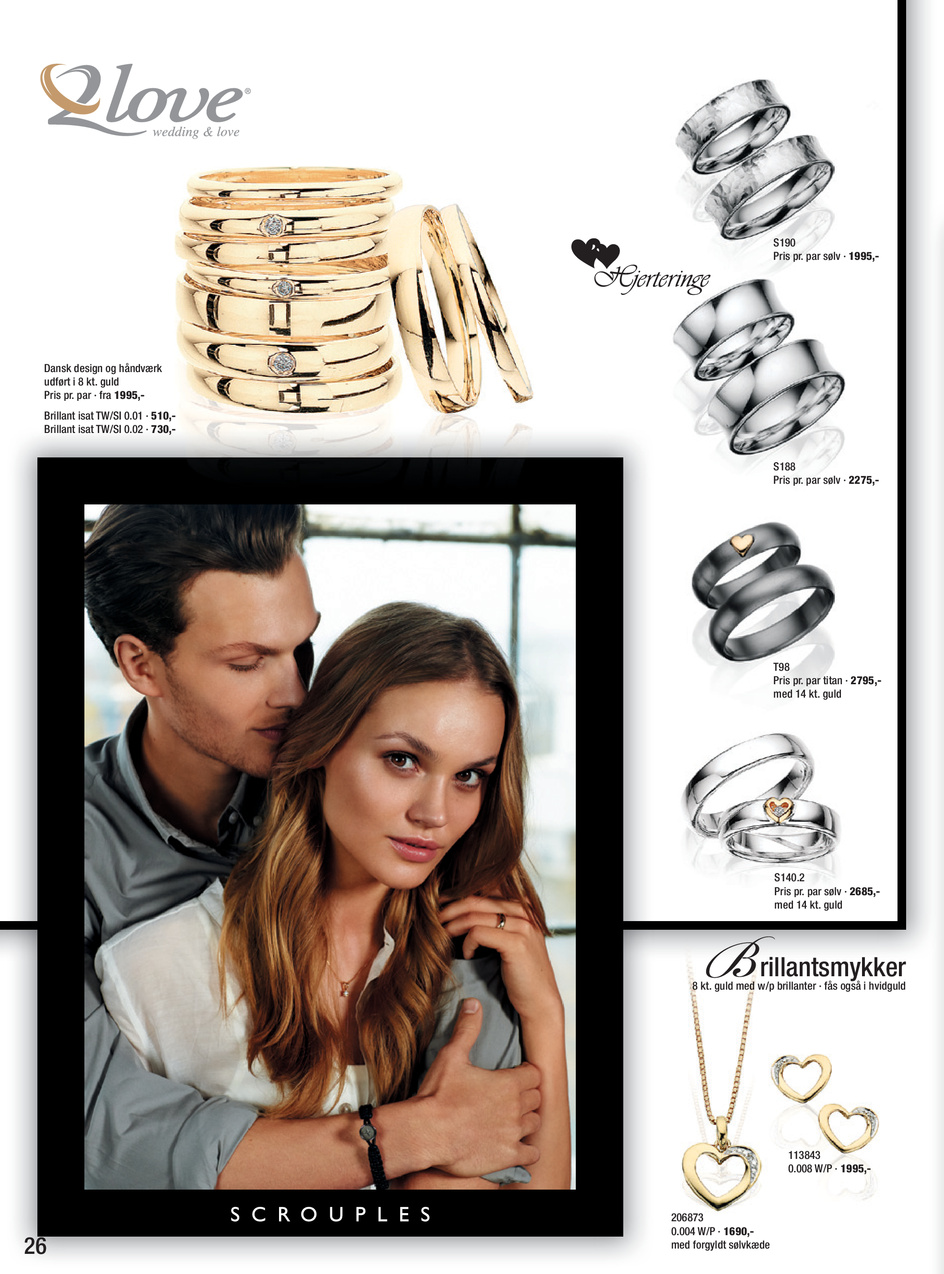
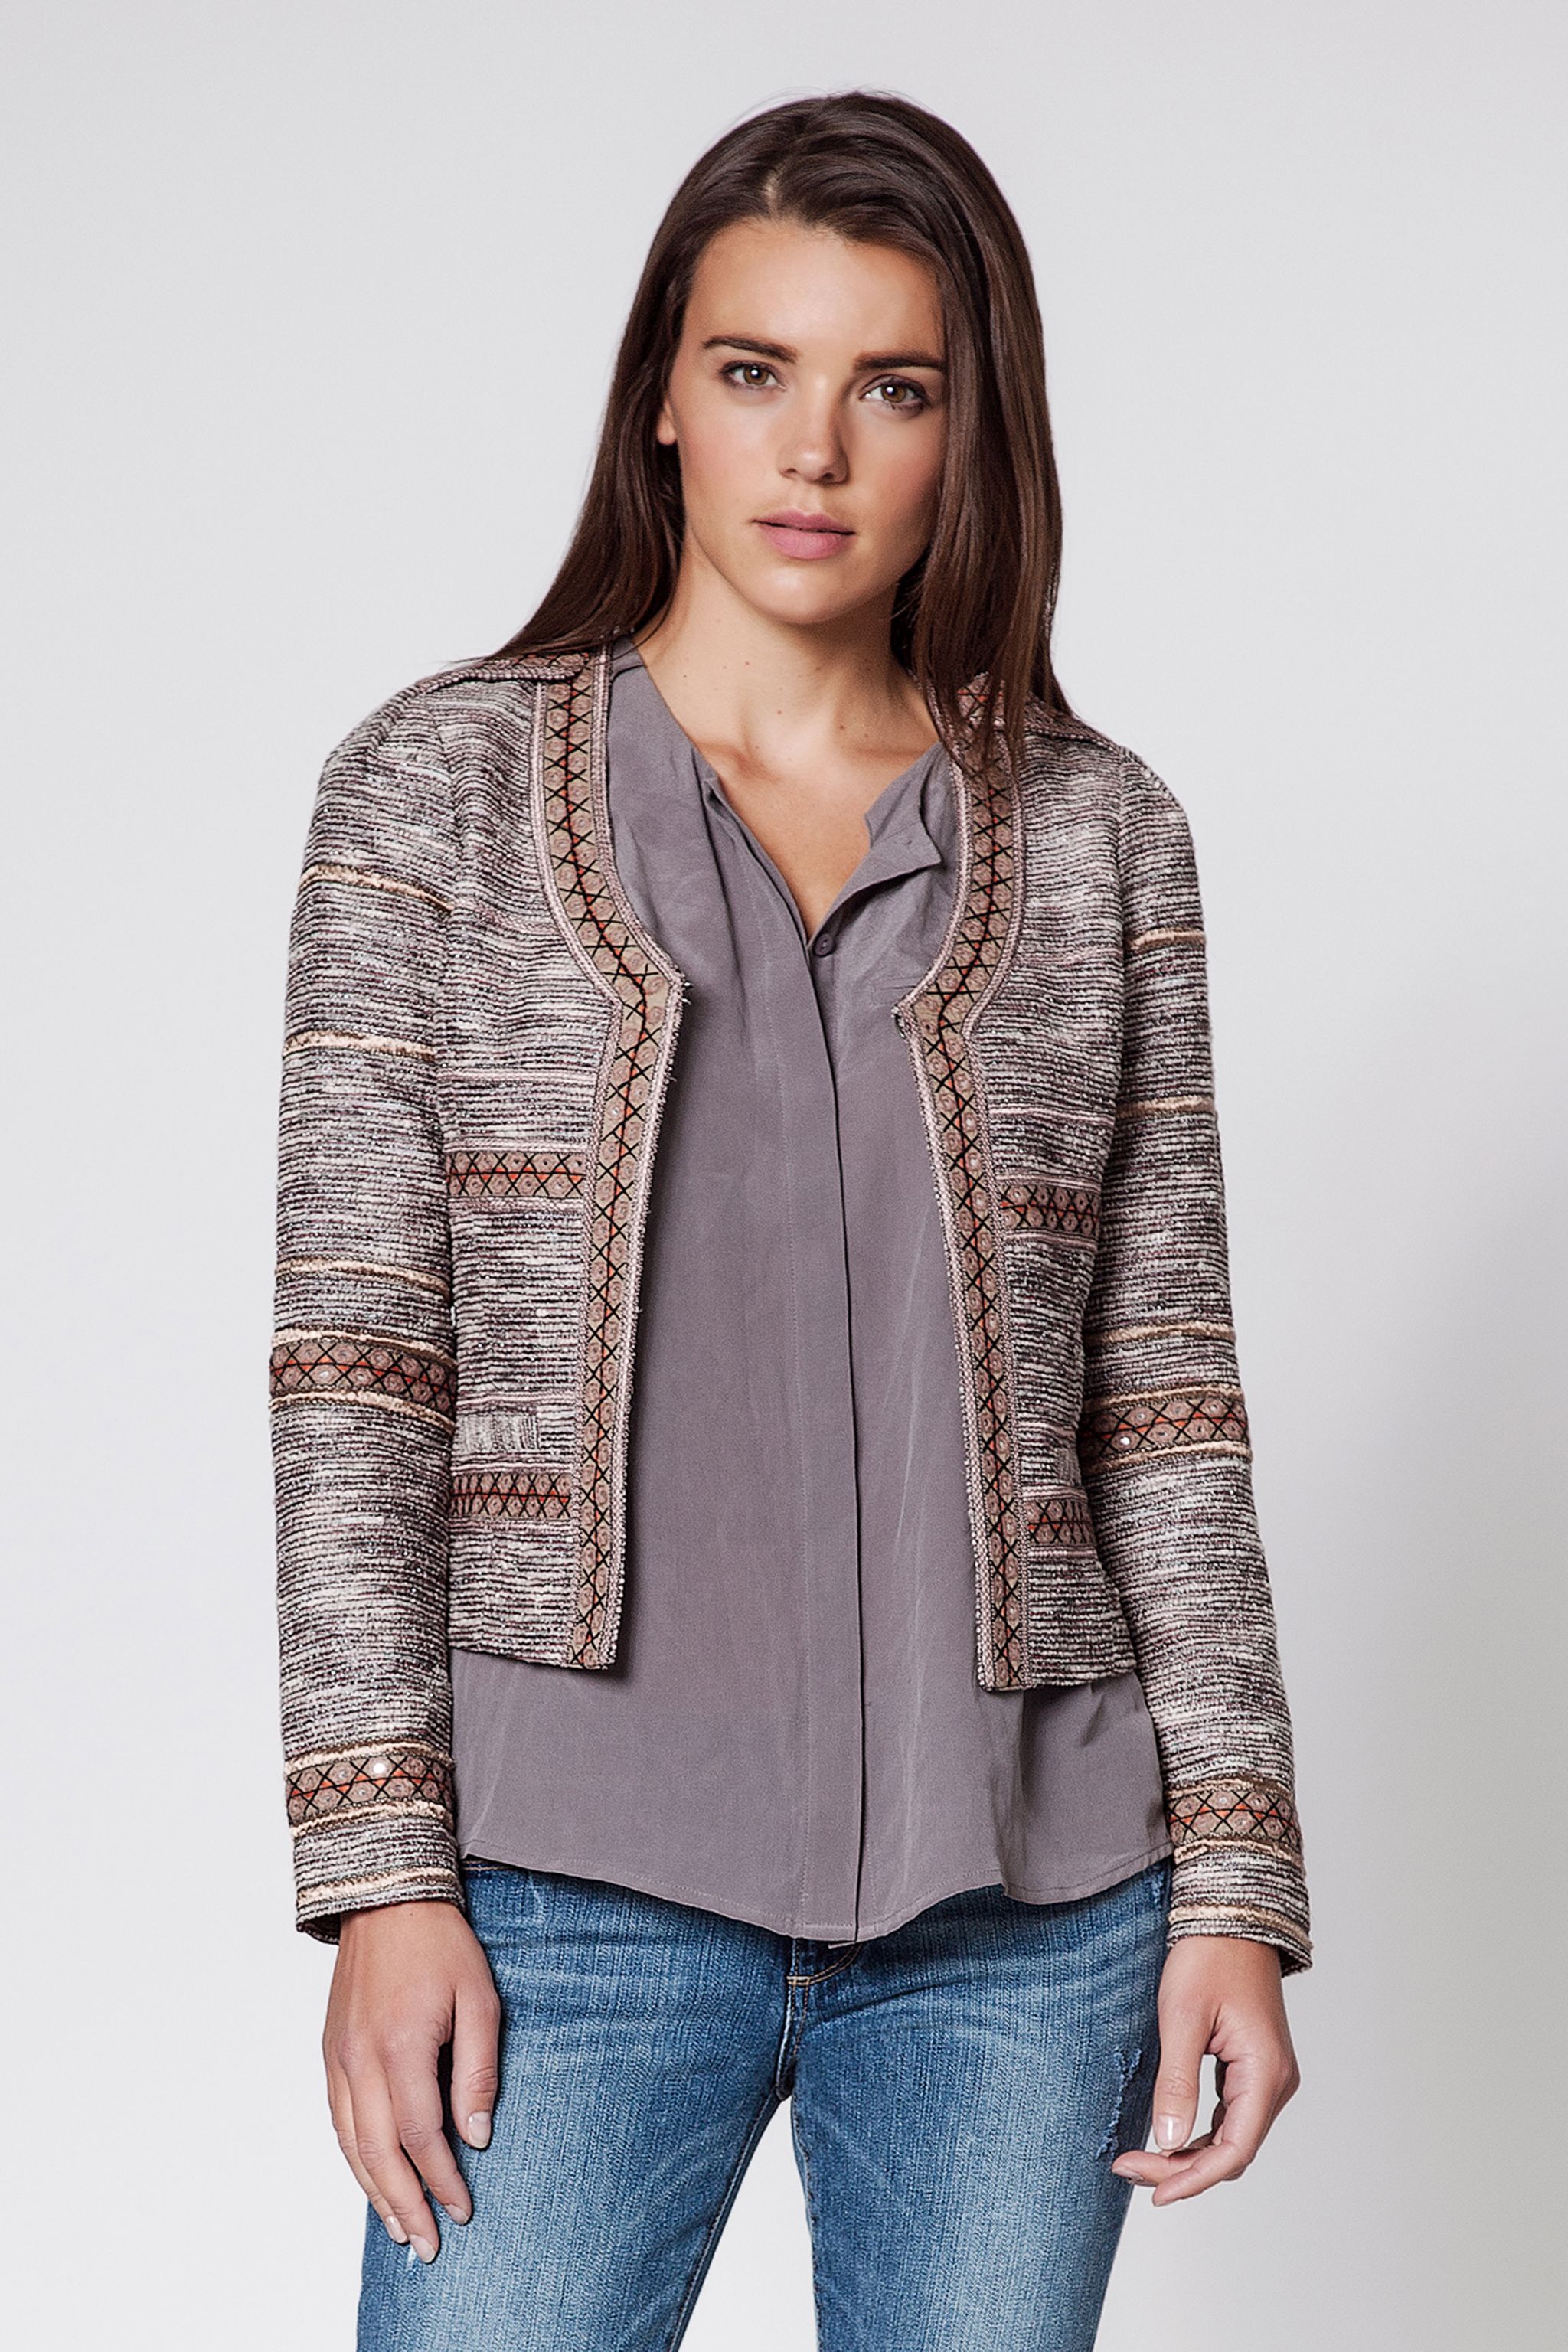
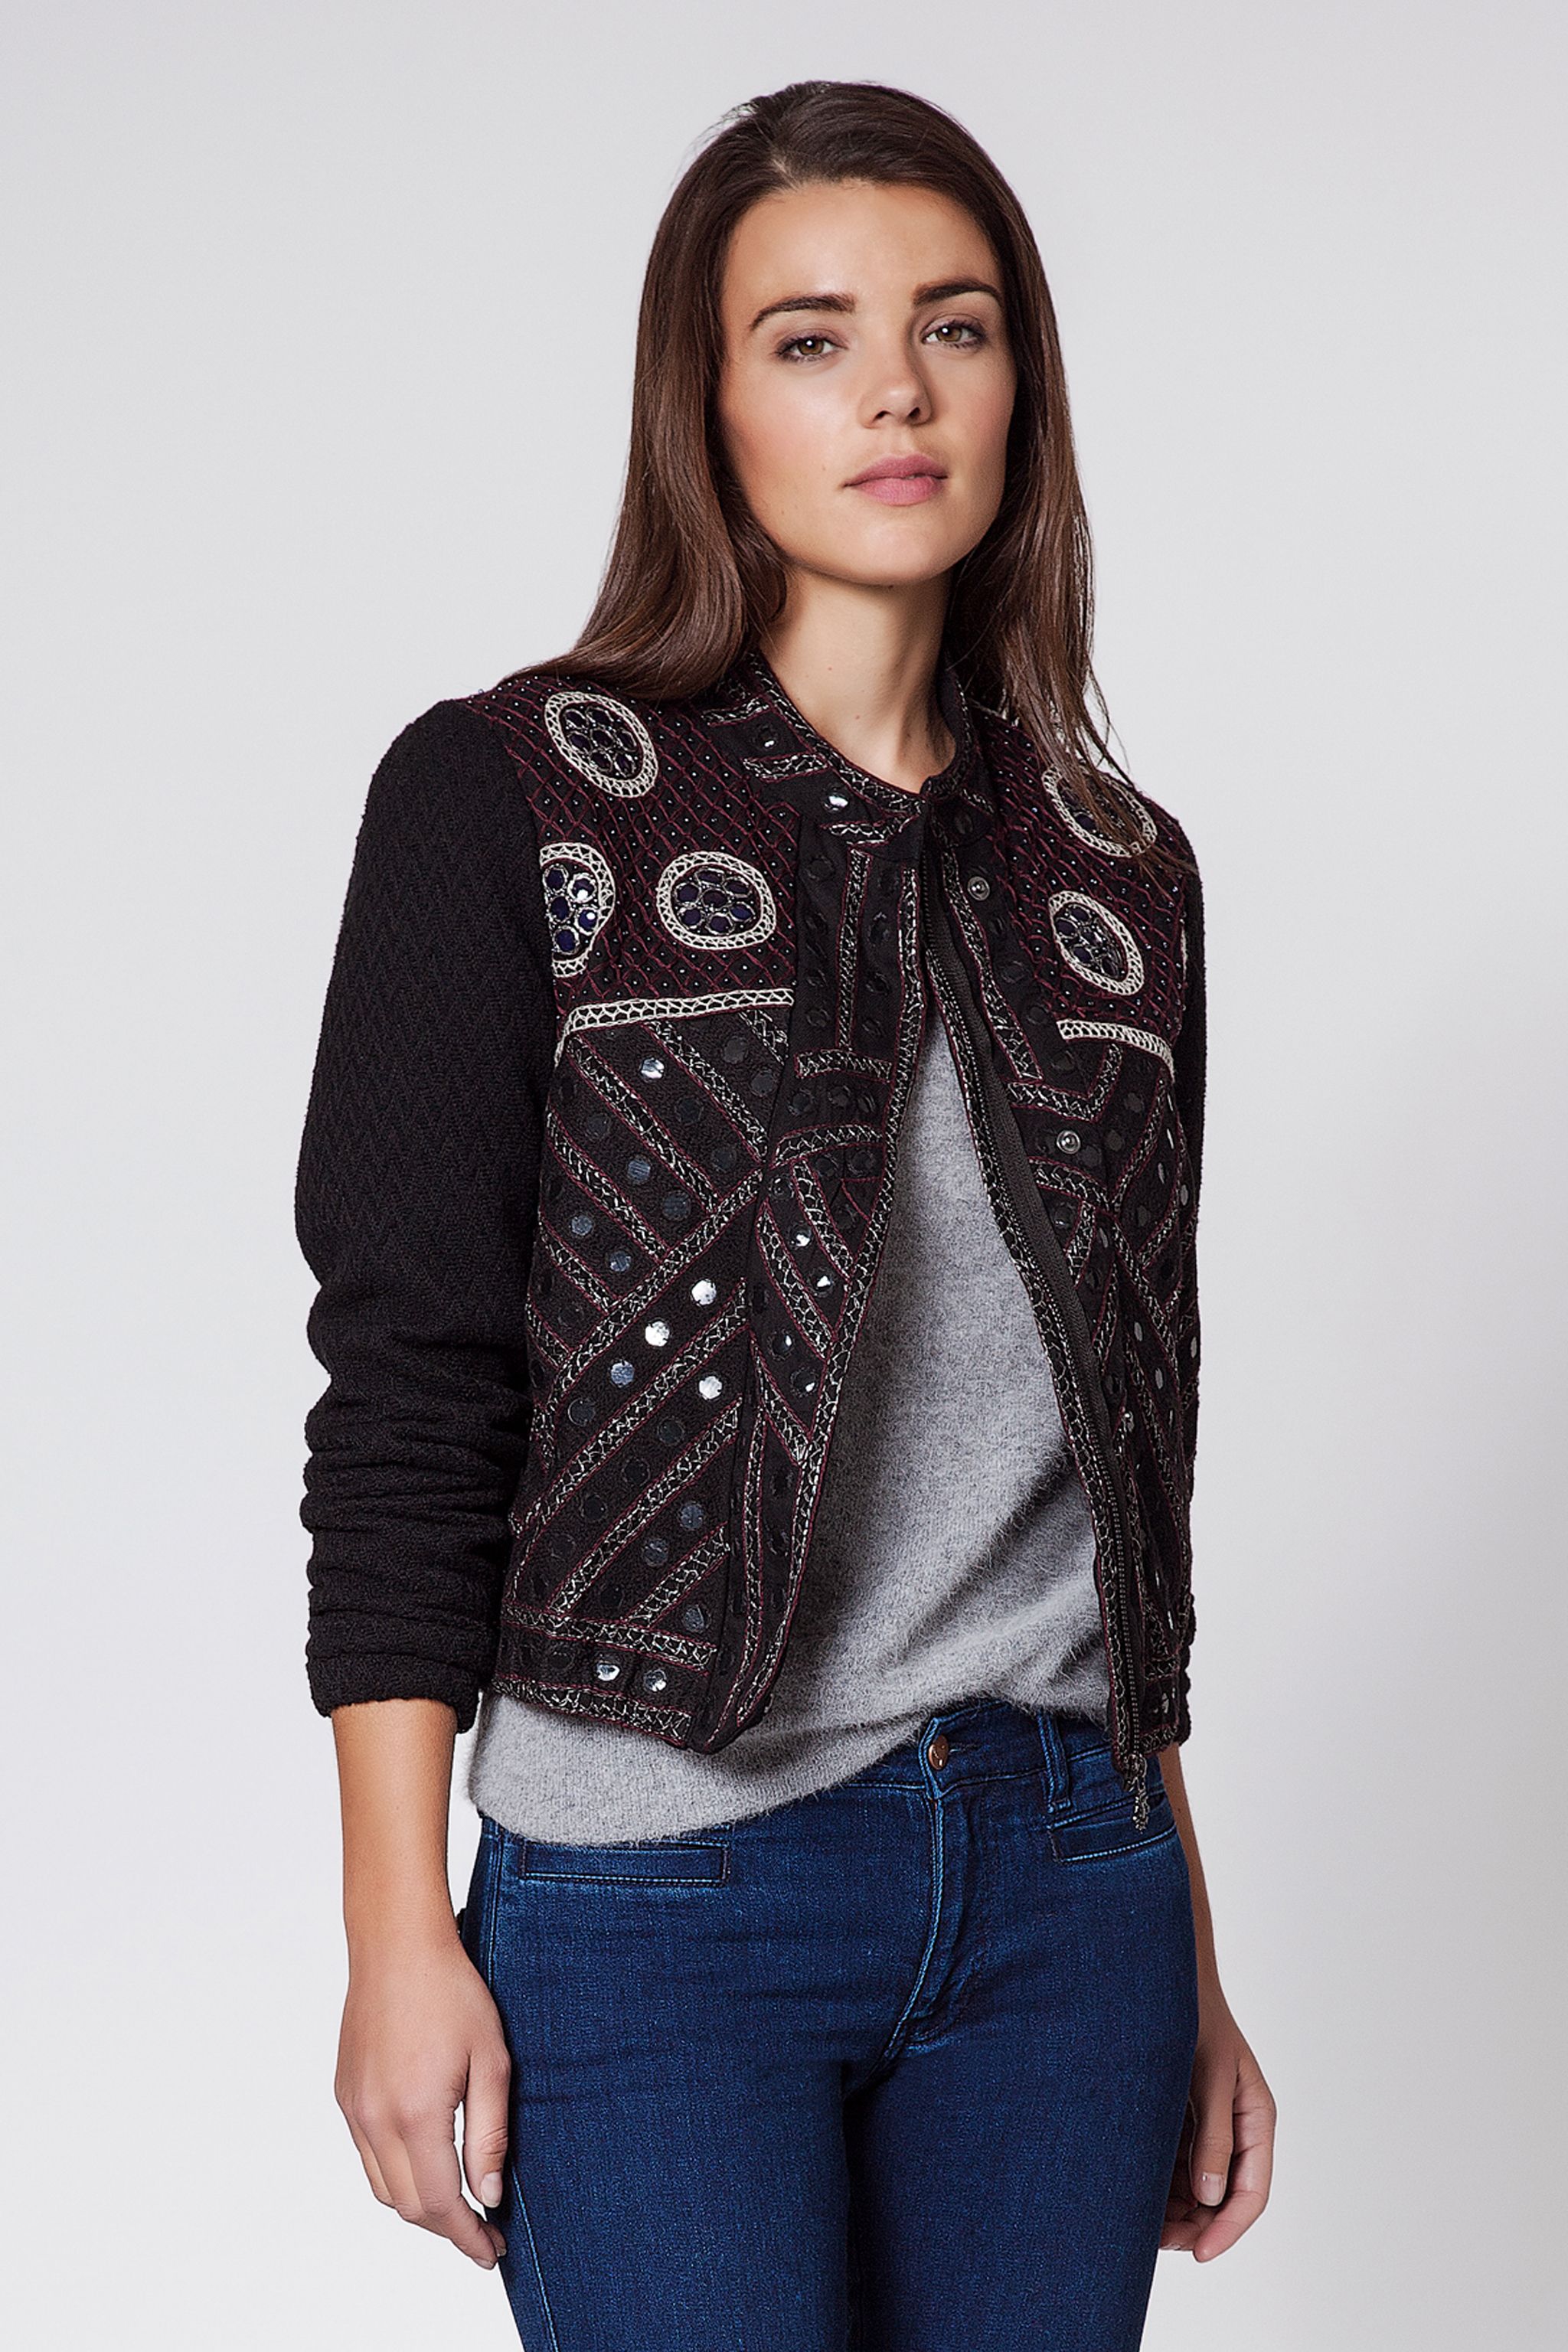
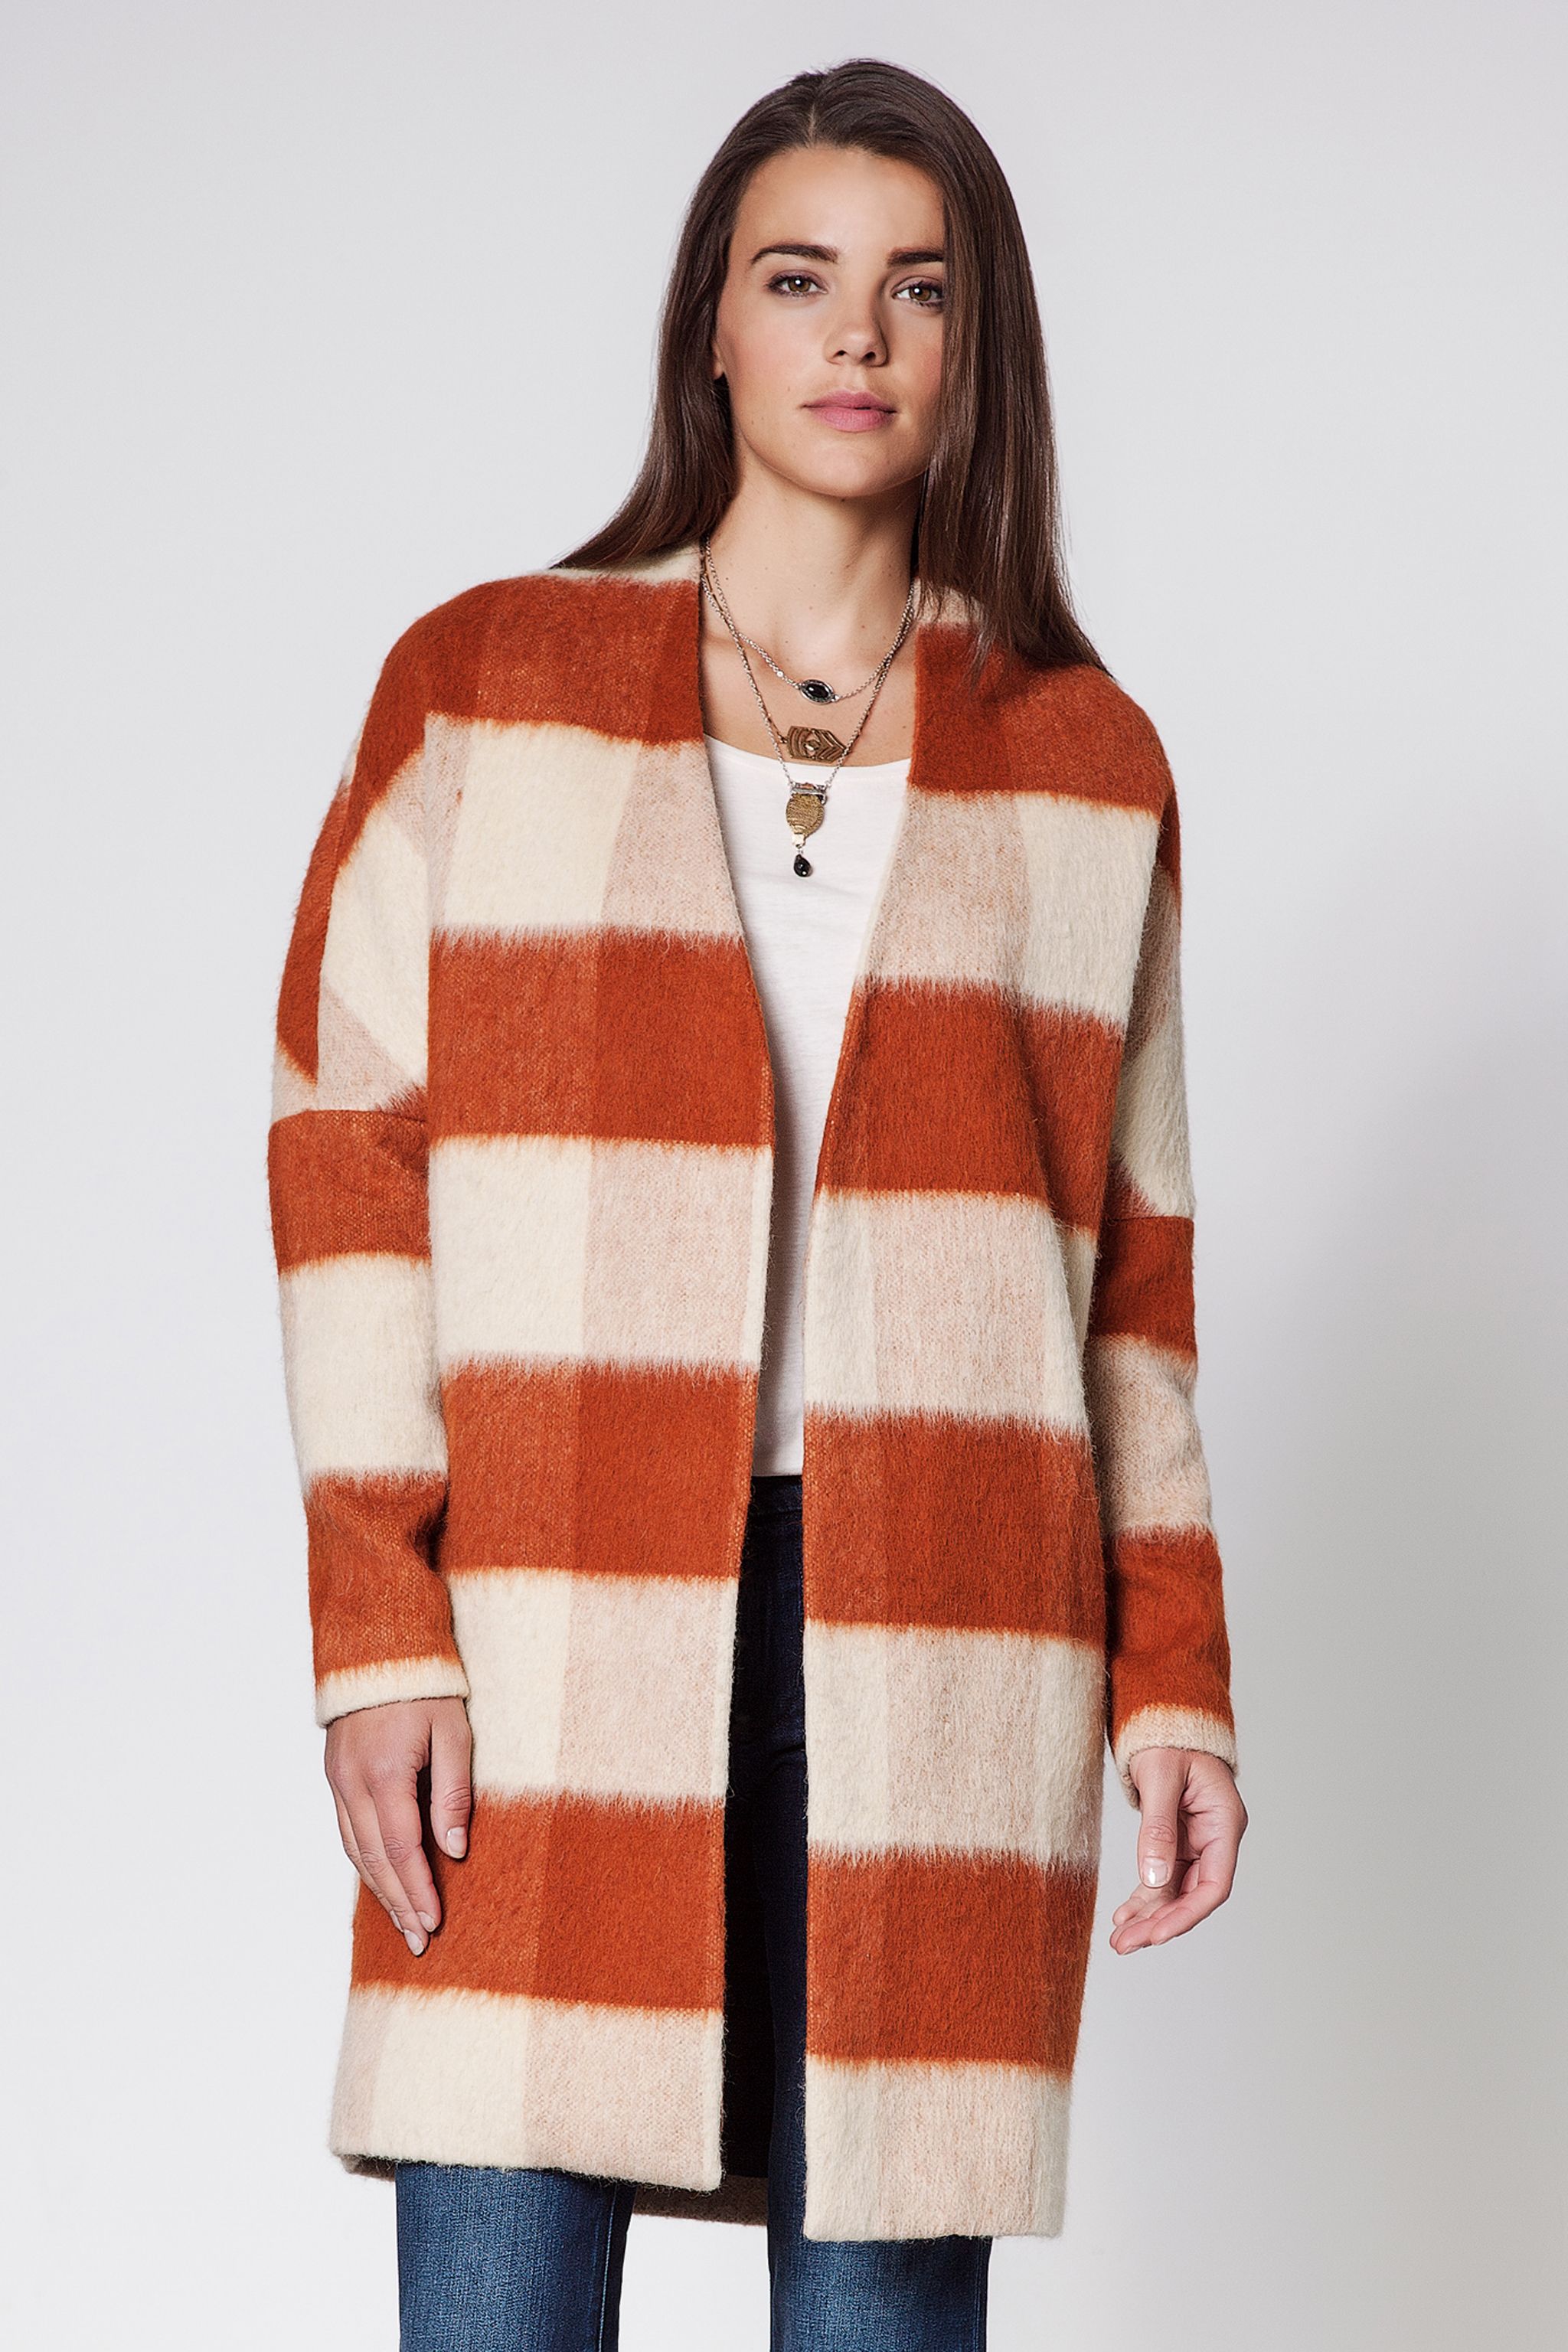
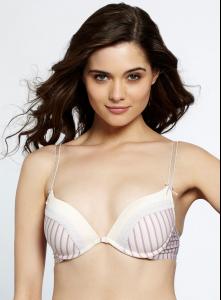
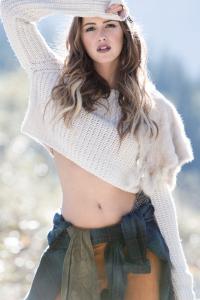
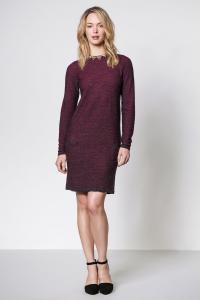
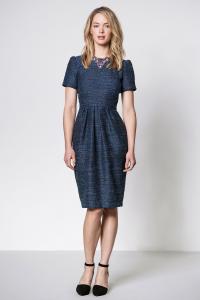
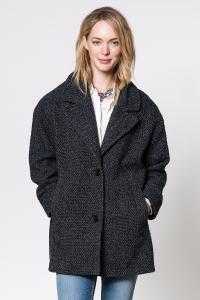
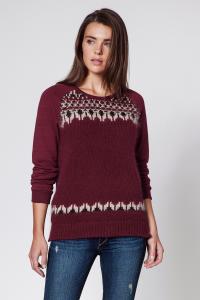
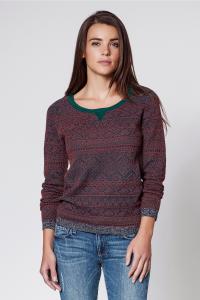
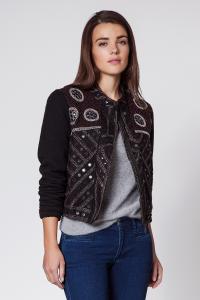
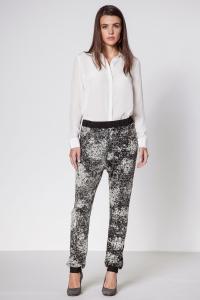
 Scrouples Catalog 2013 kleopatra.dk
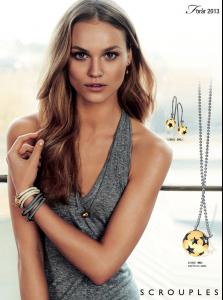


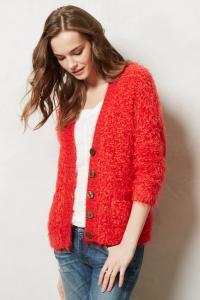
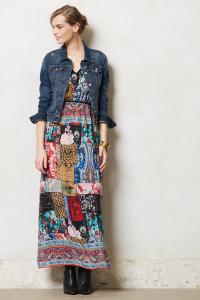
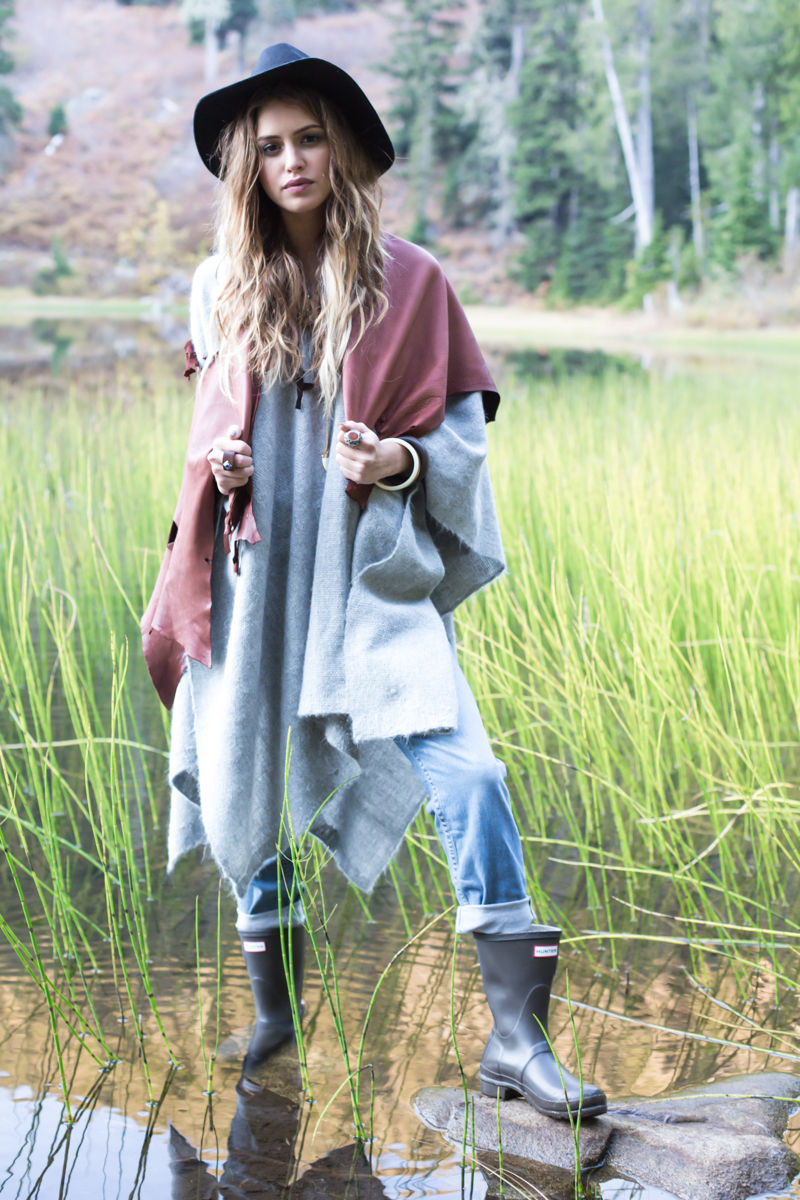
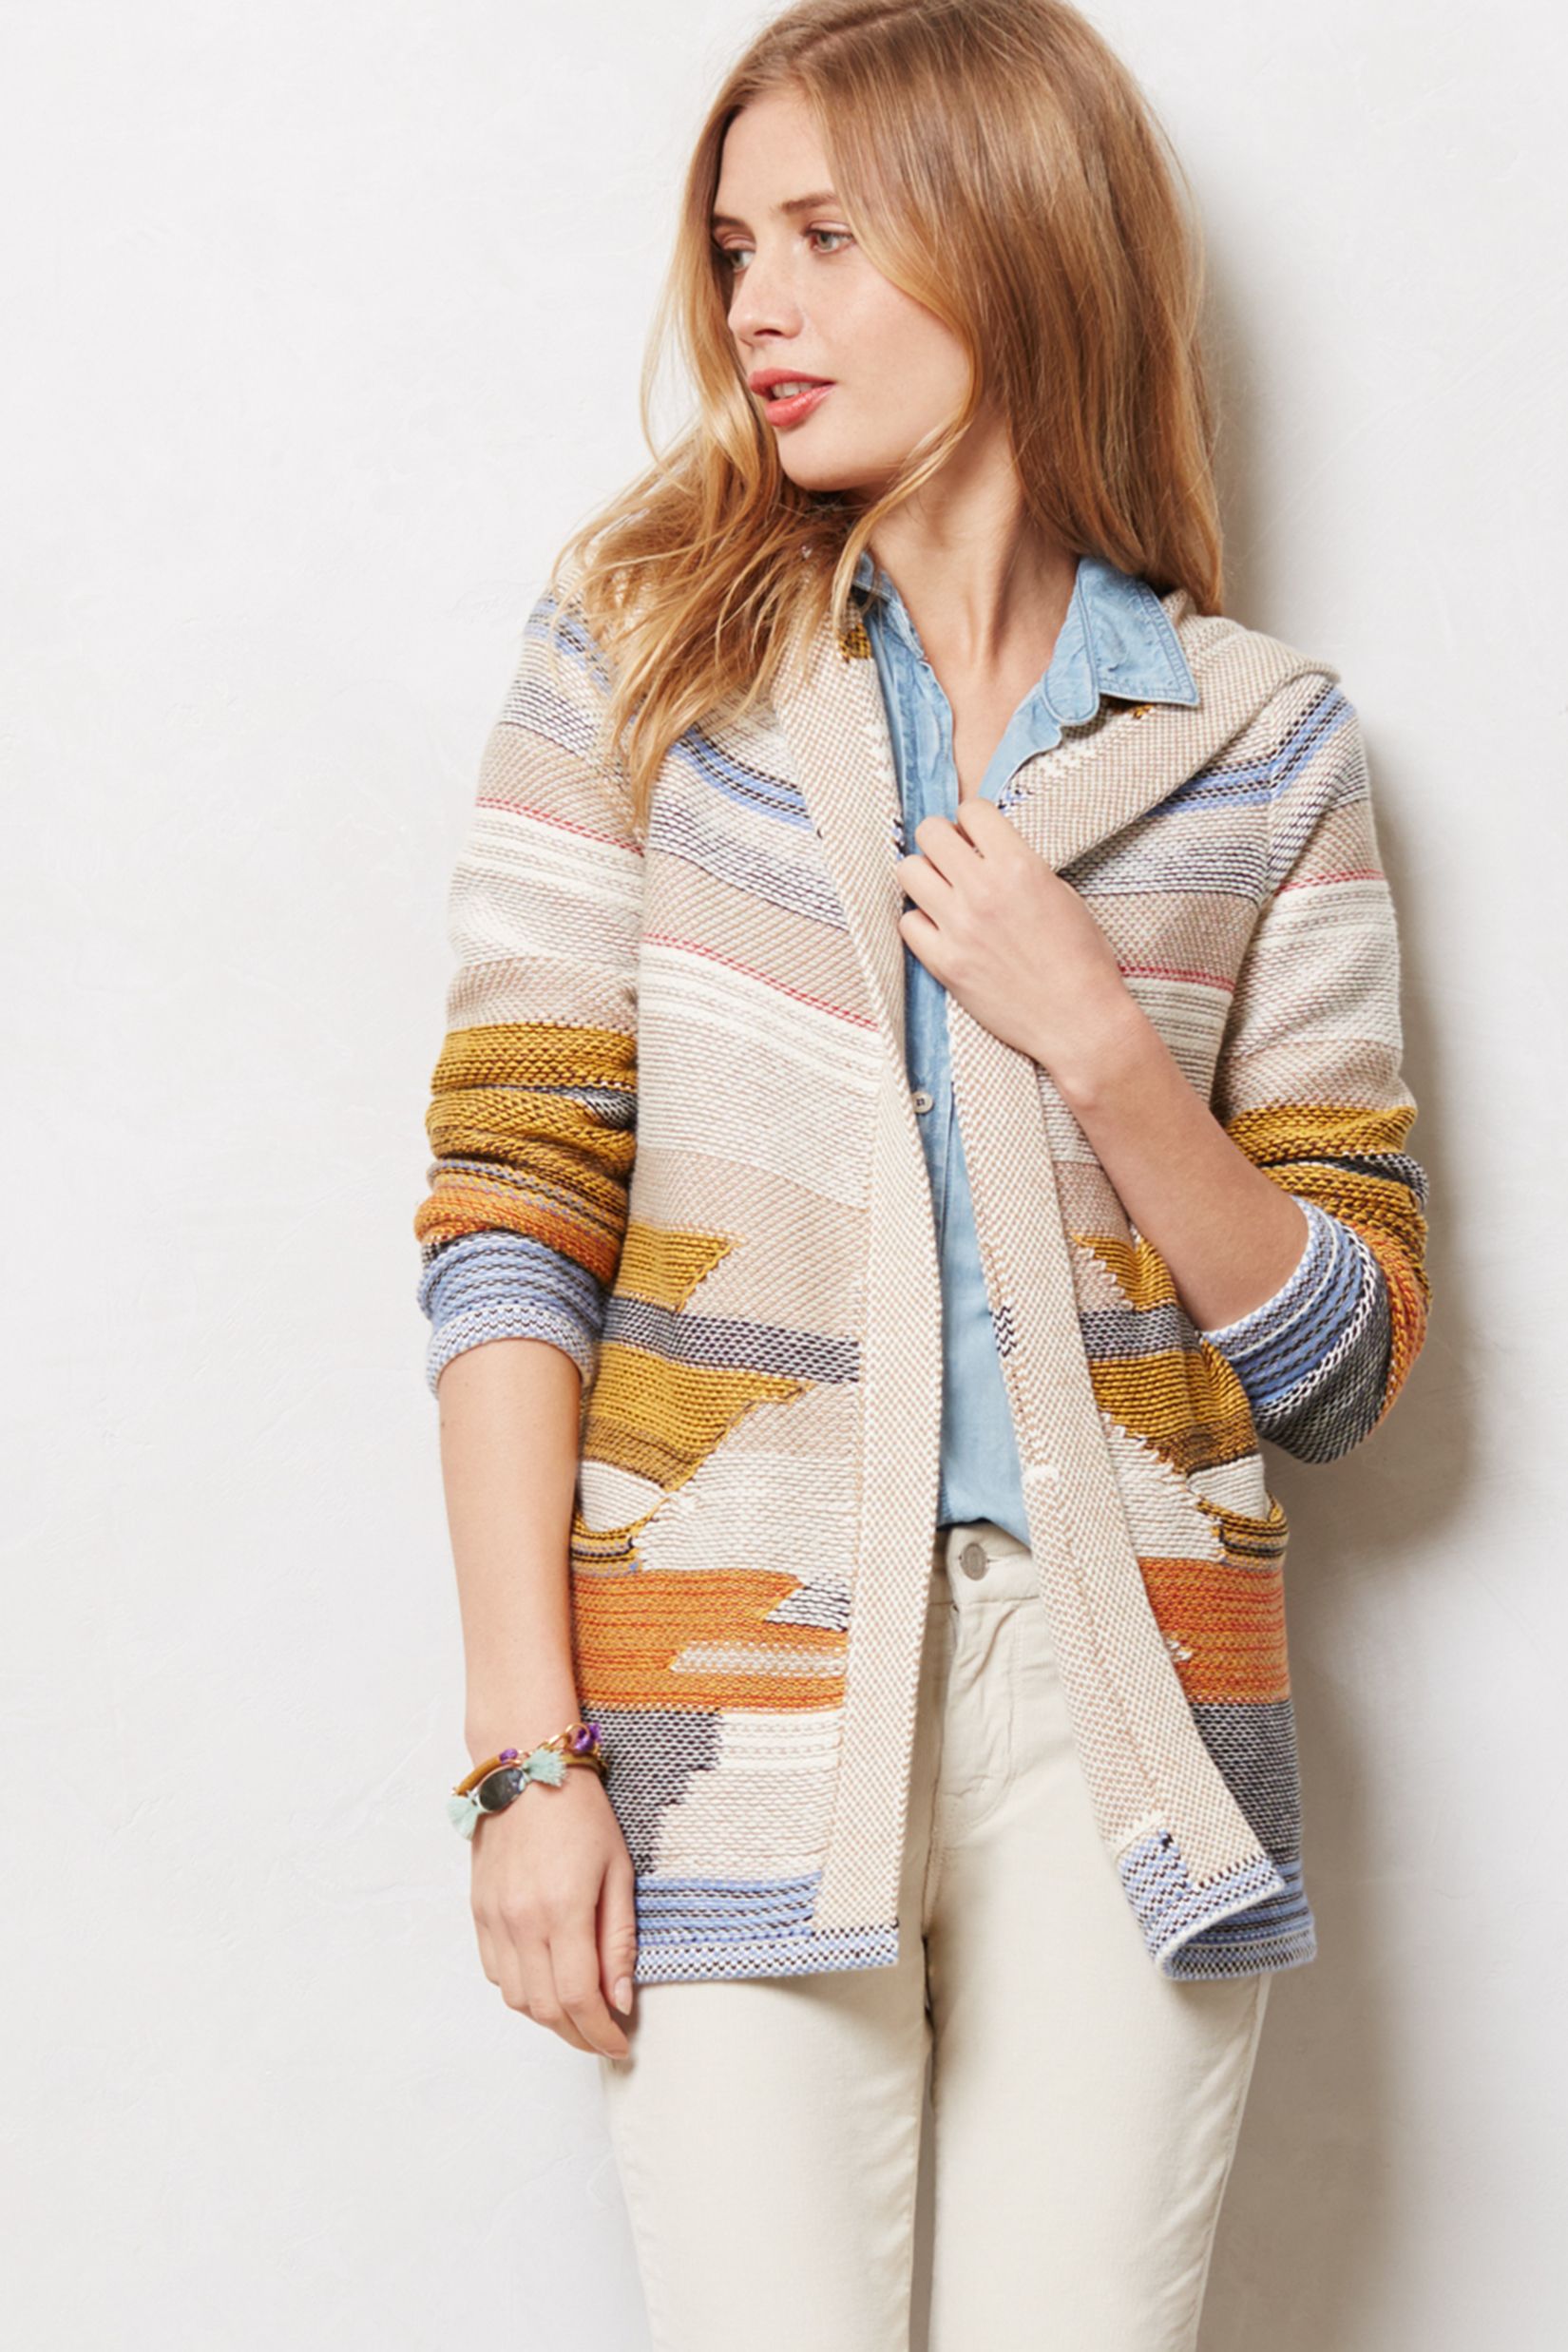
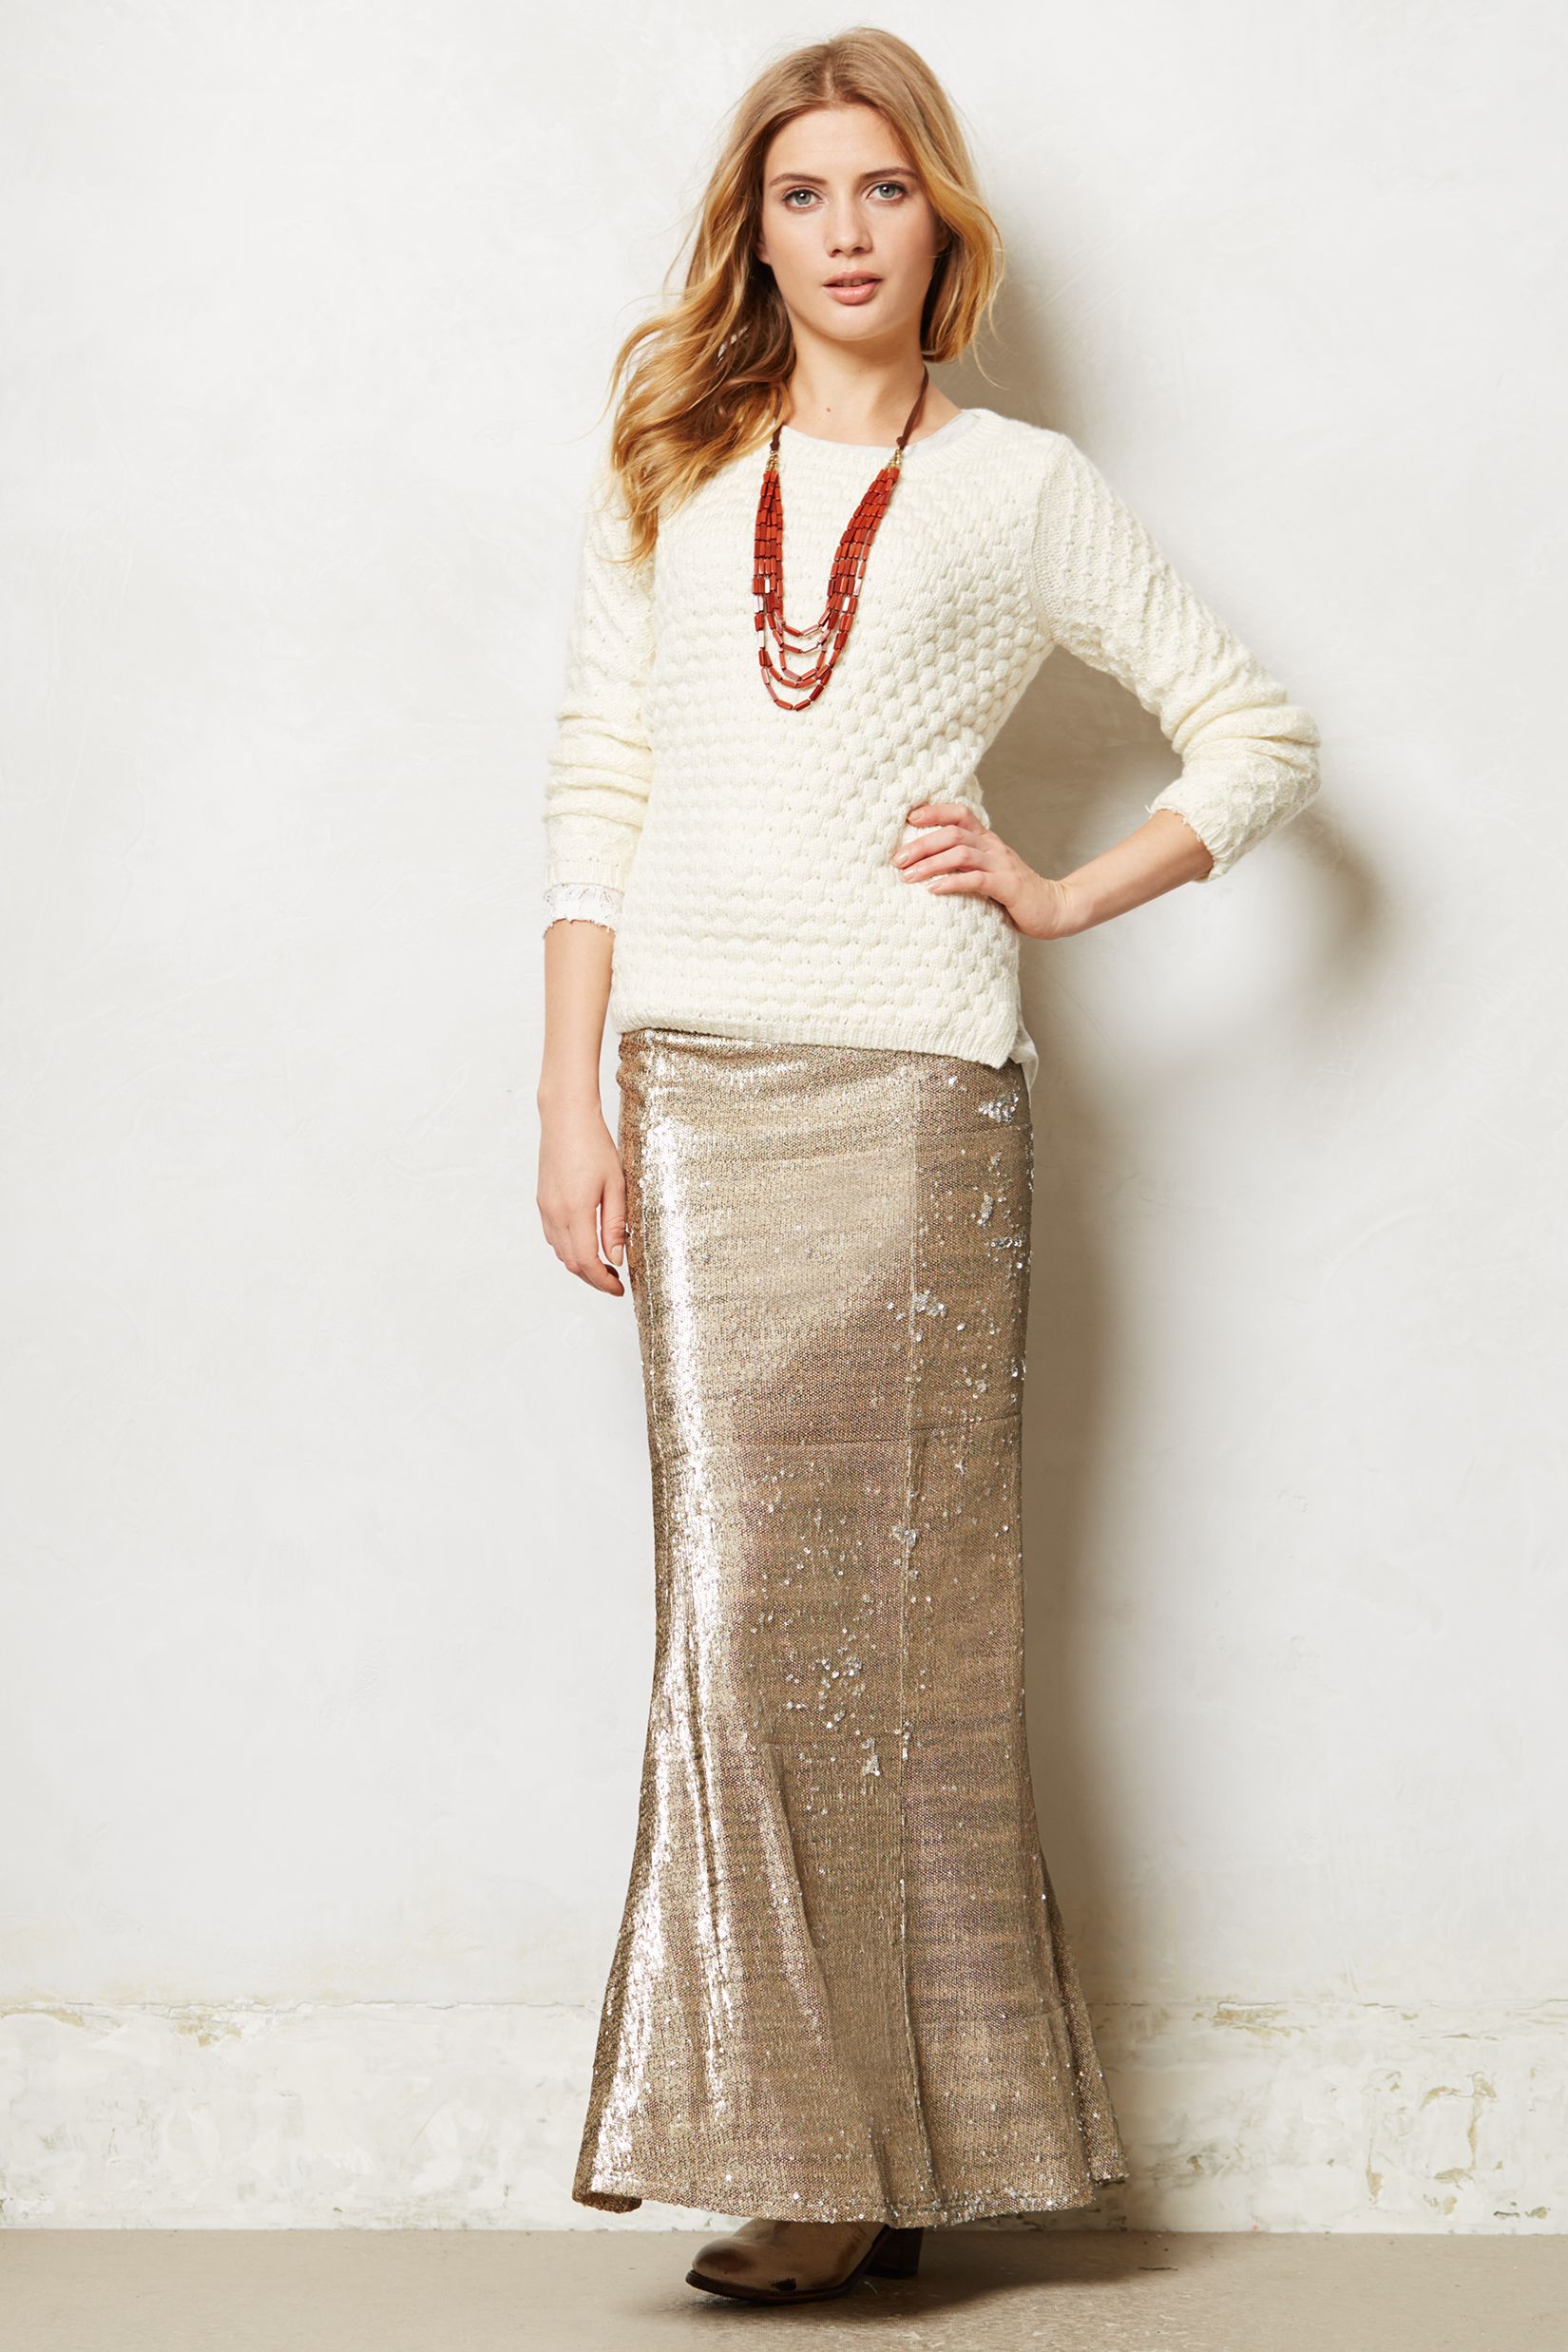
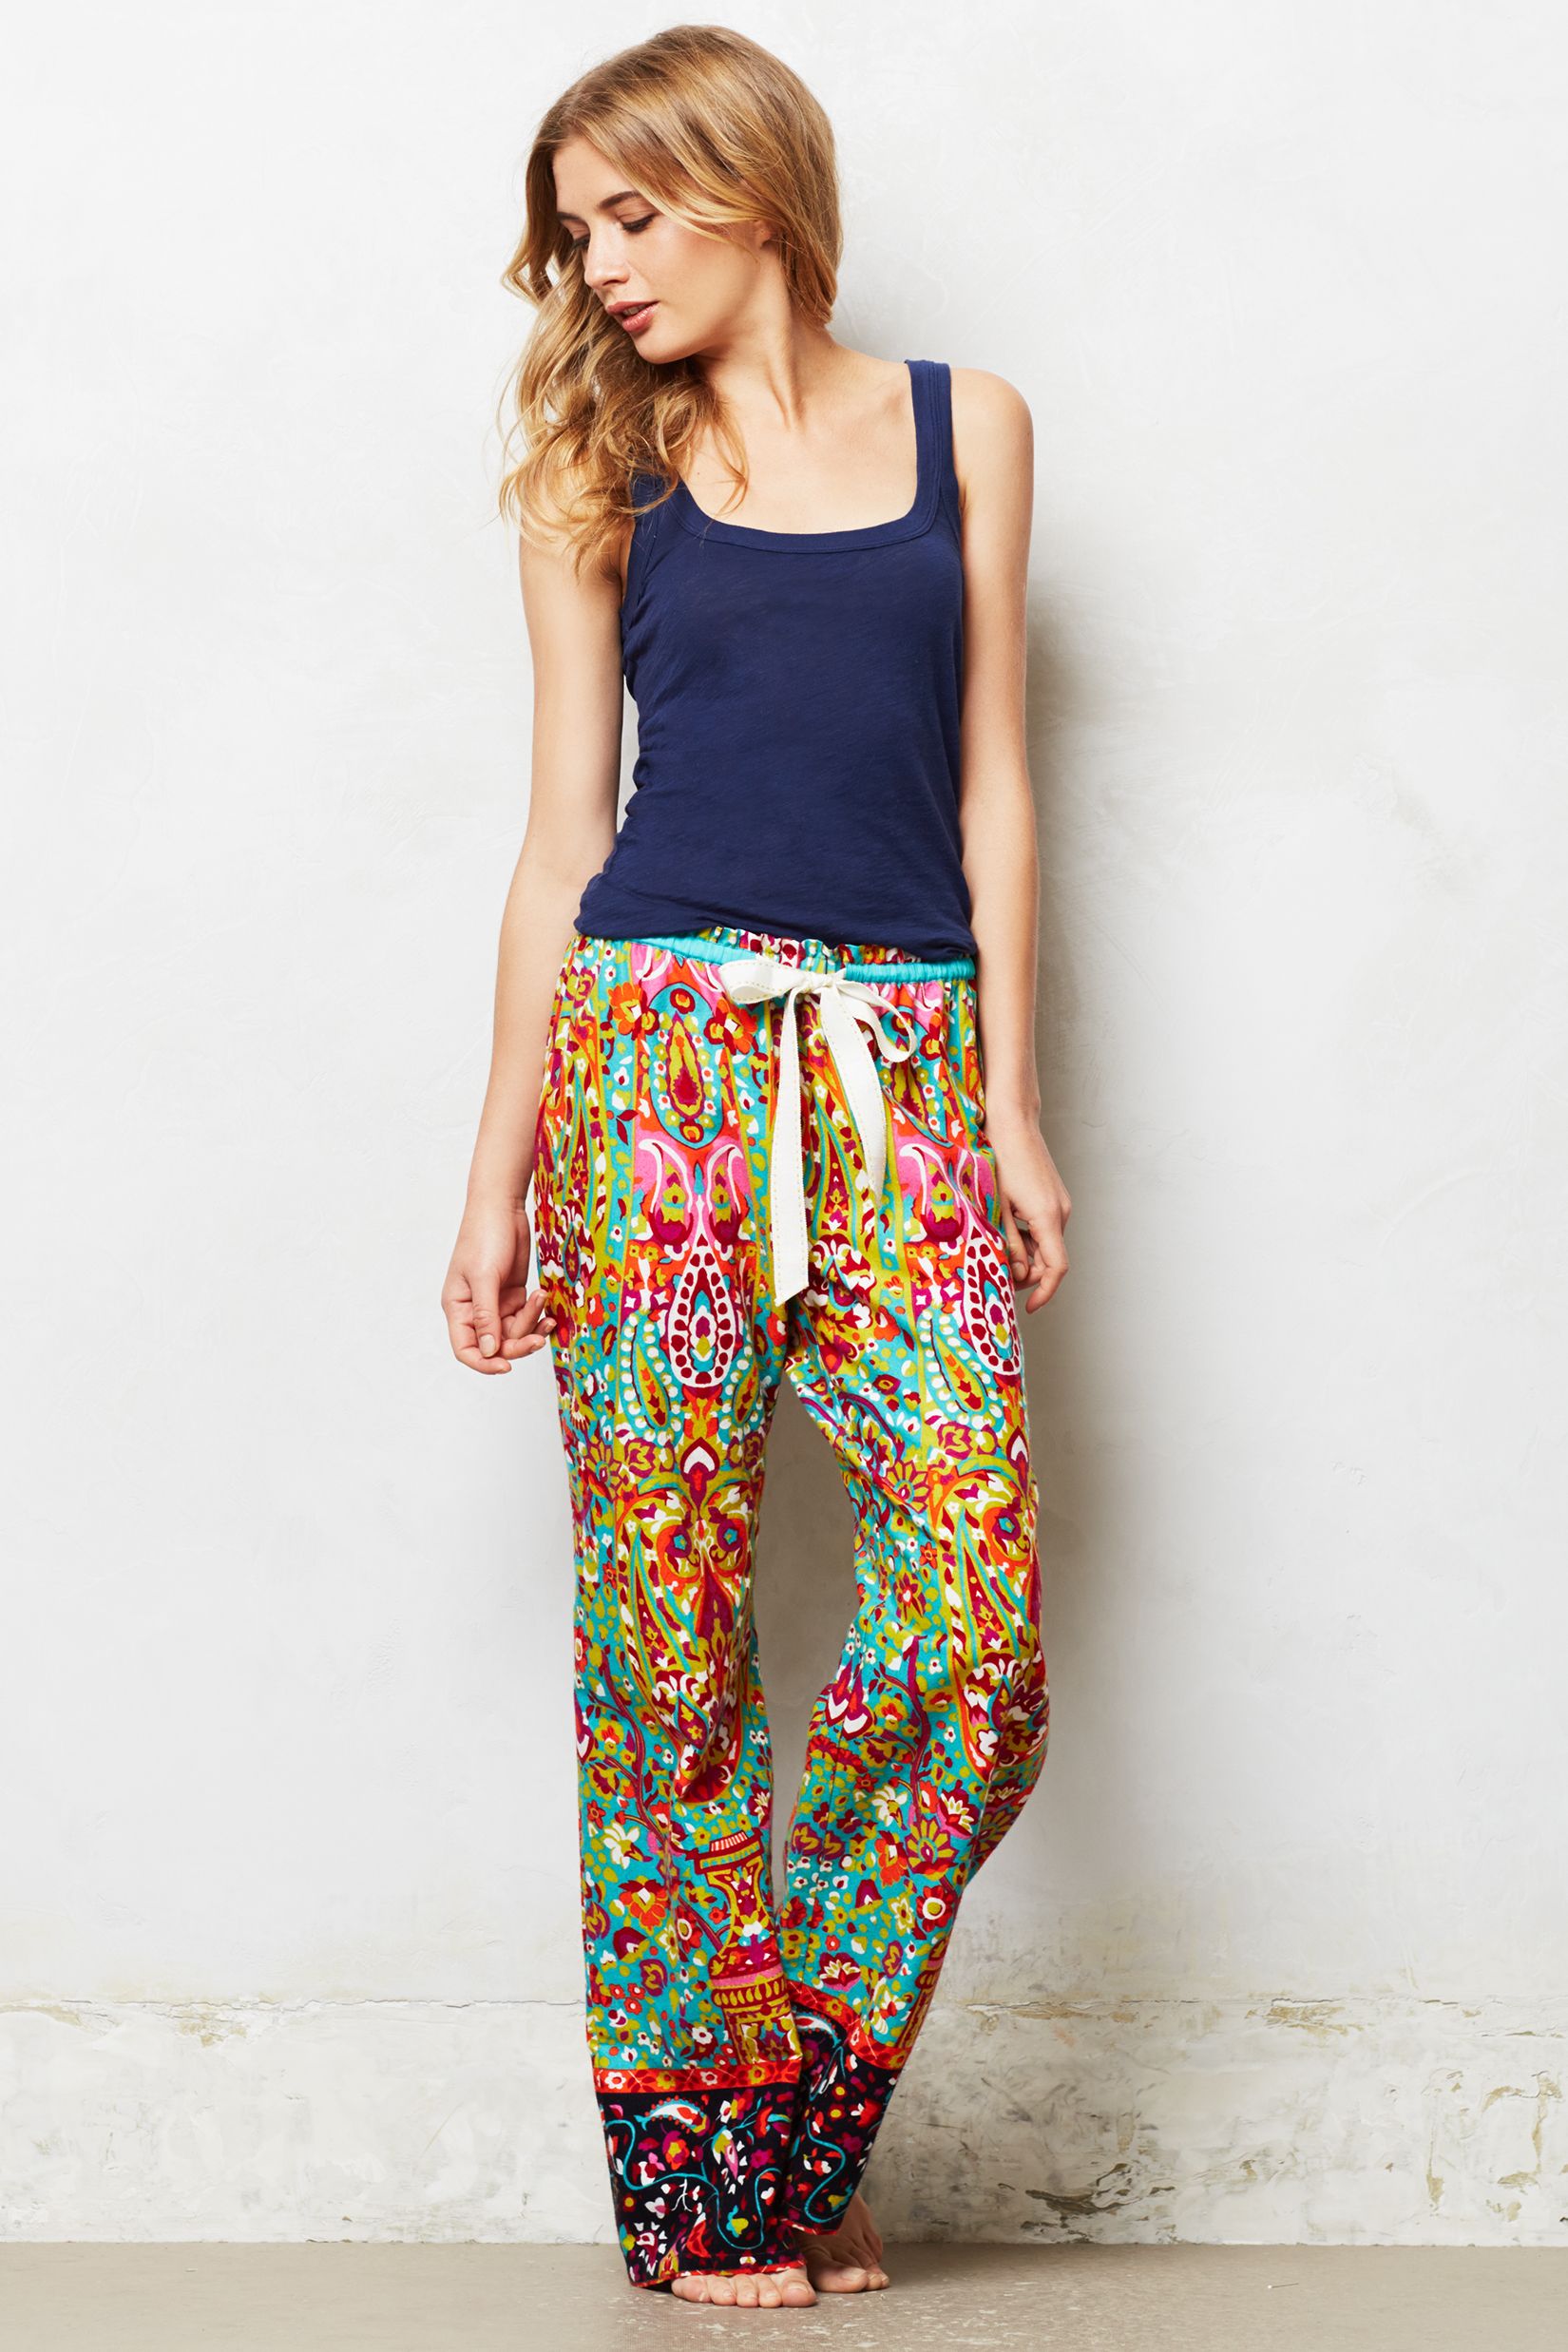
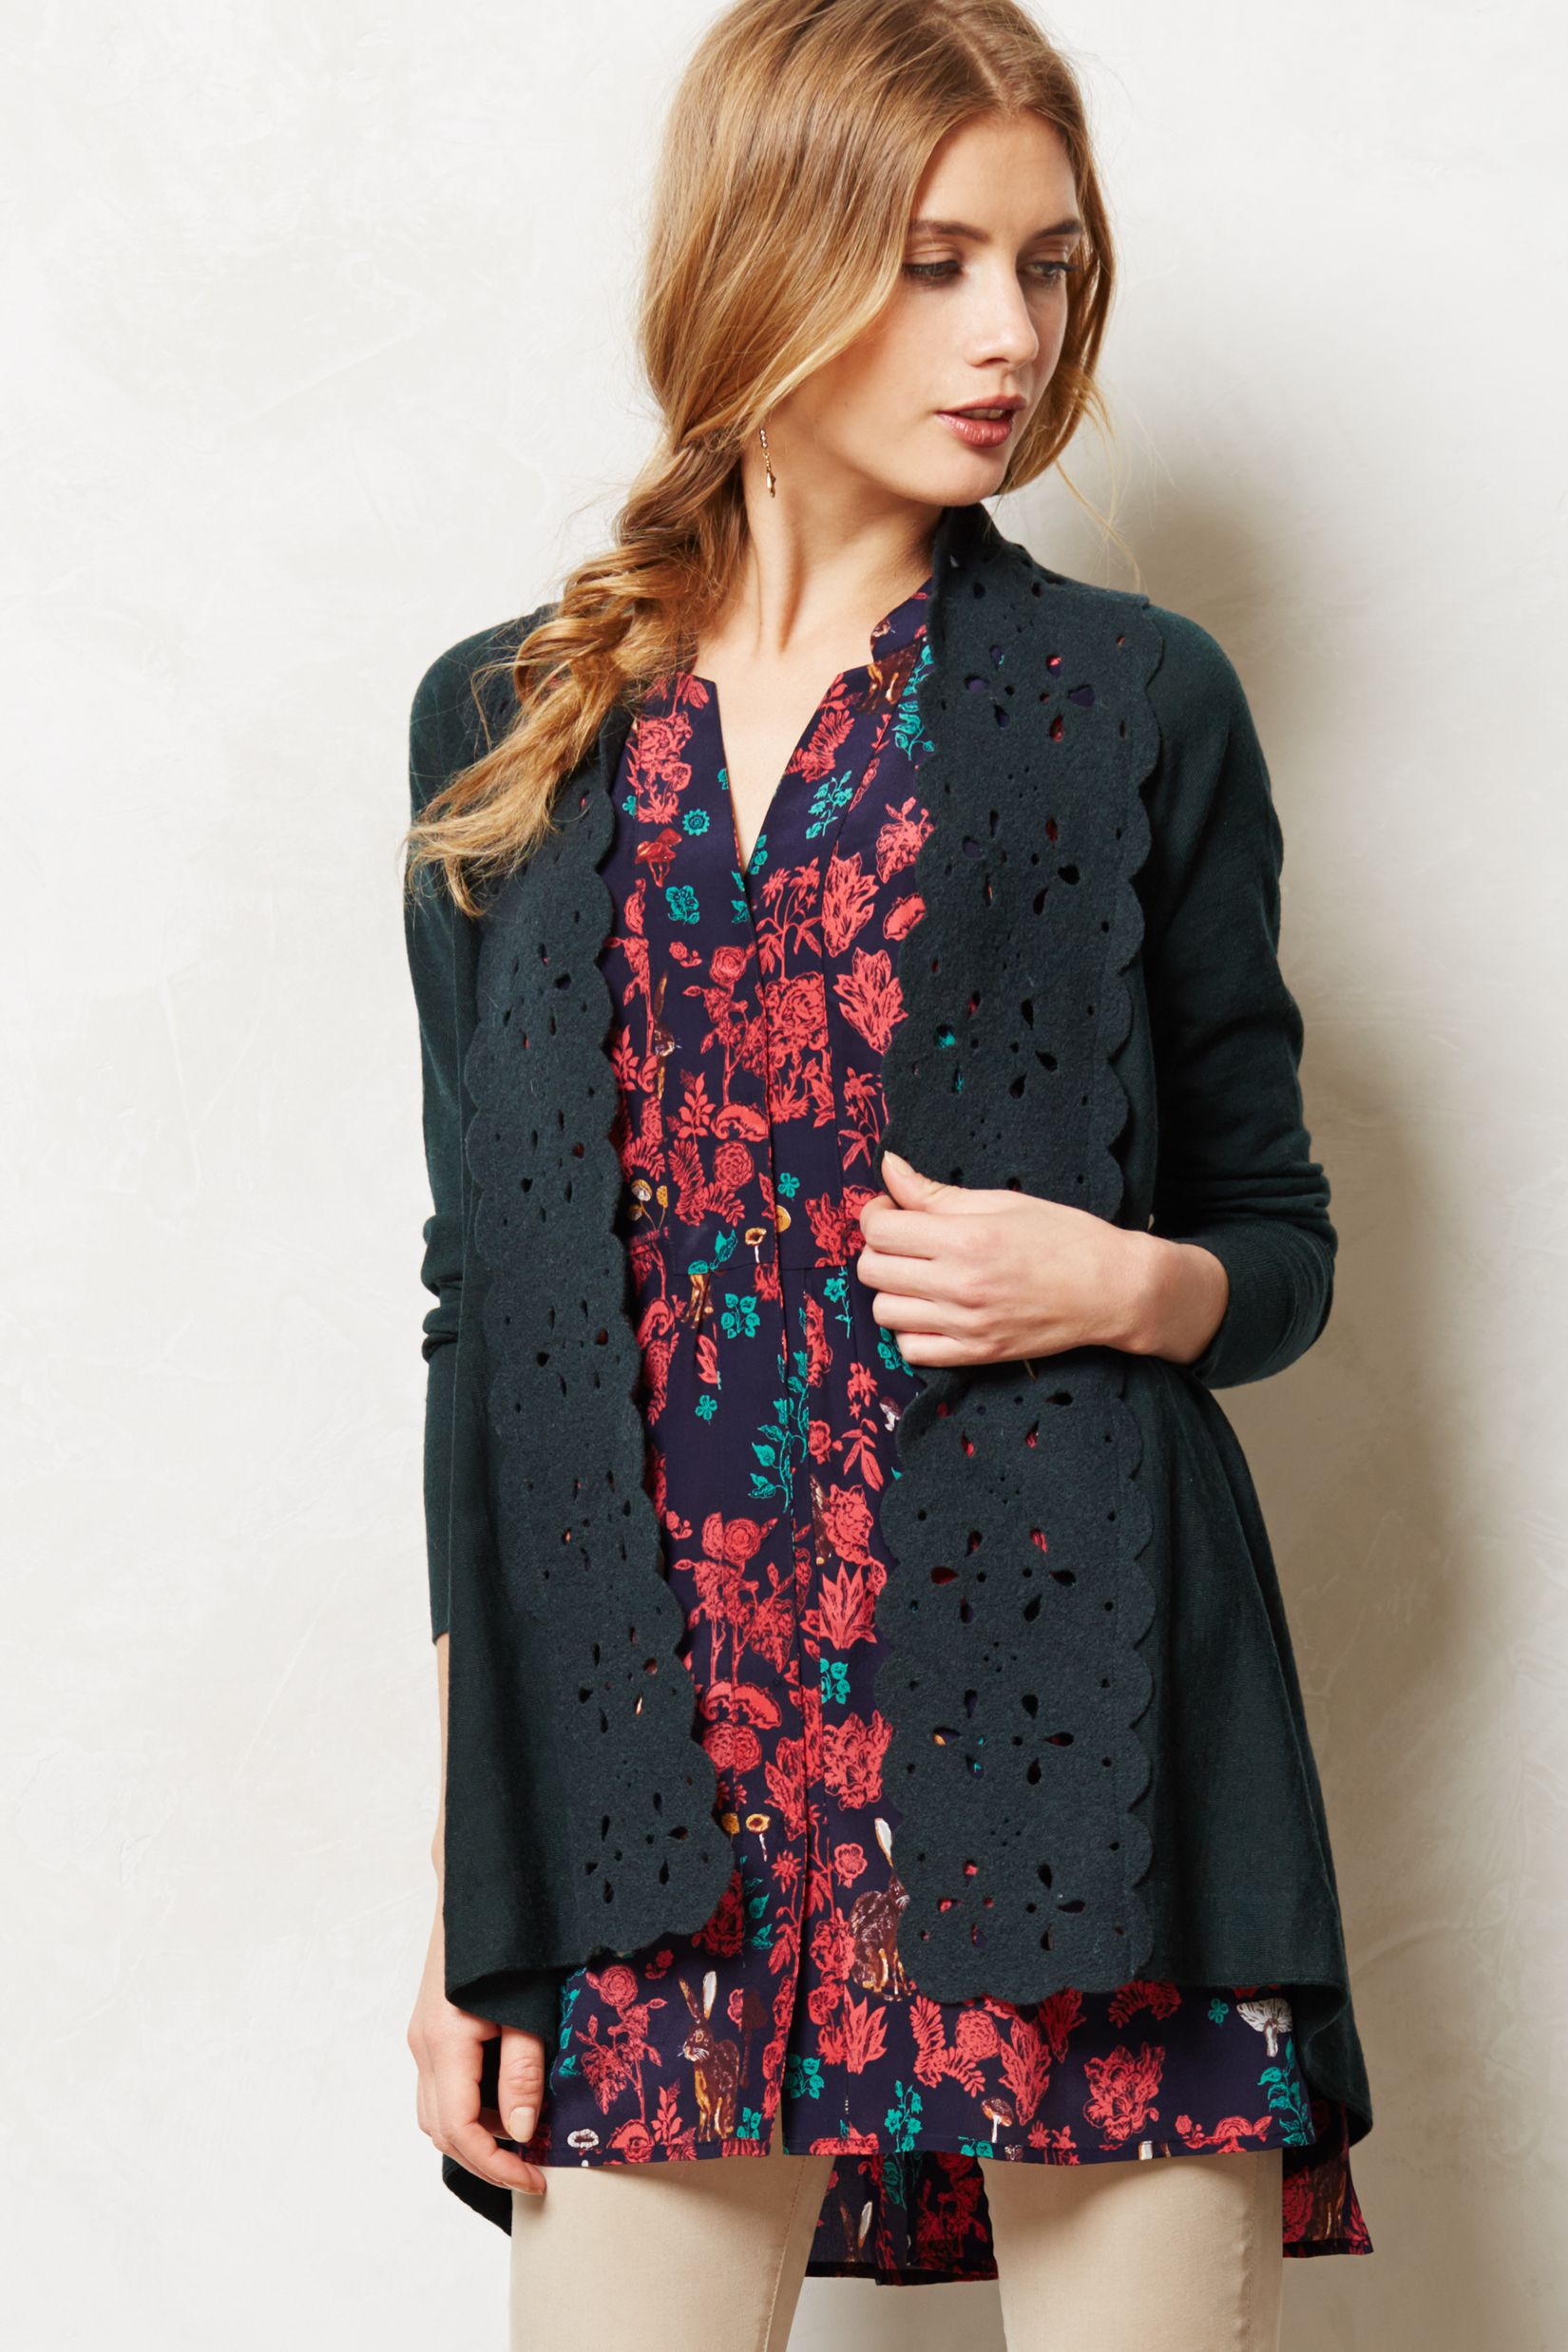
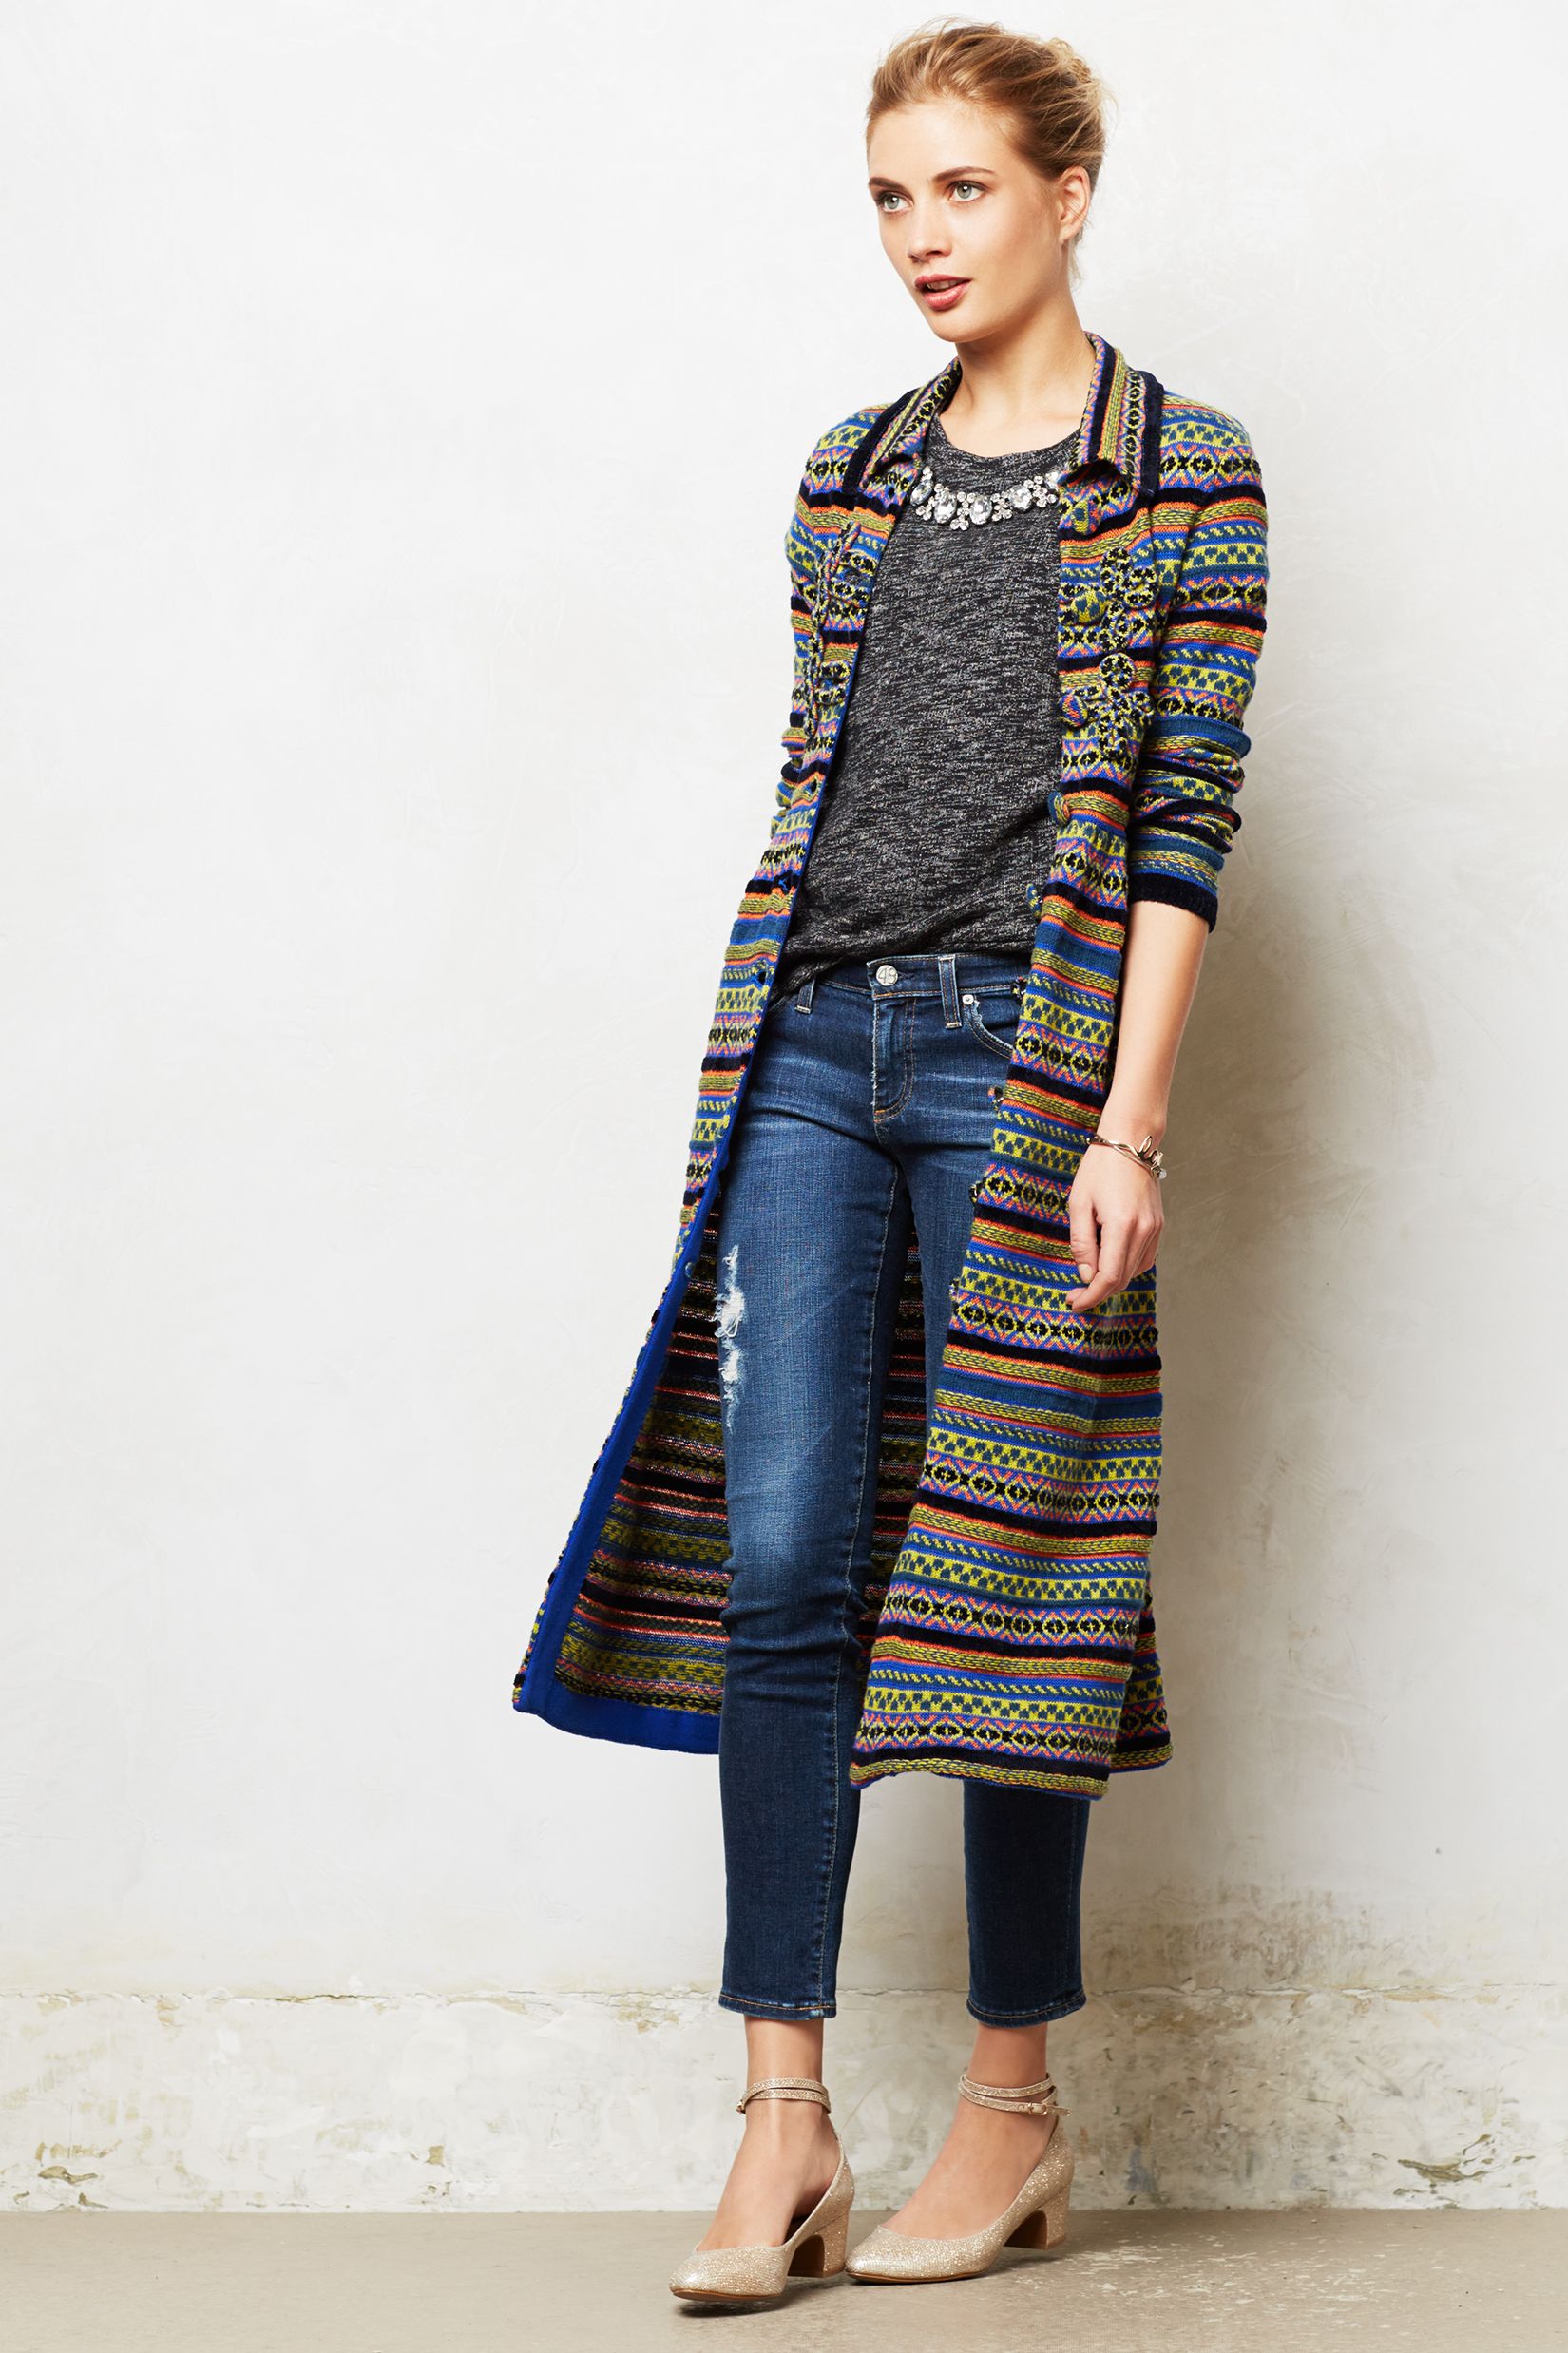
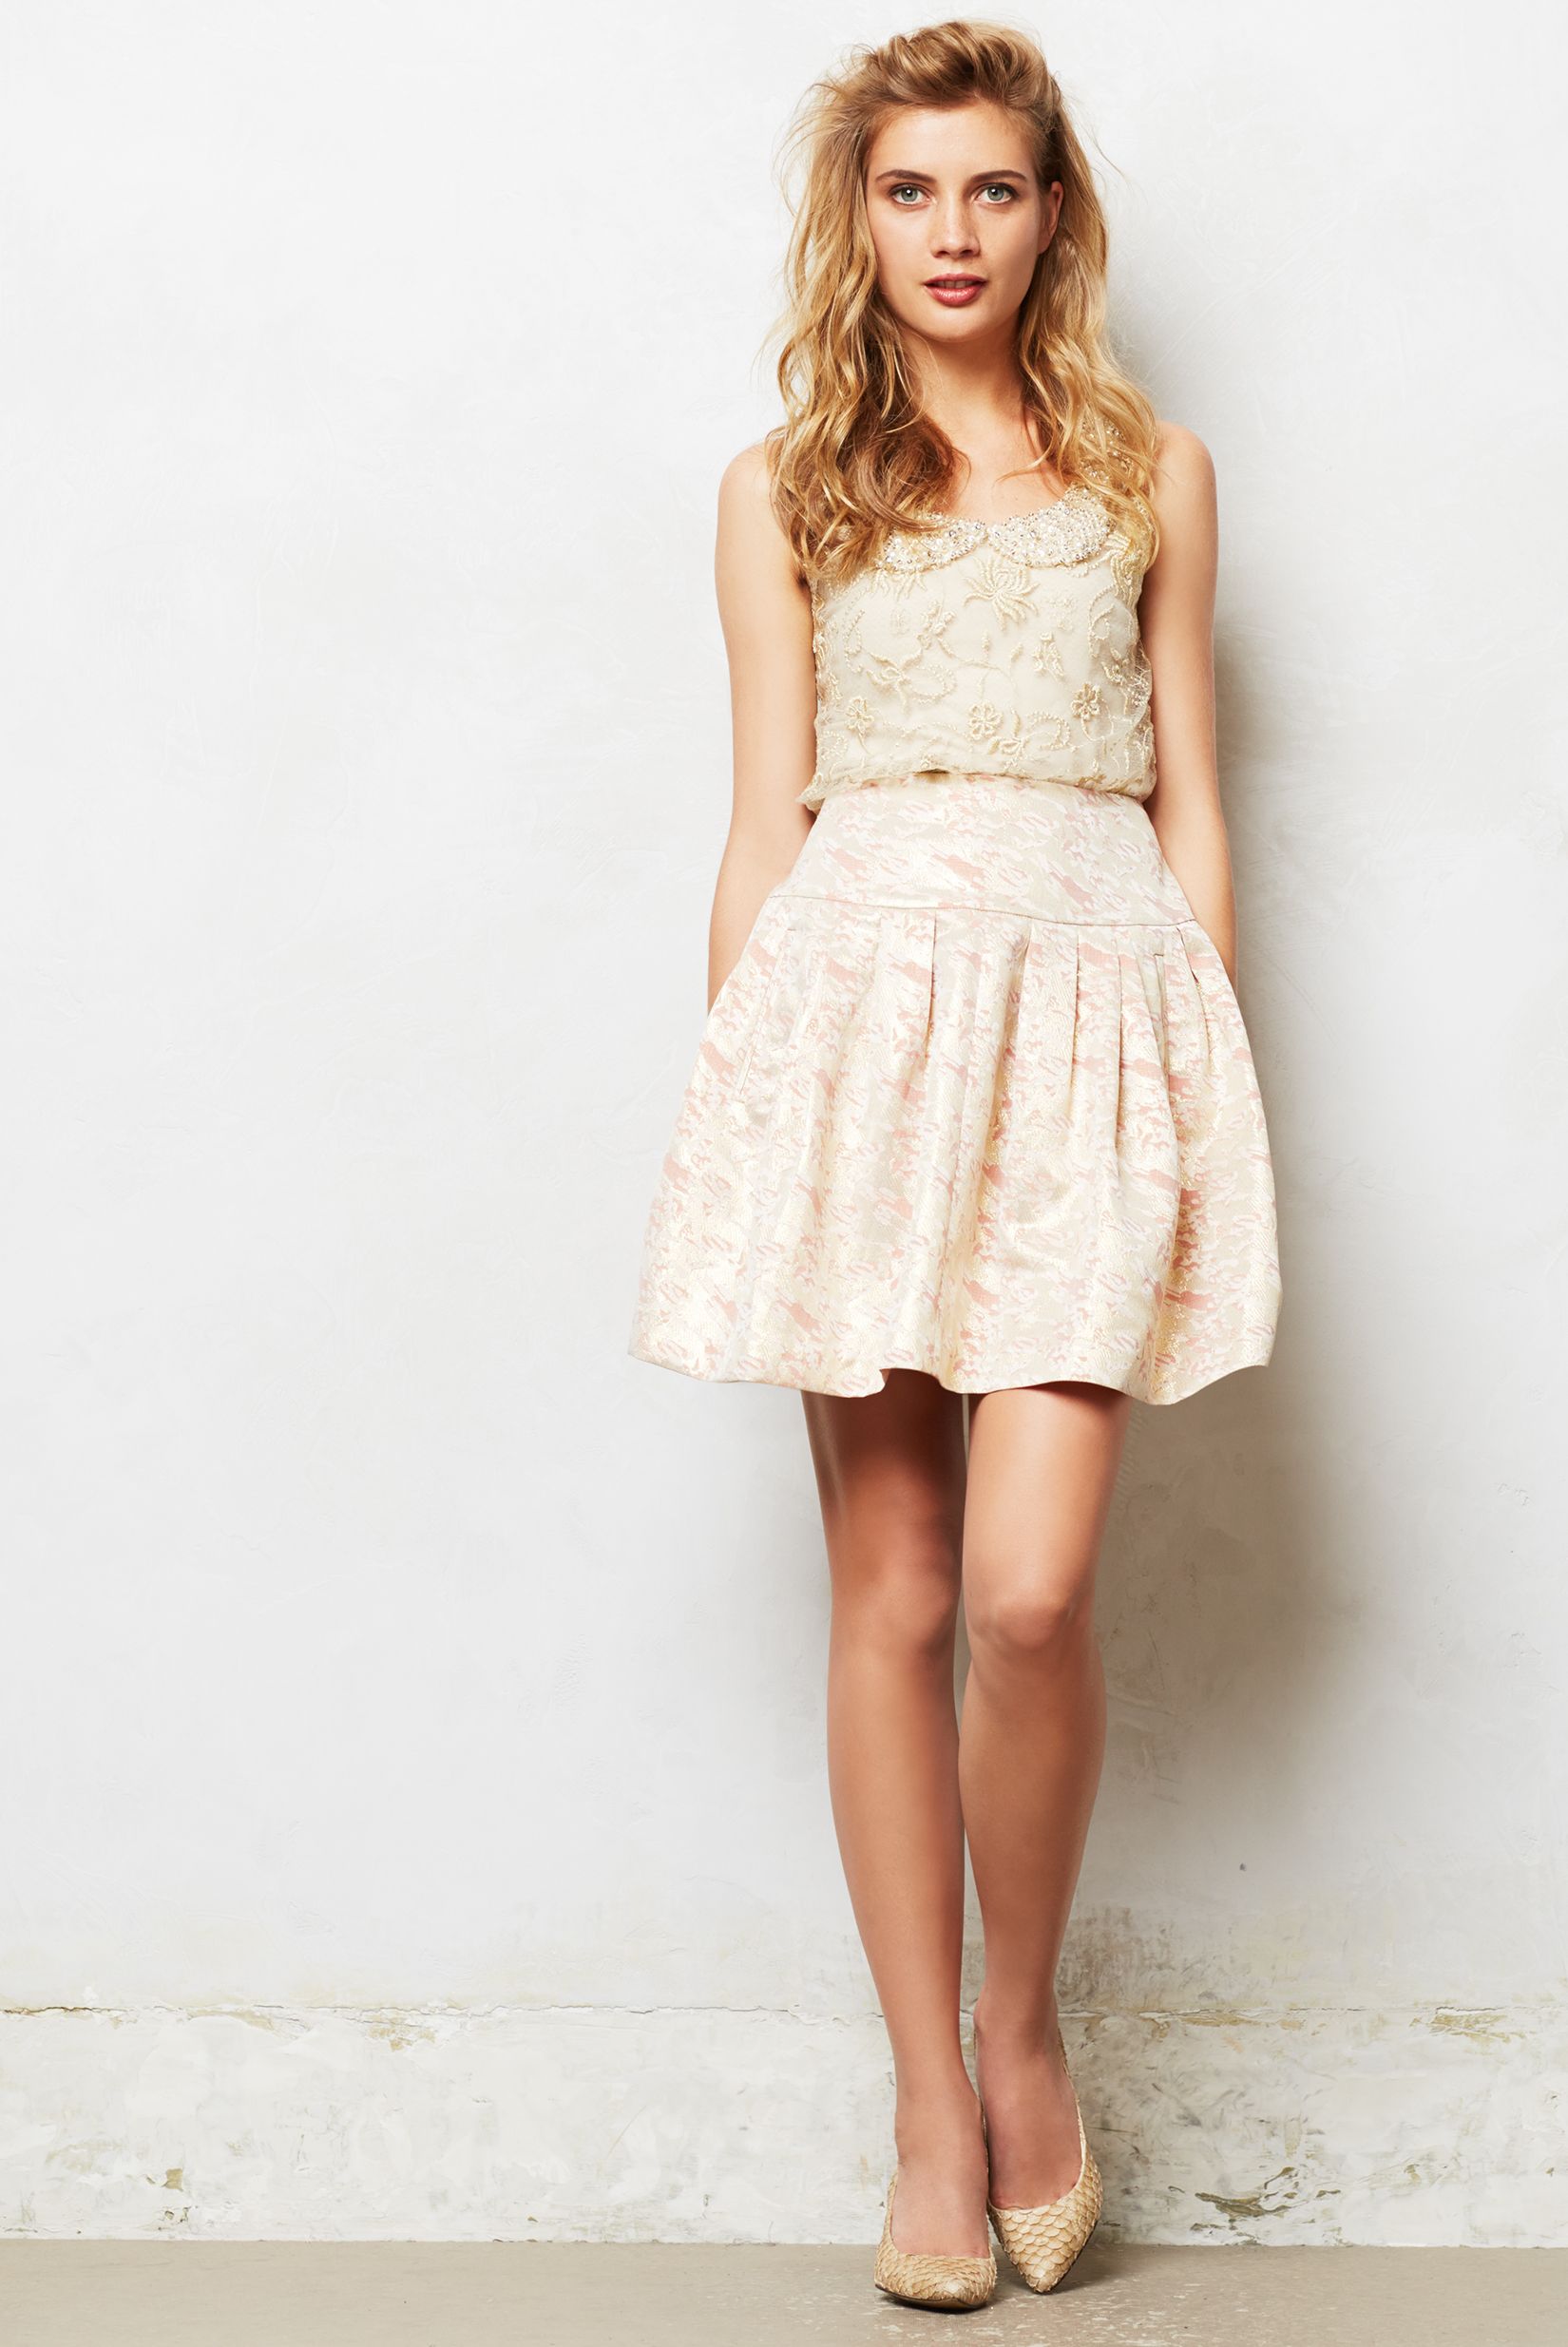
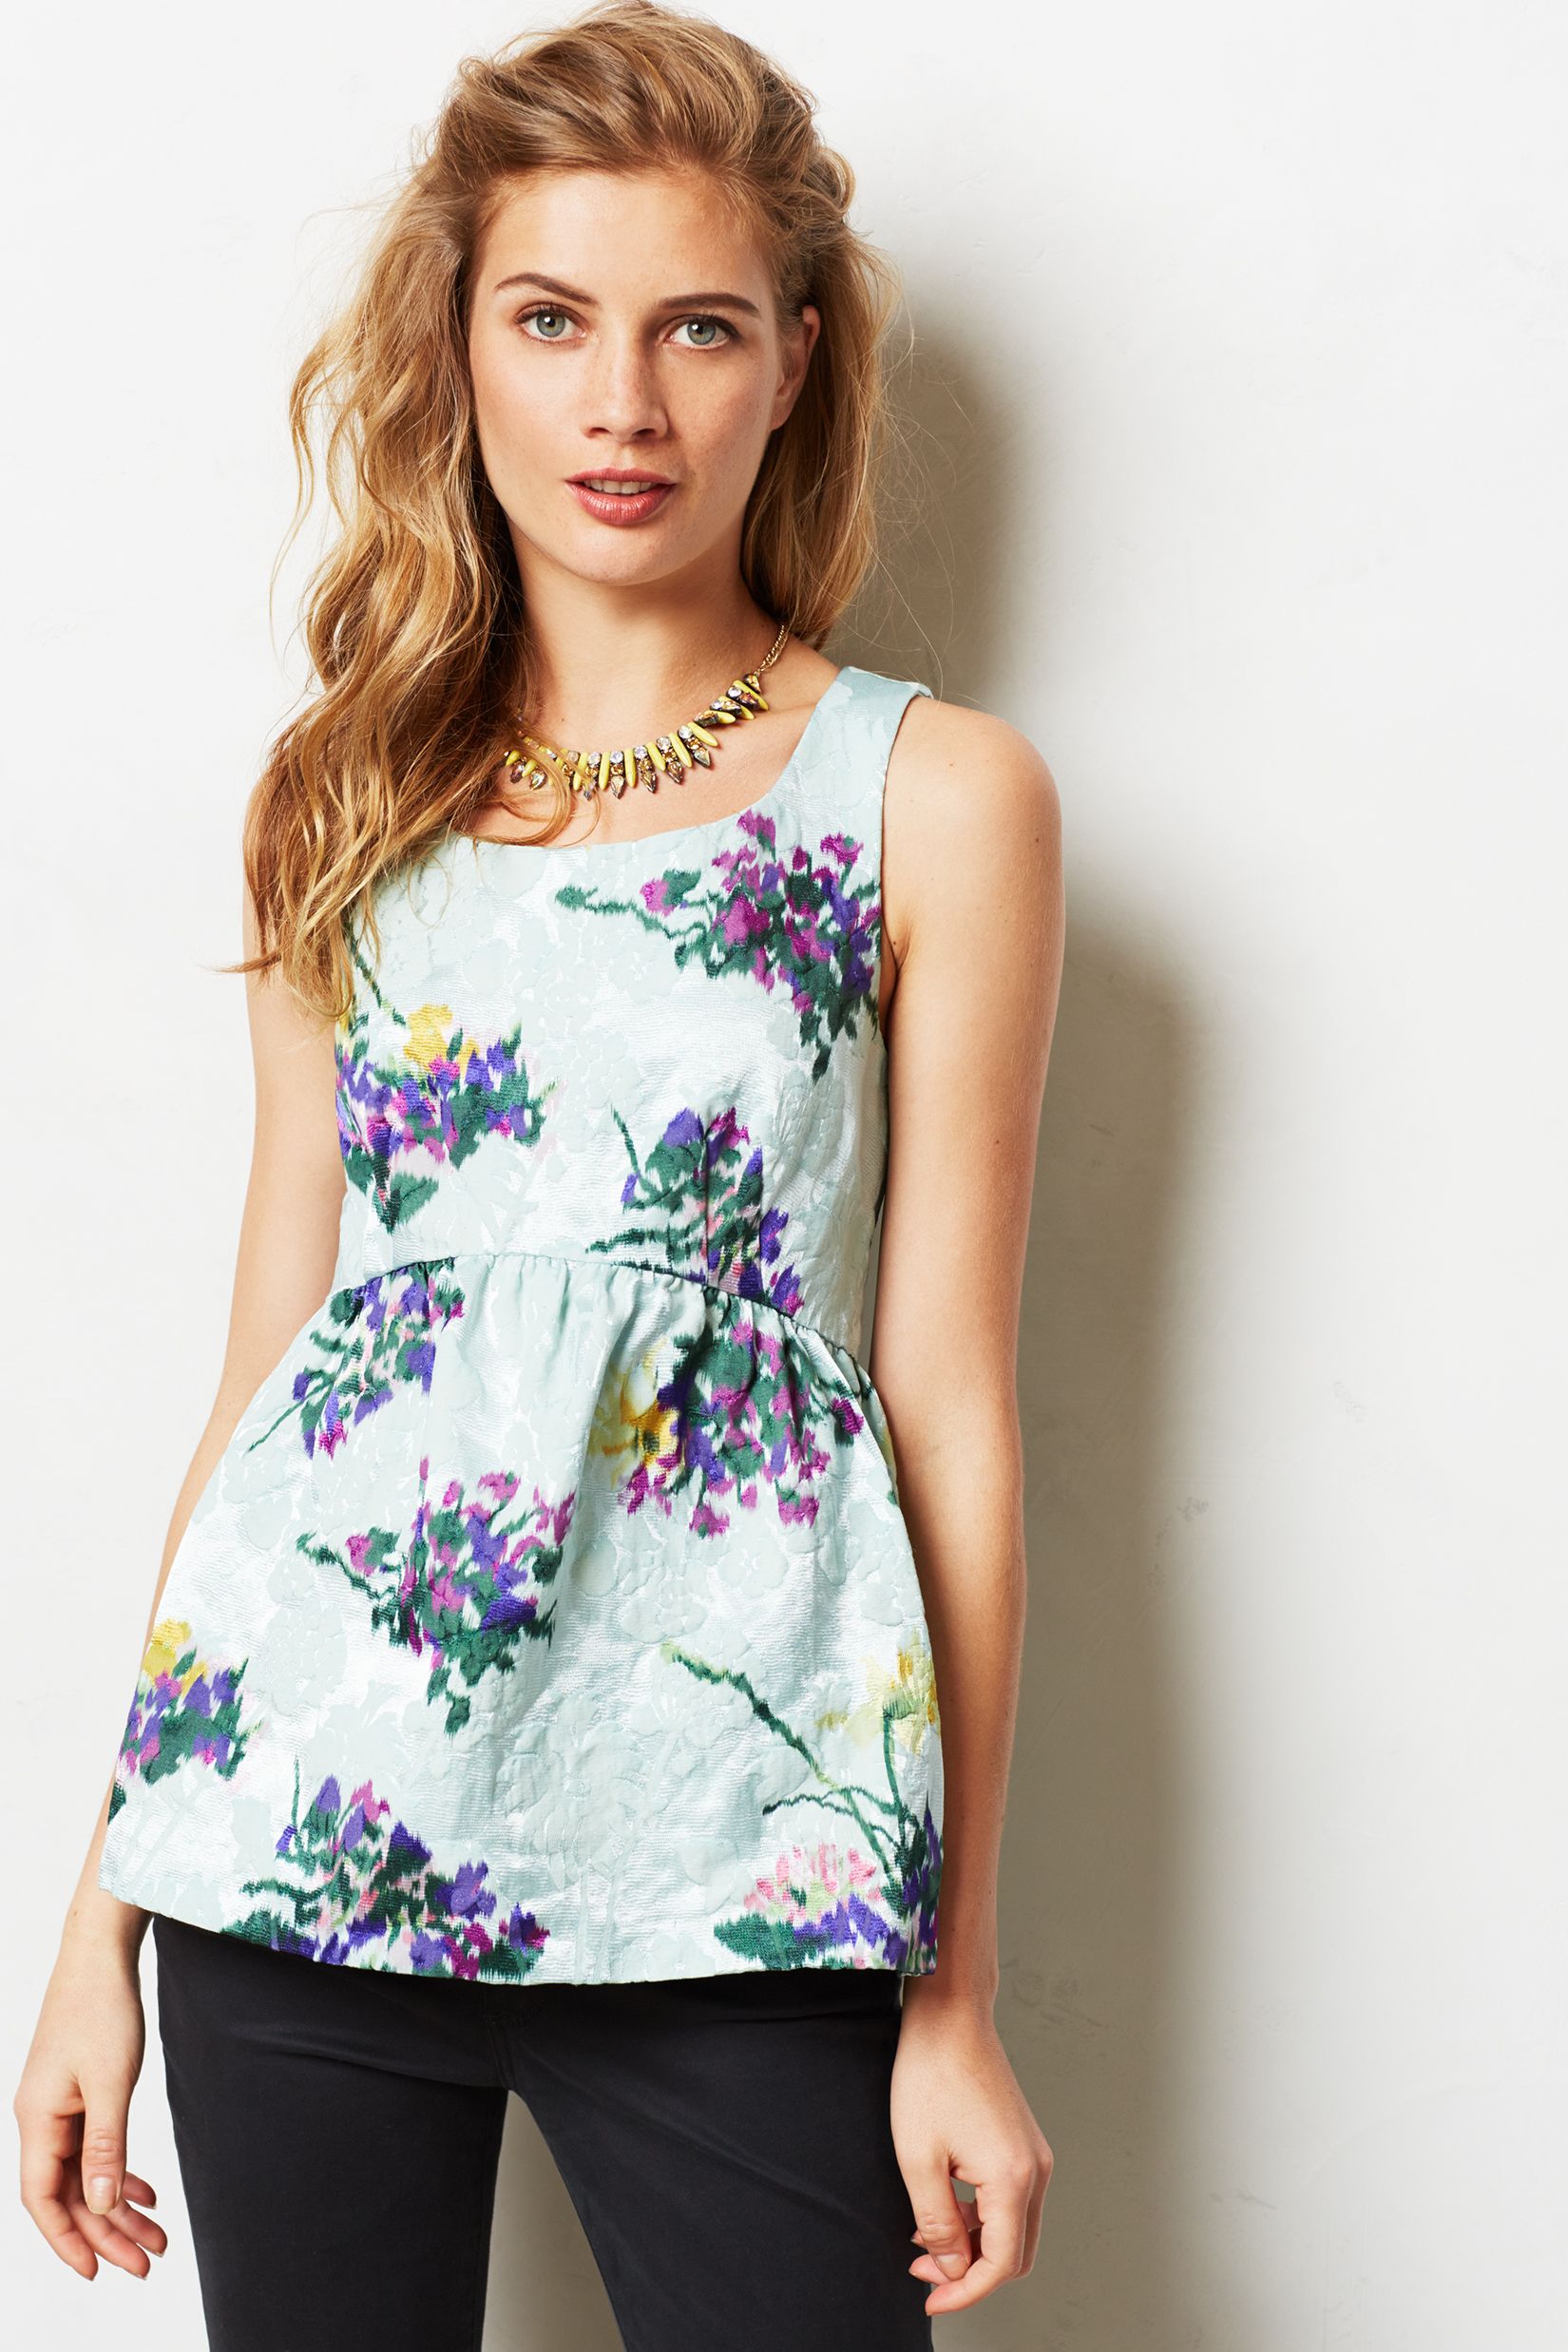
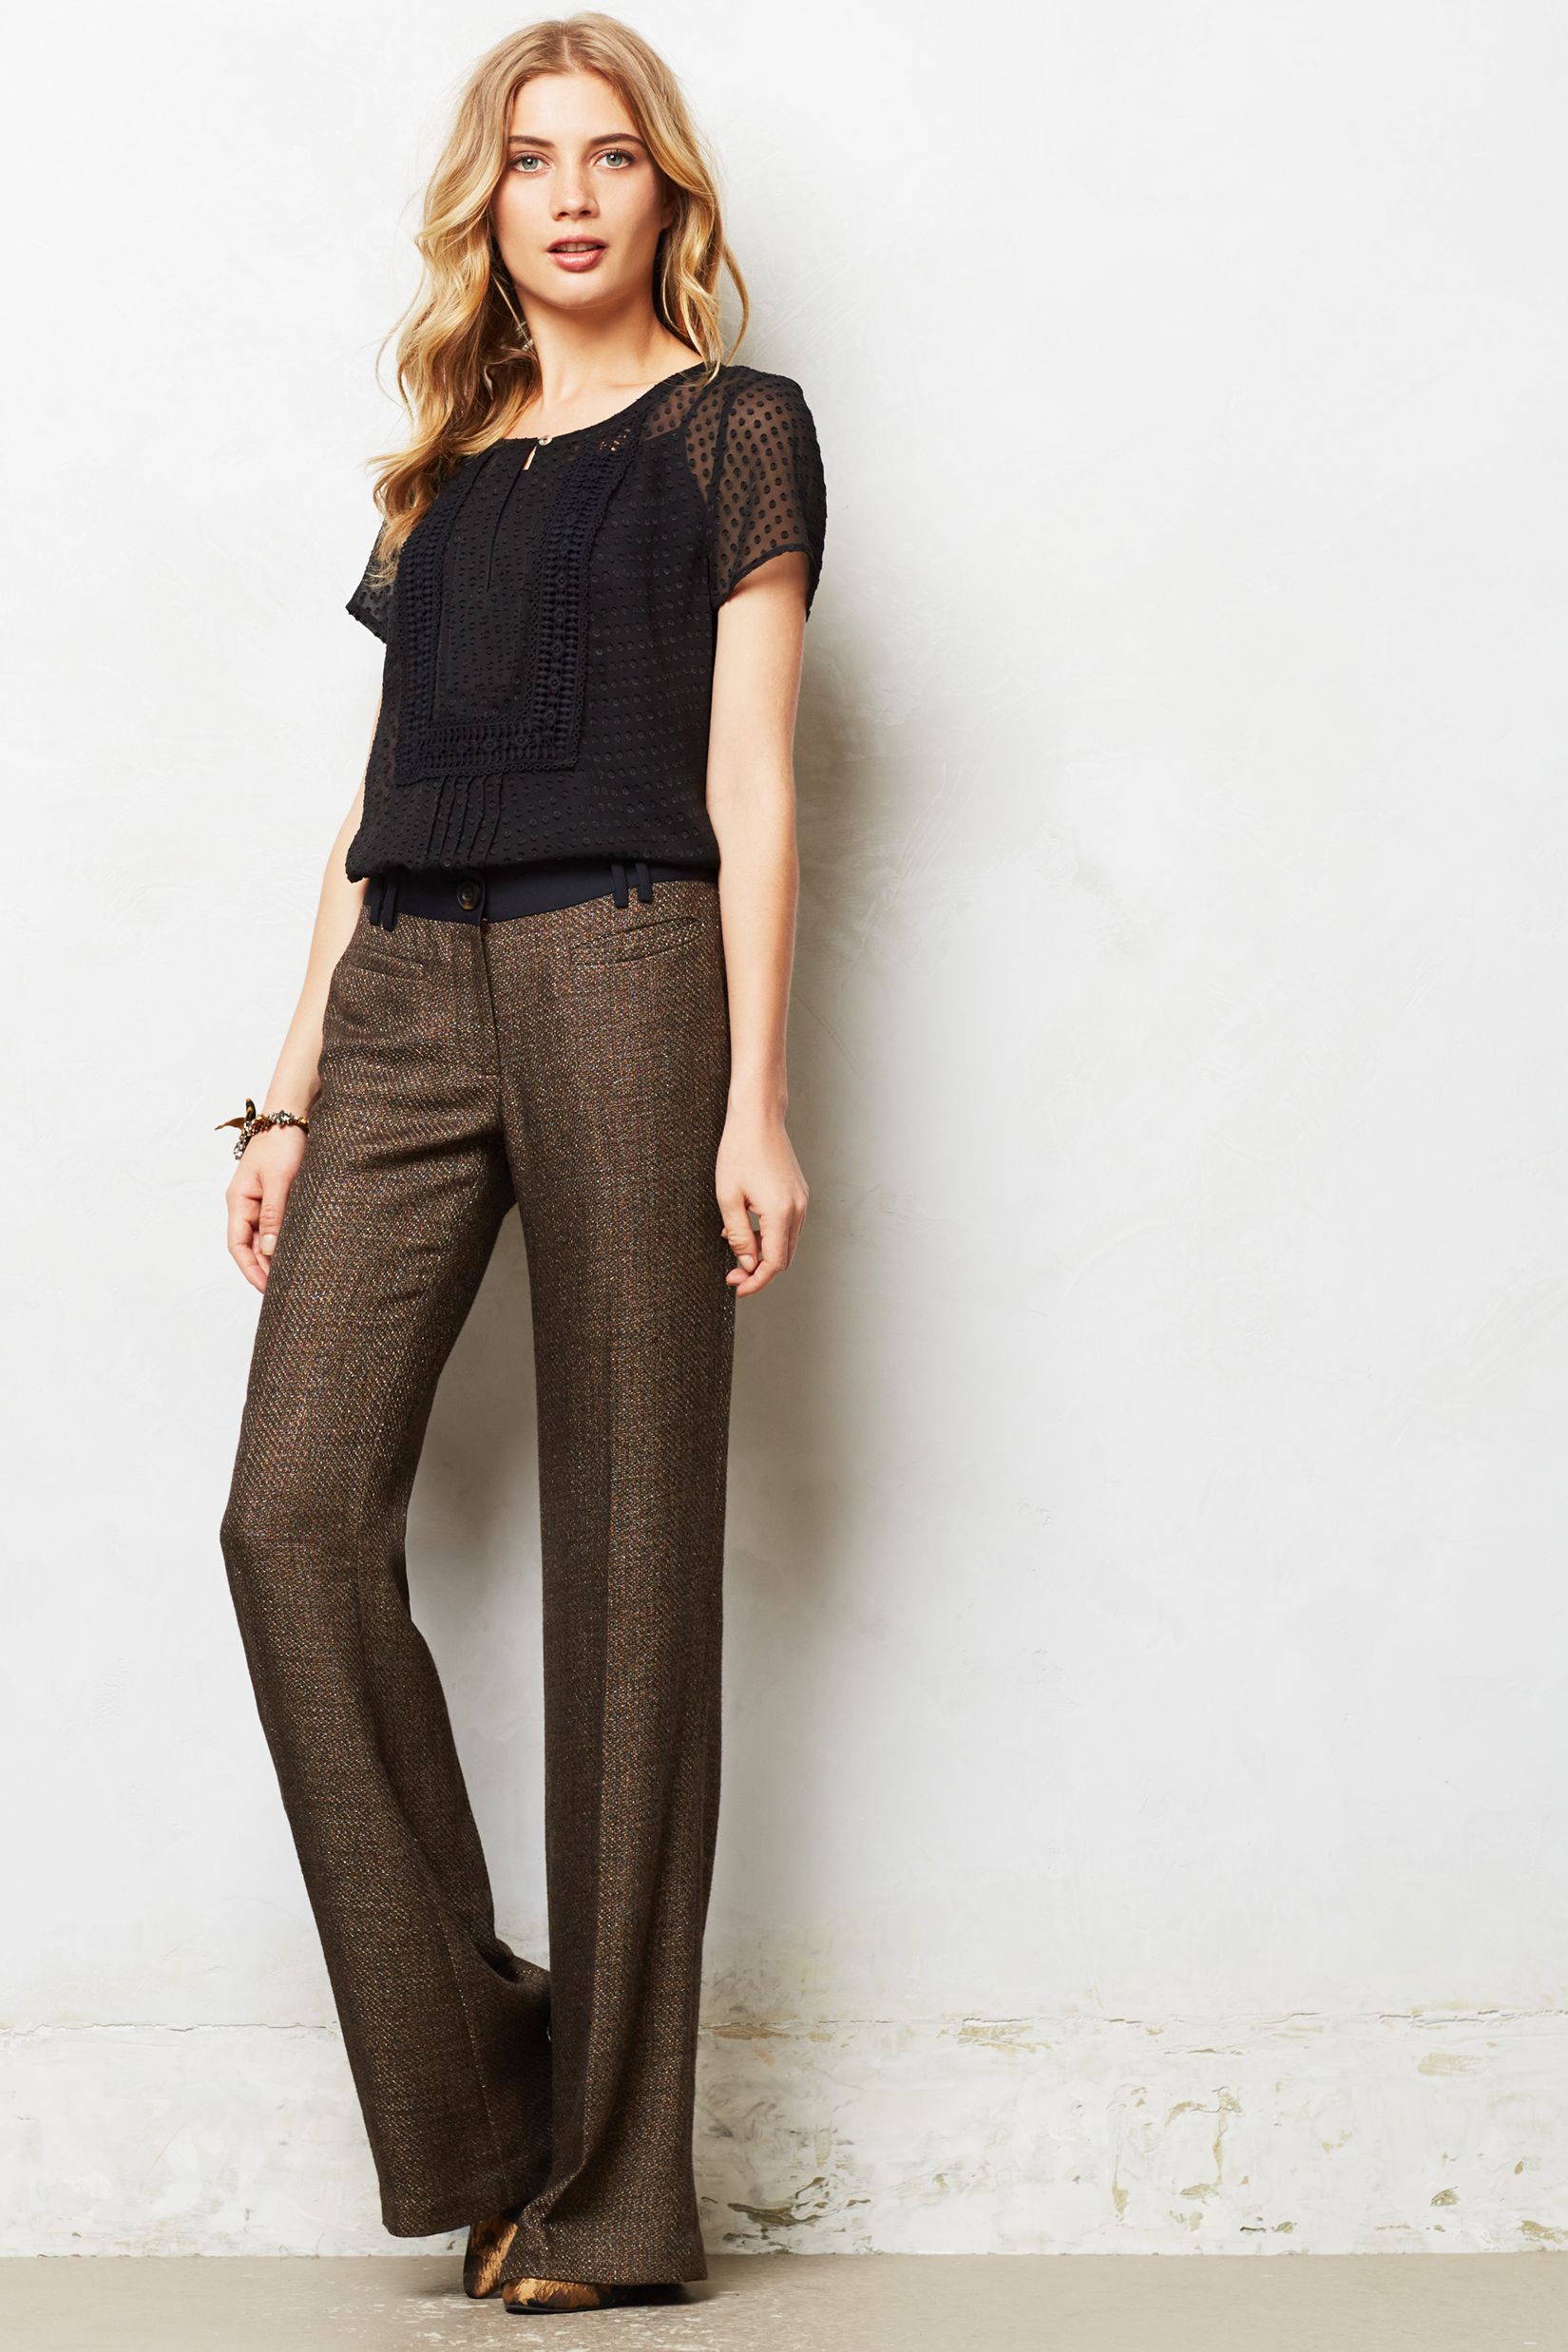
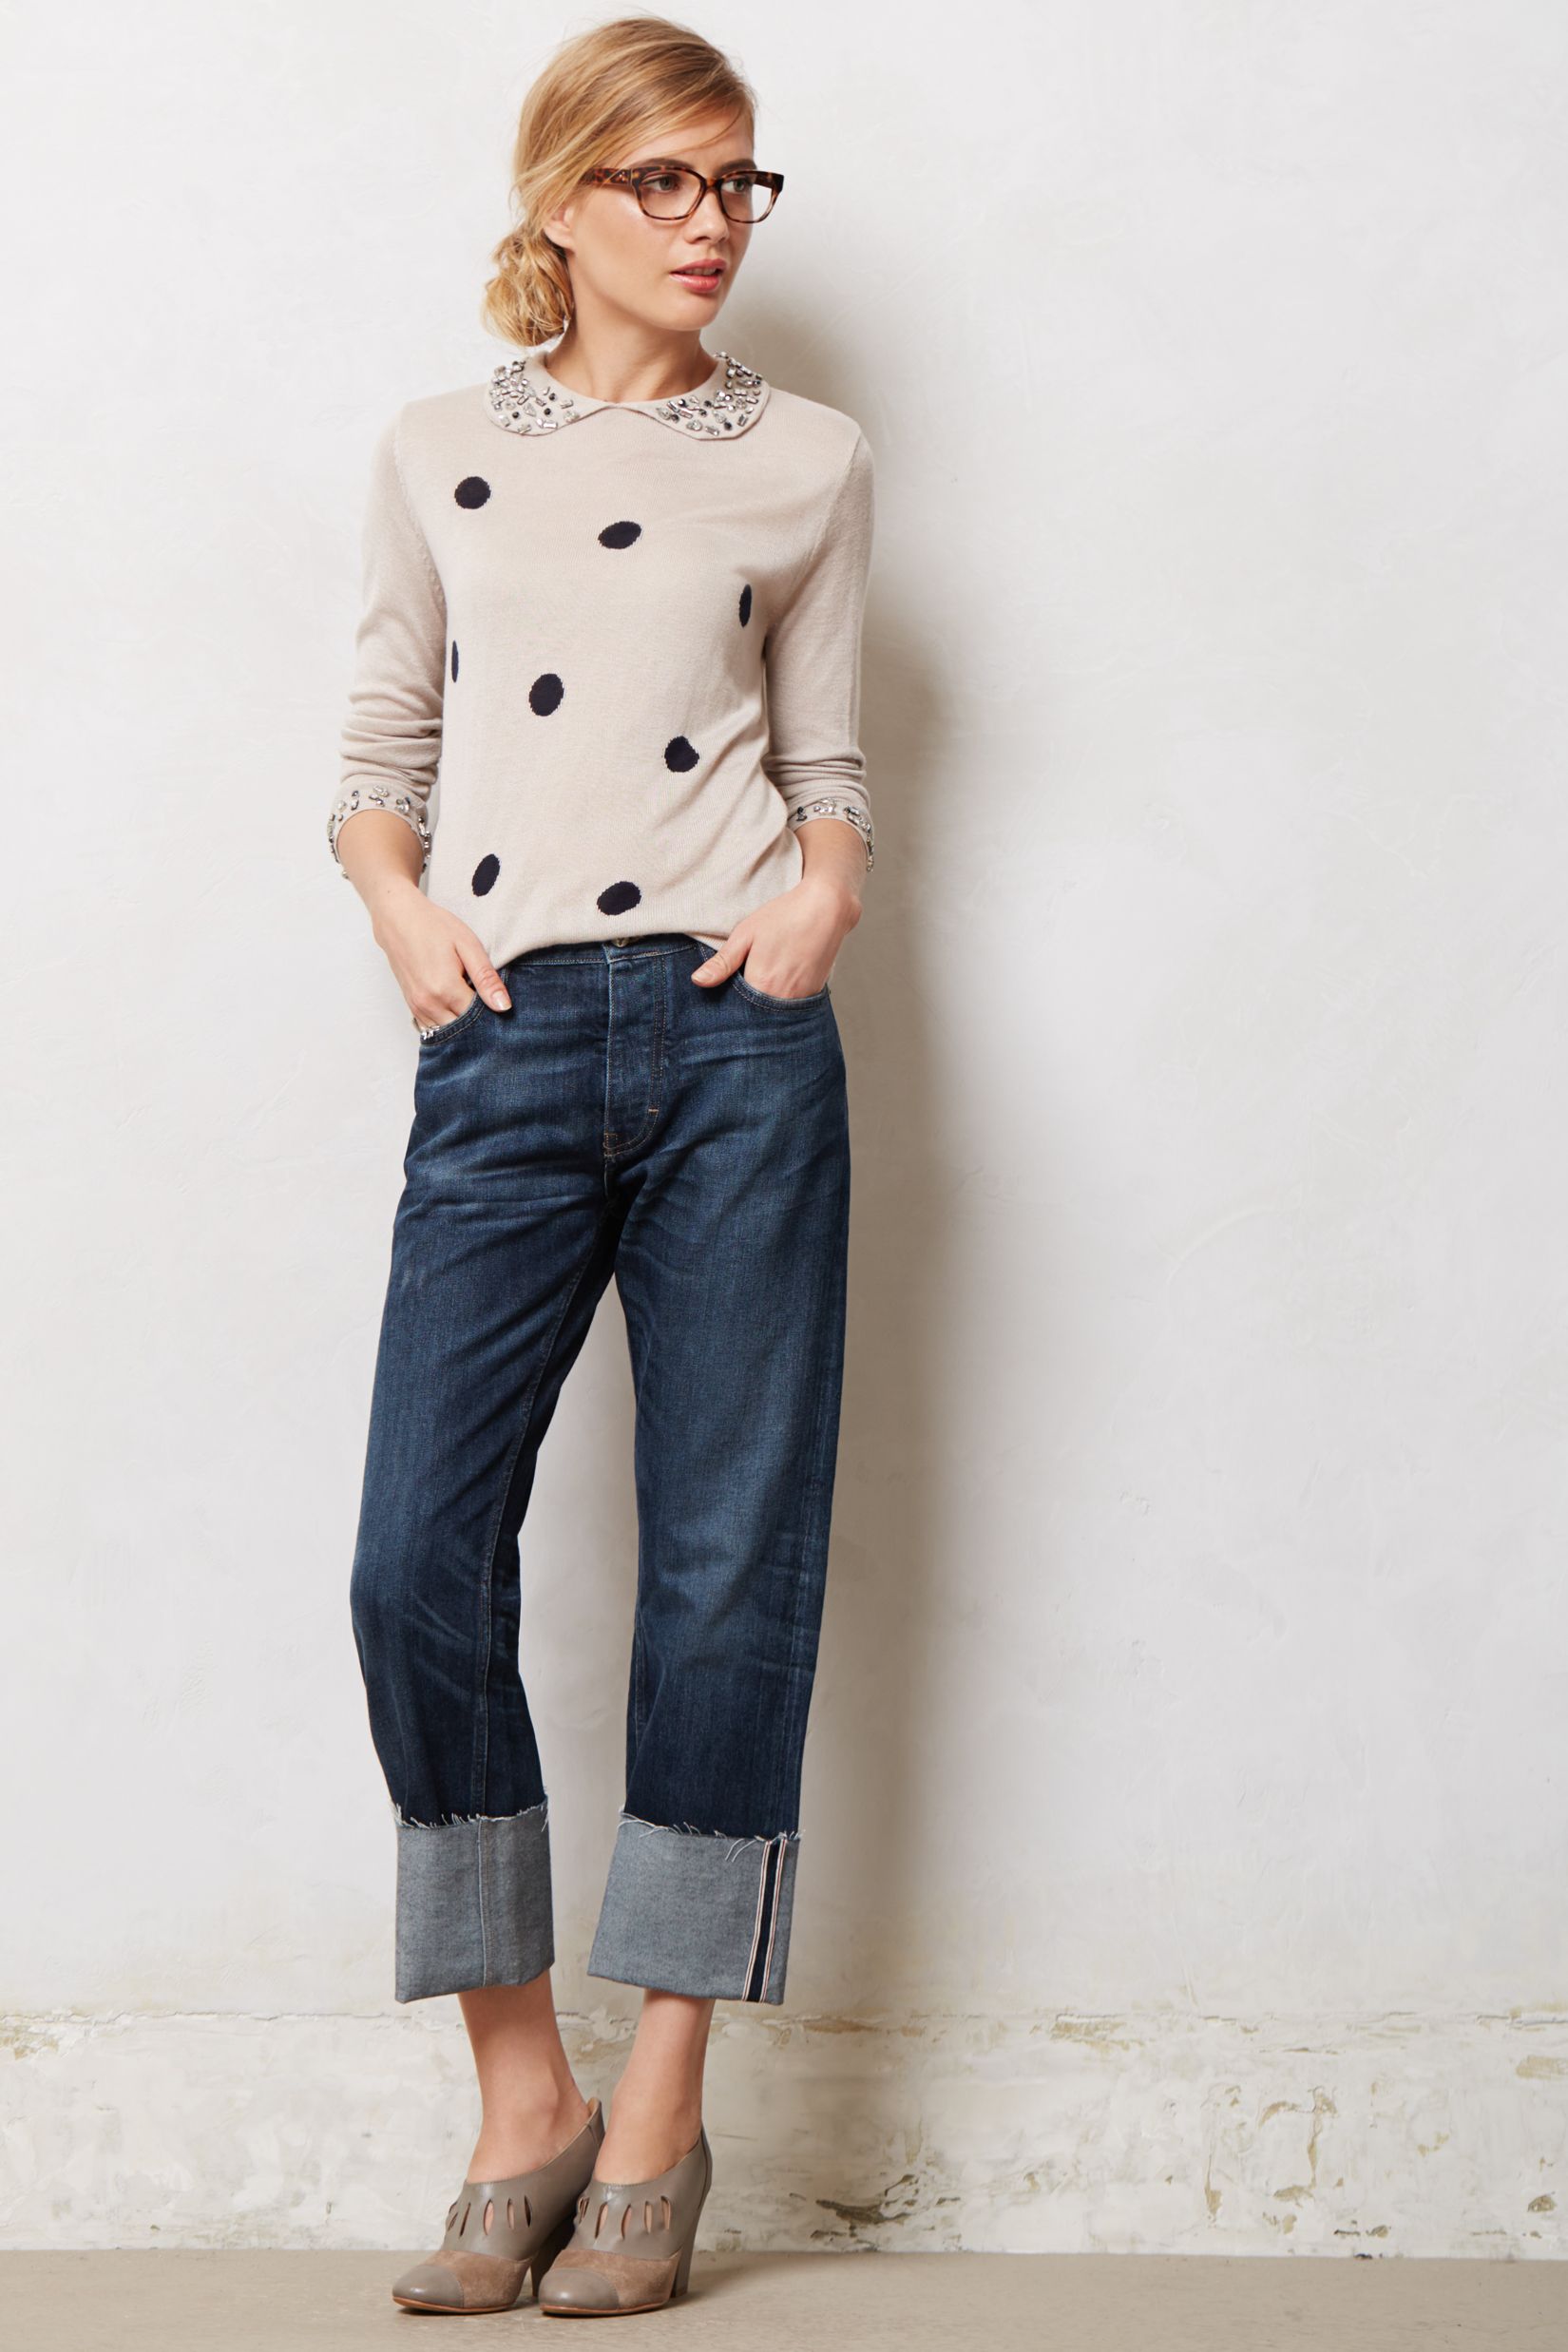
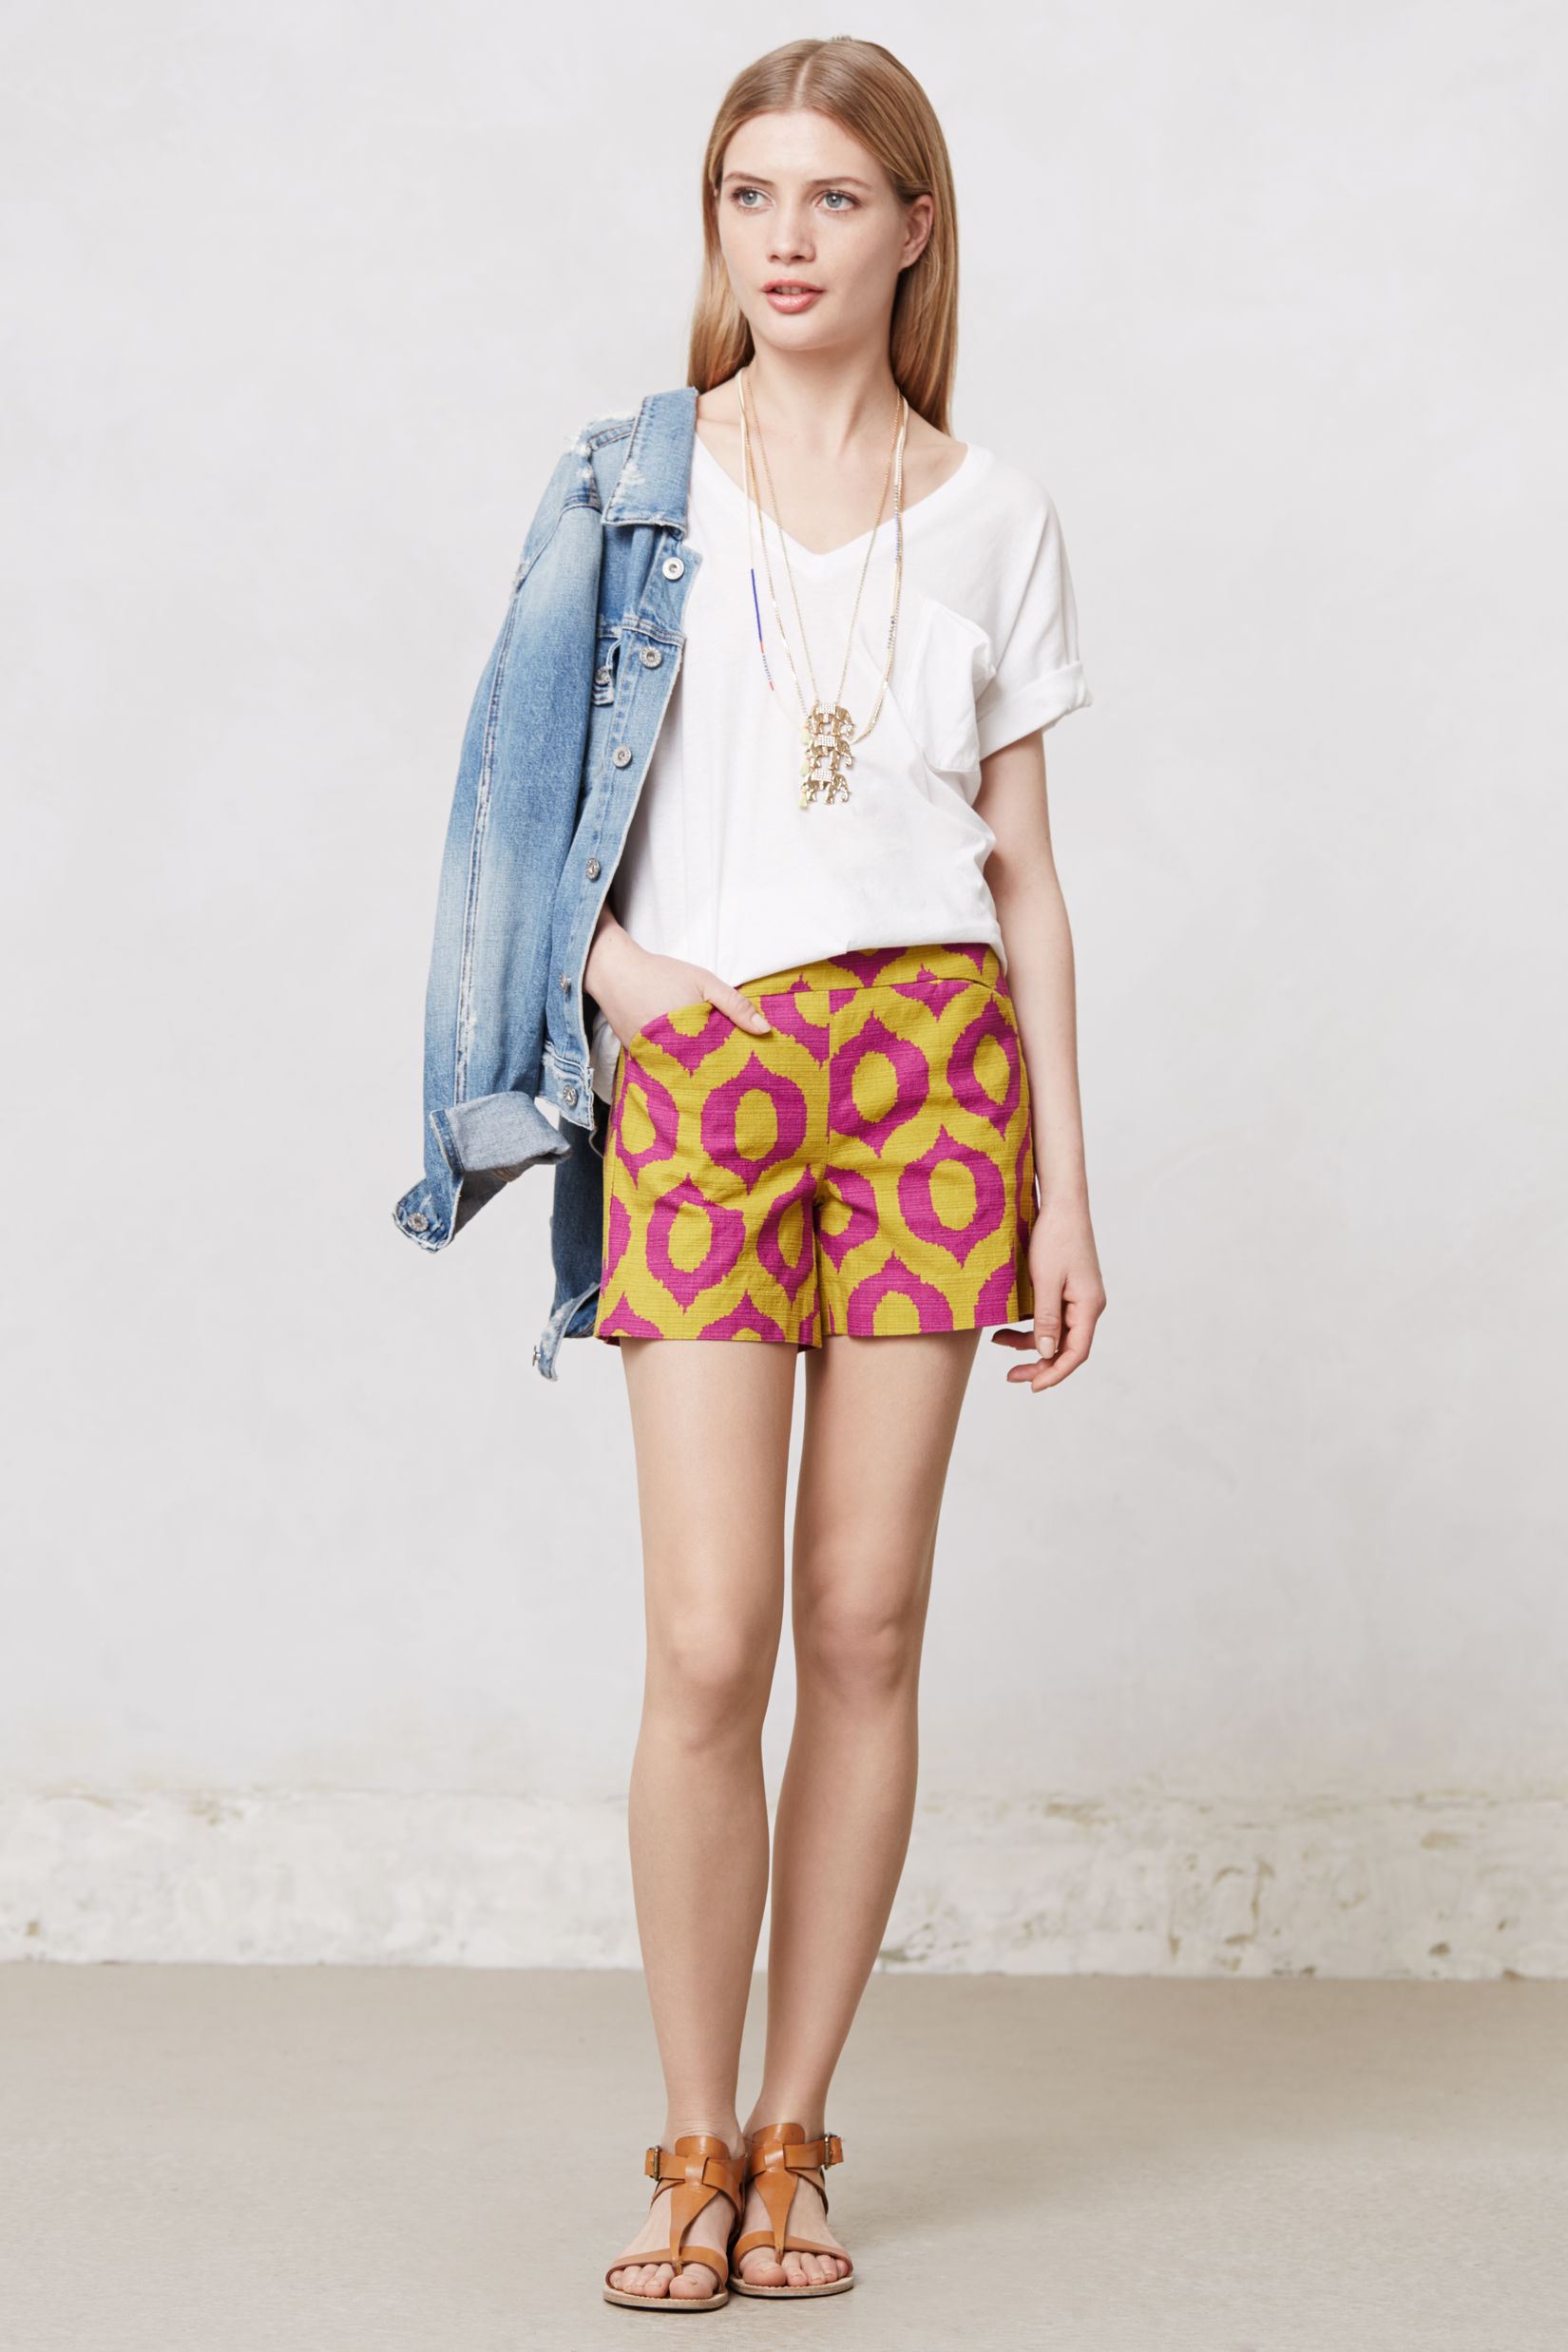
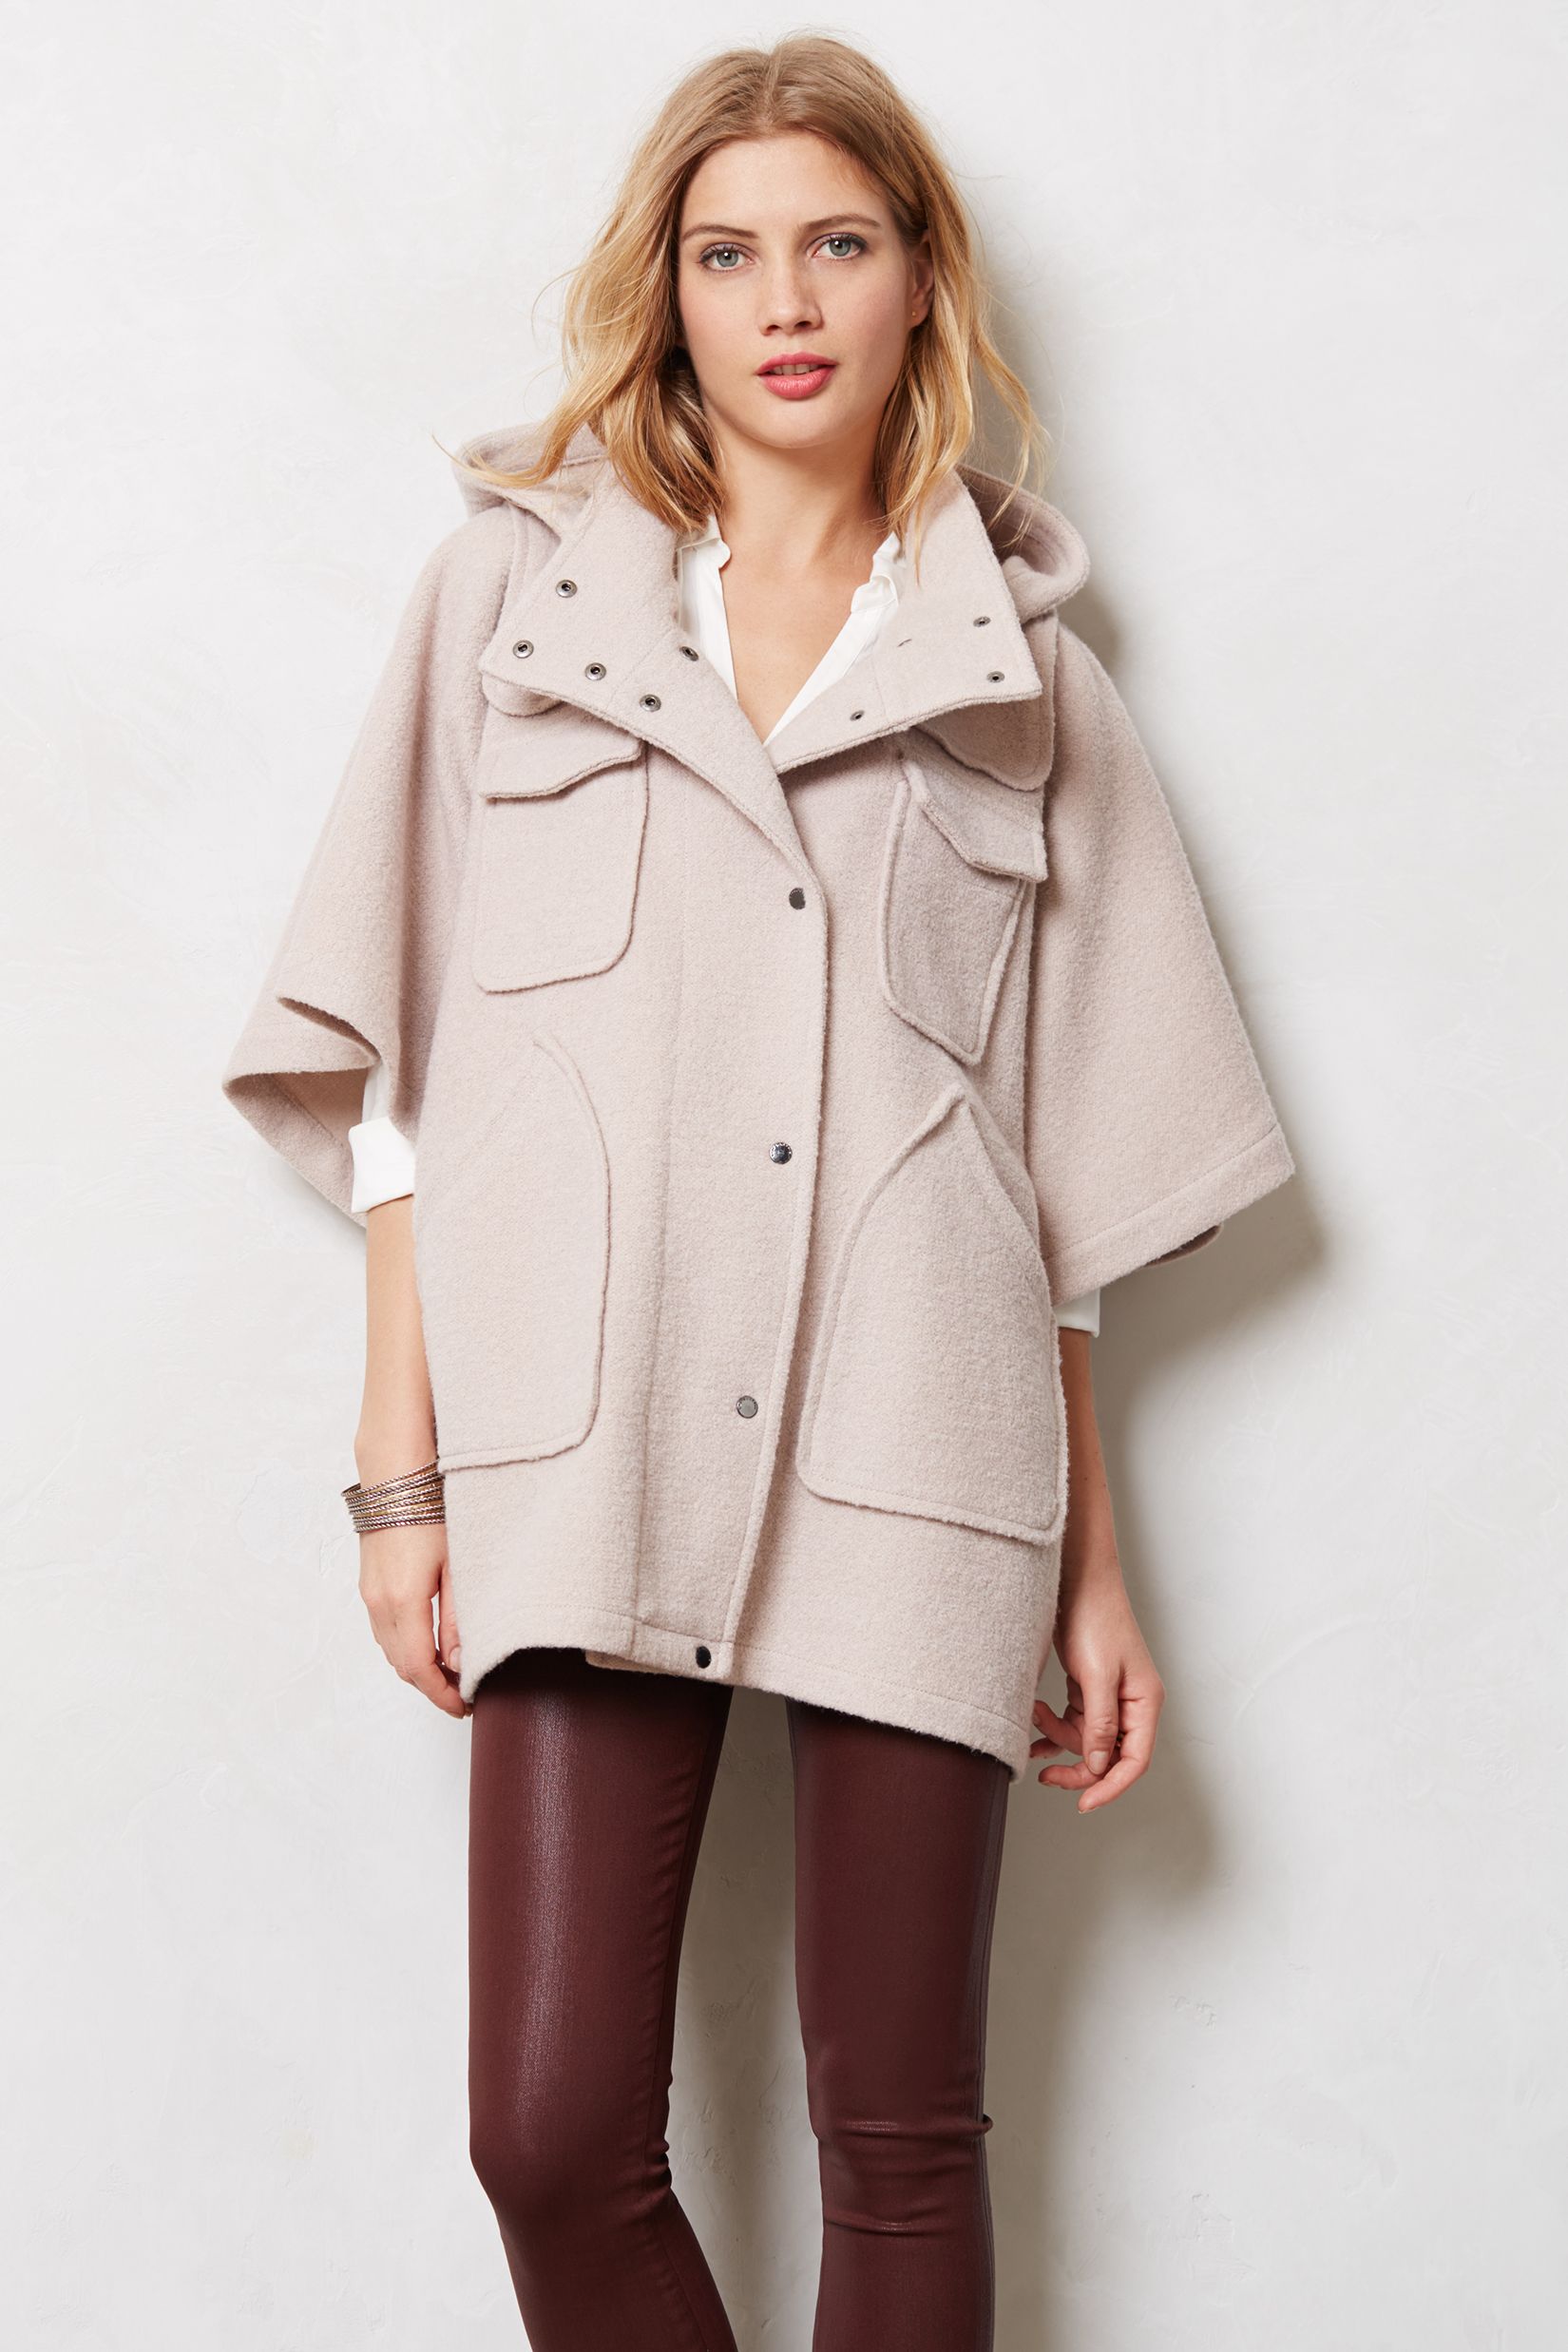
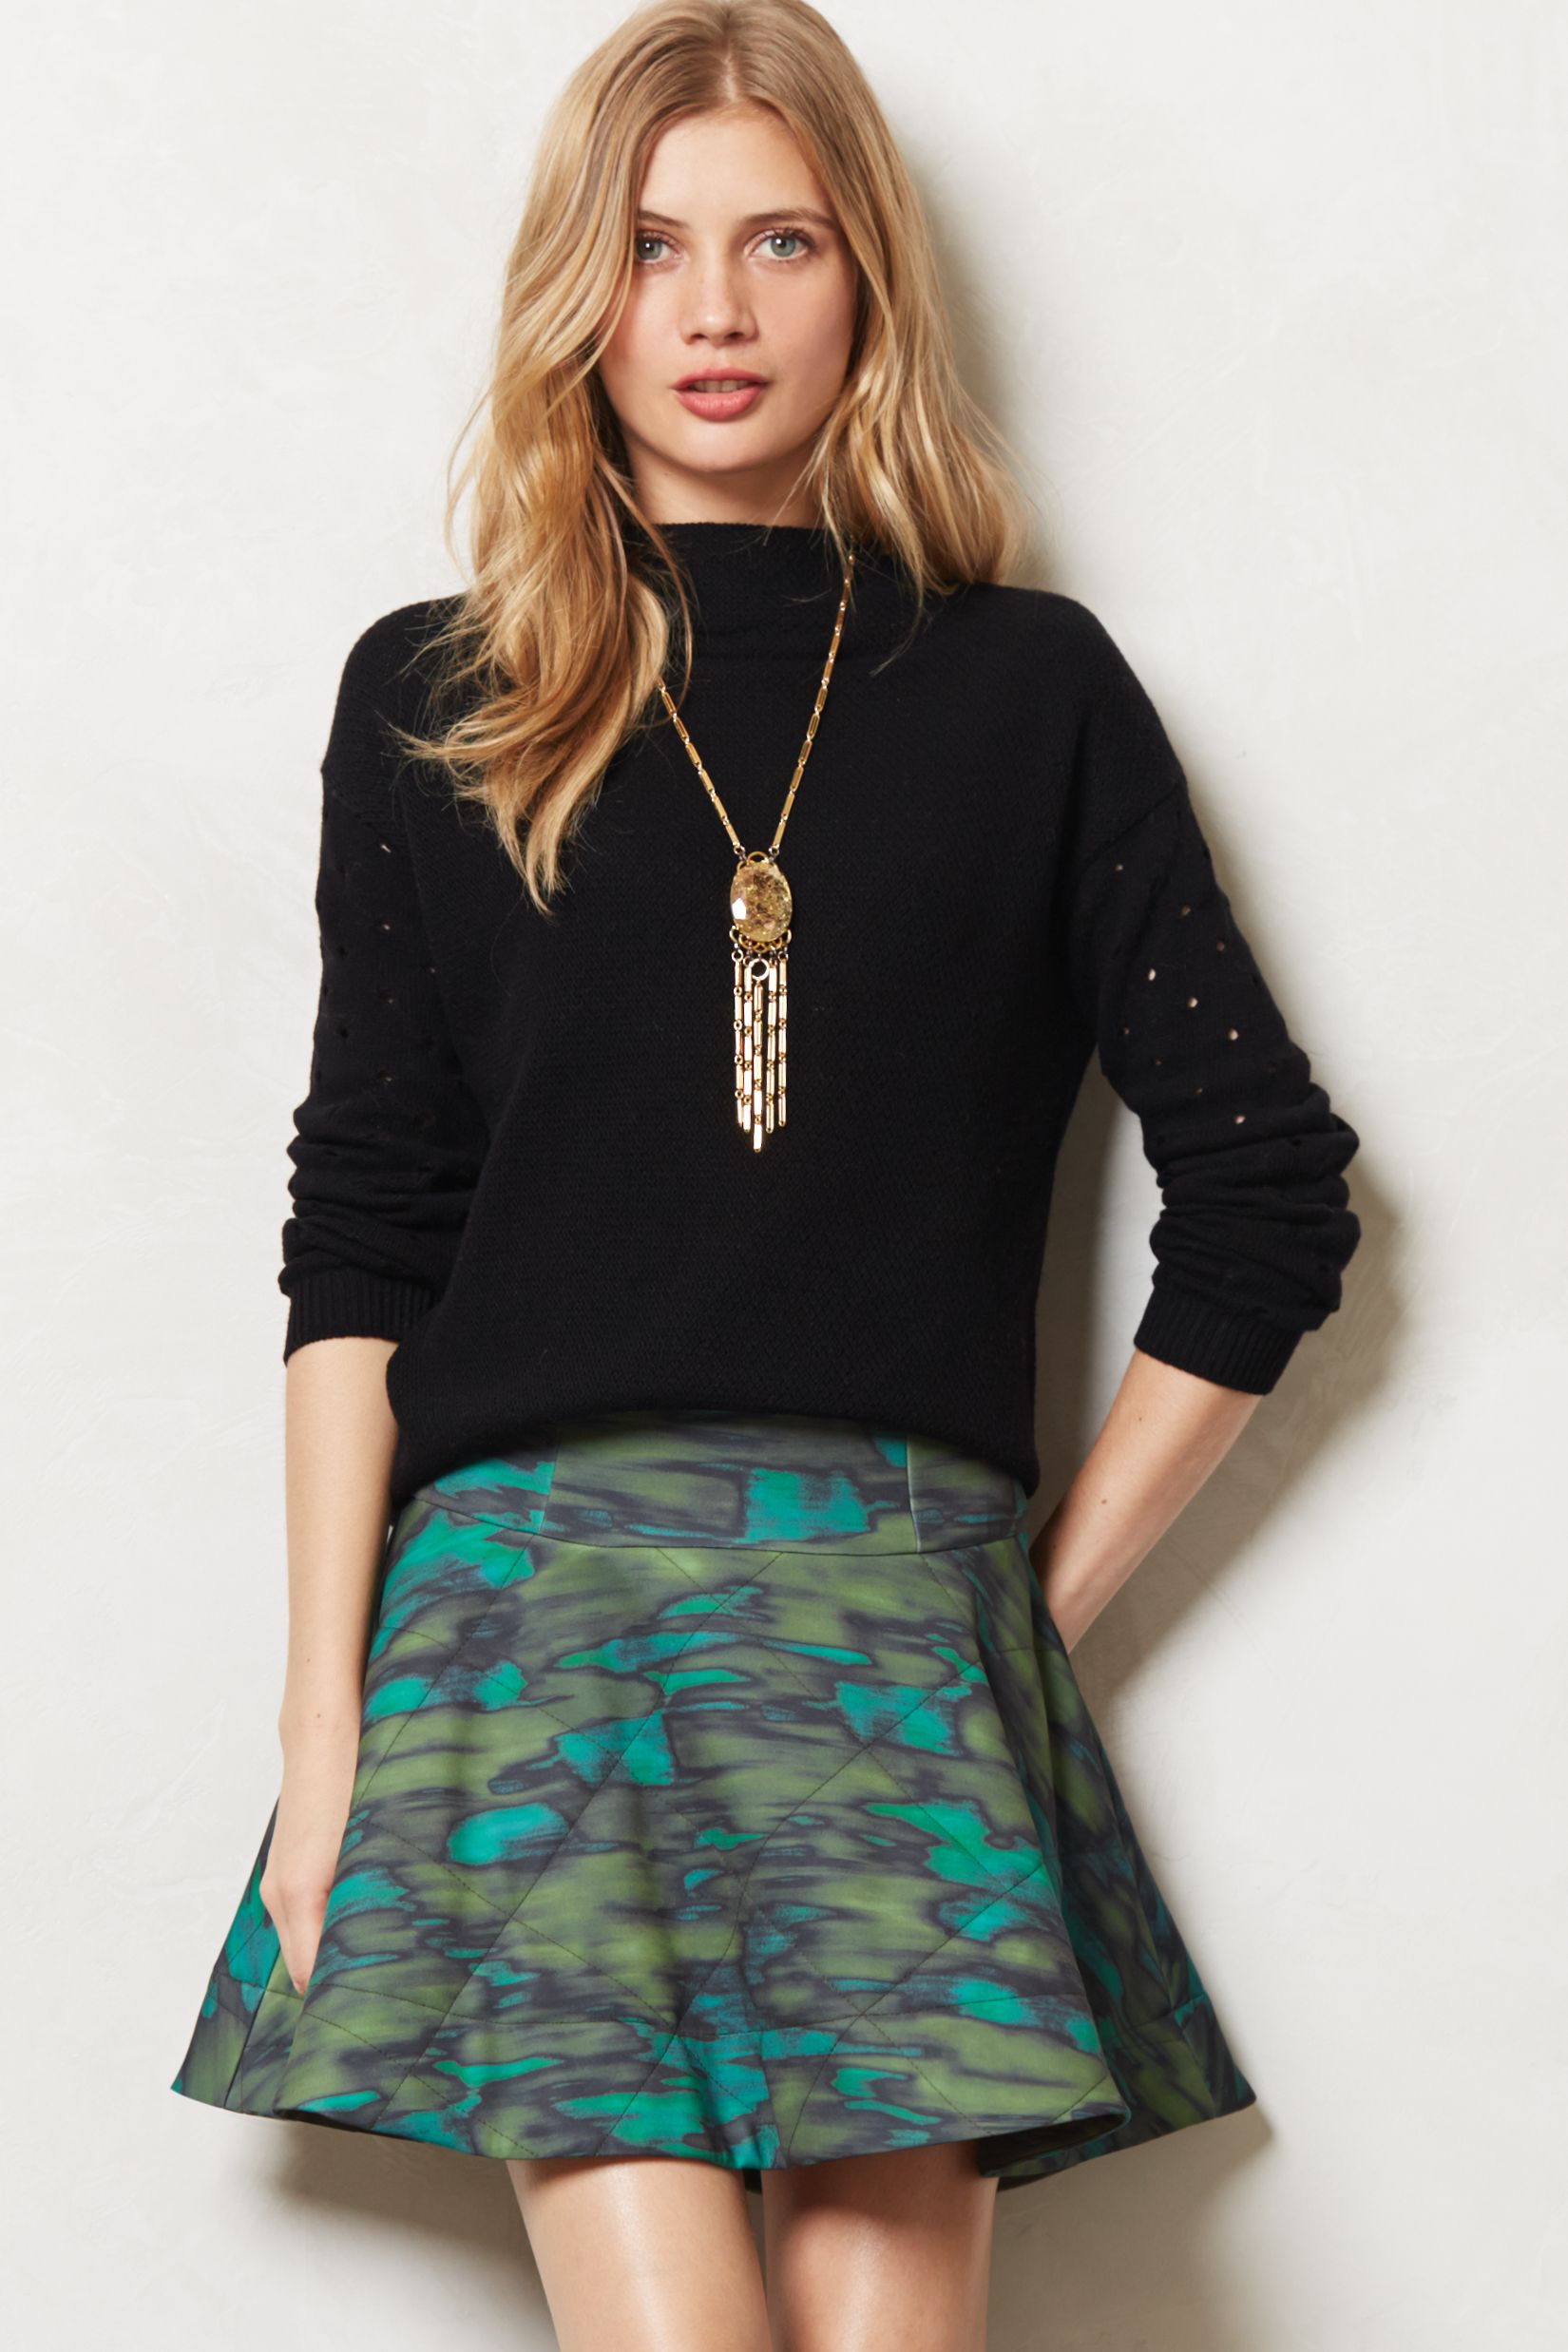
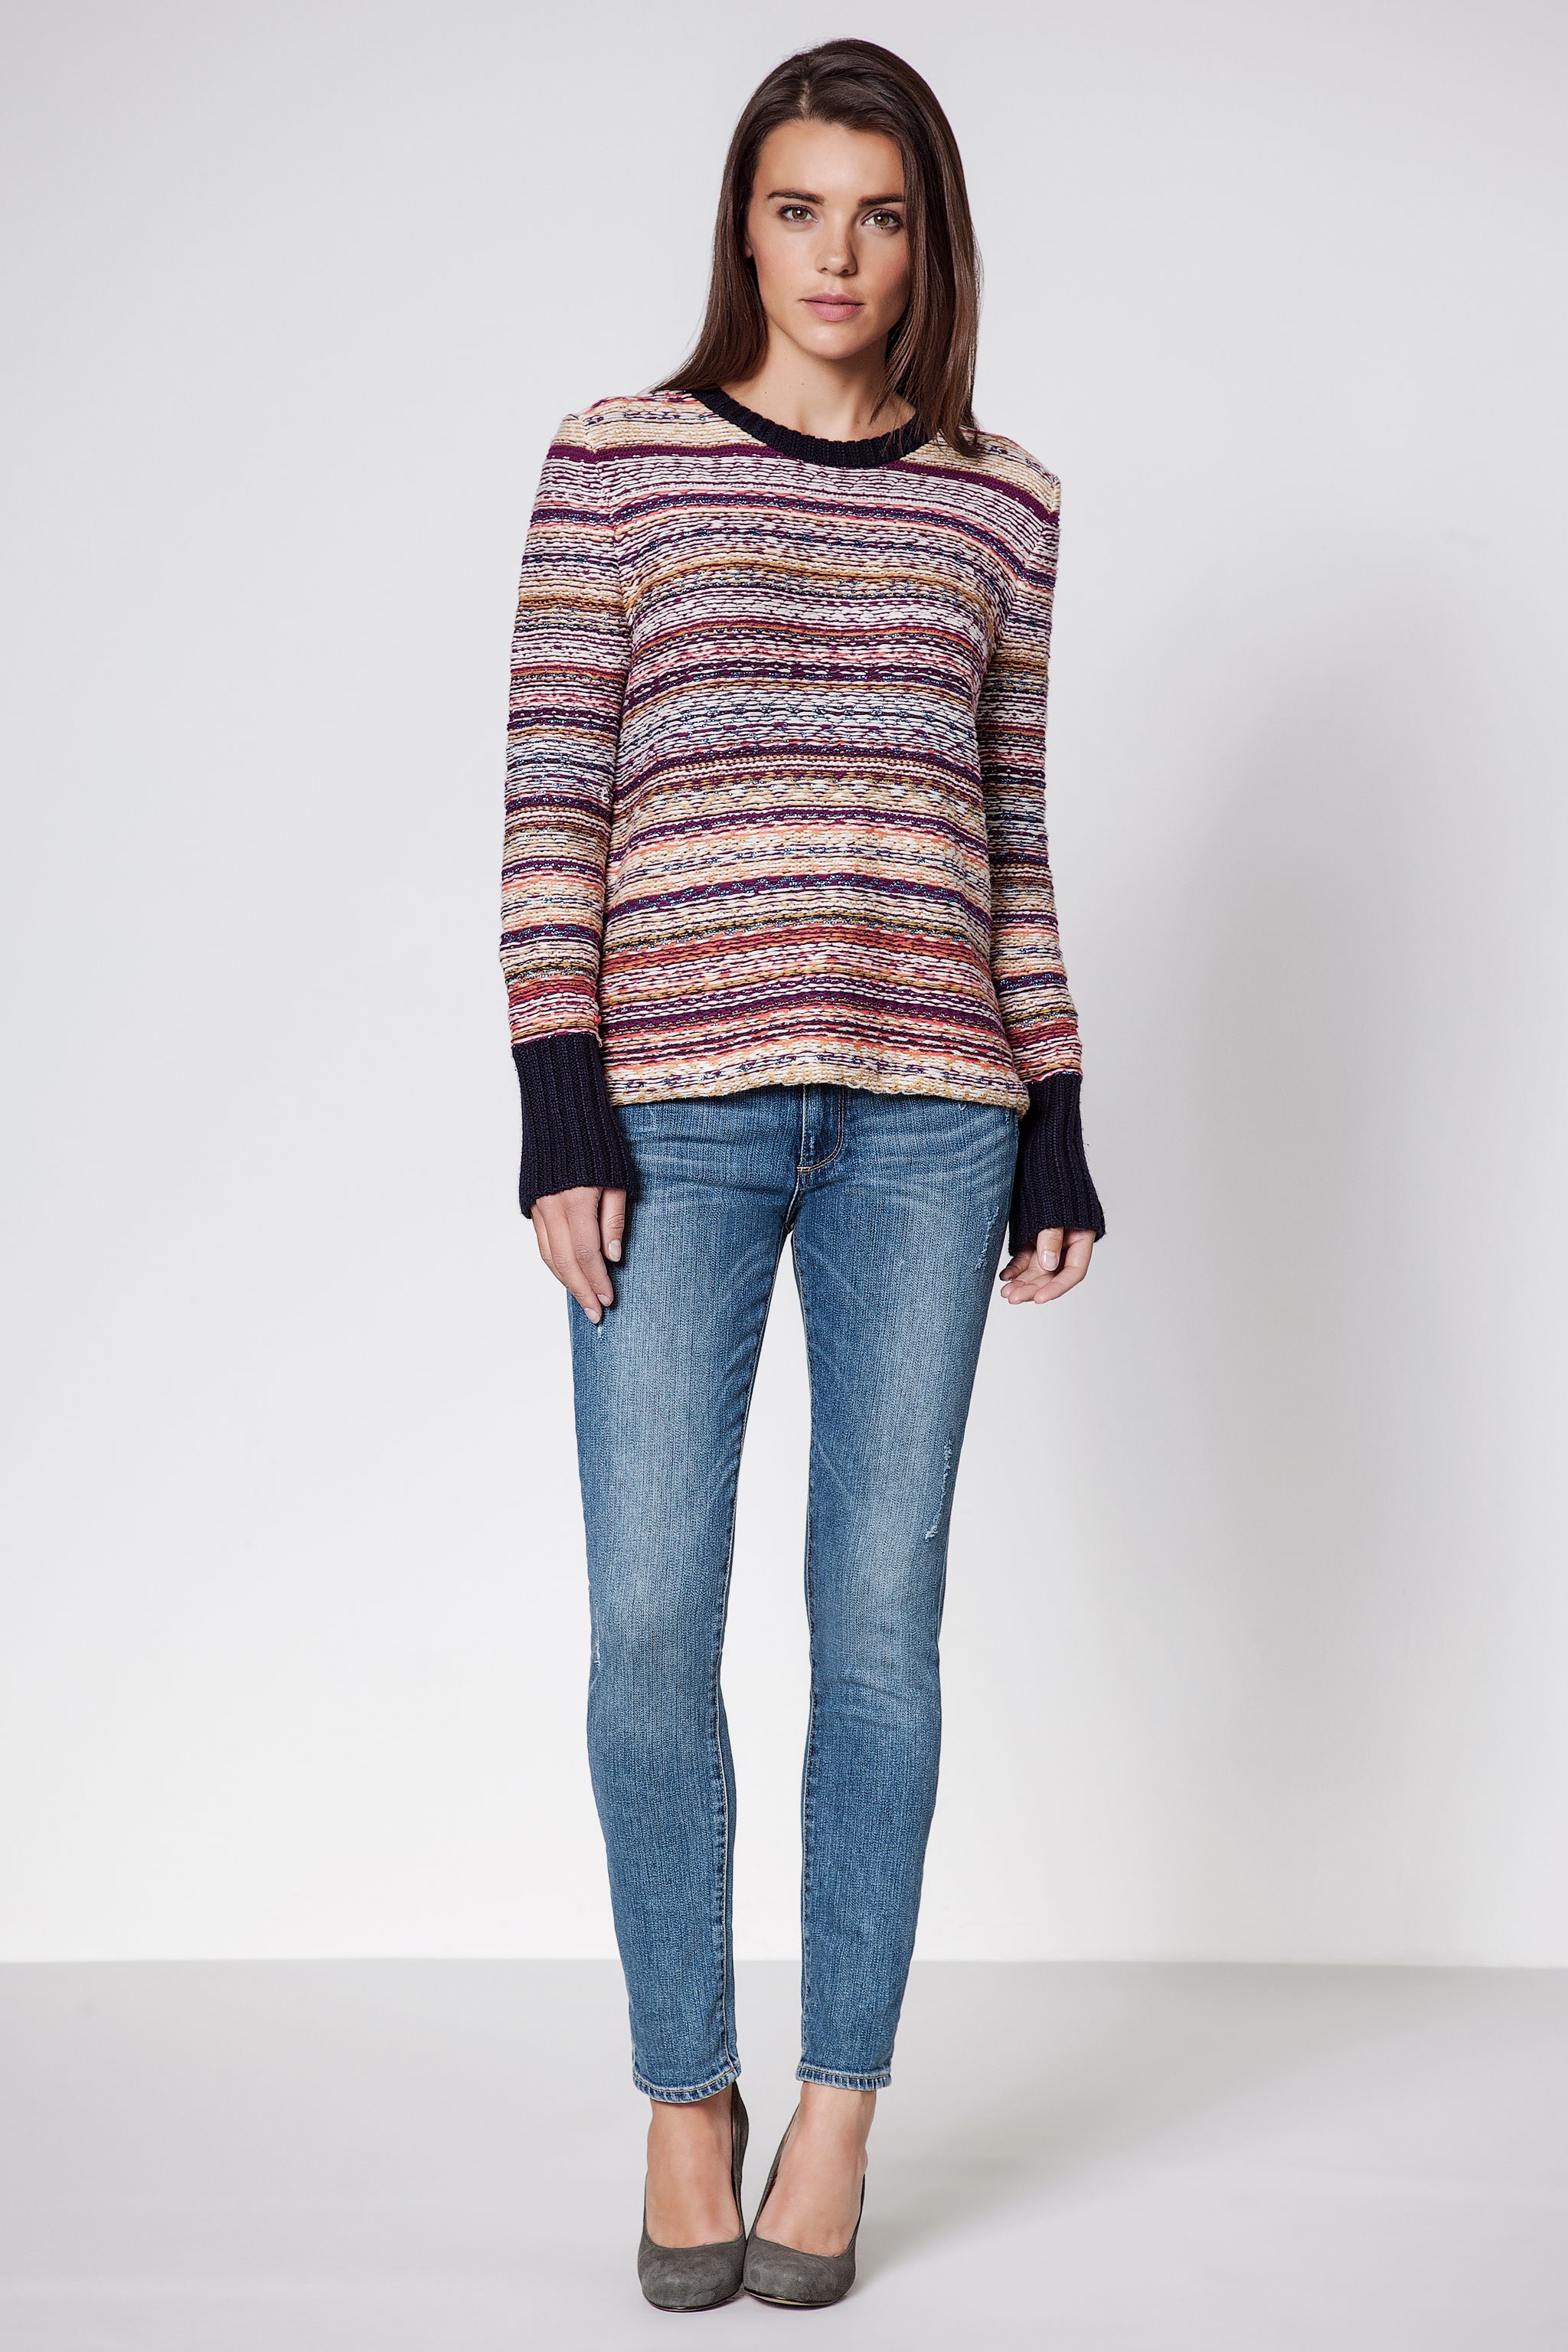
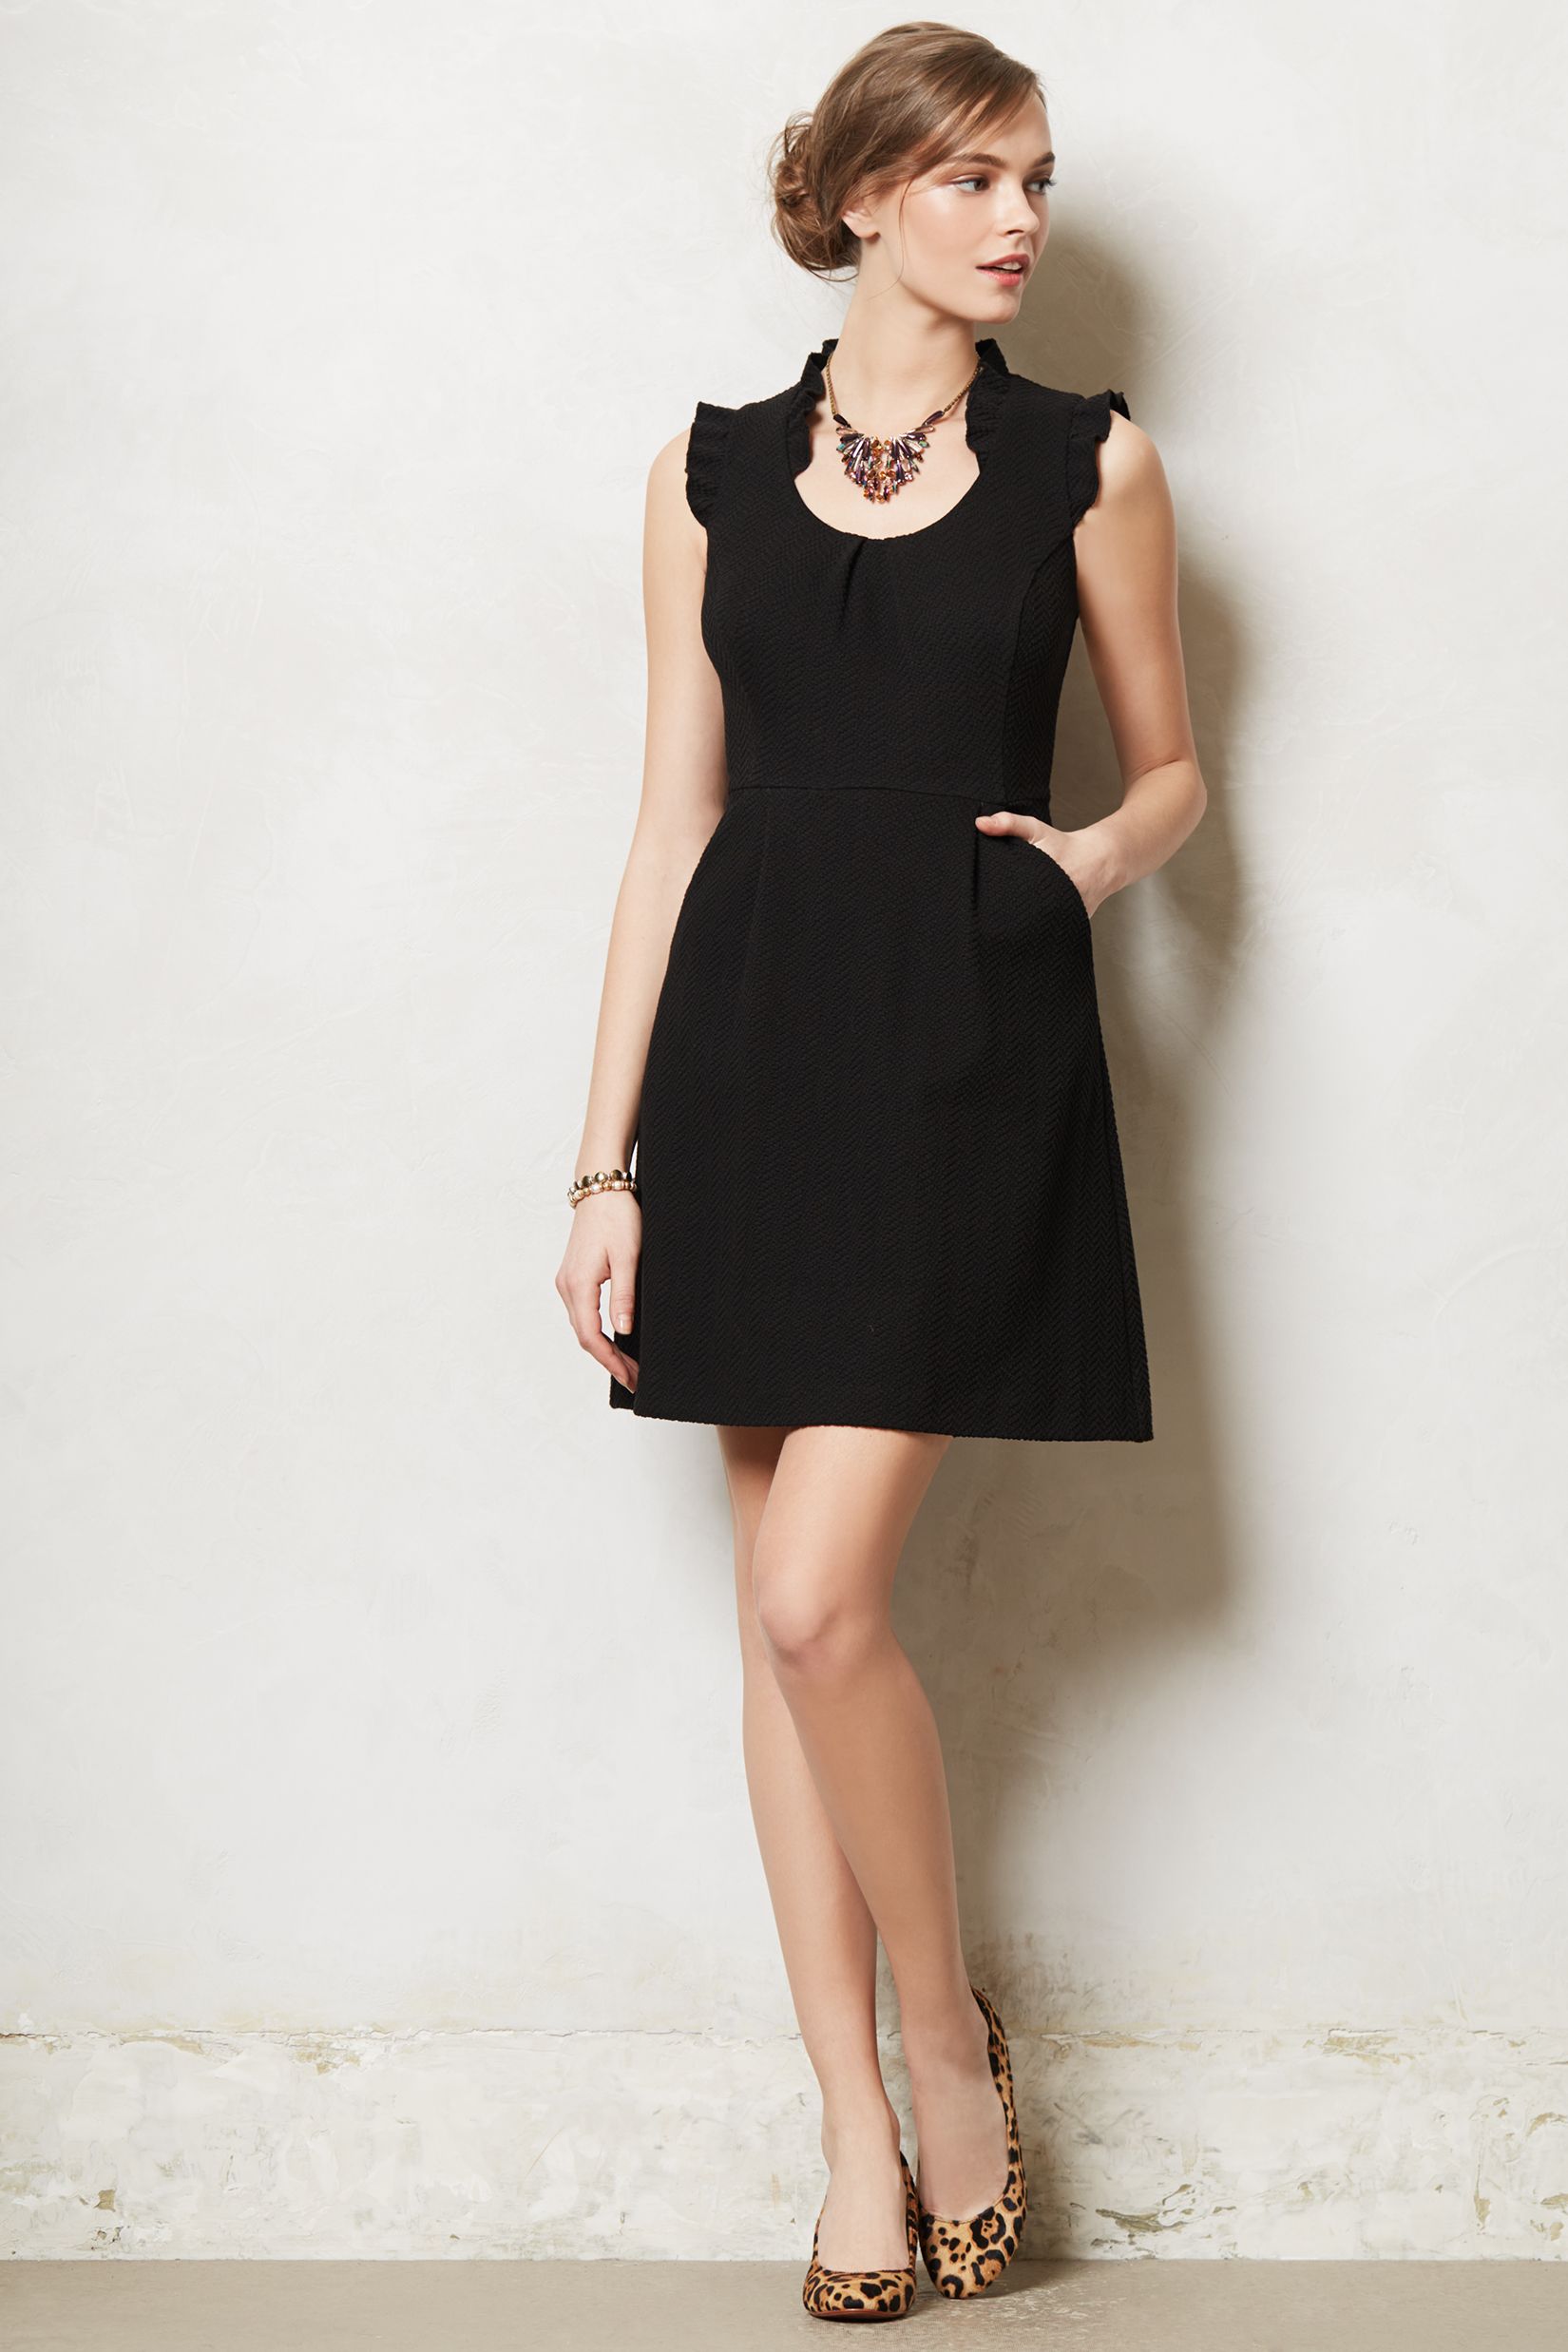
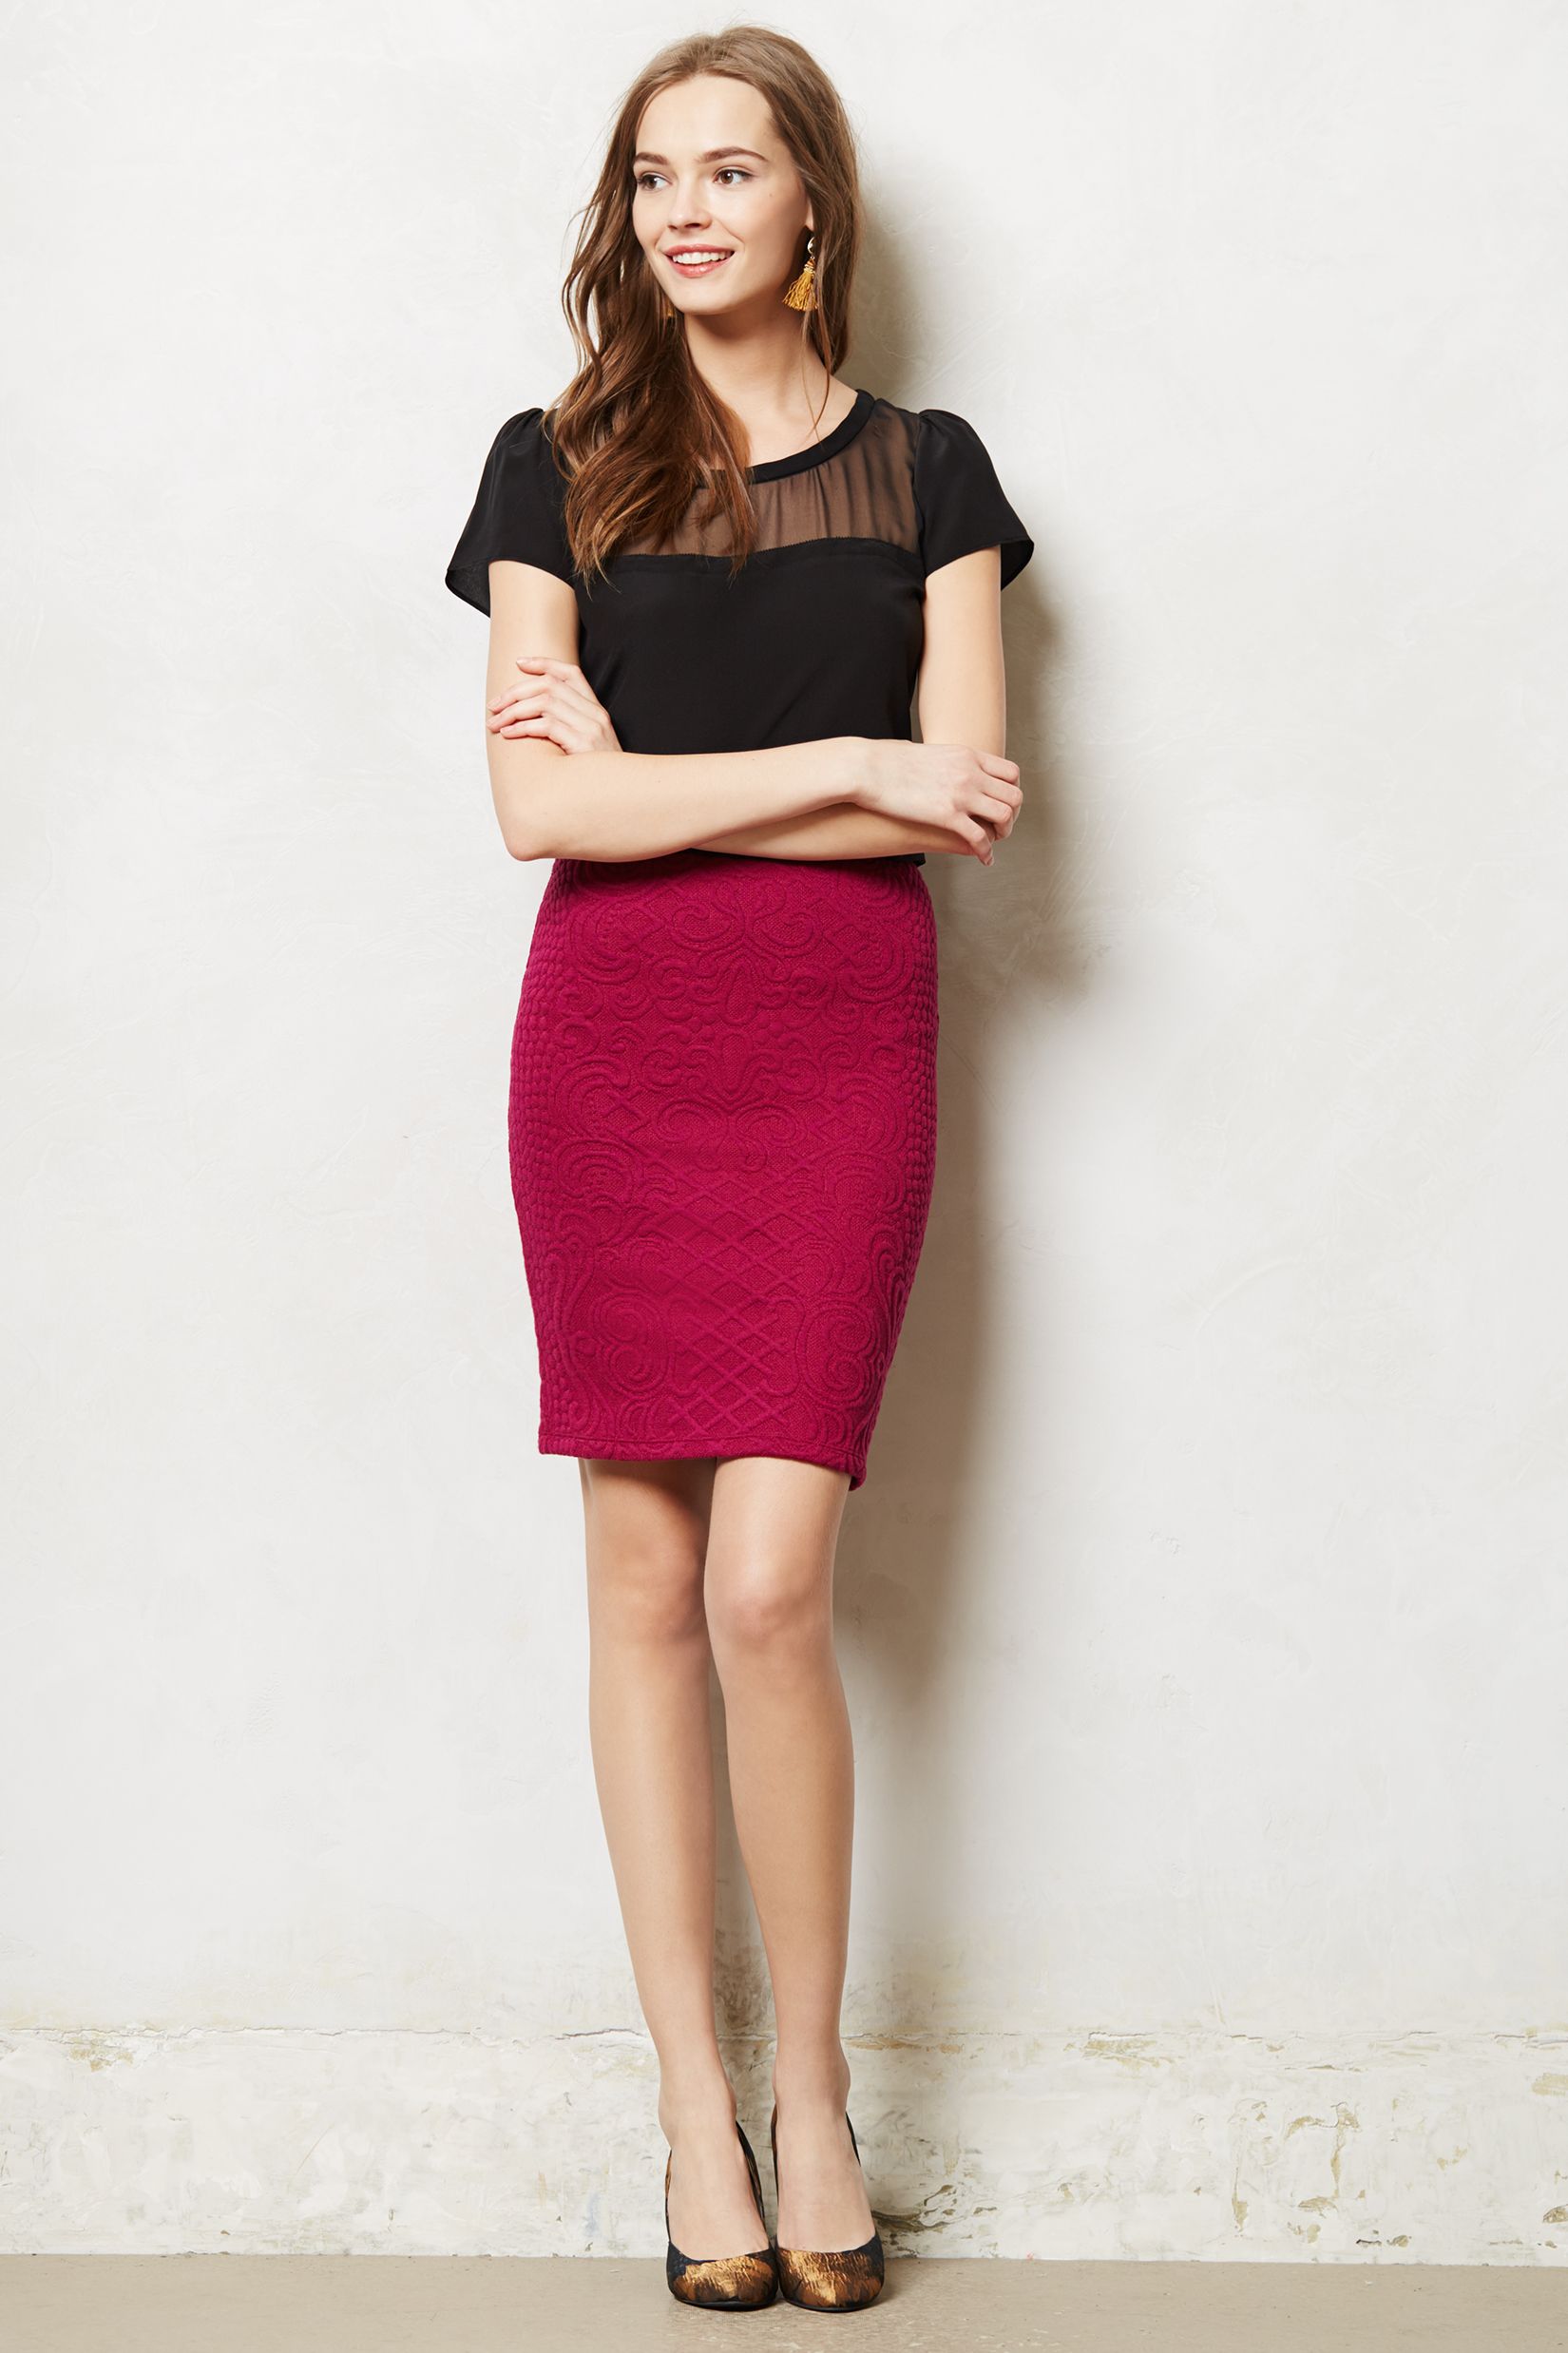
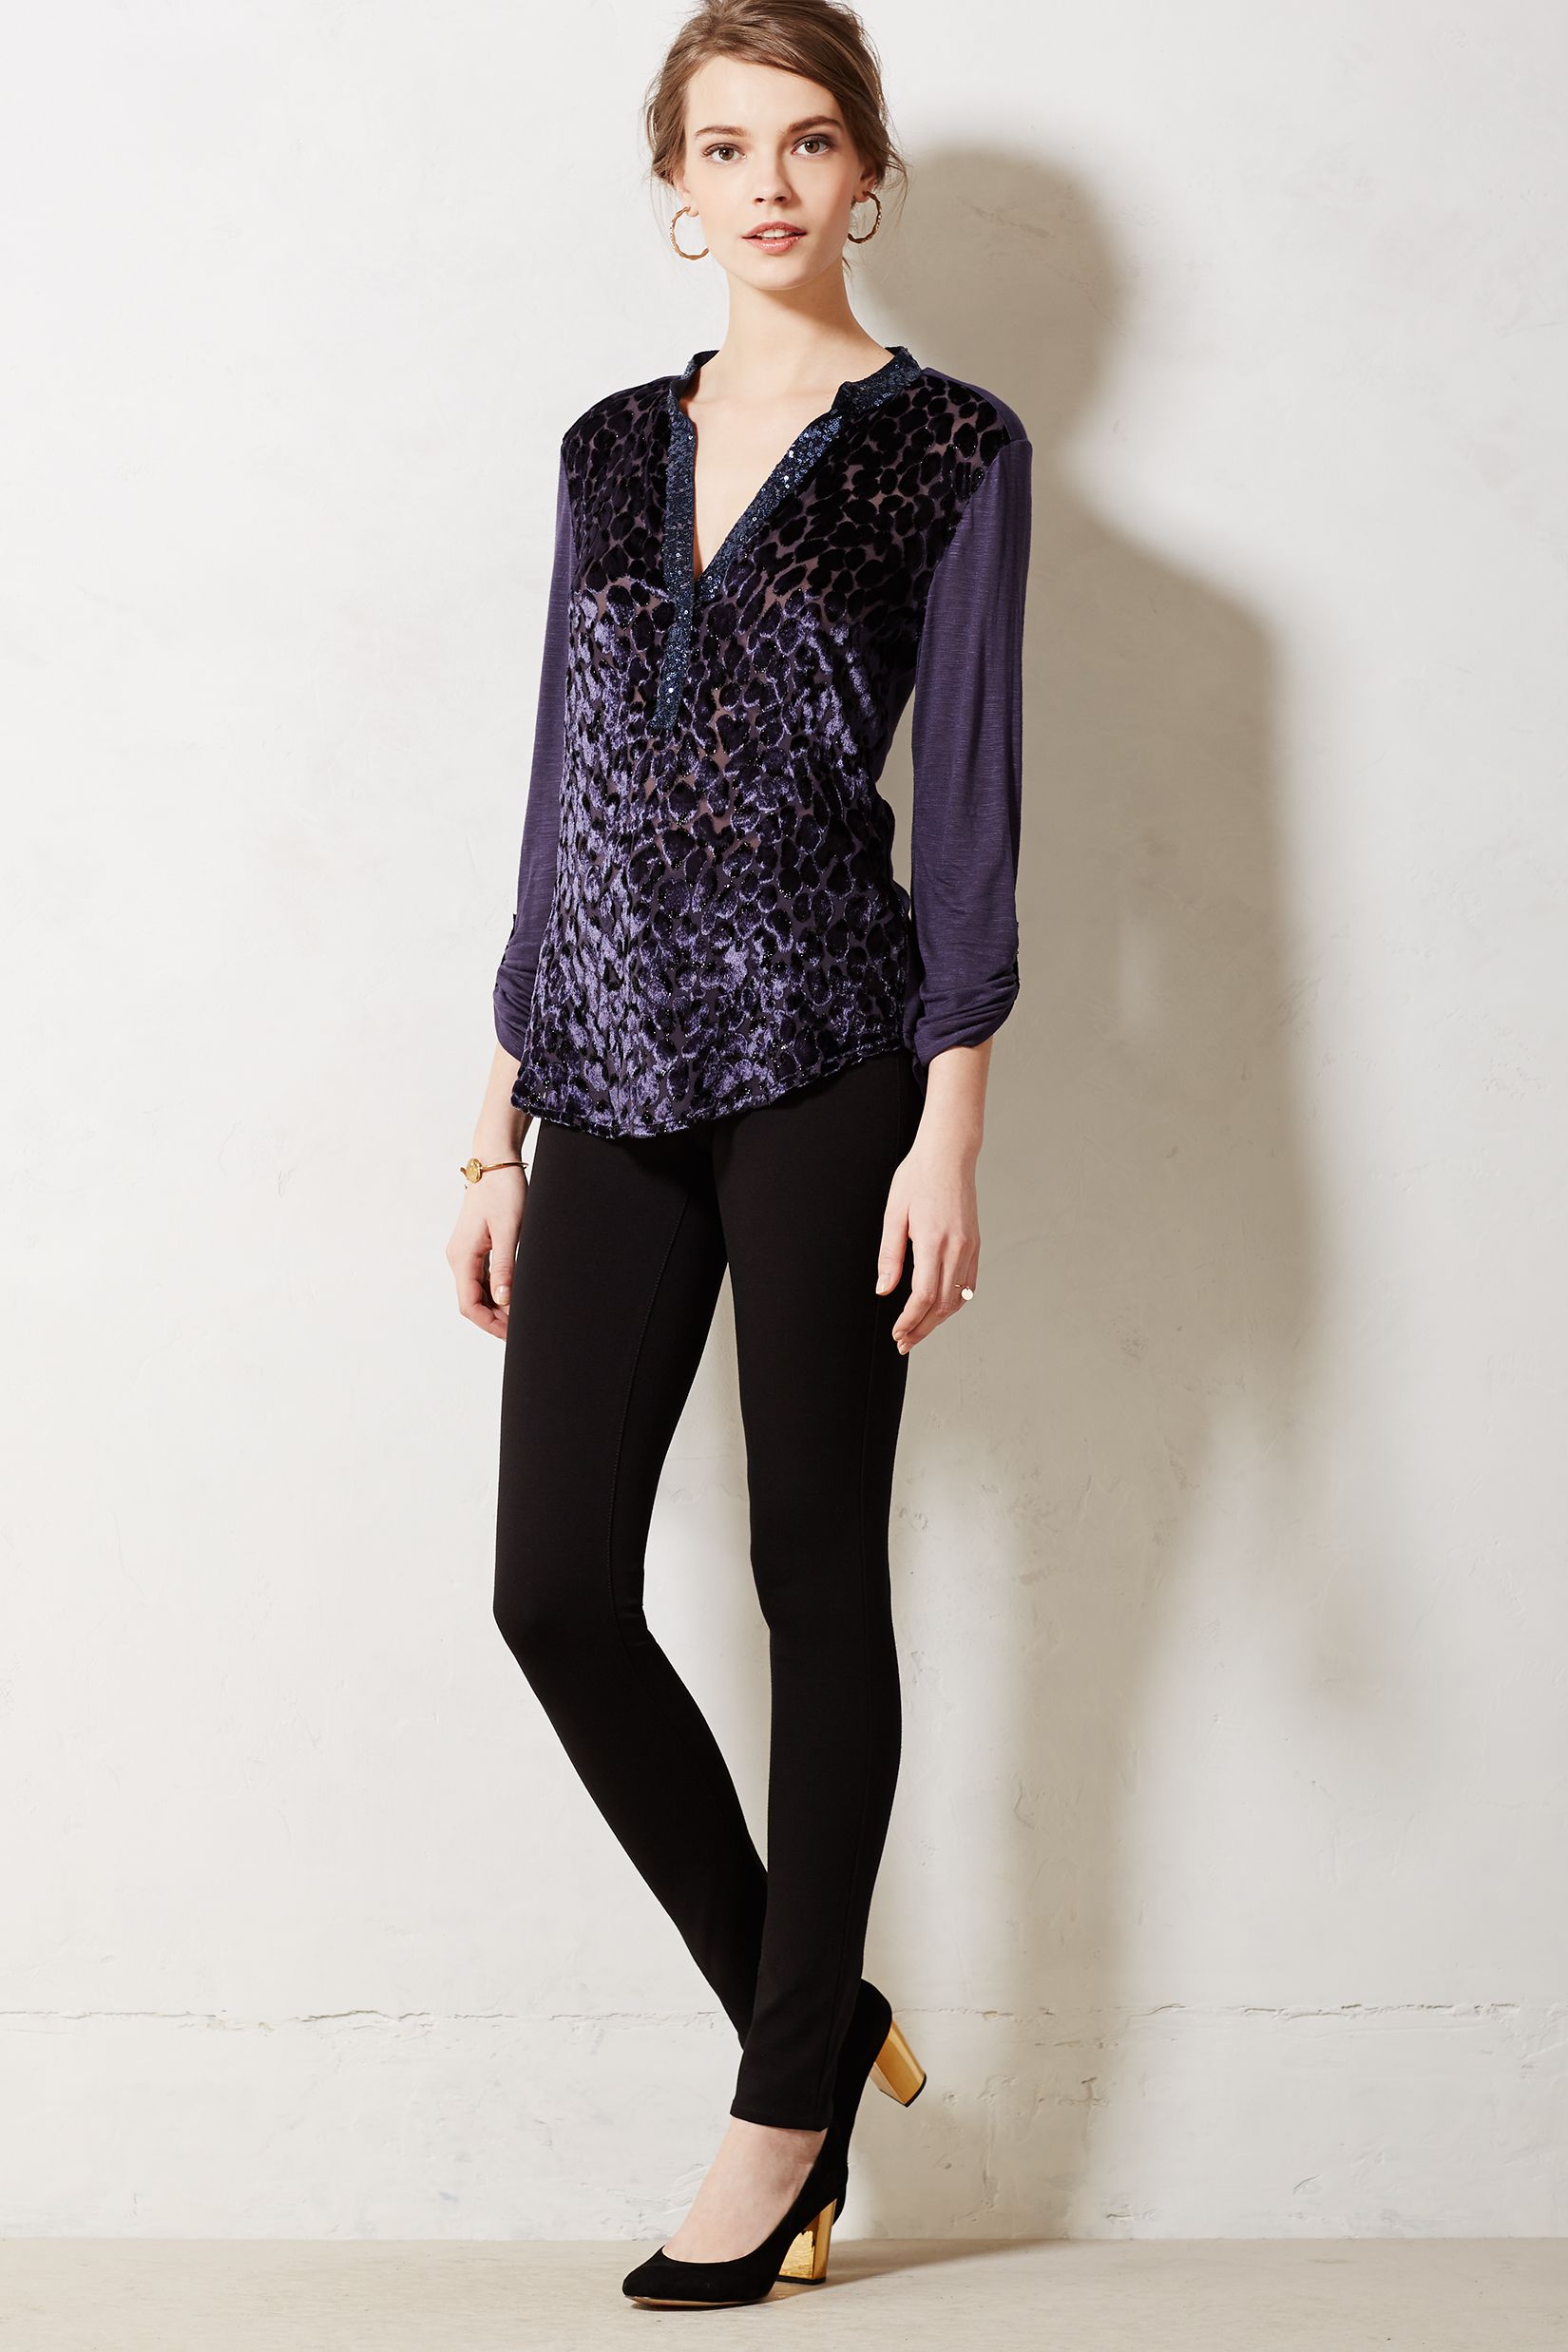
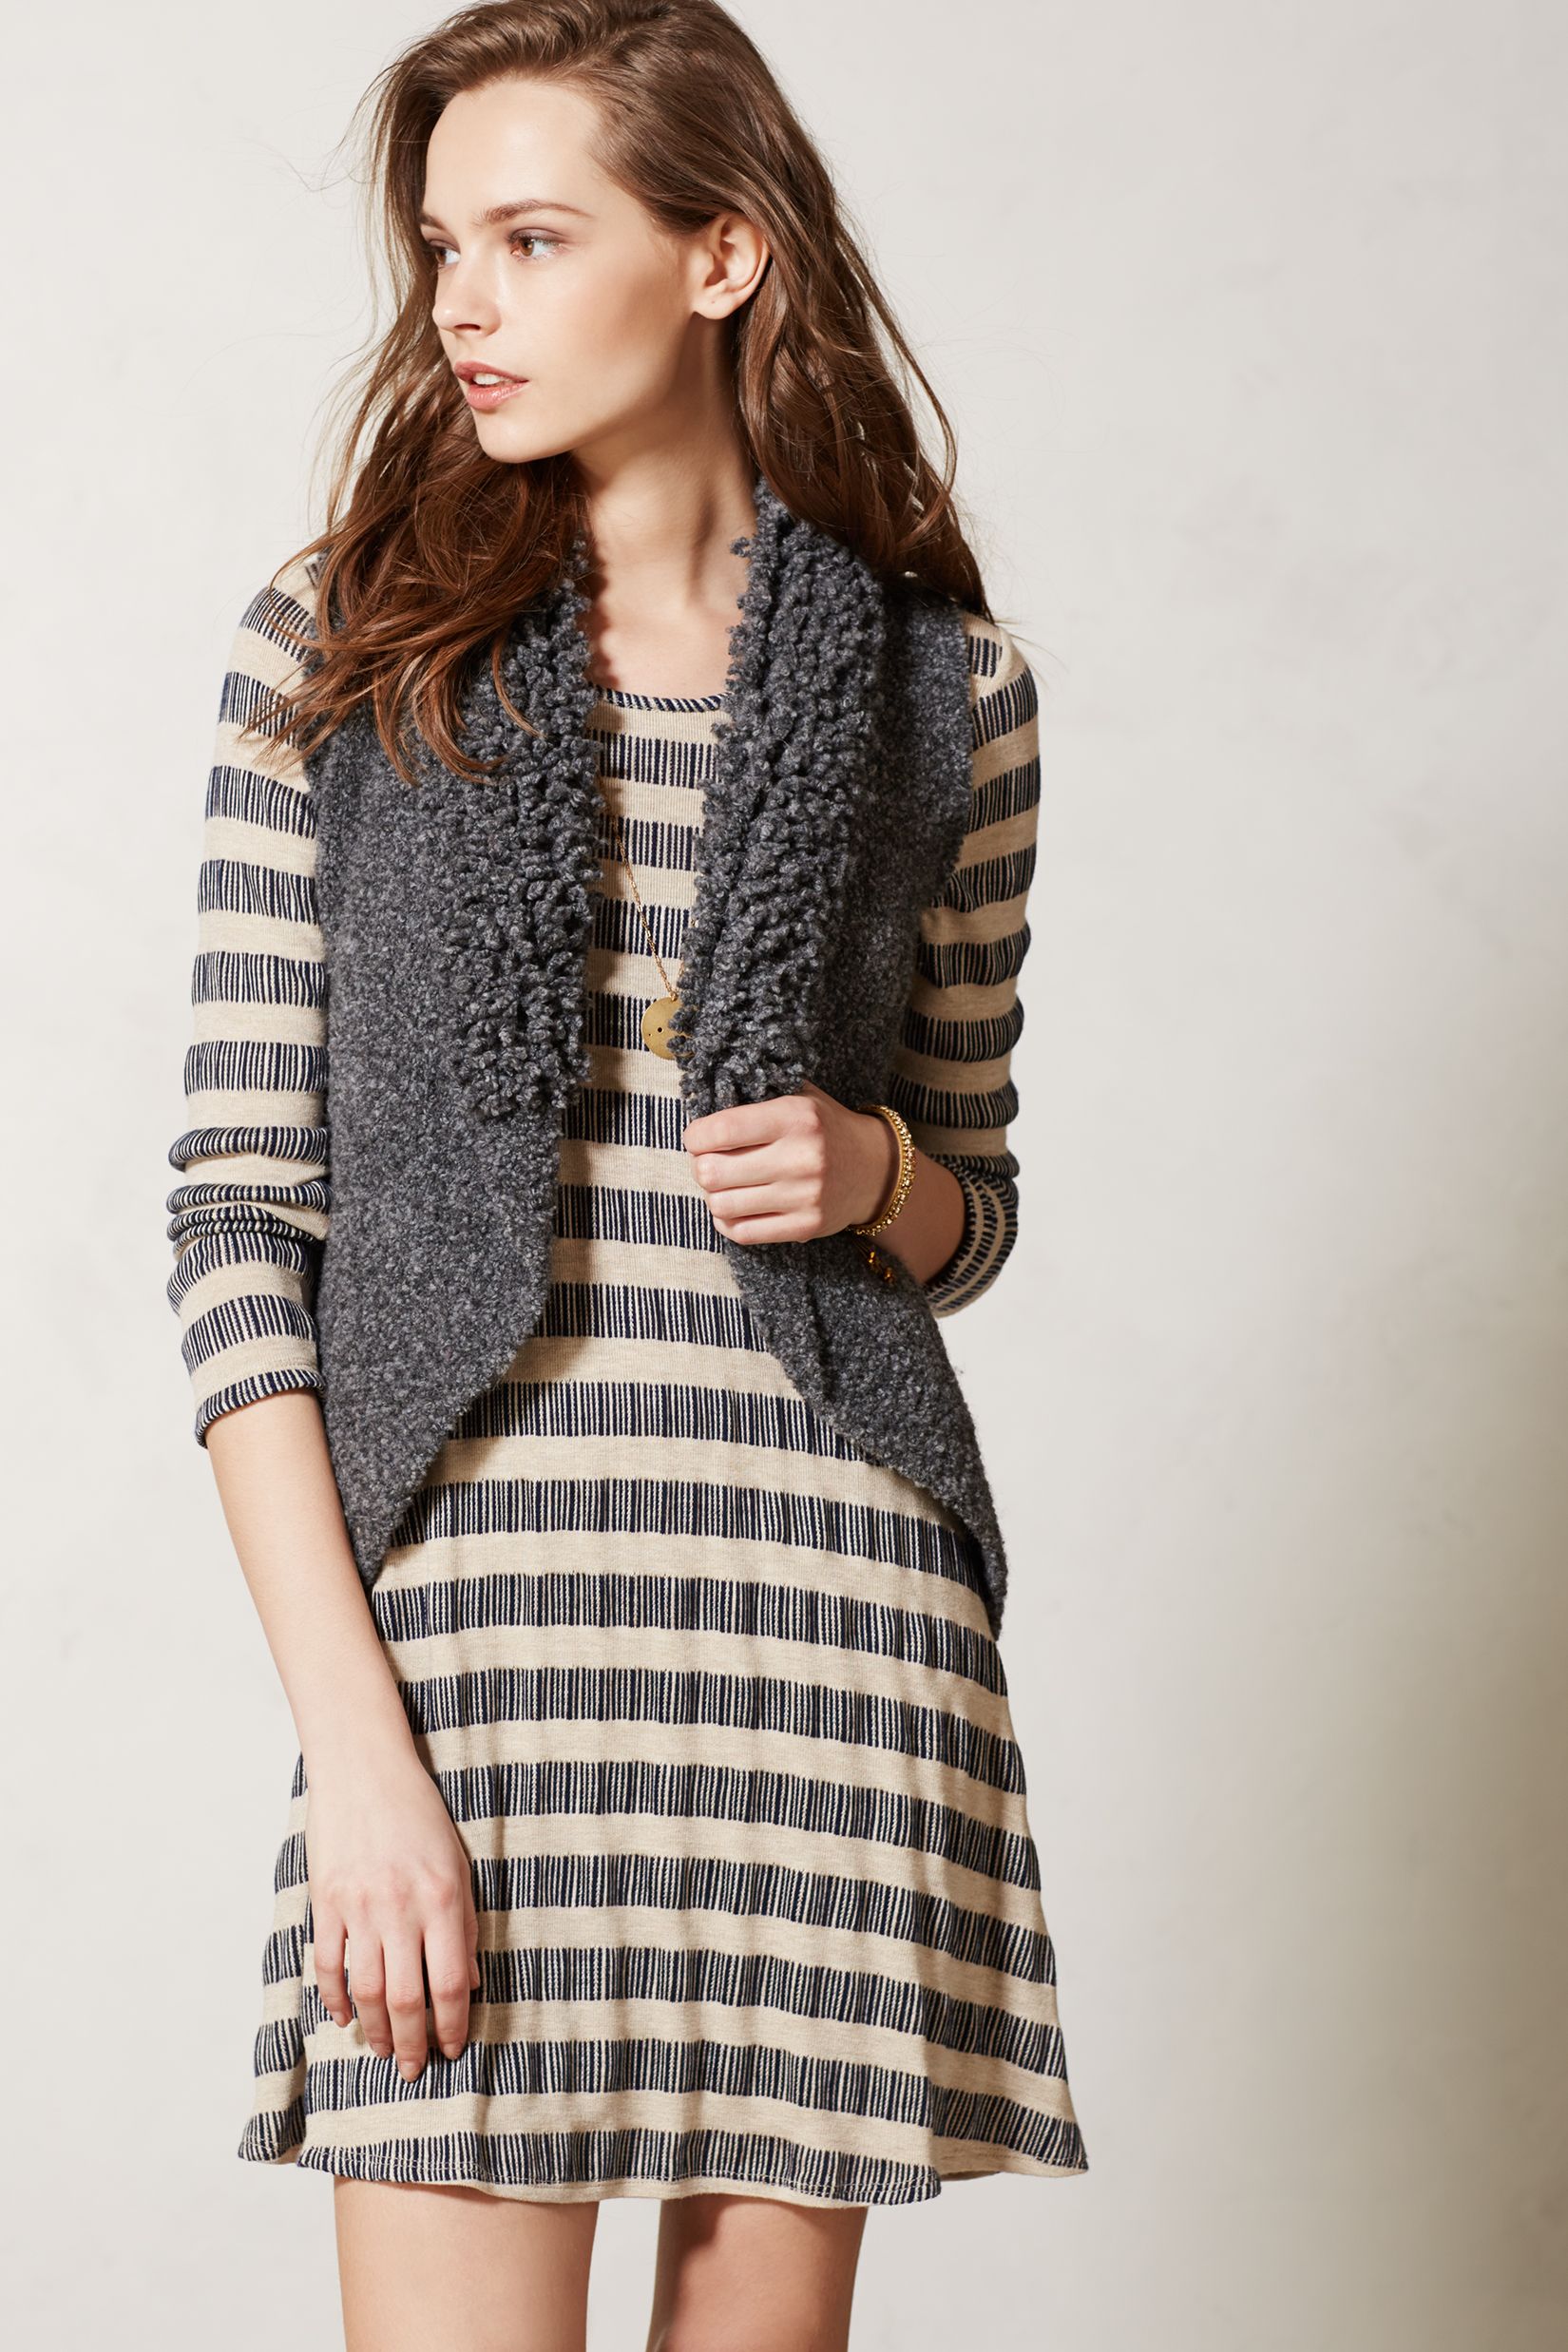
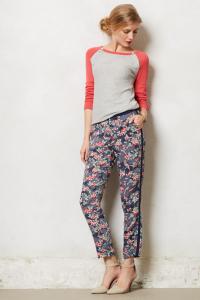
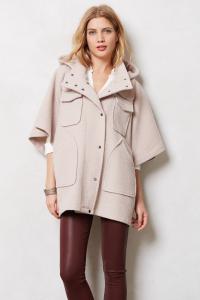
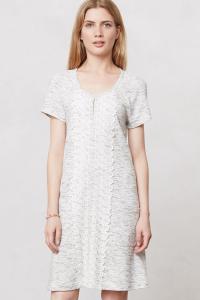
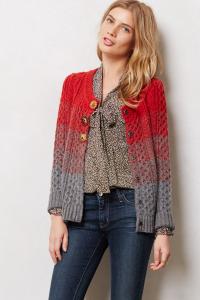
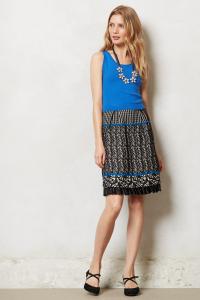
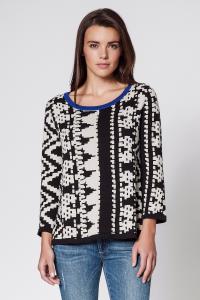
 Anthropologie HQ anthropologie.eu
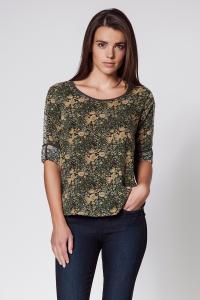


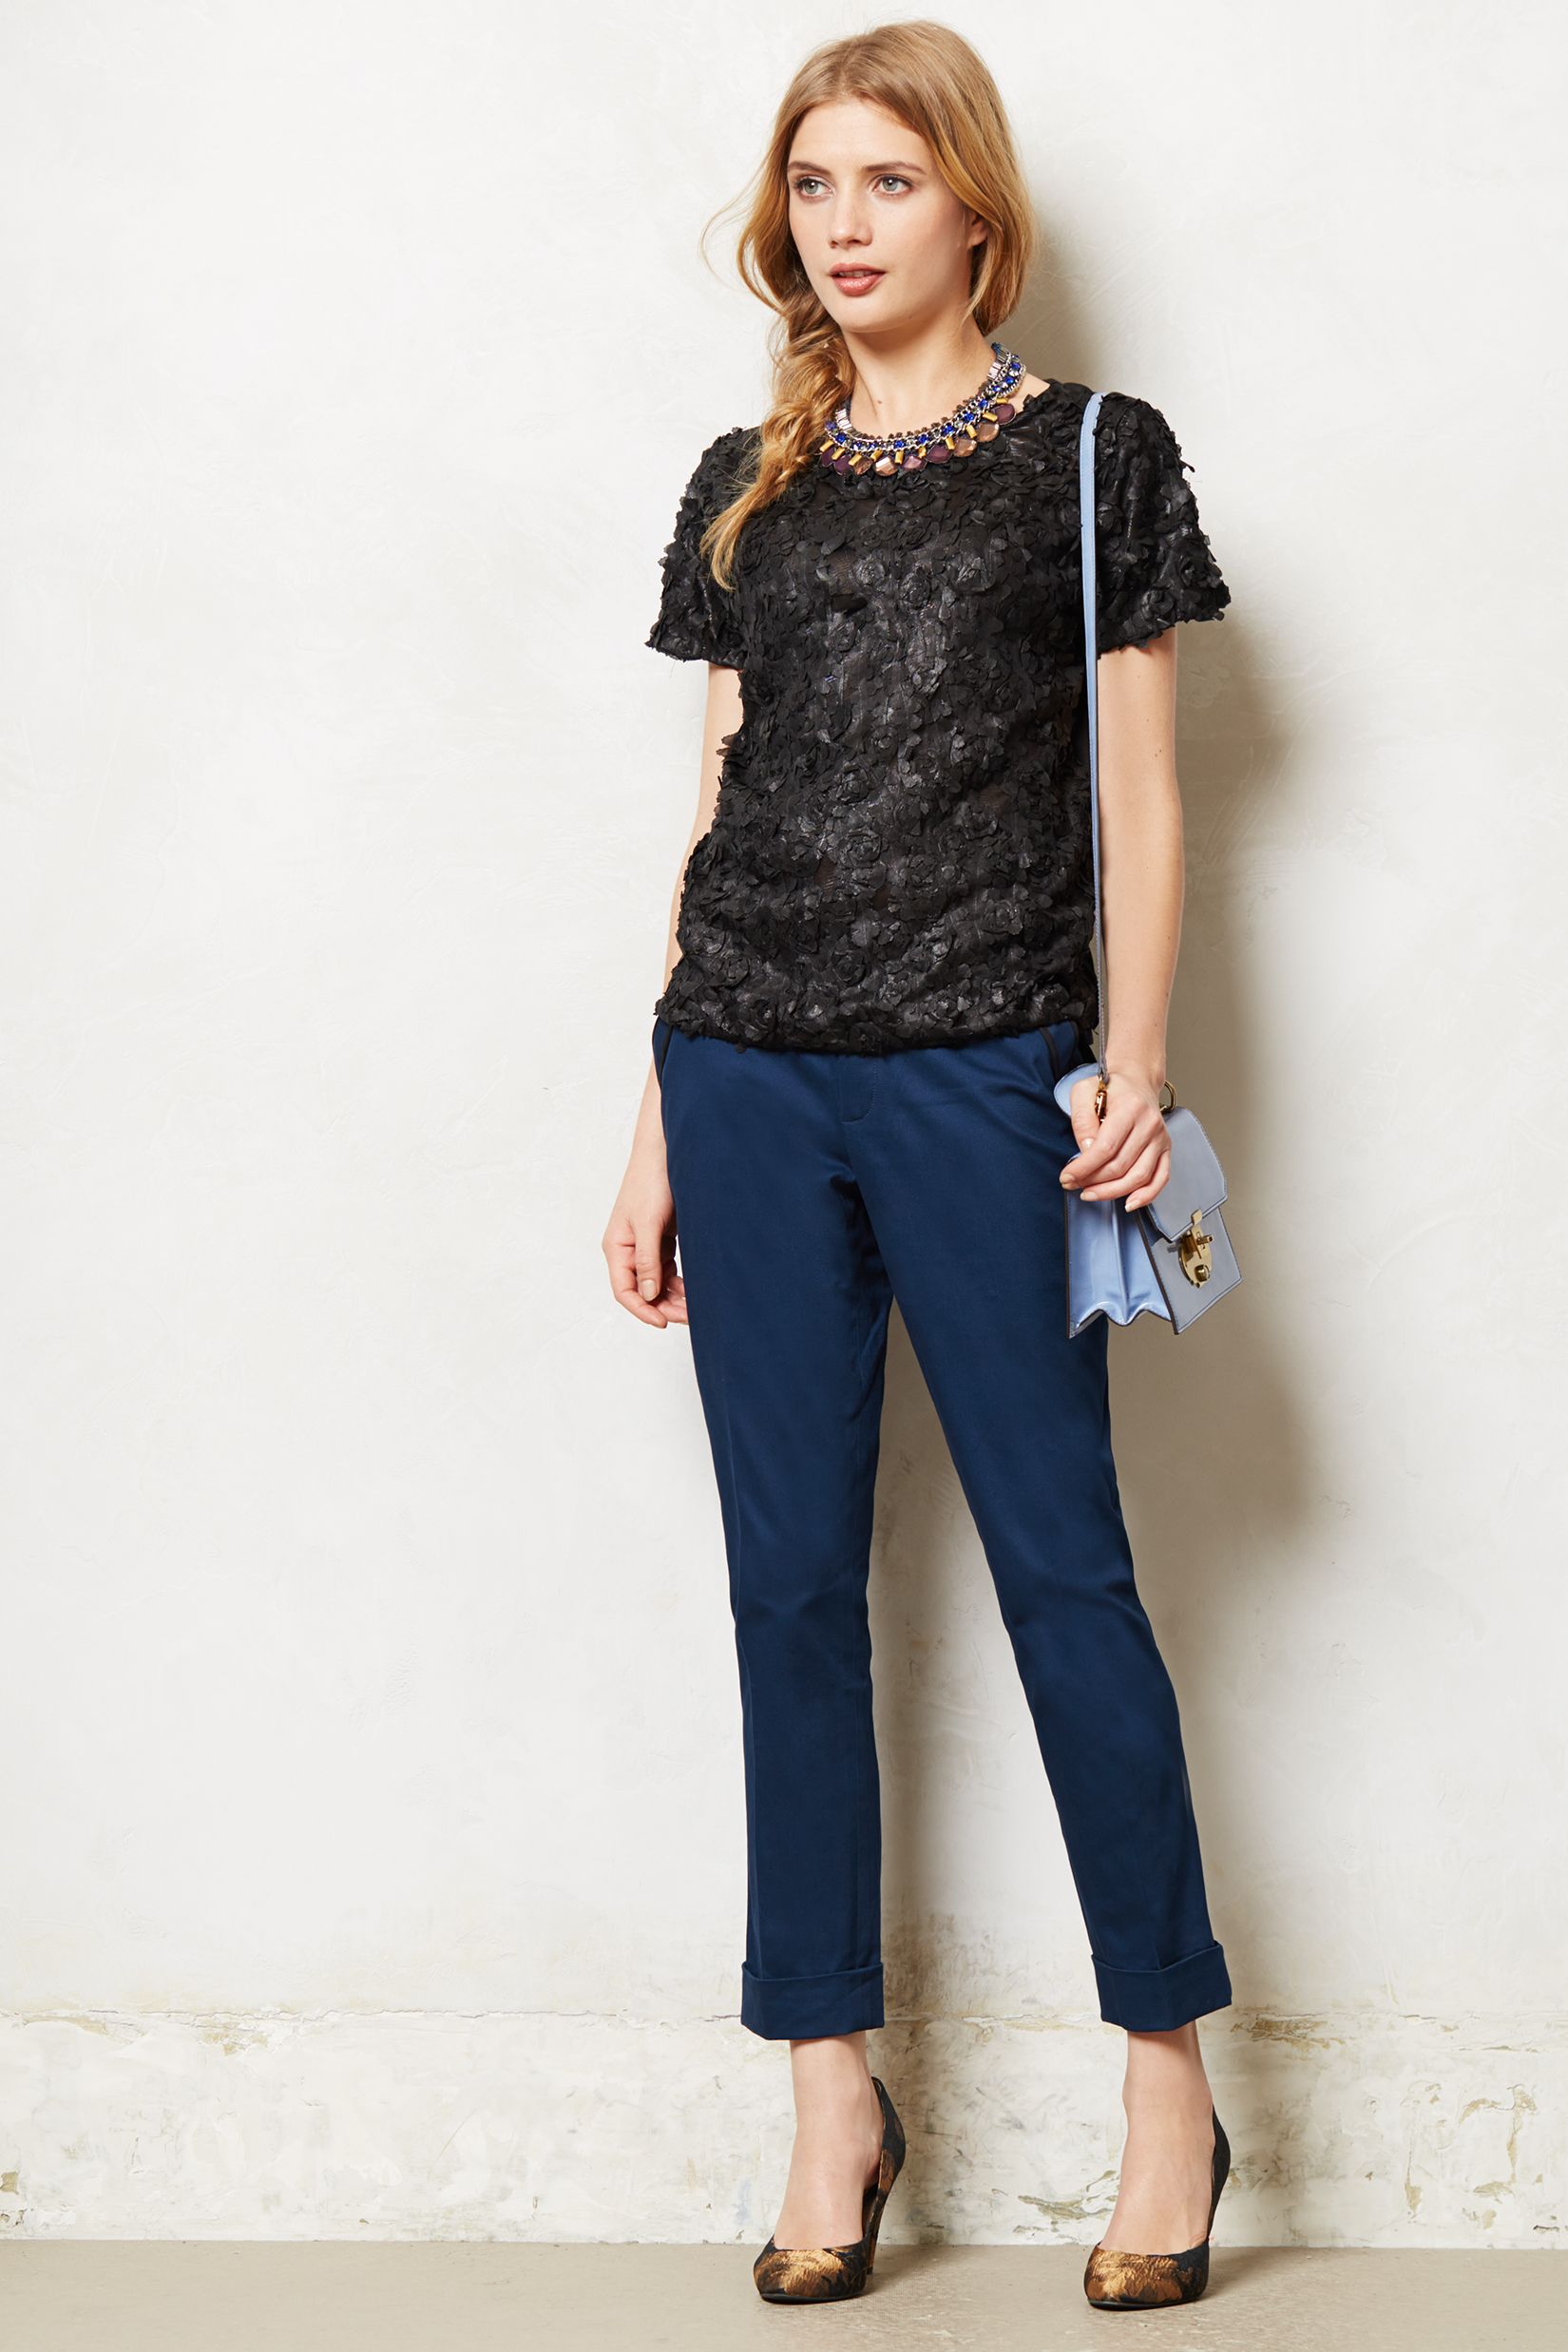
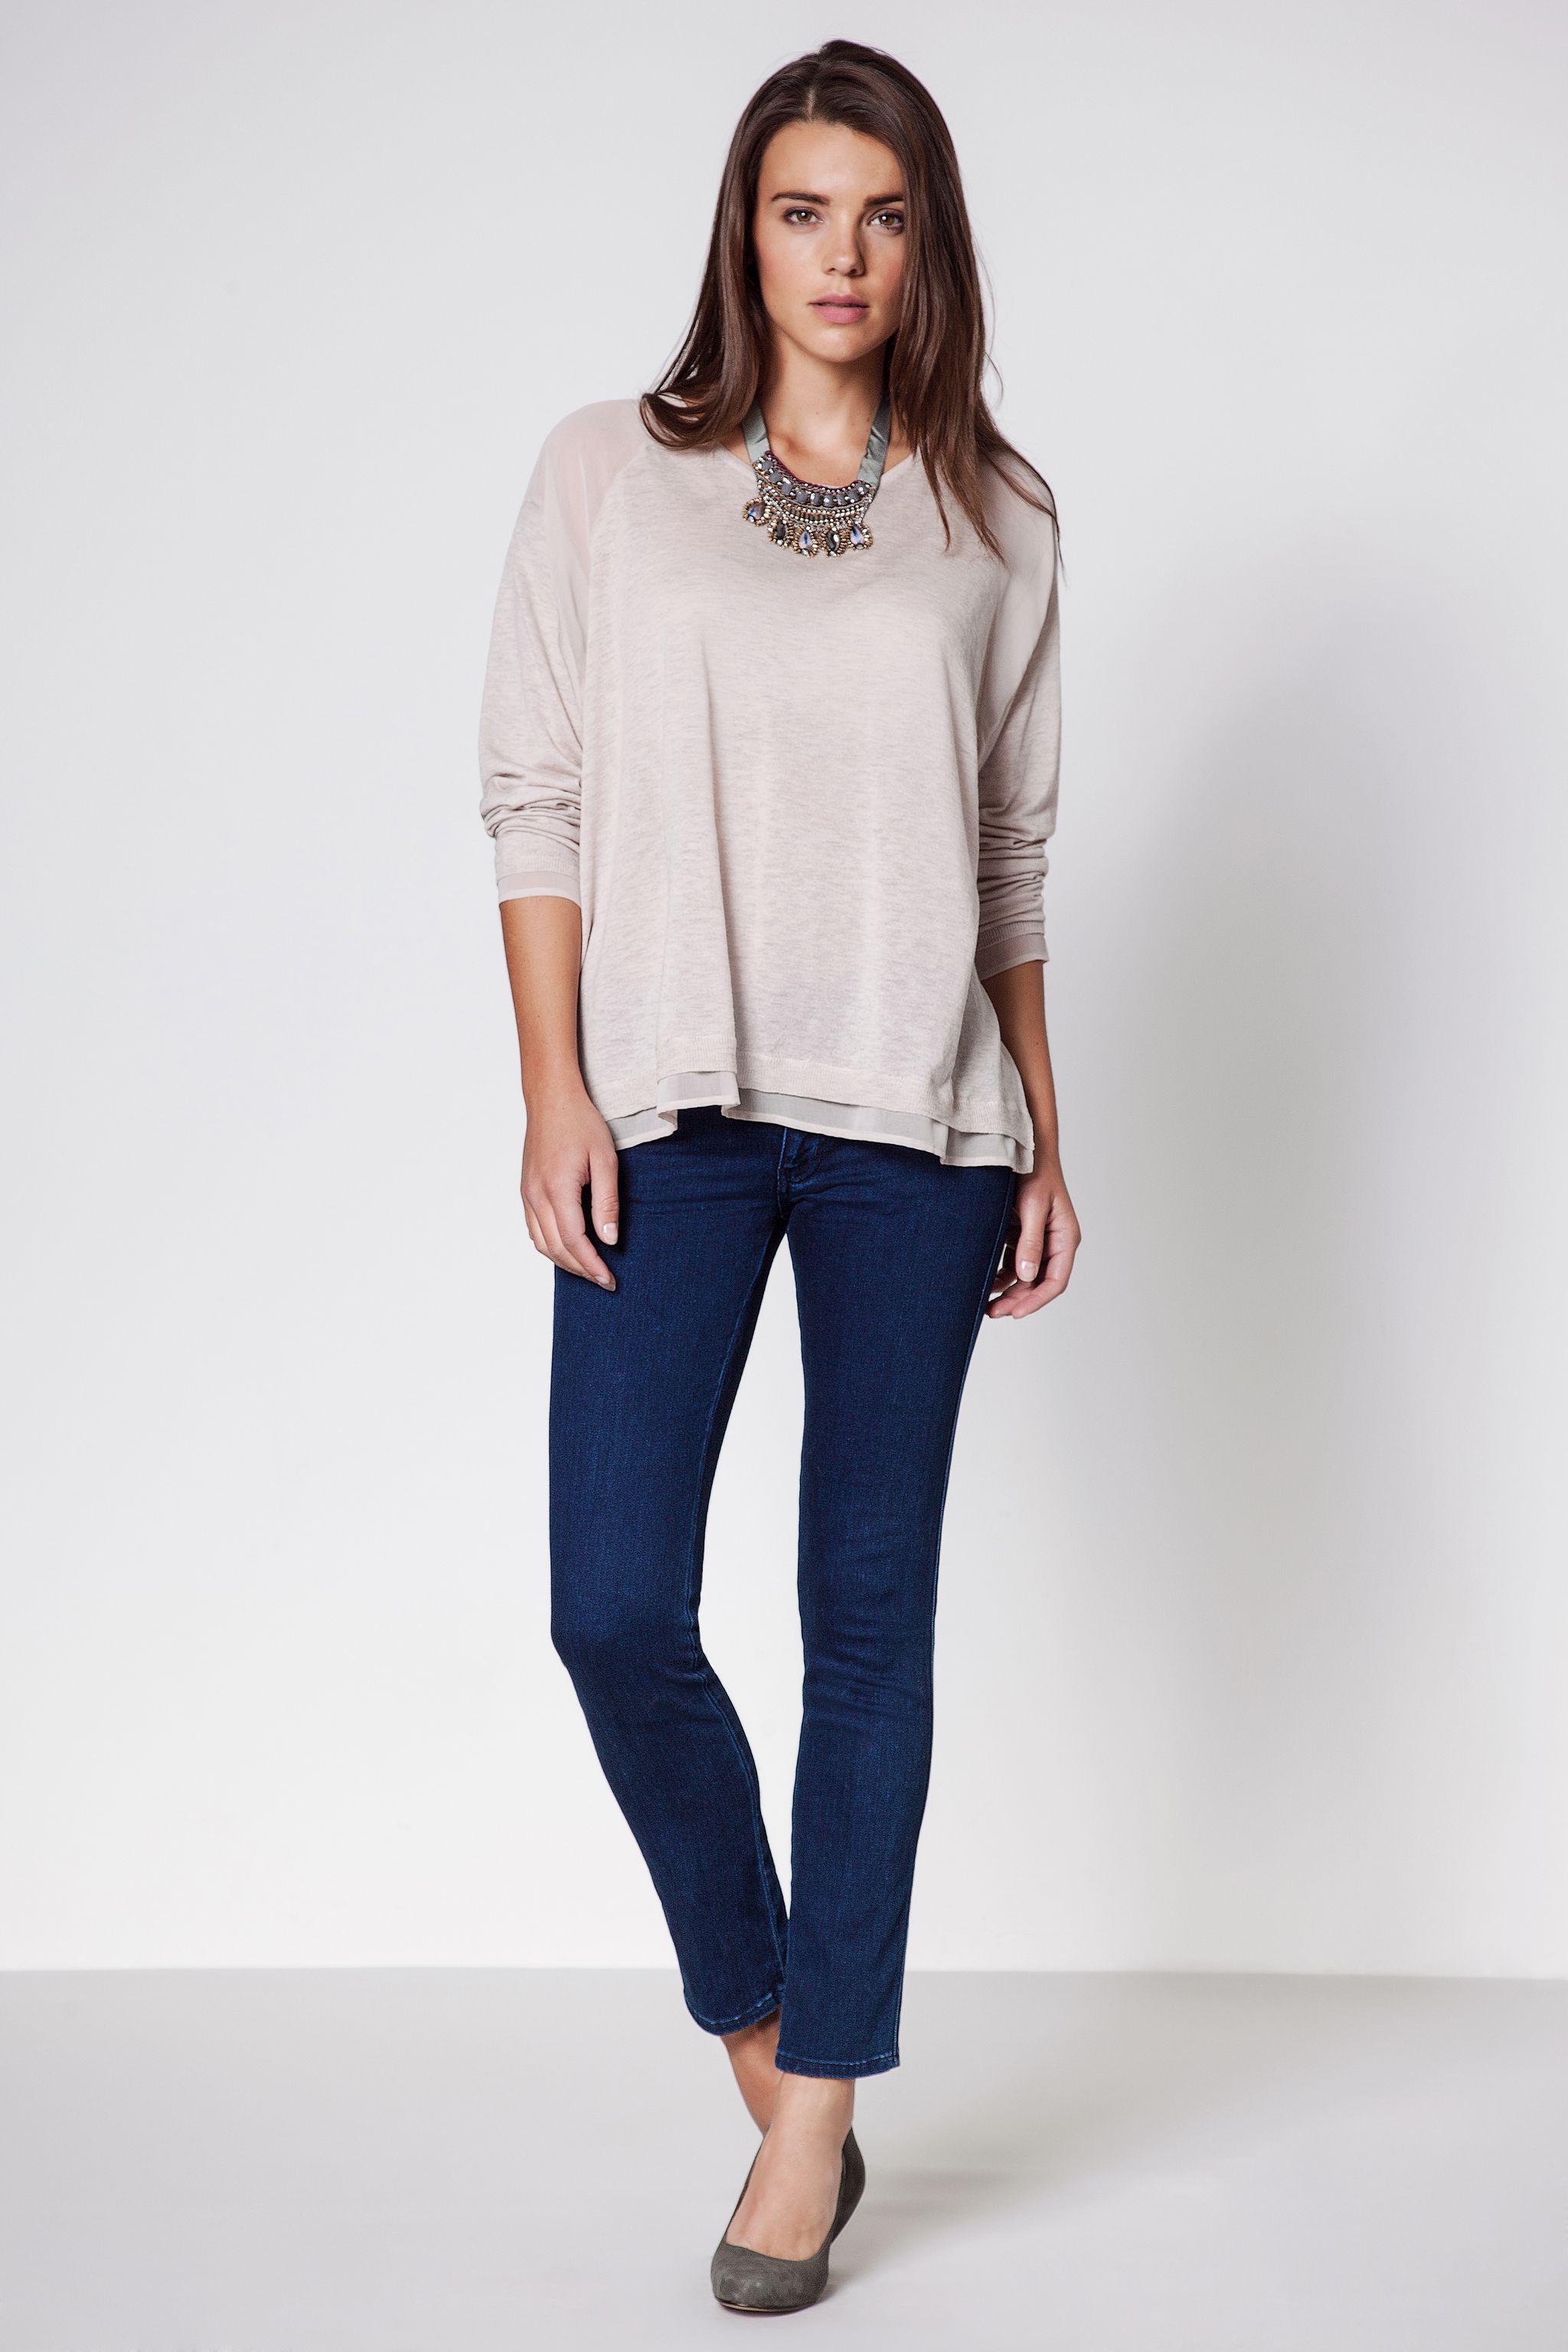
 Anthropologie HQ [2/2] anthropologie.eu