avadakedavra
Members
-
Joined
-
Last visited
Everything posted by avadakedavra
-
 Thanks Lea
 -
Take the quiz: Which Victoria's Secret Angel are you? Alessandra Ambrosio You are sexy, exciting, and can be daring! Quizzes by myYearbook.com -- the World's Biggest Yearbook! * Gisele Bundchen (You scored 1) * Adriana Lima (You scored 2) * Tyra Banks (You scored 1) * Heidi Klum (You scored 0) * Alessandra Ambrosio (You scored 3)
-
I know, but the facial structure is completely wrong to be susan.
-
What might help, though I THINK I know who you're talking about, check out the Fashion Show thread. There are scans from a magazine edit about it, and Adriana's Llama posted a link to a photobucket of screencaps so you could probably find her in one of those. The thread is here: http://www.bellazon.com/main/index.php?showtopic=2367 Link to the photobucket is here: http://www.bellazon.com/main/index.php?sho...88entry297888 Scans are here: http://www.bellazon.com/main/index.php?s=&...ndpost&p=349340
-
-
The option is there, but you can only do it once. So Person A can change their name to Person AB, but can't change after that. We just don't want people changing their names four hundred times.
-
Sooo not Gisele. If it was, I wouldn't be asking It's whoever is in Oakley's new campaign. I suppose the weird laugh doesn't help us ID her.
-
She's giving birth in Africa?????? She and Brad (who skipped Cannes to stay with her) are in Namibia
-
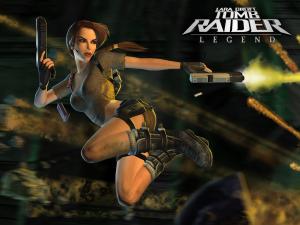
Sims 2 Hitman : Contracts Hitman 2 : Silent Assasin Tomb Raider : Legend, which I just beat. Can we have the eighth game out now?
-
-
From Tomb Raider: Legend. Wallpapers:


-
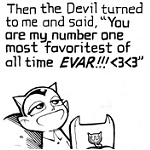
It amuses me to no end.
-
Posted already (a page back ), but thank you
-
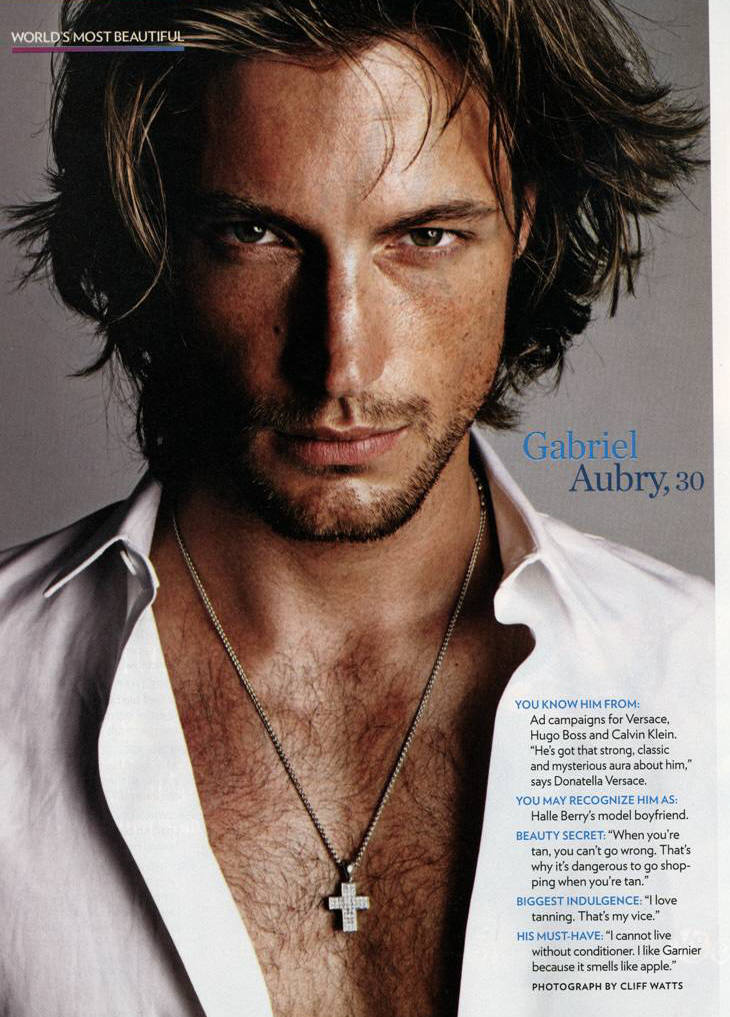
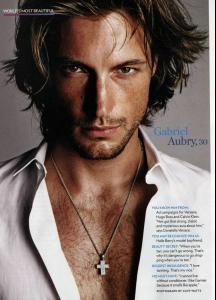
People mag's Most Beautiful Edition 2006 Scanned by: Sammie323 @ Blogger.com
-
I have those pages scanned in, I just haven't gotten to editing them. I'm doing Intimissmi first, which is evil <_<
-
Now I have to find it on ebay *pokes people*
-
Kemp is in a music video for the band Elefant. The song is called "Lolita". Here's the video on YouTube. Warning: Nudity Elefant - Lolita : Director's Cut
-
Robin Hood : Men in Tights Blazing Saddles Independence Day Honey
-
My Ana fansite. Here's a link.
-
Beleza has been updated with a new layout If anyone has anything they'd like to contribute, email it to [email protected]. Should have some new scans up in a few days.
-
This might help people though. The commercial is up on youtube:
-
Changed
-
For L.A. this is the note I got:
-
The LA Kings will be announcing their new coach soon. Sometime in the next few days though I want to say it's this weekend. I didn't glance over the blurb all that much. Whose even IN the playoffs anymore? After Colorado got swept, I pretty much stopped paying attention.
-
Looking at the first one, it could be Penelope Cruz.